Mapping Guide and List of Atlas Maps
Latest: 0.5.0 Release Date
☆ Fate of the Vaal ▶︎ The Last of the Druids
┗ Bonded Mods | 0.4 Mystery Box
★ Druid: Class Overview | Builds
☆ NEW: Disciple of Varashta Ascendancy!
★ Best Class | Best Builds | Leveling Builds
Atlas Maps are areas that you must clear in order to progress the endgame in Path of Exile 2 (PoE 2). Read on to learn how to access maps, a guide on mapping, a list of maps in the Atlas, all Pinnacle Bosses, and an explanation on the map icons in this guide!
List of Contents
How to Access Maps
Use Waystones in the Map Device
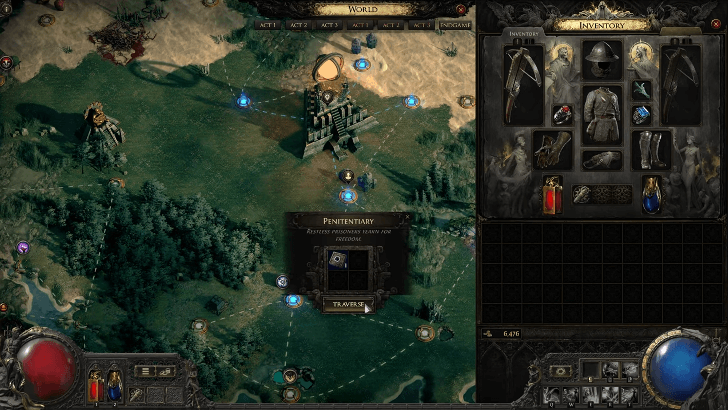
Waystones are a one-time consumable item used to enter different maps. They determine the levels of enemies and monsters within each map based on their individual tiers. Interact with the Ziggurat's Map Device and click on an available map, then insert a waystone into the slots to modify the map depending on the waystone's modifiers.
Monster levels start at level 65, then they are increased depending on the waystone's tier. If the waystone is tier 5, then the monster levels become level 69-70 depending on the waystone and map's modifiers!
Waystones can be Modified to Increase Difficulty and Reward
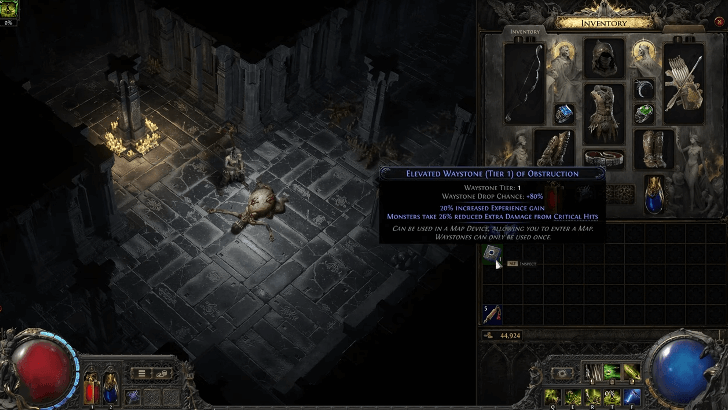
These Waystones can also be modified using different items like Orbs of Transmutation and Orbs of Augmentation. These modifiers can help increase the rewards received from maps or their difficulty.
Waystone tiers can be increased by slotting three of the same waystone tiers on a reforging bench to get a single waystone with an increased tier.
Mapping Guide
| Atlas Map Progression Tips |
|---|
|
|
Follow our Endgame Build Guides
 Mercenary Mercenary |
 Monk Monk |
 Witch Witch |
 Sorceress Sorceress |
 Warrior Warrior |
 Ranger Ranger |
Atlas maps are endgame content, meaning that enemies there are unforgiving at the very least. Make sure that you follow a build guide to maximize the damage you deal and your survivability. This helps minimize the chances of you dying and help clear maps quickly and efficiently.
Upgrade Waystones to At Least Magic-Tier
As much as possible, upgrade your waystones to at least Magic-tier (Blue) for them to have modifiers that will affect the maps you've used them on. It's much better to run a map with modifiers than maps without one.
Never Sell Waystones
You can use your lower-tier waystones as a method to farm more waystones. Add modifiers to them and hope to get a mod that increases waystone drops. You can also reforge waystones to a higher tier, which is important for completing The Cataclysm's Wake quest when it's requiring you to clear higher-tier maps.
Min-Max Waystone Affixes
Rare-tier waystones can possess up to three prefix and three suffix modifications, for a total of six mods. Affixes on a waystone that provide positive modifications—such as X% increased Rarity of Items found in an Area or X% increased amount of Chests—are prefixes. Suffixes, on the other hand, are mods that increases a map's difficulty, such as X% more Monster Life or Monsters deal X% of Damage as Extra Lightning.
If you want to run a map in the Atlas without increasing its difficulty, use waystones with only prefixes. Make sure that the waystones you posses are maximized by having three prefixes. Some players overlook this and run maps with only suffixes. However, adding suffixes to a waystone increases drop rate of waystones on a map.
You can view the official trading site as reference to distinguish which are prefixes and suffixes. Mods labeled with P0 and marked in red are prefixes, while those labeled S0 and are marked in blue are suffixes. Some affixes are combined as one, meaning that you may encounter waystones that exceed the maximum number of affixes a rare waystone can have.
Make Sure to Defeat Everything in a Map

The objective of maps in the Atlas is to eliminate all rare monsters. Find and defeat them to successfully clear the map you're on. However, make sure to clear all of the mobs on the map, leaving none alive. This is to maximize the XP you gain and increases your chances of obtaining items and waystones dropped by enemies.
It's important to always aim to replace the waystone you used for a map with a new one, which you'll likely obtain from enemy drops. Keep in mind that dying will consume the waystone used, requiring you to use another one or a set of Waystones to retry the map.
Skull Icons Show After Some Time
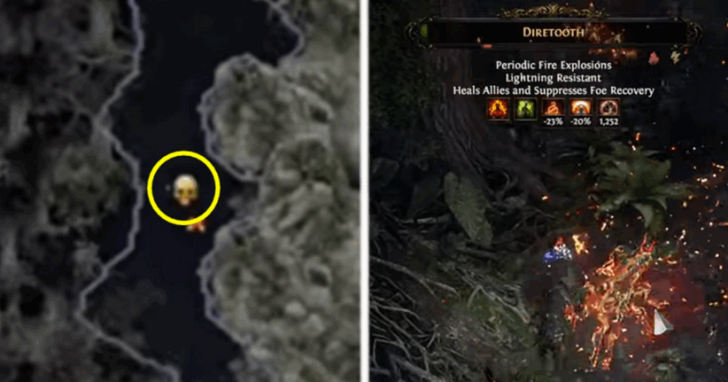
Skull icons represent the rare enemies you need to defeat in order to clear the map. Though, these icons will only show up after some time.
Event Maps Still Includes the Main Objective
Even if the map you're on has an event like Delirium or Ritual, you'll still need to defeat the rare enemies indicated by the golden skull icons on the map to clear it.
Waystone Mods Determine Respawn Attempts
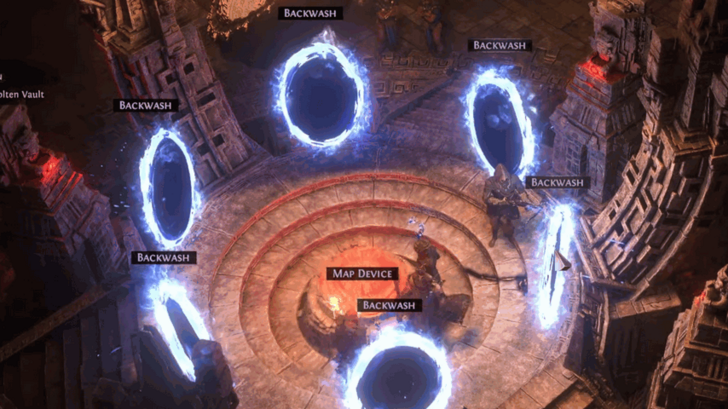
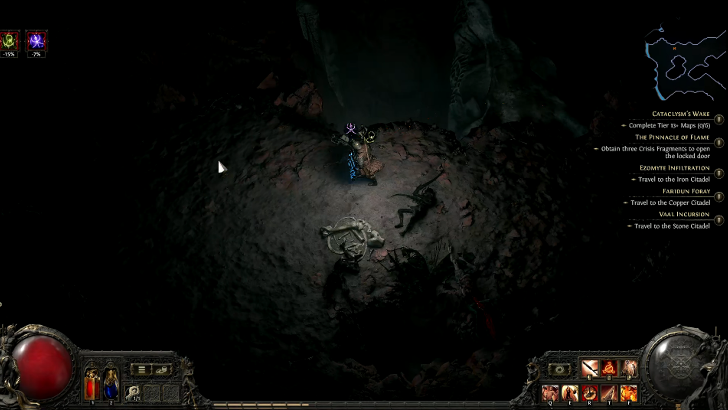
As of the Dawn of the Hunt update, respawn attempts have been added to maps. The number of Portals now represents the number of attempts you have for a map, which decreases based on the number of Waystone modifiers. With zero modifiers, you have six portals, while with five Waystone modifiers, only one portal remains.
However, you can now freely leave and enter the map without consuming any portals, allowing you to sell or disenchant items, store them in your stash, or refill your flask charges.
Go Toward Lost Towers
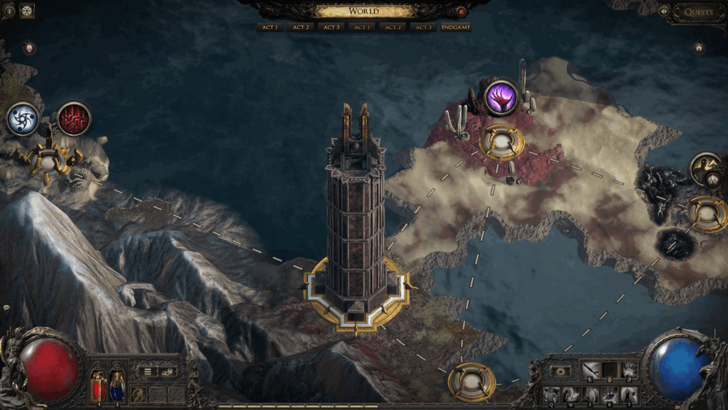
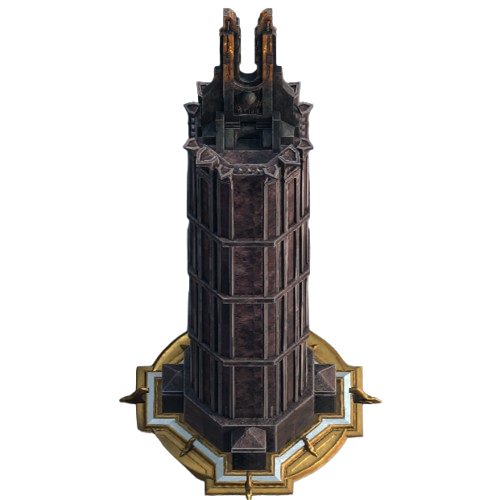
If you're unsure about where to go next, follow the path toward Precursor Towers (or Lost Towers). Light these towers by inserting Precursor Tablets to reveal a portion of the map within the tower's radius.
Precursor Tablets also adds modifiers that affect the maps within a tower's radius. These modifiers are useful for increasing rewards or making maps a bit easier to clear.
Find and Unlock Hideouts
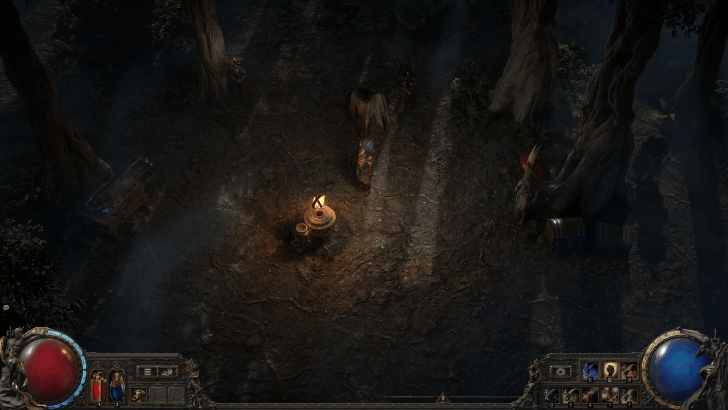
Clear out the enemies and claim a hideout to call your own. Hideouts provide a personal space where you can redecorate and add NPCs, tools, and stashes, allowing you to access and interact with them all in one area for convenience.
Hideout Location and How to Unlock
Find and Clear Maps with Bosses
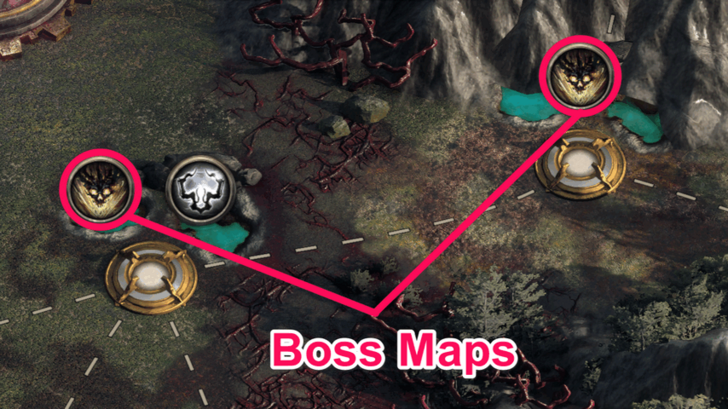
Eventually, you'll come across maps with bosses represented with an icon. Bosses give out tons of rewards, including waystones, after defeating them. Prepare yourself for these fights, as dying will remove the boss event from the map.
Atlas Maps
List of Atlas Maps
| Map | Details |
|---|---|
 (Desert Biome) |
Description:
Abyss is a deep, dark cavern filled with large stalagmites, small areas, and narrow pathways.
Boss: Zar Wali, The Bone Tyrant |
 (Grass Biome) |
Description:
Augury is an abandoned ruin overrun by vegetation.
Boss: TBD |
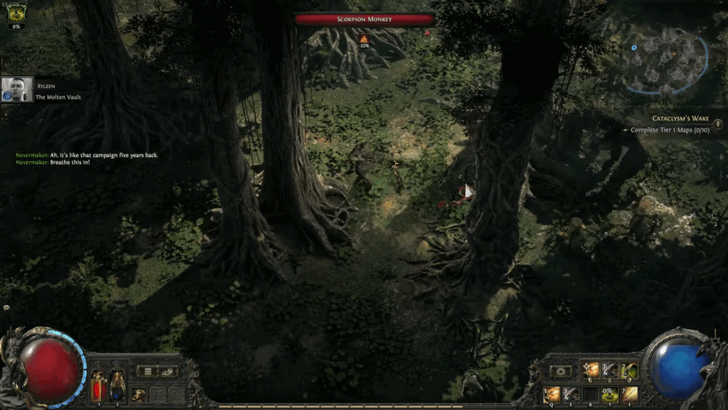 (Swamp Biome) |
Description:
Backwash is filled with tall, overgrown trees and large roots winding through the forest.
Boss: Yaota, The Loathsome |
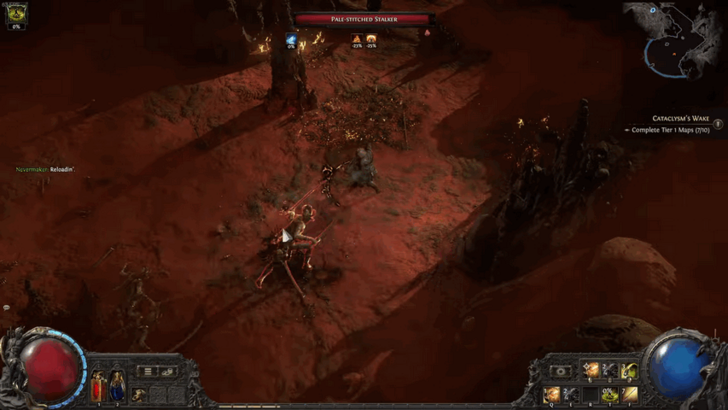 (Desert Biome) |
Description:
Bloodbowl is a desert filled with red sands and a few cactuses. Skeletons and weapons lying around suggest of a fierce battle that once took place here.
Boss: TBD |
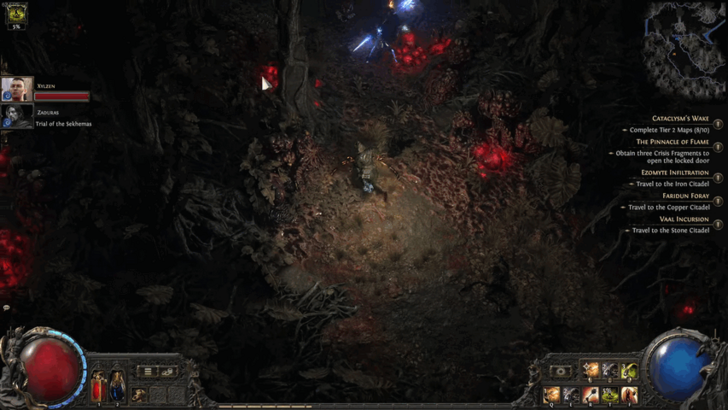 (Forest Biome) |
Description:
Bloodwood is a thick forest with huge blood clots near vegetation.
Boss: TBD |
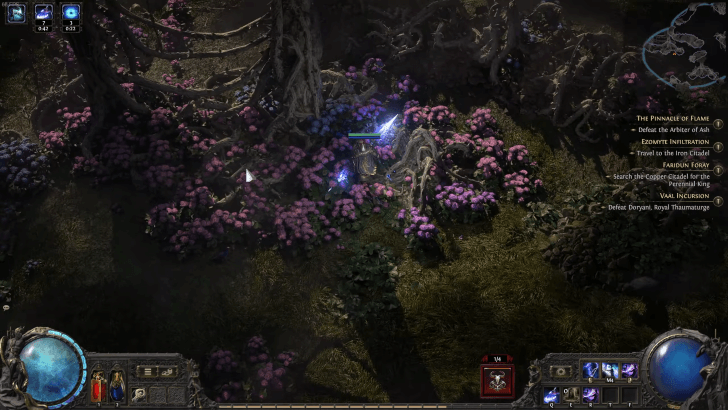 (Grass Biome) |
Description:
Blooming Field is a lush area sprawling with blooming flowers of different colors and thorny roots running through the ground.
Boss: The Black Crow |
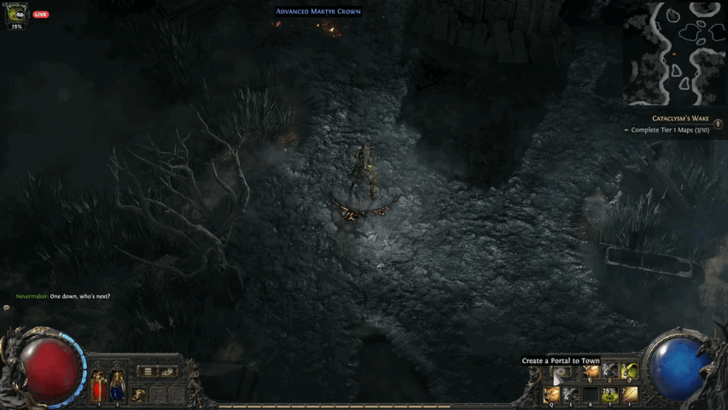 (Swamp Biome) |
Description:
Burian Bog is a muddy bog filled with weeds, surrounded by mausoleums and ruined sacrophagus.
Boss: Grudgelash, Vile Ent |
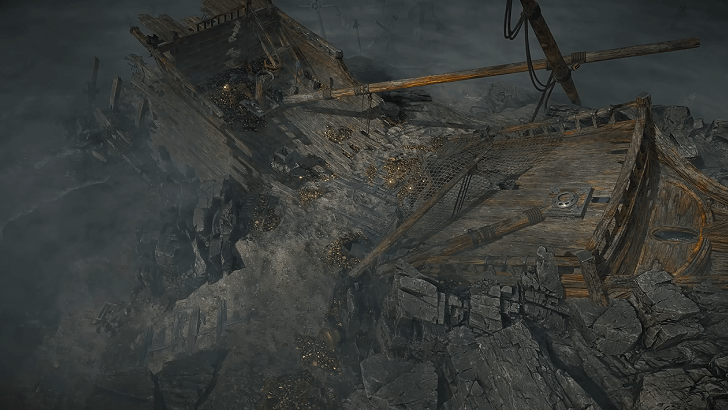 (Water Biome) |
Description:
It's an area filled with shipwreck and undead crew and with shipwrecks comes riches from the now dead plunderer's stash.
Boss: Torrek of the Drowned Fleet |
 (Mountain Biome) |
Description:
Cenotes is a lush jungle filled with rock formations and multiple flat and open areas.
Boss: TBD |
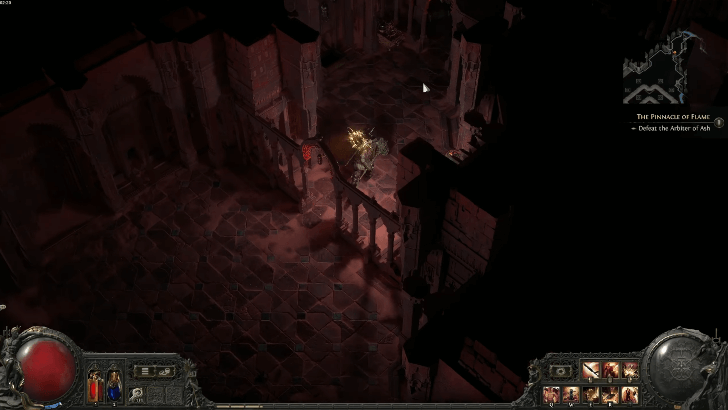 (Faridun City Biome) |
Description:
Channel is a large, abandoned Faridun shrine filled with sand and near dried-up rivers.
Boss: Hask, The Fallen Son |
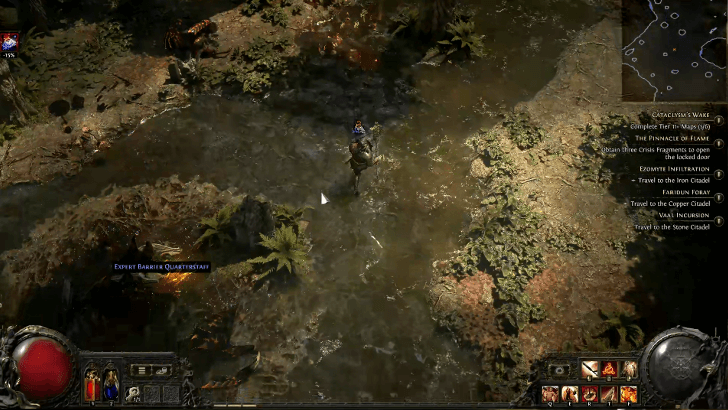 (Forest Biome) |
Description:
Creek, as the name suggests, is a Timber Forest with a long continuous creek.
Boss: Tierney, the Hateful |
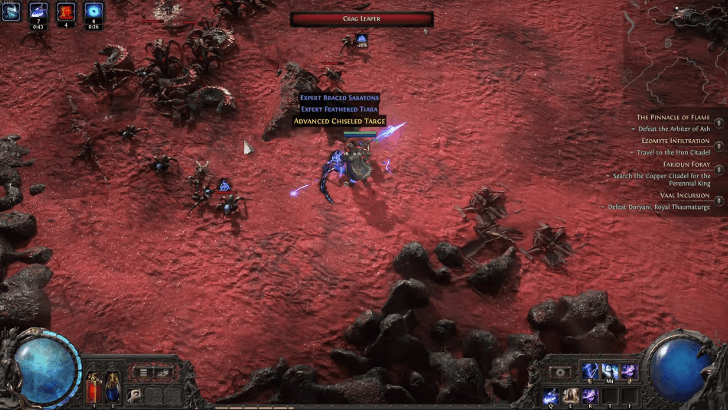 (Water Biome) |
Description:
Crimson Shores is a beach with red sand filled with stone formations, shipwrecks, and fisherman huts.
Boss: TBD |
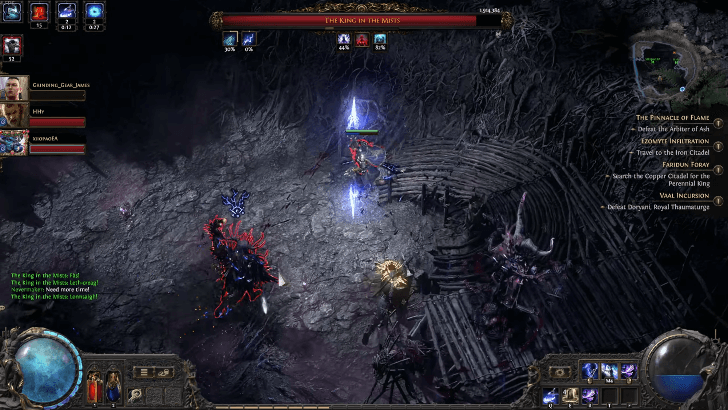 (Special Biome) |
Description:
Crux of Nothingness is a special map tied to the Ritual mechanic, where players can fight the King in the Mists pinnacle boss.
Boss: King in the Mists |
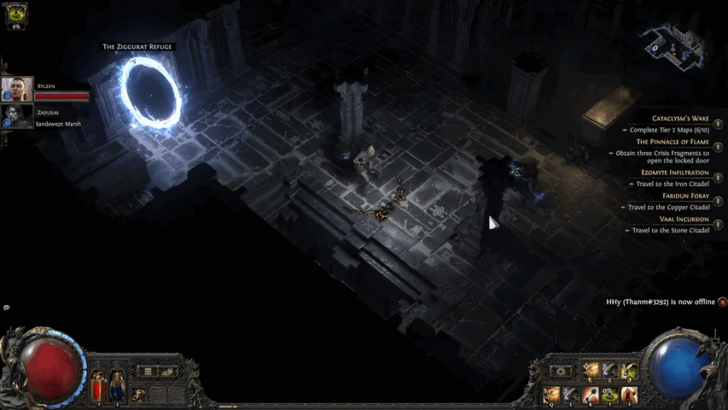 (Grass Biome) |
Description:
Crypt is an underground room with narrow, candle-lit hallways with stone coffins on the side.
Boss: Meltwax, Mockery of Faith |
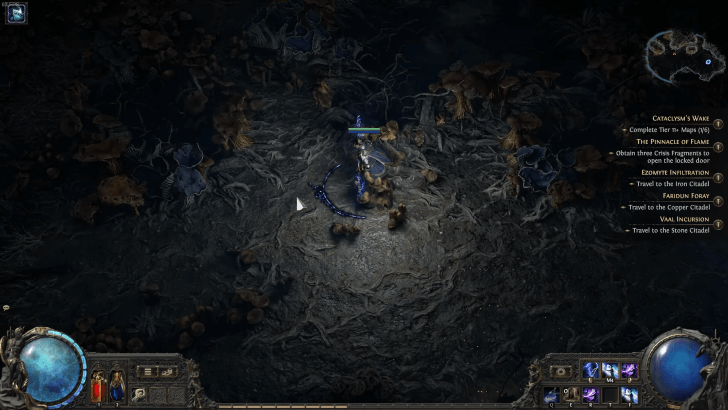 (Swamp Biome) |
Description:
Decay is an area filled with overgrown fungus and dead trees along with the stench of death and decay.
Boss: The Fungus Behemoth |
|
Derelict Mansion
(Special Biome) |
Boss: Avelyne, the Withered Rose & Varloch, the Ashen Lord |
 (Desert Biome) |
Description:
Deserted is a gloomy desert area containing the remains of a destroyed city and civilization.
Boss: TBD |
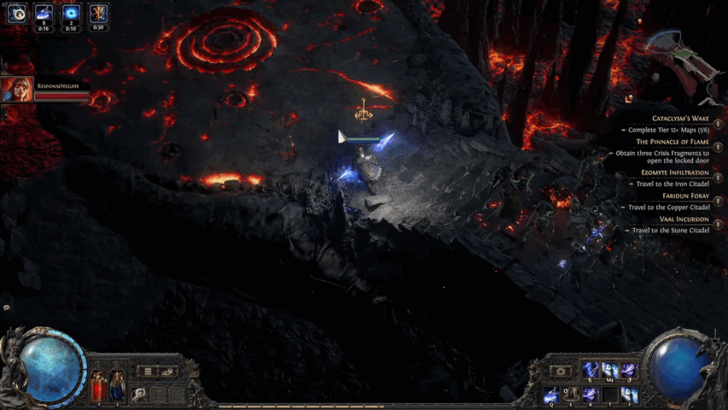 (Desert Biome) |
Description:
Forge has volcanic rock formations as paths while surrouned by magma and volcanic stalagmites.
Boss: Vastweld, The Colossal Guardian |
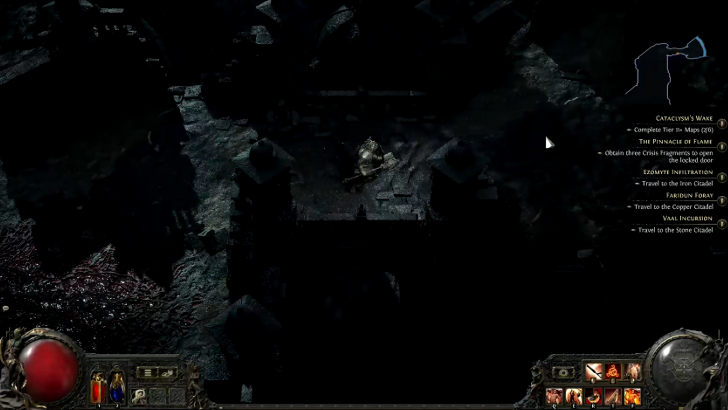 (Desert Biome) |
Description:
Fortress, as the name suggests, is a dark and gloomy ruined fortress buried within the sands.
Boss: Pirasha, The Forgotten Prisoner |
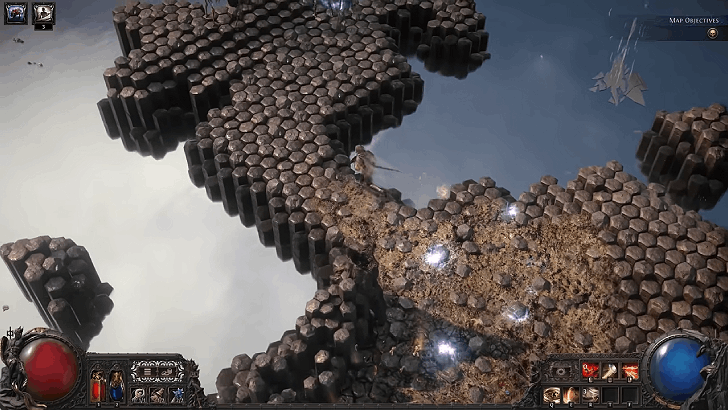 (Special Biome) |
Description:
Shattered Lake is a distorted realm where fractured reflections shape the very ground beneath your feet.
Boss: TBD |
|
Gothic City
(Ezomyte City Biome) |
Description:
Gothic City, as the name suggests, is a dark, gloomy city lacking any signs of life and vibrancy.
Boss: Asinia, The Praetor's Consort |
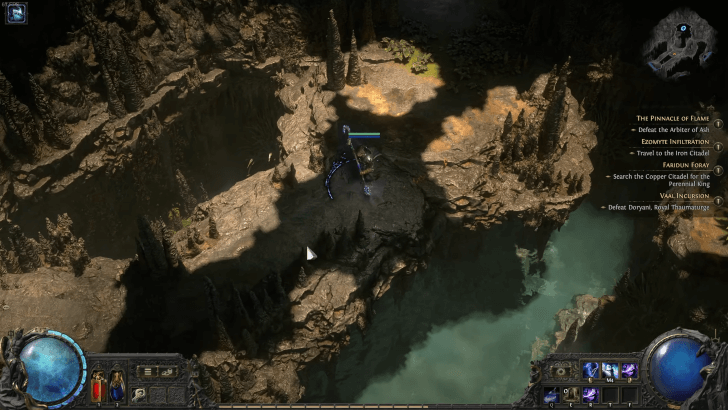 (Grass Biome) |
Description:
Hidden Grotto is a tropical cave with a bunch of stalagmites and rocky formations as well as pools of water around the area.
Boss: TBD |
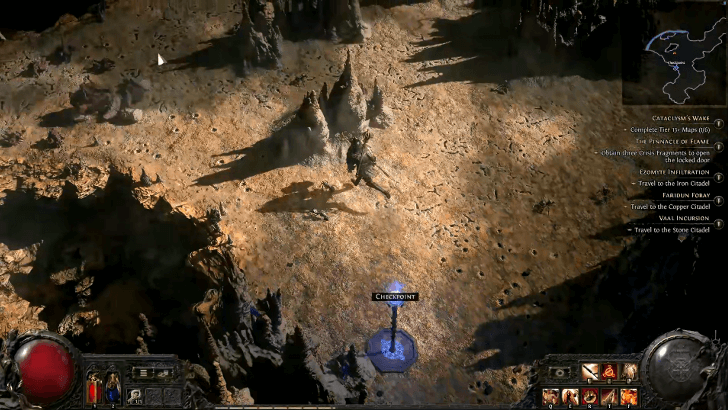 (Desert Biome) |
Description:
Hive is a massive nest home to many different anthropods and vermin.
Boss: TBD |
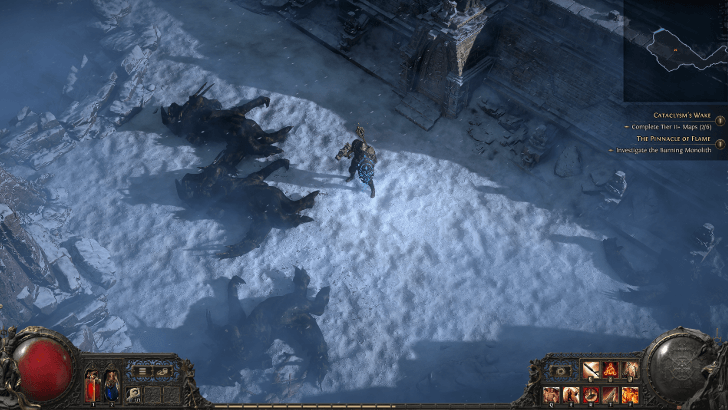 (Mountain Biome) |
Description:
Lofty Summit is a mountain summit surrounded by chilling winds and thick snow.
Boss: Oloton, The Remorseless |
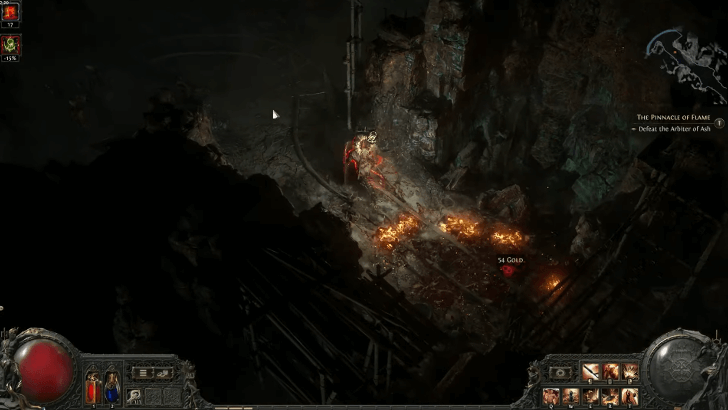 (Faridun City Biome) |
Description:
Mineshaft. as the name suggests, is an abandoned mineshaft deep below the earth.
Boss: Rudja, The Dread Engineer |
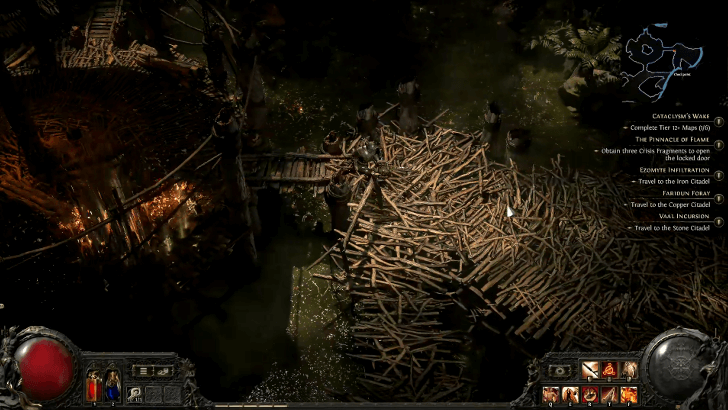 (Forest Biome) |
Description:
Mire is a cultist society built over a swamp. It mainly consists of tribal huts and pathways constructed wood and sticks.
Boss: Riona, Winter's Cackle |
 (Water Biome) |
Description:
Moment of Zen is a map that consists of a makeshift raft with the Nameless Seer at the middle. Talk to the Seer to get a free Unique Equipment.
Boss: TBD |
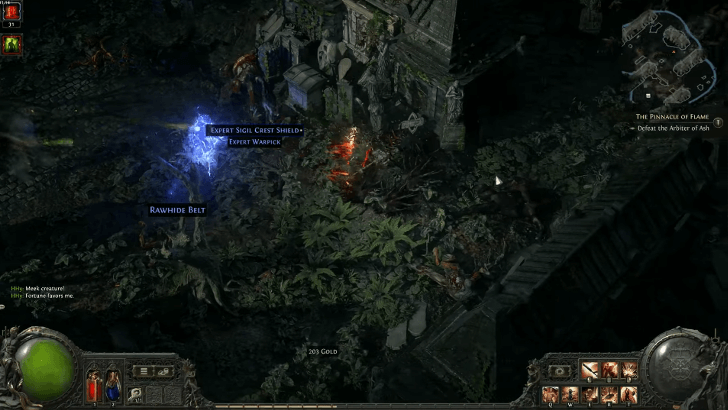 (Ezomyte City Biome) |
Description:
Necropolis is a decrepit cemetery covered with overgrown weeds and vines.
Boss: Tycho, The Black Praetor |
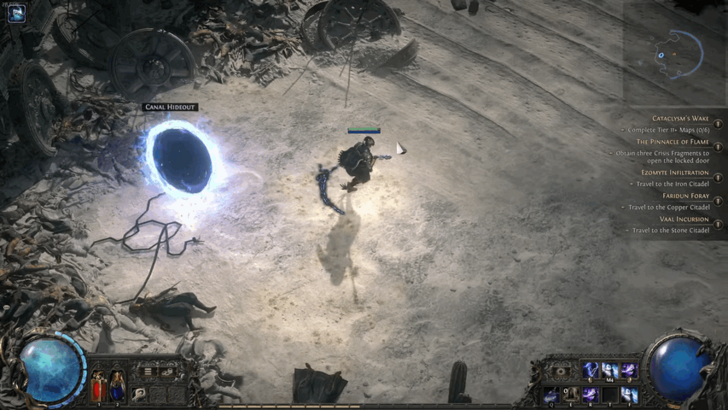 (Desert Biome) |
Description:
Oasis now houses a war-torn civilization, full of debris, weapons, and ruins as far as the eye can see.
Boss: TBD |
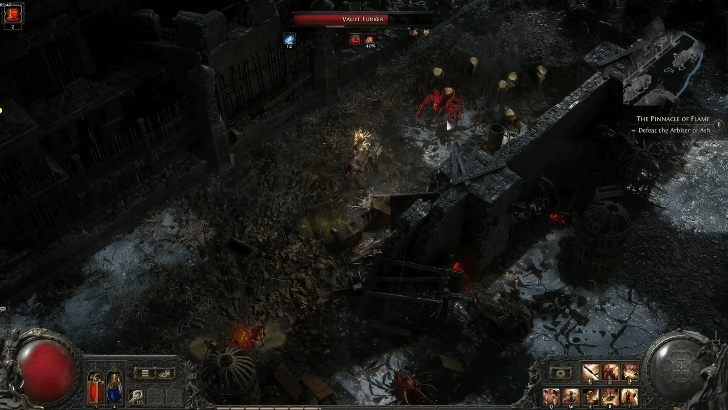 (Ezomyte City Biome) |
Description:
Penitentiary is a large destroyed prison complex filled with jail cells, cages, and prisoner remnants.
Boss: Incarnation of Death |
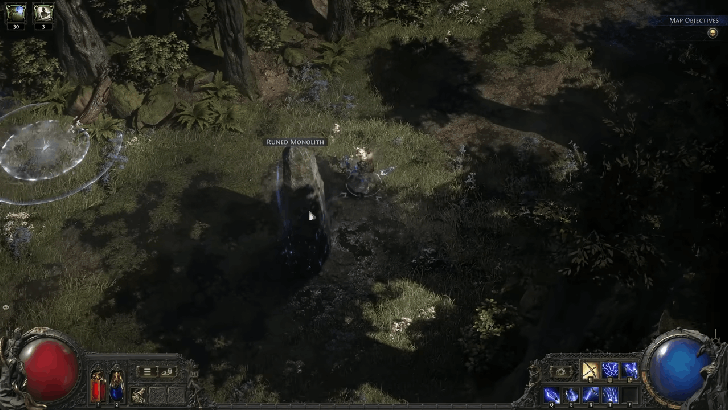 (Special Biome) |
Description:
Phaaryl Megaliths is an ancient site where immense stone monoliths channel great surges of energy.
Boss: TBD |
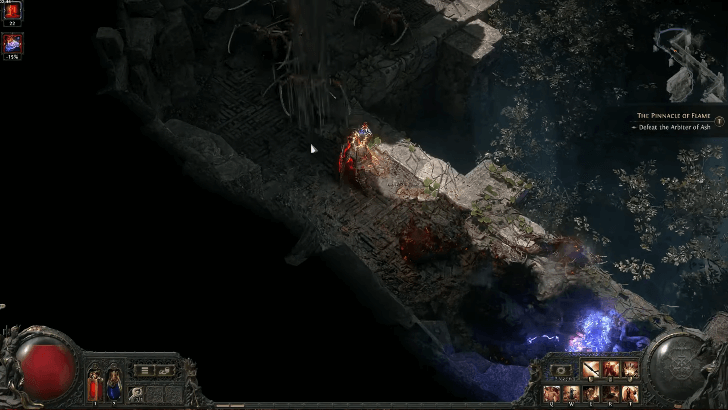 (Mountain Biome) |
Description:
Ravine, situated within a jungle, is an ancient Vaal Temple covered by moss and vines.
Boss: TBD |
|
Reliquary Vault
(Water Biome) |
Description:
Reliquary Vault is a special map where players can obtain foiled versions of unique items that other players nominated.
Boss: TBD |
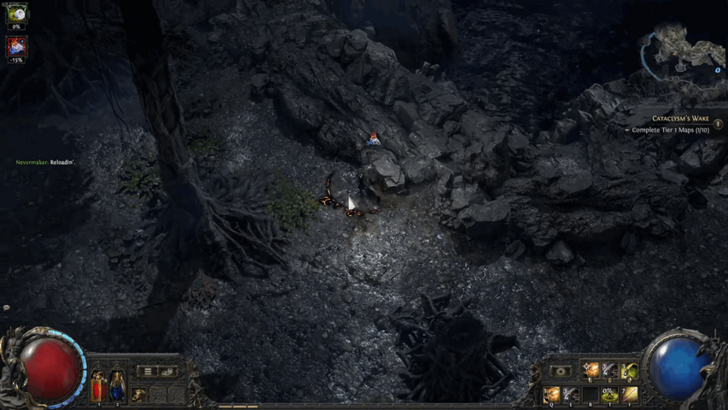 (Water Biome) |
Description:
Riverside has damp, rocky terrain with narrow paths beside the riverbed.
Boss: Zekoa, The Headcrusher |
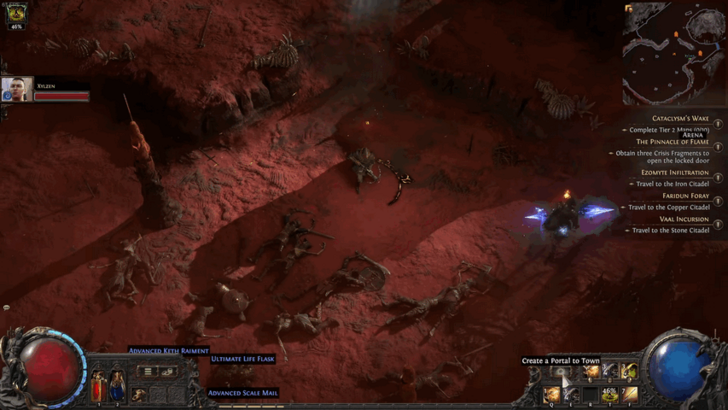 (Desert Biome) |
Description:
Rustbowl is a desert filled with red sands and rock formations that look like stalagmites.
Boss: Gozen, Rebellious Rustlord |
|
Sacred Reservoir
(Special Biome) |
Boss: Zahmir, the Blade Sovereign |
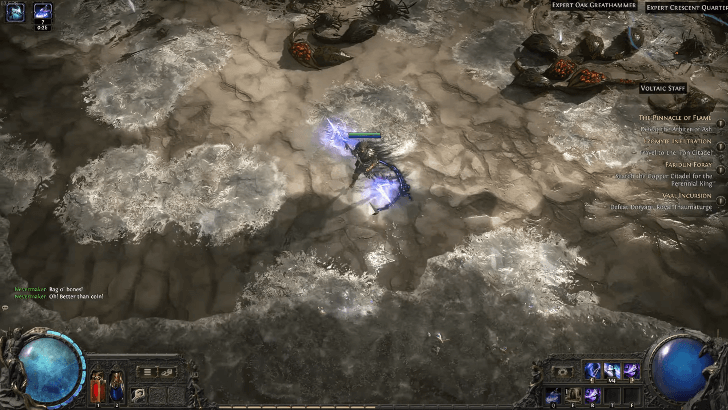 (Water Biome) |
Description:
Sandspit is an island with long beaches, coastal cliffs, and trees and shrubs along its interior.
Boss: TBD |
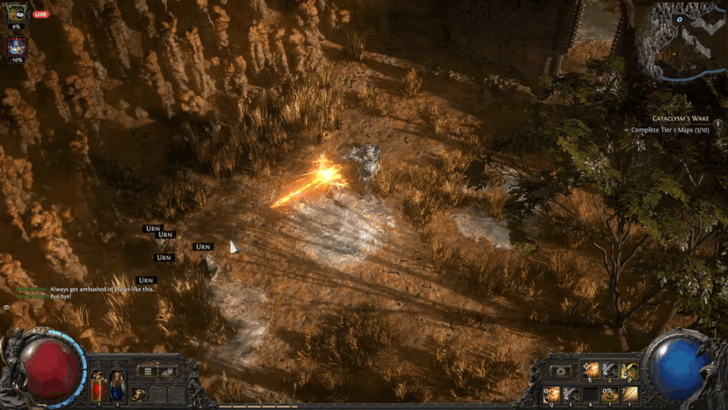 (Grass Biome) |
Description:
Savannah is a dryland with patches of grass and a few trees.
Boss: Caedron, The Hyena Lord |
|
Sealed Vault
(Special Biome) |
Boss: Ytzara, Blood Oracle & Maztli, Flesh-Shaper |
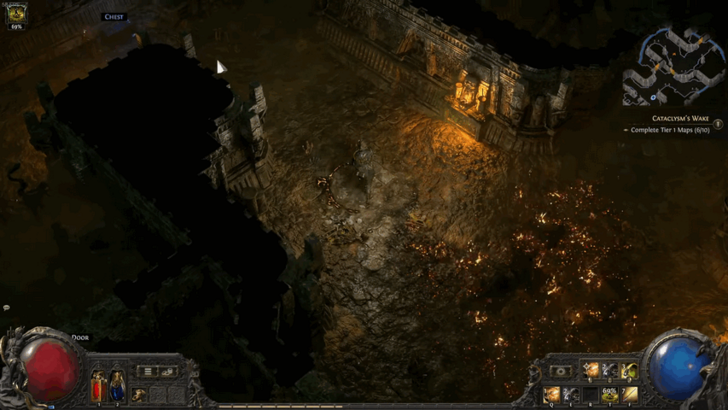 (Grass Biome) |
Description:
Seepage is an underground ruin, filled with hints suggesting of a human community living in this nasty place.
Boss: The Fungus Behemoth |
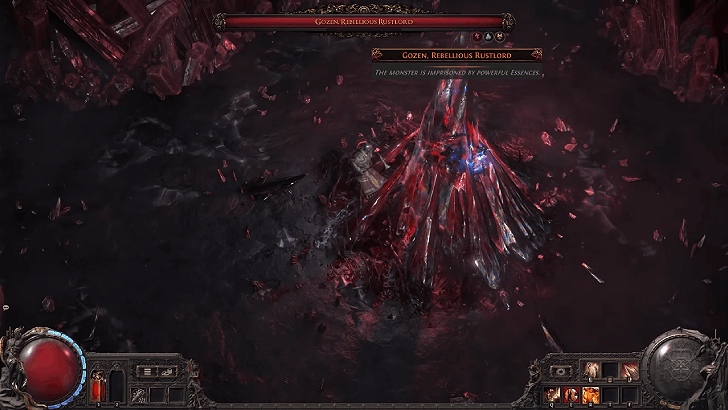 (Special Biome) |
Description:
Silent Cave is a crystalline cavern where imprisoned essences fuel a growing, unpredictable power.
Boss: TBD |
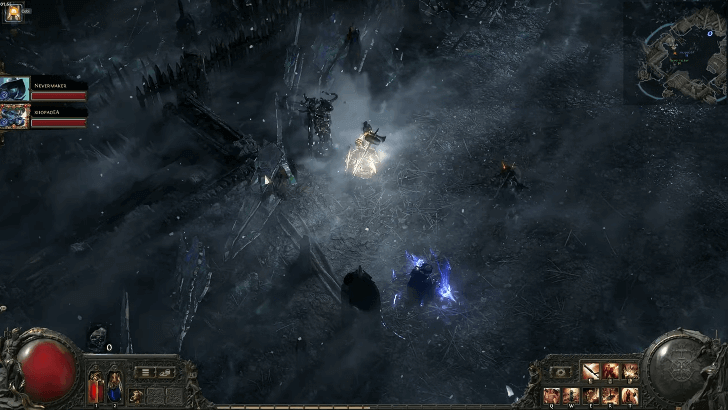 (Special Biome) |
Description:
Simulacrum is a special map tied to the Delirium mechanic, where players face waves of enemies.
Boss: Kosis, the Revelation & Omniphobia, Fear Manifest |
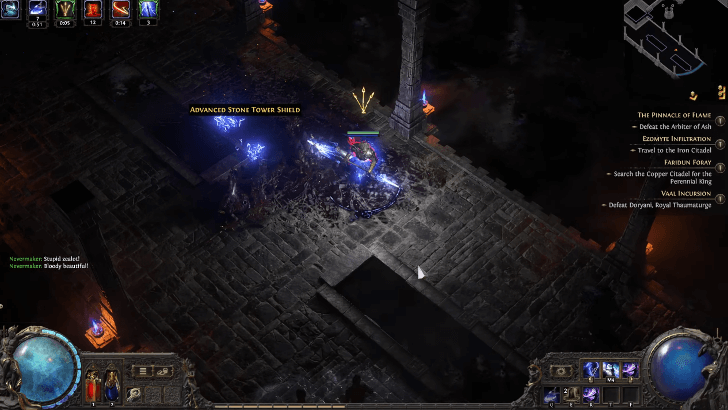 (Desert Biome) |
Description:
Slick is an abandoned building containing stone pathways surrounding my pools of stagnant oil.
Boss: TBD |
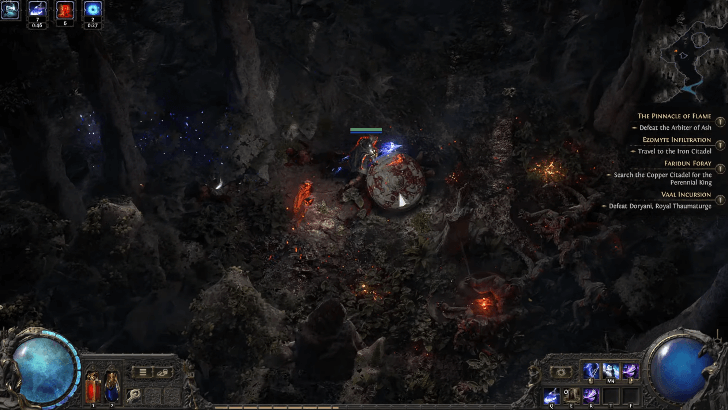 (Forest Biome) |
Description:
Spider Woods is a dark and gloomy forest filled with cobwebs, spider nests, and dead twisted trees.
Boss: Rootgrasp, The Hateful Forest |
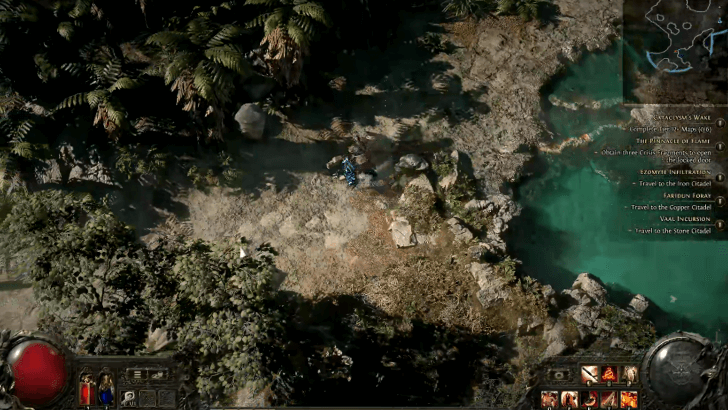 (Forest Biome) |
Description:
Steaming Springs is a rocky area amidst a Jungle containing multiple hot springs of all shapes and sizes.
Boss: Manassa, The Serpent Queen |
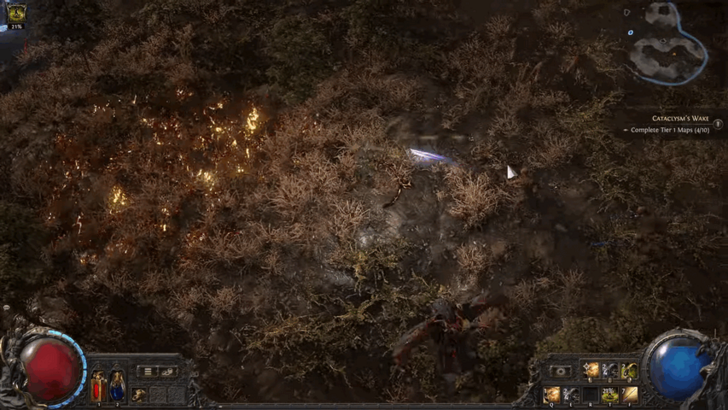 (Grass Biome) |
Description:
Steppe is a grassy terrain with no fully grown trees in sight, only those that look like a few years old.
Boss: TBD |
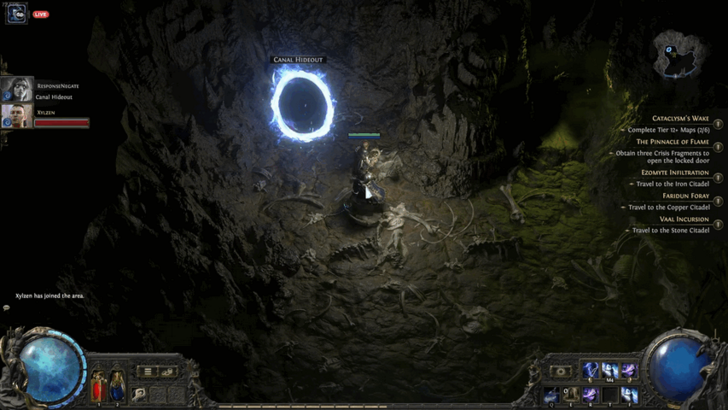 (Desert Biome) |
Description:
Sulphuric Caverns is a cave filled with sulphuric ash and the bones of dead beasts covering the ground.
Boss: Lord of the Pit & The Bone Colossus |
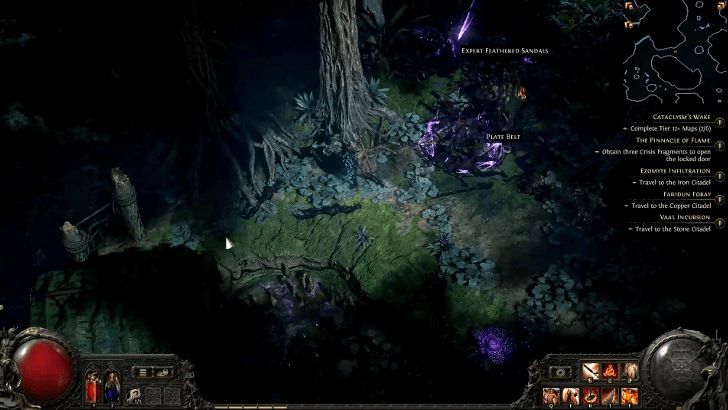 (Swamp Biome) |
Description:
Sump is a dark, decrepit forest filled with twisted, overgrown trees and plants.
Boss: The Eater of Children |
|
Sun Temple
(Vaal City Biome) |
Description:
Sun Temple, as the name suggests, is a temple where the people of Vaal would worship their gods.
Boss: Tonqui, Seer of the Sun |
|
The Jade Isles
(Special Biome) |
Boss: Manoki, the Defiled |
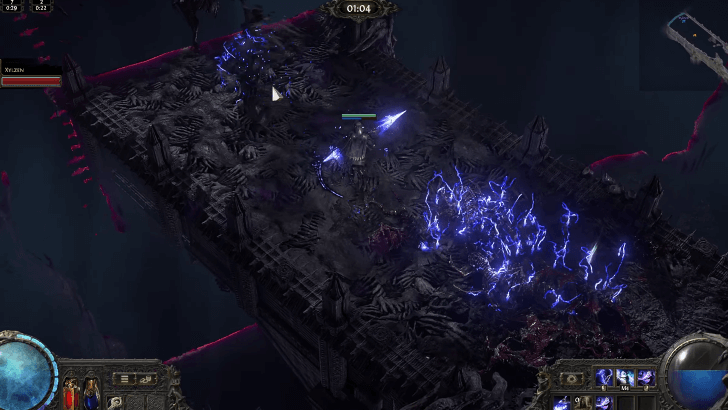 (Special Biome) |
Description:
Twisted Domain is a special map tied to the Breach mechanic, where players do a modified Breach and fight a boss at the end.
Boss: Xesht, We That Are One |
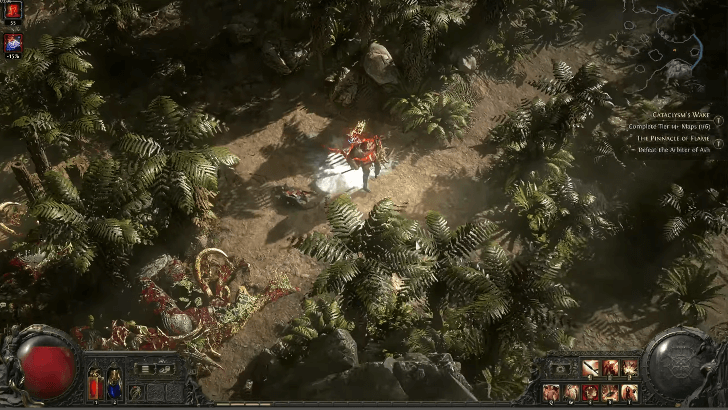 (Water Biome) |
Description:
Untainted Paradise is a unique island map wherein players get exponential experience gain at the cost of no item drops.
Boss: TBD |
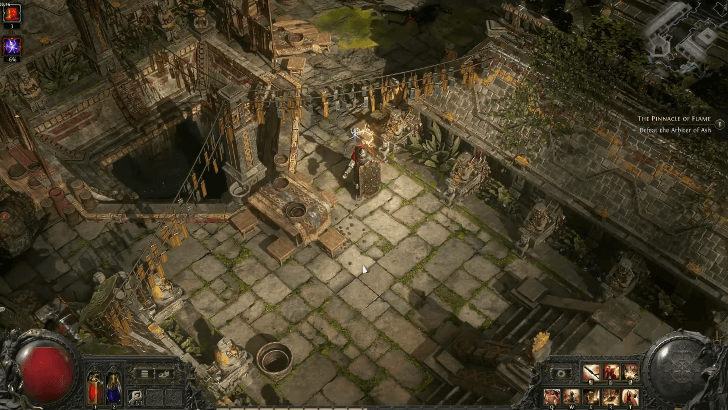 (Vaal City Biome) |
Description:
Vaal City, as the name suggests, is where the ancient Vaal civilization lived and thrived.
Boss: Viper Napuatzi |
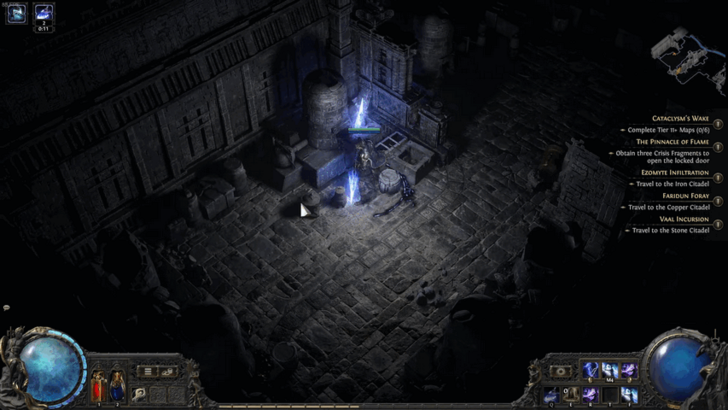 (Grass Biome) |
Description:
Vaal Factory is an abandoned underground workshop to produce Vaal artifacts.
Boss: Tetzcatl, The Blazing Guardian |
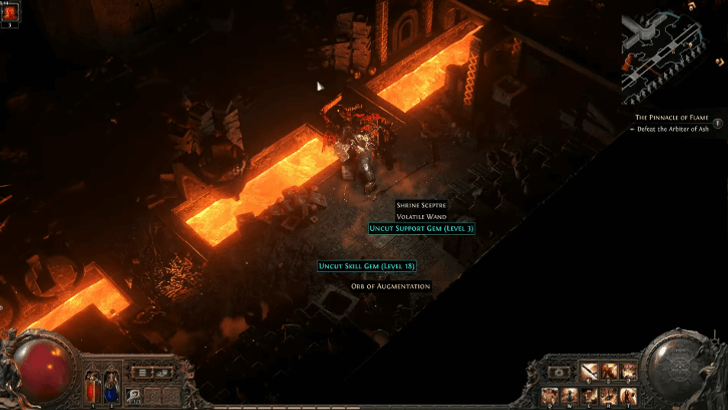 (Vaal City Biome) |
Description:
Vaal Foundry, as the name suggests, is a foundry where the Cult of Kamasa would melt their gold and metals.
Boss: Gulzal, The Living Furnace |
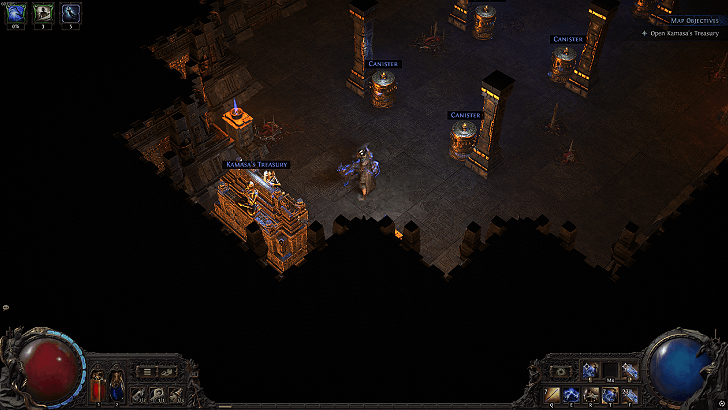 (Vaal City Biome) |
Description:
The Vaults of Kamasa is a unique map containly only vaults and chests of the highest quality.
Boss: TBD |
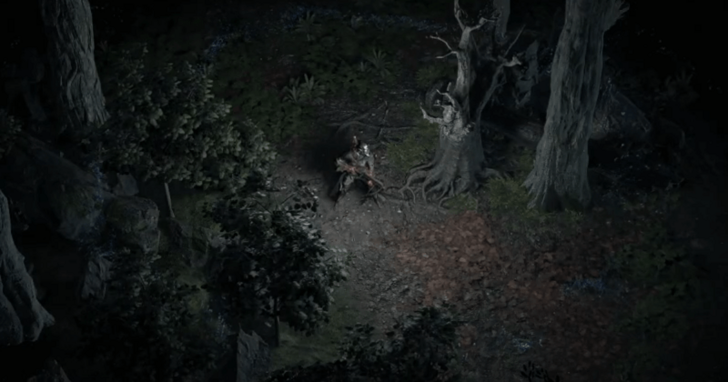 (Special Biome) |
Description:
The Viridian Wildwood is a haunted swamp where fog and shadow conceal ancient spirits, and Wisps guide the worthy to Omen Altars.
Boss: TBD |
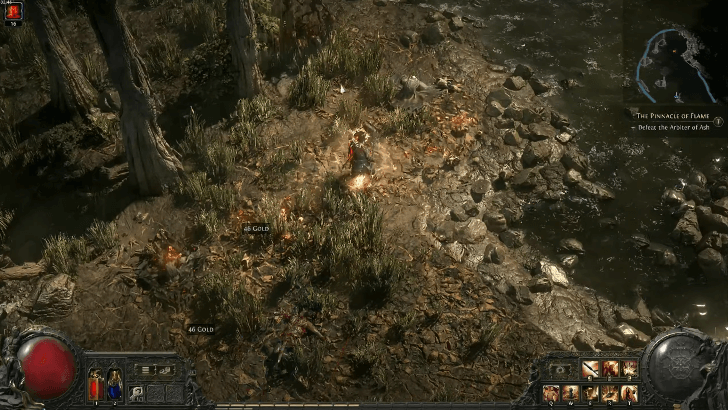 (Swamp Biome) |
Description:
Wetlands contain scattered patches of flat, moist, and barren land adjacent to multiple rivers.
Boss: Gorian, The Moving Earth |
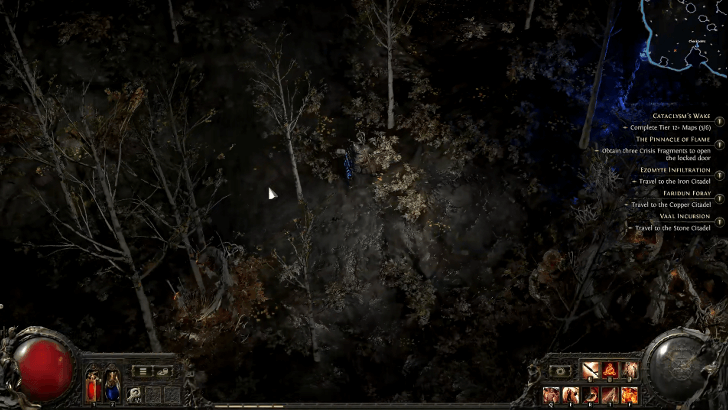 (Forest Biome) |
Description:
Willow is a gloomy birch forest with leafless, withered trees and slopy ground.
Boss: Connal, The Tormented |
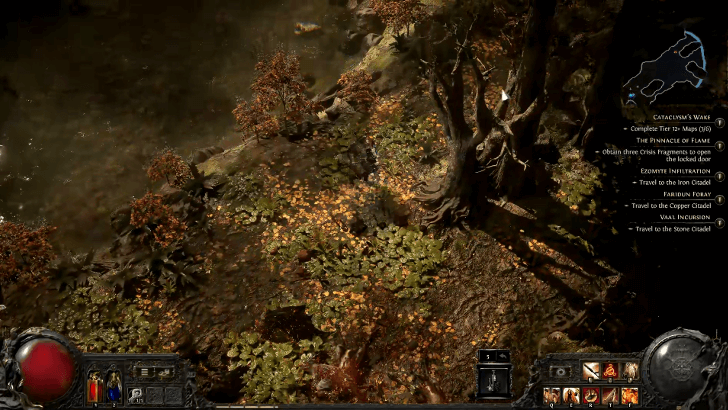 (Forest Biome) |
Description:
Woodland is an Autumn and Timber forest with a nearby creek or river.
Boss: Tierney, the Hateful |
Atlas Pinnacle Bosses
All Atlas Pinnacle Bosses
| Boss | How to Encounter |
|---|---|
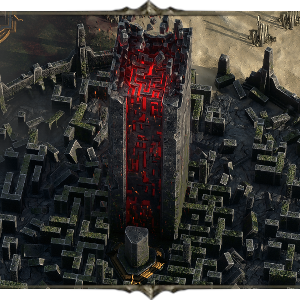 The Arbiter of Ash The Arbiter of Ash
The Burning Monolith |
Use the keys obtained from the Iron, Copper, and Stone Citadels to unlock the encounter with the Arbiter of Ash in the Burning Monolith. |
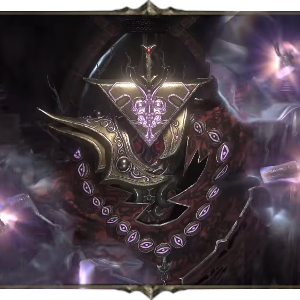 Zarokh, the Temporal Zarokh, the Temporal
Trial of the Sekhemas |
Reach the last room on the 4th floor of the Trial of the Sekhemas with a Djinn Barya that has an Area Level of at least 74. |
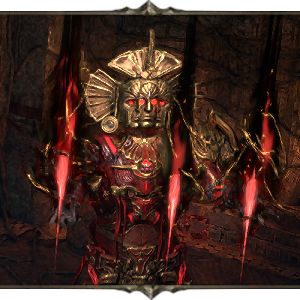 The Trialmaster The Trialmaster
Trial of Chaos |
Use the three different Fate key items that you can obtain in the Trial of Chaos to open the door at the end of the 10th trial. |
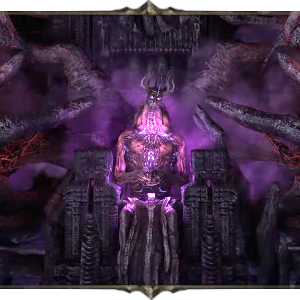 Xesht, We That Are One Xesht, We That Are One
Breach |
Use a Breachstone in a Realm Gate. When in the Breach Domain, defeat enough monsters in the Breach before the time runs out to be able to reach Xesht, We That Are One. |
 Olroth, Origin of the Fall Olroth, Origin of the Fall
Expedition |
You'll encounter Olroth, Origin of the Fall by destroying the Kalguran Tomb that randomly appears in high-level Expedition Logbooks. |
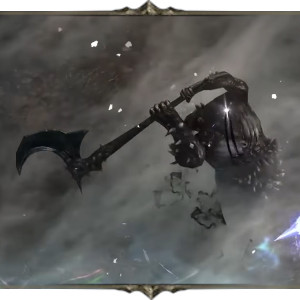 Omniphobia, Fear Manifest Omniphobia, Fear Manifest
Delirium |
Omniphobia, Fear Manifest, along with Kosis, the Revelation, randomly spawn in higher Simulacrum waves, with a guaranteed chance to spawn by the last few waves. |
 The King in the Mists The King in the Mists
Ritual |
Use An Audience with the King which you can purchase in Ritual Altars to fight the endgame version of The King in the Mists. |
Atlas Map Icons Guide
| Map Icons | ||
|---|---|---|
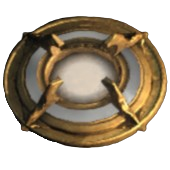 Map Nodes Map Nodes |
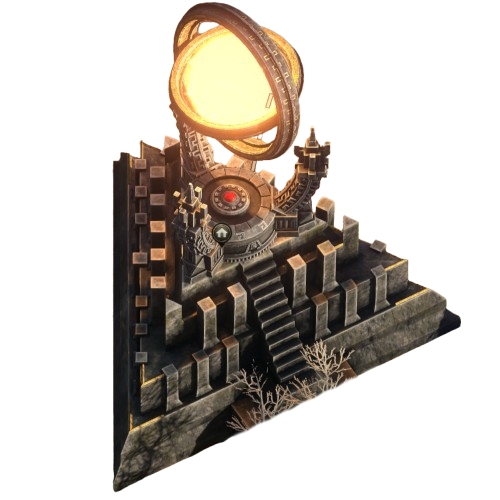 The Ziggurat Refuge The Ziggurat Refuge |
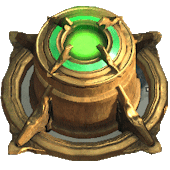 Citadels Citadels |
 Lost Tower Lost Tower |
 The Realmgate The Realmgate |
 The Burning Monolith The Burning Monolith |
 Map Boss Map Boss |
 Irradiated Irradiated |
 Breach Breach |
 Ritual Ritual |
 Delirium Delirium |
 Expedition Expedition |
 Corruption Corruption |
 Hideout Hideout |
 Unique Map Unique Map |
 Wandering Trader Wandering Trader |
 Cleansed Map Cleansed Map |
- |
Map Nodes
| Icon | Explanation |
|---|---|
| These are currently inactive maps, represented without any lights or colors. You must proceed with the adjacent accessible map nodes to make these accessible too. | |
| These are maps that can be entered by placing inserting waystones to them. Clearing these maps will unlock the adjacent map nodes. | |
| These represents a cleared map. Completed map nodes can no longer be accessed. Adjacent map nodes become accessible. | |
| Map Node (Failed) | Map nodes turn red to represent failed attempts at mapping. However, this seems to be obsolete, as failed map attempts are still accessible until it is cleared. |
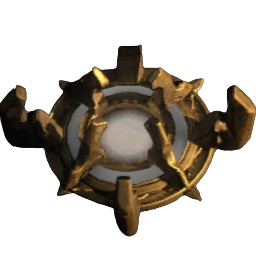 Map Node (Corrupted) Map Node (Corrupted) |
These are map nodes with a corruption event. |
These represent the maps or areas you'll be accessing in the Atlas. There are different map nodes you can find, and the table above explains what each represent.
Ziggurat Refuge
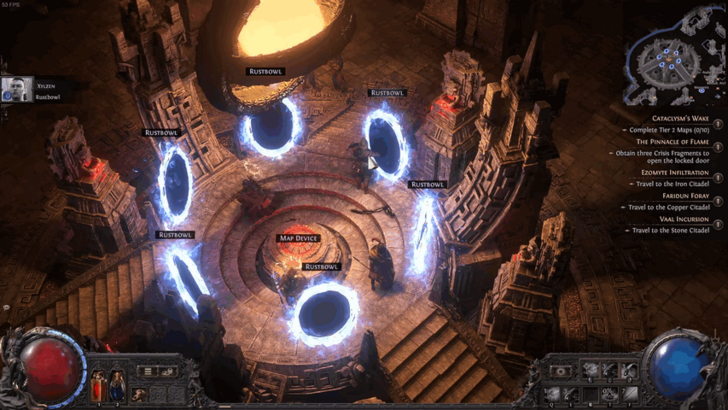
The main hub of the Atlas. You can also find Doryani here to identify items for free, respec both skill and atlas passives, as well as buying waystones. You can also access your stash and guild stash here.
Citadels
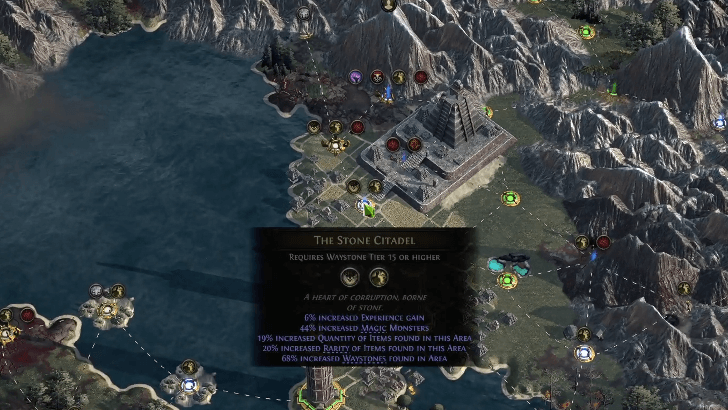
Citadels are rare maps which you must go through to collect Crisis Fragments and enter the Burning Monolith. There are three types: the Iron Citadel, the Copper Citadel, and the Stone Citadel. Each one houses different structures, enemies, and bosses from the game's three acts.
Lost Towers
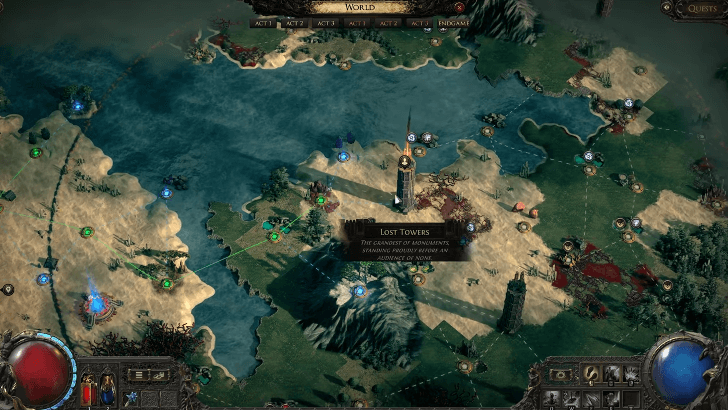
Towers are found in the Atlas that, upon completion, can be inserted with Precursor Tablets to amplify the surrounding maps. These Precursor Tablets can be dropped by mobs you kill.
The Realmgate
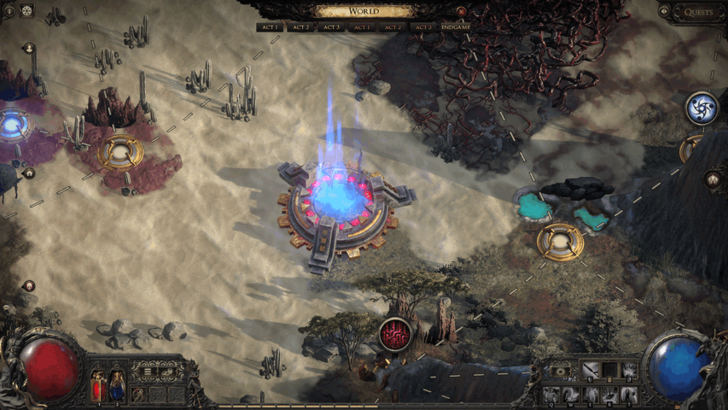
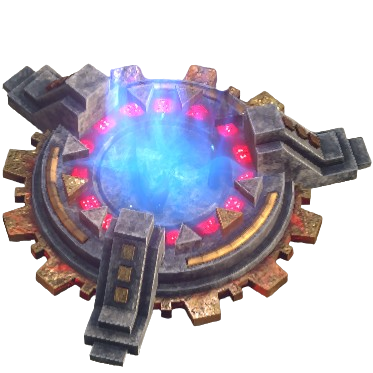
Realmgates grant access to other realms depending on the items you insert via the Map Device. This is also one of the methods to face a Pinnacle Boss. The Pinnacle Boss depends on whichever item you used to access the gate.
The Burning Monolith
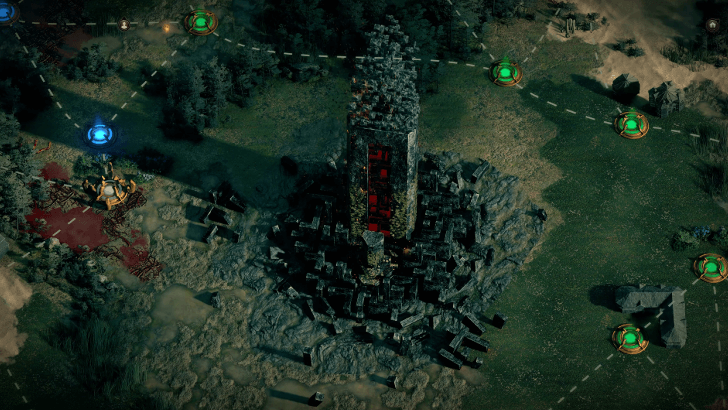
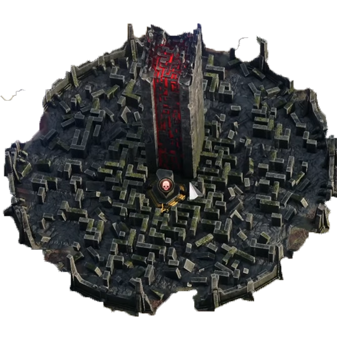
The Burning Monolith requires players to collect three keys from three different enemy factions found on different citadels. These keys are then used to gain entry into a large fortress containing mazes and enemies that players must conquer.
The Burning Monolith Explained
Map Bosses
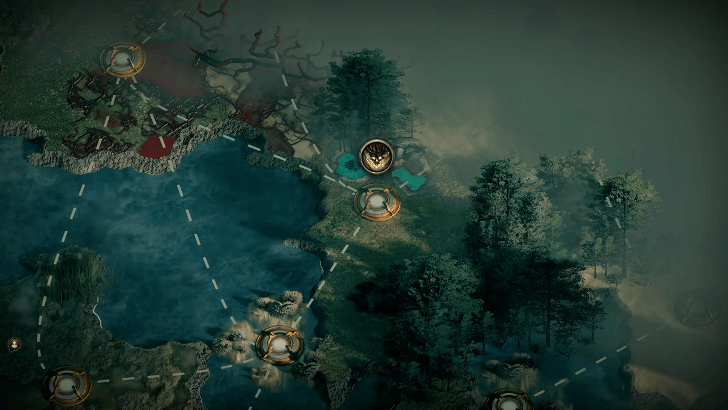
Maps that has the icon like in the image above contain difficult bosses which players can fight for high-quality loot. Sometimes, a boss map may have other events that affects the map, making it harder.
Breach

The Breach involves players opening breaches that connect their world to the otherworld to fight monsters that spawn from it. The more enemies players defeat, the higher better the loot they receive.
Ritual

Rituals involves killing and sacrificing enemies within ritual sites built by the King of the Mist to gain tribute. Players can use tributes to purchase different favors or items from these ritual sites, such as Omens.
Delirium
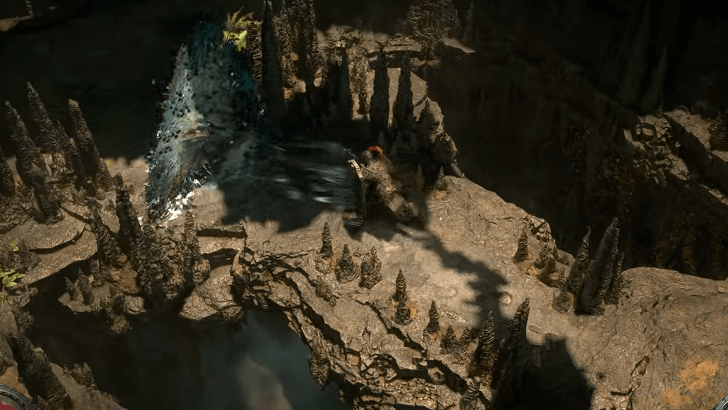
The Delirium has players stepping into a mirror to fight monsters in a nightmare filled with a mist. The longer players stay in this mist, the more difficult the enemies become and the better the rewards will be.
Expedition
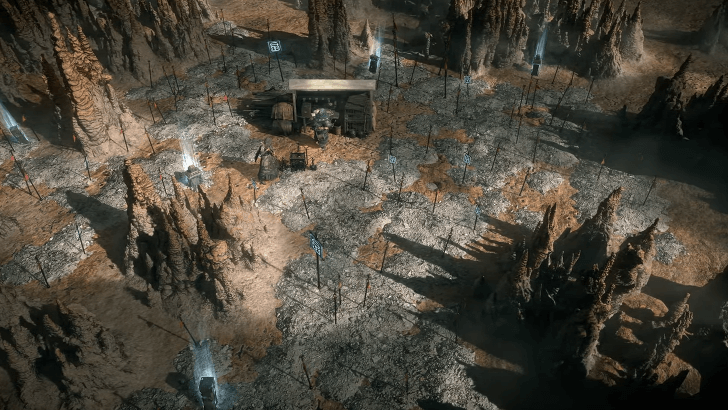
Expedition events will task players with helping Kalguuran settlers find Verisium artifacts by using explosives on marked dig sites. However, to get these artifacts, players must also defeat ancestral corpses reanimated by the corruption.
Hideouts
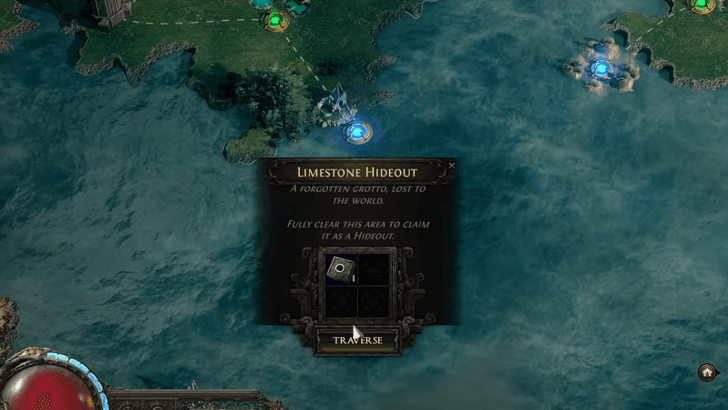
Hideouts are maps that contain enemies that players can claim as their own, which they can decorate and customize. Players must defeat all enemies within the map to successfully claim it.
Hideout Location and How to Unlock
Unique Areas
Unique Areas may include mobs that gives a crazy amount of experience when killed, or it may contain NPCs that give you free items. Always be on the lookout for these unique areas.
Wandering Trader
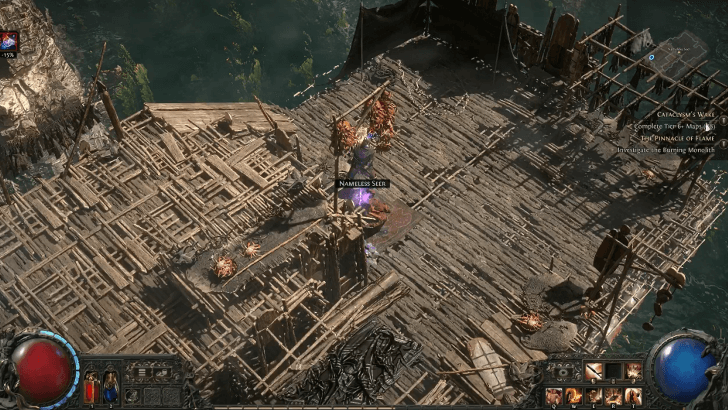
The Wandering Trader, or known as the Nameless Seer, gives free Uniques to those who enter the Moment of Zen map.
Path of Exile 2 Related Guides

Atlas of Worlds Endgame Explained
Atlas Guides
Comment
Lvl 5 map is not lvl 70 monsters lol you can go back to school
Author
Mapping Guide and List of Atlas Maps
Rankings
- We could not find the message board you were looking for.
Gaming News
Popular Games

Genshin Impact Walkthrough & Guides Wiki

Umamusume: Pretty Derby Walkthrough & Guides Wiki

Pokemon Pokopia Walkthrough & Guides Wiki

Honkai: Star Rail Walkthrough & Guides Wiki

Monster Hunter Stories 3: Twisted Reflection Walkthrough & Guides Wiki

Arknights: Endfield Walkthrough & Guides Wiki

Wuthering Waves Walkthrough & Guides Wiki

Zenless Zone Zero Walkthrough & Guides Wiki

Pokemon TCG Pocket (PTCGP) Strategies & Guides Wiki

Monster Hunter Wilds Walkthrough & Guides Wiki
Recommended Games

Fire Emblem Heroes (FEH) Walkthrough & Guides Wiki

Diablo 4: Vessel of Hatred Walkthrough & Guides Wiki

Cyberpunk 2077: Ultimate Edition Walkthrough & Guides Wiki

Yu-Gi-Oh! Master Duel Walkthrough & Guides Wiki

Super Smash Bros. Ultimate Walkthrough & Guides Wiki

Pokemon Brilliant Diamond and Shining Pearl (BDSP) Walkthrough & Guides Wiki

Elden Ring Shadow of the Erdtree Walkthrough & Guides Wiki

Monster Hunter World Walkthrough & Guides Wiki

The Legend of Zelda: Tears of the Kingdom Walkthrough & Guides Wiki

Persona 3 Reload Walkthrough & Guides Wiki
All rights reserved
© 2010 - 2024 Grinding Gear Games
The copyrights of videos of games used in our content and other intellectual property rights belong to the provider of the game.
The contents we provide on this site were created personally by members of the Game8 editorial department.
We refuse the right to reuse or repost content taken without our permission such as data or images to other sites.


![Monster Hunter Stories 3 Review [First Impressions] | Simply Rejuvenating](https://img.game8.co/4438641/2a31b7702bd70e78ec8efd24661dacda.jpeg/thumb)
![The Seven Deadly Sins: Origin [First Impressions] | A Promising Start](https://img.game8.co/4440581/584e0bfb87908f12c4eab6e846eb1afd.png/thumb)


I could not find a map here so on the map Headland Boss map is Husk