Chapter 1 Act 8 To the Shore's End Quest Guide
★ Version 3.2 Banners → Livestream Codes
┣ Sigrika → Materials, Weapon, Banner
┣ Qiuyuan → Builds, Materials, Weapon
┗ Phase 2 → Lynae, Zani, Phoebe
★ Tapes of Last Words | Soliskin | 3.1 Trophies
★ Exclusives: Tier Maker | State of the Meta
Chapter 1 Act 8: To the Shore's End is the eighth Act in Chapter 1 of the Main Quest available after the Version 1.3 update of Wuthering Waves. Learn details about Chapter 1 Act 8: To the Shore's End and information about the quest here!
List of Contents
How to Unlock Chapter 1 Act 8 To The Shore's End
Complete Chapter 1 Act 7 Thaw of Eons
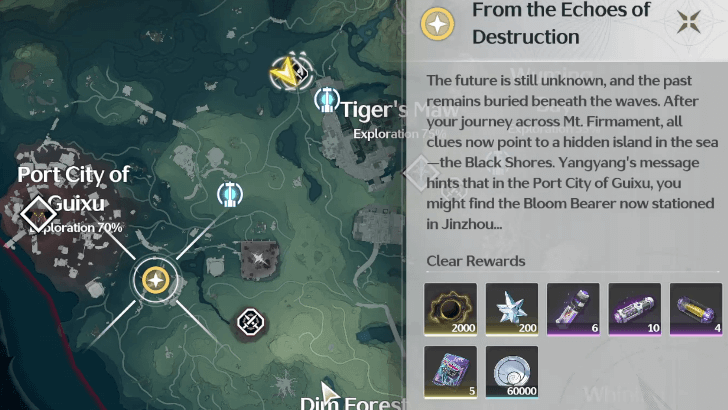
To The Shore's End becomes available on your quest log after completing Chapter 1 Act 7: Thaw of Eons. You can find the starting point of the mission, From the Echoes of Destruction, at the Port City of Guixu.
Chapter 1 Act 8 To The Shore's End Walkthrough
From the Echoes of Destruction (Part 1) Walkthrough
| From the Echoes of Destruction Walkthrough | |
|---|---|
| 1 |
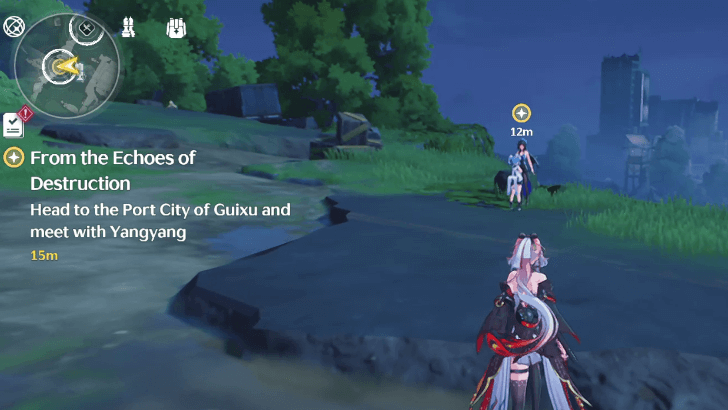 Fast travel to Port City of Guixu and find Yangyang and a new character. Approach them to activate a cutscene and be introduced a member of the Black Shores, Youhu. |
| 2 |
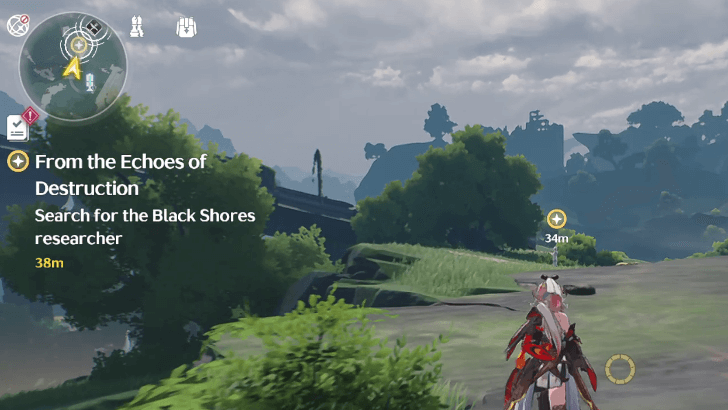 A little northeast to where the cutscene ended, approach the Black Shores researcher to learn about abnormal frequencies. She will give you the coordinates for the location. |
| 3 |
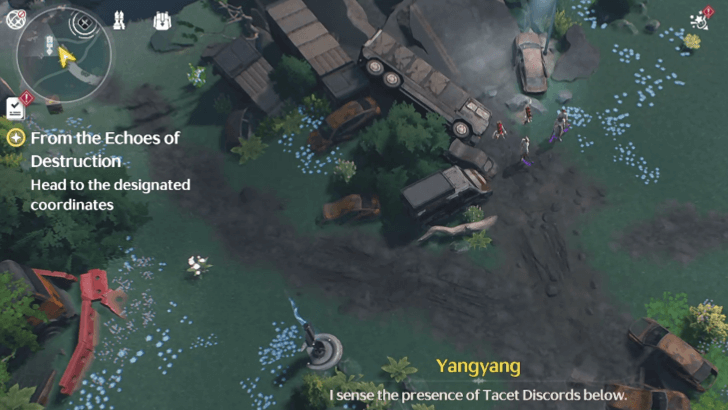 Getting closer to the location, abnormal Tacet Discords can be spotted. Defeat them with caution; these TDs explode shortly after being defeated. The explosion can be Perfect Dodged with the right timing. |
| 4 |
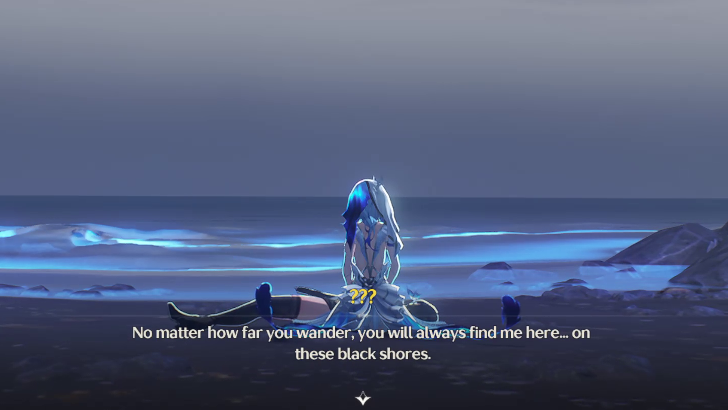 After defeating the abnormal TDs, a lengthy cutscene will trigger. By the end of it, the Rover will be immediately at the Black Shores. Clearing this subquest is the only way the new area can be reached and eventually unlocked, and a Resonance Beacon is automatically unlocked nearby for convenience. |
From the Echoes of Destruction (Part 1) Guide
Hidden Between the Waves Walkthrough
| Hidden Between the Waves Walkthrough | |
|---|---|
| 1 |
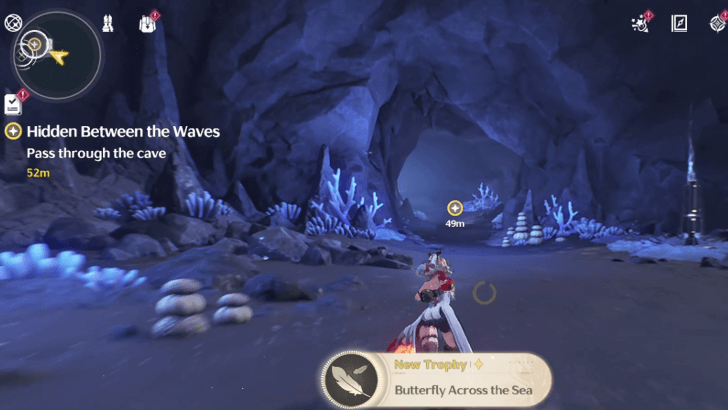 Pass through the cave from where the cutscene drops you off from the previous subquest. Follow the path inside that leads upwards. |
| 2 |
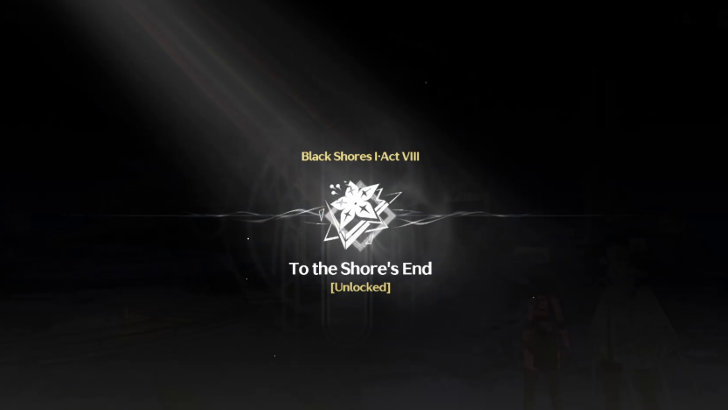 After reaching the exit, Aalto formally welcomes you to the Black Shores after his initial surprise to your arrival. This marks the true beginning of Chapter 1 Act 8: To The Shore's End. |
| 3 |
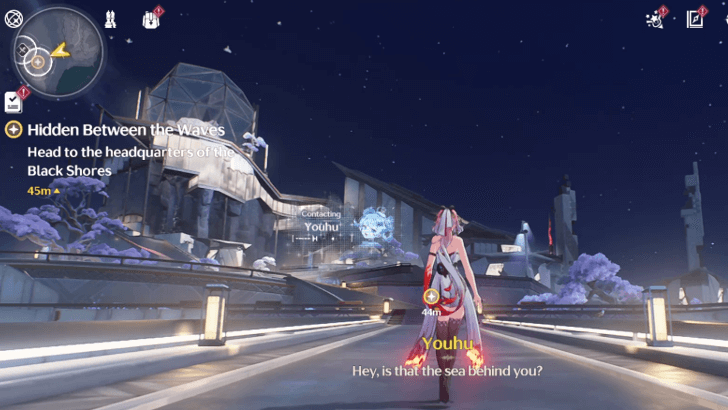 Follow the path to go into the Black Shores headquarters. After a comms call from Youhu gets cut short, you have the option to continue the call by activating another Resonance Beacon nearby, or head straight to a robot that will upload the data you obtained from the previous subquest. |
| 4 |
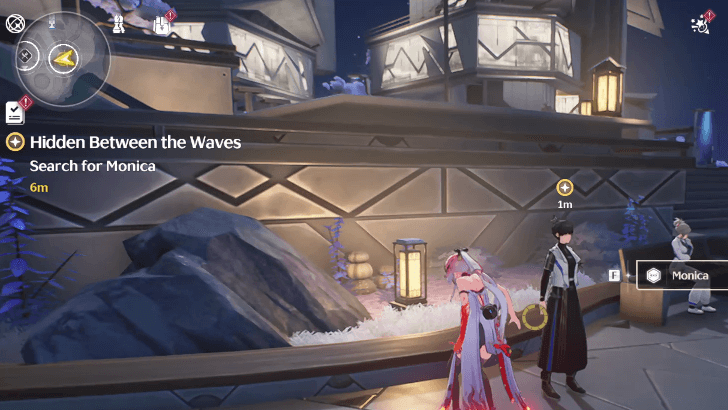 Look for Monica, found further up the path in the Black Shores headquarters. |
| 5 |
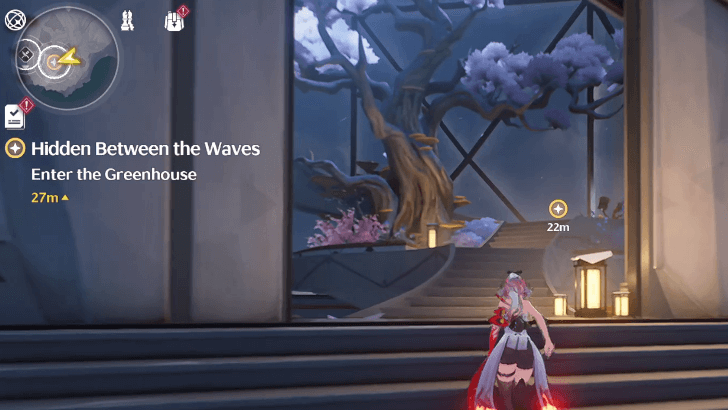 Follow the path going up flights of stairs to reach the highest point of the Black Shores, the Greenhouse. Then, investigate the piano at the very end of the stairs when prompted. |
| 6 |
 After a cutscene, glide downwards towards the Haven of Sprouts, then talk to the KU-Key Robot to be given clearance to enter. |
| 7 |
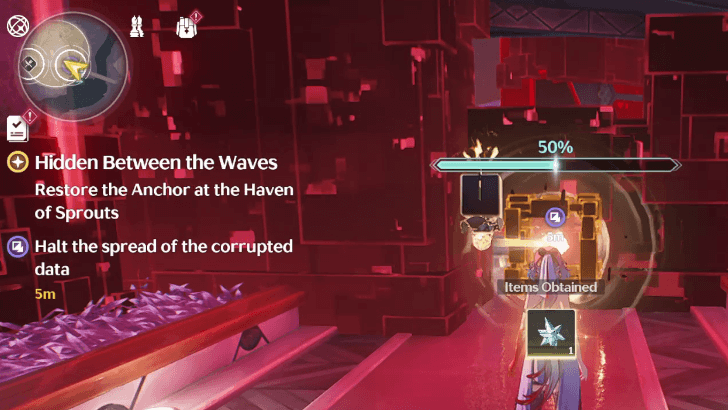 After given clearance, follow the instructions to use the KU-Key robot to cleanse the corrupted core nearby. Try to get near to it before using the new tool. |
| 8 |
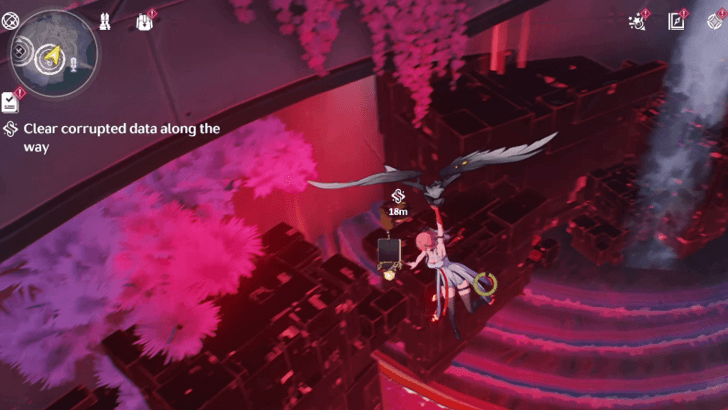 After getting in, talk to the KU-Key Robot again, and glide downwards. The next core to cleanse is behind corrupted data. Be careful not to touch the red blocks; they can damage you every second you are close to them. |
| 9 |
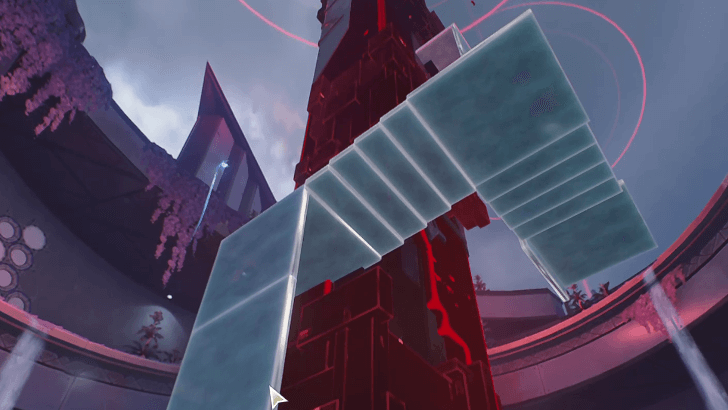 Talk to the KU-Key Robot one last time, and climb up the new blue platforms that will lead to the next corrupted core to be cleansed. |
| 10 |
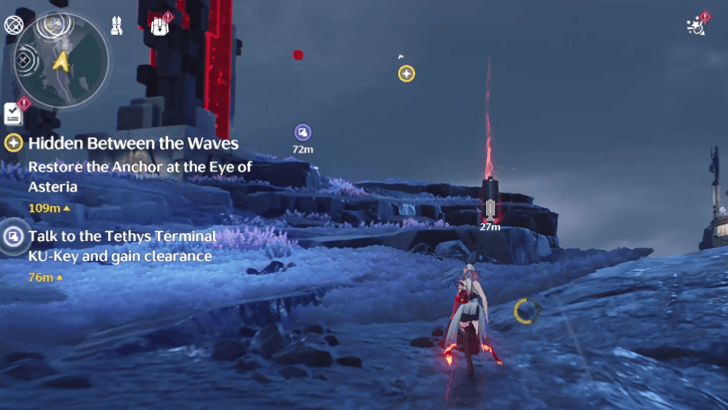
After a short cutscene, head to the new marked location called the Eye of Asteria to repeat the process. There is a Resonance Beacon that can be activated along the way. |
| 11 |
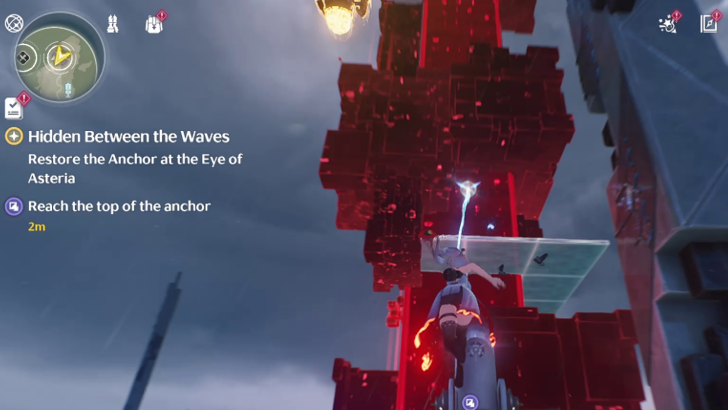 After getting cleared by the Tethys Terminal, activate a Grappling Shooter to get up to the anchor. |
| 12 |
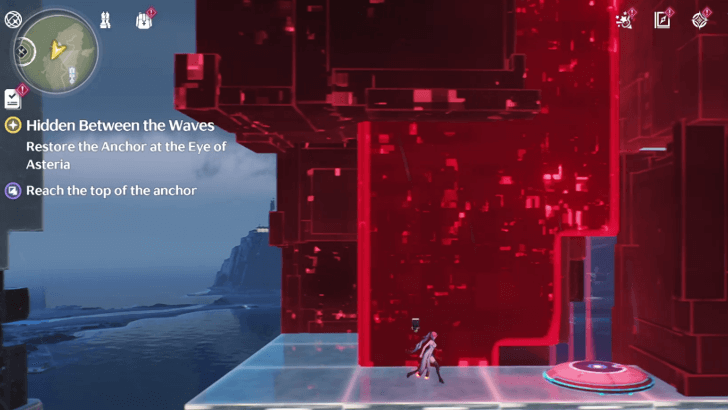 Once on the blue platforms, the point of view will change, and movement will now be similar to that of a side-scrolling platformer. Moving left and right is the best way to travel while this is in effect. |
| 13 |
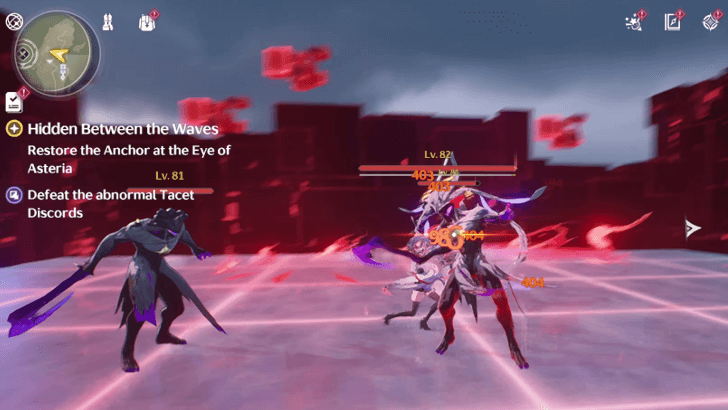 Once at the top, abnormal Tacet Discords will spawn. Defeat them to be able to cleanse the corrupted core on the anchor. |
| 14 |
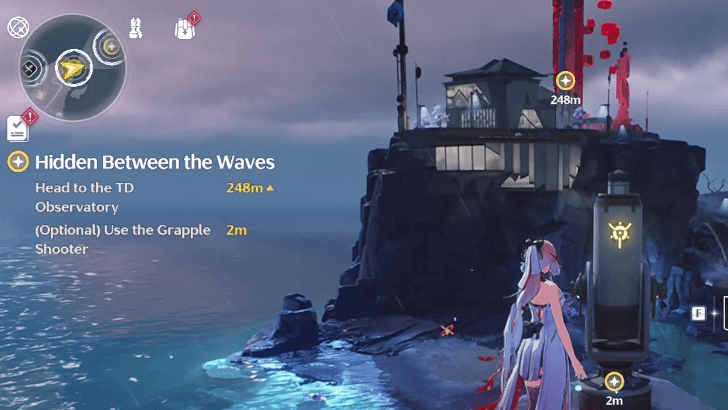 After clearing the anchor, head to the marked TD observatory. Make use of the nearby Grapple Shooter to travel there faster via Grappling Hook. |
| 15 |
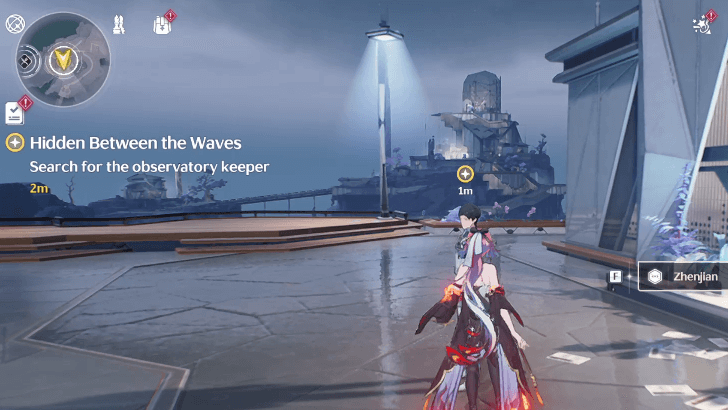 Upon arriving, defeat a couple of abnormal TDs, and look for the observatory keeper named Zhenjian. |
| 16 |
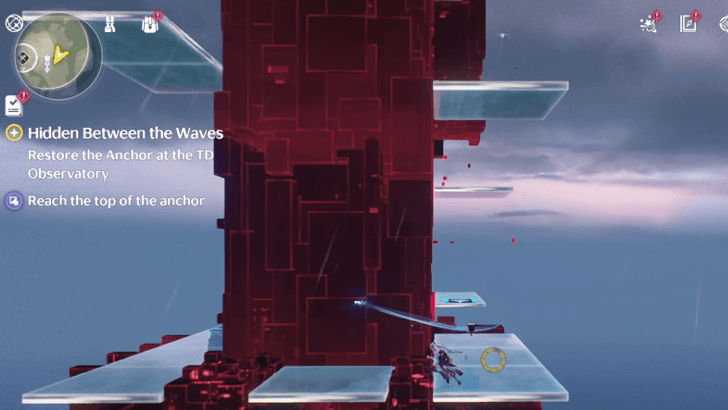 Repeat steps 12 and 13 on this part as it is essentially the same: go up to the top of the anchor, defeat abnormal TDs, and cleanse the corrupted core. |
| 17 |
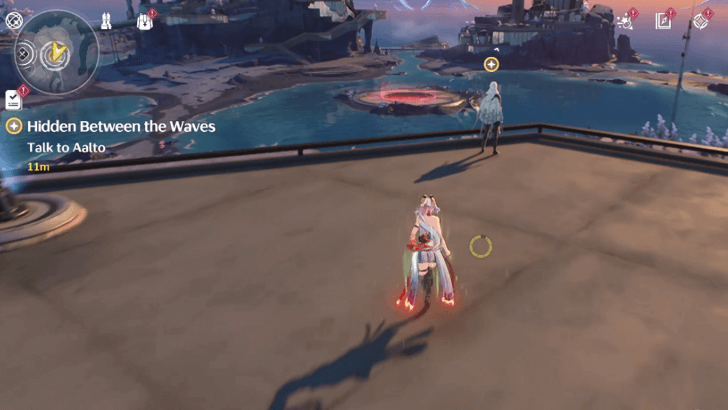
After the cutscene upon cleansing the last anchor, talk to Aalto. Afterwards, head towards the Stargate that appeared in the middle of the lake. |
Hidden Between the Waves Quest Guide
Legacy of the Lasting Night Walkthrough
| Legacy of the Lasting Night Walkthrough | |
|---|---|
| 1 |
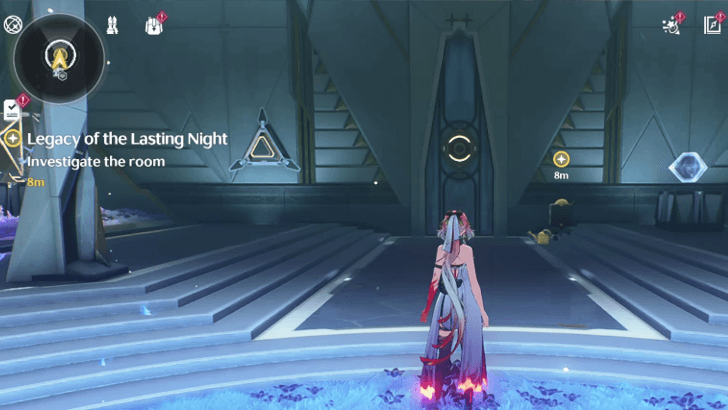 After the cutscene upon entering the Stargate, you will be sent to the underground of the Black Shores. Talk to the robot roaming around your starting area to proceed. |
| 2 |
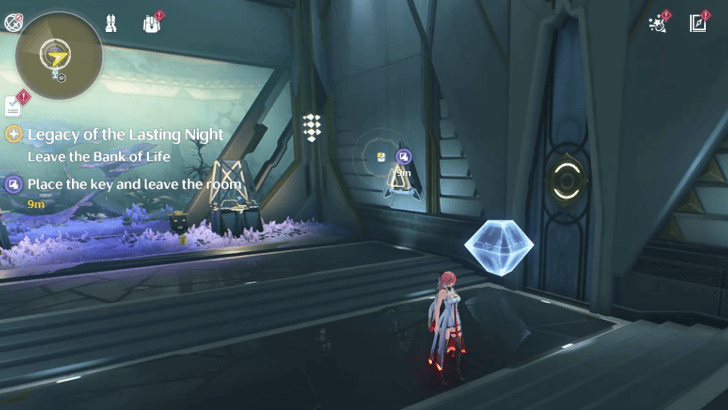 Afterwards, grab the diamond-looking key near the door and place it on its proper node. This will let you exit the area. |
| 3 |
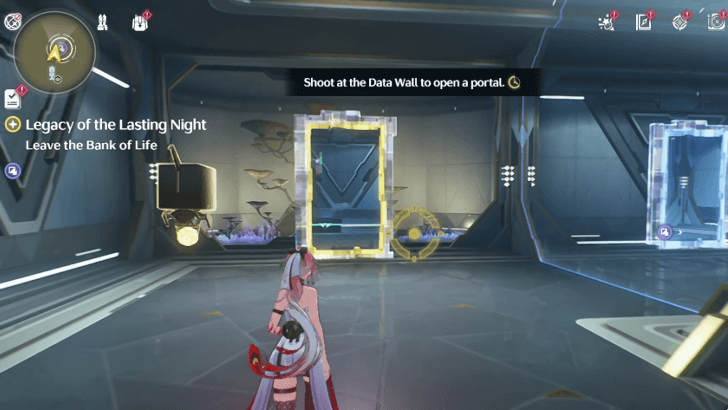 When prompted, fire a portal at the blue data wall nearest you. This will let you get past the invisible barrier on the right. |
| 4 |
Fire the portal gun at the unused Data Wall east from the portal you came from in Step 3. |
| 5 |
To activate the elevator, use the portal gun on the Data Wall to get to the second floor, where the key can be found. Ride it, and go straight to leave the Bank of Life. |
Legacy of the Lasting Night Quest Guide
From the Echoes of Destruction (Part 2)
| From the Echoes of Destruction Walkthrough | |
|---|---|
| 1 |
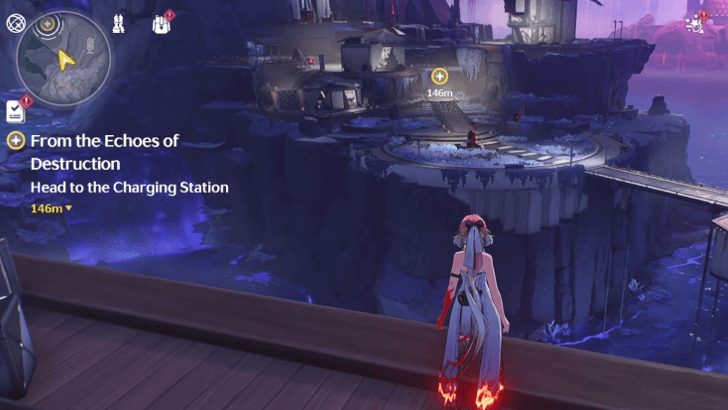 Upon exiting the Bank of Life, head towards the Charging Station. |
| 2 |
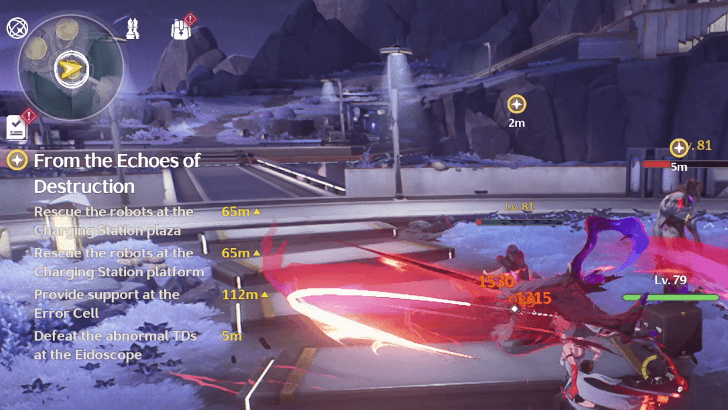 Upon arriving at the Charging Station, head to four areas that are being attacked by abnormal Tacet Discords--including the one at the entrance of the Station. They are already marked on the map, and they can be completed in any order. |
| 3 |
Talk to KU-Chase at the Charging Station platform to let you inside. Afterwards, get the key to the Cell office using the portal on a Data Wall in the blocked area. |
| 4 |
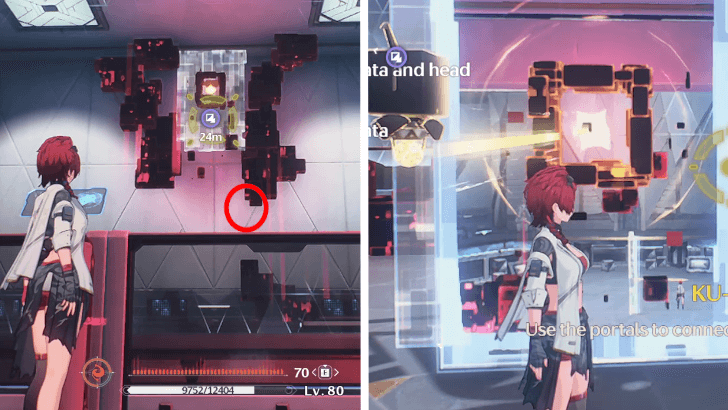 Shoot your portal gun at the floating Data Wall, and use that to get close enough to cleanse the corrupted core that's right in front of it. |
| 5 |
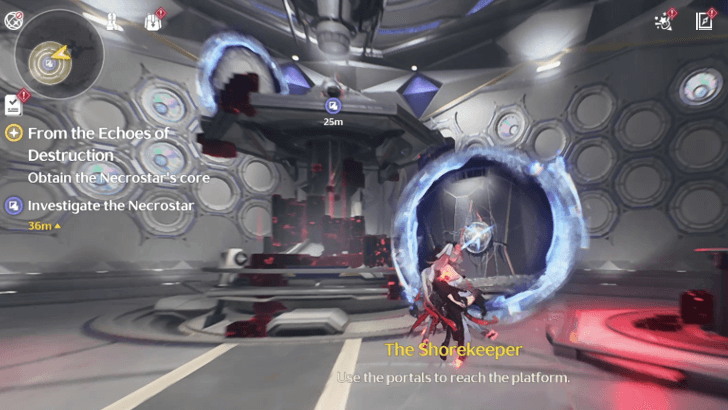
After riding the elevator down, use your Grappling Hook beyond the portal to get close to the Necrostar on the platform. |
| 6 |
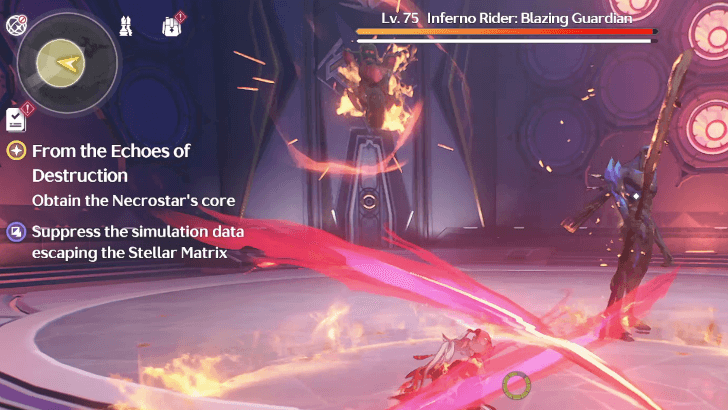
After interacting with the Necrostar, you will have to fight against a blue Inferno Rider who immediately dismounts its motorcycle at the start of the boss fight. |
| 7 |
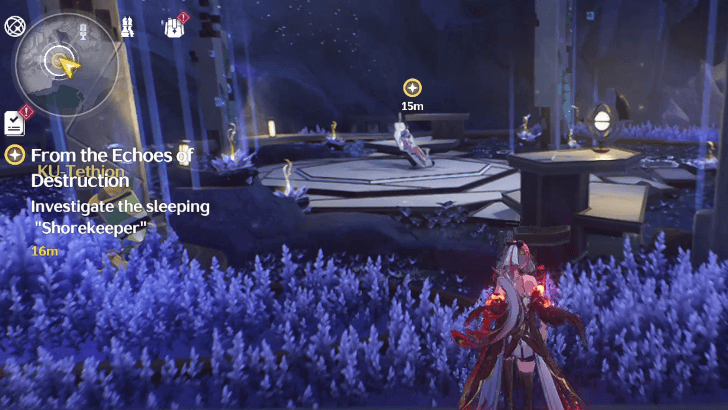
Quickly check what was left from the Necrostar, and make your way out of the Error Cell. Afterwards, go check on the sleeping Shorekeeper at the center of her garden. |
| 8 |
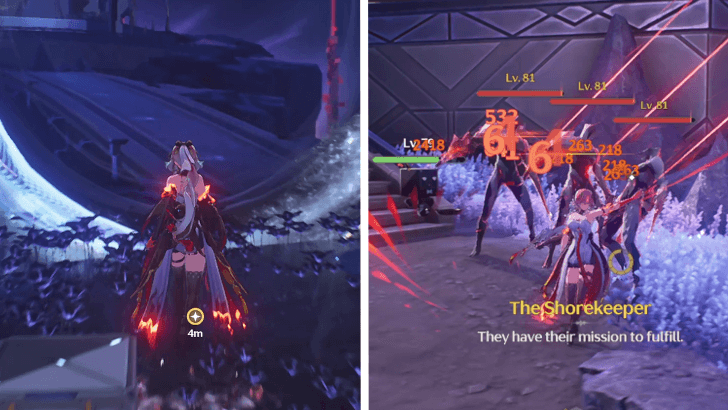
After a cutscene, head inside The Shorekeeper's own Sonoro Sphere nearby to head to the Modulation Hall. On the way, defeat all the abnormal Tacet Discords present. |
From the Echoes of Destruction (Part 2) Guide
Reclaim Tomorrow From the Past Walkthrough
| Reclaim Tomorrow From the Past Walkthrough | |
|---|---|
| 1 |
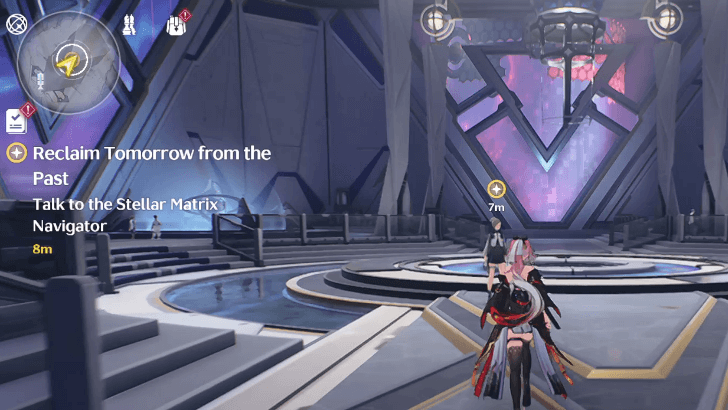 Upon clearing all nearby abnormal Tacet Discords, enter the Modulating Hall and talk to the Stellar Matrix Navigator. |
| 2 |
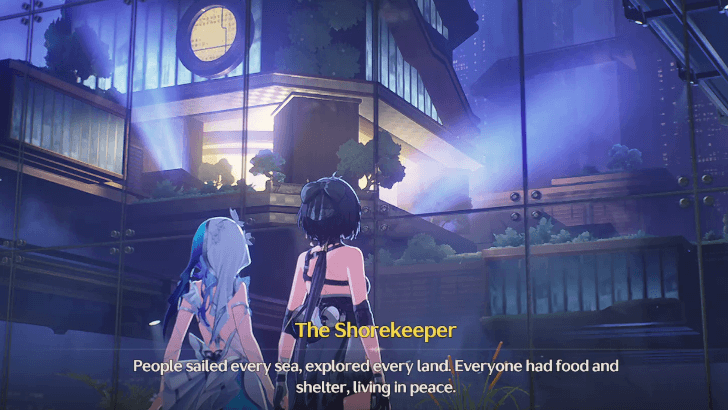 Enter the Stellar Matrix, and interact with the recreation of Port City after a short cutscene. |
| 3 |
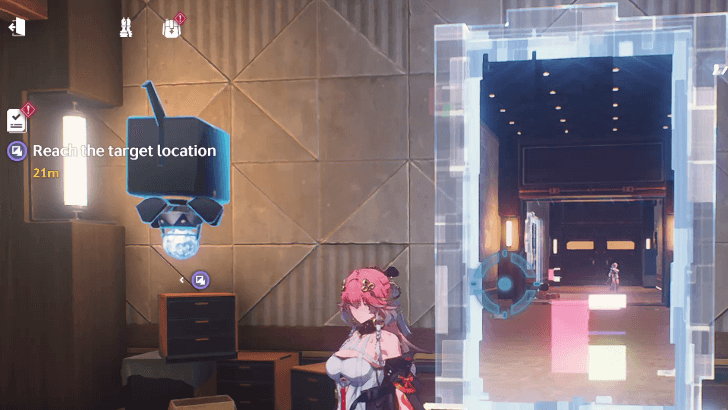
Upon being prompted to leave, use Portals to reach the target destination. |
| 4 |
Use the Data Walls on the Upper and Lower tiers to make portals to get the Key inside the barrier. Upon claiming, the barrier will go down for you to exit, and the lower tier Data Wall will move to the Upper Tier as well. |
| 5 |
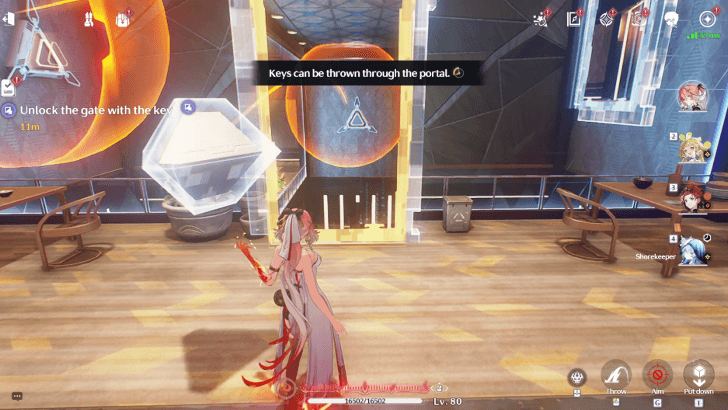
Using the Data Wall that moved to the upper tier, fire a Portal in there, and use it to throw the Key into it, which should land right on its mechanism. |
| 6 |
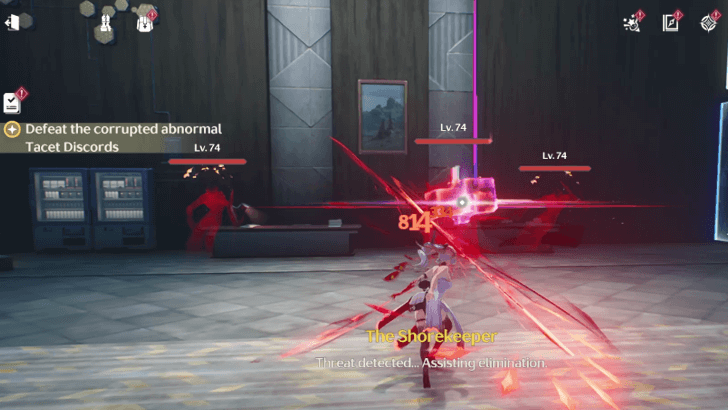 Follow the path to go downward, and clear another set of abnormal Tacet Discords. |
| 7 |
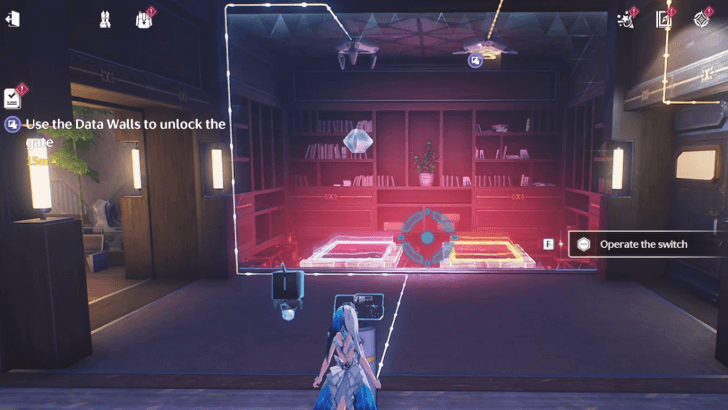 Continue along the path until you reach another Data Wall portal puzzle. Simply fire Portals on both of them, and activate the switch to let the Key land right on the mechanism. |
| 8 |
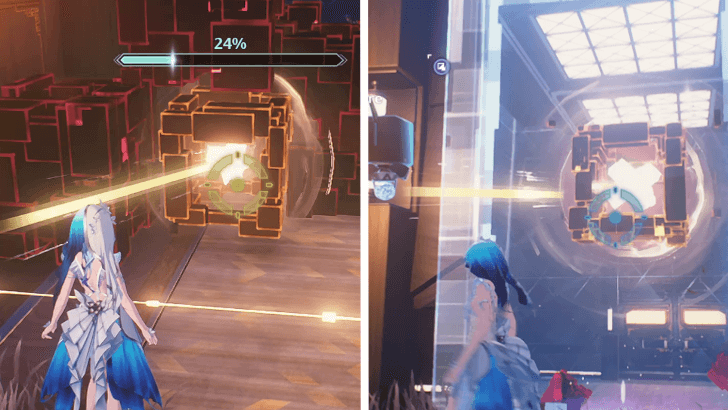 After a cutscene, you'll be put in a room with a floating Corrupted Core behind a barrier. To clear that first, clear a Corrupted Core at the back of the room that is blocking a Data Wall. Afterwards, fire the portal on both walls, then clear the floating Corrupted Core. |
| 9 |
 Using the Data Wall that moved to the upper tier, fire a Portal in there, and use it to throw the Key into it, which should land right on its mechanism. |
| 9 |
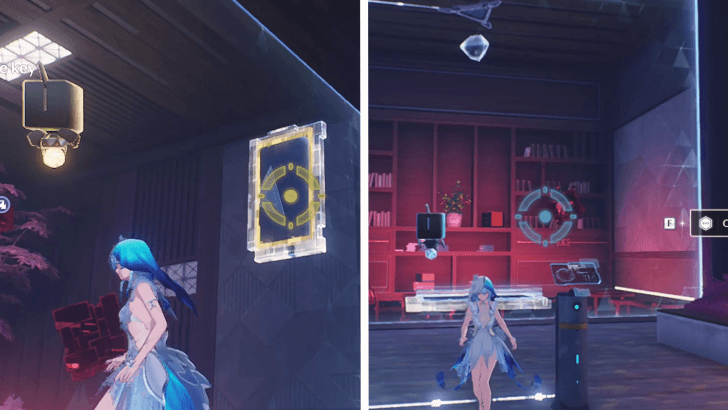 Use the two portals on the two remaining Data Walls, then activate the switch to let gravity do its work for the Key to freefall right into the mechanism. This will open the gate for the next room. |
| 10 |
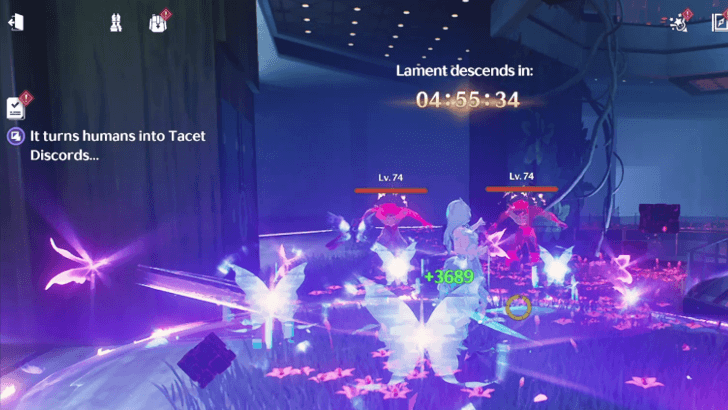
Upon leaving the room, a 5-minute countdown will begin ticking down before the start of the Lament. Defeat all the abnormal Tacet Discords and push through the area as fast as possible! |
| 11 |
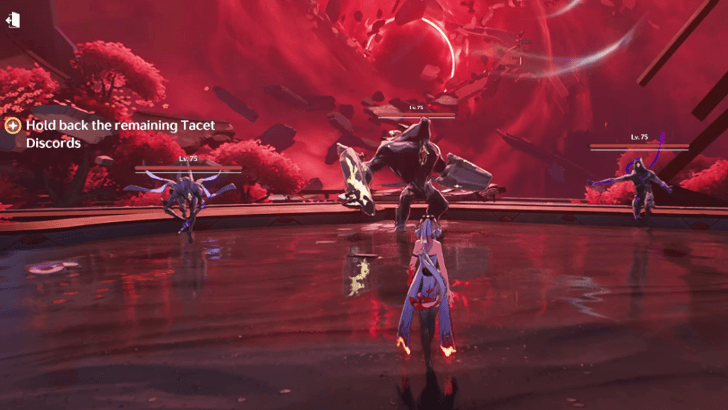 After reaching the end of the gauntlet, there are only a handful of abnormal Tacet Discords left. Defeat them all to finish this subquest. |
Reclaim Tomorrow From the Past Quest Guide
From the Echoes of Destruction (Part 3) Walkthrough
| From the Echoes of Destruction Walkthrough | |
|---|---|
| 1 |
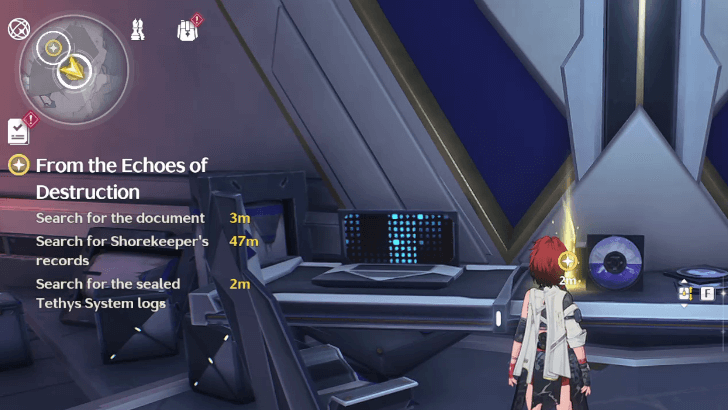 After escaping the Stellar Matrix, qucikly check for the scattered documents around the Modulating Hall. |
| 2 |
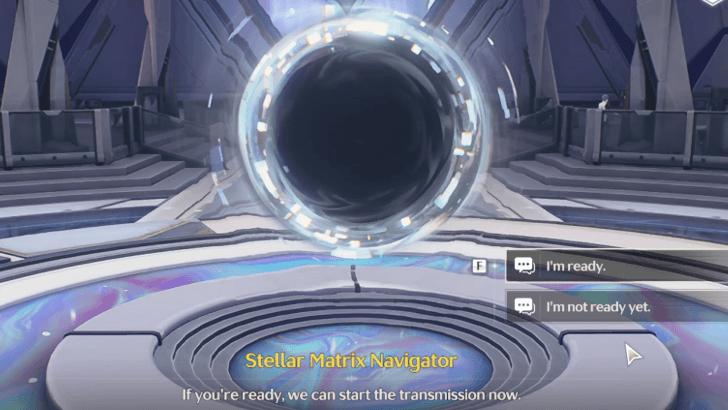 After a quick cutscene, you are given the choice to continue the quest, or hold it for the moment. Once you input "I'm ready." the quest will not stop until completion. |
| 3 |
 After yet another cutscene, you are sent to a frozen world and immediately sliding down the ice. Avoid the attacks at all costs, and follow the Quick-Time Events as they happen. |
| 4 |
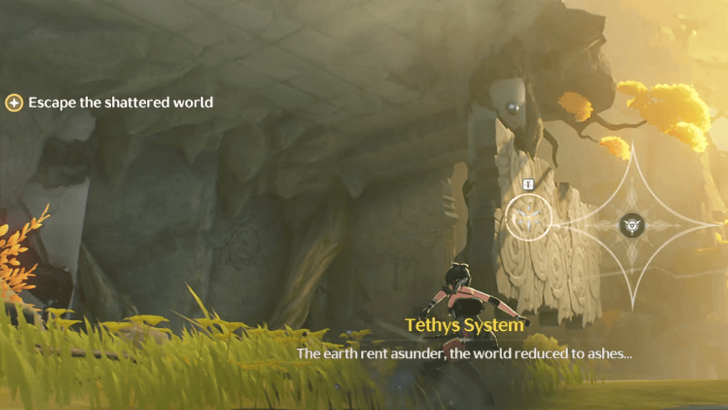 Once you enter the shattered world, the same principles follow as the previous world: avoid attacks at all costs, and follow the Quick-Time Events as they happen. |
| 5 |
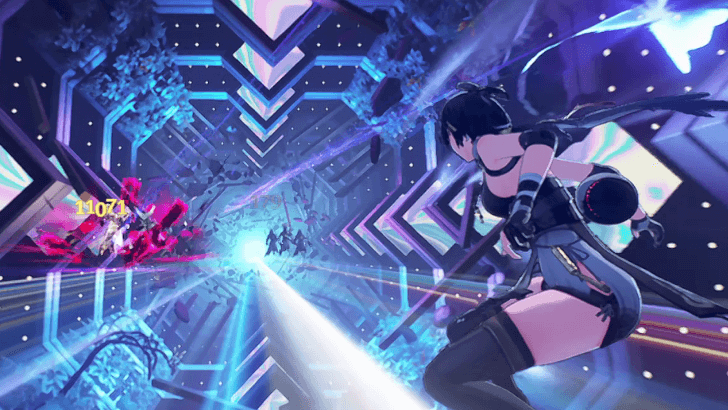 Another Quick-Time Event will send you into the Tethys System as it is. TDs will spawn, but you can attack them with your Normal Attack button. Shorekeeper will also buff your attacks, so fire at will. |
| 6 |
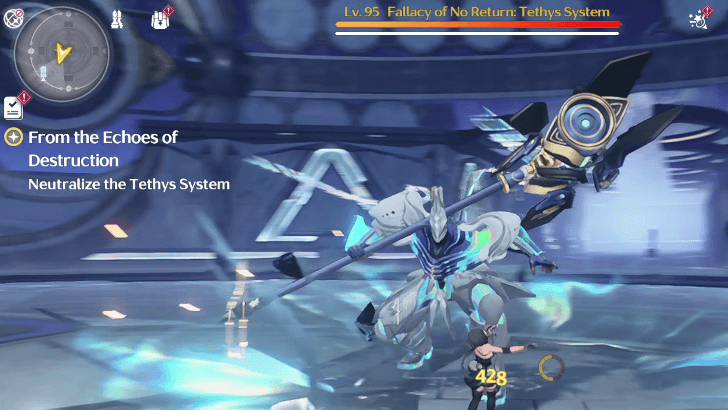 Defeat the newest boss, Fallacy of No Return: Tethys System. Defeating it will also unlock this Tacet Discord as a World Boss. In this instance, you will be forced as Rover (Havoc) at Level 90, while the boss will be at Level 95. |
From the Echoes of Destruction (Part 3) Guide
Beyond the Shore's End Walkthrough
| Beyond the Shore's End Walkthrough | |
|---|---|
| 1 |
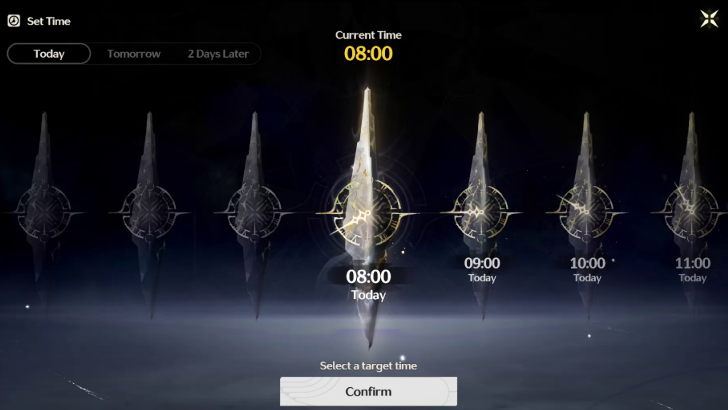
After clearing Chapter 1 Act 8: To The Shore's End, wait for about two days in-game. You can let the time pass naturally, or use the clock to fast forward and meet the conditions. |
| 2 |
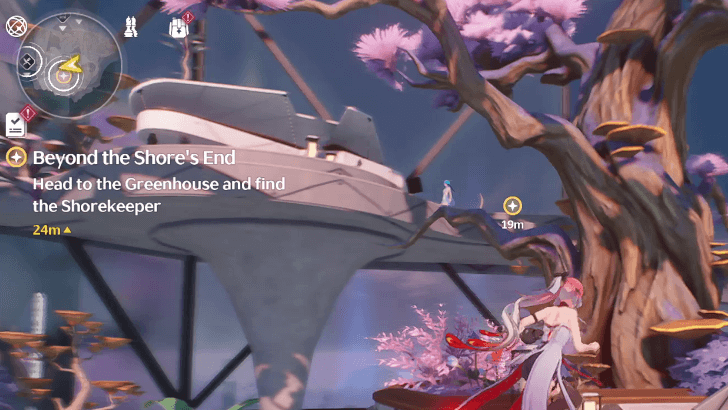
Once the two days have passed, head back to the Greenhouse at the Black Shores headquarters. Shorekeeper will be waiting inside near the piano. |
Beyond the Shore's End Quest Guide
To the Shore's End Information
| To the Shore's End Quest Information | |
|---|---|
| Required Union Lvl | None |
| Quest Location | Black Shores |
| Version Release | 1.3 |
To the Shore's End Rewards
Total Quest Rewards
| To the Shore's End Quest Rewards |
|---|
|
|
Wuthering Waves Related Guides

List of Quest Types
| All Quest Types | |
|---|---|
| Main Quests | Companion Stories |
| Exploration Quests | Side Quests |
| Tutorial Quests | Daily Quests |
| Hidden Quests | - |
Main Quest Walkthrough
Author
Chapter 1 Act 8 To the Shore's End Quest Guide
improvement survey
03/2026
improving Game8's site?

Your answers will help us to improve our website.
Note: Please be sure not to enter any kind of personal information into your response.

We hope you continue to make use of Game8.
Premium Articles
Rankings
Gaming News
Popular Games

Genshin Impact Walkthrough & Guides Wiki

Honkai: Star Rail Walkthrough & Guides Wiki

Umamusume: Pretty Derby Walkthrough & Guides Wiki

Pokemon Pokopia Walkthrough & Guides Wiki

Resident Evil Requiem (RE9) Walkthrough & Guides Wiki

Monster Hunter Wilds Walkthrough & Guides Wiki

Wuthering Waves Walkthrough & Guides Wiki

Arknights: Endfield Walkthrough & Guides Wiki

Pokemon FireRed and LeafGreen (FRLG) Walkthrough & Guides Wiki

Pokemon TCG Pocket (PTCGP) Strategies & Guides Wiki
Recommended Games

Diablo 4: Vessel of Hatred Walkthrough & Guides Wiki

Fire Emblem Heroes (FEH) Walkthrough & Guides Wiki

Yu-Gi-Oh! Master Duel Walkthrough & Guides Wiki

Super Smash Bros. Ultimate Walkthrough & Guides Wiki

Pokemon Brilliant Diamond and Shining Pearl (BDSP) Walkthrough & Guides Wiki

Elden Ring Shadow of the Erdtree Walkthrough & Guides Wiki

Monster Hunter World Walkthrough & Guides Wiki

The Legend of Zelda: Tears of the Kingdom Walkthrough & Guides Wiki

Persona 3 Reload Walkthrough & Guides Wiki

Cyberpunk 2077: Ultimate Edition Walkthrough & Guides Wiki
All rights reserved
Copyright© 2024-2025 Kuro Games. All Rights Reserved.
The copyrights of videos of games used in our content and other intellectual property rights belong to the provider of the game.
The contents we provide on this site were created personally by members of the Game8 editorial department.
We refuse the right to reuse or repost content taken without our permission such as data or images to other sites.


![Everwind Review [Early Access] | The Shaky First Step to A Very Long Journey](https://img.game8.co/4440226/ab079b1153298a042633dd1ef51e878e.png/thumb)

![Monster Hunter Stories 3 Review [First Impressions] | Simply Rejuvenating](https://img.game8.co/4438641/2a31b7702bd70e78ec8efd24661dacda.jpeg/thumb)


theres a bug with the amount of rewards it gives after finishing the quest... it gave me only 2 ku cass cartriges instead of 5 (i had 1 in my inventory and it became 3 after the quest was done) and 100 astrerits... (i had 260 and it became 360)