Experimental Zone Guide
★ Version 3.2 Banners → Livestream Codes
┣ Sigrika → Materials, Weapon, Banner
┣ Qiuyuan → Builds, Materials, Weapon
┗ Phase 2 → Lynae, Zani, Phoebe
★ Tapes of Last Words | Soliskin | 3.1 Trophies
★ Exclusives: Tier Maker | State of the Meta
Experimental Zone is the second zone you will encounter in Wuthering Wave's Tower of Adversity. Check out how to unlock the Experimental Zone, a team distribution guide, all towers, and all rewards here!
List of Contents
How to Unlock Experimental Zone
Clear All Stable Zone Floors
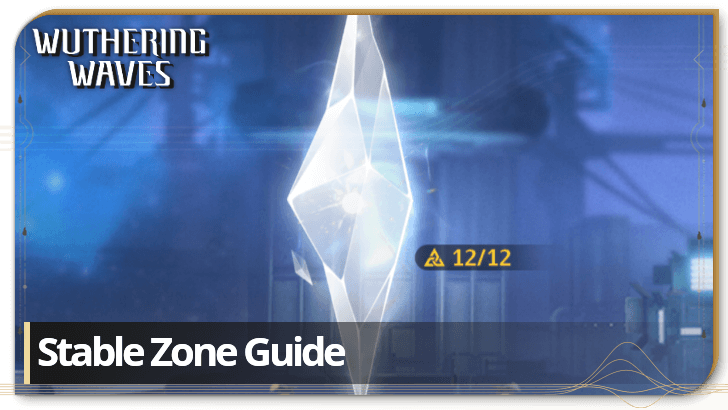
Experimental Zone is unlocked once you've cleared all floors in the Stable Zone of the Tower of Adversity.
Experimental Zone Team Distribution Guide
Limited Vigor Per Character
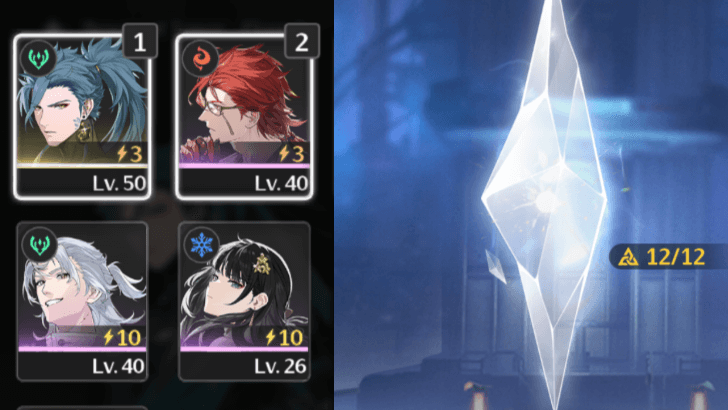
In all Tower of Adversity Zones, each character has a total of 10 Vigor, this means that you can only use a character a limited amount of times. It's impossible to use one character for all stages in a zone.
We recommend building characters enough to build two teams to clear Experimental Zone with ease!
Team Distribution Strategies
One Team Per Tower
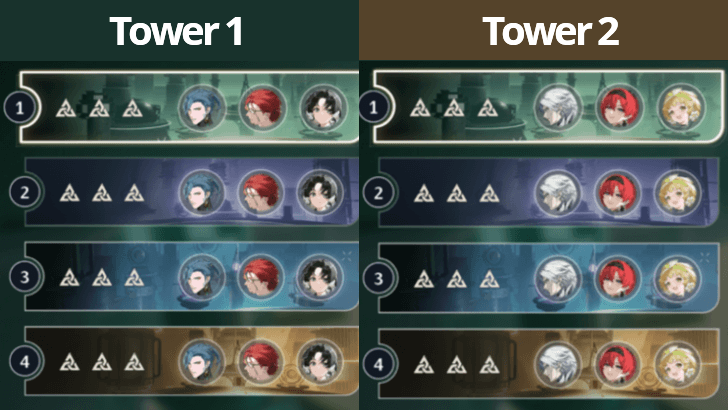
If you have strong characters that are fully invested on, we recommend using one team per Tower.
Some enemies can be resistant to a particular element, so make sure to check out all the enemies in a tower first before deciding on a team.
Two Teams For Each Tower
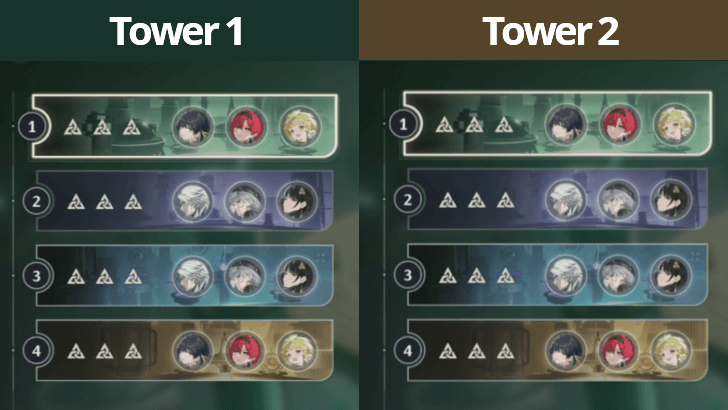
If your characters are built with varied amounts of investment, we recommend using two teams per Tower.
Put your strongest team in the first and fourth stages while the weaker team is placed on the second and third stages. Both teams will only consume 5 Vigor per Tower, so you don't have to worry about managing your Vigor.
All Experimental Zone Towers
The Experimental Zone consists of two towers that consist of four stages each. Vigor for each character is shared for both towers, so manage your teams carefully.
Resonant Tower
Resonant Tower Interferences
| Stages | Interference |
|---|---|
| Floors 1-2 | Outro Skill DMG Bonus is increased by 120%. After an Outro Skill is cast, all party members' ATK is increased by 30% for 10s. |
| Floors 3-4 |
When Characters deal damage, they restore 10 Concerto Energy. This has a 1.5s CD. When characters cast Intro Skills, they restore 40 Resonance Energy. This has a 10s cooldown. |
Resonant Tower Enemies
| Stages | Enemies |
|---|---|
| Floor 1 | |
| Floor 2 | |
| Floor 3 | |
| Floor 4 |
Experimental Zone Resonant Tower Guide
Echoing Tower
Echoing Tower Interferences
| Stages | Interference |
|---|---|
| Floors 1-2 | Echo Skill DMG is increased by 200%. After Resonators release Echo Skills, their ATK is increased by 25% for 8s, and they restore 30% Resonance Energy. |
| Floors 3-4 | After Echo skill is cast, all party members' DMG is increased by 20% and DEF by 20% for 15s, stacking up to 3 times. |
Echoing Tower Enemies
| Stages | Enemies |
|---|---|
| Floor 1 | |
| Floor 2 | |
| Floor 3 | |
| Floor 4 |
Experimental Zone Echoing Tower Guide
Experimental Zone Rewards
| Crests Gained | Rewards |
|---|---|
Wuthering Waves Related Guides

Hazard Zone
| All Hazard Zone Towers | ||
|---|---|---|
| Hazard Zone Reset Date and Countdown March 30, 2026 |
||
Hazard Zone refreshes every 28 days.
All Permanent Zones
Overdrive Zone
| All Overdrive Zone Towers | ||
|---|---|---|
Experimental Zone
| All Experimental Zone Towers | ||
|---|---|---|
Stable Zone
| Stable Zone Tower | ||
|---|---|---|
Comment
Author
Experimental Zone Guide
improvement survey
03/2026
improving Game8's site?

Your answers will help us to improve our website.
Note: Please be sure not to enter any kind of personal information into your response.

We hope you continue to make use of Game8.
Premium Articles
Rankings
Gaming News
Popular Games

Genshin Impact Walkthrough & Guides Wiki

Honkai: Star Rail Walkthrough & Guides Wiki

Umamusume: Pretty Derby Walkthrough & Guides Wiki

Pokemon Pokopia Walkthrough & Guides Wiki

Resident Evil Requiem (RE9) Walkthrough & Guides Wiki

Monster Hunter Wilds Walkthrough & Guides Wiki

Wuthering Waves Walkthrough & Guides Wiki

Arknights: Endfield Walkthrough & Guides Wiki

Pokemon FireRed and LeafGreen (FRLG) Walkthrough & Guides Wiki

Pokemon TCG Pocket (PTCGP) Strategies & Guides Wiki
Recommended Games

Cyberpunk 2077: Ultimate Edition Walkthrough & Guides Wiki

Diablo 4: Vessel of Hatred Walkthrough & Guides Wiki

Fire Emblem Heroes (FEH) Walkthrough & Guides Wiki

Yu-Gi-Oh! Master Duel Walkthrough & Guides Wiki

Super Smash Bros. Ultimate Walkthrough & Guides Wiki

Pokemon Brilliant Diamond and Shining Pearl (BDSP) Walkthrough & Guides Wiki

Elden Ring Shadow of the Erdtree Walkthrough & Guides Wiki

Monster Hunter World Walkthrough & Guides Wiki

The Legend of Zelda: Tears of the Kingdom Walkthrough & Guides Wiki

Persona 3 Reload Walkthrough & Guides Wiki
All rights reserved
Copyright© 2024-2025 Kuro Games. All Rights Reserved.
The copyrights of videos of games used in our content and other intellectual property rights belong to the provider of the game.
The contents we provide on this site were created personally by members of the Game8 editorial department.
We refuse the right to reuse or repost content taken without our permission such as data or images to other sites.


![Everwind Review [Early Access] | The Shaky First Step to A Very Long Journey](https://img.game8.co/4440226/ab079b1153298a042633dd1ef51e878e.png/thumb)

![Monster Hunter Stories 3 Review [First Impressions] | Simply Rejuvenating](https://img.game8.co/4438641/2a31b7702bd70e78ec8efd24661dacda.jpeg/thumb)


