Normal Track 5 Guide - Full Throttle! Bolt & Blitz!
★ Version 3.1 → Map Update: Roya Frostlands
┣ Aemeath: Builds, Materials, Sig. Weapon
┣ Reruns & Builds: Lupa, Chisa
┣ Mansion Event: Bartending Recipes
┗ Tapes of Last Words | Soliskin | 3.1 Hidden Trophies
★ Exclusives: Tier List Maker | State of the Meta
This is a guide for Normal Track 5 in the Full Throttle! Bolt & Blitz! event in Wuthering Waves 3.1. See the best biker character to use, which support items to get, and tips on how to clear the stage here!
List of Contents
Normal Track 5 Best Character
Use Lynae for the Extra Boost
|
|
Biker Skill |
|---|---|
| Roaring Engine Boost duration is increased by 50%. |
After unlocking Lynae, she is the best initial character to play in this stage if you're clearing it for the first time. The additional boost duration is great for the invincibility it provides, helping you clear mobs and bosses without much effort.
Normal Track 5 Best Support Items
Recommended Upgrades
| Support Item | Description |
|---|---|
| Trajectory Docking Station (Main Weapon) |
Splits the main weapon's attacks into a cone with multiple projectiles covering multiple lanes. |
| Rapidly Cooled Sweetness (Main Weapon) |
ATK and ATK SPD are both increased. |
| Data Extraction: Lampylumen Myriad (Main Weapon) |
Provides an additional main weapon, Lampylumen Myriad that releases ice spike projectiles. Great paired with the Shotgun. |
| Magnetic Tactical Belt (Main Weapon) |
Great source of damage paired with other main weapons. Deals a lot of damage with its Zap beam attack. |
| "Sustained Combustion" Fuel Tank (Support Droid) |
Reduces the cooldown of Sustained Combustion Protocol, making it a consistent source of powerful damage. |
We recommend getting any of the weapon upgrades in this list! It is highly suggested to focus on going vertical by stacking the upgrades for Trajectory Docking Station and Sustained Combustion - Fuel Tank, both being the highlights of Track 5.
For improved stage clearance, pair other Main Weapons like Data Extraction projections or the Magnetic Tactical Belt to counteract the weak damage dealt by the Shotgun module.
Normal Track 5 Recommended Stats
Prioritize Attack and Crit Stats
| Stat Priority |
|---|
| ATK → ATK SPD → Crit. Rate → Crit DMG |
In Normal Track 5, we recommend focusing on ATK and ATK SPD first in order to deal more consistent damage using the Shotgun Main Weapon. As the stage progresses, you can adjust to building Crit. stats for better scaling.
Normal Track 5 Tips
| Drill Stage 5 Recommended Tips |
|---|
|
|
Use Boost for Offensive Defense
The Boost acts as a protective shield for your Resonator while also dealing damage if you ram into them. Use this to your advantage by utilizing the boost during boss fights or when enemy mobs are quite numerous.
Pair Other Main Weapons with the Shotgun
One of the weaknesses of the Shotgun module is that you deal less damage per projectile in exchange for more coverage of the area. Against stronger enemies and bosses, the Shotgun's damage may make it challenging for your run.
Try to select upgrades that provide additional weapons like Data Extraction projections, such as Lampylumen Myriad, or the Magnetic Tactical Belt for its consistently powerful albeit linear damage.
Focus One Twin in the Last Boss Fight
In the final boss fight of Track 5, you will be facing against the Twin Novas. Both of these bosses will be firing projectiles and attacks, making it a bit difficult to dodge them. To counteract this, try and focus one twin first.
The twin in the middle barely moves in the stage, while the twin in the outside lanes tends to move around a lot. Knowing this, aim for the middle twin first and use your boost to lessen the damage taken. After you defeat it, follow the second twin's line-of-sight and defeat it.
Normal Track 5 Stage Information
Basic Information
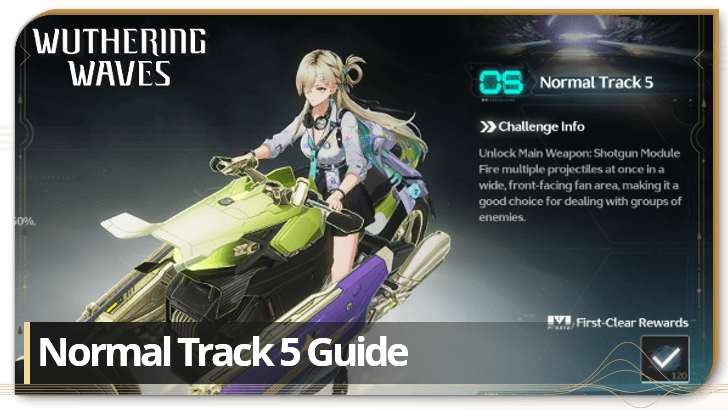
| Challenge Info |
|---|
|
Unlock Main Weapon: Shotgun Module Fire multiple projectiles at once in a wide, front-facing fan area, making it a good choice for dealing with groups of enemies. |
| First-Clear Rewards |
Trust Key x120 |
Wuthering Waves Related Guides

Full Throttle! Bolt & Blitz! Event Guide
All Stage Guides
| Normal Track Guides | |||||
|---|---|---|---|---|---|
| Track 01 | Track 02 | Track 03 | |||
| Track 04 | Track 05 | Track 06 | |||
| Elite Track Guides | |||||
| Track H1 | Track H2 | ||||
| Infinite Stage Guides | |||||
| Endless Track | |||||
Comment
Author

Normal Track 5 Guide - Full Throttle! Bolt & Blitz!
Premium Articles

Rankings
Gaming News
![Neverness to Everness (NTE) Review [Beta Co-Ex Test] | Rolling the Dice on Something Special](https://img.game8.co/4414628/dd3192c8f1f074ea788451a11eb862a7.jpeg/show)


Popular Games

Genshin Impact Walkthrough & Guides Wiki
Honkai: Star Rail Walkthrough & Guides Wiki
Arknights: Endfield Walkthrough & Guides Wiki
Umamusume: Pretty Derby Walkthrough & Guides Wiki
Wuthering Waves Walkthrough & Guides Wiki
Pokemon TCG Pocket (PTCGP) Strategies & Guides Wiki
Abyss Walkthrough & Guides Wiki
Zenless Zone Zero Walkthrough & Guides Wiki
Digimon Story: Time Stranger Walkthrough & Guides Wiki
Clair Obscur: Expedition 33 Walkthrough & Guides Wiki


Recommended Games
Fire Emblem Heroes (FEH) Walkthrough & Guides Wiki
Pokemon Brilliant Diamond and Shining Pearl (BDSP) Walkthrough & Guides Wiki
Diablo 4: Vessel of Hatred Walkthrough & Guides Wiki
Super Smash Bros. Ultimate Walkthrough & Guides Wiki
Yu-Gi-Oh! Master Duel Walkthrough & Guides Wiki
Elden Ring Shadow of the Erdtree Walkthrough & Guides Wiki
Monster Hunter World Walkthrough & Guides Wiki
The Legend of Zelda: Tears of the Kingdom Walkthrough & Guides Wiki
Persona 3 Reload Walkthrough & Guides Wiki
Cyberpunk 2077: Ultimate Edition Walkthrough & Guides Wiki


All rights reserved
Copyright© 2024-2025 Kuro Games. All Rights Reserved.
The copyrights of videos of games used in our content and other intellectual property rights belong to the provider of the game.
The contents we provide on this site were created personally by members of the Game8 editorial department.
We refuse the right to reuse or repost content taken without our permission such as data or images to other sites.