Main Quest Walkthrough and Story Chapter List
★ Version 3.2 Banners → Livestream Codes
┣ Sigrika → Materials, Weapon, Banner
┣ Qiuyuan → Builds, Materials, Weapon
┗ Phase 2 → Lynae, Zani, Phoebe
★ Tapes of Last Words | Soliskin | 3.1 Trophies
★ Exclusives: Tier Maker | State of the Meta
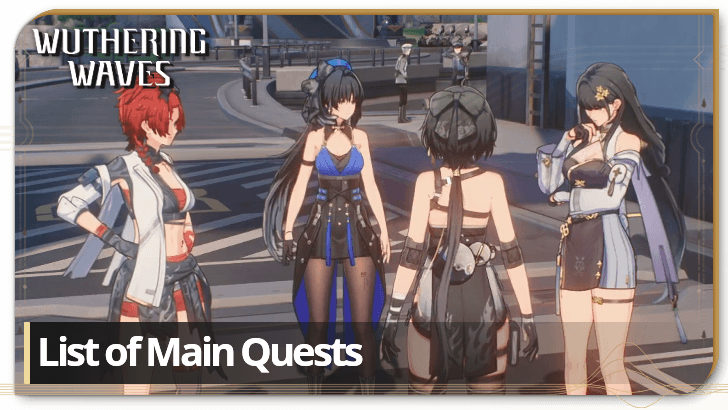
A list of all Main Quests in Wuthering Waves. See a list of all main quests, guides of each main quest, story length, and how to quickly make your way through the story.
List of Contents
Main Quest Chapter List
List of All Main Quests
Prologue Walkthrough
Act 1: Utterance of Marvels: I
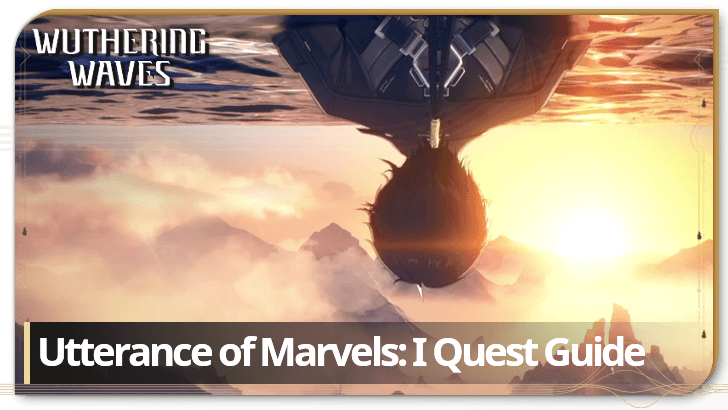
The Rover awakens in an unfamiliar world, met by strangers with knowing smiles and a past shrouded in haze. Their purpose remains unclear—until a formidable enemy forces a revelation: the ability to absorb Echoes.
Prologue Act 1 Utterance of Marvels: I Guide
Act 2: Utterance of Marvels: II
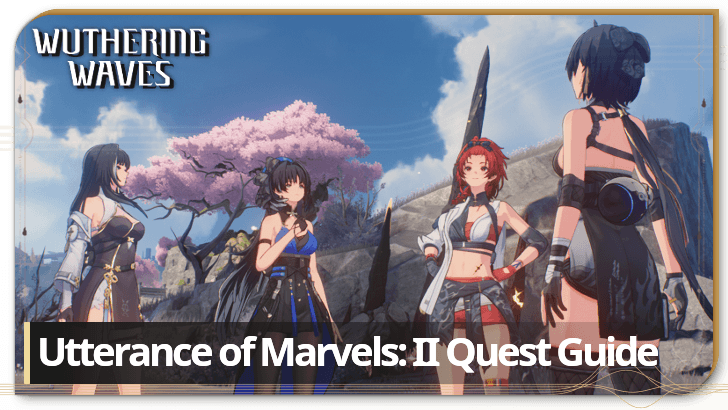
Upon leaving the Gorges of Spirits, the Rover takes their first step toward mastering their power by absorbing the Echo of a fallen Tacet Discord for the first time. With newfound strength, they press on toward the resplendent city of Jinzhou, the heart of Huanglong.
Prologue Act 2 Utterance of Marvels: II Guide
Chapter 1 Walkthrough
| Chapter 1 Walkthrough | |||||
|---|---|---|---|---|---|
| Act 1 | Act 2 | Act 3 | |||
| Act 4 | Act 5 | Act 6 | |||
| Act 7 | Act 8 | ||||
Act 1: First Resonance

Now in the bustling heights of Jinzhou City, the Rover receives an invitation from the Magistrate—yet she is nowhere to be found. Instead, she leaves behind tokens, cryptic clues to her whereabouts waiting to be unraveled.
Chapter 1 Act 1 First Resonance Guide
Act 2: Echoing Marche
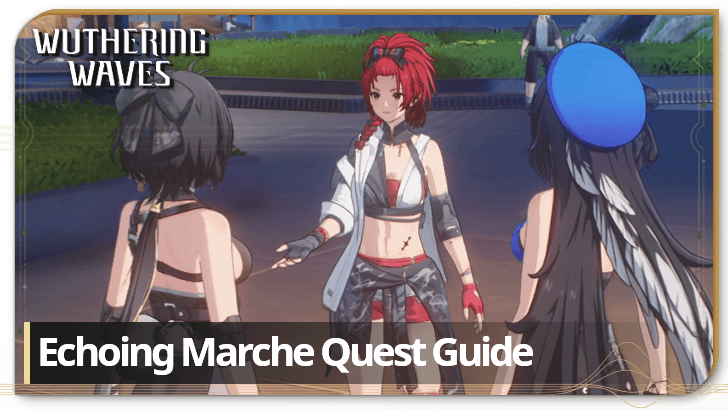
Following the Magistrate's tokens, the Rover traverses through Huanglong, where a relentless war against Tacet Discords rages on. As fear plagues the region, a lone general stands defiant, leading the charge on the front lines.
Chapter 1 Act 2 Echoing Marche Guide
Act 3: Ominous Star
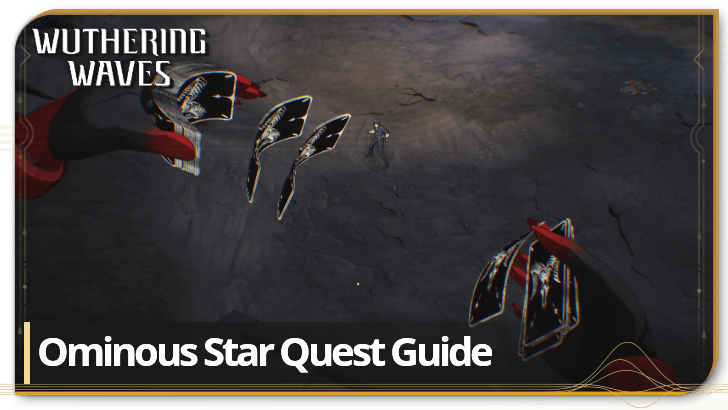
The next set of clues leads the Rover to Qichi Village, a forsaken place where echoes of tragedy haunt its desolate ruins. Amid the silence, its destroyer awaits their arrival.
Chapter 1 Act 3 Ominous Star Guide
Act 4: Clashing Blades
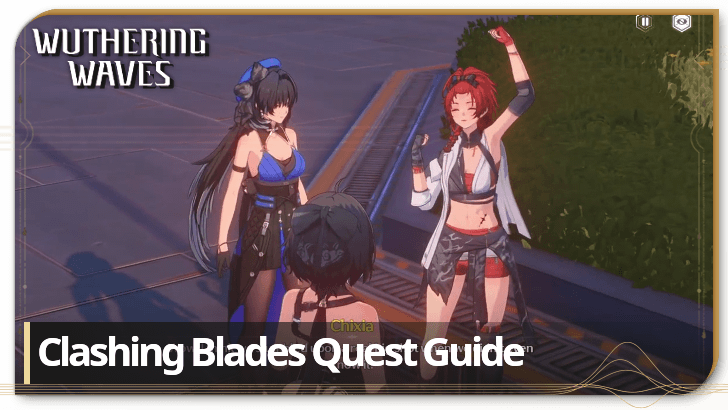
With the Magistrate's clues unraveled, the Rover enters Jinzhou's hidden Grand Library for their long-awaited meeting. But as answers seem within reach, an old foe reappears, only to fall into a carefully crafted trap meant to seal them away.
Chapter 1 Act 4 Clashing Blades Guide
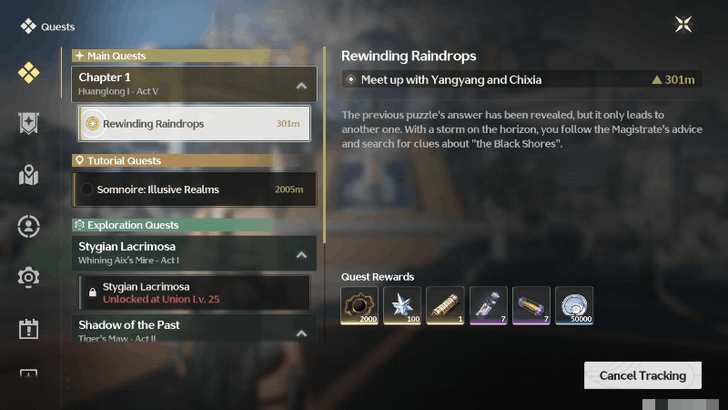
Act 5: Rewinding Raindrops

In the wake of the Sentinel’s message, the Rover sets out to find the elusive Black Shores. As the Retrograde Rain cascades upstream, a Threnodian stirs, its awakening heralding a catastrophe that could engulf civilization.
Chapter 1 Act 5 Rewinding Raindrops Guide
Act 6: Grand Warstorm
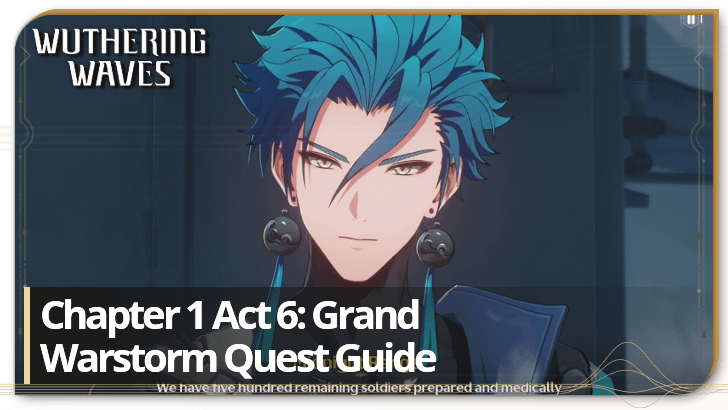
As Tacet Discords swarm across Huanglong, chaos erupts into an all-out war. With the Threnodian’s awakening underway, the Rover stands firm, ready to face The Dreamless and vanquish the threat that looms over the nation.
Chapter 1 Act 6 Grand Warstorm Guide
Act 7: Thaw of Eons
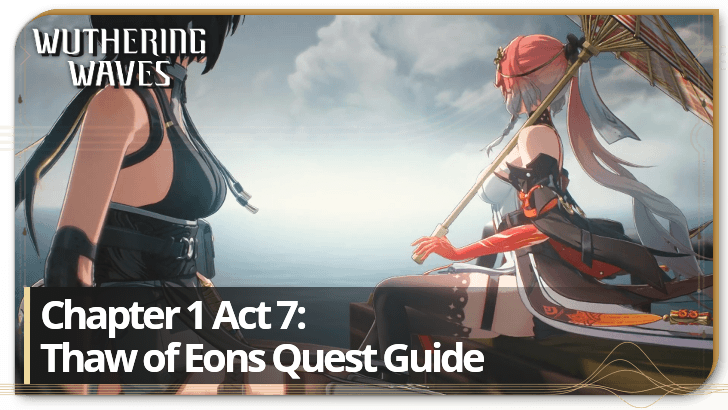
The Threnodian’s defeat leaves more questions than answers. With Huanglong’s Sentinel missing, the Rover sets their sights on a place where time flows differently. One that may hold the key to the truth of the past they seek.
Chapter 1 Act 7 Thaw of Eons Guide
A New Companion Walkthrough
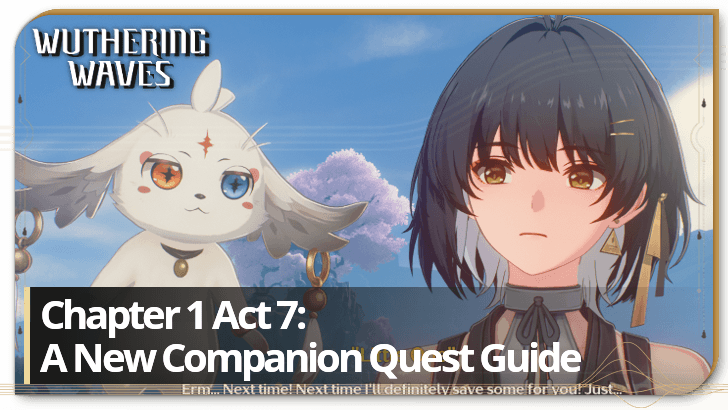
Following the fall of the mighty Threnodian, an entity reveals itself as a source of the Rover's unique power.
Dreamy Scents Walkthrough

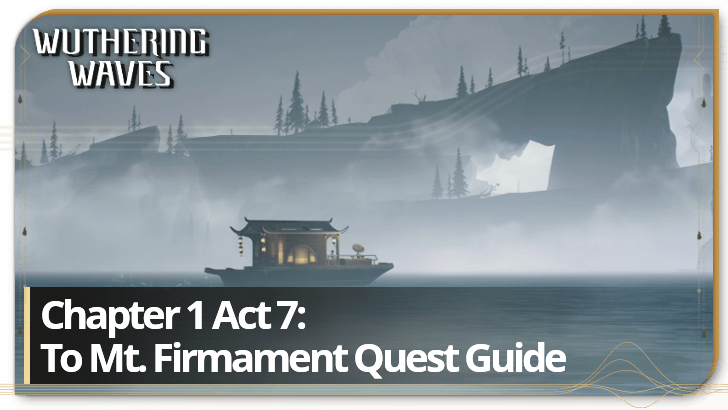
Dreams of the Sentinel Jue urge the Rover to seek answers amid the Magistrate's absence. Their search leads them to the shores of Mt. Firmament, where a blazing Wayfinder guides their way.
To Mt. Firmament Walkthrough
Upon arrival, the Rover uncovers the unsettling truth—time flows unnaturally in Mt. Firmament without its Sentinel. The region’s Temporal Disruption grants immortality within its bounds, but those who leave age rapidly, crumbling to dust as time reclaims them instantly.
Truthseeker's Pass Walkthrough
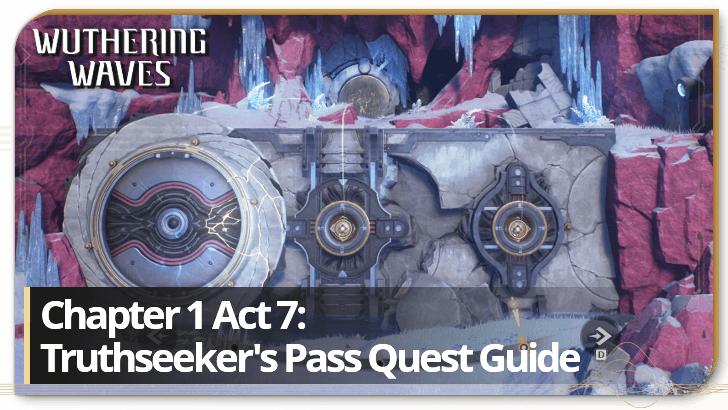
The Rover follows the Magistrate’s trail to Truthseeker’s Pass, where she seeks to contact Sentinel Jue. Along the way, a plan is formed to ambush the Fractsidus forces holding the Sentinel captive.
Truthseeker's Pass Quest Guide
Road of Pilgrimage Walkthrough
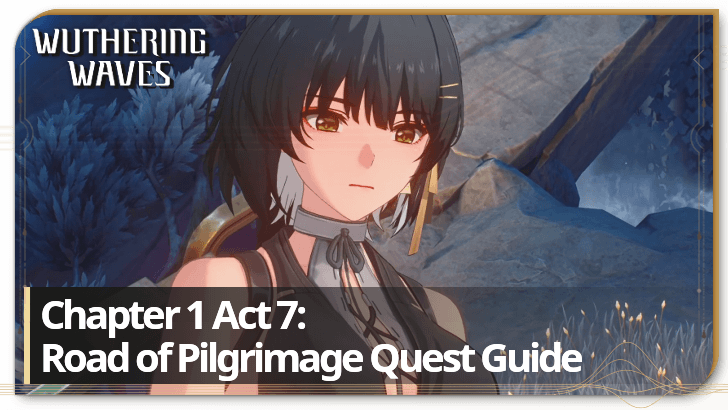
After reuniting with the Magistrate, she and the Rover return to Hongzhen Village and concoct a plan that would successfully free the Sentinel from the Chronosorters that bind them.
Road of Pilgrimage Quest Guide
Mianloong Chamber Walkthrough
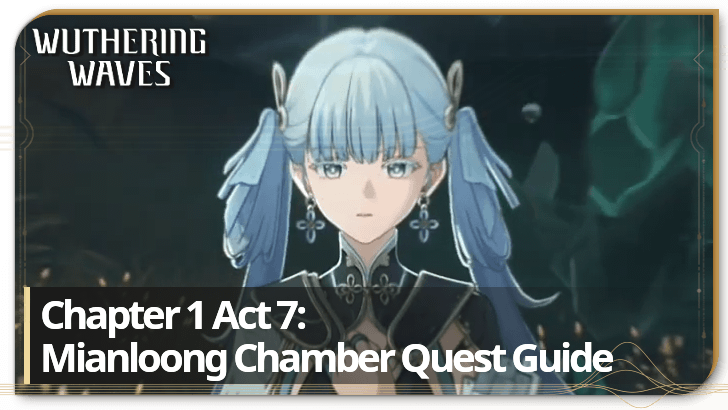
The Rover and the Magistrate descend into Mianloong Chamber, where Sentinel Jue remains imprisoned. Together, they shatter the bindings that hold the great Sentinel captive, setting them free.
The Commander of Time Walkthrough
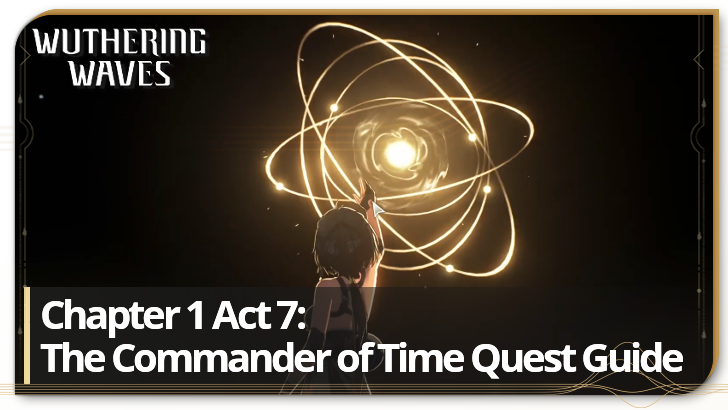
Freed from captivity, the Sentinel unveils a glimpse of the Rover’s lost past and issues a dire ultimatum about Jinzhou’s fate. But the Magistrate refuses to yield, defying destiny itself as she risks everything to protect the city she loves.
The Commander of Time Quest Guide
Dawn of Snowstorm
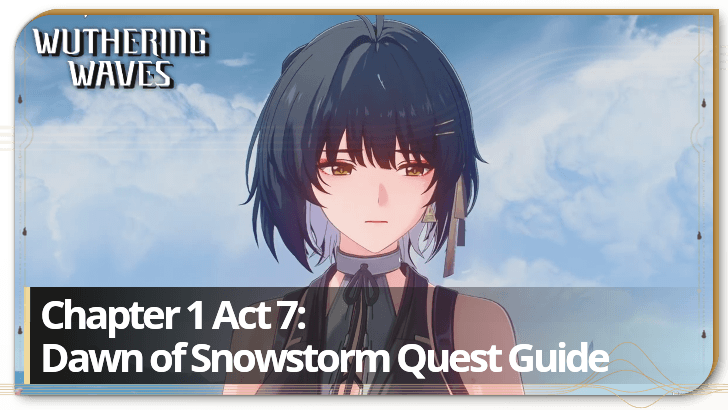
As the Temporal Mandate shifts from the Sentinel to the Magistrate, time in Mt. Firmament returns to its natural flow. While Hongzhen's residents remain bound to immortality within the mountain’s borders, they are now free to step beyond without fading from existence.
Act 8: To The Shore's End
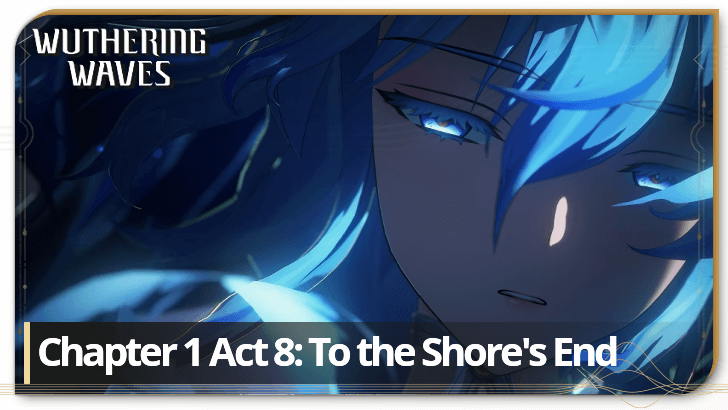
The looming threat of a possible Lament drives the Rover to The Black Shores’ headquarters, where long-buried truths unveil the origins of their past—and the path that will shape their future.
Chapter 1 Act 8 To the Shore's End Guide
From the Echoes of Destruction (Part 1) Walkthrough
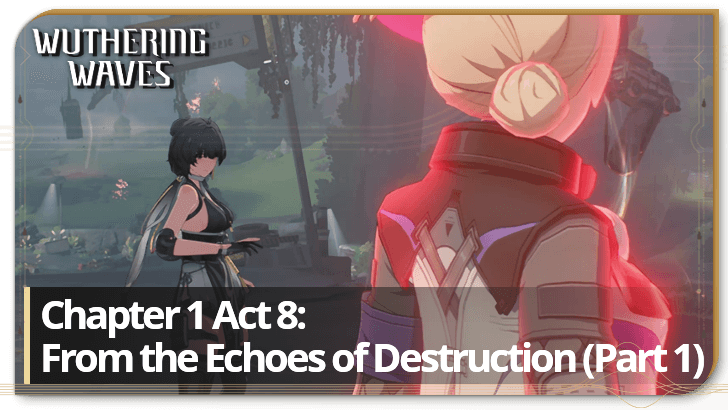
A call from Yangyang takes the Rover to the Port City of Guixu where they continue their investigation into The Black Shores. Although things take an ominous turn as phantoms from the past Lament resurface.
From the Echoes of Destruction (Part 1) Guide
Hidden Between the Waves Walkthrough

The Rover awakens in unfamiliar lands, rescued by a mysterious figure—only to find themselves at the very heart of The Black Shores. Truths of the Rover's past are revealed as the Shorekeeper reveals herself.
Hidden Between the Waves Guide
Legacy of the Lasting Night Walkthrough
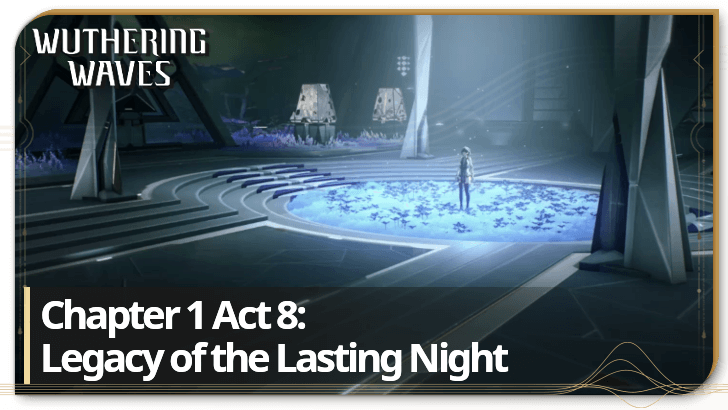
A leap through the Stargate takes the Rover deep into the Tethys System, where they must repair its malfunctions to halt the abnormal frequencies spilling into the Port City of Guixu.
Legacy of the Lasting Night Guide
From the Echoes of Destruction (Part 2)
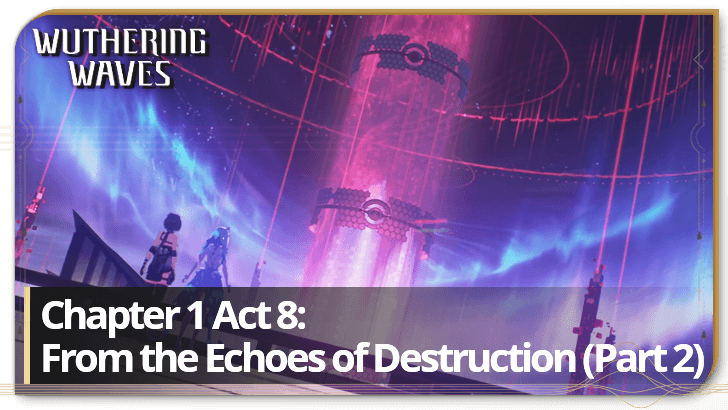
With the Shorekeeper’s aid, the Rover sets out to retrieve the Necrostar and deliver it to the Modulation Hall, where she intends to erase its corrupted data and avert disaster in the Port City of Guixu. Although, doing so may come at a great cost.
From the Echoes of Destruction (Part 2) Guide
Reclaim Tomorrow From the Past Walkthrough

The Rover must take an active role in the Necrostar’s remodulation, diving into the Stellar Matrix to recover its scattered data. But within its tangled depths, they uncover a far more chilling truth.
Reclaim Tomorrow From the Past Guide
From the Echoes of Destruction (Part 3) Walkthrough
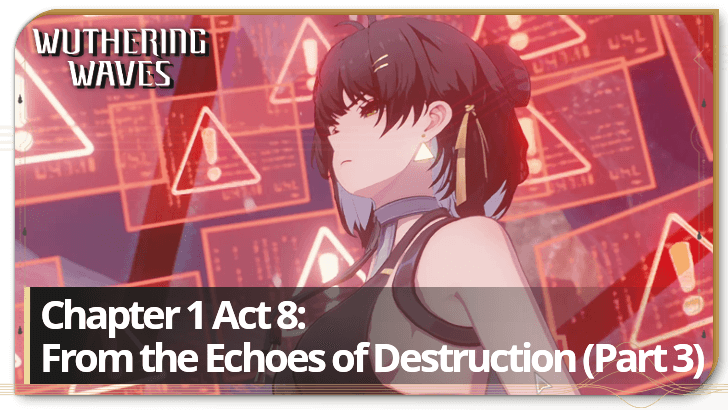
As the Shorekeeper is swallowed by the Necrostar and becomes the Tethys System's core, the Rover devises a plan to save her while keeping the system stable.
From the Echoes of Destruction (Part 3) Guide
Beyond the Shore's End Walkthrough
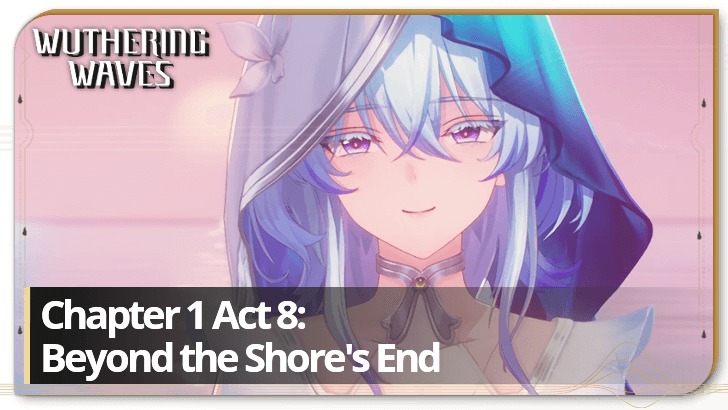
A successful rescue mission restores the Shorekeeper, granting her another day to stay by the Rover's side. With the Tethys System stabilized and their past unveiled, the Rover now stands at the threshold of their own destiny.
Chapter 2 Walkthrough
| Chapter 2 Walkthrough | |
|---|---|
| Prologue | Act 1 |
| Act 2 | Act 3 |
| Act 4 | Act 5 |
| Act 6 | Act 7 |
| Act 8 | Segue |
| Act 9 | Act 10 |
| Act 11 | Afterstory |
| Act 12 | Segue |
Prologue: Through the Sea Thou Break
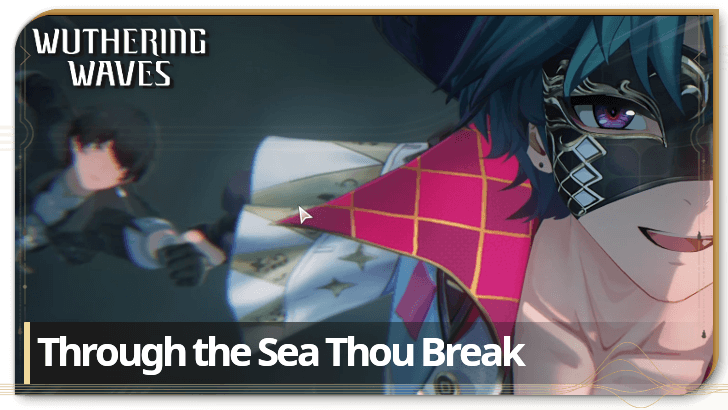
To save Abby’s fading frequency, the Rover sets sail across uncharted waters toward Ragunna in search of Imperator, Sentinel of Rinascita, where long-lost answers lie in wait.
Through the Sea Thou Break Quest Guide
Act 1: The Sacred Breeze So Often Breathes

A friendly face from one of Rinascita's esteemed families guides the Rover through Ragunna's bustling streets, yet something uncanny lurks beneath its vibrant facade.
The Sacred Breeze So Often Breathes Guide
Act 2: Veils Off in Sun or Shadow

An investigation is launched into a member of the Fisalia family, whose presence in Ragunna has caused strange occurrences. The Rover teams up with members of the Montelli family and an Acolyte of the Order to uncover the truth.
Veils Off in Sun or Shadow Guide
Act 3: What Yesterday Wept, Today Doth Sing

A gathering with the Fool's Troupe sets into motion a grand yet forbidden celebration—the Carnevale. But the revelry turns to chaos when a familiar lycoris-wielding foe crashes the festivities!
What Yesterday Wept, Today Doth Sing Guide
Act 4: The Maiden, The Defier, The Death Crier
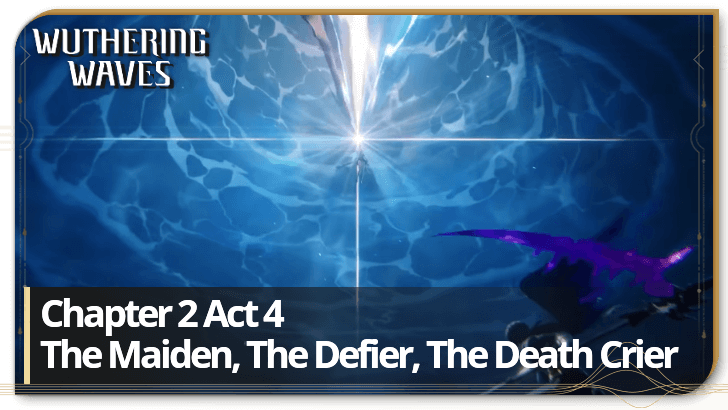
An invitation from the Fisalia family's head beckons the Rover to Porto-Veno Castle in pursuit of answers about the Sentinel Imperator. Yet within the Avinoleum’s shifting ruins, crumbling towers unveil a tormented divinity longing for absolution.
The Maiden, The Defier, The Death Crier Guide
Act 5: Shadow of Glory

The Blessed Maiden can be sensed in the Inverted Tower, but when the Rover arrives she's nowhere to be seen. This leads her to the proud region of Septimont, where a glorious tournament seems to mask an anomaly that no one but they can sense.
Act 6: Flames of Heart
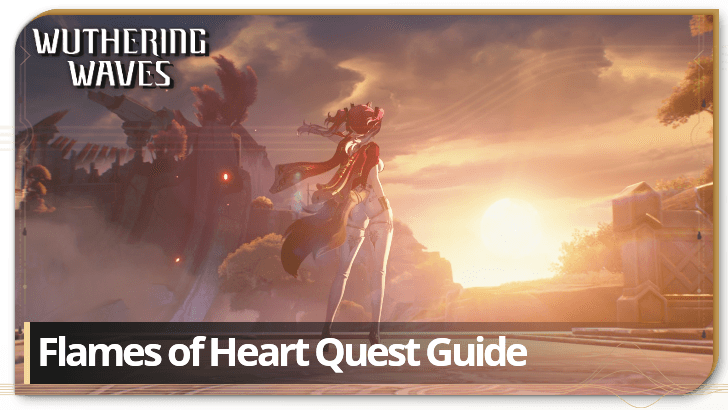
As the anomaly in Septimont unravels, the flaming heart of the star gladiator burns bright proving that she is the worthy protagonist in the story of the epic city.
Act 7: Dreamcatchers in the Secret Gardens
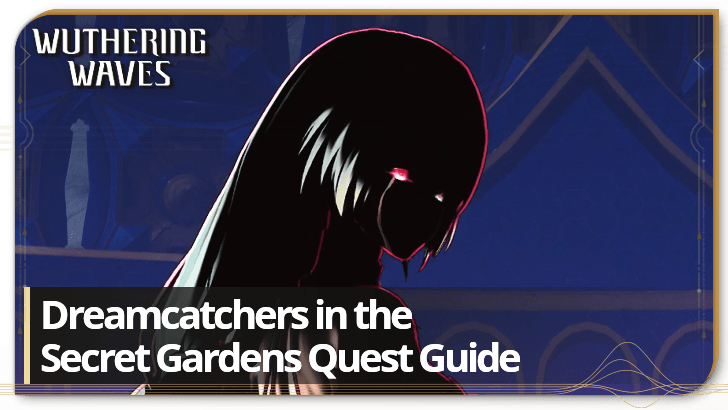
The Dreamer seals her heart and surrenders to a world of dreams beyond mortal sight. In this hidden realm built upon melancholy melodies, she walks a path of fragile hope and delusions without looking back.
Dreamcatchers in the Secret Gardens Guide
Overture: Rust, Sword, and the Sun
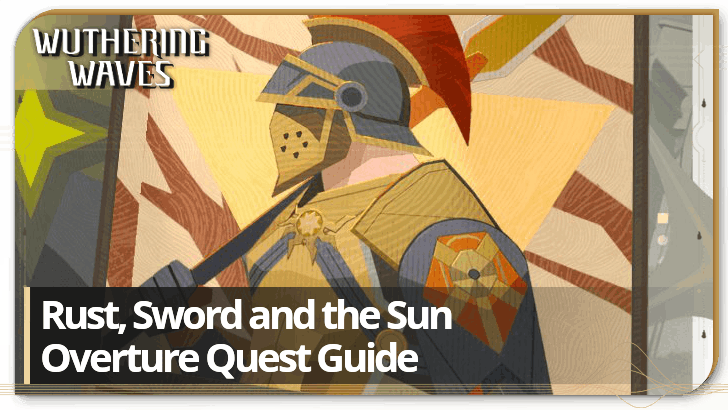
While investigating Septimont's current state following events in the last Act, the Rover and Abby talk with a mysterious figure, who wishes to retell Augusta's story before she became the leader of the nation.
Rust, Sword, and the Sun Overture Quest Guide
Act 8: By Sun's Burning Hand
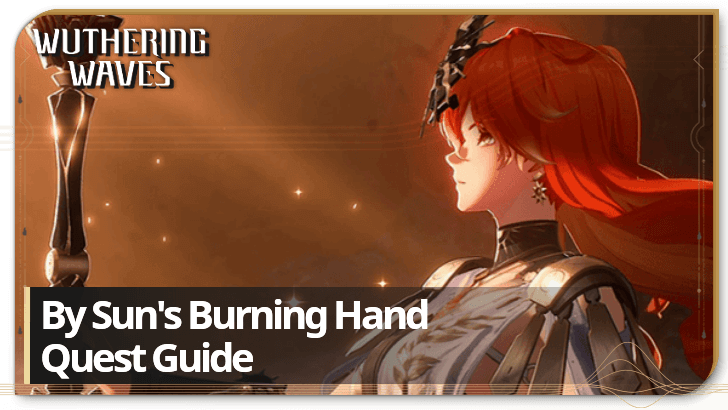
Rover receives an invitation from the Ephor herself, Augusta, to join the Hunt in Sanguis Plateau where the Dark Tide is forever present. As we journey through the ominous plateau, we uncover mysteries about the Septimontian prophecy surrounding the Ephor and the Priestess, Iuno.
By Sun's Burning Hand Quest Guide
Act 9: By Moon's Fated Light

The Dark Tide is pushed back, and the warriors of Septimont finally rejoice. However, a certain priestess has vanished — not just physically, but from the memories of all who knew her as well. Go, investigate her mysterious disappearance, and bring her back from the grip of Chaos.
By Moon's Fated Light Quest Guide
Act 10: The Bygone Shall Always Return
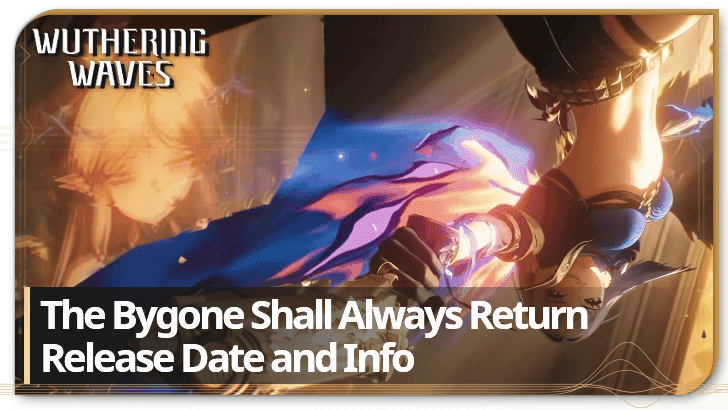
Iuno has been rescued from the clutches of Chaos, but a mysterious figure poses a new challenge. With wings of fire and Tacet Discords seemingly at her command, Rover must find out who Galbrena is, and what she intends to do.
The Bygone Shall Always Return Quest Guide
Act 11: Dawn Breaks on Dark Tides

Everything has led up to this point. All of Rinascita hangs in the balance as the impending return of the Threnodian Leviathan stands before Rover and their allies as a final obstacle to overcome.
Dawn Breaks on Dark Tides Quest Guide
Afterstory: Stranger in a Strange Land
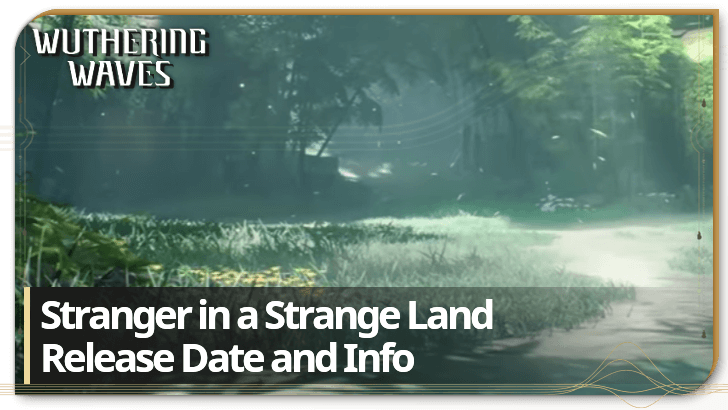
With the story's chapter in Rinascita now over, the narrative takes a brief segue into the journey of Qiuyuan the blind swordsman. Follow his point of view through the recent events in Rinascita, and uncover new stories and secrets along the way.
Stranger in a Strange Land Quest Guide
Act 12: Stagnant Dawn on Wastelands
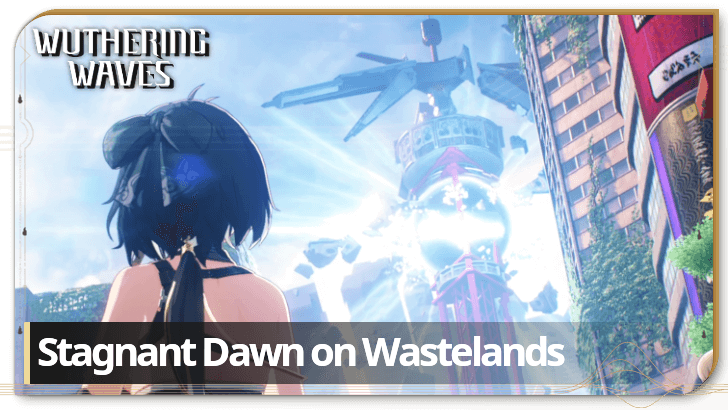
After the battle against the Leviathan in Rinascita, the Black Shores has begun studying the Threnodian's Gem. However, a pair of constantly shifting spatial coordinates leading to an unknown location has caught your attention. Following the trail, you reach a metropolis... that had been erased long ago.
Stagnant Dawn on Wastelands Quest Guide
Segue: Flowing Starlight in the Iris
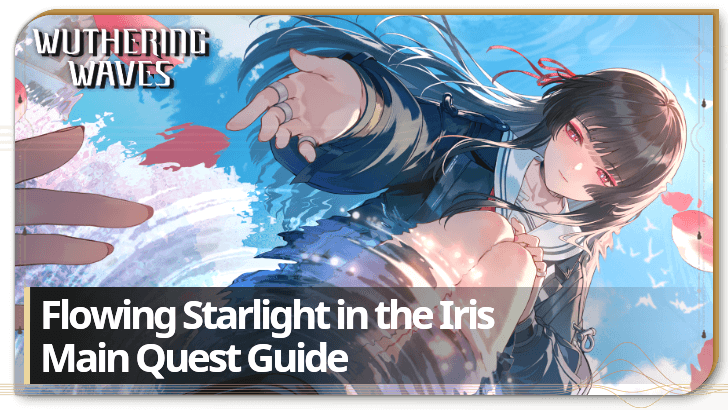
After you escaped from Honami City, Chisa, who had pushed herself to the brink of overclocking more than once, received treatment at the Black Shores. You've been apart ever since. Now, it's time to visit her again. For both of you, this will be a new beginning.
Flowing Starlight in the Iris Quest Guide
Chapter 3 Walkthrough
| Chapter 3 Walkthrough | |
|---|---|
| Prologue | Act 1 |
Prologue: When the Unknown Thrums
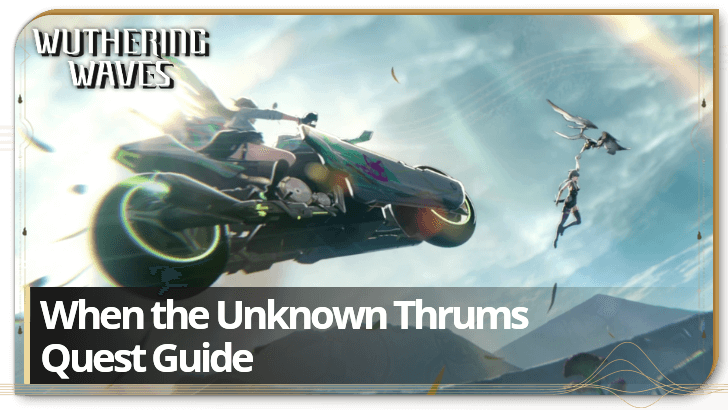
With the portal to Lahai-Roi stabilized, you and Chisa now head on over to their old alma mater: Startorch Academy. However, you already get into complicated situations upon arrival, from yet another attempt to steal your frequency, to having to deal with a Voidstorm on arrival!
When the Unknown Thrums Quest Guide
Act 1: What Burns Beneath Frostlands
Lynae saves you from the Voidworm attack, and formally welcomes the freshman student to Startorch Academy. She gives an impromptu campus tour around Lahai-Roi, but it seems she has a secret agenda at play.
What Burns Beneath Frostlands Guide
Story Length: How Long is the Story?
Around 40-50 Hours
It would take around 40-50 hours to complete the story of Wuthering Waves from its prologue up until the latest main quest in Version 3.0. This includes playing through each main quest and not skipping through the cutscenes.
Note that this does not include the hours spent raising your Union Level to unlock some of the earlier main quests.
Chapter 3 Act 1 is the Lastest Main Quest
As of Version 3.0, the Prologue When the Unknown Thrums and the Main Quest What Burns Beneath Frostlands are the latest main quests. New story content will be released in future updates of Wuthering Waves, so stay tuned for more!
What to Do in Your Free Time
|
▶︎How to Raise Your Data Bank ▶︎Character Tier List ▶︎Best Echo Cost Combinations ▶︎All Exploration Quests ▶︎All Companion Stories ▶︎All Puzzle Types and Solutions ▶︎Depths of Illusive Realm Guide |
How to Progress through the Story and Early Game
Complete Main Quests
If you are just starting out in Wuthering Waves, it is recommended to play through the main quests first as it gives you the most number of Union EXP.
Once you reach a point where you need to raise your Union Level to unlock the next main quest, you can complete the other quest types in the Quest Log. Make sure to check the Quest Rewards to see which quests reward you with Union EXP.
All Quest Types
| Quest Type | Explanation |
|---|---|
| The main story mission of the game. | |
| Story missions that are tied to a specific character. | |
| Regional missions that may alter the terrain. | |
| Missions that you can discover in the open world. They are marked with a blue question mark on the map. | |
| Missions that introduce and unlock a new gameplay mechanic. | |
| Short missions that appear each day. |
Follow the Quest Marker
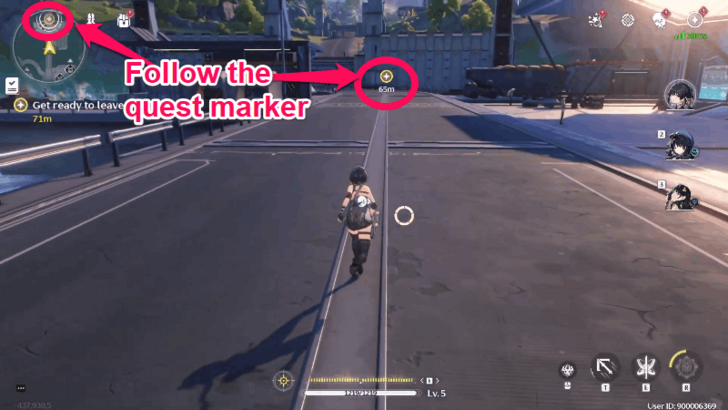
Most of the objectives in the main quest consist of following the yellow marker until you reach the destination.
If Quest Marker Does Not Show Up, Select Track on the Quest Log
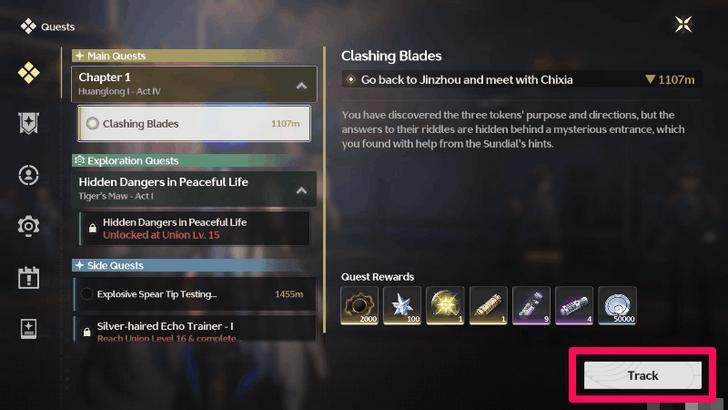
If the yellow quest marker does not appear, check your Quest Log and press the Track button to start tracking the quest.
Raise Union Level to Progress through the Story
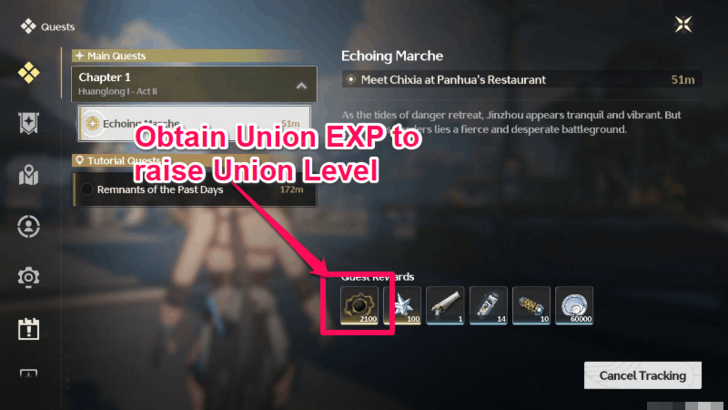
As you progress through the main story, you wil encounter main quests that require you to raise your Union Level. You can complete certain side quests, clear World Bosses, and complete Simulation Training.
Wuthering Waves Related Guides

List of Quest Types
| All Quest Types | |
|---|---|
| Main Quests | Companion Stories |
| Exploration Quests | Side Quests |
| Tutorial Quests | Daily Quests |
| Hidden Quests | - |
Comment
Author

Main Quest Walkthrough and Story Chapter List
Premium Articles

Rankings

Gaming News


![Monster Hunter Stories 3 Review [First Impressions] | Simply Rejuvenating](https://img.game8.co/4438641/2a31b7702bd70e78ec8efd24661dacda.jpeg/thumb)
Popular Games

Genshin Impact Walkthrough & Guides Wiki
Honkai: Star Rail Walkthrough & Guides Wiki
Umamusume: Pretty Derby Walkthrough & Guides Wiki
Pokemon Pokopia Walkthrough & Guides Wiki
Resident Evil Requiem (RE9) Walkthrough & Guides Wiki
Monster Hunter Wilds Walkthrough & Guides Wiki
Wuthering Waves Walkthrough & Guides Wiki
Arknights: Endfield Walkthrough & Guides Wiki
Pokemon FireRed and LeafGreen (FRLG) Walkthrough & Guides Wiki
Pokemon TCG Pocket (PTCGP) Strategies & Guides Wiki


Recommended Games
Diablo 4: Vessel of Hatred Walkthrough & Guides Wiki
Cyberpunk 2077: Ultimate Edition Walkthrough & Guides Wiki
Fire Emblem Heroes (FEH) Walkthrough & Guides Wiki
Yu-Gi-Oh! Master Duel Walkthrough & Guides Wiki
Super Smash Bros. Ultimate Walkthrough & Guides Wiki
Pokemon Brilliant Diamond and Shining Pearl (BDSP) Walkthrough & Guides Wiki
Elden Ring Shadow of the Erdtree Walkthrough & Guides Wiki
Monster Hunter World Walkthrough & Guides Wiki
The Legend of Zelda: Tears of the Kingdom Walkthrough & Guides Wiki
Persona 3 Reload Walkthrough & Guides Wiki


All rights reserved
Copyright© 2024-2025 Kuro Games. All Rights Reserved.
The copyrights of videos of games used in our content and other intellectual property rights belong to the provider of the game.
The contents we provide on this site were created personally by members of the Game8 editorial department.
We refuse the right to reuse or repost content taken without our permission such as data or images to other sites.