Chapter 2 Act 2 Veils Off in Sun or Shadow Quest Guide
★ Version 3.2 Banners → Livestream Codes
┣ Sigrika → Materials, Weapon, Banner
┣ Qiuyuan → Builds, Materials, Weapon
┗ Phase 2 → Lynae, Zani, Phoebe
★ Tapes of Last Words | Soliskin | 3.1 Trophies
★ Exclusives: Tier Maker | State of the Meta
Chapter 2 Act 2: Veils Off in Sun or Shadow is the second Act in Chapter 2 of the Main Quest in Wuthering Waves. See how to unlock Veils Off in Sun or Shadow, its walkthrough, and all the rewards of this quest here!
| ◄ Previous Quest | Next Quest ▶ |
|---|---|
| Chapter 2 Act 1: The Sacred Breeze So Often Breathes | Chapter 2 Act 3: What Yesterday Wept, Today Doth Sing |
How to Unlock Veils Off in Sun or Shadow
Complete The Sacred Breeze So Often Breathes

Veils Off in Sun or Shadow automatically unlocks after completing the previous main quest, The Sacred Breeze So Often Breathes.
The Sacred Breeze So Often Breathes Guide
Veils Off in Sun or Shadow Walkthrough
| Veils Off in Sun or Shadow Walkthrough | |
|---|---|
| 1 |
Find Gilberto in Whisperwind Haven ┣ Meet up with Zani ┣ Hitch a Ride on the Wingray ┣ Talk to Citizens Nearby ┣ Head to the Place Where the Echoes Were Last Seen ┣ Transform into Echo and Clear the Corroded Frequencies ┣ Trace the Echo's Trail ┗Defeat the TDs Controlled by Gilberto |
| 2 |
Atrium of Reflections ┣ Head to the Port ┣ Ride the Gondola to the Station ┣ Head to the Atrium of Reflections ┣ Search for Clues ┣ Defeat Lorelei ┗ Ride the Gondola to Averardo |
| 3 |
Averardo Vault ┣ Head to the Vault Main Entrance ┗ Enter the Averardo Vault |
| 4 |
Hallowed Reach ┣ Go to the Tower Ruins ┣ Use Sensor to Restore the Frequencies ┣ Restore the Broken Windows ┗ Defeat the Echoes Sent by the Order |
| 5 | Find a Way Through the Wailing Ascent |
Meet up with Zani

After completing the previous quest, you will be taken to another location. Follow the quest marker and meet Zani below to continue the quest.
Make sure to interact with the Resonance Nexus nearby to unlock your map.
Use Grapple to Hitch a Ride on the Wingray
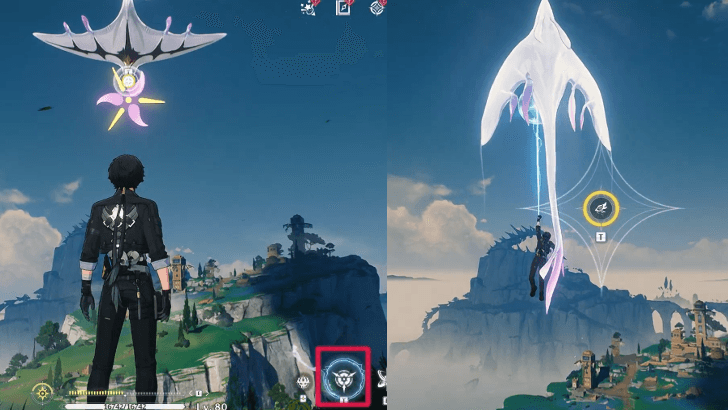
Once done talking with Zani, go forward until you discover the Wingray. Use your grappler to catch a ride on the stingray and glide to your next destination.
Talk to Citizens Nearby

Continue climbing the mountain until you reach a house. Speak to the children and Cristoforo.
Head to the Place Where the Echoes Were Last Seen
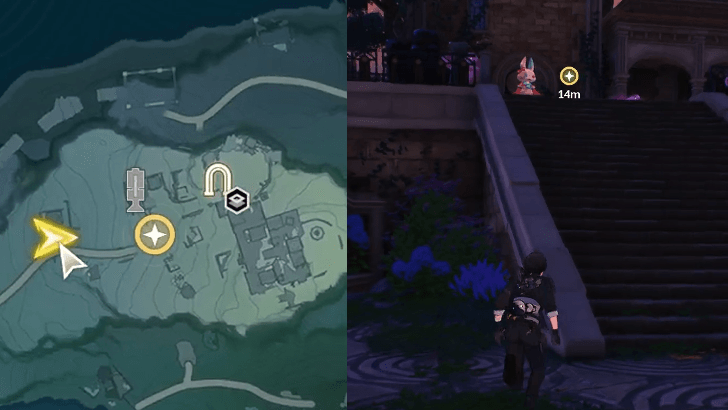
After talking with Cristoforo, continue the quest marker through the ruins above the hill until you find the entryway with an Echo.
Transform into Echo and Clear the Corroded Frequencies

Interact with the echoes in front and transform into them. Then, hold down your attack button to clear all of the purple orbs.
Head back to Cristoforo after clearing all the corroded frequencies.
Trace the Echo's Trail
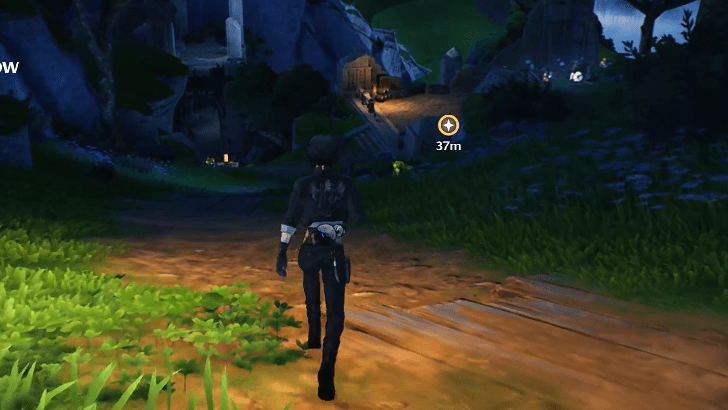
Once done conversing with Cristoforo, go ahead and meet with Phoebe. There will be a lengthy cutscene with Phoebe, followed by another scene down the road into the ruins.
Defeat the TDs Controlled by Gilberto
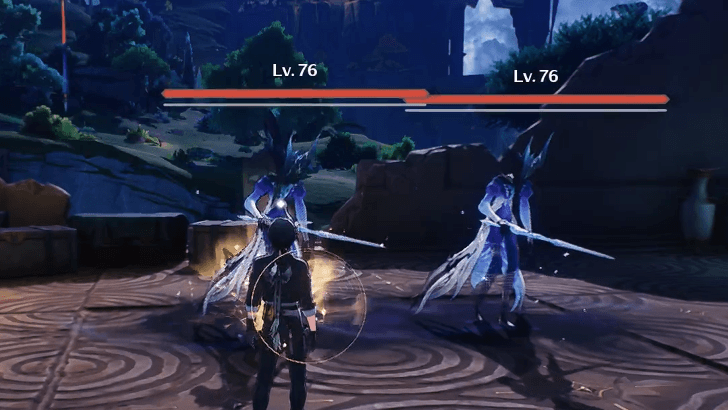
During your confrontation with Gilberto, you will face and defeat a number of TDs.
Head to the Port and Speak with the Harbormaster
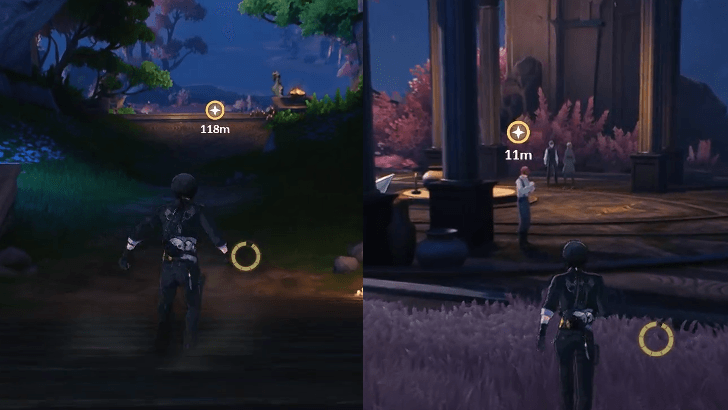
After the scene with Gilberto, head to the port and speak with the Harbormaster. There you will also meet Carlotta.
Ride the Gondola to the Station

Riding the gondola, follow the marker all the way to the station. Exit the gondola to see another dialogue cutscene.
Head to the Atrium of Reflections
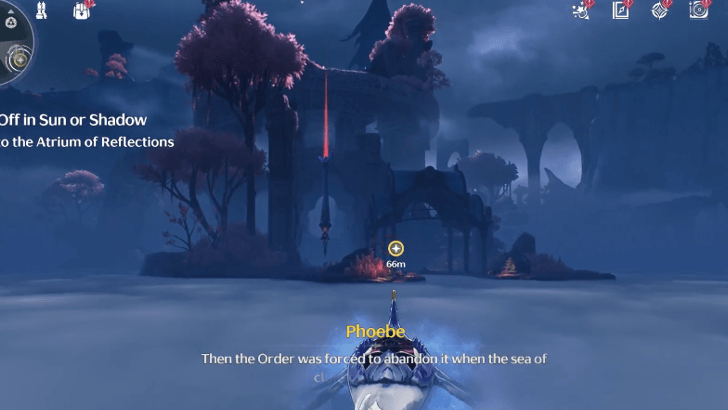
After saying goodbye to Carlotta, board the gondola again and proceed to the Atrium of Reflections.
Search for Clues

When you arrive at the Atrium of Reflections, a Masked Follower will greet you. After speaking with the follower, look for clues nearby; all clues will be marked on your map, so just approach and interact with them.
Defeat Lorelei

After collecting all of the clues, return to the door for another cutscene. After the cutscene, you will face Lorelei in battle.
Ride the Gondola to Averardo
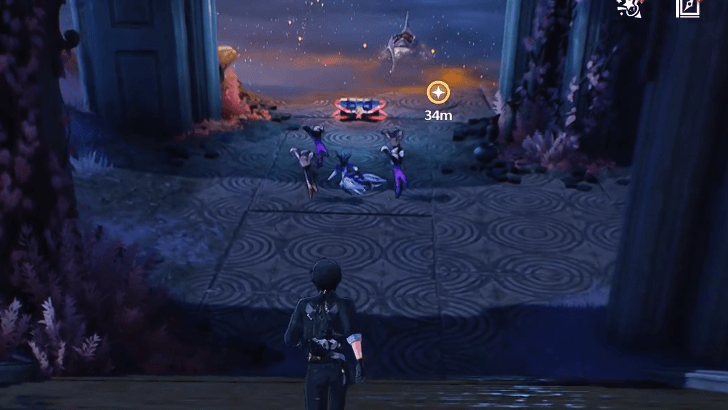
Upon beating Lorelei, defeat the TDs down the stairs and take the gondola till you reach the Averardo.
Head to the Vault Main Entrance

Once at the Averardo, follow the quest marker to the vault. You will encounter enemies along the road, so make sure to defeat them.
Enter the Averardo Vault

After speaking with Carlotta, proceed to the Averardo Vault, set up your party, and enter the vault.
Averardo Vault Walkthrough
| Averardo Vault Walkthrough | |
|---|---|
| 1 | 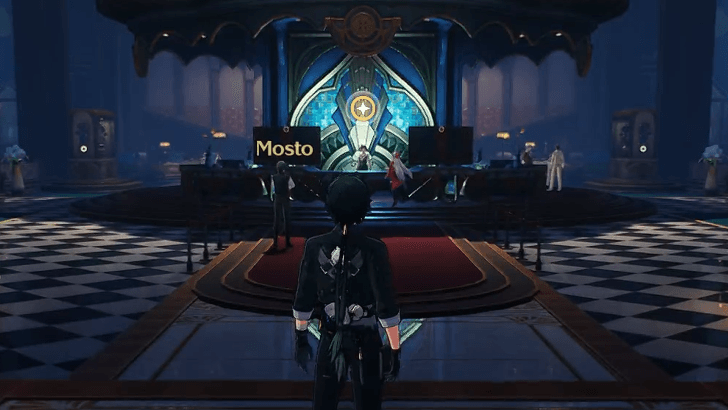 Upon entering, head to the corridor and proceed to the front desk. |
| 2 |  After talking with Carlotta, follow the marker to locate her and Zani. After a while, you'll get control of Carlotta, then make your way further into the vault. |
| 3 |  Use the Jewerly Set and aim it to the cameras to disable them. Once all cameras are turned off, approach the table in the center and proceed to the next chamber. |
| 4 | 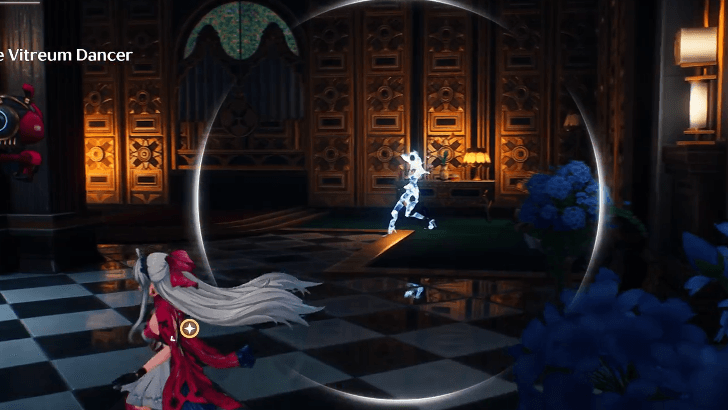 The following chamber will include a dashing Vitreum Dancer. Wait for them to come to a complete stop before freezing them again with the Jewerly Set. Once they are both frozen, the door should be unlocked. |
| 5 |  Continue forward until you reach a mechanism, then activate it and proceed to a room with many cameras. Simply freeze them to access the chest and pass through them. |
| 6 | 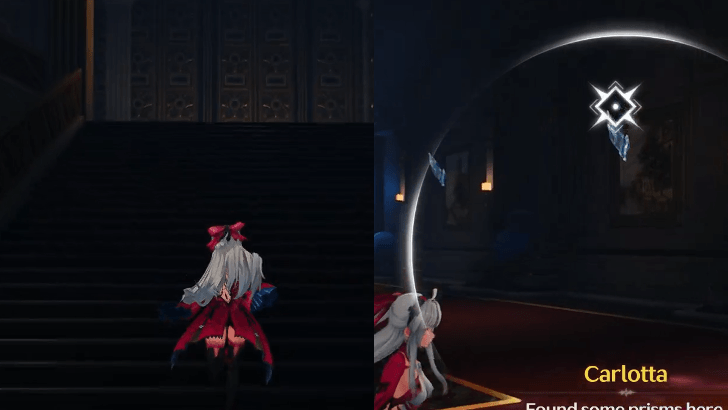 Climb the stair to the upper floor to reach the control room. |
| 7 | 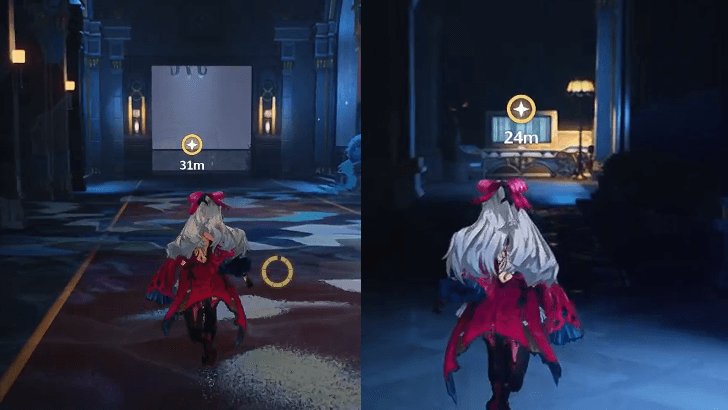 Once in the control room turn right then active the console. |
| 8 |  After activating the console, it will spawn more Vitreum Dancers; simply blast the giant crystal to freeze them all before moving on to another console. |
| 9 | 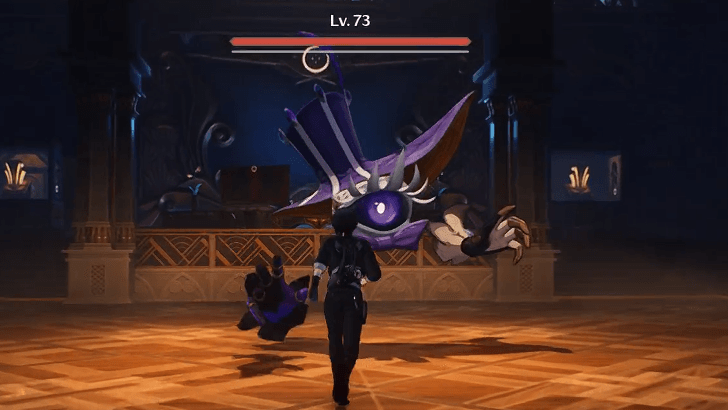 After activating the console, you will see a short cutscene before returning to your character. Simply proceed on to the vault, defeating all enemy along the route. |
| 10 | 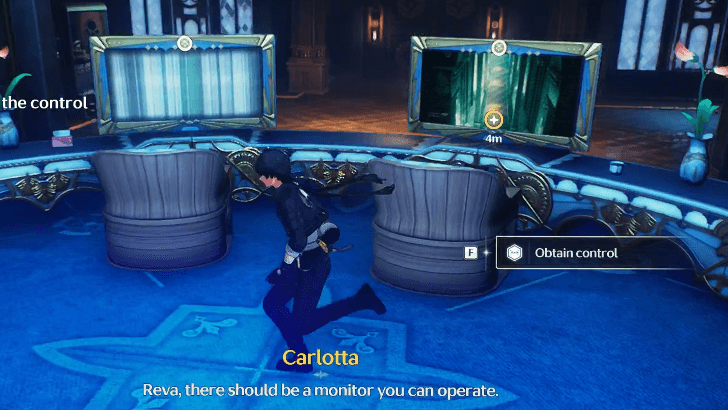 Once you've reached the huge area, defeat all of the opponents and proceed to the console. |
| 11 | 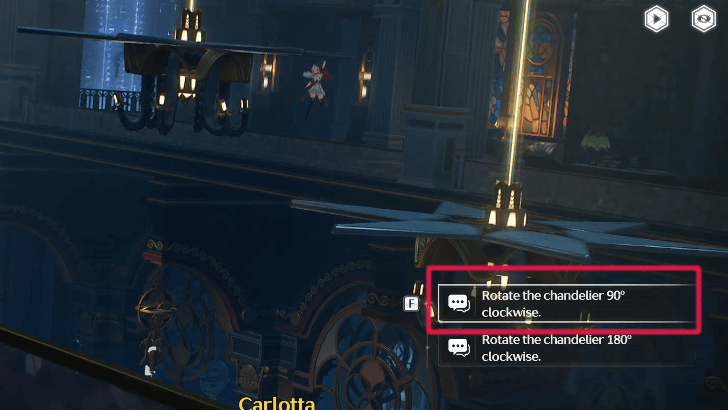 After fighting additional monsters, you will need to assist Carlotta by controlling the chandelier. Just make sure you choose the first option to pass through. |
| 12 |  After passing through the chandelier, you'll be back with Carlotta. Simply carry on to another control room. |
| 13 |  Avoid traps and utilize your grappler to dash across walls while avoiding lasers. |
| 14 | 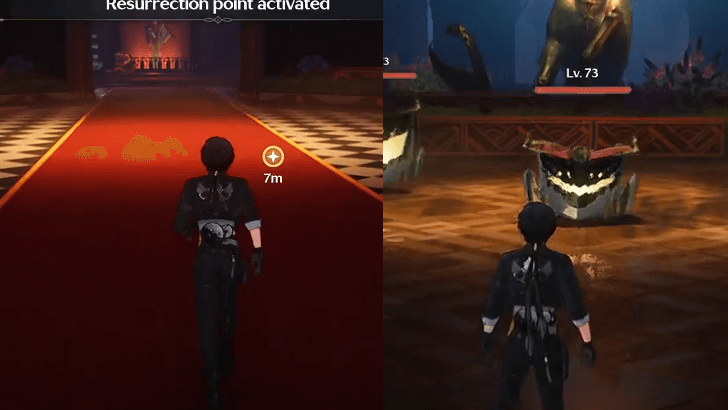 When you're back with your character, just continue on and defeat guard echoes. |
| 15 | 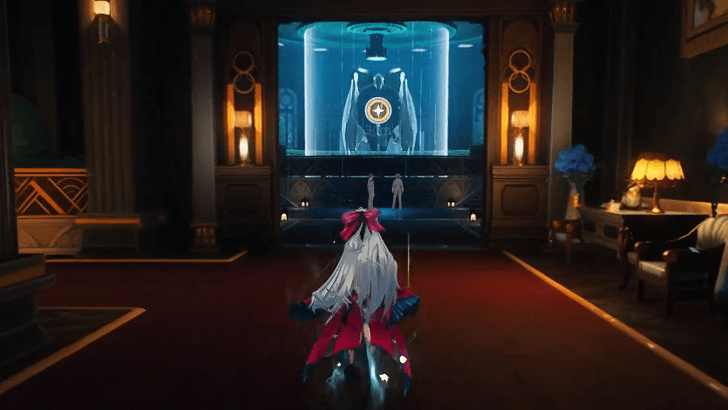 Then, follow the marker to the tuning room to see another cutscene. |
| 16 | 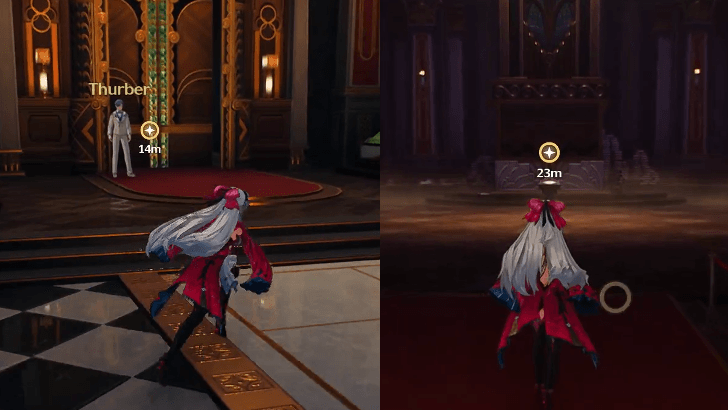 After the scene, take the elavator up to inspect the files on the pedestal. Then take the elevator again to meet with Zani. |
| 17 |  Finally, battle Sentry Construct to complete the Averardo Vault. |
Go to the Tower Ruins

After defeating the Sentry Construct, grapple to the Wingray and fly to the next site. Once landed, proceed forward until you reach the tower ruins.
Use Sensor to Restore the Frequencies
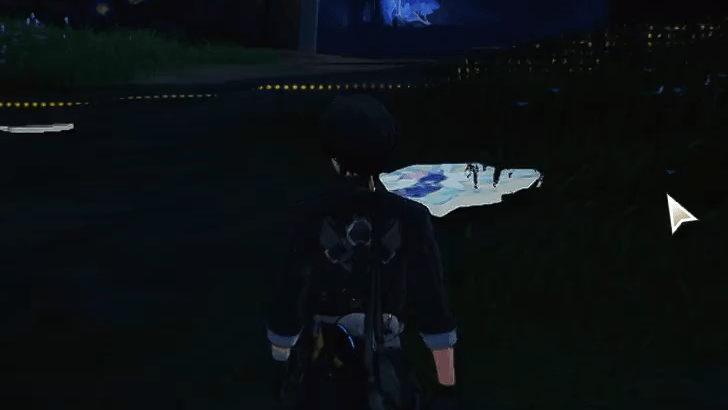
Equip your sensor to detect the scattered window glass nearby.
Restore the Broken Windows
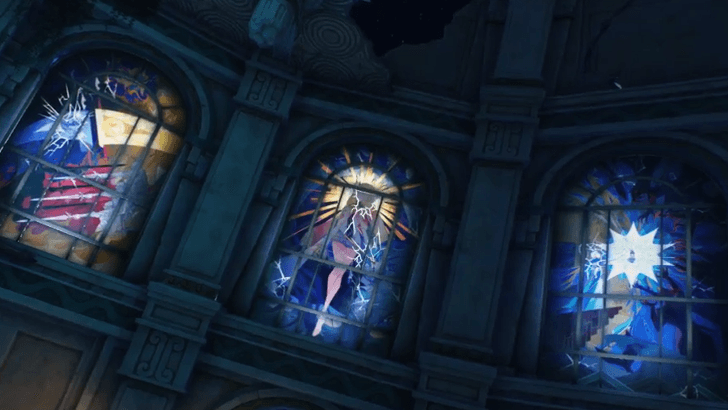
To restore the damaged window, return the shards to the relevant window. You'll need to return five window shards.
How to Restore the Broken Windows
| How to Restore the Window | |
|---|---|
| 1 | 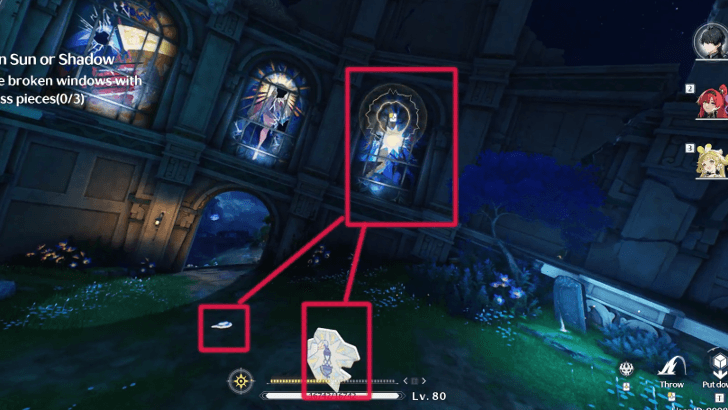 Begin with the two window shards in front, then place them on the rightmost window. |
| 2 |  Next, collect the window shard from the back and set it in the first window on the left. Finally, place the remaining two window shards in the center. |
Defeat the Echoes Sent by the Order

Following the lengthy cutscene, you will be thrown back into combat. Defeat the echoes to initiate another cutscene.
Find a Way Through the Wailing Ascent

After the scene, follow the marker into the bridge and make your way through the Wailing Ascent. You'll need to use your grappler to avoid the attacks and defeat echoes to remove the wall.
Veils Off in Sun or Shadow Information
| Veils Off in Sun or Shadow Quest Information | |
|---|---|
| Questline | Chapter 2: Even When Divinity Remains Silent |
| Required Union Lvl | None |
| Quest Location | Rinascita |
| Version Release | 2.0 |
Veils Off in Sun or Shadow Rewards
Total Quest Rewards
| Veils Off in Sun or Shadow Quest Rewards |
|---|
|
|
Unlocks Exploration Trophies

Playing through and completing the Veils Off in Sun or Shadow unlocks the trophies, Swim Up, It Takes Two, Way Out, and The Skyfire, each of which gives you 5 Astrites.
Wuthering Waves Related Guides

List of Quest Types
| All Quest Types | |
|---|---|
| Main Quests | Companion Stories |
| Exploration Quests | Side Quests |
| Tutorial Quests | Daily Quests |
| Hidden Quests | - |
Main Quest Walkthrough
Comment
Author
Chapter 2 Act 2 Veils Off in Sun or Shadow Quest Guide
improvement survey
03/2026
improving Game8's site?

Your answers will help us to improve our website.
Note: Please be sure not to enter any kind of personal information into your response.

We hope you continue to make use of Game8.
Premium Articles
Rankings
Gaming News
Popular Games

Genshin Impact Walkthrough & Guides Wiki

Honkai: Star Rail Walkthrough & Guides Wiki

Umamusume: Pretty Derby Walkthrough & Guides Wiki

Pokemon Pokopia Walkthrough & Guides Wiki

Resident Evil Requiem (RE9) Walkthrough & Guides Wiki

Monster Hunter Wilds Walkthrough & Guides Wiki

Wuthering Waves Walkthrough & Guides Wiki

Arknights: Endfield Walkthrough & Guides Wiki

Pokemon FireRed and LeafGreen (FRLG) Walkthrough & Guides Wiki

Pokemon TCG Pocket (PTCGP) Strategies & Guides Wiki
Recommended Games

Diablo 4: Vessel of Hatred Walkthrough & Guides Wiki

Fire Emblem Heroes (FEH) Walkthrough & Guides Wiki

Yu-Gi-Oh! Master Duel Walkthrough & Guides Wiki

Super Smash Bros. Ultimate Walkthrough & Guides Wiki

Pokemon Brilliant Diamond and Shining Pearl (BDSP) Walkthrough & Guides Wiki

Elden Ring Shadow of the Erdtree Walkthrough & Guides Wiki

Monster Hunter World Walkthrough & Guides Wiki

The Legend of Zelda: Tears of the Kingdom Walkthrough & Guides Wiki

Persona 3 Reload Walkthrough & Guides Wiki

Cyberpunk 2077: Ultimate Edition Walkthrough & Guides Wiki
All rights reserved
Copyright© 2024-2025 Kuro Games. All Rights Reserved.
The copyrights of videos of games used in our content and other intellectual property rights belong to the provider of the game.
The contents we provide on this site were created personally by members of the Game8 editorial department.
We refuse the right to reuse or repost content taken without our permission such as data or images to other sites.


![Everwind Review [Early Access] | The Shaky First Step to A Very Long Journey](https://img.game8.co/4440226/ab079b1153298a042633dd1ef51e878e.png/thumb)

![Monster Hunter Stories 3 Review [First Impressions] | Simply Rejuvenating](https://img.game8.co/4438641/2a31b7702bd70e78ec8efd24661dacda.jpeg/thumb)


