
This survey will take about 1 minute.
Your answers will help us to improve our website.
Wuthering Waves (WuWa)
Virtual Crisis: Frontier Trials Event Guide
★ Version 3.2 Banners → Livestream Codes
┣ Sigrika → Materials, Weapon, Banner
┣ Qiuyuan → Builds, Materials, Weapon
┗ Phase 2 → Lynae, Zani, Phoebe
★ Tapes of Last Words | Soliskin | 3.1 Trophies
★ Exclusives: Tier Maker | State of the Meta
Virtual Crisis: Frontier Trials is the most recent iteration of the Virtual Crisis Trial Challenge Event in Wuthering Waves 2.4. See how to play, how to unlock Frontier Trials, gameplay guide, the best teams to use, which buffs to use, and the event schedule here!
List of Contents
Disaster Trials Gameplay Guide
In Disaster Trials, players can customize their playthrough to increase or decrease difficulty against each stage, increasing Stress Level as you take more character debuffs. Stress Level is also cumulative, so the game will total the stress level you chose for each stage. Use this to your advantage and distribute Stress Levels across multiple stages!
Astrites are not given in Disaster Trials anymore, but if you want to maximize the Matrix Crystals gained, you will have to do this challenge. In addition, this is the only way for you to get the Virtual Vanquisher title, obtainable after reaching a total of Stress Level 48.
| Jump to a Stage! | |
|---|---|
 Elegy from the Clouds Elegy from the Clouds Lorelei |
 March of Brutal Packs March of Brutal Packs Feilian Beringal |
 Echoes of Sword Storms Echoes of Sword Storms Fleurdelys |
 Reprise of Overlord Trio Reprise of Overlord Trio Fallacy of No Return |
Lorelei Stage: Elegy from the Clouds

Team Comp and Buffs
| Recommended Team Comp | Support Modules |
|---|---|
| Aero Assault Operation Treatment |
| Other Team Comps | Support Modules |
|---|---|
| Spectro Assault Operation Treatment | |
| Spectro Assault Operation Treatment | |
| Ethereal Grace Operation Treatment | |
| Ethereal Grace Operation Treatment | |
| Note that you can only use a Support Module once across all 4 challenges. Using two here will render them ineligible for the other 3 challenges. | |
Stress Level 37 Modules
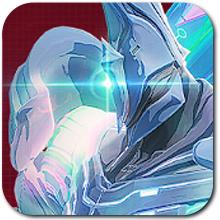
To get the max Stress Level of 37, you will have to choose all the highest scoring Modules for every group. There will be groups where there are choices, and we have highlighted the choices you should prioritize below:
| Stress Level 37 Choices | |
|---|---|
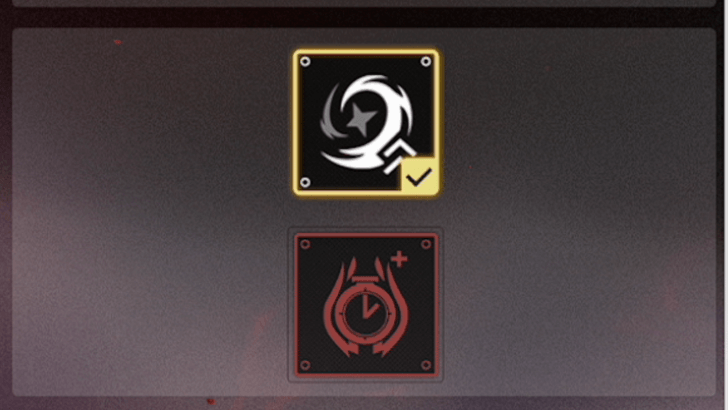
 over Volatile Mirage |
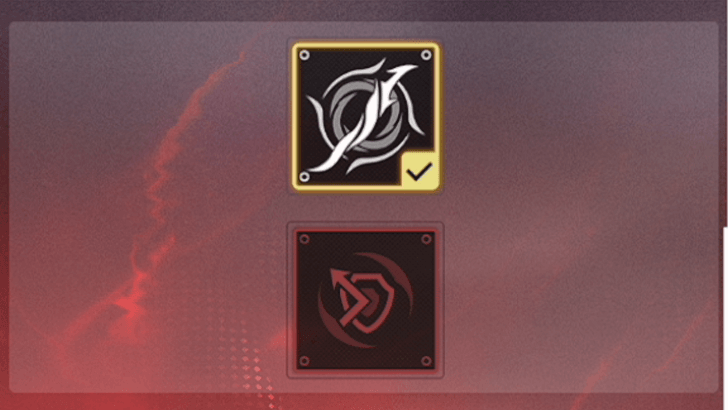
 over Swift Recoil |
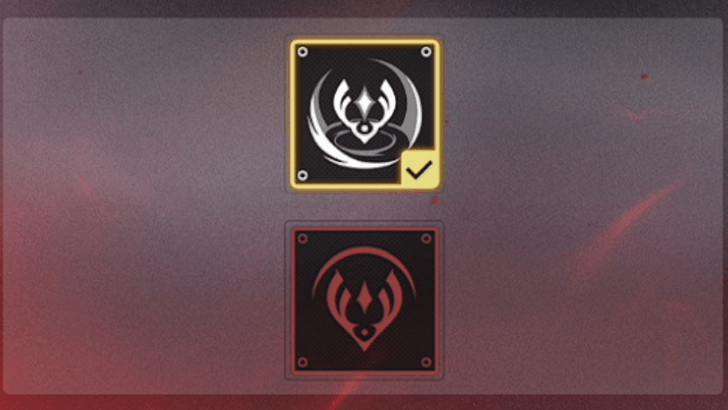
 over Dirge Staccato: Rage |
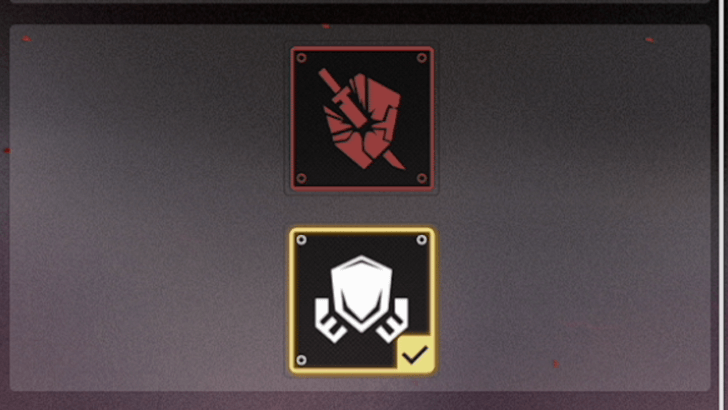
 over Shield Mirage |
Tips to Clear the Virtual Crisis Lorelei
For Trial Stage 1, you are going to be up against a Lorelei. This special Lorelei has the ability to summon red Burst Bubbles and green Healing Bubbles that will provide either damage or healing on both enemies & Resonators respectively.
When she summons the Red Bubbles, run towards enemies and make sure the red bubbles explode next to them, including Lorelei. This will help you bring them down easily. For Green Bubbles, be sure to get them and not allow them to reach Lorelei. This will heal her significantly, prolonging the fight.
As always, try to avoid all of her attacks especially her burst damage on the floor. This is usually what causes defeat, since the stars she throws are easily telegraphed. Also, focus on Lorelei and minimize the focus on the additional enemies!
Feilian Beringal Stage: March of Brutal Packs

Team Comp and Buffs
| Recommended Team Comp | Support Modules |
|---|---|
| Pre-emptive Strike Lash Healing |
| Other Team Comps | Support Modules |
|---|---|
| Spectro Assault Lash Healing | |
| Spectro Assault Armor Plating | |
| Ethereal Grace Armor Plating | |
| Ethereal Grace Armor Plating |
Stress Level 37 Modules
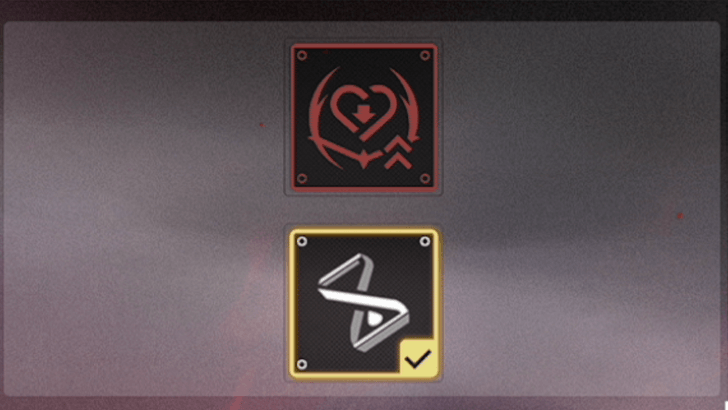
To get the max Stress Level of 37, you will have to choose all the highest scoring Modules for every group. There will be groups where there are choices, and we have highlighted the choices you should prioritize below:
| Stress Level 37 Choices | |
|---|---|
 over Repulsive Force |
 over Frenzy Swarm |
 over Healing Stump |
 over Static Effect |
Tips to Clear the Virtual Crisis Feilian Beringal
For Trial Stage 2, you are going to be up against a Feilian Beringal. This special Feilian Beringal will summon a bunch of minions like Havoc Dreadmanes, Spearbacks, and Hoochief Menaces that will attempt to provide it buffs at higher risks. If you're not aiming for high Stress Levels, just ignore them and focus on the Beringal.
The key to success here is to try and defeat all the minions the Beringal summons and choosing the Shock Stump over the Healing Stump. Having the healing stump instead will prolong the battle significantly and can render the Beringal unkillable.
In addition, you should also Dodge Counter everytime the Beringal attacks while above the stump using Zhezhi. This is a free attack, and can help in trickling down the Beringal's health!
Fleurdelys Stage: Echoes of Sword Storms

Team Comp and Buffs
| Recommended Team Comp | Support Modules |
|---|---|
| Spectro Assault Impenetrable Fortress |
|
| Spectro Assault Impenetrable Fortress |
| Other Team Comps | Support Modules |
|---|---|
| Ethereal Grace Armor Plating | |
| Ethereal Grace Armor Plating |
Stress Level 37 Modules
To get the max Stress Level of 37, you will have to choose all the highest scoring Modules for every group. There will be groups where there are choices, and we have highlighted the choices you should prioritize below:
| Stress Level 37 Choices | |
|---|---|
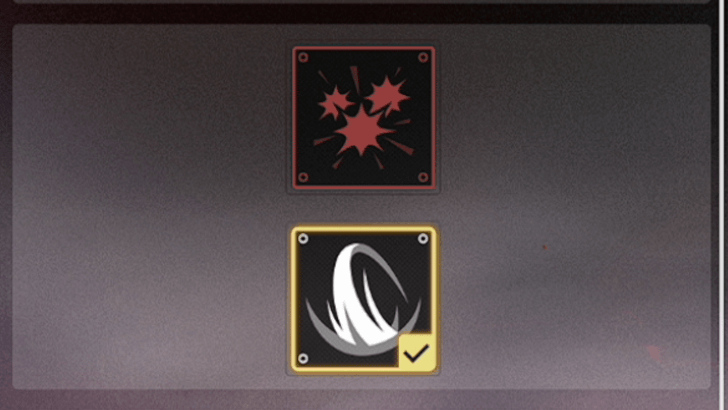
 over Resilient Blade |
 over Fort of Despair: Spear |
 over Cacophony |
|
Tips to Clear the Virtual Crisis Fleurdelys
For Trial Stage 3, you are going to be up against a Fleurdelys. This is by far the hardest among all the four stages mostly because of Fleurdelys' resilience and equally intense attacks that can drain your health after even the smallest of slips.
For this stage, the key is to use all the buffs from the stage and avoid all of Fleurdelys' attacks. The latter advice is easier said than done because after reaching 75% health, Fleurdelys will go ham and attack relentlessly. Practice and repetition will be the name of the game for this stage, mostly until you've mastered avoiding most (if not all) of Fleurdelys' attacks.
To help you out with Fleurdelys, the stage will provide buffs depending on where you are in the special Avinoleum stage:
- Inside the Realm of Spear (center of the arena), your Resonators deal 30% more damage to shielded enemies. Try to stay here at the start and at the 20% HP point with Fleurdelys to quickly shred her shield.
- At anywhere in the entire arena is Realm of Shield which also covers Realm of Spear, your Resonators gain a shield that refreshes every 5s. Try to maintain this shield and stack it with the shield provided by the Intro Skill (from Impenetrable Fortress) and Resonance Liberation (from Fort of Despair: Shield). This will help you a lot!
- A moving, circular area on the arena is called the Realm of Resonance. Staying here will charge your Liberation, but will drain your HP. Only enter this area periodically or only when you have a pretty chonky shield.
Fallacy of No Return Stage:
Reprise of Overlord Trio

Team Comp and Buffs
| Recommended Team Comp | Support Modules |
|---|---|
| Ethereal Grace Armor Plating |
|
| Ethereal Grace Armor Plating |
| Other Team Comps | Support Modules |
|---|---|
| Spectro Assault Lash Healing | |
| Spectro Assault Armor Plating | |
| Ethereal Grace Armor Plating | |
| Ethereal Grace Armor Plating | |
| Ethereal Grace Armor Plating | |
| Ethereal Grace Armor Plating |
Stress Level 37 Modules
To get the max Stress Level of 37, you will have to choose all the highest scoring Modules for every group. There will be groups where there are choices, and we have highlighted the choices you should prioritize below:
| Stress Level 37 Choices | |
|---|---|
 over No Fly Zone |
 over Decelerating Burden |
 over Joint Effort |
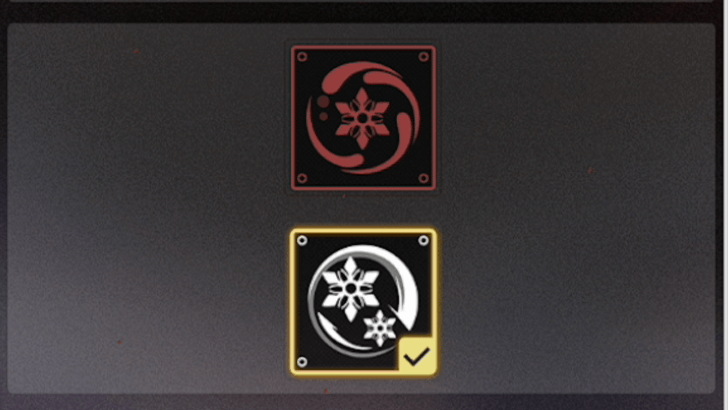 over Trill Frostbite |
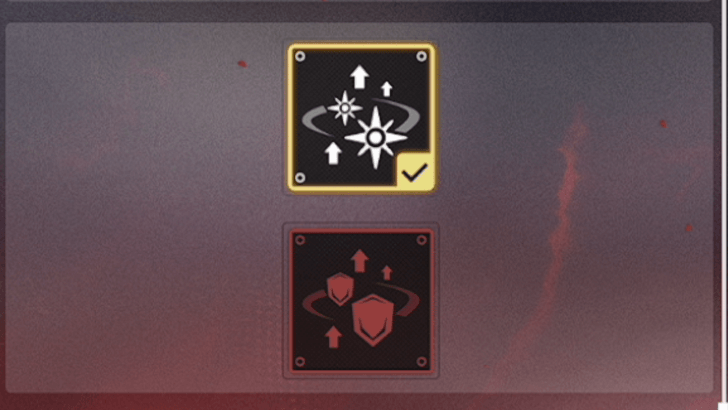 over Resistance Matrix |
|
Tips to Clear the Virtual Crisis Fallacy of No Return
For Trial Stage 2, you are going to be up against a Fallacy of No Return. This special Fallacy of No Return will summon a total of three Overlord Echoes which provides the Fallacy with a very chonky shield unless you defeat those Overlord Echoes first.
The key to success here is to try and defeat all the Overlord Echoes as soon as they are summoned to remove the shield that Fallacy generates. This will happen three times in the entire battle: at 95%, 65%, and 35% HP. Defeating the Overlord Echoes completely removes the shield from Fallacy, and restores your Resonance Energy to full.
Another important ingredient to success is Brant, a trial Resonator for this stage. He will mostly attack from mid-air, completely rendering most of the Fallacy's attacks useless. Not only that, Brant can also heal himself and the entire party while attacking so Armor Plating will always be at 100% uptime. Brant can even be considered a cheese for this stage!
On that note, be sure to know how to use Brant and how to do his mid-air attack combos. He will literally easily clear Stress Level 37 with no sweat.
Crisis Trials Gameplay Guide
For the Crisis Trials, players will have no choice but to use the pre-set stress modules for each trial. Thankfully, trial resonators are provided and we now have two buffs to play with so it'll be a bit easier to manage!
Crisis Trial is also where you'll be unlocking some of the modules that you'll use in the ▲Disaster Trials, so you will have to do this!
| Jump to a Stage! | |
|---|---|
 Stage 1 Stage 1 Bugged Conditions |
 Stage 2 Stage 2 Arena Anomaly |
 Stage 3 Stage 3 Data Overflow |
 Stage 4 Stage 4 The Three Knights |
 Stage 5 Stage 5 Applause for the Swift |
 Stage 6 Stage 6 Mimic Siege |
 Stage 7 Stage 7 Snowball Effect |
 Stage 8 Stage 8 Tacet Discord Surge |
Crisis Trial Stage 1: Bugged Conditions
Challenge Settings
| Recommended Support Module | |
|---|---|
| Aero Assault | When Resonators deal Aero DMG to enemies with Aero Erosion, their Crit DMG is increased by 80%. |
| Blessing | Resonators gain 40% Healing Bonus. |
| Stress Level | |
| Stress Level 6 | |
| Suggested Attribute | |
|
|
|
Team Composition
| Main DPS | Sub-DPS | Support |
|---|---|---|
|
|
|
|
The team above are part of the trial resonator pool. If you have versions of these characters with better builds, use them!
How to Clear Crisis Trial Stage 1
Cartethyia, Ciaccona, and Aero Rover are the trial resonators for this trial stage. This team features Aero Erosion hence we opted with Aero Assault to increase your Crit DMG even more.
For this run, you will have a very low Stamina, so you will have to manage your evasions. Do not dash unnecessarily and opt for perfect evasions when possible. Also note that using Resonance Skill will give you stacks of Glacio Chafe which will mostly affect Aero Rover's rotation, since they spam Resonance Skills a lot.
Also, take note of the red circular hazards that will appear on the stage periodically. Make sure to perfectly evade them after glowing instead of dashing to save stamina.
Crisis Trial Stage 2: Arena Anomaly
Challenge Settings
| Recommended Support Module | |
|---|---|
| Fortification | Resonators' Max HP is increased by 100%. |
| Operation Treatment | Resonators' Healing Bonus is increased by 100%. When being healed, Active Resonators take 20% less damage for 8s. |
| Stress Level | |
| Stress Level 6 | |
| Suggested Attribute | |
|
|
|
Team Compositions
| Main DPS | Sub-DPS | Support |
|---|---|---|
|
|
|
|
The team above are part of the trial resonator pool. If you have versions of these characters with better builds, use them!
How to Clear Crisis Trial Stage 2
For this trial, thee main challenge is going to be HP management. Thankfully, Verina and Cantarella are there to provide healing, so you will have an easier time with this challenge.
Be sure to properly go through rotations and triggering both Verina and Cantarella's Liberation because those are the ones that provide healing. You will also have to evade properly with Jinhsi, as using her Resonance Skill consumes HP so it's quite easy to be KO'd.
Crisis Trial Stage 3: Data Overflow
Challenge Settings
| Recommended Support Module | |
|---|---|
| Lash Healing | Casting Resonance Liberation restores 25% Max HP for all Resonators in the team. This effect can be triggered once every 12s for each Resonator. |
| Allegro | Resonators' Energy Regen is increased by 100%. |
| Stress Level | |
| Stress Level 6 | |
| Suggested Attribute | |
|
|
|
Team Compositions
| Main DPS | Sub-DPS | Support |
|---|---|---|
|
|
|
|
The team above are part of the trial resonator pool. If you have versions of these characters with better builds, use them!
How to Clear Crisis Trial Stage 3
For this trial, your greatest challenge is the long Liberation cooldown. Thankfully, the team can destroy the enemies with just 1 and a half rotation so you don't have to actually reuse the Liberation again.
Just make sure you are using the proper rotations and properly utilizing Carlotta's specal Heavy Attack to make this stage a cakewalk.
Crisis Trial Stage 4: The Three Knights
Challenge Settings
| Recommended Support Module | |
|---|---|
| Pre-emptive Strike | Casting Resonance Liberation increases the Resonator's Crit DMG by 30% for 5s, stacking up to 3 times. |
| Lead Tempo | Resonators' Concerto Regen is increased by 100%. |
| Stress Level | |
| Stress Level 6 | |
| Suggested Attribute | |
|
|
|
Team Compositions
| Main DPS | Sub-DPS | Support |
|---|---|---|
|
|
|
|
The team above are part of the trial resonator pool. If you have versions of these characters with better builds, use them!
How to Clear Crisis Trial Stage 4
The main difficulty for this stage is the increased Vibration Strength of enemies. Thankfully, you do not actually need to break it to make things easier as having Vibration Strength does not provide the enemies with any buffs. On the contrary, you actually want to KO them without breaking their Strength to avoid the damage they will proc after being Immobilized.
For this stage, just make sure to dodge properly and thankfully it is quite easy to do so! The enemies here have a very easy tell, so any WuWa player can telegraph it quite easily!
Crisis Trial Stage 5: Applause for the Swift
Challenge Settings
| Recommended Support Module | |
|---|---|
| Spectro Assault | When Resonators deal Spectro DMG to enemies with Spectro Frazzle, enemies' Spectro RES is reduced by 10% for 10s, stacking up to 5 times. |
| Allegro | Resonators' Resonance Liberation cooldown is reduced by 50%. |
| Stress Level | |
| Stress Level 6 | |
| Suggested Attribute | |
|
|
|
Team Compositions
| Main DPS | Sub-DPS | Support |
|---|---|---|
|
|
|
|
The team above are part of the trial resonator pool. If you have versions of these characters with better builds, use them!
How to Clear Crisis Trial Stage 5
The main difficulty of this battle lies on how enemies will have a shield after entering the battle. This is quite easy to mitigate though, as you can just deal consistent damage to break the shields. There is no special mechanic arurrounding the shield for enemies at least.
Your Resonators get less healing though, so you will need to evade properly and avoid getting hit. Also, try to maintain your shields as having no shields will cause your HP to drain. Basically, just don't get hit.
Crisis Trial Stage 6: Mimic Siege
Challenge Settings
| Recommended Support Module | |
|---|---|
| Armor Plating | Resonators take 60% less DMG while above 50% HP. |
| Breathing Technique | Resonators' STA Recovery Speed is increased by 100%. |
| Stress Level | |
| Stress Level 6 | |
| Suggested Attribute | |
|
|
|
Team Compositions
| Main DPS | Sub-DPS | Support |
|---|---|---|
|
|
|
|
The team above are part of the trial resonator pool. If you have versions of these characters with better builds, use them!
How to Clear Crisis Trial Stage 6
The main difficulty of this battle lies on how enemies will have increased Max HP. They receive increased damage from Dodge Counters though, so try to do that. Thankfully, there's a consistent lightning strike on the field that you can use as a Dodge Counter opportunity!
Also note that Resonator switching cooldown is increased to 5 seconds, so make sure to only switch to another character if their Outro Skills are up. Also, quickswap teams won't work - just a warning.
Crisis Trial Stage 7: Snowball Effect
Challenge Settings
| Recommended Support Module | |
|---|---|
| Ethereal Grace | When in mid-air, Resonators' ATK is increased by 100%. This effect is removed 2s after landing. |
| Close Air Support | When in mid-air, Resonators restore 1% of their Max HP per second. |
| Stress Level | |
| Stress Level 6 | |
| Suggested Attribute | |
|
|
|
Team Compositions
| Main DPS | Sub-DPS | Support |
|---|---|---|
|
|
|
|
The team above are part of the trial resonator pool. If you have versions of these characters with better builds, use them!
How to Clear Crisis Trial Stage 7
The main difficulty of this battle lies on how it is required for you to maintain being in mid-air for the majority of the battle. Thankfully, the trial characters will do majority of their attacks from mid-air so this trial can be passed easily.
Crisis Trial Stage 8: Snowball Effect
Challenge Settings
| Recommended Support Module | |
|---|---|
| Fleeting Streak | Resonators' Basic Attack Speed is increased by 60%. |
| Impenetrable Fortress | Resonators take 50% less DMG and gain increased resistance to interruption while having a shield. Casting Intro Skill grants a shield equal to 15% of the active Resonator's max HP for 10s. |
| Stress Level | |
| Stress Level 6 | |
| Suggested Attribute | |
|
|
|
Team Compositions
| Main DPS | Sub-DPS | Support |
|---|---|---|
|
|
|
|
The team above are part of the trial resonator pool. If you have versions of these characters with better builds, use them!
How to Clear Crisis Trial Stage 8
The main difficulty of this battle lies on the reduced stamina brought by Feeble II. Thankfully, Brant does not need that much stamina while in mid-air and does not rely too much on Heavy Attacks so this stage can be passed easily.
In addition, make sure to not waste stamina by sprinting. Focus on perfect dodging over sprinting!
How to Unlock Virtual Crisis
Talk to Ku-Cage in Ragunna
Virtual Crisis: Frontier Trials is unlocked after talking to Ku-Cage in Ragunna. It is hiding inside a bush near Nyarla's Masked Reverie Shop! The quest marker will point you to its direction, so you cannot miss it!
How to Play Virtual Crisis
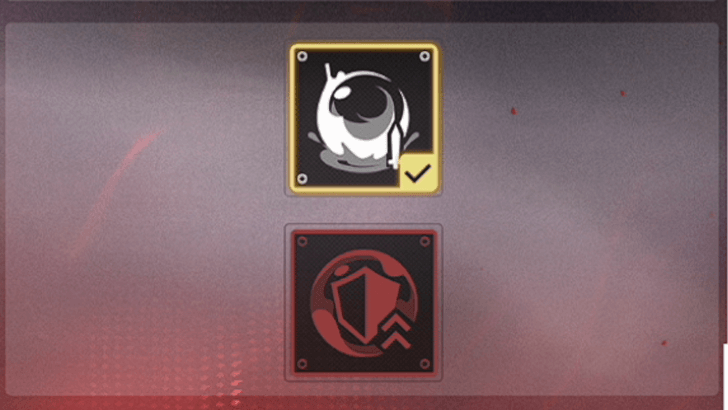
Equip Your Preferred Module
Support Modules will make the event's simulation smoother and easier, while players who love a combat challenge can max out the Stress Module. Make sure to equip the proper Support Module that will give your chosen team the best advantage, combined with Stress Modules that has minimal effect on them!
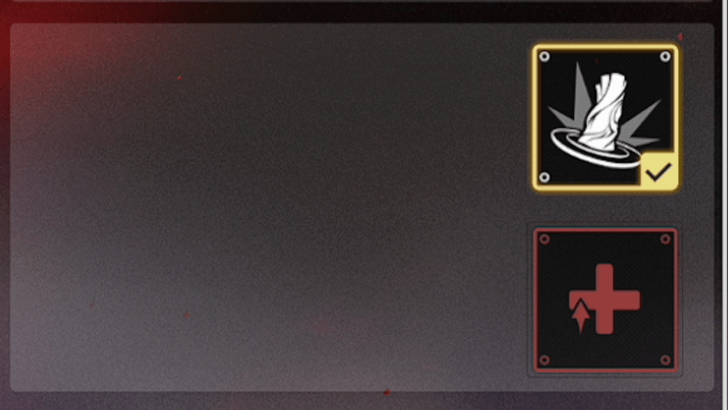
Complete Challenge Goals
Once you equip your preferred module, prepare your team and fight your way across multiple hordes of enemies. There are challenge goals you must complete to gain Matrix Crystals that you can use to exchange for rewards, so it's best to take note of and complete them during the simulation!
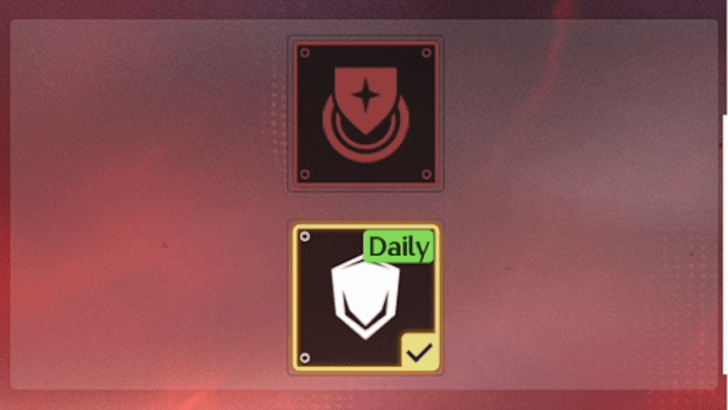
Complete Daily Goals
Do take note that there are Daily Challenge Goals that you will have to complete everyday if you want to maximize the Matrix Crystals gained! These are usually goals that will task you to use a certain module on a specific stage so it's quite hard to miss. In addition, the game marks modules that are part of Daily Goals to help you track them.
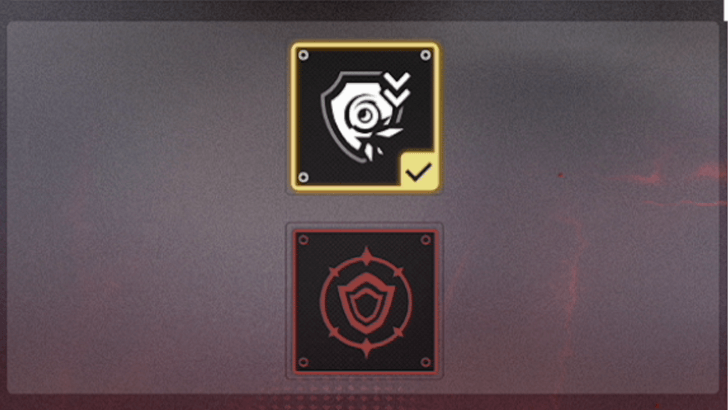
Exchange Matrix Crystals to Rewards
Each challenge goal will reward you with specific Matrix Crystals! Be sure to exchange these at the Supply Station to claim all of the event's rewards.
Complete Stress Level Challenges
There's a special reward waiting if you complete the Stress Level challenges in the Disaster Trials.
The minimum Stress Level for you to get the Virtual Vanquisher title is Level 48, but you can go as high as Level 148 if you're up for it! The title will display the highest Level you reach so get that highest level and flaunt your achievement!
Virtual Crisis Rewards
Astrites and Materials
The total rewards above are obtained from completing all the easier Crisis Trials (320 Astrites) and clearing the Supply Station using Matrix Crystals (180 Astrites and the rest).
Virtual Crisis Event Information
Available from June 19 to July 23!
Virtual Crisis has returned with a bang in Version 2.4! Take risks and increase your Stress Level and get the coveted Virtual Vanquisher title to display on your profiles!
Version 2.4 Release Date and Details
Virtual Crisis Event History
| Version | Lollo Campaign Event Duration |
|---|---|
| 2.2 | April 3, 2025 - April 28, 2025 |
Wuthering Waves Related Guides
Current Events
| All Events and End Dates | |
|---|---|
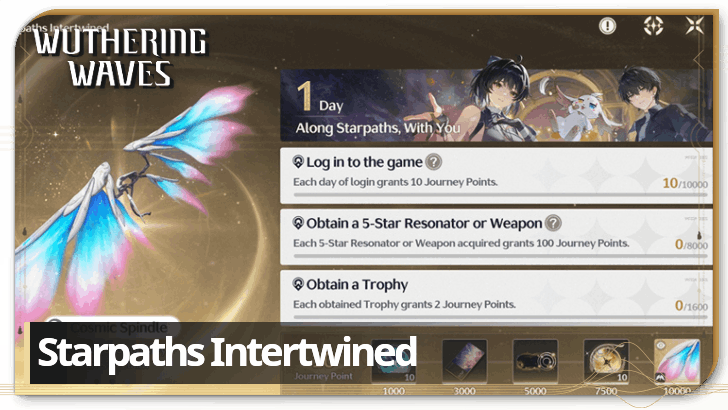 Starpaths Intertwined Starpaths Intertwined
Permanent |
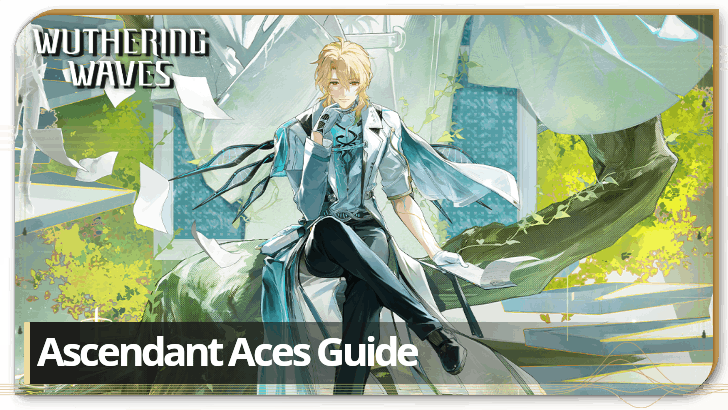 Ascendant Aces Ascendant Aces
March 18, 2026 |
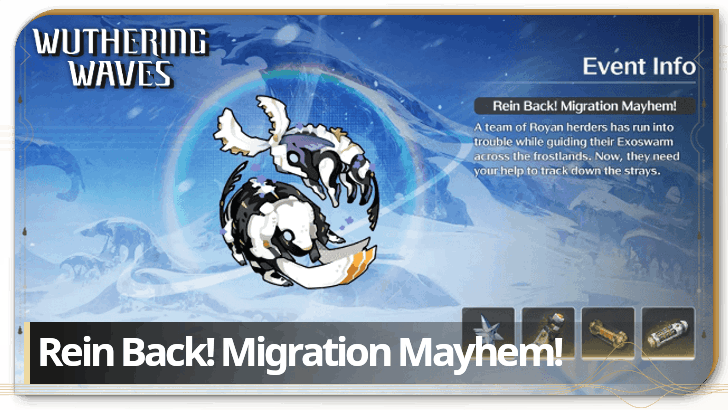 Rein Back! Migration Mayhem! Rein Back! Migration Mayhem!
March 9, 2026 |
 Veins of the Frostlands Veins of the Frostlands
March 12, 2026 |
 Blade Hunter: Wilderness Blade Hunter: Wilderness
March 16, 2026 |
 Lollo Campaign: Implementation Lollo Campaign: Implementation
March 18, 2026 |
 Where Stars Cascade Down Where Stars Cascade Down
March 18, 2026 |
 Unfrozen Traces Unfrozen Traces
March 18, 2026 |
 Full Throttle! Bolt & Blitz! Full Throttle! Bolt & Blitz!
March 18, 2026 |
 Gift of Soft Snow Gift of Soft Snow
March 18, 2026 |
 TERM-X Outreach TERM-X Outreach
March 18, 2026 |
 Moonlit Path Moonlit Path
March 18, 2026 |
 Unsigned Good Wishes Unsigned Good Wishes
March 19, 2026 |
 Footprints on Frostlands Footprints on Frostlands
Permanent |
 Startorch for You Startorch for You
Permanent | |
Upcoming Events
| Upcoming Events | Date and Summary |
|---|---|
 Chord Cleansing Chord Cleansing
|
March 11, 2026 - March 18, 2026 Earn double echo and echo leveling material drops during this event! |
Permanent Events
| Event Guide | Date and Rewards |
|---|---|
| Gifts of Thawing Frost |
Permanently Available
Lustrous Tides, Radiant Tides, Free Sanhua |
| Awakening Journey |
Permanently Available
Lustrous Tides, Astrites, Crystal Solvent, Rank 5 Weapon Supply Chest: Winter Blume |
| Rumbling Hollows |
Permanently Available
Shell Credit, Premium Energy Cores, Premium Resonance Potions, Free Yuanwu |
| Depths of Illusive Realm |
Permanently Available
Astrite, Premium Tuners, Phantom: Impermanence Heron |
| Voyage's Beginning |
Permanently Available
Astrites, Lustrous Tides, Resonators |
| Echo Hunters |
Permanently Available
Astrites |
| Somnium Labyrinth |
Permanently Available
Astrites, Premium Tuners, Premium Energy Cores, Shell Credits, Malleable Elite Class Echo |
| Tales of the Isles |
Permanently Available
Astrites, Forgery Premium Supply, Premium Tuners, Premium Energy Cores, Premium Resonance Potions, Shell Credits |
Comment
Author

Virtual Crisis: Frontier Trials Event Guide
Please participate in our site
improvement survey
03/2026
improvement survey
03/2026
Would you assist in
improving Game8's site?
improving Game8's site?

×
We are listening to our users' valuable opinions and discussing how to act on them.
The information collected through this survey will be used for the purpose of improving our services. In addition, the information will only be disclosed a part of a statistic in a format that will not allow identification of personal information.
Begin Survey
Not Now
×
Please rate each item regarding Game8.co's Advertisements.
Amount of Ads
Very Dissatisfied
Somewhat Dissatisfied
Fine
Somewhat Satisfied
Highly Satisfied
Placement of Ads
Timing of Ad Display
Ad Loading Speed
Safeness of Ads
Content of Ads
×
Please rate each item regarding Game8.co's Quality of Articles.
Amount of information
Very Dissatisfied
Somewhat Dissatisfied
Fine
Somewhat Satisfied
Highly Satisfied
Frequency of updates
Speed of new information
Accuracy of articles
Understandibility of articles
Readability of sentences
×
Please rate each item regarding Game8.co's Usability of the Site.
Ease of finding information
Very Dissatisfied
Somewhat Dissatisfied
Fine
Somewhat Satisfied
Highly Satisfied
Loading Speed
Use of Color
Font Size
Visibility of Images
Easy to Understand Layout
×
Please rate each item regarding Game8.co's Message Boards, Comments.
Ease of Writing
Very Dissatisfied
Somewhat Dissatisfied
Fine
Somewhat Satisfied
Highly Satisfied
Readability
Ease in Finding Information
Comment Quality
Comment Quantity
Admin Response
×
Please rate each item regarding Game8.co's Site's new design.
Please rate our site's new design
Very Dissatisfied
Somewhat Dissatisfied
Fine
Somewhat Satisfied
Highly Satisfied
Do you think that the website's design change makes the site easier to use?
Has the new design made it easier for you to find information on the site?
Has the new design improved the overall visual appeal of the site?
How would you rate your overall satisfaction with the new design of the site?
×
How likely are you to recommend Game8 to someone you know?
Very Unlikely
0
1
2
3
4
5
6
7
8
9
10
Very Likely
If you have other opinions regarding potential improvement to the website, please share them with us. We would appreciate your honest opinion.
Note: This is a free response section, so you can proceed without entering anything.
Note: Please be sure not to enter any kind of personal information into your response.
Note: Please be sure not to enter any kind of personal information into your response.
×
Thank You
×
Thank you for participating in our survey! Your answers will help us to improve the quality of our website and services.
We hope you continue to make use of Game8.
We hope you continue to make use of Game8.
Close
Premium Articles

Rankings
- We could not find the message board you were looking for.

Gaming News


![Monster Hunter Stories 3 Review [First Impressions] | Simply Rejuvenating](https://img.game8.co/4438641/2a31b7702bd70e78ec8efd24661dacda.jpeg/thumb)
Popular Games

Genshin Impact Walkthrough & Guides Wiki
Honkai: Star Rail Walkthrough & Guides Wiki
Umamusume: Pretty Derby Walkthrough & Guides Wiki
Pokemon Pokopia Walkthrough & Guides Wiki
Resident Evil Requiem (RE9) Walkthrough & Guides Wiki
Monster Hunter Wilds Walkthrough & Guides Wiki
Wuthering Waves Walkthrough & Guides Wiki
Arknights: Endfield Walkthrough & Guides Wiki
Pokemon FireRed and LeafGreen (FRLG) Walkthrough & Guides Wiki
Pokemon TCG Pocket (PTCGP) Strategies & Guides Wiki


Recommended Games
Diablo 4: Vessel of Hatred Walkthrough & Guides Wiki
Cyberpunk 2077: Ultimate Edition Walkthrough & Guides Wiki
Fire Emblem Heroes (FEH) Walkthrough & Guides Wiki
Yu-Gi-Oh! Master Duel Walkthrough & Guides Wiki
Super Smash Bros. Ultimate Walkthrough & Guides Wiki
Pokemon Brilliant Diamond and Shining Pearl (BDSP) Walkthrough & Guides Wiki
Elden Ring Shadow of the Erdtree Walkthrough & Guides Wiki
Monster Hunter World Walkthrough & Guides Wiki
The Legend of Zelda: Tears of the Kingdom Walkthrough & Guides Wiki
Persona 3 Reload Walkthrough & Guides Wiki


All rights reserved
Copyright© 2024-2025 Kuro Games. All Rights Reserved.
The copyrights of videos of games used in our content and other intellectual property rights belong to the provider of the game.
The contents we provide on this site were created personally by members of the Game8 editorial department.
We refuse the right to reuse or repost content taken without our permission such as data or images to other sites.