Flames in the Deep Quest Guide
★ Version 3.2 out now!
┣ Sigrika → Builds, Materials, Weapon
┣ Qiuyuan → Builds, Materials, Weapon
┗ Phase 2 → Lynae, Zani, Phoebe
★ Main Story Guide | Side Stories Event
★ Exclusives: Tier Maker | State of the Meta
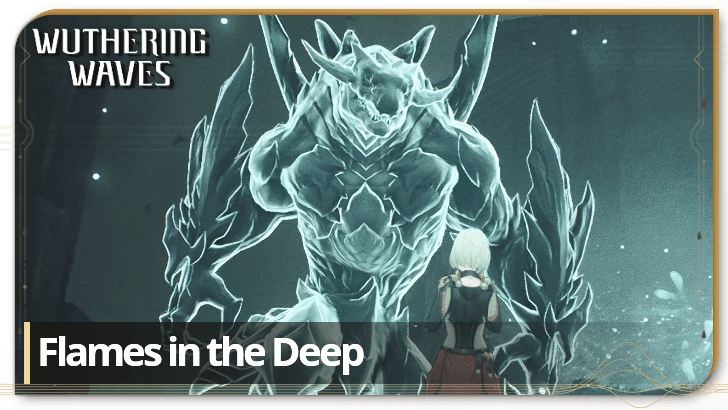
Flames in the Deep is an Exploration Quest at the Septimont region in Wuthering Waves. See how to light the Lumenstone, how to unlock Flames in the Deep, its walkthrough, and all the rewards of this quest here!
How to Unlock Flames in the Deep
Gain Access to Septimont

You can unlock Flames in the Deep by gaining access to Septimont by progressing the Shadow of Glory main quest. The quest should automatically trigger as soon as you walk over the locked gate in the Mournfell Canyon, to which you'll hear you a scream as you walk nearby the area!
Chapter 2 Act 5 Shadow of Glory Quest Guide
Flames in the Deep Walkthrough
Look for the Source of the Sound
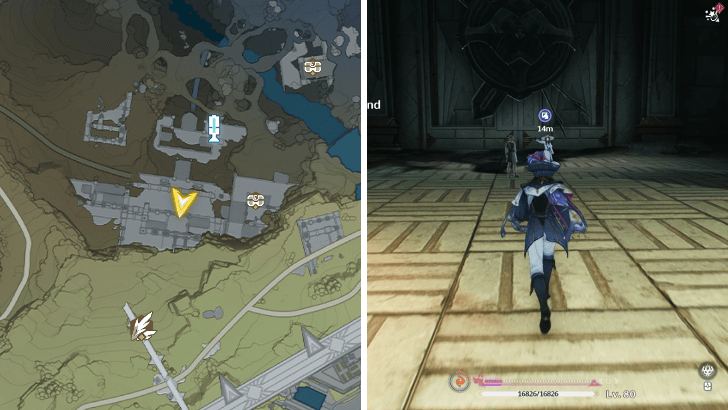
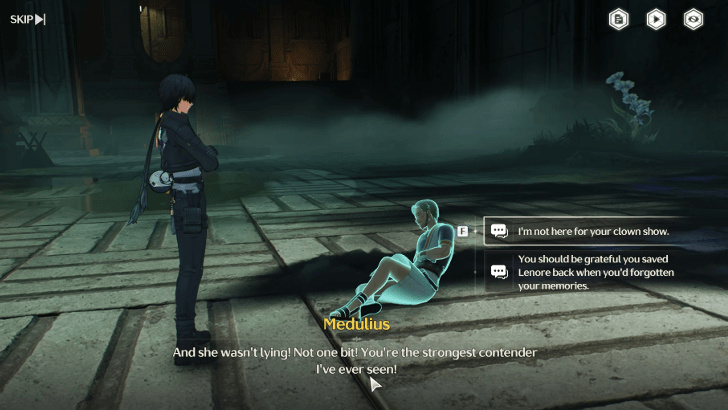
Before you look for the source of the sound, we recommend activating the nearest Resonance Beacon to easily access the quest location. Afterwards, walk towards a familiar figure, who turns out to be Lenore of the Order of the Deep, as well as another figured named Medulius.
Light the Lumenstones
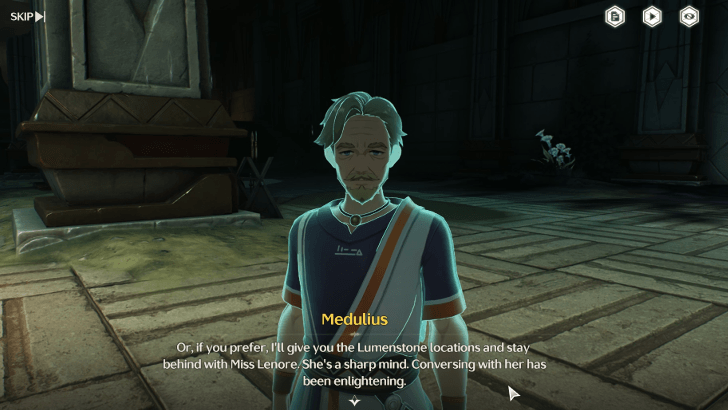
To light the Lumenstones, you'll have to complete a trial challenge on each of the target locations that Medulius marked. There are a total of three Lumenstones, each of which corresponds to the locks placed on the door. This means you'll have to complete three trial challenges to fully open the door!
Lumenstone #1
| How to Light the First Lumenstone | |
|---|---|
| 1 |  The first Lumenstone is located on the righthand side of the stairs as you descend, right across the nearby Resonance Beacon. |
| 2 | 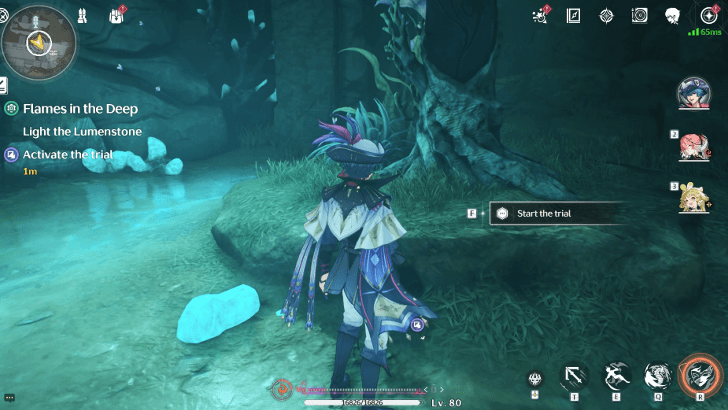 Walk over the group of Phantoms and wait for their conversation to end. Then, investigate the phatom of Phrolova, and start the trial. |
| 3 | To finish the trial, simply complete the pattern by copying the tracks as shown to you. You'll know you're doing right if there are plants trailing on your feet as you walk along the line. After reaching the end, the first Lumenstone should light up. |
Lumenstone #2
| How to Light the Second Lumenstone | |
|---|---|
| 1 | 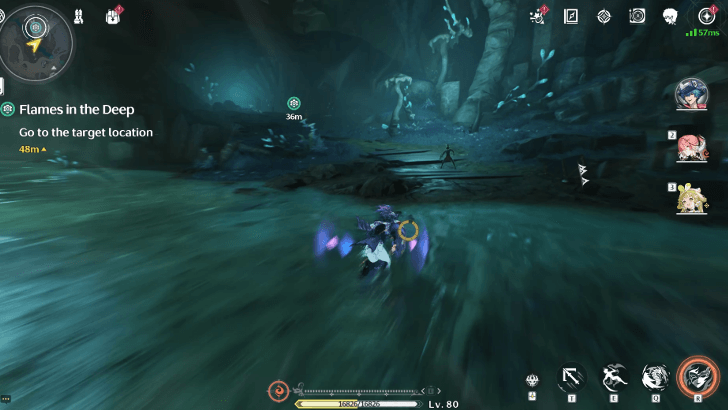 Then, head to the next target location, located at the end of a valley littered with enemies. You should spot another phantom of Phrolova a couple of steps away from the second Lumenstone, as well as Aulus and Verbia's phantoms. |
| 2 | After watching their brief conversation, start the trial to light the second Lumenstone. As with the first challenge, complete the pattern by retracing the path shown to you as soon as you start the challenge. The path this time starts at the tip of the left sword, and ends at the hilt of the right one. |
Lumenstone #3
| How to Light the Third Lumenstone | |
|---|---|
| 1 |  From the second Lumenstone's location, pass through another valley with a bunch of enemies along the way, and head to the third location. As with the previous locations, wait until the cutscene ends, then start the trial challenge. |
| 2 | For the third Lumenstone's challenge, the pattern will look confusing at first, being irregularly shaped, however we strongly suggest to turn left as soon as the clue footage ends. Alternatively, you can simply use the opposite side of the end point as your guide to easily complete the challenge. |
Follow Verbia

Once all the Lumenstone have been lit up, follow Verbia towards the door. This part of the quest automatically teleports you to this location, so simply walk towards the Phantoms in front of you to progress the quest!
Defeat the Enemies
After the cutscene, defeat the enemies that spawn at your location. Dealing with them should be easy, so talk to Verbia once you're done, then enter the door behind her.
Defeat the Undying Monster
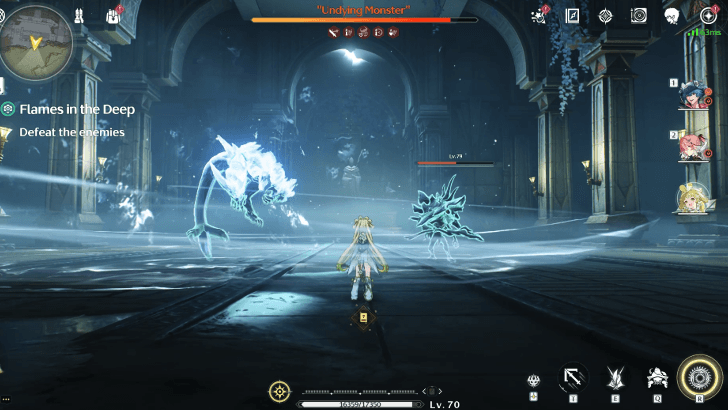
As soon you enter the door and walk towards the phantom of Aulus, another cutscene plays out. Afterwards, defeat the Undying Monster, a variant of Kerasaur, as well as the monster-form of Medulius, a quest-variant of Pilgrim's Shell. Once you've defeated both monsters, talk to Lenore.
How to Defeat the Undying Monster
- The Undying Monster spawns with Medulius, a Pilgrim's Shell echo who always starts the fight by trying to hold you in place. This attack appears as spikes that trail towards you, make sure to dodge it.
- The key to winning this fight is by defeating Medulius first, as he provides long-range and pesky barrage of attacks that could inadvertently put your dodge counter in cooldown. Dodges and parries work best against the Kerasaur, so it's better to take the Pilgrim's Shell early on, to focus on the Kerasaur after.
- Once you've defeated the Pilgrim's Shell, make sure to put a decent amount of distance between him and your team, as being too far will trigger his fast and long-ranged attacks, and being too near, procs his equally-fast, but more devastating skills.
Explore the Shrine Underground
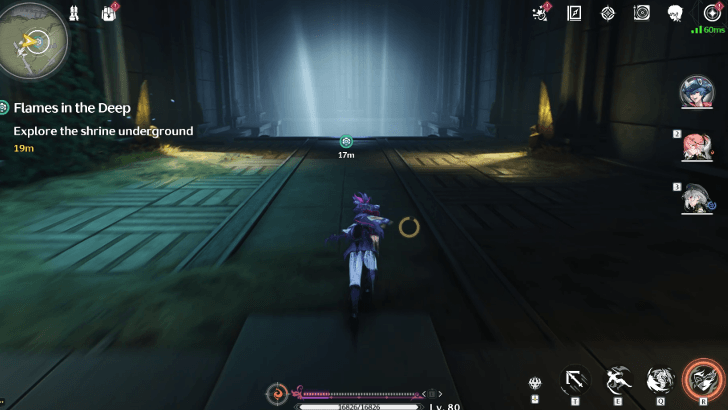
Then, drop down the hole and explore the Shrine underground. You'll spot Phrolova's phantom once more, so keep on following her while defeating the enemies along your way until you see an underground river.
Ride the Gondola

After exhausting the dialogue with Phrolova, ride the Gondola and reach the end of the underground cavern. You have the option to investigate Phrolova's phantoms, which should give you better context about the situation.
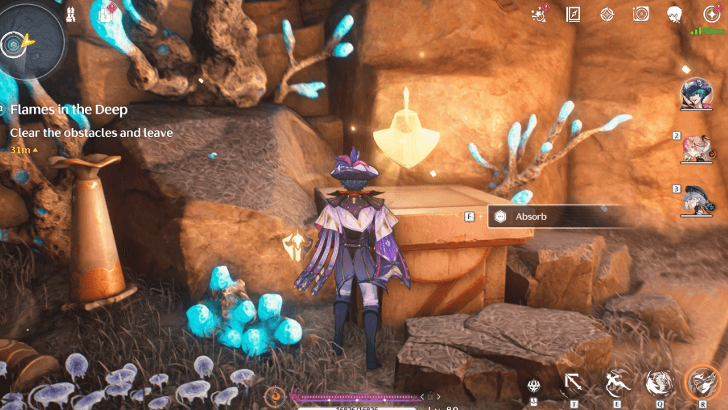
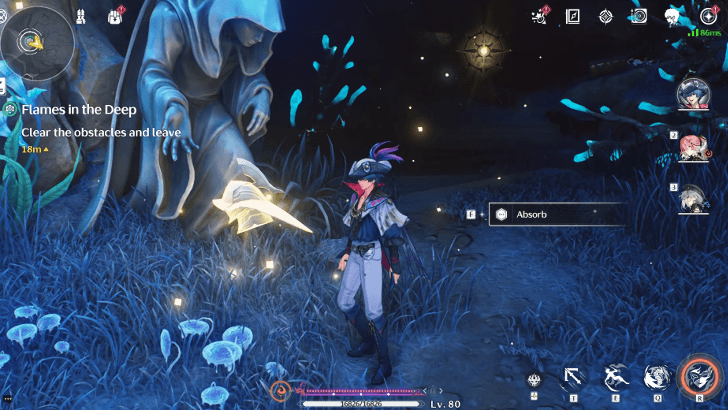
Clear the Obstacles and Leave
Once you've talked to the phantoms and looted the nearby chests, clear the obstacles and leave. You can only leave the cavern by using your Hero's Slash ability on the brittle wall at the end of the cavern, so recharge your skill by absorbing nearby frequencies.
All Three Frequencies
| All Frequencies to Clear the Obstacle | |
|---|---|
 Beside the Supply Chest |
 Beside the brazier |
 By the end of the exit |
|
Flames in the Deep Information
| Flames in the Deep Quest Information | |
|---|---|
| Required Union Lvl | None |
| Quest Location | Mournfell Canyon |
| Version Release | 2.4 |
Flames in the Deep Rewards
Total Quest Rewards
| Flames in the Deep Quest Rewards |
|---|
|
|
Grants the Destined Death Trophy
Completing Flames in the Deep unlocks the Destined Death trophy, which grants you 10 Astrites.
Wuthering Waves Related Guides

List of Quest Types
| All Quest Types | |
|---|---|
| Main Quests | Companion Stories |
| Exploration Quests | Side Quests |
| Tutorial Quests | Daily Quests |
| Hidden Quests | - |
All Rinascita Exploration Quest Guides
Author

Flames in the Deep Quest Guide
Premium Articles

Rankings

Gaming News


Popular Games

Genshin Impact Walkthrough & Guides Wiki
Umamusume: Pretty Derby Walkthrough & Guides Wiki
Crimson Desert Walkthrough & Guides Wiki
Monster Hunter Stories 3: Twisted Reflection Walkthrough & Guides Wiki
Honkai: Star Rail Walkthrough & Guides Wiki
Pokemon Pokopia Walkthrough & Guides Wiki
The Seven Deadly Sins: Origin Walkthrough & Guides Wiki
Wuthering Waves Walkthrough & Guides Wiki
Zenless Zone Zero Walkthrough & Guides Wiki
Arknights: Endfield Walkthrough & Guides Wiki


Recommended Games
Fire Emblem Heroes (FEH) Walkthrough & Guides Wiki
Diablo 4: Vessel of Hatred Walkthrough & Guides Wiki
Cyberpunk 2077: Ultimate Edition Walkthrough & Guides Wiki
Yu-Gi-Oh! Master Duel Walkthrough & Guides Wiki
Super Smash Bros. Ultimate Walkthrough & Guides Wiki
Pokemon Brilliant Diamond and Shining Pearl (BDSP) Walkthrough & Guides Wiki
Elden Ring Shadow of the Erdtree Walkthrough & Guides Wiki
Monster Hunter World Walkthrough & Guides Wiki
The Legend of Zelda: Tears of the Kingdom Walkthrough & Guides Wiki
Persona 3 Reload Walkthrough & Guides Wiki


All rights reserved
Copyright© 2024-2025 Kuro Games. All Rights Reserved.
The copyrights of videos of games used in our content and other intellectual property rights belong to the provider of the game.
The contents we provide on this site were created personally by members of the Game8 editorial department.
We refuse the right to reuse or repost content taken without our permission such as data or images to other sites.
Can be found at Septimont City wall after the quest at 12114, 11212, 305. Give some minor rewards when you talk to her.