Marks of the Wild Solutions and Guide
★ Version 3.2 out now!
┣ Sigrika → Builds, Materials, Weapon
┣ Qiuyuan → Builds, Materials, Weapon
┗ Phase 2 → Lynae, Zani, Phoebe
★ 3.2 Main Story, All Events
★ Exclusives: Tier Maker | State of the Meta

Marks of the Wild is an event in Wuthering Waves 2.6. See all Marks of the Wild stage solutions, how to play, how to unlock, event schedule, and all available rewards in this guide!
List of Contents
Marks of the Wild Stage Solutions and Answers
| Jump to a Stage Guide! | |||||
|---|---|---|---|---|---|
| ▼ Stage 1 | ▼ Stage 2 | ▼ Stage 3 | |||
| ▼ Stage 4 | ▼ Stage 5 | ▼ Stage 6 | |||
| ▼ Stage 7 | ▼ Stage 8 | ||||
Stage 1 - Into the Thicket
Easy
|
1. Drag the green frequency sample from the center and connect it to the frequency on the left. 2. Drag the two frequencies on the left and attach it to the one at the very top. 3. Drag the three connected frequencies and connect it with the one on the right. 4. Lastly, drag all three frequencies and attach it to the one at the very bottom. |
Hard
|
1. Drag the green frequency sample at the top right and place it in between the two frequencies at the bottom right to form a line. 2. Drag the anchored frequencies and slot it in between the unconnected frequencies to the left to complete the shape. |
Expert
|
1. Drag the green frequency sample at the very bottom and place it in the center of four frequency samples to the left. 2. Drag the connected pattern on the left and slot it into the unconncted frequencies to the right. |
Stage 2 - Waiting Game
Easy
|
1. Drag the green frequency sample from the top second row and place it in between the two green frequency samples on the lower right, forming an L shape. 2. Drag the anchored green frequencies and attach it to the last green frequency on the upper left corner of the board. 3. Drag the singular yellow frequency on the fourth row and connect it between the two yellow samples on the upper right, forming an upside-down L shape. 4. Drag the connected yellow samples and attach them to the remaining yellow frequency on the lower left corner. |
Hard
|
1. Drag the yellow frequency from the center of the last row and slot it in between the two yellow frequencies on the first row to create a line. 2. Drag the connected yellow frequencies and connect them to the single sample on the lower left corner. 3. Drag the singular green sample from the bottom right corner, and attach it on top of the sample at the center of the board. 4. Drag the anchored green samples and connect them to the last frequency on the top left corner to create and inverted, upside-down L shape. |
Expert
|
1. Drag the yellow frequency at the center of the last row and place it between the two yellow samples on the opposite end to create an inverted L shape. 2. Drag the anchored frequencies toward the single yellow sample on the fourth row of the board to create a half cross shape. 3. Drag the green sample on the bottom right and place it in between the two green frequencies at the very top. 4. Drag the connected green samples toward the only green frequency at the bottom to create a line. |
Stage 3 - Face to Face
Easy
|
1. Place the second green frequency from the top next to ones located at the bottom left to create an L shape. 2. Drag the three frequencies to the right part of the puzzle to connect the remaining two frequencies. This should create an even bigger L shape! |
Hard
|
1. Drag the red frequency sample at the bottom right next to the one at the top left. Afterwards, drag the red frequency pair and connect it to the last one at the middle. This should connect all existing red frequencies. 2. Drag the rightmost green frequency next to the bottom one. Grab the pair and connect it to the green frequency at the top. By this point, you can drag all three of them and place it next to the leftmost one! |
Expert
|
1. Drag the leftmost green frequency and place it between the two at the very bottom. 2. Use these three green frequencies to connect the ones at the top right. You should have a total of seven connected green frequencies by this point. 3. Before moving any of the green frequencies, move the yellow frequency at the bottom and place it in the middle of two yellow ones located at the left side of the puzzle. 4. Thanks to the space created, you can now connect the seven green frequencies to the last one sitting at the left side. All green frequencies are now connected! 5. Move the trio of yellow frequencies, you created earlier, on top of the two located at the bottom of the upper-right quadrant of the puzzle. This should create a shape similar to an opening of a cave. 6. For the final step, simply drag and connect the five yellow frequencies to the last one at the very top right! |
Stage 4 - Encirclement
Easy
|
1. Move the top right green frequency to the right of the top left green frequency. 2. Move the green frequencies to the middle of the two bottom green frequencies. 3. Move the bottom right yellow frequency to the bottom of the upper right yellow frequency. 4. Move the yellow frequencies to the bottom of the upper left yellow frequency. 5. Finally, move the yellow frequencies to the top of the lower left yellow frequency. |
Hard
|
1. Move the lower right yellow frequency to the right of the upper left yellow frequency. 2. Move the yellow frequencies to the left of the upper right yellow frequency. 3. Move the lower right green frequency to the bottom of the upper right green frequency. 4. Move the green frequencies to the top of the lower left green frequency. 5. Move the green frequencies to the left of the upper green frequency. 6. Finally, move the yellow frequencies to the right of the lower yellow frequency. |
Expert
|
1. Move the upper right green frequency to the left of the upper left green frequency. 2. Move the lower left yellow frequency to the right of the upper left yellow frequency. 3. Move the green frequencies to the bottom of the lower left green frequency to form a backwards L shape. 4. Move the yellow frequencies to the left of the bottom right yellow frequency. 5. Move the yellow frequencies to the left of the upper right yellow frequency. 6. Finally, connect the green frequencies to the bottom right green frequency to form a square. |
Stage 5 - The Runaway
Easy
|
1. Connect the red frequency at the bottom of the puzzle next to the one at the right. They should be make a vertical line. 2. Drag the red vertical line and place it between the two red frequencies at the left. This should create a longer vertical of four red frequencies. 3. Place the top-right most green frequency on top of the one at the bottom right. 4. Drag the new green vertical line and place it between the two green frequencies at the left. |
Hard
|
1. Drag the rightmost red frequency and connect it to the one at the very top. Place the new red horizontal pair at the bottom left to connect all four of the red frequencies. 2. Place the green frequency at the bottom next to the one at the far right. Drag the two of them and place them between the two green frequencies at the left. This should create an upside down L-shape. |
Expert
|
1. Connect the topmost yellow frequency to the yellow one in the middle. 2. Drag the bottom-most green frequency and place it between the two green frequencies at the top. 3. Connect the small yellow horizontal line you created in step one to the bottom-most yellow frequency. This should create another tiny L-shape. 4. Drag the three green frequencies down to connect them to the last green frequency. |
Stage 6 - Hidden Tracks
| For all the stages below, we will be using the following acronyms to denote the quandrant position. Each quadrant is the 3x3 grid positioned in the corners of the board. | |
| NW = north-west | NE = north-east |
| SW = south-west | SE = south-east |
Easy
|
1. Move the left frequency in the NW quadrant to the left of the right frequency on the same quadrant. 2. Move the frequencies to the middle of the two frequencies in the NE quadrant. It should form a┣ shape. 3. Move the frequencies to fit the SE quadrant. The vertex of the┣ shape should be in the middle. 4. Finally, move the frequencies to the SW quadrant. |
Hard
|
1. Move the red frequency in the SW quadrant to the right of the red frequency in the SE quadrant. It should form a horizontal line. 2. Move the red frequencies to the top of the red frequency in the NE quadrant. It should form an elbow┌ shape. 3. Connect the red frequencies to the final frequency in the NW quadrant to form a square. 4. Move the green frequency in the NW quadrant to the left of the green frequency in the NE quadrant. 5. Move the green frequencies to the top of the green frequency in the SW quadrant. It should form an elbow┌ shape again. 6. Finally, connect the green frequencies to the green frequencies in the SE quadrant. It should form a square shape. |
Expert
|
1. Move the bottom frequency in the NE quadrant to the right of the upper frequency in the NW quadrant. 2. Move the frequencies and connect it to the top of the bottom frequency in the SE quadrant. It should form an elbow ┐shape. 3. Move the elbow shaped frequency to the left of the upper frequency in the SW quadrant. It should form a T shape. 4. Move the frequencies to the NW quadrant and connect the lower frequency. 5. Move the frequencies to the SE quadrant and connect the top frequency. 6. Move the frequencies to the NE quadrant and connect the lone green frequency. 7. Finally, connect the frequencies to the last green frequency in the SW quadrant. |
Stage 7 - End of the Hunt
Easy
|
1. Move the northern yellow frequency to the top of the southern yellow frequency. 2. Connect the yellow frequencies to the left of the right yellow frequency to form an L shape. 3. Move the yellow frequencies to the right of the final yellow frequency and form a Z shape. 4. Move the left green frequency to the bottom of the right green frequency. 5. Move the green frequencies to the left of the bottom green frequency to form an L shape again. 6. Move the green frequencies to the right of the final green frequency and form a Z shape. 7. Move the northern red frequency to the right of the western red frequency. 8. Move the red frequencies to the top of the right red frequency. 9. Finally, move the red frequencies to the right of the final red frequency to form a square shape. |
Hard
|
1. Move the top-left green frequency and connect it to the left of the top-middle green frequency. 2. Move the green frequencies to the left of the top-right green frequency, forming a 1x3 horizontal line. 3. Connect the horizontal green frequencies to the two bottom frequencies so that they all connect. This should be to the right and bottom of those two. 4. Move the bottom-left red frequency to the left of the bottom-right frequency. 5. Move the red frequencies to the right of the top-left red frequency to form a 3x1 horizontal line again. 6. Move the red frequencies one node to the right and connect to the final red frequency. 7. Move the lower-right yellow frequency to the right of the lower-middle yellow frequency. 8. Move the yellow frequencies to the right of the bottom-left yellow frequency, forming a 1x3 horizontal line once again. 9. Finally, move the yellow frequencies in th middle of the two yellow frequencies on the top. All five frequencies should connect. |
Expert
|
1. Move the top-right green frequency to the bottom of the bottom-right green frequency. 2. Connect the green frequencies to the left of the top-left green frequency to form an L shape. 3. Connect the green frequencies to the left of the final green frequency and form a square. 4. Move the top-right red frequency to the left of the top-left red frequency. 5. Move the red frequencies to the bottom of bottom-left red frequency, forming a backwards-L shape. 6. Move the red frequencies to the right of the final red frequency to form a square shape. 7. Move the middle yellow frequency to the left of the lower-right yellow frequency. 8. Move the yellow frequencies to the right of the lower-left yellow frequency, forming a 3x1 horizontal line. 9. Move the yellow frequencies and connect it to the bottom of the top-right yellow frequency. 10. Finally, connect the yellow frequencies to the final yellow frequency on the top-left. |
Stage 8 - To the Heroes
|
1. Move the bottom-middle yellow frequency and position it between the two yellow frequencies in the the first row. This slot be above the top-middle green frequency. 2. Move the top-middle green frequency to the middle of the two green frequencies in Row 5. 3. Move the yellow frequencies to the middle of the two yellow frequencies in Row 4. 4. Move the green frequencies to the middle of the two green frequencies in the first row. 5. Move the yellow frequencies to the middle of the two yellow frequencies in Row 2. 6. Finally, move the green frequencies to the middle of the two green frequencies in Row 3. |
How to Play Marks of the Wild
| Marks of the Wild Event Guide |
|---|
|
|
Connect Frequency Samples of the Same Color
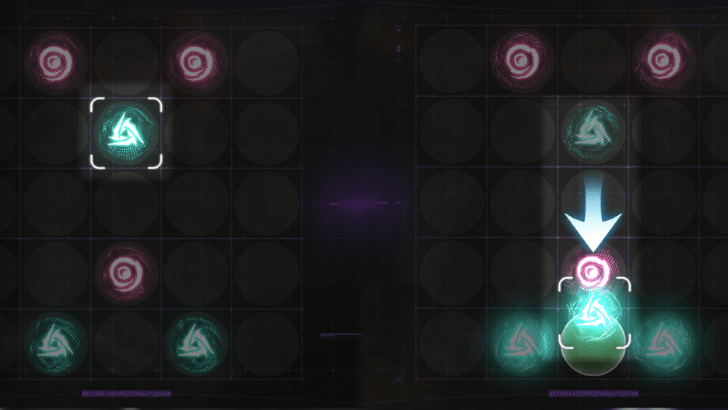
In Marks of the Wild, your objective is to connect circles of the same color, known as Frequency Samples, across a gridded board. To solve the puzzle, you must link all unconnected samples within a limited number of moves. Completing the board successfully will grant you rewards!
Connected Frequencies are Anchored

Frequency Samples that are connected will become anchored. This means that instead of moving individual frequencies into the connected samples, you will now have to move the anchored samples toward the unconnected frequencies. Take this into consideration when planning out your moves!
Solve the Puzzle Within the Move Limit
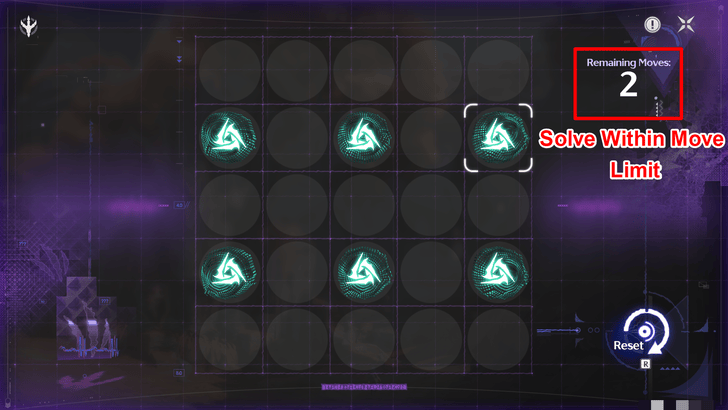
Your main objective per stage is to connect all Frequency Samples in the screen within the allowed move limit. Each pattern created on the board will count as a move so you must find the shortest solution possible to finish the stage!
Decrease the Puzzle Difficulty to Increase Move Limit
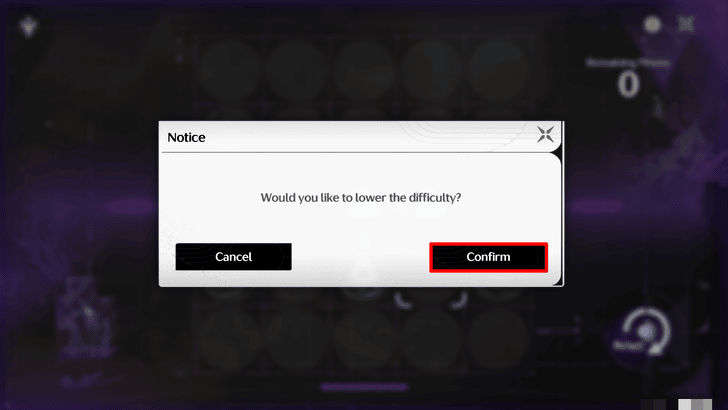
If you become stuck at a certain level, a pop-up will appear after a failed attempt that gives you the option to lower the level difficulty and grant you more move limits. Lowering the difficulty does not take you to the previous level difficulty, it only increases the move limit in your current level.
Play Stages That Increase in Difficulty
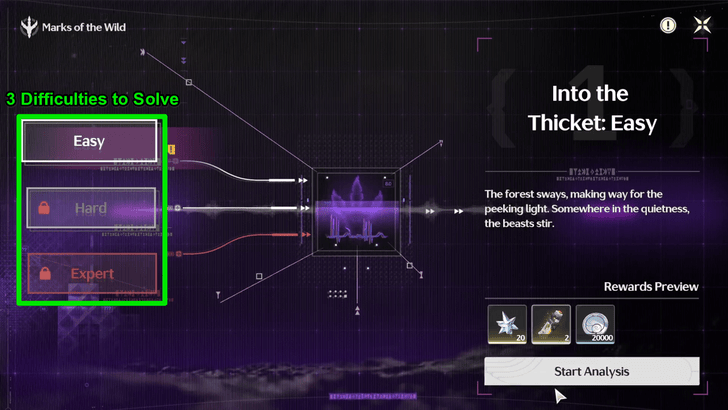
This event features a total of 7 Stages that unlock daily starting from September 4, 2025. Each stage contains 3 difficulty levels to complete, with each difficulty unlocking after you complete the preceding level.
You may complete the Easy and Hard levels to obtain Astrites, though you can also clear the Expert level for and added challenge and extra rewards!
Marks of the Wild Event Information
Event Duration and How to Unlock
| Event Start | September 4, 2025 |
|---|---|
| Event End | September 22, 2025 |
| How to Unlock | Reach Union Level 14 and complete the first hunt in Main Quest Chapter II Act VIII "By Sun's Burning Hand." |
Talk to Dane Near Tetragon Temple
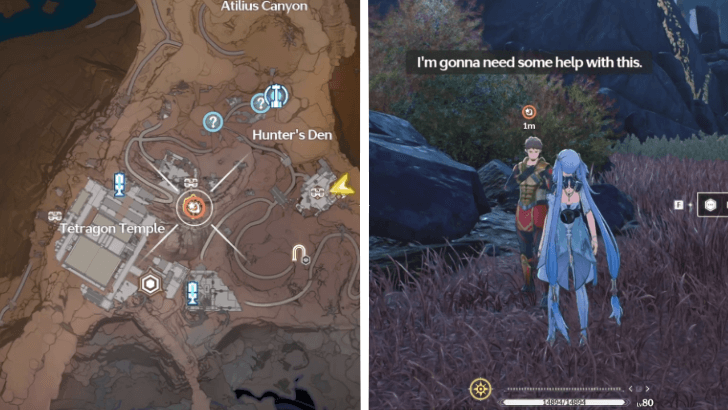
To officially start the event, teleport to the Resonance Beacon located at the base of Tetragon Temple and walk southeast toward Dane's location.
He will enlist your help in tracking down TD traces around the plateaus after speaking with him. You may fast travel to his location at any time via the map in order to access the event stages!
Marks of the Wild Rewards
All Rewards in Marks of the Wild
| Marks of the Wild Rewards | ||
|---|---|---|
|
|
|
|
|
|
|
|
Rewards Per Stage
Rewards are given after completing a level on each stage. This section will be updated daily to reflect new rewards!
Stage 1: Into the Thicket
| Easy |
|
|---|---|
| Hard |
|
| Expert |
|
Stage 2: Waiting Game
| Easy |
|
|---|---|
| Hard |
|
| Expert |
|
Stage 3: Face to Face
| Easy |
|
|---|---|
| Hard |
|
| Expert |
|
Stage 4: Encirclement
| Easy |
|
|---|---|
| Hard |
|
| Expert |
|
Stage 5: The Runaway
| Easy |
|
|---|---|
| Hard |
|
| Expert |
|
Stage 6: Hidden Tracks
| Easy |
|
|---|---|
| Hard |
|
| Expert |
|
Stage 7: End of the Hunt
| Easy |
|
|---|---|
| Hard |
|
| Expert |
|
Stage 8: To the Heroes
| Expert |
|
|---|
Wuthering Waves Related Guides

Current Events
| All Events and End Dates | |
|---|---|
 Ascendant Aces Ascendant Aces
April 29, 2026 |
 Soar to the Beat Soar to the Beat
April 29, 2026 |
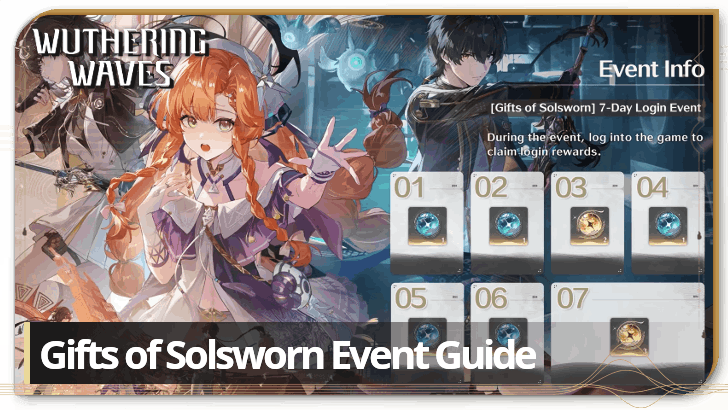 Gifts of Solsworn Gifts of Solsworn
April 29, 2026 |
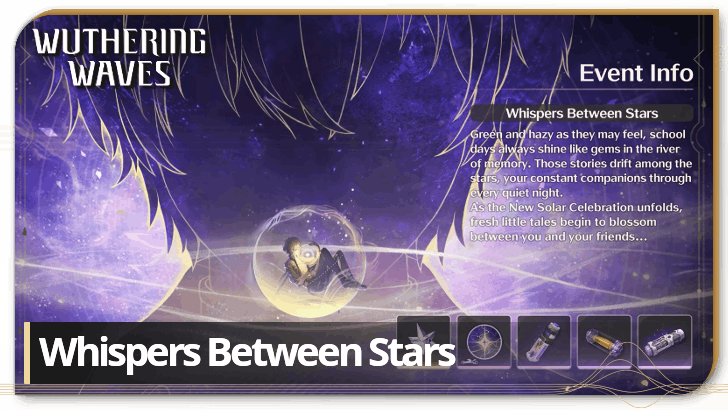 Whispers Between Stars Whispers Between Stars
Permanent |
Upcoming Events
| Upcoming Events | Date and Summary |
|---|---|
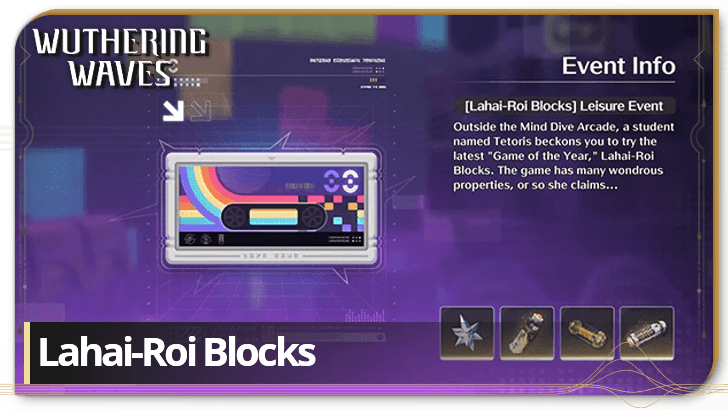 Lahai-Roi Blocks Lahai-Roi Blocks
|
March 26, 2026 - April 13, 2026 Drag and place geometric blocks of different shapes to fill and clear rows in different levels. |
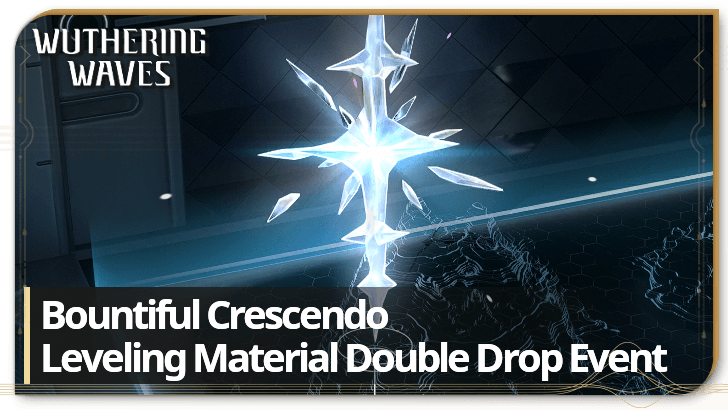 Bountiful Crescendo Bountiful Crescendo
|
April 2, 2026 - April 9, 2026 Earn double leveling material drops during this event! |
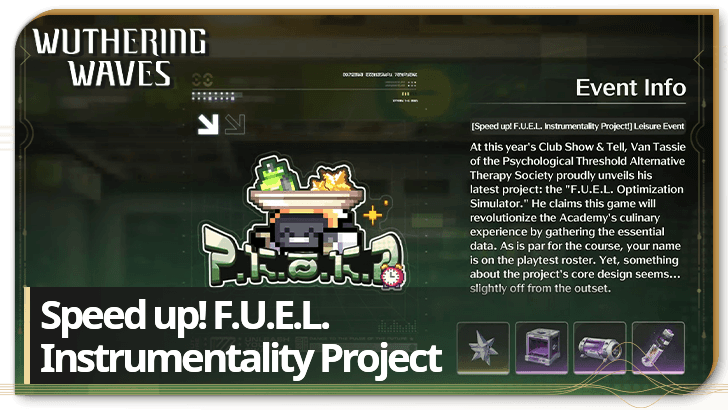 Speed up! F.U.E.L. Instrumentality Project! Speed up! F.U.E.L. Instrumentality Project!
|
April 2, 2026 - April 20, 2026 Collect food dropping from above as chibi versions of the Resonators to get rewards. |
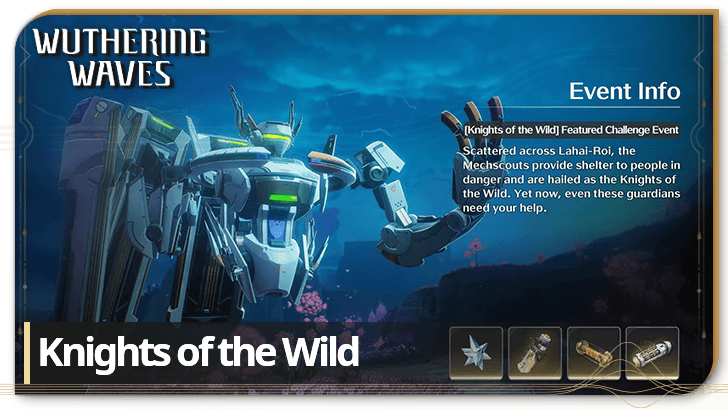 Knights of the Wild Knights of the Wild
|
April 9, 2026 - April 29, 2026 Defeat the powerful enemy disrupting the Grand Knight and complete its repairs in Zones across Lahai-Roi. |
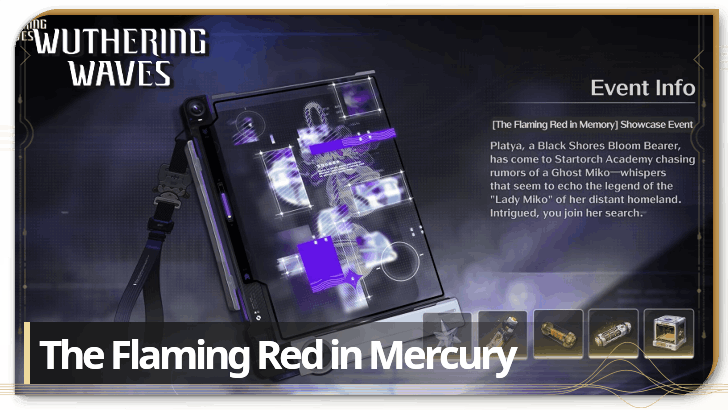 The Flaming Red in Memory The Flaming Red in Memory
|
April 16, 2026 - April 29, 2026 Get rewards for completing tasks related to unveiling who Hiyuki is in this event! |
 Chord Cleansing Chord Cleansing
|
April 22, 2026 - April 29, 2026 Earn double echo and echo leveling material drops during this event! |
Permanent Events
| Event Guide | Date and Rewards |
|---|---|
| Gifts of Thawing Frost |
Permanently Available
Lustrous Tides, Radiant Tides, Free Sanhua |
| Awakening Journey |
Permanently Available
Lustrous Tides, Astrites, Crystal Solvent, Rank 5 Weapon Supply Chest: Winter Blume |
| Rumbling Hollows |
Permanently Available
Shell Credit, Premium Energy Cores, Premium Resonance Potions, Free Yuanwu |
| Depths of Illusive Realm |
Permanently Available
Astrite, Premium Tuners, Phantom: Impermanence Heron |
| Voyage's Beginning |
Permanently Available
Astrites, Lustrous Tides, Resonators |
| Echo Hunters |
Permanently Available
Astrites |
| Somnium Labyrinth |
Permanently Available
Astrites, Premium Tuners, Premium Energy Cores, Shell Credits, Malleable Elite Class Echo |
| Tales of the Isles |
Permanently Available
Astrites, Forgery Premium Supply, Premium Tuners, Premium Energy Cores, Premium Resonance Potions, Shell Credits |
Author

Marks of the Wild Solutions and Guide
Premium Articles

Rankings

Gaming News


Popular Games

Genshin Impact Walkthrough & Guides Wiki
Umamusume: Pretty Derby Walkthrough & Guides Wiki
Pokemon Pokopia Walkthrough & Guides Wiki
Honkai: Star Rail Walkthrough & Guides Wiki
Monster Hunter Stories 3: Twisted Reflection Walkthrough & Guides Wiki
Arknights: Endfield Walkthrough & Guides Wiki
Wuthering Waves Walkthrough & Guides Wiki
Zenless Zone Zero Walkthrough & Guides Wiki
Pokemon TCG Pocket (PTCGP) Strategies & Guides Wiki
Monster Hunter Wilds Walkthrough & Guides Wiki


Recommended Games
Fire Emblem Heroes (FEH) Walkthrough & Guides Wiki
Diablo 4: Vessel of Hatred Walkthrough & Guides Wiki
Cyberpunk 2077: Ultimate Edition Walkthrough & Guides Wiki
Yu-Gi-Oh! Master Duel Walkthrough & Guides Wiki
Super Smash Bros. Ultimate Walkthrough & Guides Wiki
Pokemon Brilliant Diamond and Shining Pearl (BDSP) Walkthrough & Guides Wiki
Elden Ring Shadow of the Erdtree Walkthrough & Guides Wiki
Monster Hunter World Walkthrough & Guides Wiki
The Legend of Zelda: Tears of the Kingdom Walkthrough & Guides Wiki
Persona 3 Reload Walkthrough & Guides Wiki


All rights reserved
Copyright© 2024-2025 Kuro Games. All Rights Reserved.
The copyrights of videos of games used in our content and other intellectual property rights belong to the provider of the game.
The contents we provide on this site were created personally by members of the Game8 editorial department.
We refuse the right to reuse or repost content taken without our permission such as data or images to other sites.
Stupid event, cant evem give proper instruction