Combat Drill Stage Guide | Tidal Defense Simulator
★ Version 3.2 out now!
┣ Sigrika → Builds, Materials, Weapon
┣ Qiuyuan → Builds, Materials, Weapon
┗ Phase 2 → Lynae, Zani, Phoebe
★ 3.2 Main Story, All Events
★ Exclusives: Tier Maker | State of the Meta
Combat Drill is the first Deathtrap stage in Deathtrap Mode of the Tidal Defense Simulator event in Version 2.6 of Wuthering Waves. See Combat Drill's map layout, best combat machines, best tactics, and tips on how to complete the stage in this guide!
List of Contents
Combat Drill Map Layout and Enemies
| Combat Drill Map and Enemies Information | |
|---|---|
 |
|
| No. of Waves | 10 |
| List of Enemies |
Chop Chop HP: 80 SPD: 100 DMG: 10 Passive - Fortified All DMG this Tacet Discord takes is 1. Passive - Adaptation This Tacet Discord becomes immune to Paralysis/Frozen/Confusion when its HP drops below 50% for the first time x1 |
Fae Ignis HP: 3,500 SPD: 400 DMG: 5 Passive - Burn This Tacet Discord has higher HP but continuously loses it over time. x7 |
Fusion Prism HP: 1,500 SPD: 200 DMG: 5 Domain - Shelter This Tacet Discord periodically increases the DEF of several nearby Tacet Discords. x1 |
|---|---|---|
|
Havoc Prism HP: 1,200 SPD: 200 DMG: 5 Deathsound - Summon This Tacet Discord summons one Chop Chop: Headless and three Tick Tacks when defeated. x18 |
Spectro Prism HP: 1,200 SPD: 200 DMG: 5 Deathsound - Healing When defeated, this Tacet Discord heals nearby Tacet Discords for a certain amount. Passive - Adaptation This Tacet Discord becomes immune to Paralysis/Frozen/Confusion when its HP drops below 50% for the first time x1 |
Aero Predator HP: 600 SPD: 150 DMG: 1 Wrath This Tacet Discord starts with a slow Movement Speed. The lower its remaining HP, the faster it moves. x6 |
|
Cruisewing HP: 75 SPD: 600 DMG: 1 Velocity This Tacet Discord moves faster. x24 |
Electro Predator HP: 300 SPD: 200 DMG: 1 Shield This Tacet Discord has a Shield that blocks damage. When Shielded, it is immune to Slow. x15 |
Glacio Predator HP: 400 SPD: 200 DMG: 1 x61 |
|
Tick Tack HP: 100 SPD: 200 DMG: 1 x164 |
Chop Chop: Headless HP: 800 SPD: 150 DMG: 1 x4 |
|
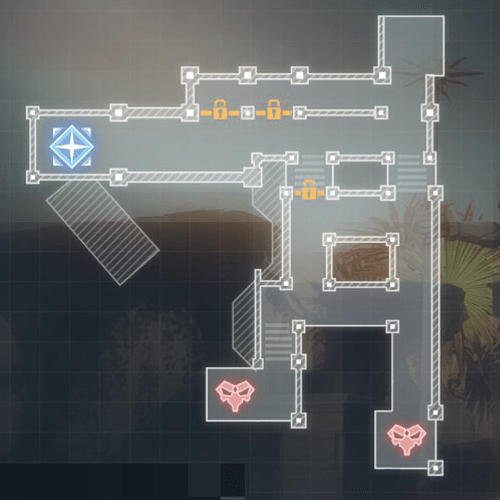
You will only defend one part of the map throughout the whole level, which should be the alley where the first few waves of enemies will go through. While there are a lot of Elite enemies in this level, the Shock Inductor and Freeze Jet strategy is enough to kill all of them!
Combat Drill Best Combat Machines
Recommended Combat Machines
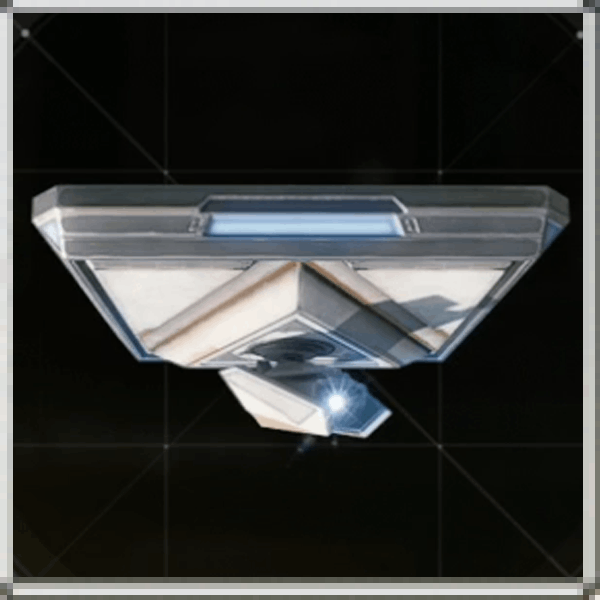 Freeze Jet Freeze Jet Freeze Jet Type: Ceiling
Cost: 500 Base ATK: 21 Cooldown: 6 Periodically ejects a freezing burst, dealing Glacio DMG and Slowing Tacet Discords within the range. |
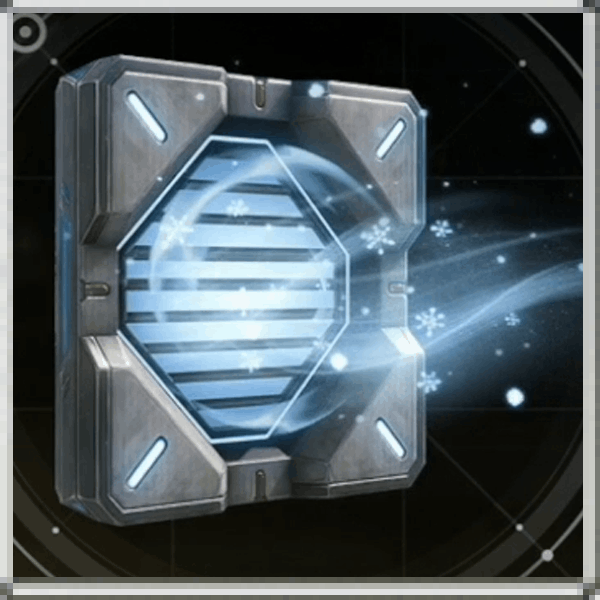 Frost Spout Frost Spout Frost Spout Type: Wall
Cost: 300 Base ATK: 135 Cooldown: 6 Periodically ejects cryogenic air, dealing Glacio DMG and Slowing Tacet Discords within range. |
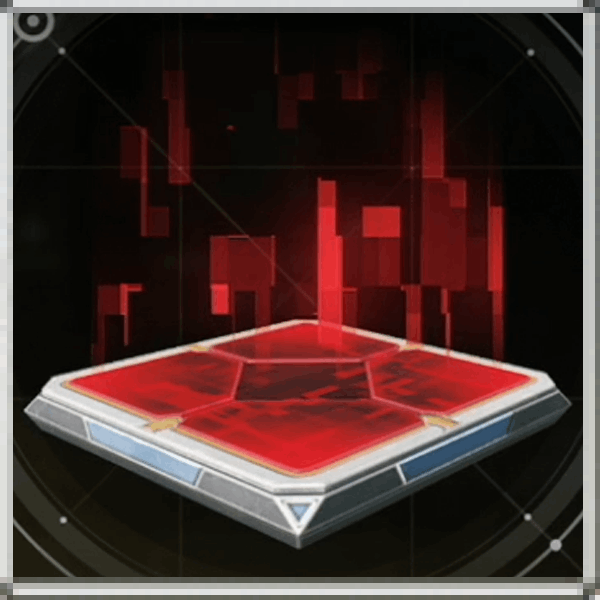 Glitch Spawner Glitch Spawner Glitch Spawner Type: Ground
Cost: 250 Base ATK: 150 Cooldown: 10 Periodically infects nearby Tacet Discords with glitches and temporarily Confuses them. Tacet Discords in the Confusion state move in the opposite direction. |
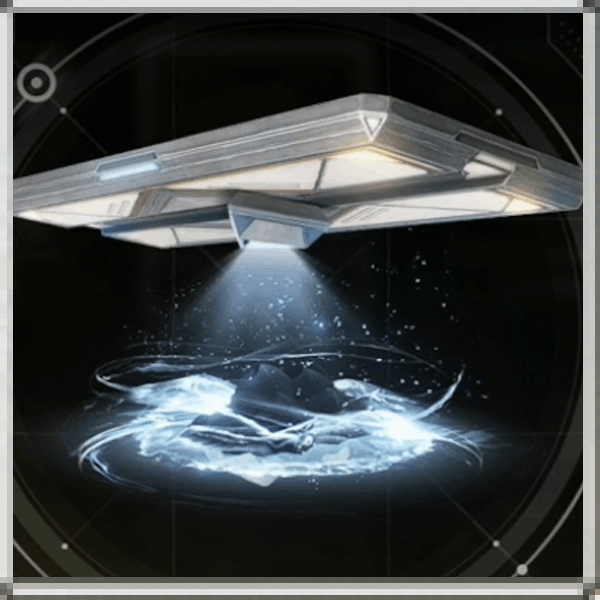 Hologram Echo: Hoartoise Hologram Echo: Hoartoise Hologram Echo: Hoartoise Type: Ceiling
Cost: 300 Base ATK: 150 Cooldown: 10 Summons a spinning Hoartoise Echo, dealing Physical DMG and knocking back Tacet Discords in its path. |
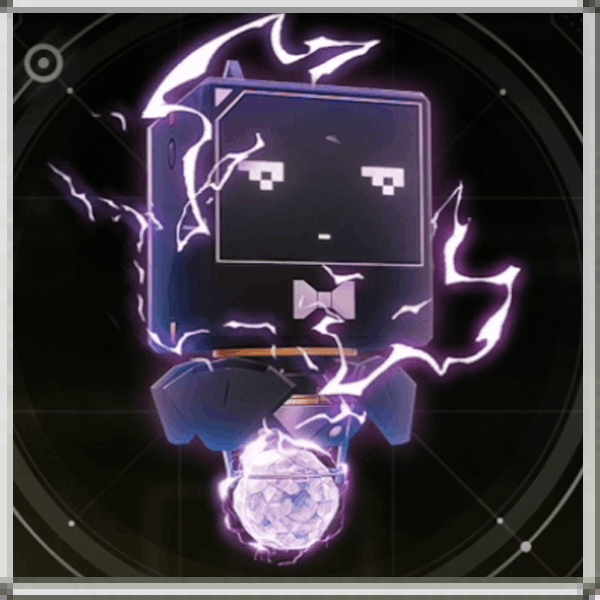 Plasma Cannon Plasma Cannon Plasma Cannon Type: KU-Roro Weapon
Base ATK: 45 Fires an unstable energy beam that explodes on impact, dealing high Electro DMG. Can be charged to increase the explosion's DMG and range. |
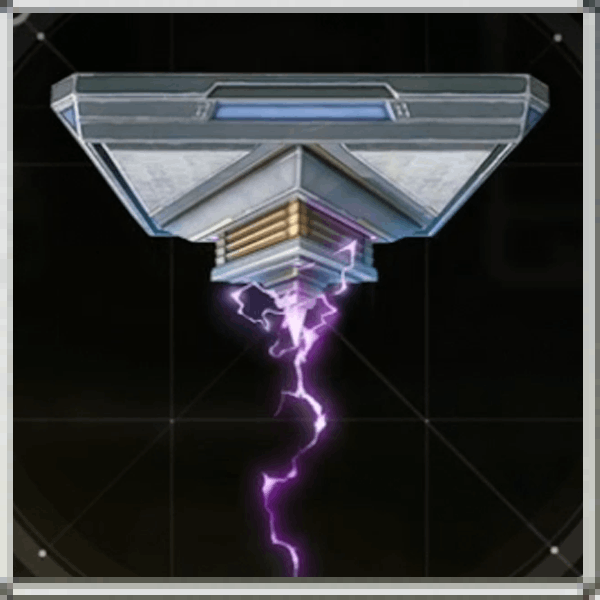 Shock Inductor Shock Inductor Shock Inductor Type: Ceiling
Cost: 500 Base ATK: 375 Cooldown: 2 Periodically shocks a single Tacet Discord within the range, dealing Electro DMG. |
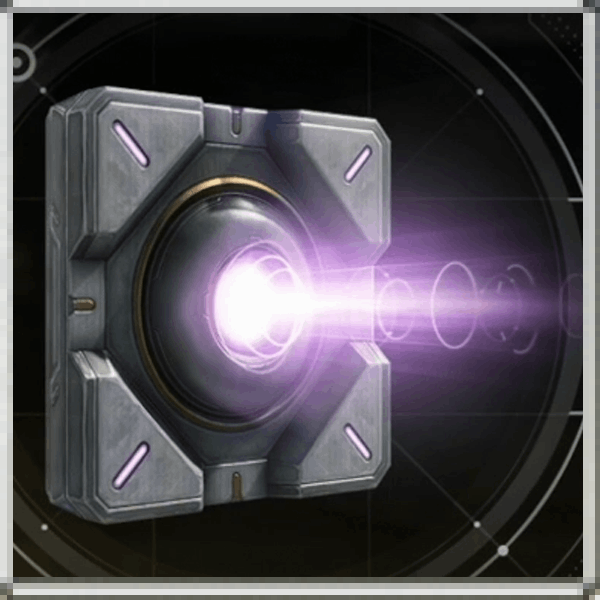 Thunder Lance Thunder Lance Thunder Lance Type: Wall
Cost: 300 Base ATK: 150 Cooldown: 4 Periodically fires a thunder lance that can pierce through Tacet Discords with an unlimited range, dealing Electro DMG. |
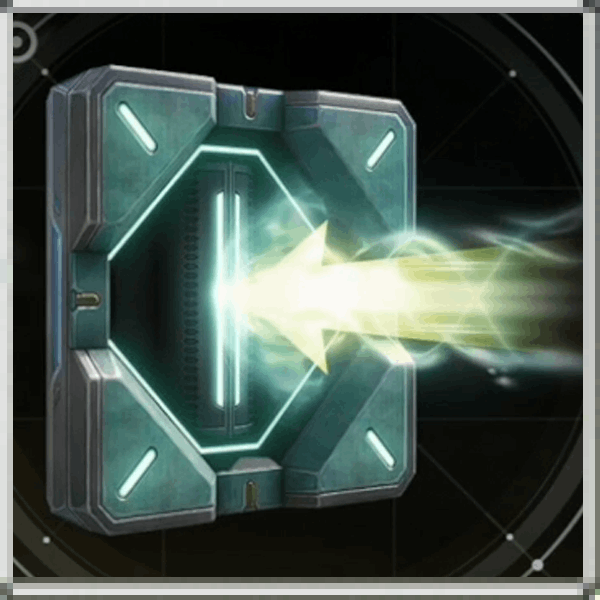 Vortex Generator Vortex Generator Vortex Generator Type: Wall
Cost: 250 Base ATK: 12 Cooldown: 6 Emits an artificial vortex that periodically draws Tacet Discords toward the front of the device and removes their Shield. |
The main strategy here is for the Freeze Jets and Frost Spouts to slow and freeze enemies down, which gives enough time for the Shock Inductor and Thunder Lance to kill them! You can hoard them in a specific hallway where the two spawn points merge. Of course, keep in mind that all machines are level 3 and you'll continously shoot your level 2 Plasma Cannon til the end to help them!
The other Combat Machines are safety nets and can be changed according to your preferences.
Combat Drill Best Tactics
Recommended Tactics
| Tactic Set | Tactic Name |
|---|---|
| Universal Tactics |
・Ceiling Boost |
| Saturation Fire |
・Snail Tactics ・Suppression Tactics ・Electro Boost (Crit Rate) ・Glacio Synergy ・Exposed Weakness ・Final Burst ・Out of Moves |
Since your defenses will revolve around the Freeze Jet and Shock Inductor, it's best to get Tactics under the Saturation Fire set that will buff those machines.
You can start by getting Snail or Suppression Tactics in the first waves. They make enemies take more damage when they're slowed or confused. During the latter waves, it's best to get Ceiling Boost, Out of Moves, and Final Burst! Ceiling Boost and Final Burst will make Jet and Inductor deal more damage, while slows and freezes will be extended thanks to Out of Moves.
Combat Drill Stage Tips
| Combat Drill Recommended Tips |
|---|
|
|
Upgrade Your Shock Inductors and Freeze Jets

To make sure this strategy works, your Shock Inductor and Freeze Jets should be level 3! Feel free to reset any Combat Machines you won't use for currency. Additionally, your Shock Inductor should have Optional Module II to deal more damage, while your Freeze Jet has Optional Module I to focus on crowd control.
Build on the Merging Point
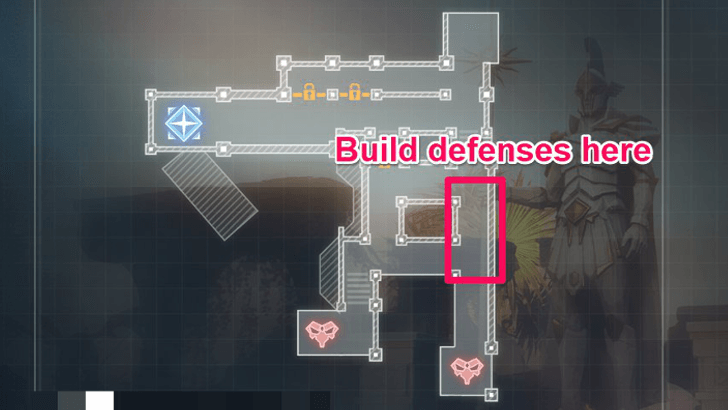
The merging point of this map will be in the first hallway. It is directly where the first enemy waves are headed. All enemies from all 10 waves will pass through this area, making it the best place to build defenses.
Build Shock Inductors and Freeze Jets
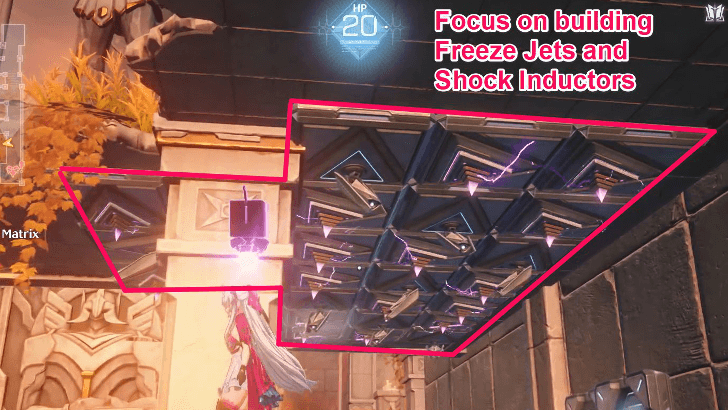
The main strategy we recommend is to focus on building Shock Inductors and Freeze Jets. For every Freeze Jet you built, there'll be two Shock Inductors next to it! This is thanks to the Freeze Jet's range and its abilities to freeze multiple enemies at once. At level 3, the Shock Inductor also releases a Thunder Storm towards enemies, making it extremely powerful!
Shoot Your Plasma Cannon
Keep firing your Plasma Cannon throughout the stage! It's best to aim it at multiple enemies at to hit all of them at once.
Buy at KU-Money's Shop

You can buy at KU-Money's Shop during the the 5th and last wave. It's best to get Matrix Command: Modulation as a safety net, or even some Tactics that will buff the Freeze Jet or the Shock Inductor.
Add Thunder Lance and Frost Spouts
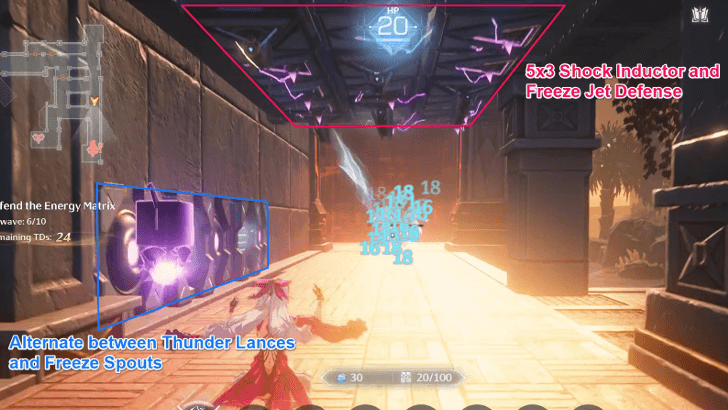
Around wave 6, you can start adding Thunder Lances for additional damage. Frost Spouts can also freeze enemies thanks to the Freeze Jets you've placed.
Can Add Glitch Spawner at Wave 10
The main threat of wave 10 will be the Chop Chop who is immune to crowd control once its health drops below 50%. Thankfully, you will have an army of Free Jets and Shock Inductors at this point. They will deal damage multiple times over a long period of time, even from afar due to their long range. You can also build a Glitch Spawner in the middle for safety, but we strongly believe the Chop Chop will die before it reaches that point!
Combat Drill Stage Information
Basic Information
| Stage Information | |
|---|---|
| Stage Type: Deathtrap |
Threat Level: Deathtrap |
| Rewards | |
|
Hologram Echo: Puff Type: Ground Cost: 500 Base ATK: 400 Cooldown: 4 Periodically summons a Puff Echo to attack nearby Tacet Discords and deal Glacio DMG while it lasts. The Puff Echo can upgrade itself in combat. Burst Launcher Type: Wall Cost: 600 Base ATK: 625 Cooldown: 5 Periodically loads Explosive Cores (with a loading limit) and fires them on passing Tacet Discords, dealing Fusion DMG to targets within the range. Hologram Echo: Chest Mimic Type: Ceiling Cost: 400 Base ATK: 75 Cooldown: 6 Periodically summons a Chest mimic to hurl coins downward, dealing Fusion DMG. Tacet Discords defeated by the device might grant Lucky Coins. |
|
| All Challenge Goals | |
|
|
|
Wuthering Waves Related Guides

Tidal Defense Simulator Event Guide
Pass Guardian Stages
| Threat: Overlord | |||||
|---|---|---|---|---|---|
| Threat: Elite | |||||
| Threat: Common | |||||
Deathtrap Mode Stages
(Infinite Mode) |
|
All Tidal Defense Simulator Guides
| - |
Author
Combat Drill Stage Guide | Tidal Defense Simulator
Premium Articles
Rankings
Gaming News
Popular Games

Genshin Impact Walkthrough & Guides Wiki

Umamusume: Pretty Derby Walkthrough & Guides Wiki

Pokemon Pokopia Walkthrough & Guides Wiki

Honkai: Star Rail Walkthrough & Guides Wiki

Monster Hunter Stories 3: Twisted Reflection Walkthrough & Guides Wiki

Arknights: Endfield Walkthrough & Guides Wiki

Wuthering Waves Walkthrough & Guides Wiki

Zenless Zone Zero Walkthrough & Guides Wiki

Pokemon TCG Pocket (PTCGP) Strategies & Guides Wiki

Monster Hunter Wilds Walkthrough & Guides Wiki
Recommended Games

Fire Emblem Heroes (FEH) Walkthrough & Guides Wiki

Diablo 4: Vessel of Hatred Walkthrough & Guides Wiki

Cyberpunk 2077: Ultimate Edition Walkthrough & Guides Wiki

Yu-Gi-Oh! Master Duel Walkthrough & Guides Wiki

Super Smash Bros. Ultimate Walkthrough & Guides Wiki

Pokemon Brilliant Diamond and Shining Pearl (BDSP) Walkthrough & Guides Wiki

Elden Ring Shadow of the Erdtree Walkthrough & Guides Wiki

Monster Hunter World Walkthrough & Guides Wiki

The Legend of Zelda: Tears of the Kingdom Walkthrough & Guides Wiki

Persona 3 Reload Walkthrough & Guides Wiki
All rights reserved
Copyright© 2024-2025 Kuro Games. All Rights Reserved.
The copyrights of videos of games used in our content and other intellectual property rights belong to the provider of the game.
The contents we provide on this site were created personally by members of the Game8 editorial department.
We refuse the right to reuse or repost content taken without our permission such as data or images to other sites.


![Star Savior Review [First Impressions] | Engaging, Entertaining, and Expensive](https://img.game8.co/4447603/8f500e9bf666bdb8adb1af478e9dfdbd.png/thumb)
![Death Stranding 2: On The Beach [PC] Review | A Port That Delivers](https://img.game8.co/4447392/15310a0c9aa1b6843bb713b2ea216930.jpeg/thumb)


This is brilliant. Thank you for the guide!