How to Beat Elden Beast: Boss Fight Guide
This is a guide on how to beat Elden Beast, one of the final bosses in Elden Ring. Read on to learn more about Elden Beast's drops, weaknesses, and recommended level!
| Final Boss Phase 1 | Final Boss Phase 2 |
|---|---|
 Radagon of the Golden Order Radagon of the Golden Order |
 Elden Beast Elden Beast |
List of Contents
Elden Beast General Info
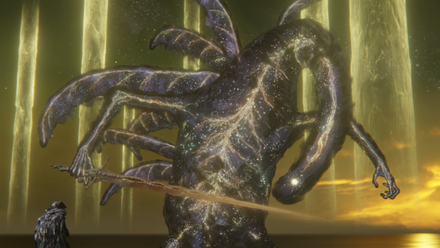
Stats and Rewards
| Elden Beast | ||
|---|---|---|
|
||
| Weakness | Resistance | Immune |
| ━ |
Holy |
Bleed |
| Affected By | ━ | |
| Spirit Ashes Available? | Yes | |
| Rune Rewards |
500000 (NG) |
|
| Summonable NPCs |
None
|
|
| Location | ||
| Item Drops |
・Elden Remembrance
|
|
Elden Beast Location
Where to Find Elden Beast
| Map Location | |
|---|---|
 View Full Image |
|
| Recommended Level | Lv.125 |
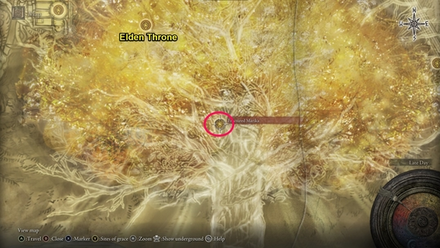
Elden Beast can be found in the Erdtree. This is located in Leyndell, Ashen Capital, in the region of Altus Plateau. The nearest Site of Grace is the Elden Throne. It is Phase 2 of the final boss and will appear immediately after beating Radagon of the Golden Order.
How to Beat Elden Beast
| Tips for Beating Elden Beast |
|---|
| How to Beat Strategies | ||
|---|---|---|
| Ranged Strategy | Melee Strategy | |
Click a link above to take you to that section.
Ranged Strategy
| Elden Beast Boss Tips |
|---|
Cast Divine Fortifications
Casting Divine Fortification or Lord's Divine Fortification will greatly reduce the damage Elden Beast can do to you. The latter will also affect your Summon, making it even tankier.
Let your Spirit Ash take aggro as you attack from a distance
If your Spirit Ash from Phase 1 against Radagon is still alive, it will carry over to the Elden Beast fight. Thankfully, the summons recommended against Radagon, namely Black Knife Tiche or your Mimic Tear, will still be highly effective against the Elden Beast.
Tiche's speed will allow her to dodge its attacks while her weapon will decrease the Elden Beast's maximum HP. Your Mimic Tear's high damage and tankiness means you can let them take aggro for majority of the fight. If you didn't summon a Spirit Ash during Phase 1, prioritize using your Mimic Tear in Phase 2 due to its high HP.
Use large AoE spells
Elden Beast's size means you can easily hit it with an AoE spell that deals heavy damage. The best opportunity to do so will be after it reappears from one of its Dives, since it usually won't use that move again for a bit of time. Comet Azur will be especially effective since will drain the Beast's health quickly.
Pest Threads has been found to be very effective against the Elden Beast.
Melee Strategy
| Elden Beast Boss Tips |
|---|
Stay close and be aggressive
For the melee strategy, make sure you're always trying to get near the Elden Beast and hitting it. Don't wait for a specific move before trying to attack since it can just dive away and you'll end up constantly resetting your position. Instead, be aggressive and strike it even during its animations. Its moveset is slow enough that you'll have enough time to attack before needing to dodge.
Safest place to attack the Elden Beast is behind it
As much as possible, position yourself behind the Elden Beast since you'll avoid most of its attacks from there. Your only threat would be its sweeping attacks, so just be prepared to roll through them. It will be easier to get behind it if you also use a Spirit Ash.
It will always start Phase 2 with its Cosmic Breath, so sprint behind it as soon as the fight starts. This'll give you a lot of time deal damage before it does another moveset.
Use weapons with launchable Weapon Skills
Despite Elden Beast's size, it's still quite agile and can easily get away from you thanks to its Dive. Using weapons like Moonveil or Blasphemous Blade can solve this issue since these have Weapon Skills that you can launch at the Beast. These should also have enough range that you can get 1 or 2 hits in even as it starts swimming away.
Use Hoarfrost Stomp
Hoarfrost Stomp deals incredible damage against the Elden Beast, and its size means you won't miss a single stomp. Spam this move when you get behind it and you'll take away large chunks of its health.
Elden Beast Attack Patterns
Dive
| Dive Attack Information |
|---|
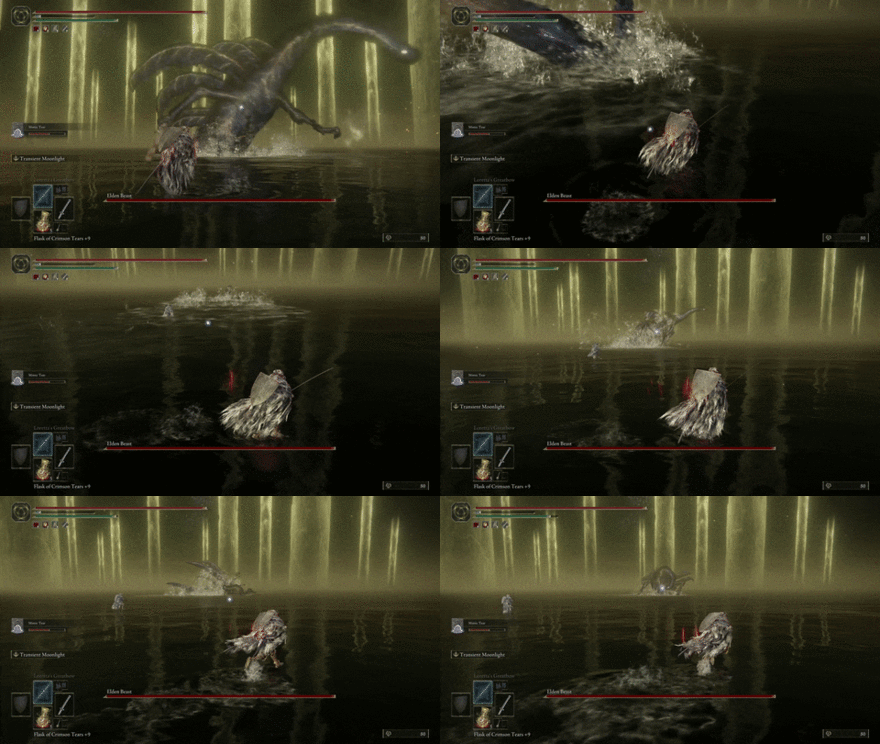 Dive: Elden Beast creates distance between you by diving into the water and popping up elsewhere. This allows it to launch its ranged attacks at you. |
Sword Attacks
| Sword Attack Variations |
|---|
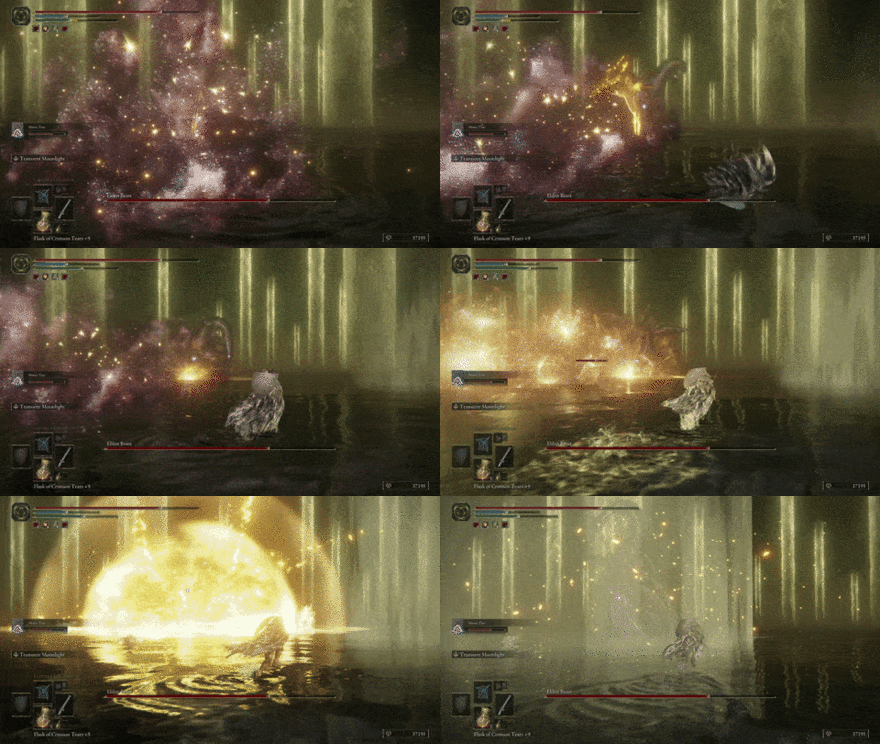 Stabbing Blast: Elden Beast stabs its sword into the ground, creating an AoE blast. The safest way to avoid this is to back away but if you're caught in the AoE, try to get behind the Elden Beast. |
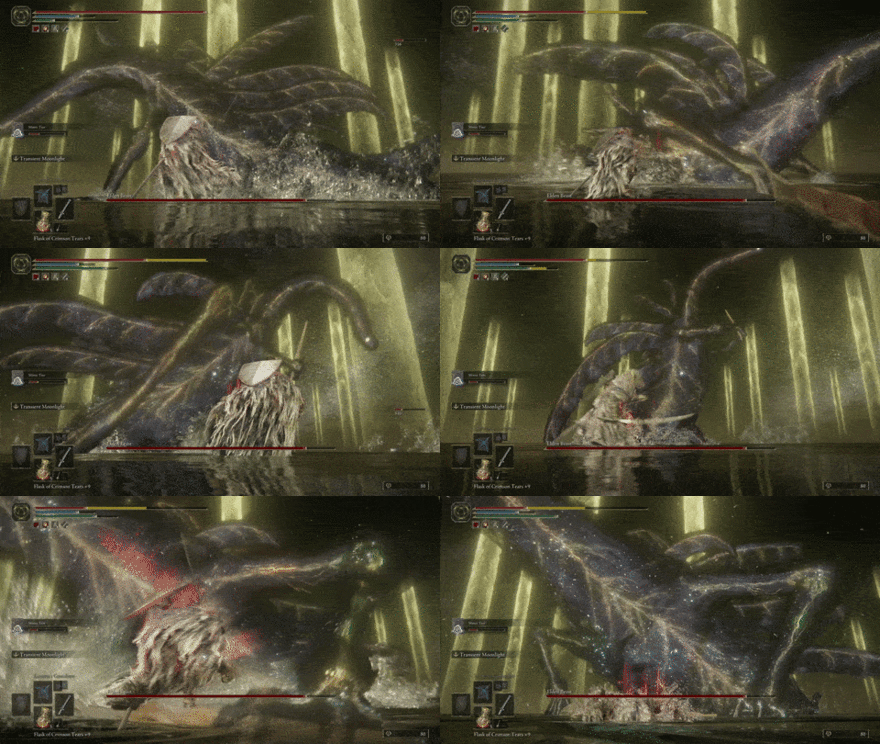 Sword Slam: Elden Beast swings its sword to the side then slams it on you. Roll to the side to avoid the first swipe, then roll into the slam. |
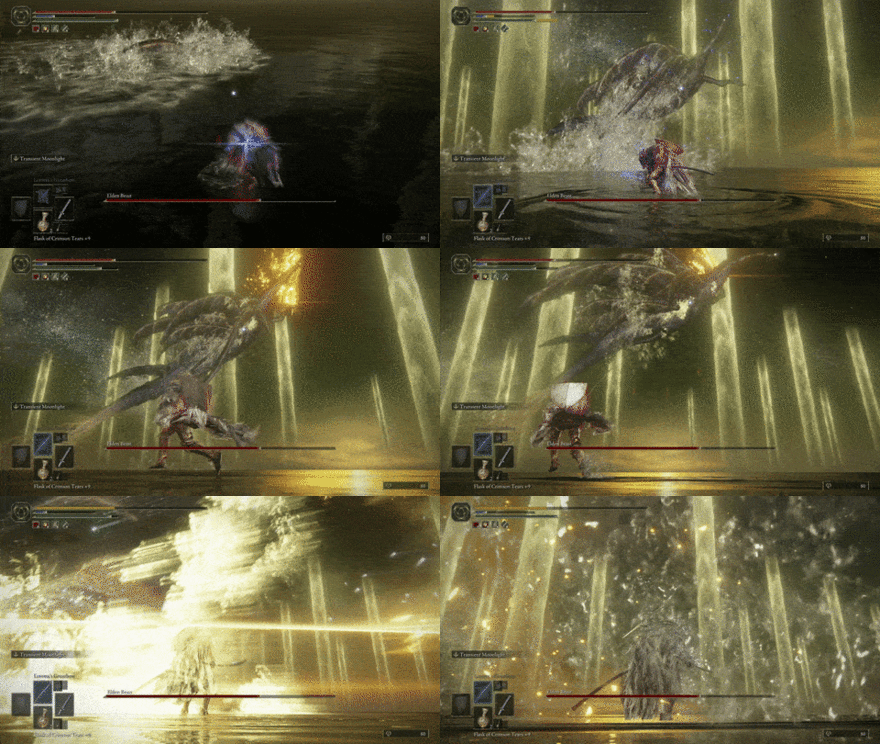 Sword Dive Bomb: Elden Beast ignites its sword and flies before diving and striking you. Roll into the attack as it starts diving. |
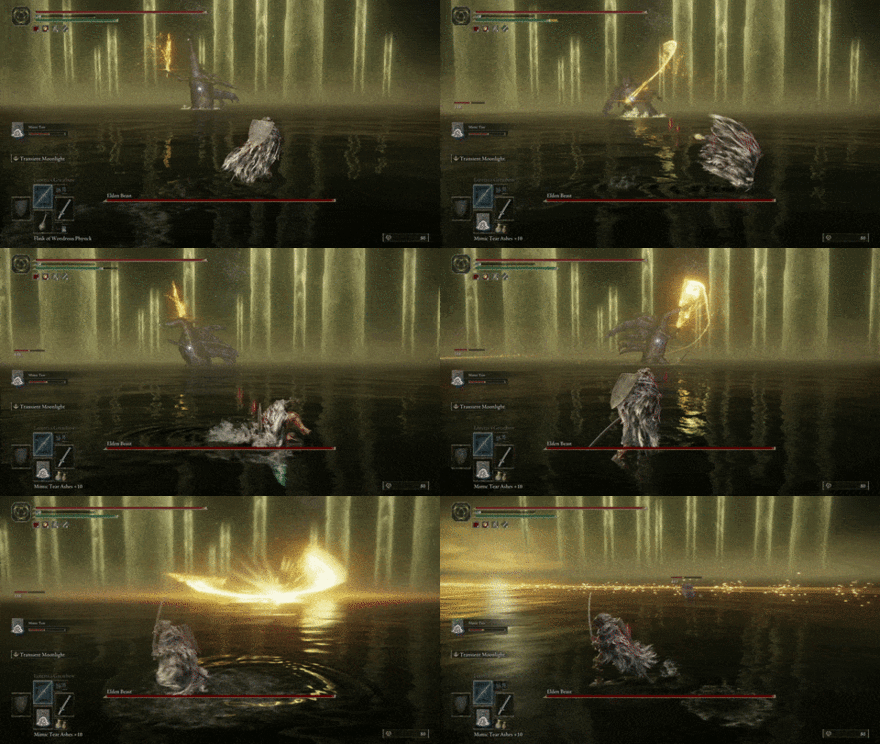 Sword Beams: Elden Beast launches four beams from a distance. Blocking this will still cause some damage, so try to roll into them as the beams approach you. Take into account that the last two beams will be delayed. |
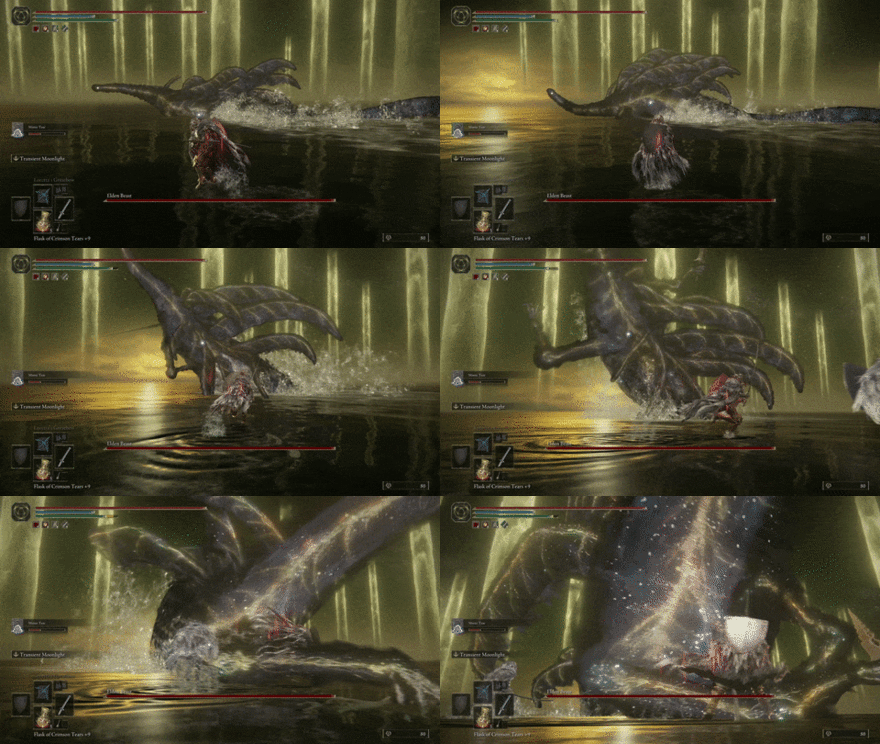 Spinning Sword Swing: Elden Beast briefly swims away before turning and swinging its sword at you. It'll always swim before this attack, so that will be your cue to prepare to roll forward. |
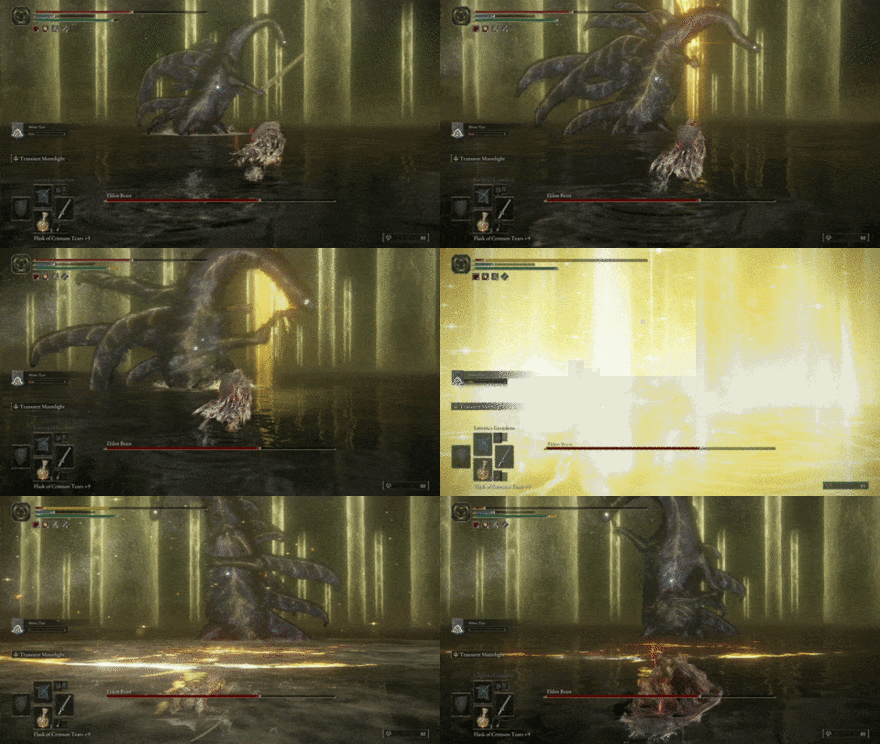 Flaming Sword Swing: Elden Beast ignites its sword then charges up for a flaming swing. This has an aftershock, so try to time your roll just as it's about to hit you. |
Magic Attacks
| Magic Attack Variations |
|---|
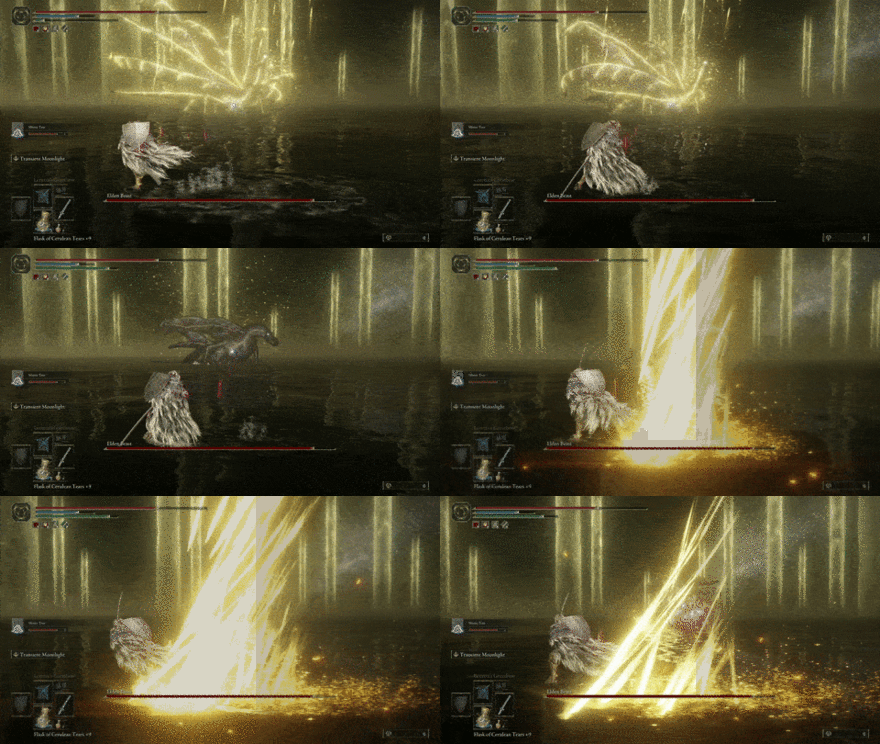 Wing Shards: Elden Beast's wings light up and launches multiple tracking shards at you. You can easily avoid these by running in one direction, though the best would be to the side. |
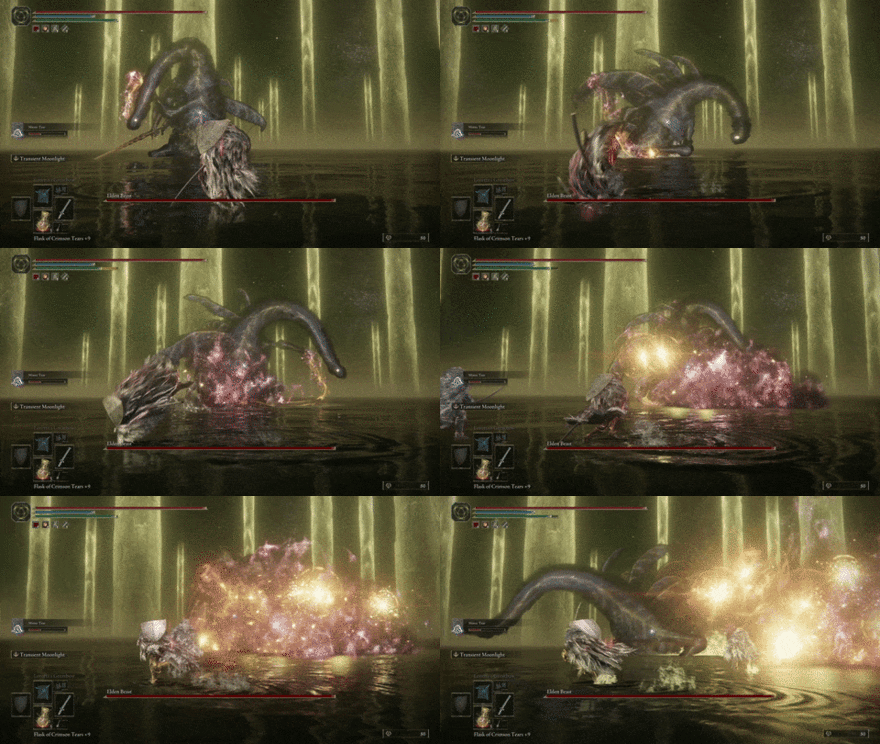 Sparkling Galaxy Clouds: Elden Beast creates clouds at its direct front that cause small explosions. Stay away from the AoE, you'll have enough time to back away when the clouds appear. |
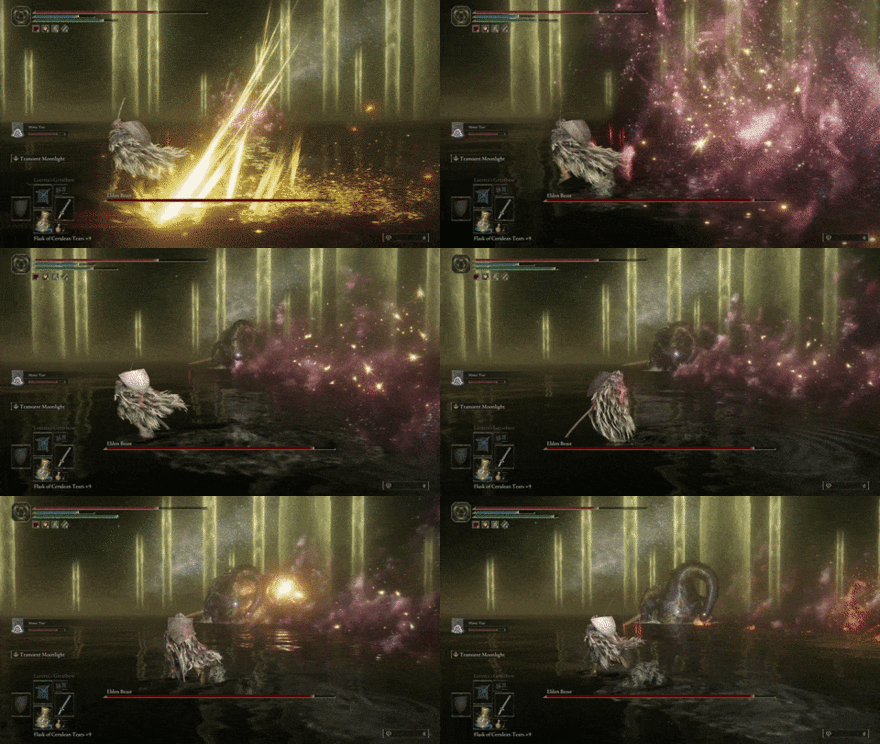 Galaxy Cloud Trail: This is similar to the Sparkling Galaxy Clouds, but the Elden Beast will launch it in a straight trail. Avoiding it is still simple, just stay away from the clouds. |
 Magic Grab: Elden Beast charges up an orb in its left hand then grabs you. You'll be chained to a rune arc as shards pierce you then cause an explosion. This can one-shot you so dodge as its hand tries to reach you. |
 Cosmic Breath: Elden Beast spews fire at you. You can dodge this by running to the side. If you're right in front of it, get behind it instead to avoid this. |
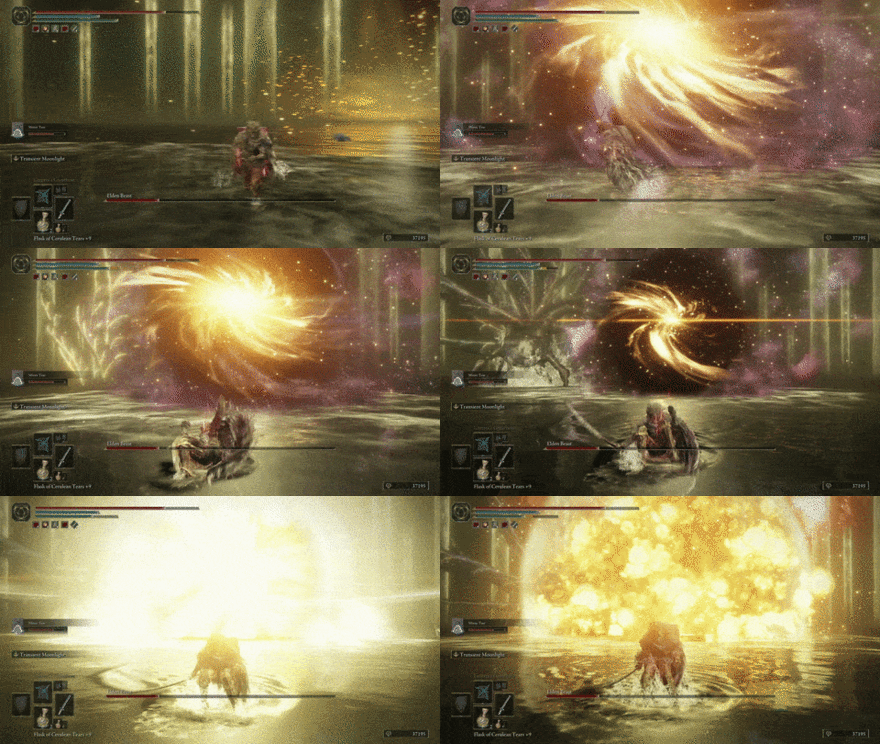 Black Hole: Elden Beast creates a black hole that charges up then explodes, causing heavy damage. Run away from the AoE immediately. |
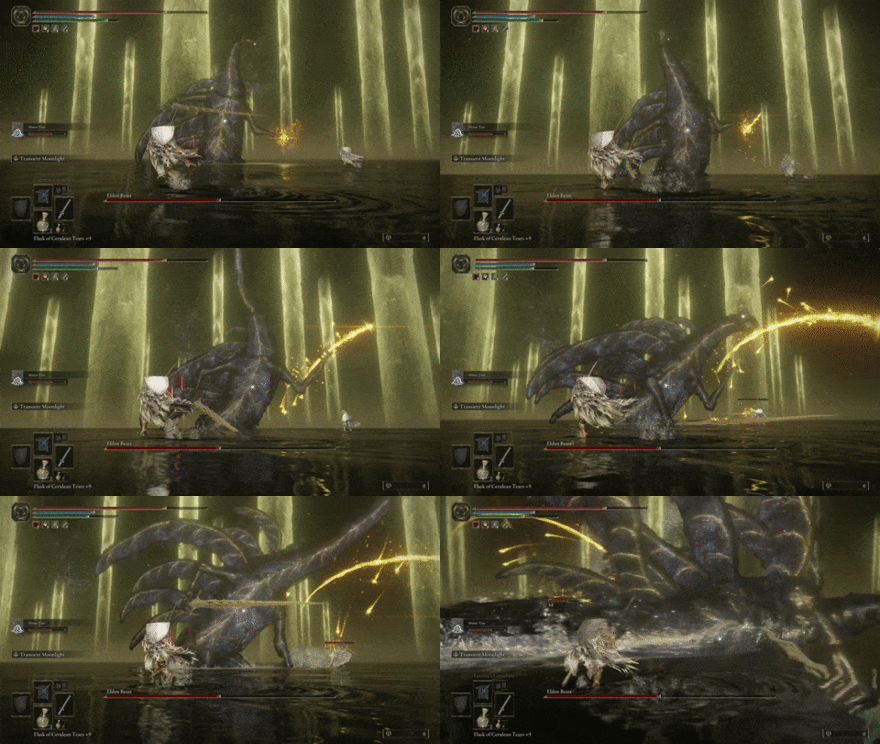 Chasing Stars: Elden Beast launches small tracking stars from its hand. These are difficult to avoid since they come from various directions. Run to the side until they start nearing you, then roll through them and continue running. |
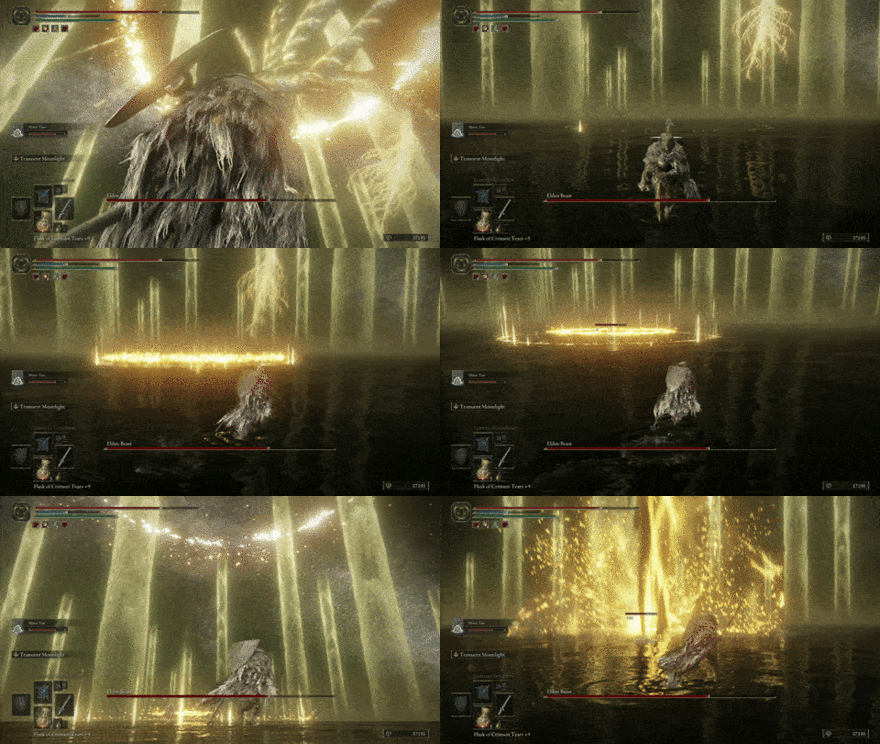 Elden Ring Blast: Elden Beast flies and creates two rings around you that launch a huge beam of light, dealing immense damage. Jump over the first ring then run outside of the second ring to avoid this. |
Elden Ring Related Guides

DLC Bosses
Main Bosses
Optional Bosses
Mini-Bosses
| All Bosses in Elden Ring | |
|---|---|
| Elder Dragon Greyoll | Lion Guardian |
| Valiant Gargoyle (Leyndell) | - |
Hostile NPCs and Invaders
| Limgrave Invaders and Hostile NPCs | |
|---|---|
| Bloody Finger Nerijus | Old Knight Istvan |
| Recusant Henricus | - |
| Liurnia of the Lakes Invaders and Hostile NPCs | |
| Great Horned Tragoth | Festering Fingerprint Vyke |
| Altus Plateau Invaders and Hostile NPCs | |
| Eleonora, Violet Bloody Finger | Inquisitor Ghiza |
| Maleigh Marais, Shaded Castle Castellan | Rileigh the Idle |
| Vargram the Raging Wolf & Errant Sorcerer Wilhelm | Magnus the Beast Claw |
| Mountaintops of the Giants Invaders and Hostile NPCs | |
| Juno Hoslow, Knight of Blood | - |
| The Roundtable Hold Invaders and Hostile NPCs | |
| Mad Tongue Alberich | - |
| Multiple Location Invaders and Hostile NPCs | |
| Anastasia, Tarnished-Eater | - |
Author
How to Beat Elden Beast: Boss Fight Guide
improvement survey
03/2026
improving Game8's site?

Your answers will help us to improve our website.
Note: Please be sure not to enter any kind of personal information into your response.

We hope you continue to make use of Game8.
Rankings
- We could not find the message board you were looking for.
Gaming News
Popular Games

Genshin Impact Walkthrough & Guides Wiki

Honkai: Star Rail Walkthrough & Guides Wiki

Umamusume: Pretty Derby Walkthrough & Guides Wiki

Pokemon Pokopia Walkthrough & Guides Wiki

Resident Evil Requiem (RE9) Walkthrough & Guides Wiki

Monster Hunter Wilds Walkthrough & Guides Wiki

Wuthering Waves Walkthrough & Guides Wiki

Arknights: Endfield Walkthrough & Guides Wiki

Pokemon FireRed and LeafGreen (FRLG) Walkthrough & Guides Wiki

Pokemon TCG Pocket (PTCGP) Strategies & Guides Wiki
Recommended Games

Diablo 4: Vessel of Hatred Walkthrough & Guides Wiki

Cyberpunk 2077: Ultimate Edition Walkthrough & Guides Wiki

Fire Emblem Heroes (FEH) Walkthrough & Guides Wiki

Yu-Gi-Oh! Master Duel Walkthrough & Guides Wiki

Super Smash Bros. Ultimate Walkthrough & Guides Wiki

Pokemon Brilliant Diamond and Shining Pearl (BDSP) Walkthrough & Guides Wiki

Elden Ring Shadow of the Erdtree Walkthrough & Guides Wiki

Monster Hunter World Walkthrough & Guides Wiki

The Legend of Zelda: Tears of the Kingdom Walkthrough & Guides Wiki

Persona 3 Reload Walkthrough & Guides Wiki
All rights reserved
ELDEN RING™ & ©BANDAI NAMCO Entertainment Inc. / ©2021 FromSoftware, Inc.
The copyrights of videos of games used in our content and other intellectual property rights belong to the provider of the game.
The contents we provide on this site were created personally by members of the Game8 editorial department.
We refuse the right to reuse or repost content taken without our permission such as data or images to other sites.


![Monster Hunter Stories 3 Review [First Impressions] | Simply Rejuvenating](https://img.game8.co/4438641/2a31b7702bd70e78ec8efd24661dacda.jpeg/thumb)


