This survey will take about 1 minute.
Your answers will help us to improve our website.
Elden Ring Shadow of the Erdtree
Shadow of the Erdtree DLC Walkthrough

Find out what to do and where to go with this Walkthrough and Progression guide for Elden Ring Shadow of the Erdtree. Read on to learn what objectives you'll need to complete to finish the main story, which bosses to fight, as well as how to progress!
Shadow of the Erdtree DLC Walkthrough
1. Go to Castle Ensis
From the starting Site of Grace, Gravesite Plain, head northeast and cross the Ellac Greatbridge to reach the Castle Front Site of Grace in front of Castle Ensis.
2. Enter Castle Ensis and Reach the Castle-Lord's Chamber
Get past the giant guarding the short bridge, then enter the cave and go up the slope to find the Castle Ensis Checkpoint Site of Grace. Go down the hole to the right of the locked gate, which is adjacent to the Site of Grace, and come up from the underground river to clear a few rooms and unlock the gate connecting the Checkpoint Site of Grace to the next area.
Get past knights, dogs, and the NPC invader Moonrithyll, Carian Knight to find the gate to the next area, in the back right of the building Moonrithyll is guarding. Keep progressing and take the elevator being guarded by a Black Knight to arrive at the Castle-Lord's Chamber Site of Grace, right before the Rellana boss fight fog wall.
3. Defeat Rellana, Twin Moon Knight
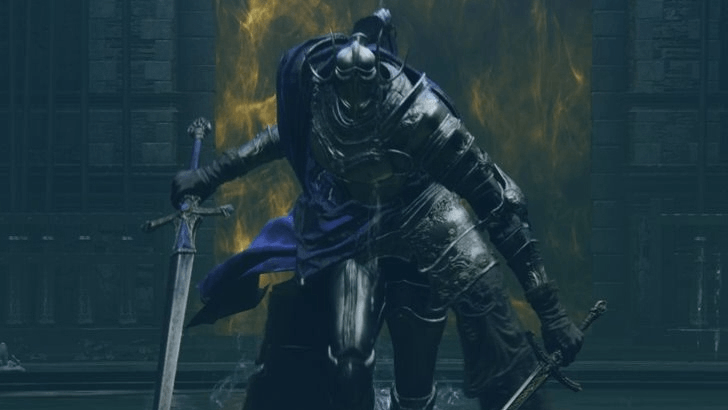
Defeat Rellana, Twin Moon Knight. We recommend you tackle this boss at Scadutree Blessing level 3 to deal and tank more damage. You can also summon the NPC Needle Knight Leda for assistance in the fight.
How to Beat Rellana, Twin Moon Knight
4. Head North From Ensis Moongazing Grounds to Shadow Keep
Defeat Rellana will unlock the Ensis Moongazing Grounds Site of Grace as well as entry into Scadu Altus. Follow the road north, past the army camp and Furnace Golem, and ride the lift into the castle to reach the Shadow Keep Main Gate Site of Grace.
Take note that reaching the Shadow Keep will break the charm on Miquella's followers, which will affect ongoing NPC quests related to them.
5. Defeat the Golden Hippopotamus
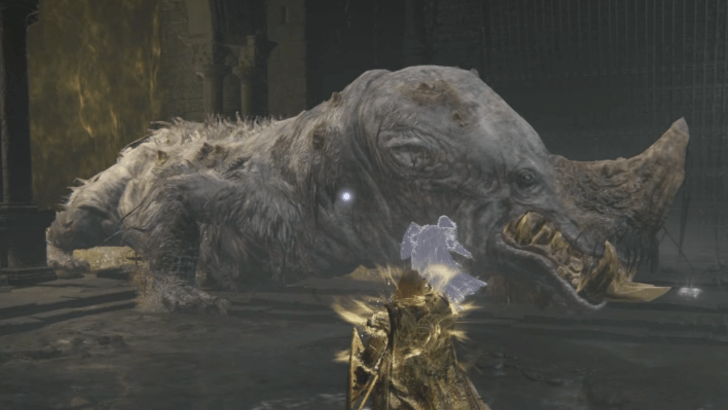
Defeat the Golden Hippopotamus mini-boss in the plaza area right in front of the Shadow Keep Main Gate Site of Grace. The Hippopotamus has a large frame and hits hard, so make sure you're well-prepared for this fight to proceed with the main quest as quickly as possible.
How to Beat Golden Hippopotamus
6. Ascend from the Plaza to Reach the Storehouse
Defeating the Golden Hippopotamus will unlock the Main Gate Plaza Site of Grace. Rest, then take the left doorway and climb the stairs until you reach the dining room with two Black Knights. Take the door to the left, then keep walking until you see large stairs doing down to the right. Head down these steps, guarded by Vulgar Militia, to open the gate and a shortcut back to the Main Gate Plaza.
Go back up the large stairs and ride the lieft past the red-cloaked enemy to reach the Storehouse, First Floor Site of Grace.
7. Ascend the Storehouse to Reach the Dark Chamber Entrance
From the First Floor, keep staing the stairs going up to reach a stone statue hanging near the railing of the atrium. Climb up the statue to get to the Fourth Floor Site of Grace.
Once the Site is unlocked, progress forward along the outside perimeter of the castle until you reach another doorway back into the Storehouse near the end of the perimeter. Turn right and continue taking any stairs going up until you reach the Seventh Floor Site of Grace for a convenient checkpoint.
Turn around, going back down one flight of stairs, then take the right doorway and head to the end of the room to find a lever that will activate small stairs in the center of the atrium. Climb the scaffolding that appears and the statue to the next floor to another doorway leading outside. Go out, then turn right and follow the path until you reach the Dark Chamber Entrance Site of Grace.
8. Defeat Messmer The Impaler
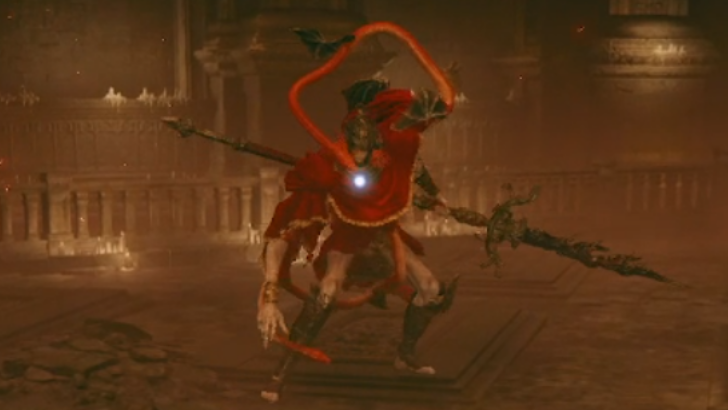
Defeat Messmer the Impaler to get Messmer's Kindling, a key item to burn the Sealing Tree. He's a tough and mobile two-phase boss, so make sure you are equipped and leveled to fight him.
How to Beat Messmer the Impaler
9. Pick up Leda's Note on the Fourth Floor of the Storehouse
After defeating Messmer, teleport to the Fourth Floor Site of Grace to find Leda's note on a nearby table. The contents will guide you on to where to go next.
10. Descend from the Storehouse's First Floor to the Viaduct Tower
Teleport to the First Floor Site of Grace, then enter the room on the left to take a lift down. Proceed through the rooms until you reach the church area. Go through the door on the opposite side of the altar, then unlock the West Rampart Site of Grace right outside.
Get onto the rampart, and ride Torrent to the other end while avoiding fire rain being spawned by a red-cloaked enemy, who is also at the other end of the rampart. Take the lift being guarded by this enemy to arrive at the Viaduct Minor Tower Site of Grace.
11. Descend from the Viaduct Tower to the Rauh Ancient Ruins, East
Exit the Viaduct Tower and go right to find a staircase leading into the ruins. After taking the stairs, go straight and turn right at the end, then turn left at the large doors and go down the gaps in the floor surrounding the giant brazier.
After falling, open the giant doors in the room, then continue along the corridor until you see a hole in the floor with a Spiritspring. Descend via Torrent, then look for where the light shines through the ceiling to find the path leading back out, where the Rauh Ancient Ruins, East Site of Grace is.
12. Cross the Bridge and Proceed to the Church of the Bud
Cross the bridge via Torrent by the Site of Grace as quickly as possibly to avoid getting blasted from afar by the Furnace Golem on the other plateau. Once you reach the covered area beside the Golem, look south and go across the pond and up the slope to unlock the Rauh Ancient Ruins, West Site of Grace.
From this Site of Grace, ride west and ascend through more ruins. Take the stairs, then when you reach a large room, go left and follow the passage to the lift. Go up the lift and continue up a set of Scarlet Rot-flooded ruins until you reach the outside and unlock the Church of the Bud, Main Entrance Site of Grace.
13. Defeat Romina, Saint of the Bud

Defeat Romina, Saint of the Bud to gain access to the Sealing Tree necessary to unlock the next area. Prepare consumables and talismans resistant to Scarlet Rot, as well as weapons or spells that inflict Bleed and Frost to make this boss fight go by quickly and smoothly.
How to Beat Romina, Saint of the Bud
14. Burn the Sealing Tree
After defeating Romina, you'll unlock the small area behind her arena, which contains the black Sealing Tree growing on the altar. Make sure you have Messmer's Kindling in order to burn the Sealing Tree and progress to the next region.
Take note that once you burn the Sealing Tree after beating this boss, most NPC quests will become impossible to progress, so progress your NPC quests as much as you can beforehand. We recommended completing the quests of Sir Ansbach and Thiollier specifically.
All DLC NPC Quests and Locations
15. Head from Enir-Ilim Outer Wall to Spiral Rise
After burning the Sealing Tree, you will be teleported to the outer wall of Enil-Irim. Follow the stairs and unlock the First Rise Site of Grace. Then, go outside and continue ascending until you reach the Spiral Rise Site of Grace.
16. Ascend from Spiral Rise to the Cleansing Chamber Anteroom
From the Site of Grace, go up the stairs, then jump out the window left to get onto the awning outside. Turn and keep hugging the right side, walking roofs until you see a railing with a hole in it to jump through.
Continue ascending up stairs and roofs until you re-enter a tower via an open window, then continue going up until you reach the Cleansing Chamber Anteroom Site of Grace.
17. Defeat Leda and Allies in the Cleansing Chamber
You will be unable to progress until you defeat Ida and the other NPCs in the Cleansing Chamber via the Summoning Sign. If you have completed the quests of Sir Ansbach and Thiollier, they will be available via Summoning Signs to fight alongside you.
18. Take the Lift to the Final Boss
After defeating Ida and her allies, you can pick up their drops before taking the lift at the back of the room to find the Divine Gate Front Staircase Site of Grace. Unlock it, and prepare to face the final boss of Shadow of the Erdtree.
19. Defeat the Final Boss
Defeat the final boss of Shadow of the Erdtree. They are weak to Scarlet Rot, so you can prepare equipment, spells, and throwables such as Rancor Pots to aid you in your fight. Be prepared for two phases, the second of which is triggered when the boss reaches about 40% HP.
What Level is Recommended for the DLC?
Best Faced at Level 150 or Higher
For Shadow of the Erdtree, we recommend being Level 150 and higher, or at least within Level 125 at the barest minimum due to its difficulty.
As the Elden Ring DLC was made with endgame content in mind, players can expect to fight high-level opponents that have higher damage scaling than even the late game sections of the base game.
How to Access the DLC
Defeat Mohg and Radahn

Before gaining access to the Land of Shadow, players must first defeat Starscourge Radahn and Mohg, Lord of Blood in order to fulfill the expansion's start conditions.
How to Access Shadow of the Erdtree DLC
Beating the Entire Game is Not Required
Despite being an endgame-level expansion, players are not required to clear the game in order to access this expansion, as they can immediately access it from Mohgwyn Palace after both Radahn and Mohg are dead.
Mohgwyn Palace Walkthrough and Location
Interact with the Cocoon of the Empyrean

Upon revisiting Mohgwyn Palace, a new NPC named Needle Knight Leda will be there, instructing the player to touch the Cocoon of the Empyrean to enter the Land of Shadow.
Restart the Game if Leda is Not Beside the Cocoon
If Leda is absent from the front of the cocoon upon returning, try restarting your game as it will completely reload everything, allowing Leda to spawn in their intended spot.
DLC Story Walkthrough Tips
Collect Scadutree Fragments as you Explore
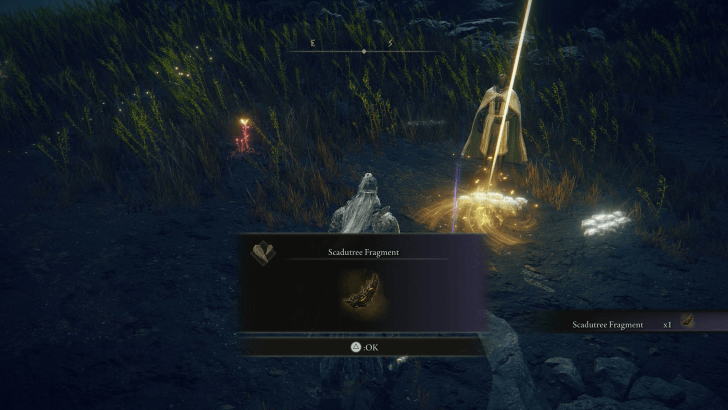
Collect as many Scadutree Fragments as you can as you explore, as the Scadutree Blessing level will be your main method of upgrading your damage and damage reduction in the Shadow Realm. Otherwise, you will be consistently one or two-shotted by the enemies in the Land of Shadow, even if you are at Level 150+ with a generous amount of Vigor.
All Scadutree Fragment Locations
Elden Ring Related Guides

Shadow of the Erdtree DLC Guide
All Shadow of the Erdtree Guides
Comment
Author

Shadow of the Erdtree DLC Walkthrough
Please participate in our site
improvement survey
03/2026
improvement survey
03/2026
Would you assist in
improving Game8's site?
improving Game8's site?

×
We are listening to our users' valuable opinions and discussing how to act on them.
The information collected through this survey will be used for the purpose of improving our services. In addition, the information will only be disclosed a part of a statistic in a format that will not allow identification of personal information.
Begin Survey
Not Now
×
Please rate each item regarding Game8.co's Advertisements.
Amount of Ads
Very Dissatisfied
Somewhat Dissatisfied
Fine
Somewhat Satisfied
Highly Satisfied
Placement of Ads
Timing of Ad Display
Ad Loading Speed
Safeness of Ads
Content of Ads
×
Please rate each item regarding Game8.co's Quality of Articles.
Amount of information
Very Dissatisfied
Somewhat Dissatisfied
Fine
Somewhat Satisfied
Highly Satisfied
Frequency of updates
Speed of new information
Accuracy of articles
Understandibility of articles
Readability of sentences
×
Please rate each item regarding Game8.co's Usability of the Site.
Ease of finding information
Very Dissatisfied
Somewhat Dissatisfied
Fine
Somewhat Satisfied
Highly Satisfied
Loading Speed
Use of Color
Font Size
Visibility of Images
Easy to Understand Layout
×
Please rate each item regarding Game8.co's Message Boards, Comments.
Ease of Writing
Very Dissatisfied
Somewhat Dissatisfied
Fine
Somewhat Satisfied
Highly Satisfied
Readability
Ease in Finding Information
Comment Quality
Comment Quantity
Admin Response
×
Please rate each item regarding Game8.co's Site's new design.
Please rate our site's new design
Very Dissatisfied
Somewhat Dissatisfied
Fine
Somewhat Satisfied
Highly Satisfied
Do you think that the website's design change makes the site easier to use?
Has the new design made it easier for you to find information on the site?
Has the new design improved the overall visual appeal of the site?
How would you rate your overall satisfaction with the new design of the site?
×
How likely are you to recommend Game8 to someone you know?
Very Unlikely
0
1
2
3
4
5
6
7
8
9
10
Very Likely
If you have other opinions regarding potential improvement to the website, please share them with us. We would appreciate your honest opinion.
Note: This is a free response section, so you can proceed without entering anything.
Note: Please be sure not to enter any kind of personal information into your response.
Note: Please be sure not to enter any kind of personal information into your response.
×
Thank You
×
Thank you for participating in our survey! Your answers will help us to improve the quality of our website and services.
We hope you continue to make use of Game8.
We hope you continue to make use of Game8.
Close
Rankings
- We could not find the message board you were looking for.
Gaming News


![Monster Hunter Stories 3 Review [First Impressions] | Simply Rejuvenating](https://img.game8.co/4438641/2a31b7702bd70e78ec8efd24661dacda.jpeg/thumb)
Popular Games

Genshin Impact Walkthrough & Guides Wiki
Honkai: Star Rail Walkthrough & Guides Wiki
Umamusume: Pretty Derby Walkthrough & Guides Wiki
Pokemon Pokopia Walkthrough & Guides Wiki
Resident Evil Requiem (RE9) Walkthrough & Guides Wiki
Monster Hunter Wilds Walkthrough & Guides Wiki
Wuthering Waves Walkthrough & Guides Wiki
Arknights: Endfield Walkthrough & Guides Wiki
Pokemon FireRed and LeafGreen (FRLG) Walkthrough & Guides Wiki
Pokemon TCG Pocket (PTCGP) Strategies & Guides Wiki


Recommended Games
Diablo 4: Vessel of Hatred Walkthrough & Guides Wiki
Cyberpunk 2077: Ultimate Edition Walkthrough & Guides Wiki
Fire Emblem Heroes (FEH) Walkthrough & Guides Wiki
Yu-Gi-Oh! Master Duel Walkthrough & Guides Wiki
Super Smash Bros. Ultimate Walkthrough & Guides Wiki
Pokemon Brilliant Diamond and Shining Pearl (BDSP) Walkthrough & Guides Wiki
Elden Ring Shadow of the Erdtree Walkthrough & Guides Wiki
Monster Hunter World Walkthrough & Guides Wiki
The Legend of Zelda: Tears of the Kingdom Walkthrough & Guides Wiki
Persona 3 Reload Walkthrough & Guides Wiki


All rights reserved
ELDEN RING™ & ©BANDAI NAMCO Entertainment Inc. / ©2021 FromSoftware, Inc.
The copyrights of videos of games used in our content and other intellectual property rights belong to the provider of the game.
The contents we provide on this site were created personally by members of the Game8 editorial department.
We refuse the right to reuse or repost content taken without our permission such as data or images to other sites.