How to Beat Flying Dragon Agheel: Boss Fight Guide
This is a guide on how to beat Flying Dragon Agheel, an optional boss in Elden Ring. Read on to learn more about Flying Dragon Agheel's strengths, weaknesses, attack patterns, and lore!
List of Contents
Flying Dragon Agheel General Info
Stats and Rewards
| Flying Dragon Agheel | ||
|---|---|---|

|
||
| Weakness | Resistance | Immune |
| ━ |
Standard Strike Slash Fire Holy Lightning Bleed Frost Scarlet Rot Poison |
Sleep Madness |
| HP | 3200 (NG) | |
| Affected By | Poison, Scarlet Rot, Bleed, Frost | |
| Spirit Ashes Available? | Yes | |
| Rune Rewards |
7000 (NG) |
|
| Summonable NPCs |
・Bloody Finger Hunter Yura |
|
| Location | ||
| Item Drops |
・Dragon Heart
|
|
Flying Dragon Agheel Location
Where to Find
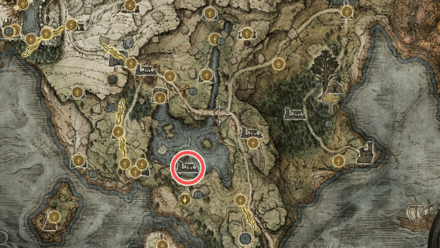
The boss is located in the Dragon-Burnt Ruins in Limgrave.
Dragon-Burnt Ruins Walkthrough and Location
How to Beat Flying Dragon Agheel
| Tips for Beating Flying Dragon Agheel |
|---|
| How to Beat Strategies | ||
|---|---|---|
| Ranged Build Strategy | Melee Build Strategy | |
Click a link above to take you to that section.
Ranged Build Strategy
| Flying Dragon Agheel Boss Tips |
|---|
Summon fast spirits
Summoning spirits in this battle is a helpful way of keeping the boss distracted, allowing you to focus on dealing damage to the boss without being disturbed. Avoid using slow-moving spirits such as the Wandering Nobles, as attacks like fire breath can easily wipe out the entire summons in seconds.
Instead, try summoning spirits with good mobility where they can avoid most of the dragon's attacks, such as the Lone Wolves or the Northern Mercenary, to distract the boss. They'll be able to last long against the fight if you're lucky enough, giving you more time to focus on dealing damage.
Keep your distance
Use your mount's mobility and stay out of the boss' range as much as possible when going with a ranged build. The boss does not have any type of attacks that could let it near you in an instant, which you can use to your advantage.
Fire breath is one thing to look out for when fighting against it since the fire will spread much further away after the initial attack.
Aim for the head to maximize damage
Try to aim your attacks directly at the dragon's head whenever you can to maximize the damage output you inflict towards it. You can use its fire breath move as an opportunity to attack its head from a safe distance.
Melee Build Strategy
| Flying Dragon Agheel Boss Tips |
|---|
Aim for the legs to stagger
Focus on attacking one of the dragon's hind legs, as this will let you have a chance of staggering the boss. Once the dragon is staggered, head over to its head, and you'll be able to perform a Riposte for a high amount of damage.
Attack during fire breath
Whenever the dragon uses its fire breath attack, aim to get behind it. Once you get behind it, deal as much damage as possible to its hind leg. You can bait the boss to use the fire breath by positioning yourself in front of it.
Once you see the dragon about to use the attack, immediately run towards whichever side you're nearest to the dragon, avoiding the flames as you go.
Run away during flights
Whenever you see the dragon fly high up in the sky, immediately create some distance to avoid getting smashed or burned. The boss will use attacks with wide hitboxes, such as the recoiling flame attack or body slam.
While you avoid the boss, wait for it to come back down. The best position is just a distance away at the boss' side, near its rear. This will allow you to avoid the flame attack or the body slam and will allow you time to get near and attack the boss when it comes back down.
Use summons for distraction
Summons spirits to aid you in your battle against the Agheel. Don't use slow-moving summons that can be killed easily with one attack, such as the Wandering Nobles.
Instead, try to summon spirits with a larger health pool such as the Spirit Jellyfish to tank for you or one that is quick and inflicts a ton of damage, such as the Northern Mercenary.
Flying Dragon Agheel Attack Patterns
Fire Breath
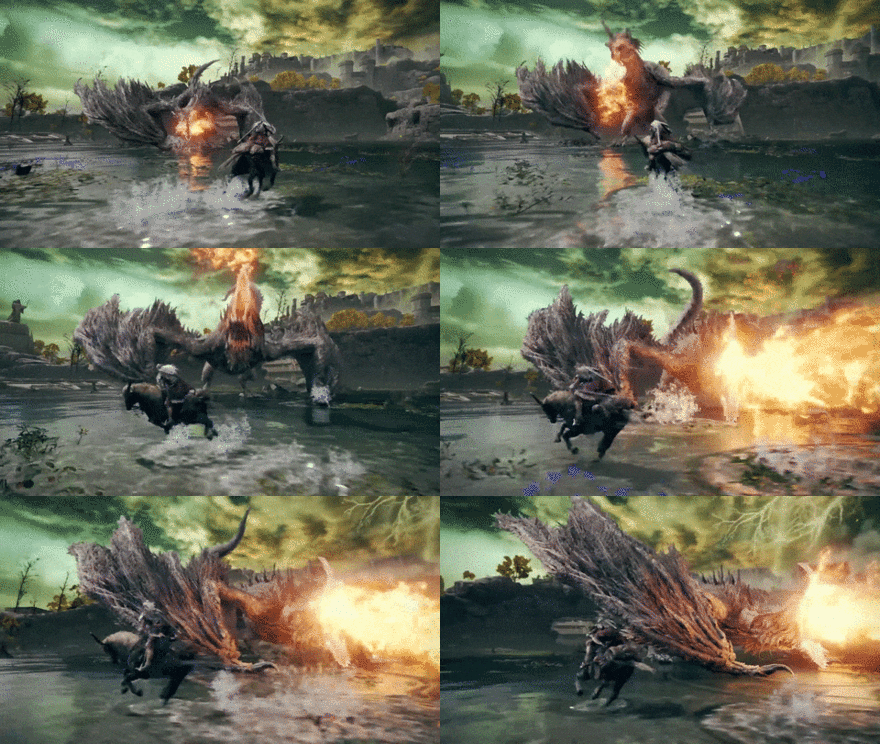
An attack where Dragon Agheel expels a stream of fire from its mouth, burning anything in front of it. The fire will spread much further away after the initial attack. Since fire breath is such a slow attack, you can avoid it by running with your mount towards its side.
This is your chance to attack since it takes a long time for Dragon Agheel to finish the attack.
Leg Stomp
An attack where Dragon Agheel lifts one of its limbs to stomp you. Avoid taking damage by running away from the boss or dodging backward at the right time if you're not using your mount.
Wing Swipe

An attack where Dragon Agheel uses its wings to hit anything in front of it. Simply sprint away from the dragon or dodge backward to avoid the attack.
Tail Swipe
An attack where Dragon Agheel swipes its tail to turn around, hitting anyone in an arc behind it. Dodge backward just before the attack hits you or sprint away as far as possible from the boss to safely avoid the attack. Determine if the boss will be doing a tail swipe by checking if the dragon has its foot forward and its tail slightly curled.
Bite
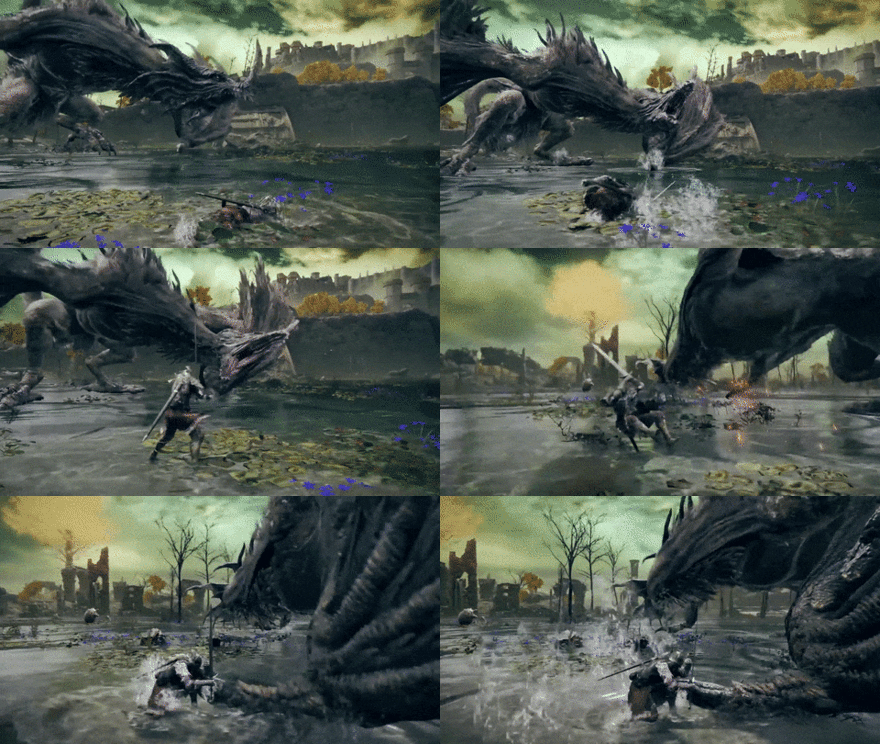
An attack where Dragon Agheel lunges forward and bites anyone in front of it. Dodge backward when the dragon is near enough to perform the bite or sprint away from the dragon to avoid the attack.
Recoiling Flame Attack
An attack where Dragon Agheel will fly back while performing a fire breath simultaneously. The flame will spread much further away, burning anything around the area that was burned.
Once you see the dragon fly away with flames in its mouth, turn around immediately and sprint away from the dragon to avoid getting caught up in its flames.
Gliding Flame Attack

An attack where Dragon Agheel will fly in a straight line while performing a fire breath, burning anything it comes across. Sprint away to the side, keeping your distance away from the encroaching flames to avoid the attack.
Flying Body Slam

Dragon Agheel flies high up in the air before slamming itself back to the ground, damaging anyone near the site of impact. Sprint as far as you can away from the dragon to avoid being hit by the massive AoE.
Flight
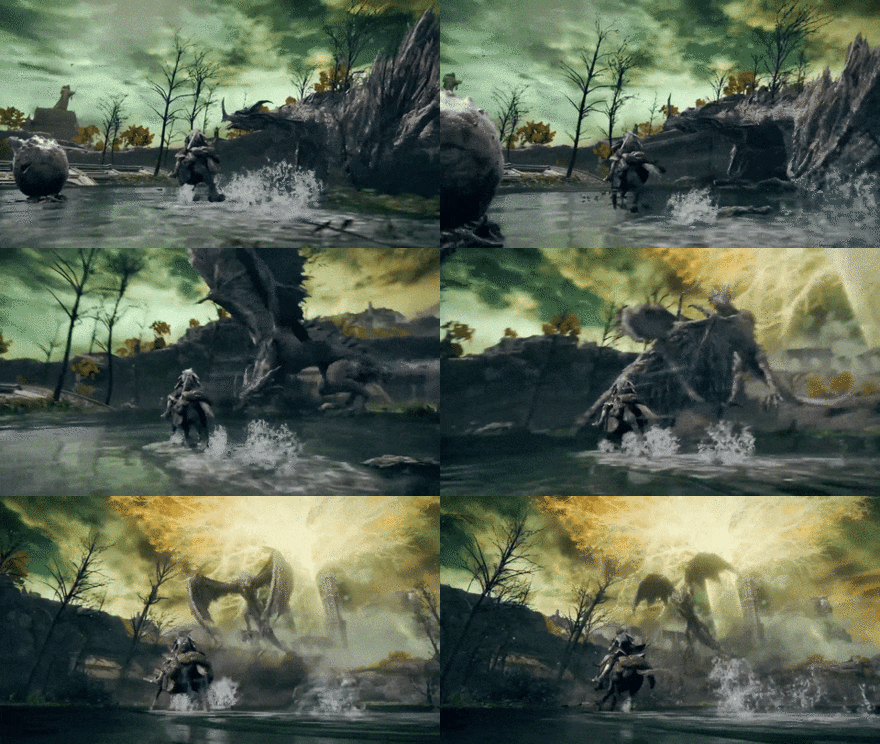
A move where Dragon Agheel will fly high up in the air and will either do a body slam or a gliding flame attack. Run away from the dragon as soon as its flies up.
It is recommended not to get close to where the dragon is flying and wait till the dragon comes back down as both attacks have large AoE.
Charging Headbutt
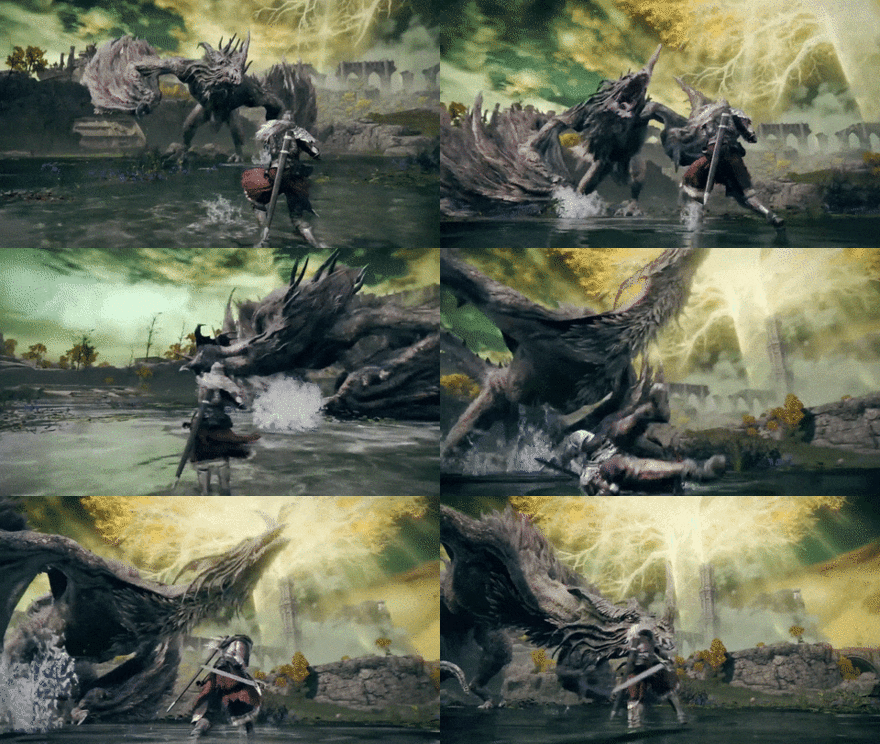
Dragon Agheel charges forward and attempts a headbutt twice in a row to impale you with its horn. You can either run away with your mount or dodge to either side of the dragon once it reaches you for the headbutt.
Elden Ring Related Guides

DLC Bosses
Main Bosses
Optional Bosses
Mini-Bosses
| All Bosses in Elden Ring | |
|---|---|
| Elder Dragon Greyoll | Lion Guardian |
| Valiant Gargoyle (Leyndell) | - |
Hostile NPCs and Invaders
| Limgrave Invaders and Hostile NPCs | |
|---|---|
| Bloody Finger Nerijus | Old Knight Istvan |
| Recusant Henricus | - |
| Liurnia of the Lakes Invaders and Hostile NPCs | |
| Great Horned Tragoth | Festering Fingerprint Vyke |
| Altus Plateau Invaders and Hostile NPCs | |
| Eleonora, Violet Bloody Finger | Inquisitor Ghiza |
| Maleigh Marais, Shaded Castle Castellan | Rileigh the Idle |
| Vargram the Raging Wolf & Errant Sorcerer Wilhelm | Magnus the Beast Claw |
| Mountaintops of the Giants Invaders and Hostile NPCs | |
| Juno Hoslow, Knight of Blood | - |
| The Roundtable Hold Invaders and Hostile NPCs | |
| Mad Tongue Alberich | - |
| Multiple Location Invaders and Hostile NPCs | |
| Anastasia, Tarnished-Eater | - |
Author
How to Beat Flying Dragon Agheel: Boss Fight Guide
improvement survey
03/2026
improving Game8's site?

Your answers will help us to improve our website.
Note: Please be sure not to enter any kind of personal information into your response.

We hope you continue to make use of Game8.
Rankings
- We could not find the message board you were looking for.
Gaming News
Popular Games

Genshin Impact Walkthrough & Guides Wiki

Honkai: Star Rail Walkthrough & Guides Wiki

Umamusume: Pretty Derby Walkthrough & Guides Wiki

Pokemon Pokopia Walkthrough & Guides Wiki

Resident Evil Requiem (RE9) Walkthrough & Guides Wiki

Monster Hunter Wilds Walkthrough & Guides Wiki

Wuthering Waves Walkthrough & Guides Wiki

Arknights: Endfield Walkthrough & Guides Wiki

Pokemon FireRed and LeafGreen (FRLG) Walkthrough & Guides Wiki

Pokemon TCG Pocket (PTCGP) Strategies & Guides Wiki
Recommended Games

Diablo 4: Vessel of Hatred Walkthrough & Guides Wiki

Fire Emblem Heroes (FEH) Walkthrough & Guides Wiki

Yu-Gi-Oh! Master Duel Walkthrough & Guides Wiki

Super Smash Bros. Ultimate Walkthrough & Guides Wiki

Pokemon Brilliant Diamond and Shining Pearl (BDSP) Walkthrough & Guides Wiki

Elden Ring Shadow of the Erdtree Walkthrough & Guides Wiki

Monster Hunter World Walkthrough & Guides Wiki

The Legend of Zelda: Tears of the Kingdom Walkthrough & Guides Wiki

Persona 3 Reload Walkthrough & Guides Wiki

Cyberpunk 2077: Ultimate Edition Walkthrough & Guides Wiki
All rights reserved
ELDEN RING™ & ©BANDAI NAMCO Entertainment Inc. / ©2021 FromSoftware, Inc.
The copyrights of videos of games used in our content and other intellectual property rights belong to the provider of the game.
The contents we provide on this site were created personally by members of the Game8 editorial department.
We refuse the right to reuse or repost content taken without our permission such as data or images to other sites.


