Rugalea the Great Red Bear Location and How to Beat
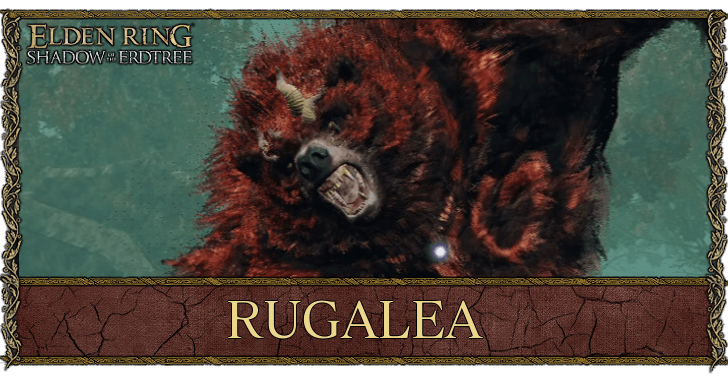
This is a boss guide for Rugalea the Great Red Bear in Elden Ring DLC Shadow of the Erdtree. Learn about Rugalea's weakness, location, and cheese strategies, as well as the best build against Rugalea here.
List of Contents
Rugalea the Great Red Bear Location
Located West of Ravine North Site of Grace
| World View | Map Location |
|---|---|
 |
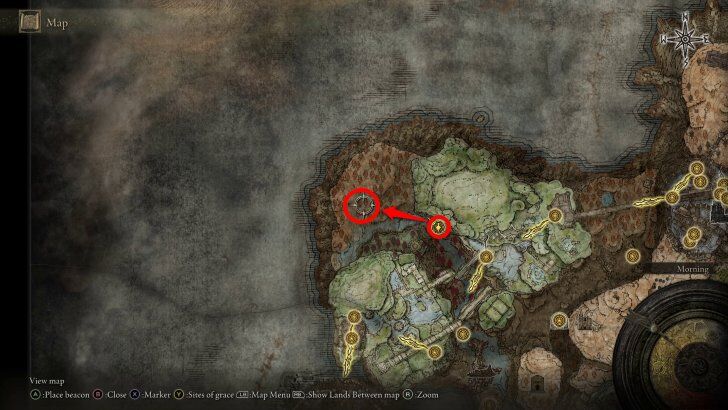 |
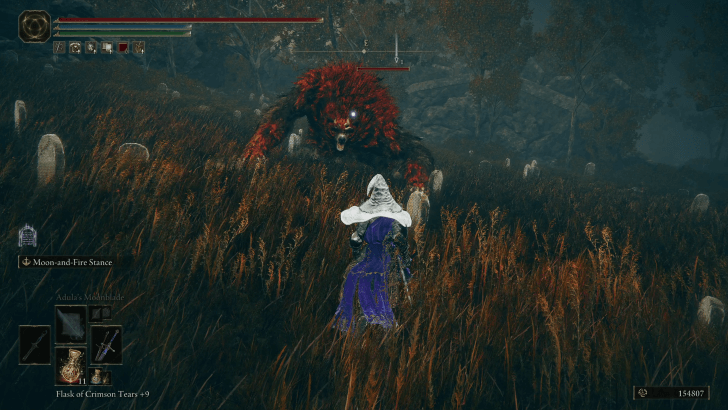
Rugalea the Great Red Bear can be found in a clearing a short ride west of the Ravine North Site of Grace in the Rauh Base.
Rauh Base Can Be Reached from a Cave to the North of Moorth Ruins
| World View | Map Location |
|---|---|
 |
 |
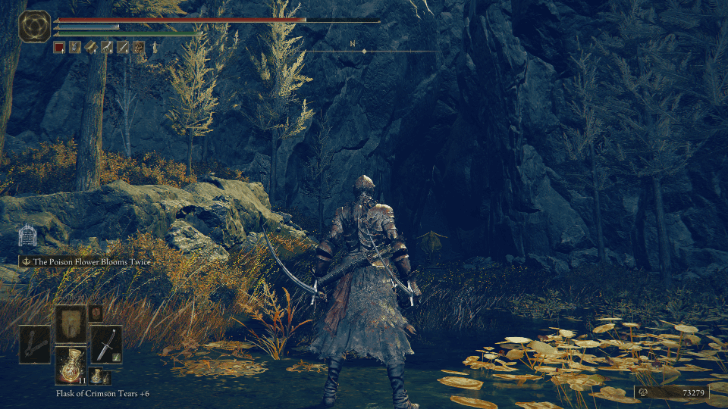
For players who don't have access to the Ravine North site of grace, you'll be able to reach its general area by going through a cave to the north of the Moorth Ruins in Scadu Atlus (marked by a headless statue of Marika).
Rugalea the Great Red Bear Weakness
Weak to Fire Damage
Like most bear enemies in Elden Ring, Rugalea the Great Red Bear is weak to fire damage. Weapons with granted Fire Affinity will be strong against Ralva. Unique weapons like Rivers of Blood, Blasphemous Blade, and Eleonora's Poleblade would also be great options to consider to use against Ralva.
Susceptible to Sleep and Eternal Sleep
Rugalea's main status ailment weakness is Sleep and Eternal Sleep. Using Sleep will cause Rugalea to be momentarily staggered before getting up.
Eternal Sleep functions the same way as Sleep but it gives you a longer window to hit Rugalea while he's falling to sleep (roughly 8 seconds) which gives you plenty of time to deal a significant amount of damage to Rugalea.
| Sleep Equipment | |
|---|---|
| Sleep Weapons | Sleep Pot |
| Eternal Sleep Grease | Eternal Sleep Pot |
Best Builds Against Rugalea
Weapons With Fire Damage Are Recommended
|
|
 Backhand Blade Backhand Blade
(Fire affinity) |
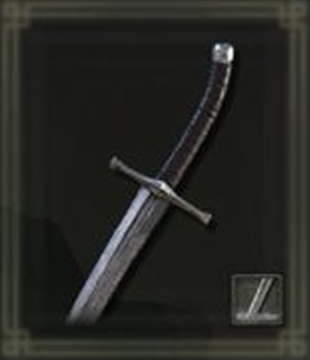
Rugalea's main weakness is Fire Damage so consider gearing up and use weapons that can deal fire damage such as the Rivers of Blood and Blasphemous Blade. Standard weapons like the Backhand Blades can also be infused with fire Affinity to grant them fire damage on their attacks.
Fire Damage Incantations Are Strong Options
 Catch Flame Catch Flame
|
 Giantsflame Take Thee Giantsflame Take Thee
|
Incantations that deal fire damage are also recommended if you're a spell caster. Incantations that are fast to cast such as Catch Flame are great options to consider. Giantsflame Take Thee is also a strong option if you can cast it in melee range to deal a huge bulk of damage to Rugalea.
Eternal Sleep is Recommended
|
|
|
The best way to trivialize Rugalea's fight is to put him to Eternal Sleep. Rugalea's resistance to Sleep is low which allows you to repeatedly use Eternal Sleep on it. Additionally, every Eternal Sleep trigger on Rugalea gives you around 8 seconds of free time to hit Rugalea as well as a free critical hit.
Rugalea the Great Red Bear Rewards
| Rugalea the Great Red Bear Details | |
|---|---|
 |
|
| Runes | 210000 |
| Drops | |
| Spirit Summons? | Spirit Ashes Allowed |
| Gold Summons? |
None
|
Rugalea the Great Red Bear General Tips
| Tips for Beating Rugalea the Great Red Bear |
|---|
|
|
Use Frost, Bleed, Fire, or Poison
Rugalea is highly susceptible to status debuffs like Bleed, Poison, or elemental damage from Frostbite or Fire attacks. Choose from a variety of weapons, spells, and incantations to take advantage of her lack of resistances.
Ride Torrent for Poke Tactics
Since Rugalaea's battle is in the open map, you can use Torrent to use hit and run tactics. Attack Rugalea then sprint away with Torrent and repeat to whittle down Rugalea's HP.
Watch for Bestial Attacks
Dodge Into Her Fury Swipes
When Rugalea uses its fury swipes (a move that consists of consecutive slashes), be sure to dodge into it instead of dodging away. Since the swipes have Rugalea moving forward, dodging into it will allow you to get under and away from the attack.
Dodge Roll Into Her Ranged Slash
Rugalea can shove its claw into the ground before swiping at you to do a ranged rock sling attack. Make sure to dodge roll into Rugalea when it uses this move since the ranged attack may still hit you if you roll backward and into it.
Jump During Her Quake Move
When Rugalea uses its ground slam move, it causes a small earthquake AoE to appear. If timed right, you can use jump to dodge the aftershock that come out of her quake move.
Avoid Rugalea's Second Grab
Rugalea has a move where she stands up and attempts to grab the player. It has a delayed animation which makes it easy to dodge. However, unlike the regular Runebear grab attack, Rugalea can attempt a second grab after this move.
Whenever she does a grab attack, dodge the first one but hold off on counterattacking. Instead, wait to see if she starts another grab animation before you start hitting her again.
Phase 2 Uses Lingering Attacks
Move Away During her AoE Roar
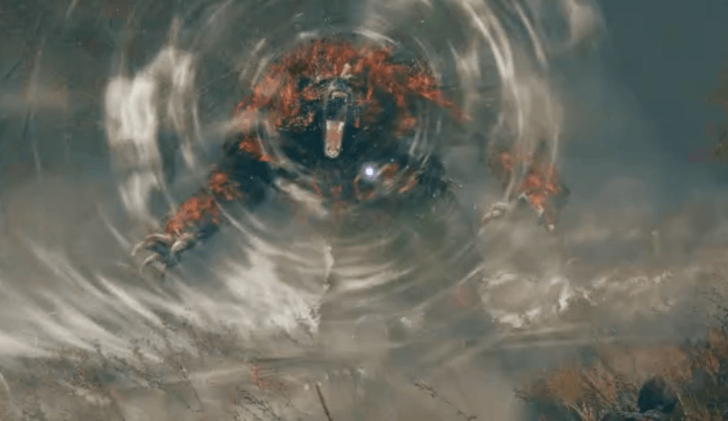
Once Rugalea is ready to transition to phase 2, she'll use an AoE roar that has a long duration. Be sure to keep your distance during the roar to avoid taking unnecessary damage.
However, do note that while she uses this as her phase 2 transition, she can still use this move during the rest of the fight so be wary and prepare to sprint away when necessary.
Dodge Into Rugalea to Avoid Lingering Claw Attacks
Rugalea's attacks will start to have wind effects that will trail behind her claw attacks. During this phase, it is much more important to dodge into Rugalea as these lingering winds can deal its own damage and may easily hit you if you roll sideways or away from the boss.
Elden Ring Related Guides

DLC Bosses
Main Bosses
Optional Bosses
Mini-Bosses
| All Bosses in Elden Ring | |
|---|---|
| Elder Dragon Greyoll | Lion Guardian |
| Valiant Gargoyle (Leyndell) | - |
Hostile NPCs and Invaders
| Limgrave Invaders and Hostile NPCs | |
|---|---|
| Bloody Finger Nerijus | Old Knight Istvan |
| Recusant Henricus | - |
| Liurnia of the Lakes Invaders and Hostile NPCs | |
| Great Horned Tragoth | Festering Fingerprint Vyke |
| Altus Plateau Invaders and Hostile NPCs | |
| Eleonora, Violet Bloody Finger | Inquisitor Ghiza |
| Maleigh Marais, Shaded Castle Castellan | Rileigh the Idle |
| Vargram the Raging Wolf & Errant Sorcerer Wilhelm | Magnus the Beast Claw |
| Mountaintops of the Giants Invaders and Hostile NPCs | |
| Juno Hoslow, Knight of Blood | - |
| The Roundtable Hold Invaders and Hostile NPCs | |
| Mad Tongue Alberich | - |
| Multiple Location Invaders and Hostile NPCs | |
| Anastasia, Tarnished-Eater | - |
Comment
Author
Rugalea the Great Red Bear Location and How to Beat
improvement survey
03/2026
improving Game8's site?

Your answers will help us to improve our website.
Note: Please be sure not to enter any kind of personal information into your response.

We hope you continue to make use of Game8.
Rankings
- We could not find the message board you were looking for.
Gaming News
Popular Games

Genshin Impact Walkthrough & Guides Wiki

Honkai: Star Rail Walkthrough & Guides Wiki

Umamusume: Pretty Derby Walkthrough & Guides Wiki

Pokemon Pokopia Walkthrough & Guides Wiki

Resident Evil Requiem (RE9) Walkthrough & Guides Wiki

Monster Hunter Wilds Walkthrough & Guides Wiki

Wuthering Waves Walkthrough & Guides Wiki

Arknights: Endfield Walkthrough & Guides Wiki

Pokemon FireRed and LeafGreen (FRLG) Walkthrough & Guides Wiki

Pokemon TCG Pocket (PTCGP) Strategies & Guides Wiki
Recommended Games

Diablo 4: Vessel of Hatred Walkthrough & Guides Wiki

Cyberpunk 2077: Ultimate Edition Walkthrough & Guides Wiki

Fire Emblem Heroes (FEH) Walkthrough & Guides Wiki

Yu-Gi-Oh! Master Duel Walkthrough & Guides Wiki

Super Smash Bros. Ultimate Walkthrough & Guides Wiki

Pokemon Brilliant Diamond and Shining Pearl (BDSP) Walkthrough & Guides Wiki

Elden Ring Shadow of the Erdtree Walkthrough & Guides Wiki

Monster Hunter World Walkthrough & Guides Wiki

The Legend of Zelda: Tears of the Kingdom Walkthrough & Guides Wiki

Persona 3 Reload Walkthrough & Guides Wiki
All rights reserved
ELDEN RING™ & ©BANDAI NAMCO Entertainment Inc. / ©2021 FromSoftware, Inc.
The copyrights of videos of games used in our content and other intellectual property rights belong to the provider of the game.
The contents we provide on this site were created personally by members of the Game8 editorial department.
We refuse the right to reuse or repost content taken without our permission such as data or images to other sites.


![Monster Hunter Stories 3 Review [First Impressions] | Simply Rejuvenating](https://img.game8.co/4438641/2a31b7702bd70e78ec8efd24661dacda.jpeg/thumb)


