How to Beat Cleanrot Knights: Boss Fight Guide
This is a guide on how to beat Cleanrot Knights, an optional boss in Elden Ring. Read on to learn more about Cleanrot Knights' strengths, weaknesses, attack patterns, and lore!
List of Contents
Cleanrot Knights General Info
Stats and Rewards
| Cleanrot Knights | ||
|---|---|---|

|
||
| Weakness | Resistance | Immune |
|
Fire Sleep |
Slash Holy Bleed Frost Poison |
Scarlet Rot Madness Instant Death |
| Affected By | Poison, Bleed, Frost, Sleep | |
| Spirit Ashes Available? | Yes | |
| Rune Rewards |
7,000 (NG) |
|
| Summonable NPCs |
None
|
|
| Location | ||
| Item Drops |
・Gold Scarab
・Winged Sword Insignia |
|
Cleanrot Knights Location
Where to Find
Abandoned Cave, Caelid

Cleanrot Knights are located deep within the Abandoned Cave, southeast of the Caelem Ruins in Caelid. Head east from the Smoldering Wall site of grace and look for the cave's entrance at the opposite side of the canyon. You can get across by either double-jumping with Torrent off the ridge on your left when facing the cave or running across the tree branches to the right that lead towards the Abandoned Cave's entrance.
The Abandoned Cave is an extremely lethal cave filled with bogged tunnels that inflict Scarlet Rot build-up on anyone who enters them. It is highly recommended that you stock up on Preservering Boluses. The cave is completely dark in most areas as well so make sure you have a Torch or Lantern ready.
Stillwater Cave, Liurnia of the Lakes
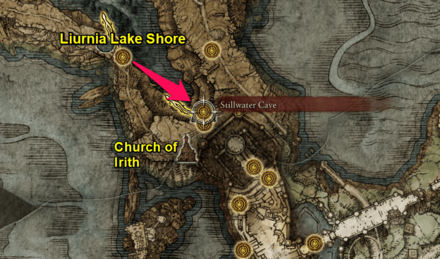
Another Cleanrot Knight is located in Stillwater Cave, located in Liurnia of the Lakes. Similar to the Abandoned Cave, Stillwater Cave is home to monsters and is filled with bog that inflict Poison build-up when you step on them.
Make sure you stock up on Neutralizing Boluses. Alternatively, you can also use the Cure Poison and Flame, Cleanse Me spells to neutralize your poison build-up. Have a Torch or Lantern handy as well!
This is a relatively easy fight compared to the one in Caelid because the knight is alone. Take note that this Cleanrot Knight follows the Spear Knight moveset.
How to Beat Cleanrot Knights
| Tips for Beating Cleanrot Knights |
|---|
| How to Beat Strategies | ||
|---|---|---|
| Ranged Strategy | Melee Strategy | |
Click a link above to take you to that section.
Ranged Strategy
| Cleanrot Knights Boss Tips |
|---|
Always Keep Them in Your Sights
It's dangerous whenever a Knight leaves your vision as it can result in unexpected flanking attacks or projectiles that come out of nowhere. Make sure that they're within view at all times as you focus fire one by one. Don't hesitate to switch targets if needed as well. The important bit here is that your all your ranged shots should count whenever you shoot them.
Keep Moving
The last thing you want is to have both knights cornering you. This results in a quick death most of the time because of their sweeping attacks and combos. Keep moving and avoid stepping on pockets of scarlet bog surrounding area.
Melee Strategy
| Cleanrot Knights Boss Tips |
|---|
Use Charged Attacks
Both Cleanrot Knights are have very little poise despite being bosses. Take advantage of this weakness by using Charged Attacks with your weapon as much as possible! Running and Jumping Charged Attacks are the most efficient ones to do as they can even break their guards.
Use Parries and Blocks
It's important to note that most attacks by the Cleanrot Knights are easily blocked or parried. Some may even bounce and leave open for counters. Utilize Guard Counters and Parries.
Go for Backstabs
Unlike most bosses, the Cleanrot Knights are also susceptible to Backstabs as well! Paired with their small frames, it's extremely easy to position behind them as they perform long-winded combos.
Cleanrot Knights Attack Patterns
There are two Cleanrot Knights in the same area, distinguised by which weapon they use in their left hand. Each of these knights has their own moveset as well, making the fight tough when done alone.
Consider summoning Skeletal Militiamen once the fight starts regardless of what build you use. These summons may not be the most durable, but they can revive as long as they aren't interrupted by attacks during their downed state.
| Cleanrot Knight Moveset | |
|---|---|
| Spear Knight | Sickle Knight |
Cleanrot Knight (Spear)
Sword Attacks
| Sword Attack Variations |
|---|
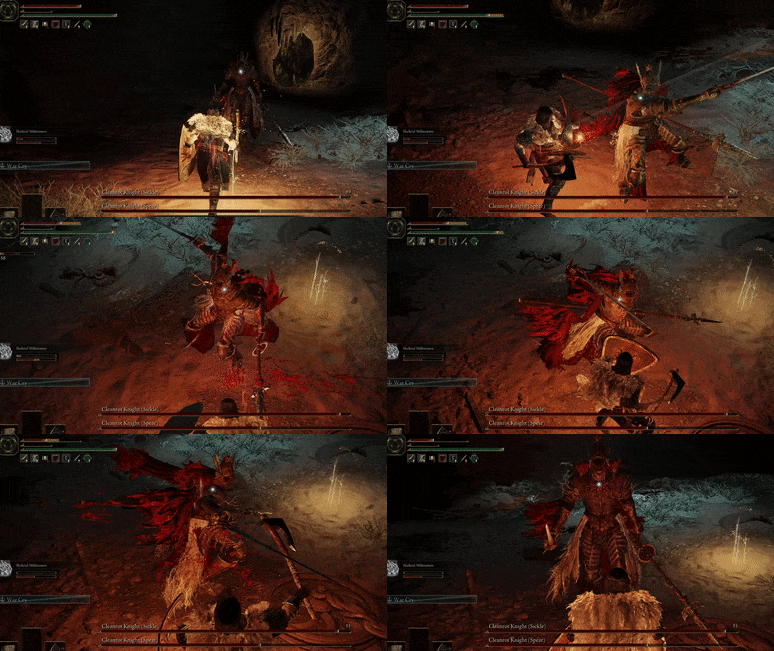 One-Handed Flurry: Spear Knight does an upward diagonal slash before doing three fast sword thrust towards the target. You can interrupt the combo by parrying any of the attacks or simply block or dodge through all of it. |
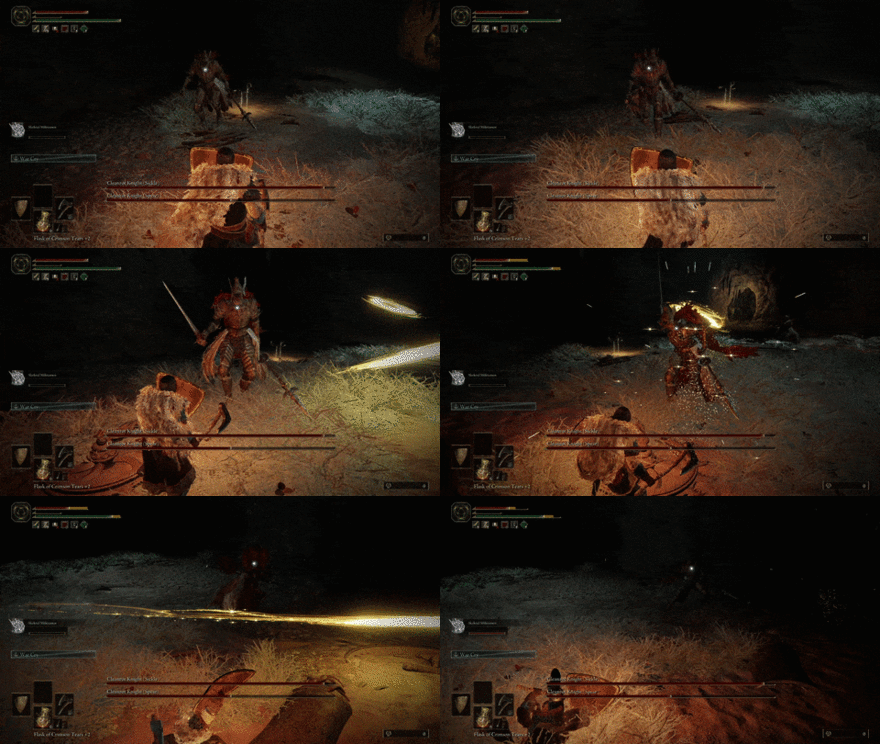 Sidewinder: Spear Knight closes the distance and overshoots with a horizontal slice. Spear Knight can follow-up with a quick spear thrust if you chase after it. |
Guard
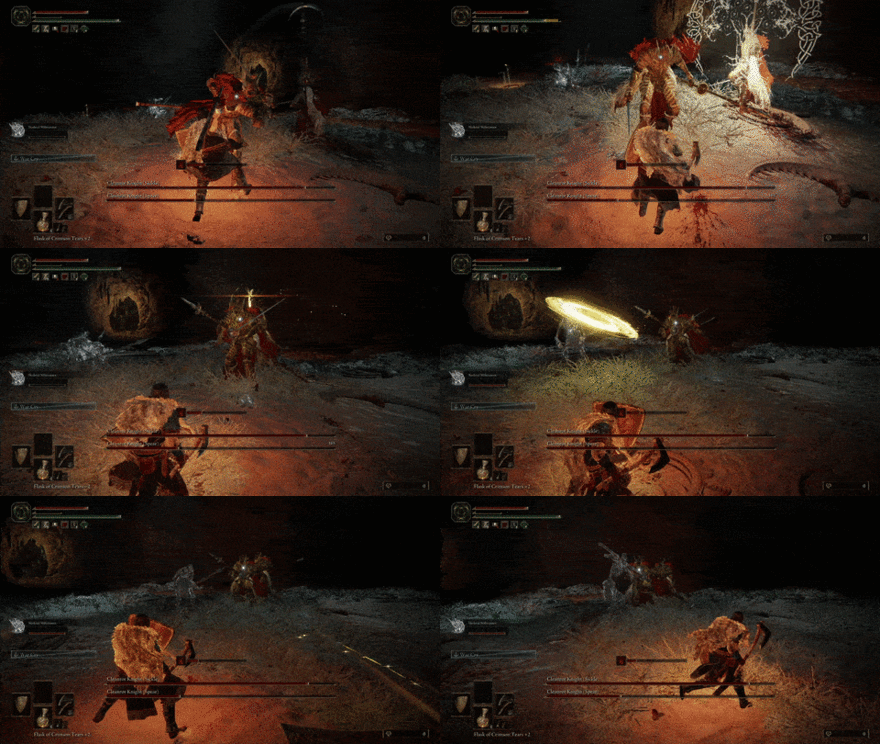
Spear Knight crosses weapons towards the front, blocking any incoming attack. This stance can be easily broken by a Charged Attack and doing so will make him vulnerable to counters. Take note that Spear Knight can do a shove or any sword attack from this stance.
Double Thrust
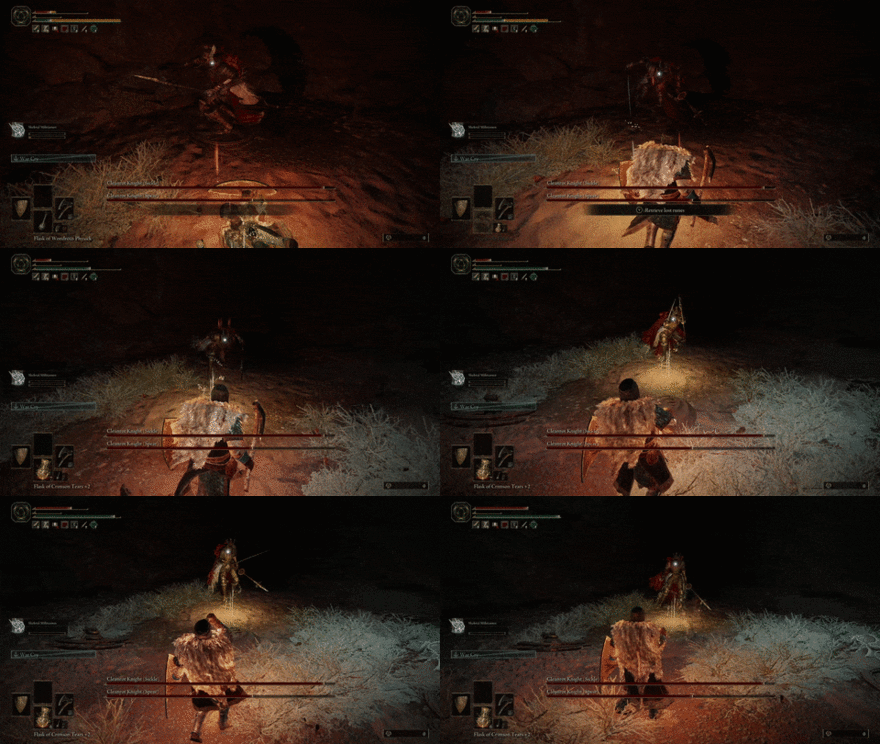
Spear Knight braces low, pointing both weapons towards the front. After a brief delay, it springs forward to thrust anyone in its path. This deals a high amount of damage but can be dodged or even parried.
Spear Attacks
| Spear Attack Variations |
|---|
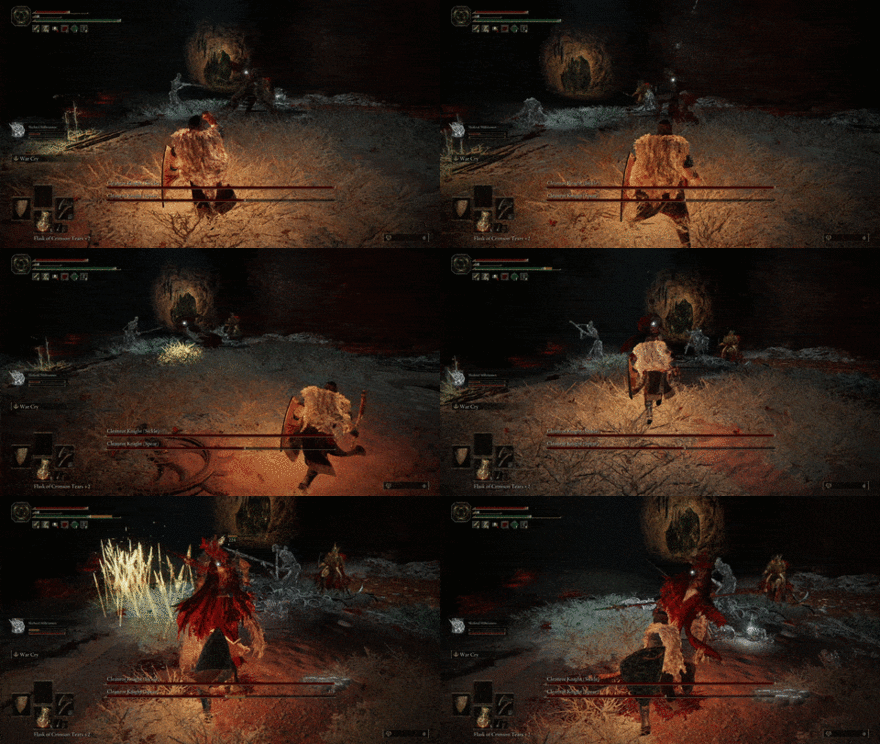 Golden Spears: Spear Knight conjures several golden spears in a straight column, damaging anyone caught in its area. Simple and easy to dodge due to its heavy telegraph. Take note that Spear Knight can perform this move while hopping away. |
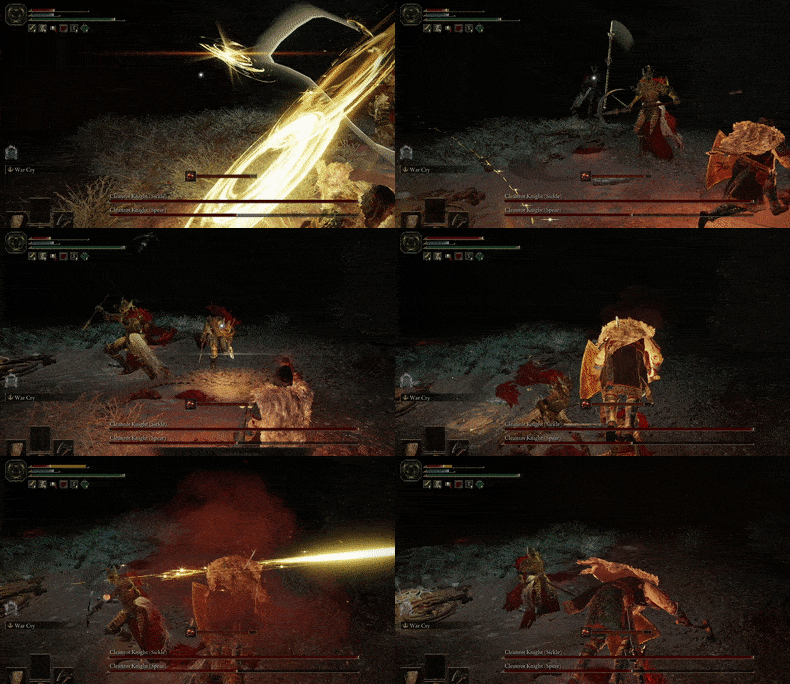 Charged Spear Thrust: The most dangerous attack in the Spear Knight's moveset. Spear Knight charges its spear until it glows bright yellow. This is followed by a sudden charge towards the target. Anyone caught will be impaled for high damage and instantly inflicted with Scarlet Rot. Dodge this attack at all costs. |
Cleanrot Knight (Sickle)
Sword Attacks
| Sword Attack Variations |
|---|
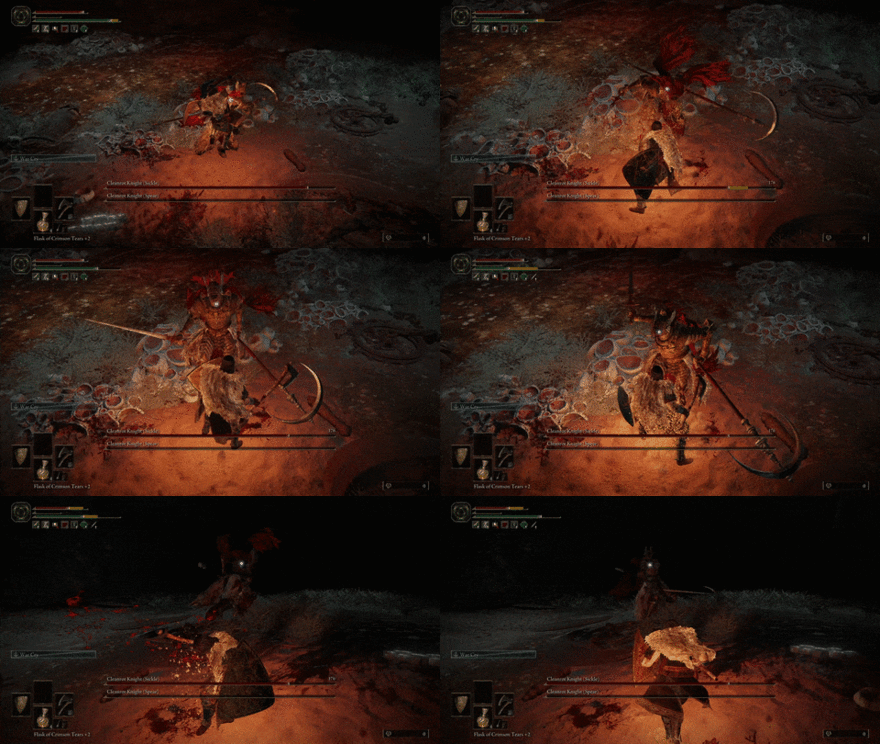 Lateral Swipe: Quick horizontal slashes that can be chained to almost any attack. Sickle Knight can also use a running version of this to close the distance. |
 Fading Slash: Sickle Knight does a quick lateral swipe, then hops backwards. Anticipate Golden Donuts whenever it hops a considerable distance away. |
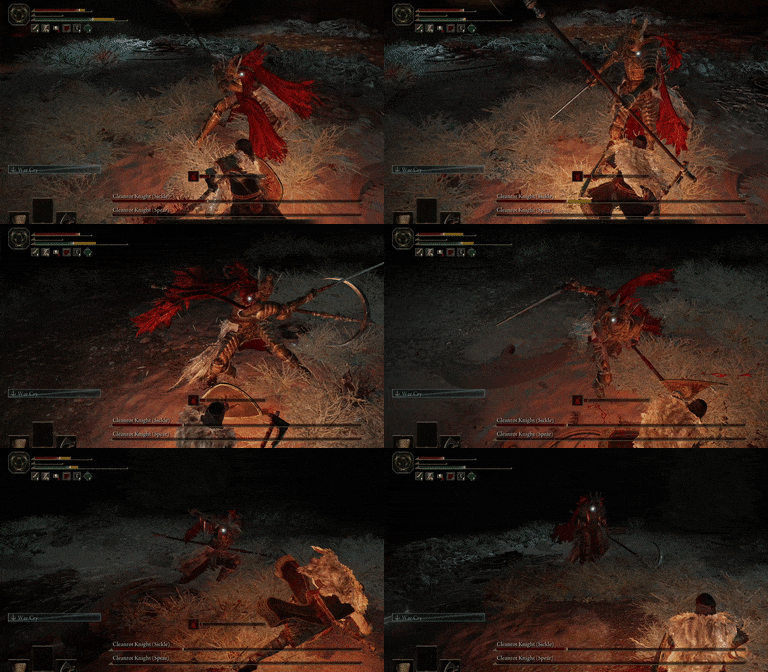 One-Handed Flurry: Similar to the Spear Knight, Sickle Knight does an upward diagonal slash followed by a lateral swipe and three fast sword thrust towards the target. You can interrupt the combo by parrying any of the attacks or simply block or dodge through all of it. |
Sickle Attacks
| Sickle Attack Variations |
|---|
 Fast Sweep: A quick and simple sweep that can be chained from any of its other attacks. This attack can come from almost any angle and must be anticipated whenever in melee range. |
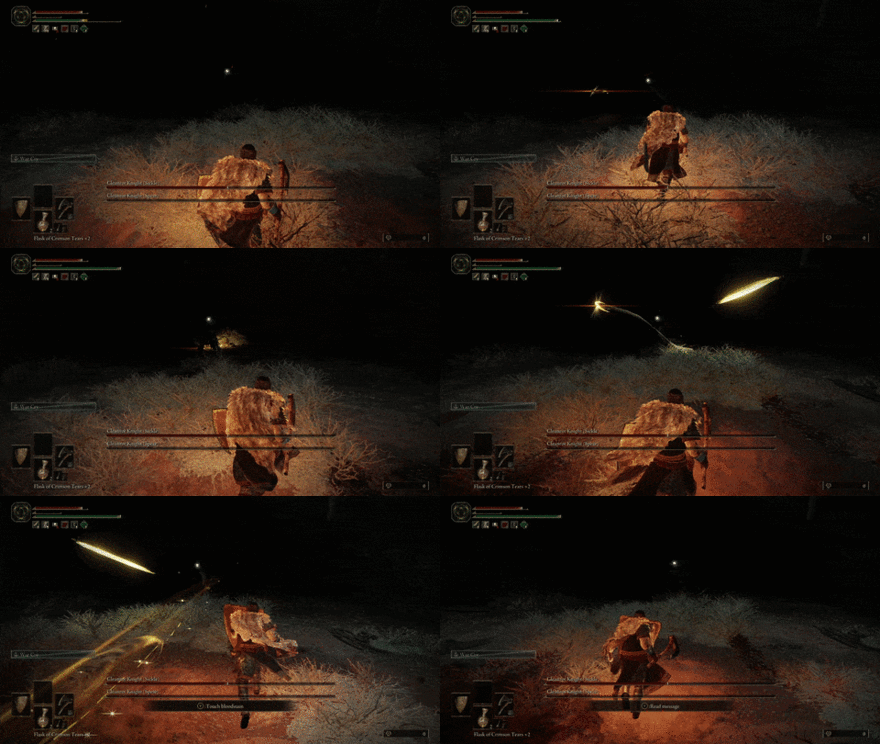 Golden Donuts: Sickle Knight unleashes golden blades off its sickle that travel towards the target in diagonal arcs. Sickle Knight usually spams this whenever there's a considerable distance between it and the target. |
Scarlet Bile
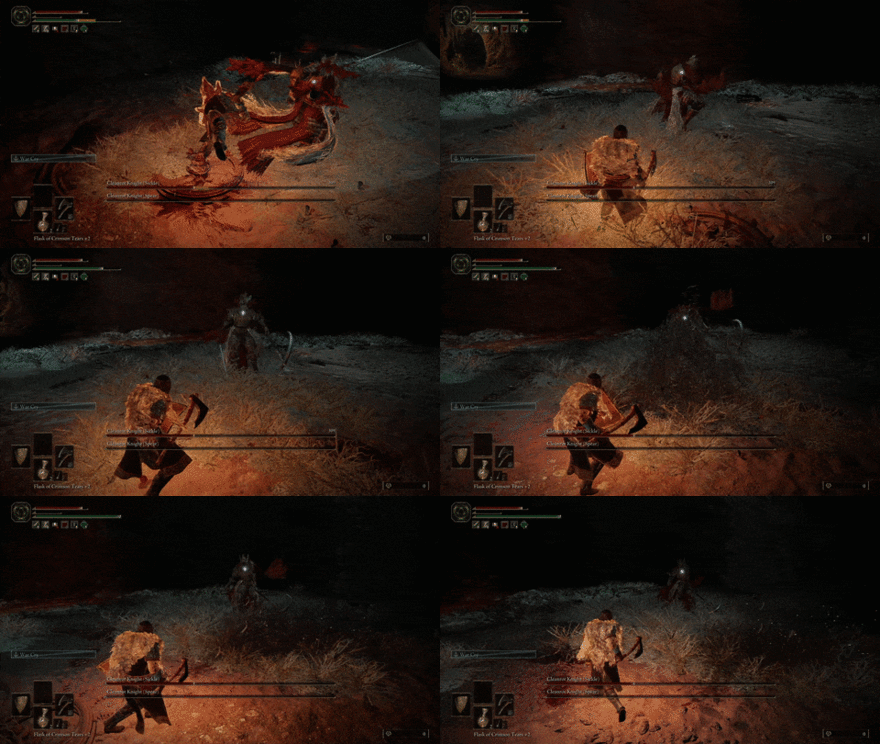
Sickle Knight throws up with its mouth, unleashing a torrent of Scarlet Rot that covers a considerable cone in front of it. The rot persists for a few seconds before evaporating and will inflict Scarlet Rot build-up on anyone that steps on it.
Elden Ring Related Guides

DLC Bosses
Main Bosses
Optional Bosses
Mini-Bosses
| All Bosses in Elden Ring | |
|---|---|
| Elder Dragon Greyoll | Lion Guardian |
| Valiant Gargoyle (Leyndell) | - |
Hostile NPCs and Invaders
| Limgrave Invaders and Hostile NPCs | |
|---|---|
| Bloody Finger Nerijus | Old Knight Istvan |
| Recusant Henricus | - |
| Liurnia of the Lakes Invaders and Hostile NPCs | |
| Great Horned Tragoth | Festering Fingerprint Vyke |
| Altus Plateau Invaders and Hostile NPCs | |
| Eleonora, Violet Bloody Finger | Inquisitor Ghiza |
| Maleigh Marais, Shaded Castle Castellan | Rileigh the Idle |
| Vargram the Raging Wolf & Errant Sorcerer Wilhelm | Magnus the Beast Claw |
| Mountaintops of the Giants Invaders and Hostile NPCs | |
| Juno Hoslow, Knight of Blood | - |
| The Roundtable Hold Invaders and Hostile NPCs | |
| Mad Tongue Alberich | - |
| Multiple Location Invaders and Hostile NPCs | |
| Anastasia, Tarnished-Eater | - |
Author
How to Beat Cleanrot Knights: Boss Fight Guide
improvement survey
03/2026
improving Game8's site?

Your answers will help us to improve our website.
Note: Please be sure not to enter any kind of personal information into your response.

We hope you continue to make use of Game8.
Rankings
- We could not find the message board you were looking for.
Gaming News
Popular Games

Genshin Impact Walkthrough & Guides Wiki

Honkai: Star Rail Walkthrough & Guides Wiki

Umamusume: Pretty Derby Walkthrough & Guides Wiki

Pokemon Pokopia Walkthrough & Guides Wiki

Resident Evil Requiem (RE9) Walkthrough & Guides Wiki

Monster Hunter Wilds Walkthrough & Guides Wiki

Wuthering Waves Walkthrough & Guides Wiki

Arknights: Endfield Walkthrough & Guides Wiki

Pokemon FireRed and LeafGreen (FRLG) Walkthrough & Guides Wiki

Pokemon TCG Pocket (PTCGP) Strategies & Guides Wiki
Recommended Games

Diablo 4: Vessel of Hatred Walkthrough & Guides Wiki

Fire Emblem Heroes (FEH) Walkthrough & Guides Wiki

Yu-Gi-Oh! Master Duel Walkthrough & Guides Wiki

Super Smash Bros. Ultimate Walkthrough & Guides Wiki

Pokemon Brilliant Diamond and Shining Pearl (BDSP) Walkthrough & Guides Wiki

Elden Ring Shadow of the Erdtree Walkthrough & Guides Wiki

Monster Hunter World Walkthrough & Guides Wiki

The Legend of Zelda: Tears of the Kingdom Walkthrough & Guides Wiki

Persona 3 Reload Walkthrough & Guides Wiki

Cyberpunk 2077: Ultimate Edition Walkthrough & Guides Wiki
All rights reserved
ELDEN RING™ & ©BANDAI NAMCO Entertainment Inc. / ©2021 FromSoftware, Inc.
The copyrights of videos of games used in our content and other intellectual property rights belong to the provider of the game.
The contents we provide on this site were created personally by members of the Game8 editorial department.
We refuse the right to reuse or repost content taken without our permission such as data or images to other sites.


