How to Beat Maliketh, The Black Blade: Boss Fight Guide
This is a guide on how to beat Maliketh, The Black Blade (Beast Clergyman), a boss in Elden Ring. Read on to learn more about Maliketh, The Black Blade's strengths, weaknesses, attack patterns, and lore!
List of Contents
Maliketh, The Black Blade General Info
Stats and Rewards
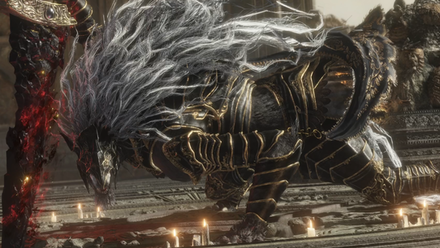
| Maliketh, The Black Blade | ||
|---|---|---|
|
||
| Weakness | Resistance | Immune |
| ━ | ━ | ━ |
| Affected By | ━ | |
| Spirit Ashes Available? | Yes | |
| Rune Rewards |
220000 (NG) |
|
| Summonable NPCs |
None
|
|
| Location |
・Crumbling Farum Azula |
|
| Item Drops |
・Remembrance of the Black Blade
|
|
Maliketh, The Black Blade Location
Where to Find Maliketh, The Black Blade
| Map Location | |
|---|---|
 View Full Image |
|
| Recommended Level | Lv.110 |
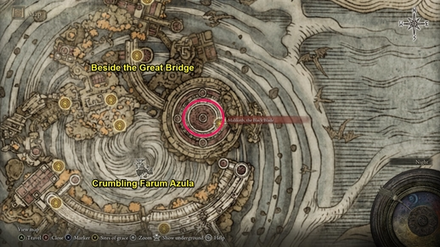
Maliketh, the Black Blade can be found in the temple to the right of the Beside the Great Bridge Site of Grace, in the region of Crumbling Farum Azula. You are required to beat this boss to progress in the main story.
How to Beat Maliketh, The Black Blade
| Tips for Beating Maliketh, The Black Blade |
|---|
| How to Beat Strategies | ||
|---|---|---|
| Ranged Strategy | Melee Strategy | |
Click a link above to take you to that section.
Ranged Strategy
| Maliketh, The Black Blade Boss Tips |
|---|
Use Comet Azur when Maliketh, the Black Blade is focused on your summons
Comet Azur is extremely powerful against Maliketh, as it drains his health much quicker than other spells. The trouble is finding the right moment to use it on him. Make sure you use your tankiest Spirit Ash and let them take aggro. You'll be able to freely spam Comet Azur and have an easier time defeating Maliketh.
Use poison spells to slowly whittle down Maliketh, the Black Blade's health
While this method may take longer, it's similar to using Comet Azur in that you should always use it while your summon takes aggro. Cast spells such as Night Maiden's Mist or Rotten Breath at Maliketh and watch as his health gets cut down.
You can use the pillars to have some cover and to reposition for a more advantageous spot for using these spells.
Melee Strategy
| Maliketh, The Black Blade Boss Tips |
|---|
Exploit Maliketh, the Black Blade's weakness to bleed
Maliketh is susceptible to bleed so using a weapon that causes it or the Bloody Slash Ash of War will let you deal heavy damage once you stack bleed hits. If you don't have either of the two, you can coat your weapon in Blood Grease instead.
Maliketh, The Black Blade Attack Patterns
Beast Clergyman (Phase 1)
For Phase 1 of this boss fight, Maliketh, the Black Blade will appear as a Beast Clergyman. While he seemingly has a lot of moves at this phase, they can all be fairly telegraphed and avoided with practice.
It's important that you don't lose too much health or use too many flasks at this point since the second phase is much harder.
Melee Attacks
| Melee Attack Variations |
|---|
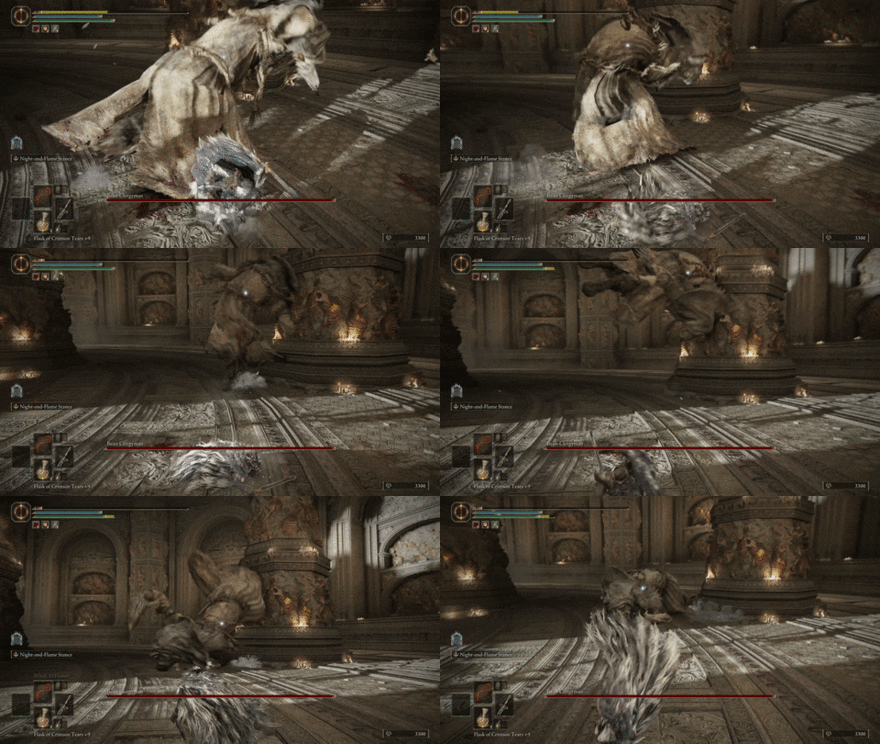 Backing Swipe: Beast Clergyman quickly swipes at you before leaping away. This is usually done at the end of a combo, you can block this attack. |
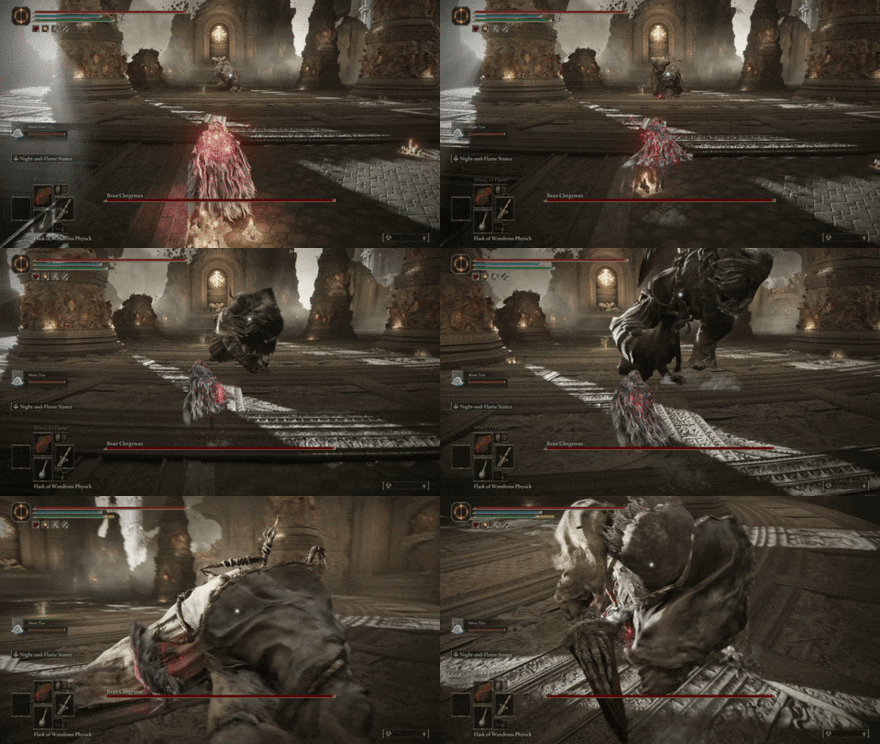 Lunging Stab: Beast Clergyman does a short hop and lunges at you with his weapon. Dodge into the attack after he pulls his right arm back. |
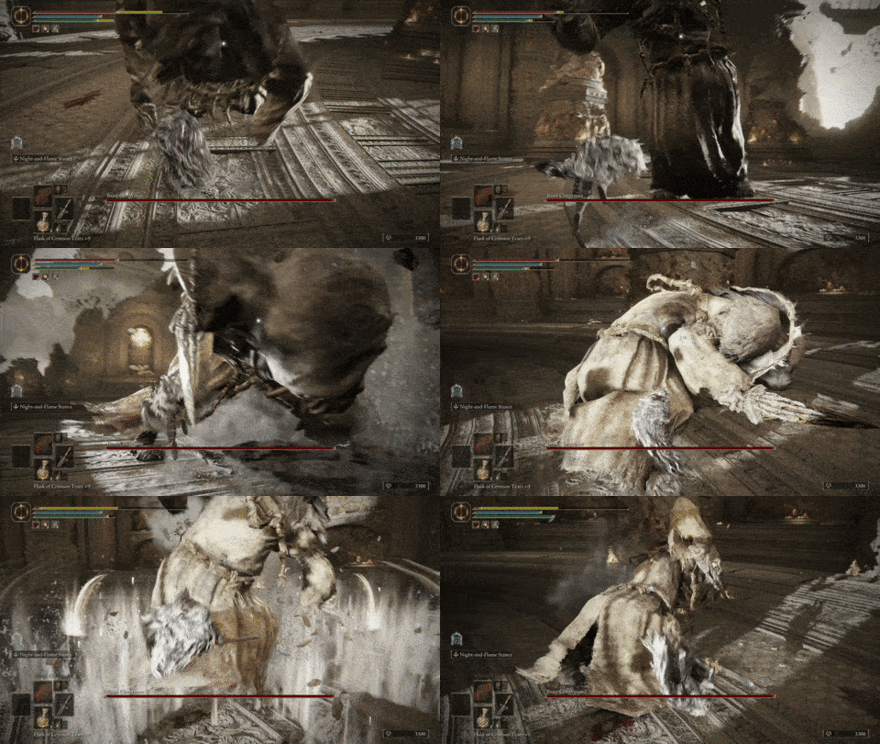 Ground Shock: Beast Clergyman slams his fist to the the ground then creates trails of aftershocks from the epicenter. There are small spaces in between each trail that you can stay in to avoid getting hit by them but they're hard to predict. The safer option would be to back away when he starts this move. |
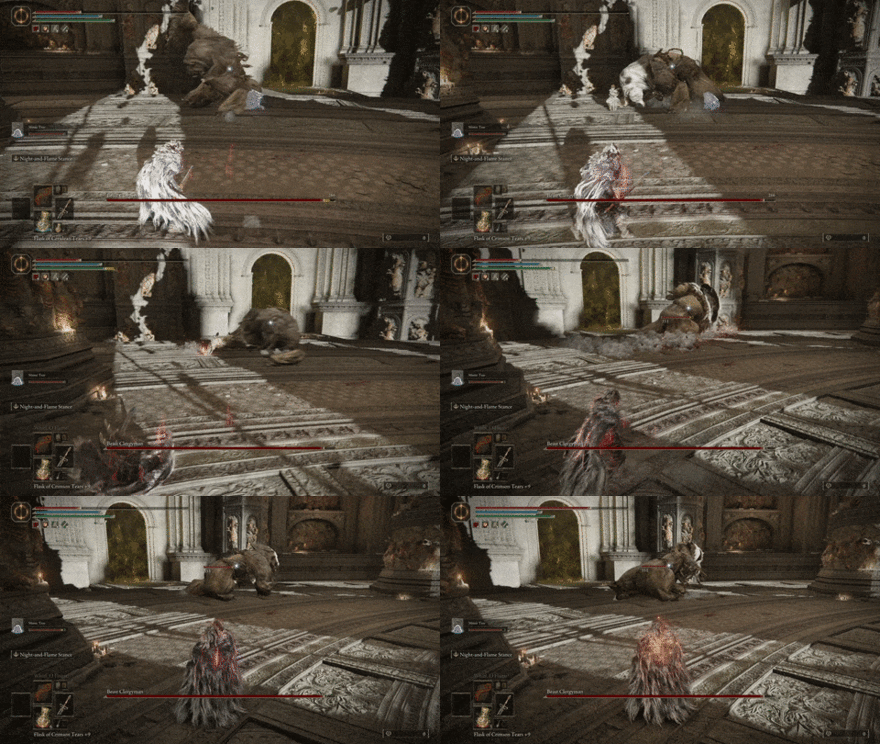 Sliding Slash: Beast Clergyman drags his dagger on the floor and swipes at you. This is similar to his other swiping attacks, you can dodge into it. |
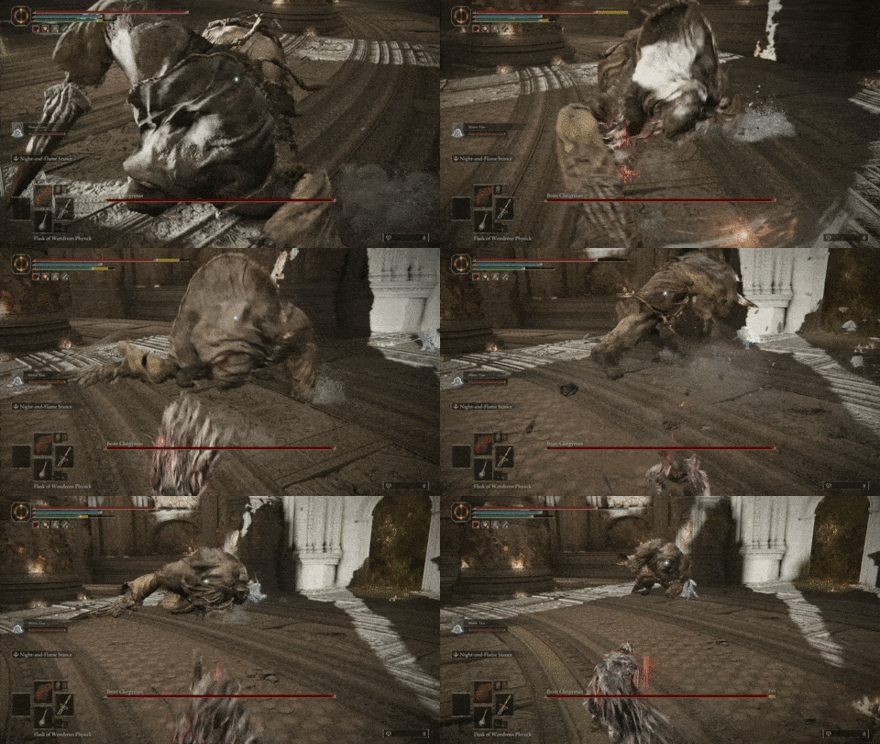 Four-Swipe Combo: Beast Clergyman does two quick swipes from side to side, then follows these up with two more delayed swipes. You can block the first two attacks, then it's up to you whether you want to be aggressive and dodge into the last two attacks, or dodge away entirely. |
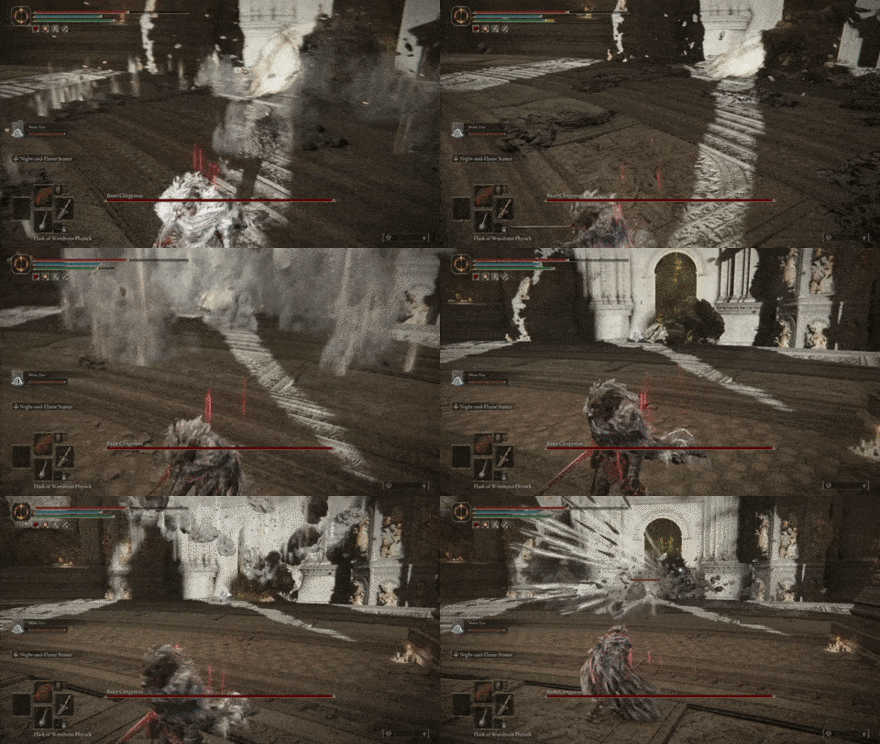 Falling Debris: Best Clergyman creates spots in the ground from which debris rises and drops back into. This is easily telegraphed to when craters start forming in the floor. Avoid these spots since you'll be hit when the debris rises and also when it drops. |
Ranged Attacks
| Ranged Attack Information |
|---|
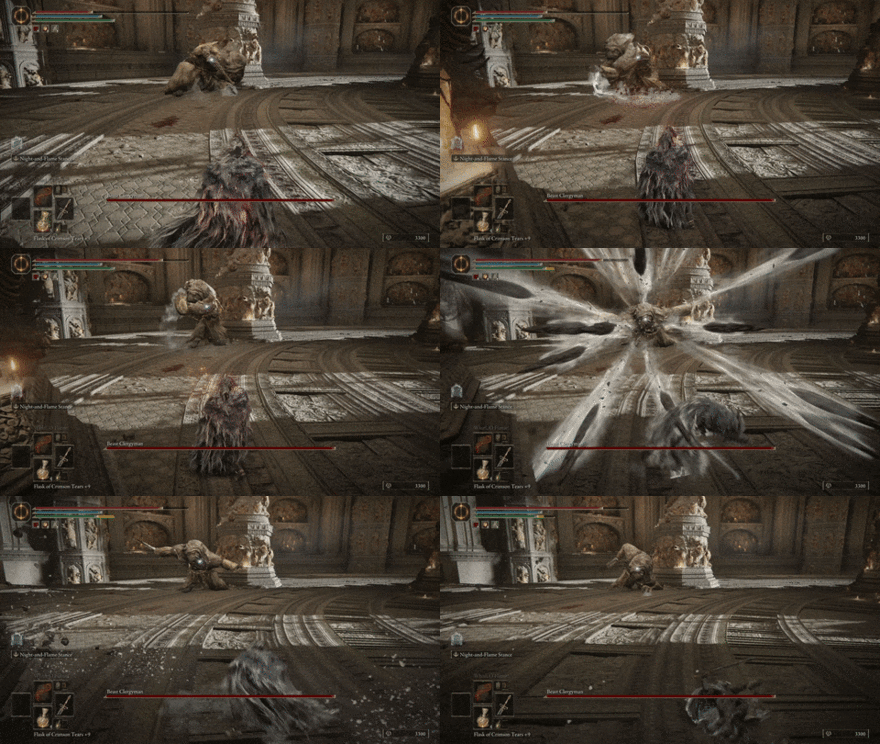 Stone Shards: Beast Clergyman throws a wave of shards at you. Dodge to the side as he throws these. |
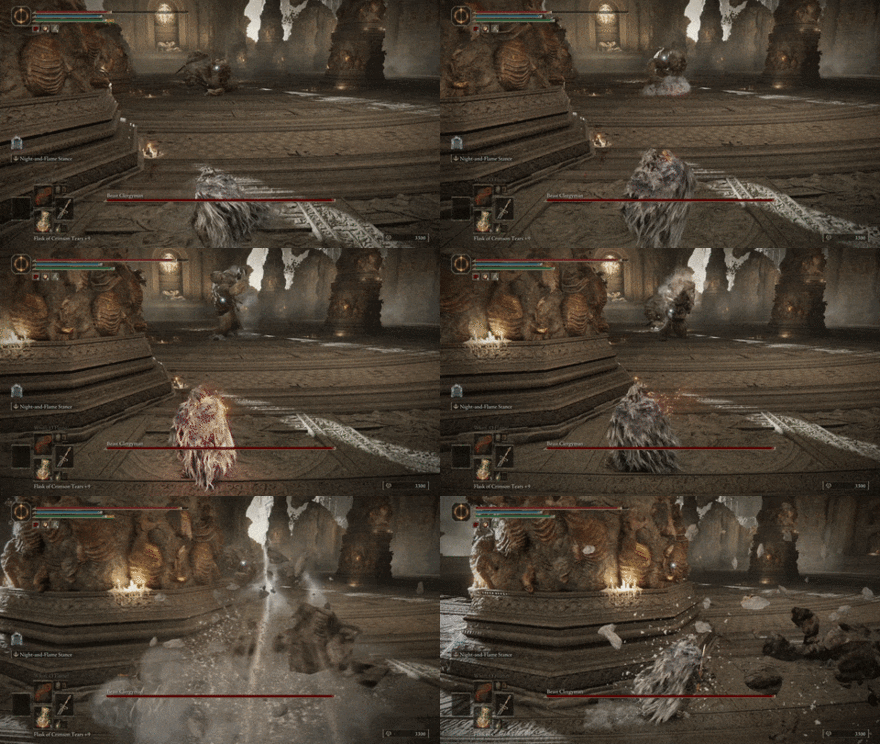 Debris Toss: Beast Clergyman pulls from the ground and tosses a piece of debris at you. Similar to the Ground Shards, dodge to the side to avoid this. |
Maliketh, the Black Blade (Phase 2)
Once you bring the Beast Clergyman to around 60% health, he will reveal his true form as Maliketh, the Black Blade. In this phase, he will wield a greatsword that can deal damage-over-time if you're hit. Maliketh can also use the weapon to fire blasts of energy at you from a distance.
Greatsword Melee Attacks
| Greatsword Melee Attack Information |
|---|
 Sweeping Combo: Maliketh, the Black Blade sweeps at you with his greatsword twice, then slams it to the ground. The dodge timing for the first two swipes is predictable, but the final slam has a bit of delay. Watch for when his left foot is about to hit the ground to know when to dodge. |
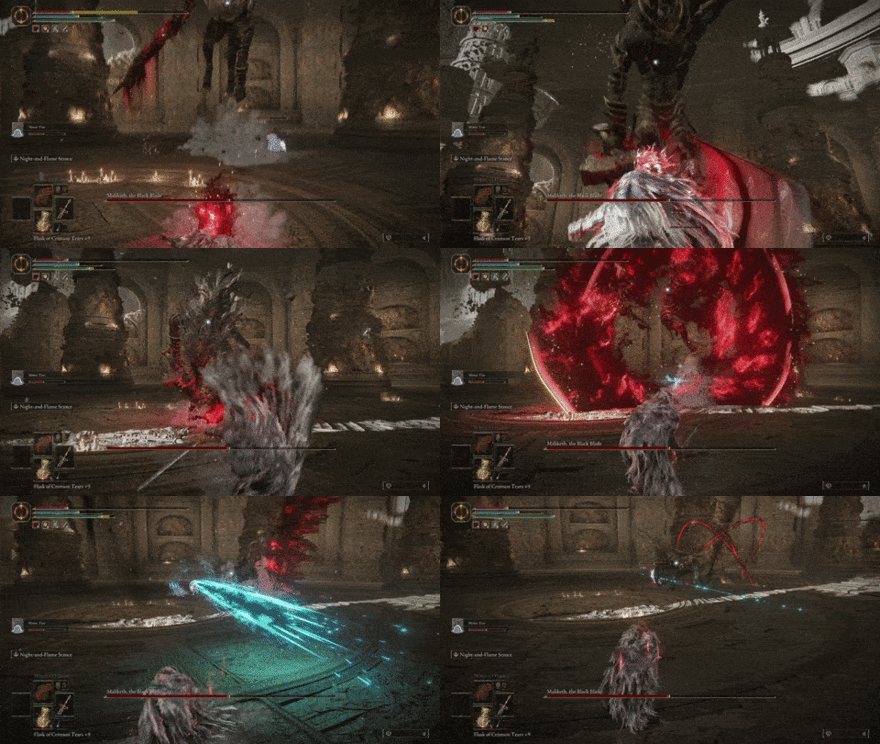 Spinning Slashes: Maliketh, the Black Blade jumps and slams his greatsword to the ground, then spins in mid-air to create a huge trail of flames. He follows this up with one more slam that creates a whirlwind of slashes in an area. Dodge away from this attack when he slams his weapon down, then do another dodge to avoid the extended range of the weapon. |
Greatsword Blast Attacks
| Greatsword Blast Attack Information |
|---|
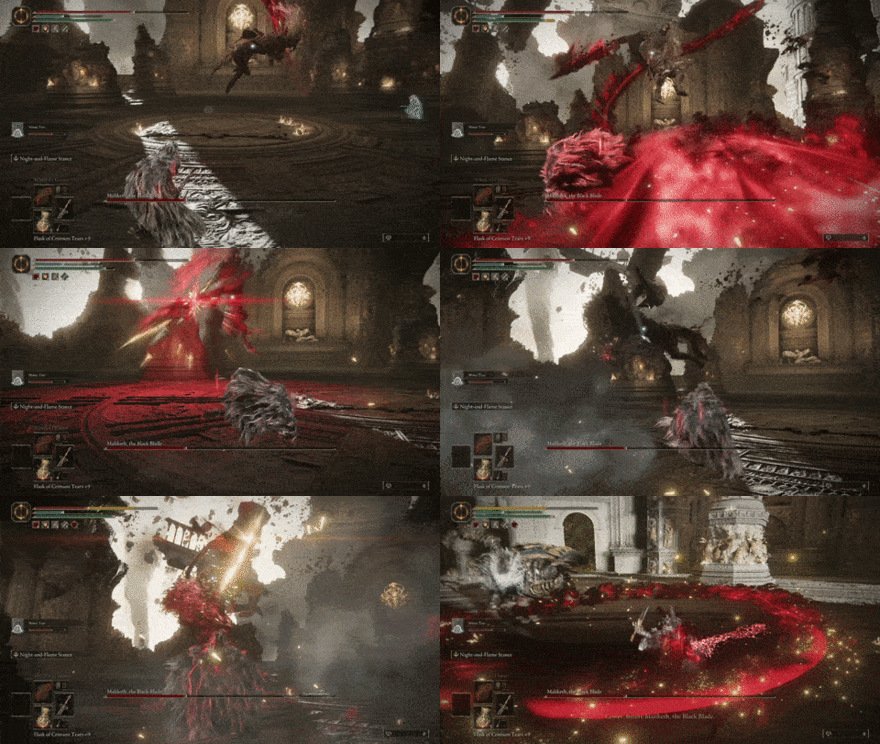 Blast and Swipe Combo: Maliketh, the Black Blade shoots three fireblasts at you, then dashes past you to make a circular swipe. For the three fireblasts, dodge from side to side. To avoid the swipe, try to remove your lock-on after he does the third fireblast then dodge forward. If you don't remove your lock-on, your camera will follow him as he runs past you so you could end up dodging into the trail of the attack instead. |
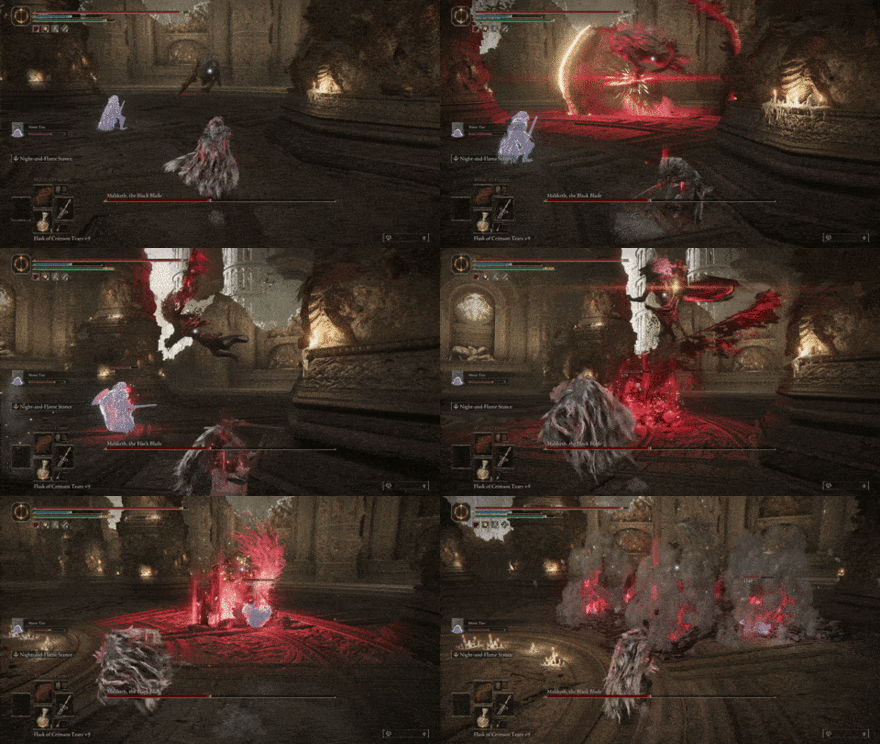 Blast and Slam Combo: Maliketh, the Black Blade shoots two fireblasts at you, then slams his sword to the ground and creates a small earthquake. It can be hard to predict if he'll be doing a slam or continuing with a Blast and Swipe combo instead. The tell for this attack will be if he raises his greatsword overhead instead of preparing for another blast. |
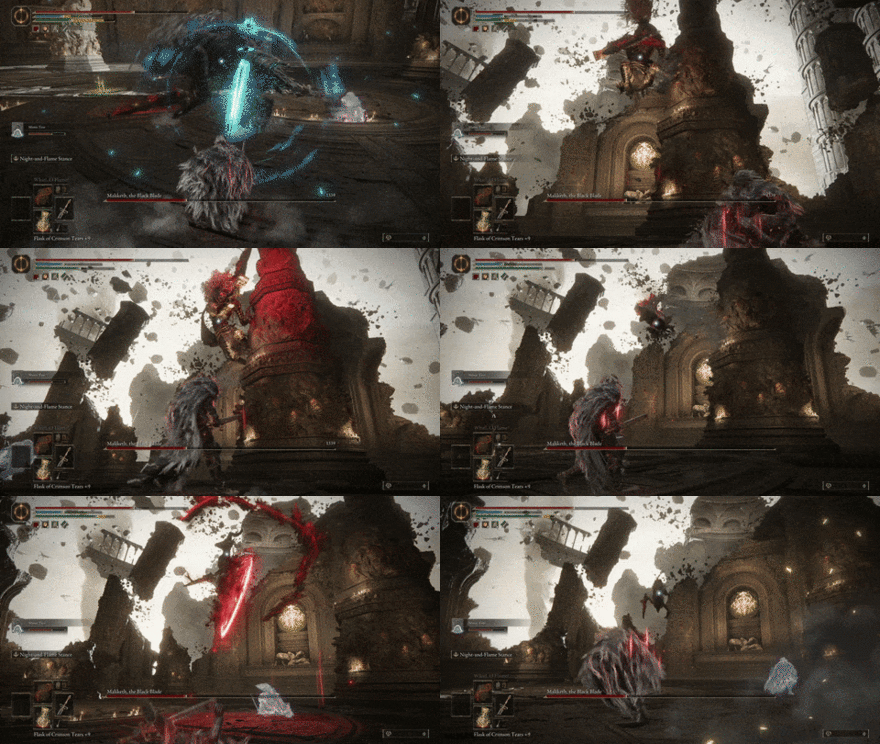 Pillar Attack: Maliketh, the Black Blade leaps onto a pillar then hops off before throwing a fireblast at you. Dodge to the side to avoid this. |
Lore and Trivia
Lore
- Maliketh and Gurranq the Beast Clergyman are the same being. He was charged to wield the fearsome Black Blade which contained the Rune of Death, and was feared by the demigods for he wielded the ability of Destined Death.
- On the Night of Black Knives, a fragment of Death was stolen from the blade. This marked Maliketh's chief sin, having him bind the remnants of the blade within his own flesh to prevent it from being stolen again.
Trivia
- An easy way to confirm that Gurranq and Maliketh are one and the same is by looking at Gurranq's sleeves. From certain angles, players will be able to see the grafted blade of death on his right arm and the medallion he punctures with the blade on his left arm.
- Another giveaway of them being the same is the Black Blade Kindred that stands guard outside the Bestial Sanctum. Once defeated, it drops the Gargoyle's Black Blade and Black Halberd. Both are described as bearing the mark of those that serve Maliketh the Black Blade.
- After you calm down Gurranq the Beast Clergyman when he becomes hostile, you can get close to his prone form and clip the camera through his hood. You will see Maliketh's head and helmet if you get the right angle.
Elden Ring Related Guides

DLC Bosses
Main Bosses
Optional Bosses
Mini-Bosses
| All Bosses in Elden Ring | |
|---|---|
| Elder Dragon Greyoll | Lion Guardian |
| Valiant Gargoyle (Leyndell) | - |
Hostile NPCs and Invaders
| Limgrave Invaders and Hostile NPCs | |
|---|---|
| Bloody Finger Nerijus | Old Knight Istvan |
| Recusant Henricus | - |
| Liurnia of the Lakes Invaders and Hostile NPCs | |
| Great Horned Tragoth | Festering Fingerprint Vyke |
| Altus Plateau Invaders and Hostile NPCs | |
| Eleonora, Violet Bloody Finger | Inquisitor Ghiza |
| Maleigh Marais, Shaded Castle Castellan | Rileigh the Idle |
| Vargram the Raging Wolf & Errant Sorcerer Wilhelm | Magnus the Beast Claw |
| Mountaintops of the Giants Invaders and Hostile NPCs | |
| Juno Hoslow, Knight of Blood | - |
| The Roundtable Hold Invaders and Hostile NPCs | |
| Mad Tongue Alberich | - |
| Multiple Location Invaders and Hostile NPCs | |
| Anastasia, Tarnished-Eater | - |
Author
How to Beat Maliketh, The Black Blade: Boss Fight Guide
improvement survey
03/2026
improving Game8's site?

Your answers will help us to improve our website.
Note: Please be sure not to enter any kind of personal information into your response.

We hope you continue to make use of Game8.
Rankings
- We could not find the message board you were looking for.
Gaming News
Popular Games

Genshin Impact Walkthrough & Guides Wiki

Honkai: Star Rail Walkthrough & Guides Wiki

Umamusume: Pretty Derby Walkthrough & Guides Wiki

Pokemon Pokopia Walkthrough & Guides Wiki

Resident Evil Requiem (RE9) Walkthrough & Guides Wiki

Monster Hunter Wilds Walkthrough & Guides Wiki

Wuthering Waves Walkthrough & Guides Wiki

Arknights: Endfield Walkthrough & Guides Wiki

Pokemon FireRed and LeafGreen (FRLG) Walkthrough & Guides Wiki

Pokemon TCG Pocket (PTCGP) Strategies & Guides Wiki
Recommended Games

Diablo 4: Vessel of Hatred Walkthrough & Guides Wiki

Cyberpunk 2077: Ultimate Edition Walkthrough & Guides Wiki

Fire Emblem Heroes (FEH) Walkthrough & Guides Wiki

Yu-Gi-Oh! Master Duel Walkthrough & Guides Wiki

Super Smash Bros. Ultimate Walkthrough & Guides Wiki

Pokemon Brilliant Diamond and Shining Pearl (BDSP) Walkthrough & Guides Wiki

Elden Ring Shadow of the Erdtree Walkthrough & Guides Wiki

Monster Hunter World Walkthrough & Guides Wiki

The Legend of Zelda: Tears of the Kingdom Walkthrough & Guides Wiki

Persona 3 Reload Walkthrough & Guides Wiki
All rights reserved
ELDEN RING™ & ©BANDAI NAMCO Entertainment Inc. / ©2021 FromSoftware, Inc.
The copyrights of videos of games used in our content and other intellectual property rights belong to the provider of the game.
The contents we provide on this site were created personally by members of the Game8 editorial department.
We refuse the right to reuse or repost content taken without our permission such as data or images to other sites.


![Monster Hunter Stories 3 Review [First Impressions] | Simply Rejuvenating](https://img.game8.co/4438641/2a31b7702bd70e78ec8efd24661dacda.jpeg/thumb)


