How to Beat Grave Warden Duelist: Boss Fight Guide

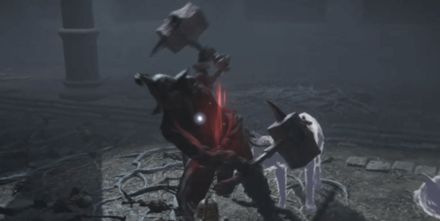
This is a guide on how to beat Grave Warden Duelist, an optional boss in Elden Ring. Read on to learn more about Grave Warden Duelist's strengths, weaknesses, attack patterns, and lore!
List of Contents
Grave Warden Duelist General Info
Stats and Rewards
| Grave Warden Duelist | ||
|---|---|---|
|
||
| Weakness | Resistance | Immune |
|
Slash |
Fire Holy Lightning |
Madness |
| Affected By | Poison, Scarlet Rot, Bleed, Frost, Sleep | |
| Spirit Ashes Available? | Yes | |
| Rune Rewards |
1700 (NG) |
|
| Summonable NPCs |
None
|
|
| Location | ||
| Item Drops |
・Battle Hammer
・Banished Knight Engvall |
|
Grave Warden Duelist Location
Where to Find
| Map Location | |
|---|---|
 View Full Image |
|
| Recommended Level | Lv.20 |
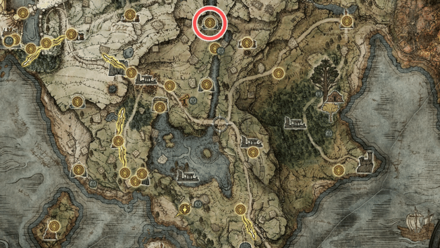
You can find the Grave Warden Duelist in the Murkwater Catacombs at Limgrave. After entering through the doors, go down the stairs and you will see a Site of Grace. After 2 sets of stairs, turn right and go down the corridor. Traverse the mist and you will see Grave Warden Duelist waiting for you.
Murkwater Catacombs Walkthrough and Location
How to Beat Grave Warden Duelist
| Tips for Beating Grave Warden Duelist |
|---|
| How to Beat Strategies | ||
|---|---|---|
| Ranged Build Strategy | Melee Build Strategy | |
Click a link above to take you to that section.
Ranged Build Strategy
| Grave Warden Duelist Boss Tips |
|---|
Summon Spirit Ashes before fighting
Summoning Spirit Ashes before you fight Grave Warden Duelist can help keep you safe while casting spells. For instance, you can summon Lhutel the Headless tor Banished Knight Oleg to tank for you.
All Spirit Ash Locations: How to Summon Spirits
Keep your distance
As a Sorcerer, utilize the spells in your kit to keep a distance while dealing damage. Although Grave Warden Duelist primarily uses close attacks, Hammer Spin Strike lets it close the gap between the two of you so make sure keep this in mind.
When you traverse the mist to get to Grave Warden Duelist, it will be waiting for you in the middle of the room. You can use this distance to cast a spell without the risk of taking damage.
Melee Build Strategy
| Grave Warden Duelist Boss Tips |
|---|
Attack during Hammer Spin
After dodging both hammer swings, you can dodge the last strike by waiting for Grave Warden Duelist to jump then roll either behind or to the side as it will strike what is in front of it. There is a window where you can strike while it stands up.
Dodge to attack
Grave Warden Duelist mainly attacks what is directly in front of it. When you see it is about to attack a direction, try to dodge into it (landing behind it) to get quick strikes. Your best choice is to dodge diagonally into Grave Warden Duelist.
Summon Spirit Ashes for more damage
By summoning Spirit Ashes, you can use them as a distraction for Grave Warden Duelist. Grave Warden Duelist's short ranged attacks focuses on the target in front of it, so you can time your attacks then.
Northern Mercenary is a great Spirit Ash to tank hits as well as dish out good amounts of damage. By playing together, it can serve as a distraction while you attack Grave Warden Duelist safely. Another option is to summon the Lone Wolf Spirit Ashes. This summon has a high damage output that can help you defeat Grave Warden Duelist faster.
All Spirit Ash Locations: How to Summon Spirits
Grave Warden Duelist Attack Patterns
Hammer Quadruple Swing
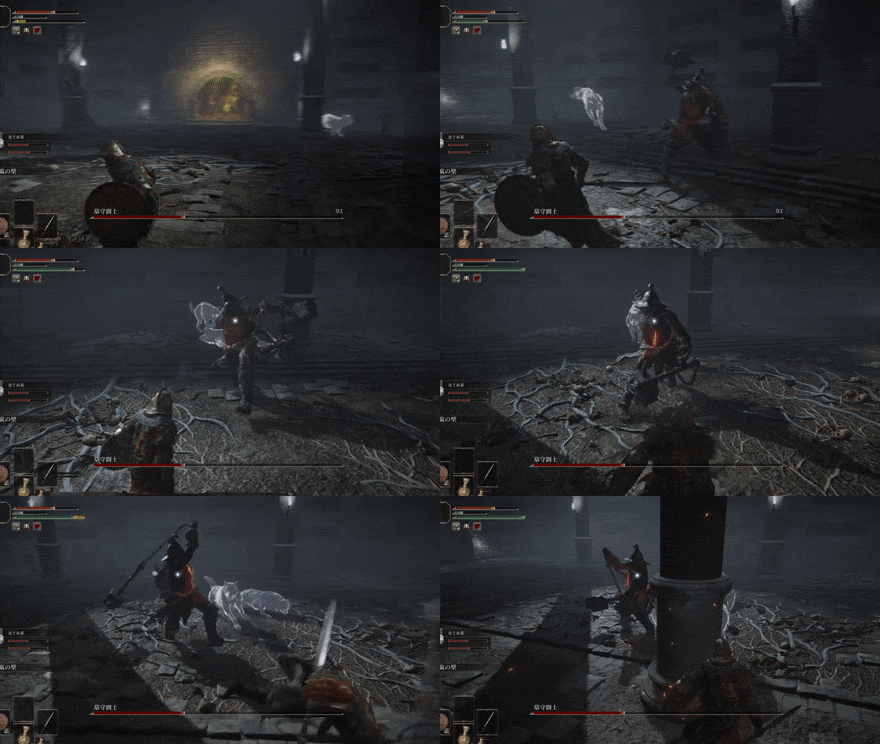
Grave Warden Duelist swings its hammer up to four times. The range of the strikes increases after the first two strikes. It takes a step forward with each swing so be mindful of this. This attack can be easily avoided by dodging backwards.
Hammer Spin
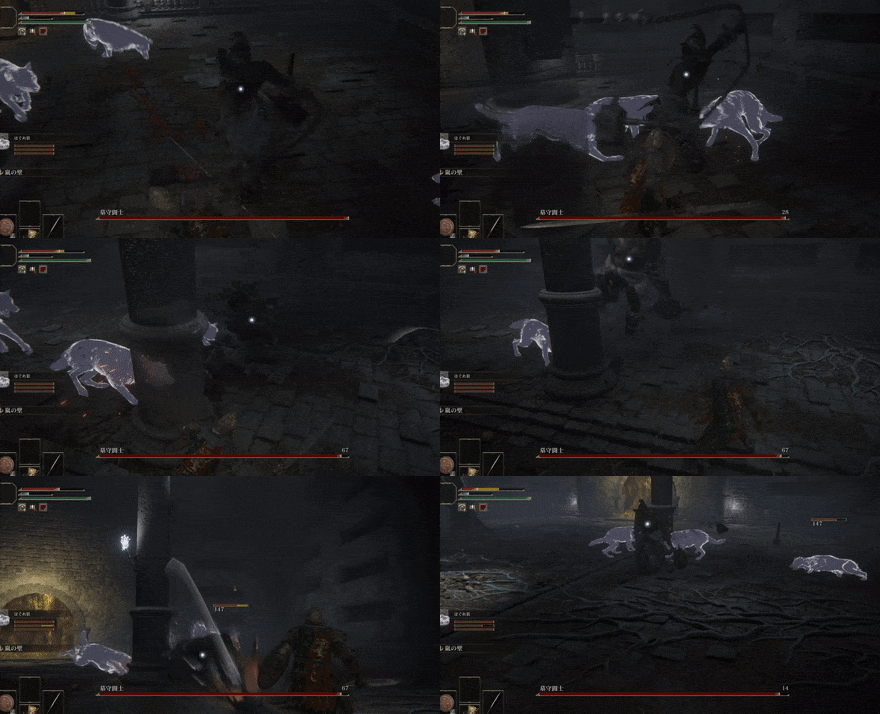
Grave Warden Duelist swings its hammer 360 degrees twice and ends with a jumping strike that knocks back enemies in front of it. It starts in a smaller radius and gets bigger by the second swing. The hammer starts behind it so make sure to dodge away before the first swing.
When it jumps for the last strike, wait for it to be at the apex of the jump then dodge either to the side or between its legs.
Charging Strike
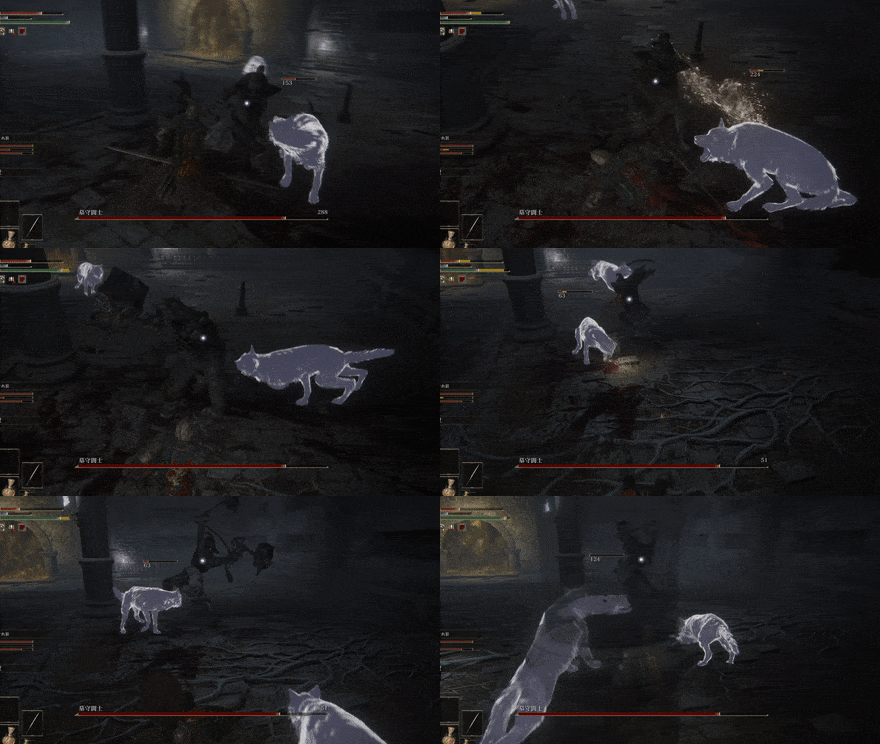
Grave Warden Duelist takes two steps then strikes. After doing this twice, it will do two quick swings followed by a double hammer slam. You can time your dodge while it steps before striking.
Scream

Grave Warden Duelist lets out a battle cry and turns red for 30 seconds. For its duration, Grave Warden Duelist's attacks will deal more damage. You can avoid this by letting it time out.
Lunge
Grave Warden Duelist lunges and strikes. This can be chained up to five times. This move can follow your direction so make sure to dodge backwards instead of to the side.
Triple Strike Attack
Grave Warden Duelist swings once with each hand then slams both hammers. Dodge to the side as the third strike is slower than the first two.
Choke Grab
Grave Warden Duelist lunges forward and grabs you by the neck. Easily avoided by dodging backward or to the side once you see Grave Warden Duelist take a step back.
Elden Ring Related Guides

DLC Bosses
Main Bosses
Optional Bosses
Mini-Bosses
| All Bosses in Elden Ring | |
|---|---|
| Elder Dragon Greyoll | Lion Guardian |
| Valiant Gargoyle (Leyndell) | - |
Hostile NPCs and Invaders
| Limgrave Invaders and Hostile NPCs | |
|---|---|
| Bloody Finger Nerijus | Old Knight Istvan |
| Recusant Henricus | - |
| Liurnia of the Lakes Invaders and Hostile NPCs | |
| Great Horned Tragoth | Festering Fingerprint Vyke |
| Altus Plateau Invaders and Hostile NPCs | |
| Eleonora, Violet Bloody Finger | Inquisitor Ghiza |
| Maleigh Marais, Shaded Castle Castellan | Rileigh the Idle |
| Vargram the Raging Wolf & Errant Sorcerer Wilhelm | Magnus the Beast Claw |
| Mountaintops of the Giants Invaders and Hostile NPCs | |
| Juno Hoslow, Knight of Blood | - |
| The Roundtable Hold Invaders and Hostile NPCs | |
| Mad Tongue Alberich | - |
| Multiple Location Invaders and Hostile NPCs | |
| Anastasia, Tarnished-Eater | - |
Author
How to Beat Grave Warden Duelist: Boss Fight Guide
improvement survey
03/2026
improving Game8's site?

Your answers will help us to improve our website.
Note: Please be sure not to enter any kind of personal information into your response.

We hope you continue to make use of Game8.
Rankings
- We could not find the message board you were looking for.
Gaming News
Popular Games

Genshin Impact Walkthrough & Guides Wiki

Honkai: Star Rail Walkthrough & Guides Wiki

Umamusume: Pretty Derby Walkthrough & Guides Wiki

Pokemon Pokopia Walkthrough & Guides Wiki

Resident Evil Requiem (RE9) Walkthrough & Guides Wiki

Monster Hunter Wilds Walkthrough & Guides Wiki

Wuthering Waves Walkthrough & Guides Wiki

Arknights: Endfield Walkthrough & Guides Wiki

Pokemon FireRed and LeafGreen (FRLG) Walkthrough & Guides Wiki

Pokemon TCG Pocket (PTCGP) Strategies & Guides Wiki
Recommended Games

Diablo 4: Vessel of Hatred Walkthrough & Guides Wiki

Fire Emblem Heroes (FEH) Walkthrough & Guides Wiki

Yu-Gi-Oh! Master Duel Walkthrough & Guides Wiki

Super Smash Bros. Ultimate Walkthrough & Guides Wiki

Pokemon Brilliant Diamond and Shining Pearl (BDSP) Walkthrough & Guides Wiki

Elden Ring Shadow of the Erdtree Walkthrough & Guides Wiki

Monster Hunter World Walkthrough & Guides Wiki

The Legend of Zelda: Tears of the Kingdom Walkthrough & Guides Wiki

Persona 3 Reload Walkthrough & Guides Wiki

Cyberpunk 2077: Ultimate Edition Walkthrough & Guides Wiki
All rights reserved
ELDEN RING™ & ©BANDAI NAMCO Entertainment Inc. / ©2021 FromSoftware, Inc.
The copyrights of videos of games used in our content and other intellectual property rights belong to the provider of the game.
The contents we provide on this site were created personally by members of the Game8 editorial department.
We refuse the right to reuse or repost content taken without our permission such as data or images to other sites.


![Everwind Review [Early Access] | The Shaky First Step to A Very Long Journey](https://img.game8.co/4440226/ab079b1153298a042633dd1ef51e878e.png/thumb)

![Monster Hunter Stories 3 Review [First Impressions] | Simply Rejuvenating](https://img.game8.co/4438641/2a31b7702bd70e78ec8efd24661dacda.jpeg/thumb)


