Greatsword of Radahn Build Guide
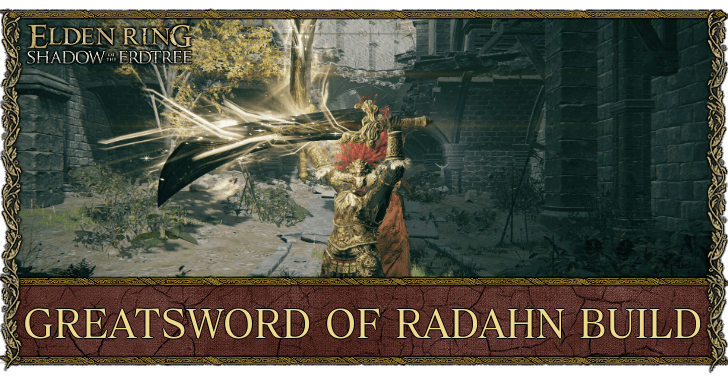
This is a Greatsword of Radahn (Lord) build utilizing the Promised Consort Ash of War in Elden Ring DLC Shadow of the Erdtree. Read on to learn more about the Greatsword of Radahn build, including its stat distribution and required equipment.
| Greatsword of Radahn Guides | ||
|---|---|---|
| Greatsword of Radahn Location (Lord) | Greatsword of Radahn Build Guide | |
Greatsword of Radahn Build Guide
Powerstance Setup Using Greatsword of Radahn (Lord)
| Main Weapon Loadout | |||||||||
|---|---|---|---|---|---|---|---|---|---|
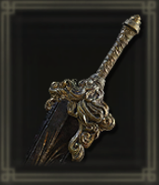 Greatsword of Radahn (Lord) Greatsword of Radahn (Lord)
|
Skill:
Promised Consort
ATK Type: Standard/Pierce Weight: 19.0 Off-Hand: Meteorite Staff |
||||||||
| Weapon Scaling (+10) | |||||||||
| Str: C | Dex: C | Int: D | Fai: - | Arc: - | |||||
| Stat Requirements | |||||||||
| Str: 32 | Dex: 28 | Int: 15 | Fai: 0 | Arc: 0 | |||||
This STR-DEX-INT hybrid build uses the Greatsword of Radahn (Lord) and pairs it with Gravity spells in a bid to embody the Promised Consort at his prime. Deploy a mix of Promised Consort Ash of War casts (for up to 5,000 damage nukes) and Gravity sorceries for easy damage and staggers in PvE.
The weapon can also be powerstanced which allows you to wield a second copy, meaning that you do not need to duplicate the remembrance to get a second copy. Its powerstanced moveset is strong against immobile and large bosses due to its heavy-hitting attacks but suffers against mobile enemies due to its slow moveset.
Greatsword of Radahn (Lord) is Better than (Light) Due to its Ash of War
The Promised Consort Ash of War of the Greatsword of Radahn (Lord) is better than the Light version's Lightspeed Slash due Promised Consort dealing more damage and being much more mobile than Lightspeed Slash (which requires you to charge and remain still for max damage).
Greatsword of Radahn (Light) Location, Stats, and Scaling
Ashes of War are the Build's Main AoE Damage
The Promised Consort Ash of War is a combo move that can be used three times to execute its move where you use slashes that are followed up by rays of light. While the rays of light deal minor damage, each pillar can hit an enemy once which means that these small amounts of damage stacks up against large enemies.
Furthermore, the Ash of War's 3rd hit's pillars will have the same damage output as the Ash's main slash (albeit only hitting once unlike the first two slashes) which makes it a good try to execute the full combo to maximize the Ash's damage output.
Ash of War Does Not Provide Hyper Armor
While Promised Consort deals a huge amount of damage, you have to remember that this Ash of War does not provide any hyper armor which makes it susceptible to interruption via enemy attacks. It's best to capitalize on the full combo against large enemies and slow enemies.
Avoid Using the Ash of War Against Mobile Enemies
Due to the Promised Consort Ash of War's long animation, we recommend to players to avoid using the Ash of War against mobile enemies. When using the Ash of War against these enemies, it is likely that they'll be able to dodge and even hit back before even your first slash's animation completes.
Use Golden Vow Ash of War and Crystal Tears for Buffs
With a no Faith setup, you can use a dagger with the Golden Vow Ash of War as a quickswap weapon which you can apply before a boss fight.
For the Crystal Tear, we use the Opaline Hardtear and Greenburst Crystal Tear which both last for 3 minutes.
The Opaline Hardtear is a defensive option that's highly recommended since it will lessen the damage you take, as the Greatsword of Radahhn is rather slow in nature, making you susceptible to attacks. The Greenburst Crystal Tear enhances your stamina regeneration which makes the build much easier to use due to the increased availability of stamina for dodging and attacking.
All Buffs and Debuffs and What They Do
Rune Level 200 Is Recommended for a Full Setup
This is a build that tries to immitate Radahn's combat style and to fully utilize it, we highly recommend having Rune Level 200 or more to be able to increase your Intelligence and wield the Gravity sorceries that Radahn uses.
If your level is below the recommended level, you can focus your stat allocation to focus on Strength and Dexterity and use it as a standard powerstanced Greatsword setup and forego Intelligence and the sorceries we included.
Greatsword of Radahn Build Stat Distribution
Recommended Stats
| Recommended Level | ||
|---|---|---|
| 200 | ||
| Stat | Points | Explanation |
| VGR | 60 | 60 Vigor is recommended to achieve a good amount of HP to sustain enemy attacks. You'll be hit often with this build due to the Ash of War's long animation so being prepared and having a decent amount of defensive stat is necessary. |
| MND | 20 | A full combo of the Ash of War is a whopping amount of 40 FP which can be further reduced by the Carian Filigreed Crest Talisman to 30 per full combo. With this amount of Mind, you'll be able to use a full combo 4 times before running out of FP. This also gives you enough FP to use sorceries and engage in long-ranged combat. |
| END | 47 | 47 Endurance is the perfect endurance stat to be able to equip Radahn's Armor Set as well as the other components required in the build. |
| STR | 60 | Despite having the same C scaling in Dexterity, Strength is the weapon's highest scaling stat among its three main stats. We'll want to have our Strength Stat at 60 to capitalize on the weapon's damage output. |
| DEX | 40 | Dexterity is the weapon's secondary damage stat which also sits at a C scaling. We'll want Dexterity to sit at 40 to increase our damage output while also being able to allocate a bit more stat points into Intelligence and gain access to some sorceries. |
| INT | 36 | 36 is the intelligence is needed for Collapsing Stars which is our Sorcery with the highest Intelligence stat requirement. With this setup, we'll be able to use the gravity magic that Radahn uses while maintaining a decent amount of damage from the Greatsword thanks to its Intelligence scaling. |
| FAI | 9 | Faith will not be needed.. |
| ARC | 7 | ARC will not be needed. |
Recommended Starting Class

| VGR | MND | END | STR | DEX | INT | FAI | ARC |
|---|---|---|---|---|---|---|---|
| 15 | 10 | 11 | 14 | 13 | 9 | 9 | 7 |
The best stat to use for a build for the Greatsword of Radahn setup is the Vagabond class. The Vagabond has the lowest stat for Arcane which is the only stat we don't need in this build.
Respec Stats at Rennala in Raya Lucaria
Before hitting the DLC, make sure to respec your stats by offering a Larval Tear to Rennala at the Academy of Raya Lucaria in Liurnia.
Required Equipment for the Greatsword of Radahn Build
| How to Get All Required Build Items | |||||
|---|---|---|---|---|---|
| Weapon | Armor Set | Talismans | |||
| Sorceries and Ashes of War | Great Rune | ||||
Trade the Remembrance of a God and Lord to Enia

The Greatsword of Radahn can only be obtained by offering the Remembrance of a God and Lord and then trading it with Finger Reader Enia. Take note that you do not need to duplicate it and get both Greatswords to make the build work as each variant can be powerstanced to equip it on both hands.
Promised Consort Radahn Location
Loot the Meteorite Staff in Street of Sages Ruin
| Map Location | World Location |
|---|---|
 |
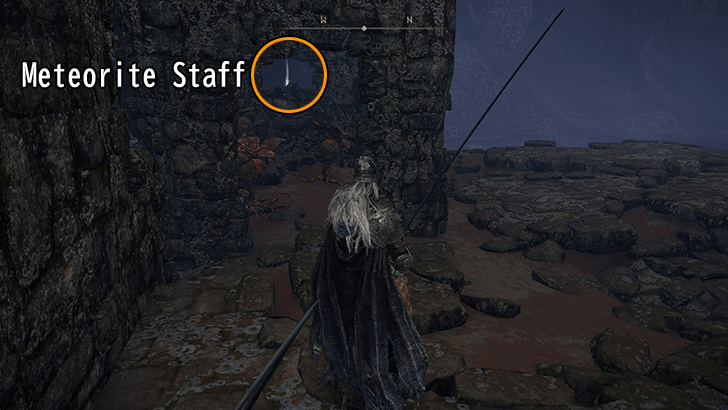 |
From the Aeonia Swamp Shore site of grace in Caelid, head directly north until you reach the Street of Sages Ruins. Inside the broken tower guarded by Scarlet Rot Blooms, you'll find a corpse perched on the window. Loot its remains to get the Meteorite Staff.
Purchase a Dagger from Twin Maiden Husk

We want a light weapon that can easily be infused with an Ash of War to be able to use Golden Vow Ash of War for the build. A Dagger be purchased from the Twin Maiden Husk and can serve as a weapon you can swap in to use its buffs before initiating a boss fight.
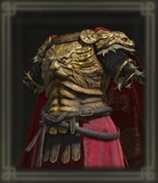
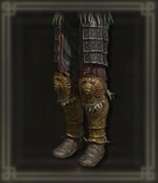
Purchase the Young Lion Set from Enia
| Young Lion Armor Set | |
|---|---|
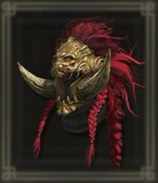 Young Lion's Helm Young Lion's Helm
|
 Young Lion's Armor Young Lion's Armor
|
 Young Lion's Gauntlets Young Lion's Gauntlets
|
 Young Lion's Greaves Young Lion's Greaves
|
Similar to the Greatsword of Radahn, the Young Lion Set can also be obtained from Enia. Purchase it from Enia after besting Promised Consort Radahn to obtain the full set.
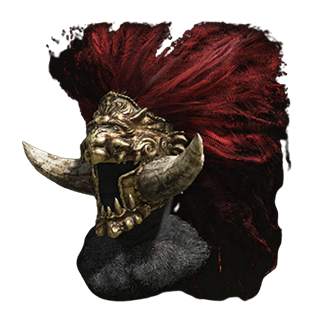
Alternatively, Equip Radahn's Lion Armor Set for Higher Defense
| Radahn Armor Set | |
|---|---|
 Radahn's Redmane Helm Radahn's Redmane Helm
|
 Radahn's Lion Armor Radahn's Lion Armor
|
 Radahn's Gauntlets Radahn's Gauntlets
|
 Radahn's Greaves Radahn's Greaves
|
The base game's Lion Armor set boasts a higher set of defensive stats at the cost of a higher weight load. The build is centered around this armor set's weight requirement so if you wish to use this set, there will be no required stat adjustment to make the build work. Either way, both armor sets are owned by Radahn which brings the build's theme to a complete figure.
All Talismans Required for the Build
The talismans required for the build are the Carian Filigreed Crest which is essential to reducing the FP cost of the Ash of War which allows us to use it multiple times in a row, and the Shard of Alexander to further strengthen the Ash of War's damage, the Dragoncrest Greatshield Talisman to reduce the damage we take when we get hit mid-animation from our Ash of War, and the Graven-Mass Talisman to enhance the sorceries we include in the build.
| Talisman | Effect and How to Get |
|---|---|
 Carian Filigreed Crest Carian Filigreed Crest
|
Effect:
Lowers FP consumed by skills.
How to Get: Can be purchased from Iji after progressing Blaidd's questline, defeating Bloodhount Knight Darriwil, and talking to Ranni in Ranni's Rise. |
 Shard of Alexander Shard of Alexander
|
Effect:
Greatly boosts the attack power of skills.
How to Get: Defeat Alexander at the end of his questline in Crumbling Farum Azula. |
 Dragoncrest Greatshield Talisman Dragoncrest Greatshield Talisman
|
Effect:
Enormously boosts physical damage negation.
How to Get: Obtained from the elevated area on a ruined building in the Elphael, Brace of the Haligtree |
 Graven-Mass Talisman Graven-Mass Talisman
|
Effect:
Raises potency of sorceries
How to Get: Located in a chest found at the top of Albinauric Rise in Consecrated Snowfield. |
Sorceries and Ashes of War
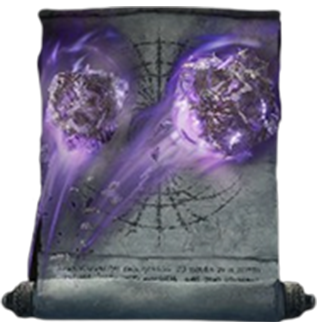
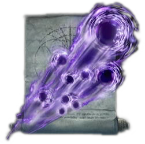
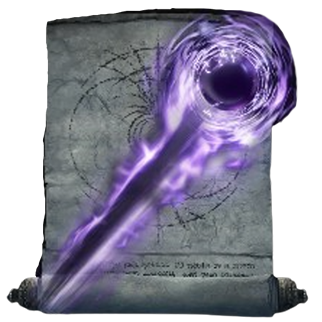
To get a full feel of the Radahn playstyle, we incorporate several meteoric spells such as Rock Sling, Collapsing Stars, and Gravity Well which are the spells Radahn uses during our fights against him.
| Sorceries and Ashes of War | Effect and How to Get |
|---|---|
 Golden Vow Golden Vow(Ash of War) |
Effect:
Increases attack and defense for self and allies.
How to Get: Dropped by the cavalry knight east of the colosseum in Limgrave. |
 Rock Sling Rock Sling
|
Effect:
Summons rock from the earth and sends it flying.
How to Get: Looted underground on one of the rubbles in Street of Sages Ruins. |
 Collapsing Stars Collapsing Stars
|
Effect:Shoots out multiple projectiles that follow the enemy. How to Get: Looted on a chest in War-Dead Catacombs. On the room with several fighting knights, drop to the swamp area on the bottom to find the chest. |
 Gravity Well Gravity Well
|
Effect:
Pulls foes toward caster with gravity projectile.
How to Get: Dropped by the Alabaster Lord just before the area with the giant pulley leading into the upper areas of Raya Lucaria Academy. |
Great Rune
To truly embody the identity of Radahn, your Great Rune of choice will be Radahn's Great Rune which increases your total HP, FP, and Stamine by 15%. With the high durability of this setup, this will further make the build tankier and get more FP to use more sorceries and your Ash of War.
Take note that you'll first have to activate the Great Rune by reaching the top of the Divine Tower of Caelid to be able to use the Great Rune.
Radahn's Great Rune Effect and Location
Elden Ring Related Guides

List of All Builds
Comment
Author
Greatsword of Radahn Build Guide
Rankings
- We could not find the message board you were looking for.
Gaming News
Popular Games

Genshin Impact Walkthrough & Guides Wiki

Honkai: Star Rail Walkthrough & Guides Wiki

Umamusume: Pretty Derby Walkthrough & Guides Wiki

Pokemon Pokopia Walkthrough & Guides Wiki

Resident Evil Requiem (RE9) Walkthrough & Guides Wiki

Monster Hunter Wilds Walkthrough & Guides Wiki

Wuthering Waves Walkthrough & Guides Wiki

Arknights: Endfield Walkthrough & Guides Wiki

Pokemon FireRed and LeafGreen (FRLG) Walkthrough & Guides Wiki

Pokemon TCG Pocket (PTCGP) Strategies & Guides Wiki
Recommended Games

Diablo 4: Vessel of Hatred Walkthrough & Guides Wiki

Cyberpunk 2077: Ultimate Edition Walkthrough & Guides Wiki

Fire Emblem Heroes (FEH) Walkthrough & Guides Wiki

Yu-Gi-Oh! Master Duel Walkthrough & Guides Wiki

Super Smash Bros. Ultimate Walkthrough & Guides Wiki

Pokemon Brilliant Diamond and Shining Pearl (BDSP) Walkthrough & Guides Wiki

Elden Ring Shadow of the Erdtree Walkthrough & Guides Wiki

Monster Hunter World Walkthrough & Guides Wiki

The Legend of Zelda: Tears of the Kingdom Walkthrough & Guides Wiki

Persona 3 Reload Walkthrough & Guides Wiki
All rights reserved
ELDEN RING™ & ©BANDAI NAMCO Entertainment Inc. / ©2021 FromSoftware, Inc.
The copyrights of videos of games used in our content and other intellectual property rights belong to the provider of the game.
The contents we provide on this site were created personally by members of the Game8 editorial department.
We refuse the right to reuse or repost content taken without our permission such as data or images to other sites.


![Monster Hunter Stories 3 Review [First Impressions] | Simply Rejuvenating](https://img.game8.co/4438641/2a31b7702bd70e78ec8efd24661dacda.jpeg/thumb)


