How to Beat Hoarah Loux, Warrior: Boss Fight Guide

This is a guide on how to beat Hoarah Loux, Warrior (Godfrey, First Elden Lord), a boss in Elden Ring. Read on to learn more about Hoarah Loux, Warrior's drops, weaknesses, and recommended level!
| Godfrey, First Elden Lord Boss Fights | |
|---|---|
| Godfrey, First Elden Lord (First Encounter) | Godfrey, First Elden Lord (Second Encounter) |
List of Contents
Hoarah Loux, Warrior General Info
Stats and Rewards
| Hoarah Loux, Warrior | ||
|---|---|---|

|
||
| Weakness | Resistance | Immune |
|
Bleed Frost Scarlet Rot Poison |
━ | ━ |
| Affected By | Bleed, Frost, Poison, Scarlet Rot | |
| Spirit Ashes Available? | Yes | |
| Rune Rewards |
300000 (NG) |
|
| Summonable NPCs |
・Nepheli Loux ・Shabriri |
|
| Location | ||
| Item Drops |
・Remembrance of Hoarah Loux
|
|
Hoarah Loux, Warrior Location
Where to Find Hoarah Loux, Warrior
| Map Location | |
|---|---|
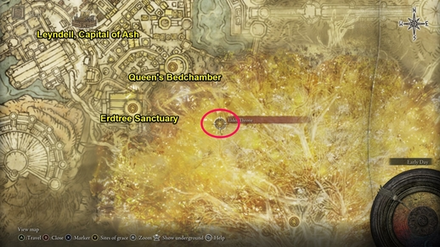 View Full Image |
|
| Recommended Level | Lv.110 |
Hoarah Loux can be found at the Elden Throne in Leyndell, Ashen Capital, in the region of Altus Plateau. This is the same area where you fought Morgott, the Omen King. The nearest Site of Grace is the Queen's Bedchamber.
Leyndell, Ashen Capital Walkthrough
How to Beat Hoarah Loux, Warrior
Phase 1 has Similar Moves to the Godfrey, First Elden Lord Boss Fight
The first phase of this fight will be similar to your first encounter with Godfrey, First Elden Lord. You can use the same previous strategies for avoiding his attacks here.
How to Beat Godfrey, First Elden Lord: Boss Fight Guide
Jump Over His Stomps
His phase 1 involves stomp attacks that affect the entire arena. While you can roll through it or use Bloodhound's Step, the most effective way to deal with this attack is to simply jump when his foot is about to land on the ground.
Equip Gear that Boosts your Physical Damage Resistance
Hoarah Loux primarily deals physical damage so items such as the Dragoncrest Shield Talisman will be helpful in boosting your survivability.
Exploit Hoarah Loux's Weaknesses
| Weapon Type Weaknesses | |
|---|---|
| Bleed Weapons | Frost Weapons |
| Scarlet Rot Weapons | Poison Weapons |
Hoarah Loux is vulnerable to all Status Effects so you can exploit his weaknesses to these and cause quick build-ups.
Hoarah Loux, Warrior Attack Patterns
Godfrey, First Elden Lord (Phase 1)
The first phase of this fight should be fairly predictable since Godfrey will use the same moveset as your prior fight with his Golden Shade. While his attacks here will deal more damage, you can still use the same methods for defeating him.
How to Beat Godfrey, First Elden Lord
Axe Attacks
| Axe Attack Variations |
|---|
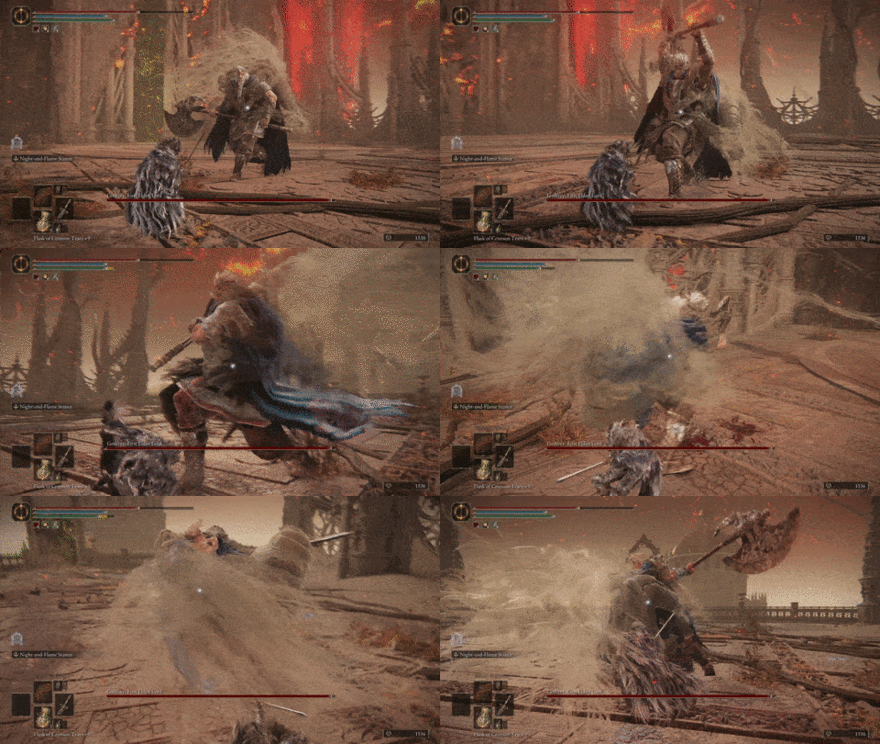 Axe Swipes: Hoarah Loux's most common attacks are diagonal axe swipes that you can avoid by dodging sideways. Be careful about attacking him after since he can follow these up with a variety of combos. Watch his shoulder movement to see if he'll continue the combo with another attack pattern or not. |
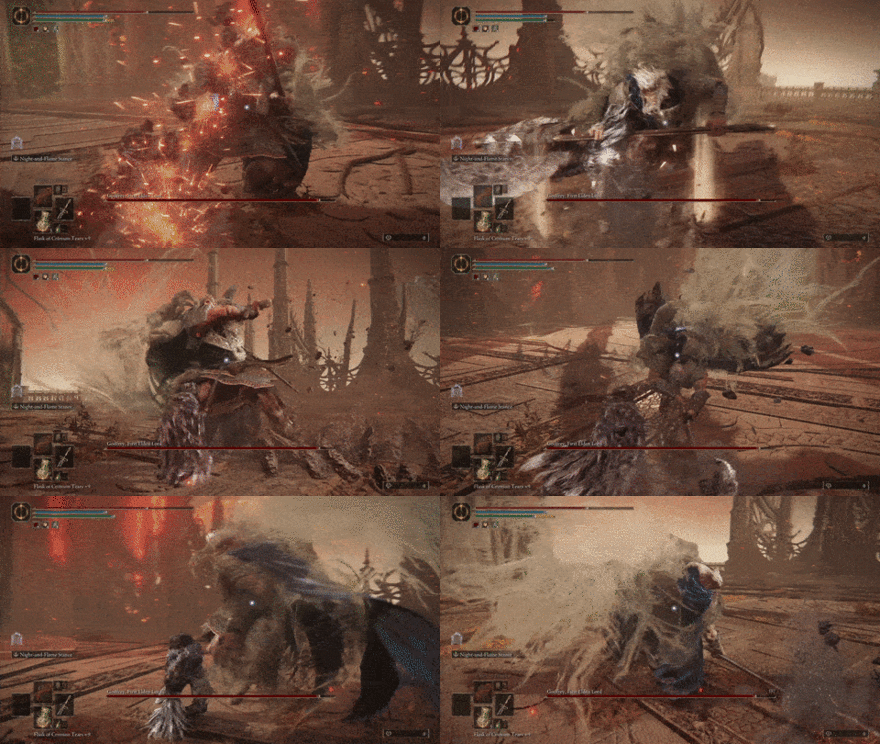 Full Combo: Hoarah Loux uses majority of his axe moves in a full combo. Using Barricade Shield will let you block these attacks, otherwise you'll have to dodge from side to side. |
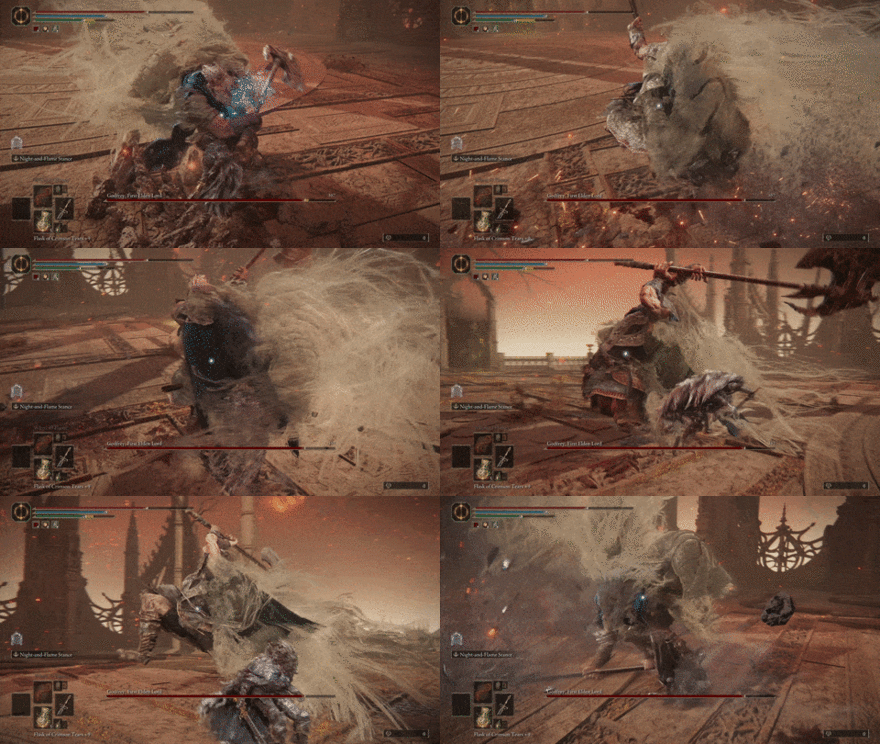 Axe Spin: Hoarah Loux spins his axe overhead then slams it to the ground. Dodge to the side as he pulls the axe back to avoid this. |
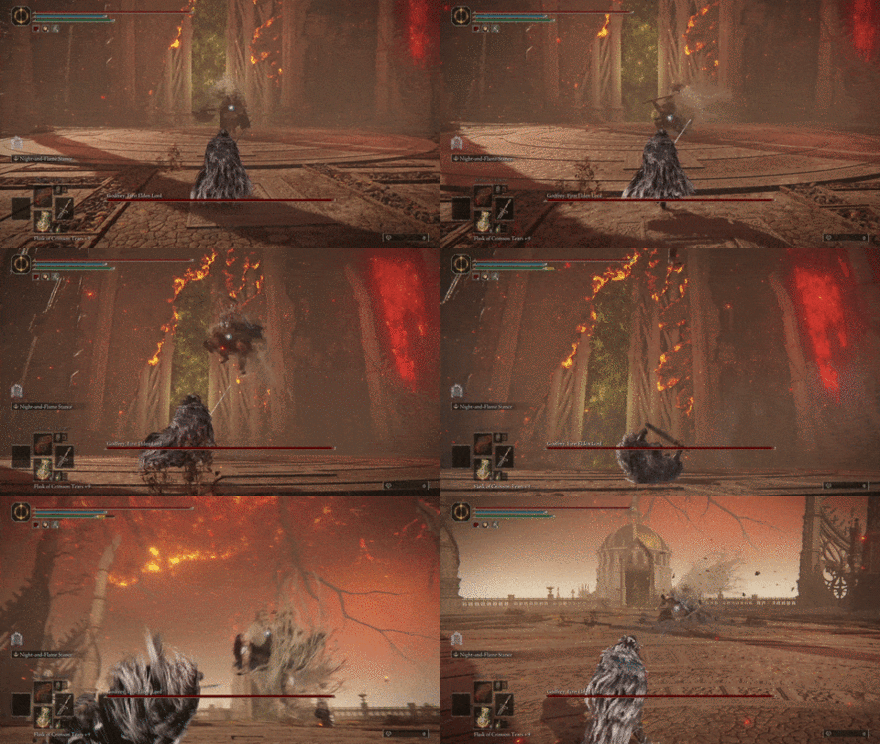 Jumping Axe Toss: Hoarah Loux will jump, throw his axe at you, then land at where he threw his axe. He'll usually start the fight with this move. The throw's long cast animation makes this easy to avoid. |
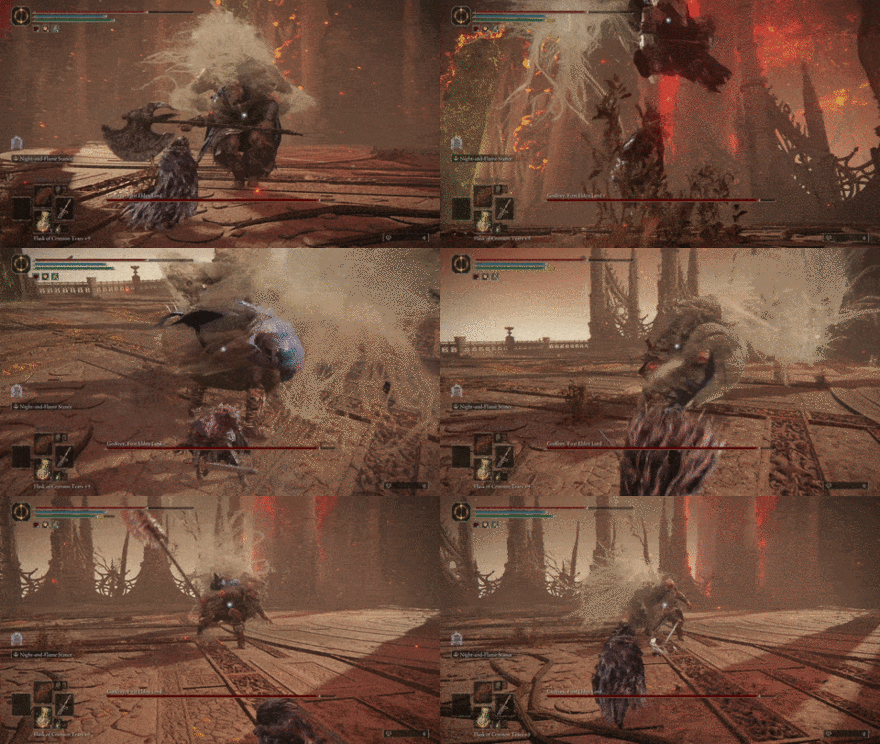 Plunging Strike: Hoarah Loux will jump then slam his axe into the ground. Dodge forward when he reaches the peak of his jump |
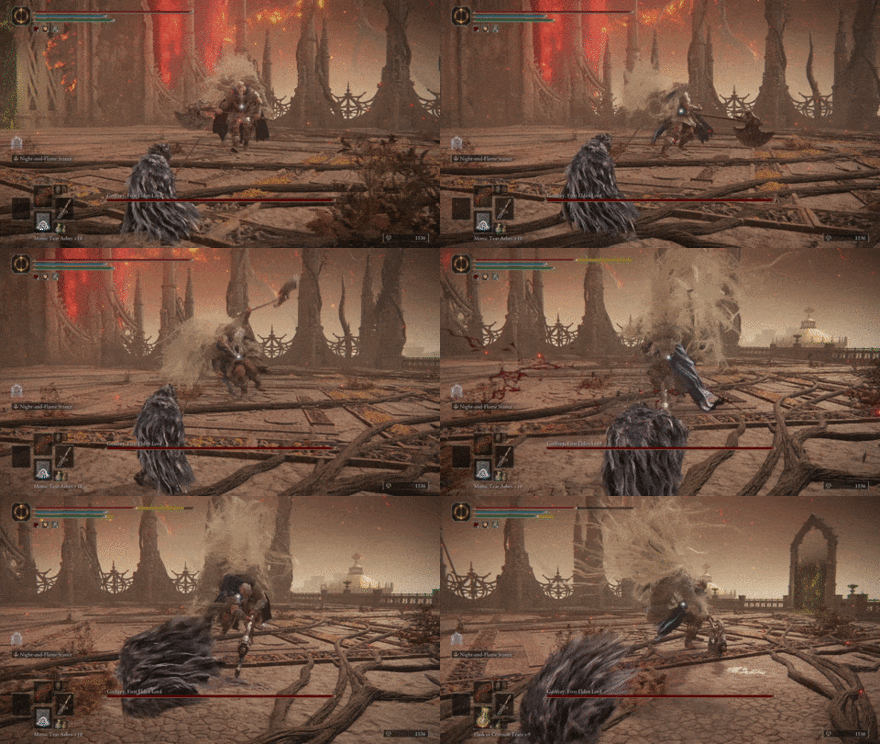 Overhead Slam: Hoarah Loux lifts his axe overhead and strikes at you. This is a delayed attack, which makes it a bit difficult to time correctly. It's safest to just dodge backward as soon as he pulls his arm back. |
AoE Attacks
| AoE Attack Variations |
|---|
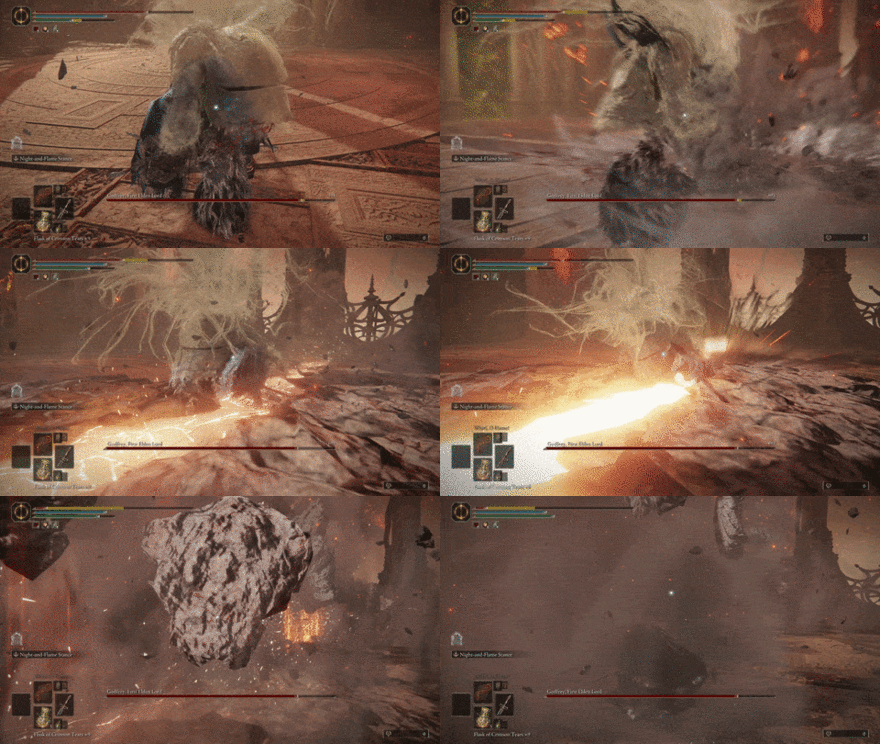 Axe Quake: Hoarah Loux buries his axe and creates a trail in the ground that bursts. Back away as soon as he slams his axe down. |
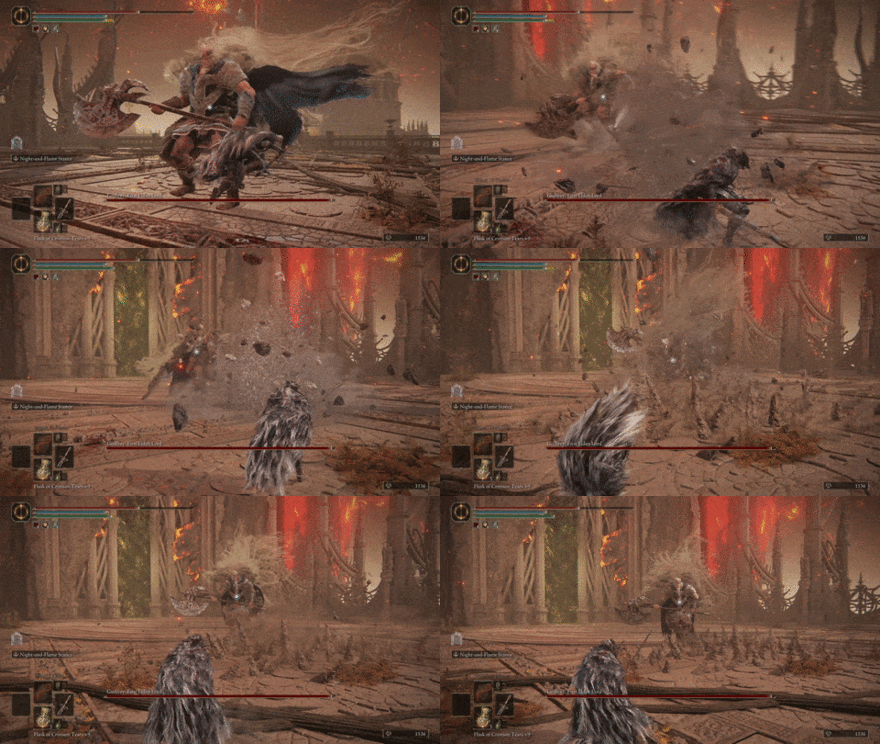 Earthquake Stomp: Godfrey stomps with one foot and creates spikes from the ground. The safest option to avoid this attack is to block with your shield. If timed correctly, you can also jump to him right before he stomps, which will allow you to attack him a few times. |
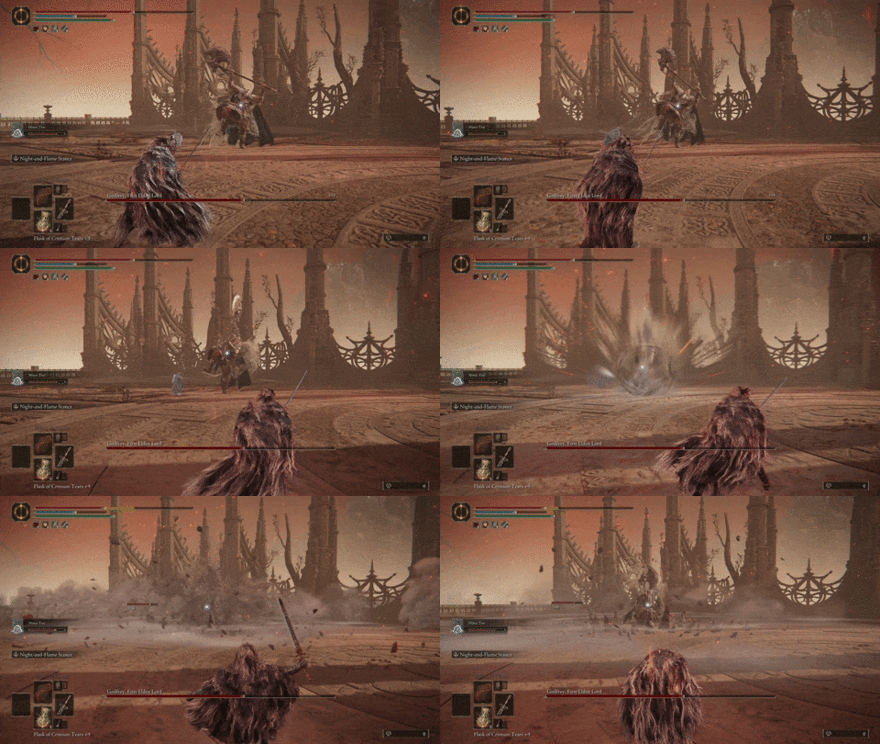 Stomp Shockwave: Hoarah Loux raises his foot and creates a shockwave from his stomp. You can roll as he stomps to avoid this but the timing can be difficult to read, so the safest option would be to block with your shield.. |
Hoarah Loux, Warrior (Phase 2)
In Phase 2, Hoarah Loux will remove his armor and drop his axe. He'll utilize Grab moves and AoE attacks more often here, making dodging more important than your shield. The delays in his attacks will make it difficult to get the dodge timings right, so be cautious and stay defensive.
Melee Attacks
| Melee Attack Variations |
|---|
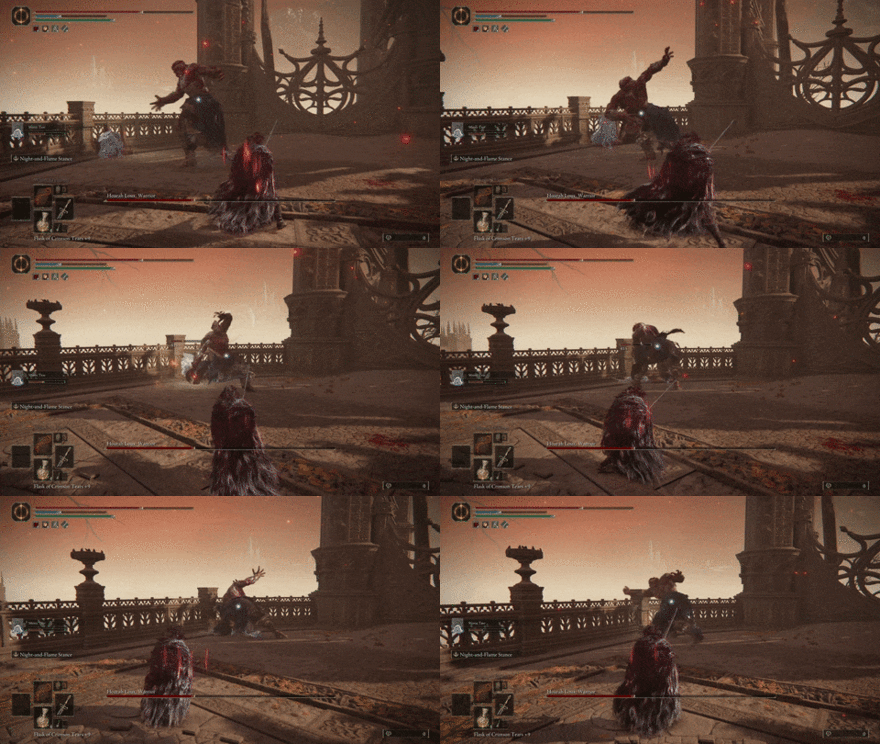 Tiger Swipes: Hoarah Loux swipes at you with his arms repeatedly. Be careful when dodging this attack due to the delay as he swipes. |
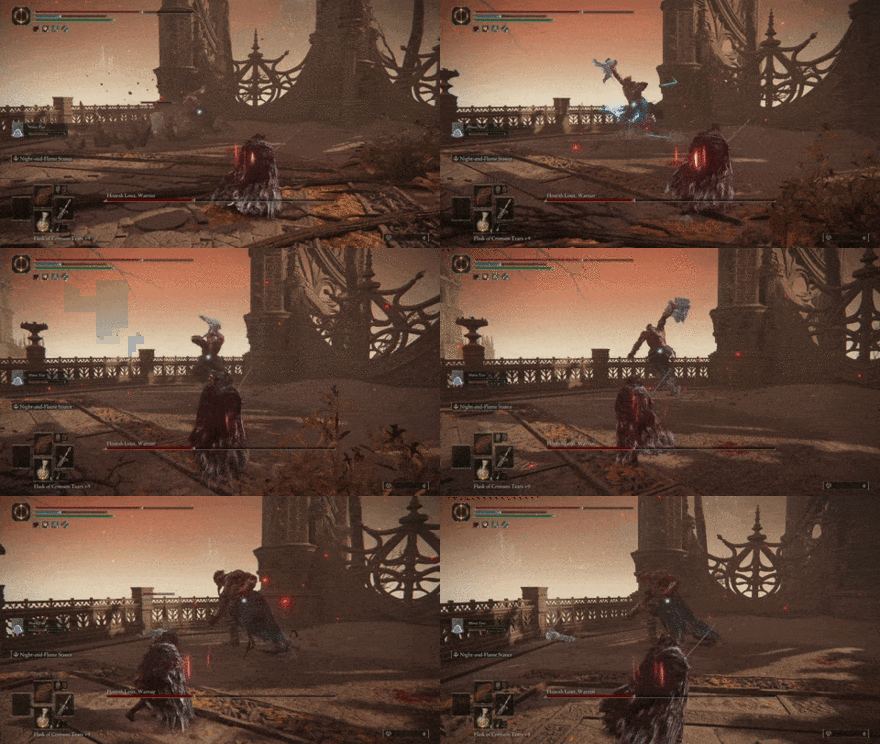 Chokeslam: Hoarah Loux pulls one arm back and takes you by the throat. He'll then throw you to the floor. His arm has a bit of a wind-up so dodge as he moves forward. |
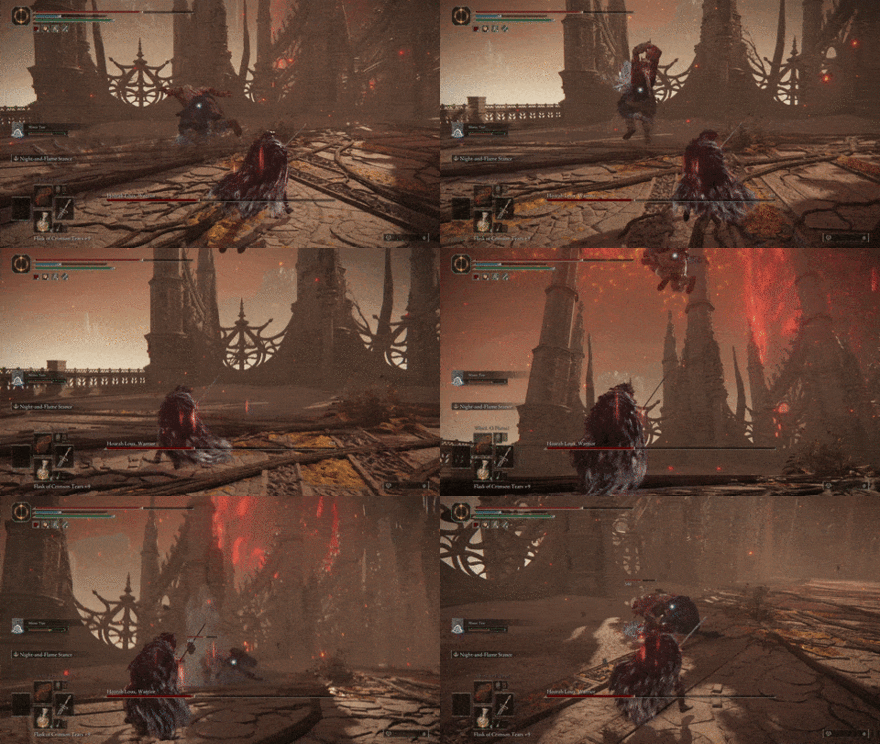 Power Bomb: Hoarah Loux pulls both arms back and tries to grab you. If successful, he'll carry you into the air then slam you to the ground. Dodge as he brings his arms forward. He'll usually start the second phase with this move. |
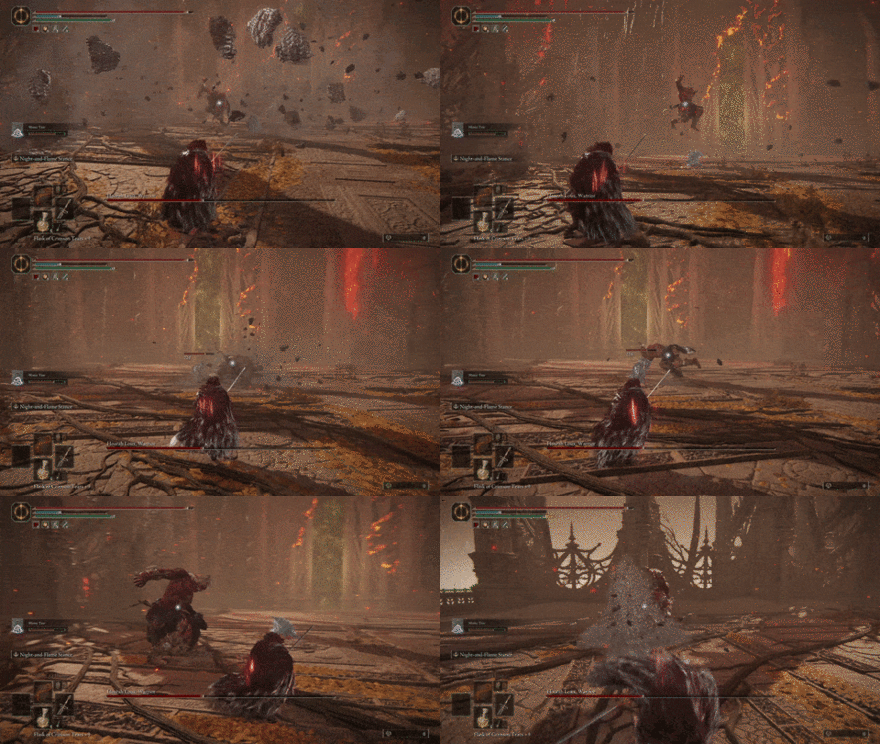 Slam and Swipe: Hoarah Loux does a quick jumping then a running swipe. Dodge into the first attack, then to the side for the second. |
AoE Attacks
| AoE Attack Variations |
|---|
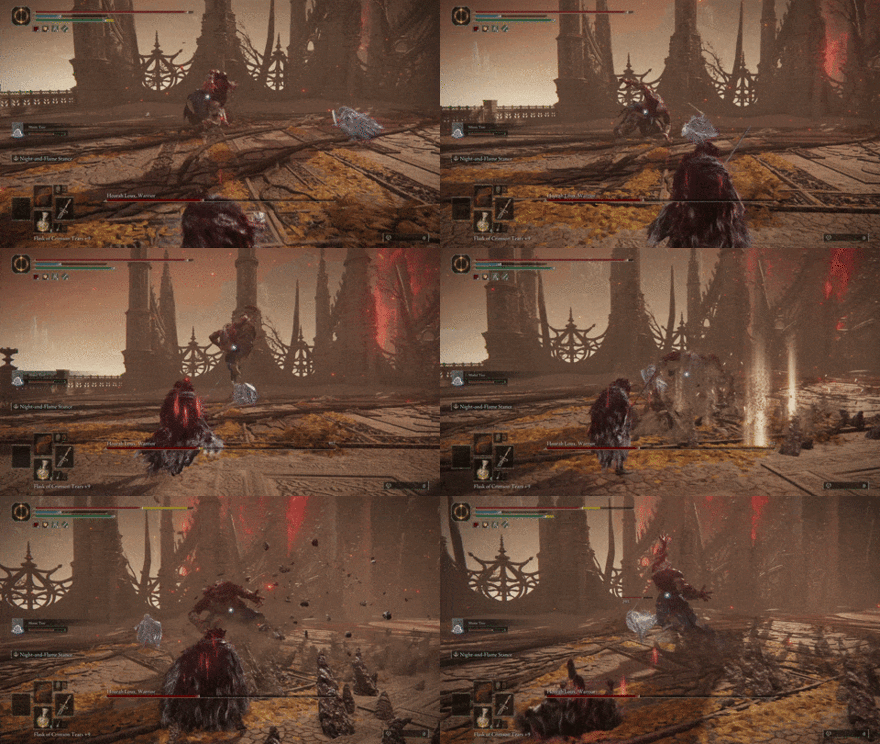 Jumping Stomp: Aside from his normal stomp, Hoarah Loux will sometimes jump then slam his foot to the ground. This deals more damage than the normal stomp and has a longer range. The process of avoiding it is the same, you can dodge to the side or into the attack. |
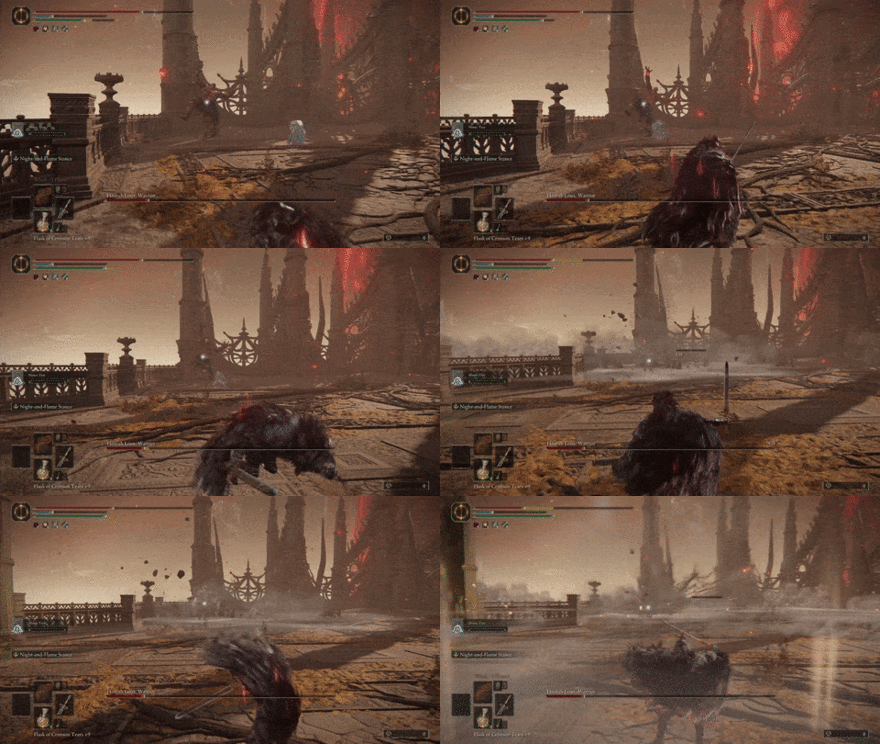 Charged Shockwave: Hoarah Loux raises his foot and arms to create two shockwaves. The range of this attack is quite long so it'll be difficult to dodge. You can block with your shield or dodge as he creates the shockwaves. |
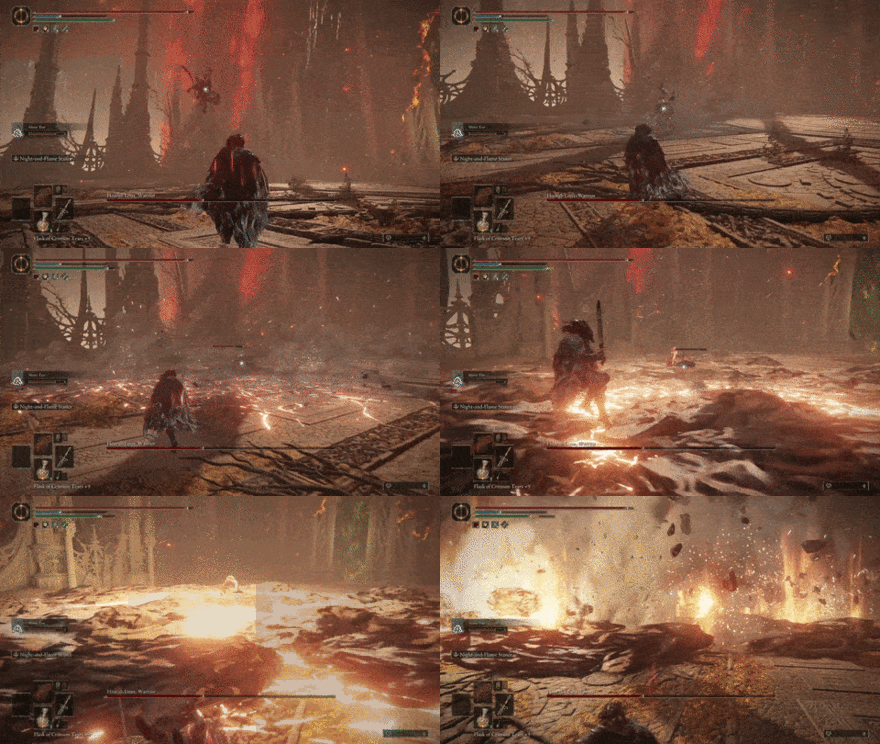 Earthquake: Hoarah Loux leaps in the air then slams the ground. He then creates an earthquake where fire bursts from the ground. Get out of the AoE as quickly as possible as this will deal massive damage. |
Elden Ring Related Guides

DLC Bosses
Main Bosses
Optional Bosses
Mini-Bosses
| All Bosses in Elden Ring | |
|---|---|
| Elder Dragon Greyoll | Lion Guardian |
| Valiant Gargoyle (Leyndell) | - |
Hostile NPCs and Invaders
| Limgrave Invaders and Hostile NPCs | |
|---|---|
| Bloody Finger Nerijus | Old Knight Istvan |
| Recusant Henricus | - |
| Liurnia of the Lakes Invaders and Hostile NPCs | |
| Great Horned Tragoth | Festering Fingerprint Vyke |
| Altus Plateau Invaders and Hostile NPCs | |
| Eleonora, Violet Bloody Finger | Inquisitor Ghiza |
| Maleigh Marais, Shaded Castle Castellan | Rileigh the Idle |
| Vargram the Raging Wolf & Errant Sorcerer Wilhelm | Magnus the Beast Claw |
| Mountaintops of the Giants Invaders and Hostile NPCs | |
| Juno Hoslow, Knight of Blood | - |
| The Roundtable Hold Invaders and Hostile NPCs | |
| Mad Tongue Alberich | - |
| Multiple Location Invaders and Hostile NPCs | |
| Anastasia, Tarnished-Eater | - |
Author
How to Beat Hoarah Loux, Warrior: Boss Fight Guide
Rankings
- We could not find the message board you were looking for.
Gaming News
Popular Games

Genshin Impact Walkthrough & Guides Wiki

Honkai: Star Rail Walkthrough & Guides Wiki

Arknights: Endfield Walkthrough & Guides Wiki

Umamusume: Pretty Derby Walkthrough & Guides Wiki

Wuthering Waves Walkthrough & Guides Wiki

Pokemon TCG Pocket (PTCGP) Strategies & Guides Wiki

Abyss Walkthrough & Guides Wiki

Zenless Zone Zero Walkthrough & Guides Wiki

Digimon Story: Time Stranger Walkthrough & Guides Wiki

Clair Obscur: Expedition 33 Walkthrough & Guides Wiki
Recommended Games

Fire Emblem Heroes (FEH) Walkthrough & Guides Wiki

Pokemon Brilliant Diamond and Shining Pearl (BDSP) Walkthrough & Guides Wiki

Diablo 4: Vessel of Hatred Walkthrough & Guides Wiki

Super Smash Bros. Ultimate Walkthrough & Guides Wiki

Yu-Gi-Oh! Master Duel Walkthrough & Guides Wiki

Elden Ring Shadow of the Erdtree Walkthrough & Guides Wiki

Monster Hunter World Walkthrough & Guides Wiki

The Legend of Zelda: Tears of the Kingdom Walkthrough & Guides Wiki

Persona 3 Reload Walkthrough & Guides Wiki

Cyberpunk 2077: Ultimate Edition Walkthrough & Guides Wiki
All rights reserved
ELDEN RING™ & ©BANDAI NAMCO Entertainment Inc. / ©2021 FromSoftware, Inc.
The copyrights of videos of games used in our content and other intellectual property rights belong to the provider of the game.
The contents we provide on this site were created personally by members of the Game8 editorial department.
We refuse the right to reuse or repost content taken without our permission such as data or images to other sites.


![Animal Crossing: New Horizons Review [Switch 2] | Needlessly Crossing Over to a New Generation](https://img.game8.co/4391759/47d0408b0b8a892e453a0b90f54beb8a.png/show)


