Interference: Overgrowth Day 1 Guide
✉ Send your thoughts in our Genshin 6.4 Patch Survey!
★ Exclusive: Dive back in time with the Meta History
◆ Hot: Version 6.4, Luna 5 Codes
◆ Builds: Varka, Flins, Skirk, Escoffier
◆ Events: Travelers' Tales, He Who Caught the Wind
◆ Future: Linnea, Version 6.5 Luna VI
Interference: Overgrowth is the 1st stage of the Energy Amplifier Lemma event in Genshin Impact 4.8. See how to get 5000 points in Stage 1, along with the best strategies, teams, and amplifiers here!
| Energy Amplifier Lemma Stage Guides | ||
|---|---|---|
List of Contents
How to Beat Interference: Overgrowth Stage 1
Best Teams for Stage 1
| First Round (Bloom) | |||
|---|---|---|---|
|
|
|
|
|
|
|
|
|
|
| Second Round (Quicken) | |||
|
|
|
|
|
|
|
|
|
|
| Third Round (Burning / Reverse Melt) | |||
|
|
|
|
|
|
|
|
|
|
For Stage 1, we recommend running Bloom teams in the first round, Quicken teams on the second, and Pyro-Dendro focused teams on the third.
So long as a Dendro unit is present in all three rounds, you will be able to take advantage of the Ley Line Disorder and be able to progress towards the 5,000 point goal more comfortably.
Best Effectors for Stage 1
| First Round |
|---|
| Second Round |
| Third Round |
With the above teams in mind, build your first team towards gearing up against Bloom self-damage, the second team for Elemental Skill or Burst focus using Quicken, and the third team for an On-Field Damage Dealer with Off-Field Supports.
Obtain a High Score of 5000
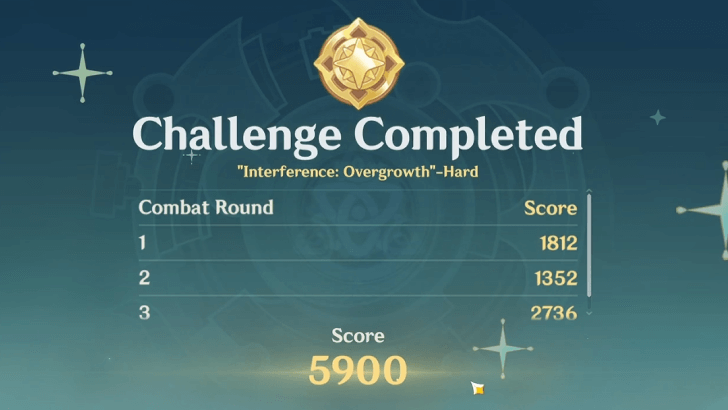
To get 5000 points, make sure that your three teams are unique and have no repeating members to take advantage of the maximum amount of Motive Force for buffs.
On this end, we recommend bringing good AoE units in the 1st and 3rd scenarios to deal with the mobs of opponents, and bring good single-target units on the 2nd fight to deal with the Ruin Guards.
Focus on AoE in the First Round
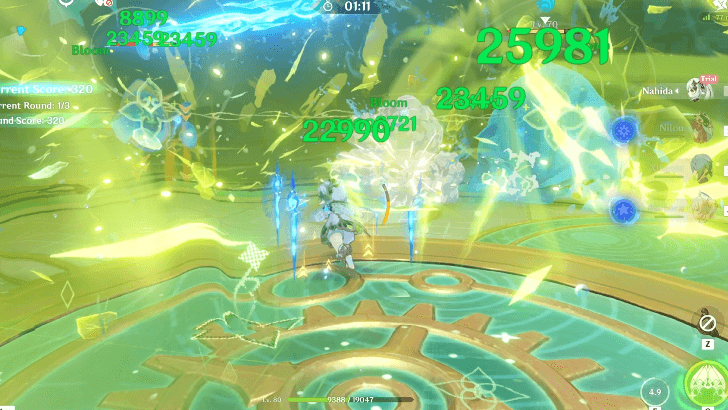
Most of the enemies you fight in this round are melee units, or inherently grouped up units, making teams like Bloom, Hyperbloom, and Burning optimal here.
Alternatively, you can still opt to bring a grouper like Kazuha or Venti to keep them all in the center, as well as triggering Elemental Reactions wherever possible.
Shred Down Opponents in the Second Round
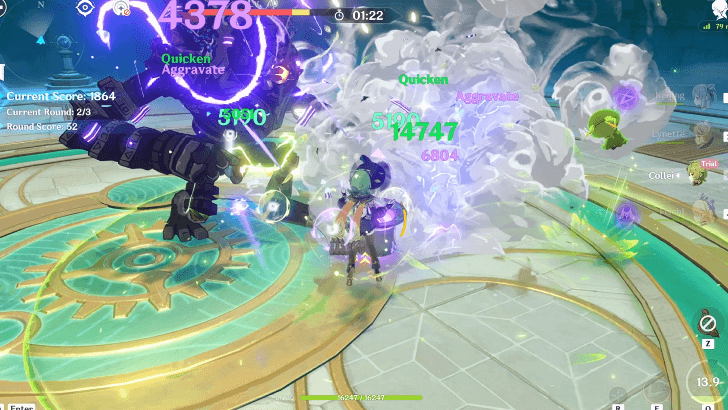
For this round, you fight slow-moving, melee Ruin opponents that only spawn in amounts of one or two.
With that in mind, focus on preparing teams like Quicken with Aggravate or Spread in mind to quickly deal with these opponents.
Back to AoE on the Third Round
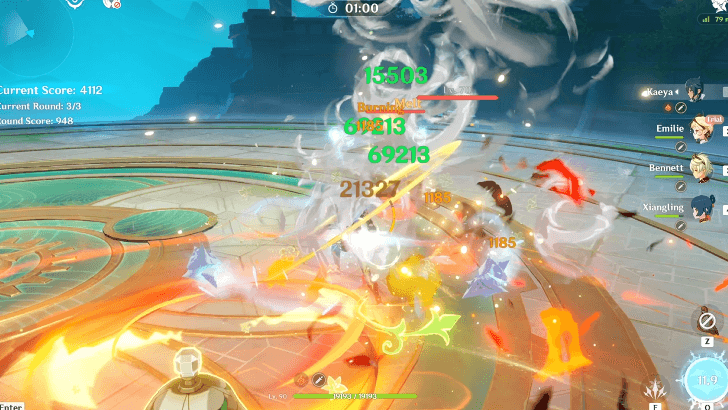
For the last round, you once again have melee enemies that will group themselves up and sprint towards you.
However, some of the enemies are heavier and cannot be grouped up as easily, making any of the aforementioned teams good, especially Burning, and Aggravate.
Use Dendro-Focused Teams
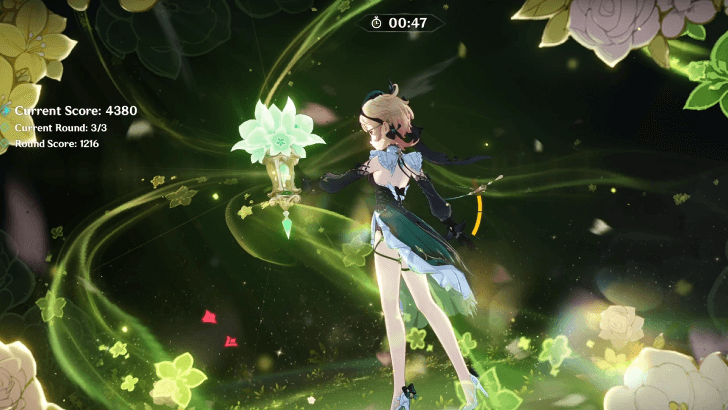
As a general rule of thumb, Dendro units are recommended in all of the teams due to the Ley Line Disorder reducing the All RES opponents of enemies hit by Dendro reactions.
The trial characters also reflect this, as they are all Dendro units with good Elemental Application, further emphasizing the importance of Dendro-Focused teams.
Interference: Overgrowth Stage 1 Event Information
Trial Characters
| Interference: Overgrowth Trial Characters | ||
|---|---|---|
|
|
|
|
Stage 1 features Emilie, Nahida, and Collei as the free Trial units that can be used for the event.
If you have your own copy of these units however, feel free to use them as your own units may be better built than their trial variants!
Disorder and Effectors
Ley Line Disorder
| Ley Line Disorder | ||
|---|---|---|
| After a character triggers a Dendro-related reaction on an opponent or uses Dendro Cores to deal DMG to an opponent (including Burgeon and Hyperbloom), the All Elemental RES of that opponent is decreased by 30% for 4s. |
Effectors
| Primary Effectors |
|---|
| Secondary Effectors |
| Resonant Effectors |
Stage 1 List of Enemies
First Round Enemies
| First Round Enemies |
|---|
Second Round Enemies
| Second Round Enemies |
|---|
Third Round Enemies
| Third Round Enemies |
|---|
Part of Energy Amplifier Lemma Event
Interference: Overgrowth is Stage 1 of the Energy Amplifier: Lemma event, where players must form teams of three to partake in rounds of combat to obtain rewards such as Primogems, EXP Materials, and Weapon Ascension Materials!
Energy Amplifier: Lemma serves as a continuation of the Energy Amplifier event that debutted back in Version 1.5!
Energy Amplifier Lemma 4.8 Rerun Event Guide
Interference: Overgrowth Stage 1 Rewards
Total Interference: Overgrowth Rewards
| Objective | Rewards |
|---|---|
| Obtain a stage score of 500 |
|
| Obtain a stage score of 2000 |
|
| Obtain a stage score of 5000 |
|
Genshin Impact Related Guides

All Energy Amplifier Events
| All Energy Amplifier Events | ||
|---|---|---|
 Initiation (1.5) Initiation (1.5) |
 Fruition (2.3) Fruition (2.3) |
 Lemma (4.8) Lemma (4.8) |
Energy Amplifier: Lemma Stage Guides
| Energy Amplifier Lemma Stages | ||
|---|---|---|
 1 - Interference: Overgrowth 1 - Interference: Overgrowth |
 2 - Validation: Torrential Tide 2 - Validation: Torrential Tide |
 3 - Observation: Soaring Will 3 - Observation: Soaring Will |
 4 - Collection: High-Energy Elements 4 - Collection: High-Energy Elements |
 5 - Extension: Polyphasic Excitation 5 - Extension: Polyphasic Excitation |
 6 - Exceedance: Resonance Amplification 6 - Exceedance: Resonance Amplification |
Other Energy Amplifier Guides
2.3 Fruition Stage Guides
| Energy Amplifier Fruition Stages | |
|---|---|
| Act 1 Places of Interest: West of Wangshu Inn |
Deceitful Domain: Sea of Wandering Souls |
| Act 2 Places of Interest: Tianqiu Valley |
Deceitful Domain 2: Where Bloodhounds Gather |
| Act 3 Places of Interest: Yaoguang Shoal |
Deceitful Domain 3 Whirling Judgement |
1.5 Initiation Stage Guides
| All Twisted Realm Domain Guides | |
|---|---|
 Domain of Deceit Domain of Deceit |
 Domain of Furious Thunder Domain of Furious Thunder |
 Domain of Chaos Domain of Chaos |
 Domain of Heresy Domain of Heresy |
Energy Amplifier Quest Guides
 Energy Amplifier Initiation Quest Guide |
All Genshin Impact Events

Author
Interference: Overgrowth Day 1 Guide
improvement survey
03/2026
improving Game8's site?

Your answers will help us to improve our website.
Note: Please be sure not to enter any kind of personal information into your response.

We hope you continue to make use of Game8.
Rankings
Gaming News
Popular Games

Genshin Impact Walkthrough & Guides Wiki

Honkai: Star Rail Walkthrough & Guides Wiki

Umamusume: Pretty Derby Walkthrough & Guides Wiki

Pokemon Pokopia Walkthrough & Guides Wiki

Resident Evil Requiem (RE9) Walkthrough & Guides Wiki

Monster Hunter Wilds Walkthrough & Guides Wiki

Wuthering Waves Walkthrough & Guides Wiki

Arknights: Endfield Walkthrough & Guides Wiki

Pokemon FireRed and LeafGreen (FRLG) Walkthrough & Guides Wiki

Pokemon TCG Pocket (PTCGP) Strategies & Guides Wiki
Recommended Games

Diablo 4: Vessel of Hatred Walkthrough & Guides Wiki

Cyberpunk 2077: Ultimate Edition Walkthrough & Guides Wiki

Fire Emblem Heroes (FEH) Walkthrough & Guides Wiki

Yu-Gi-Oh! Master Duel Walkthrough & Guides Wiki

Super Smash Bros. Ultimate Walkthrough & Guides Wiki

Pokemon Brilliant Diamond and Shining Pearl (BDSP) Walkthrough & Guides Wiki

Elden Ring Shadow of the Erdtree Walkthrough & Guides Wiki

Monster Hunter World Walkthrough & Guides Wiki

The Legend of Zelda: Tears of the Kingdom Walkthrough & Guides Wiki

Persona 3 Reload Walkthrough & Guides Wiki
All rights reserved
Copyright© 2012-2024 HoYoverse — COGNOSPHERE. All Rights Reserved.
The copyrights of videos of games used in our content and other intellectual property rights belong to the provider of the game.
The contents we provide on this site were created personally by members of the Game8 editorial department.
We refuse the right to reuse or repost content taken without our permission such as data or images to other sites.


![Monster Hunter Stories 3 Review [First Impressions] | Simply Rejuvenating](https://img.game8.co/4438641/2a31b7702bd70e78ec8efd24661dacda.jpeg/thumb)


Man, this event is Metropole Trials all over again.