List of Best Hiding Spots for 3.3 Windtrace
★ Exclusive: Check out the State of Meta for Nod-Krai!
◆ Hot: Luna 5 Livestream & Luna 5 Livestream Codes
◆ Builds: Columbina, Zibai, Illuga, Ineffa, Neuvillette
◆ Luna 4, Lantern Rite 2026, Moonlit Patrol Exercise
◆ Future: Version 6.4, Varka, Lohen
Contested Zones are part of a hide-and-seek event in Genshin Impact 3.3. Learn all the Version 3.3 Contested Zones, their area locations, and the best hiding spots and disguises in this guide!
List of Contents
How to Unlock Contested Zones
What are Contested Zones?
Contested Zones are Windtrace event areas in Teyvat. Play hide and seek in contested zones during the event and earn Windtrace Coins to exchange for valuable rewards!
How to Play Windtrace
How to Unlock Windtrace Areas

To unlock a Windtrace Area, make sure you have all Statues of the Seven in a Contested Zone unlocked. You will be able to see which Contested Zones are unlocked by talking to Gygax > Play Windtrace > Game Preview > Contested Zone Preview.
Choose Your Preferred Contested Zone
In Version 3.3, the option to choose which Contested Zones you can get have been added to the Preview section. Note that unless you only have one Contested Zone checked, each round will still be randomized.
3.3 List of Best Hiding Spots
All 3.3 Windtrace Areas
| Click to jump to a section! | |||
|---|---|---|---|
 Beneath the Stone Beneath the Stone |
 Deeper Tides Deeper Tides |
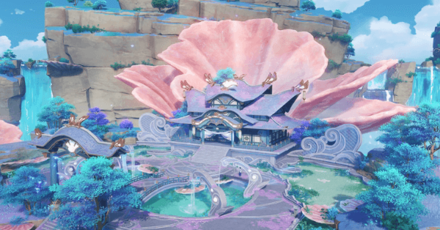 The Pearl of Sango The Pearl of Sango |
|
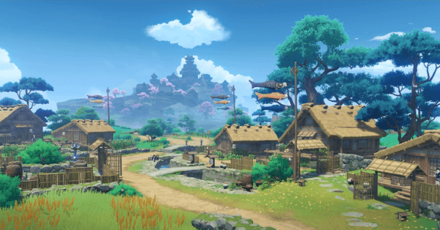 Rustic Shadows Rustic Shadows |
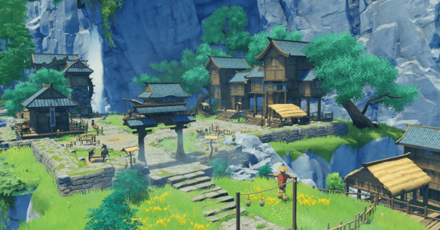 Terrace Patrol Terrace Patrol |
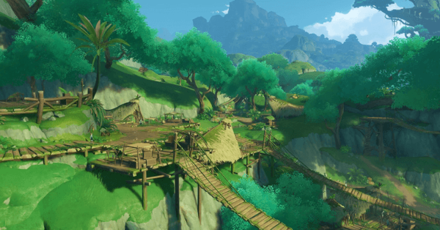 Water Runners Water Runners |
|
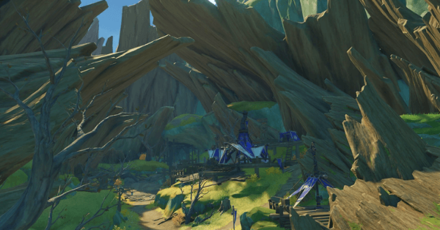 Sacrosanct Dominion Sacrosanct Dominion |
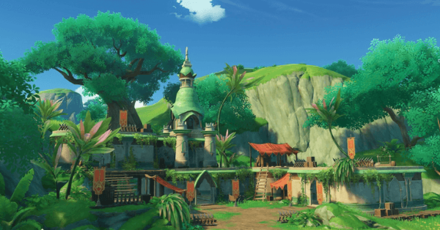 Gold Beyond the Grains Gold Beyond the Grains |
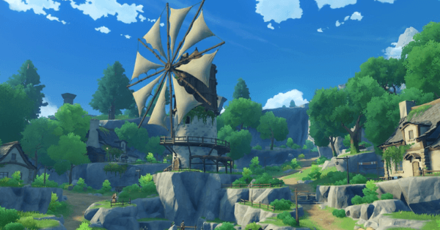 Small Town Guerilla War Small Town Guerilla War |
|
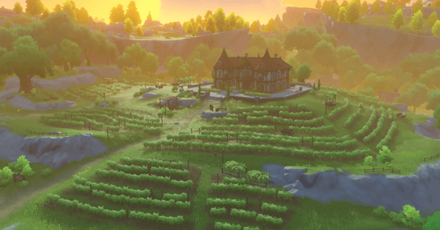 Winery Confrontation Winery Confrontation |
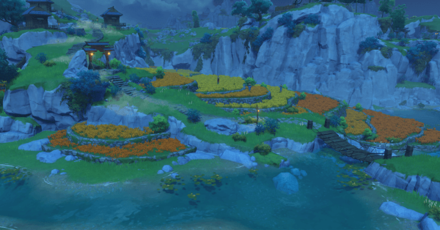 Drifters in the Terrace Depths Drifters in the Terrace Depths |
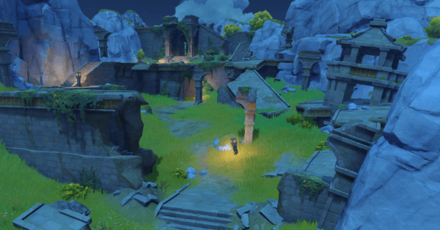 In a City of Yore Concealed In a City of Yore Concealed |
|
This section is currently under construction! We'll update it once enough information becomes available, so stay tuned!
General Hiding Spot Tips
Use Difficult to Climb Tall Spaces
In areas with a lot of tall structures, you can hide in high crevaces and in between the tops of walls! Depending on the spot, you can put down an Illusory Beacon and hide better!
Move around in the Ruins and Building Areas
Places like the Dawn Winery, the Liyue Ruins, Konda Village, and the Eremite Camp can best be utilized by continuously moving from one hiding spot to another, keeping track of the Hunter's position as you go.
Hide Behind the Hunter
In uneven areas like the Liyue Ruins, or the Sacrosanct Dominion, Hunters often forget to ever go back to the area where they first started in.
There is some risk in hiding so close to the Hunter from the beginning, but going back there once they left is worth a try when there are enough terrain to hide behind.
3.3 List of Constested Zones and Disguises
All 3.3 Windtrace Areas
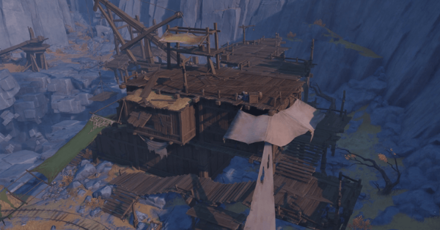
Beneath the Stone
 |
|
| Location | The Chasm Surface |
|---|---|
Beneath the Stone Disguise List
| Disguise | Observations |
|---|---|
 Wooden Barrel |
Recommended Disguise • Slightly smaller and less noticeable. • Can blend in amongst other barrels. |
 Wooden Crate |
Easy-to-Spot Disguise • Bigger and bulkier. • Harder to fit or hide in places. |
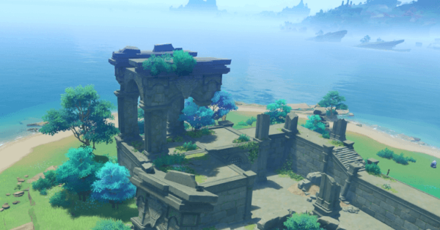
Deeper Tides
 |
|
| Location | Watatsumi Island |
|---|---|
Deeper Tides Disguise List
| Disguise | Observations |
|---|---|
 Dead Wood |
Recommended Disguise • Easy to overlook amongst trees. • Can fit in smaller spaces. |
 Stone |
Good Disguise • Bigger disguise. • Can blend in a lot of places in the ruins. |
The Pearl of Sango
 |
|
| Location | Watatsumi Island |
|---|---|
The Pearl of Sango Disguise List
| Disguise | Observations |
|---|---|
 Coral Thickets |
Recommended Disguise • Can be hidden in smaller spaces. • Can blend in amongst the background. |
 Stone Lantern |
Easy-to-Spot Disguise • Bigger and bulkier disguise. • Can blend in specific spots. |
Rustic Shadows
 |
|
| Location | Konda Village, Narukami Island |
|---|---|
Rustic Shadows Disguise List
| Disguise | Observations |
|---|---|
 Wooden Stool |
Recommended Disguise • Smaller and less noticeable. • Can hide amongst other stools. |
 Vase |
Easy-to-Spot Disguise • Can fit small crevices. • Bright color can stand out in dark backgrounds. |
 Wooden Basin |
Easy-to-Spot Disguise • Can easily be spotted with the white towel on it. • Can be hidden inside bushes. |
Terrace Patrol
 |
|
| Location | Qingce Village Proper, Liyue |
|---|---|
Terrace Patrol Disguise List
| Disguise | Observations |
|---|---|
 Wine Jar |
Recommended Disguise • Smaller and less noticeable. • Can hide amongst other jars. |
 Scarecrow |
Easy-to-Spot Disguise • Large and noticeable. • Can be overlooked amongst other scarecrows. |
 Wooden Crate |
Easy-to-Spot Disguise • Bigger and bulkier. • Harder to fit or hide in places. |
Water-Runners
 |
|
| Location | Sumeru Rainforest |
|---|---|
Water-Runners Disguise List
| Disguise | Observations |
|---|---|
 Archaic Basket |
Recommended Disguise • Smaller and less noticeable. • Can be hidden in small spaces. |
 Archaic Street Lamp |
Easy-to-Spot Disguise • Large and noticeable. • Can be overlooked amongst other streetlamps. |
 Wooden Crate |
Easy-to-Spot Disguise • Bigger and bulkier. • Harder to fit or hide in places. |
Sancrosanct Dominion
 |
|
| Location | Old Vanarana, Sumeru Rainforest |
|---|---|
Sancrosanct Dominion Disguise List
| Disguise | Observations |
|---|---|
 Wooden Barrel |
Recommended Disguise • Slightly smaller and less noticeable. • Can blend in amongst other barrels. |
 Wooden Crate |
Easy-to-Spot Disguise • Bigger and bulkier. • Harder to fit or hide in places. |
Gold Beyond the Grains
 |
|
| Location | Chatrakam Cave, Sumeru Rainforest |
|---|---|
Gold Beyond the Grains Disguise List
| Disguise | Observations |
|---|---|
 Large Tank |
Recommended Disguise • Smaller and less noticeable. • Can be hidden in small spaces. • Can blend with the background easier. |
 Wooden Barrel |
Easy-to-Spot Disguise • Slightly smaller and less noticeable. • Can blend in amongst other barrels. |
 Wooden Crate |
Easy-to-Spot Disguise • Bigger and bulkier. • Harder to fit or hide in places. |
Small Town Guerilla War
 |
|
| Location | Springvale, Mondstadt |
|---|---|
Small Town Guerilla War Disguise List
| Disguise | Observations |
|---|---|
 Hay Roll |
Easy-to-Spot Disguise • Slightly smaller and less noticeable. • Can blend in amongst other hay rolls. |
 Wooden Crate |
Easy-to-Spot Disguise • Bigger and bulkier. • Harder to fit or hide in places. |
Winery Confrontation
 |
|
| Location | Dawn Winery, Mondstadt |
|---|---|
Winery Confrontation Disguise List
| Disguise | Observations |
|---|---|
 Street Light |
Recommended Disguise • Very small and much less noticeable • Can fit in small areas. • Can be used to discreetly move away from the Hunter. • At night, it will light up. |
 Chair |
Easy-to-Spot Disguise • Noticeable when isolated. • Can blend in with other chairs. |
 Wine Keg |
Easy-to-Spot Disguise • Larger and easier to spot • Less noticeable at night especially around other barrels or other muted areas. |
Drifters in the Terrace Depths
 |
|
| Location | Qingce Village Terraces, Liyue |
|---|---|
Drifters in the Terrace Depths Disguise List
| Disguise | Observations |
|---|---|
 Scarecrow |
Easy-to-Spot Disguise • Large and noticeable. • Can be overlooked amongst other scarecrows. |
 Dead Wood |
Easy-to-Spot Disguise • Easy to notice by itself. • Can blend in with cliff-sides |
In a City of Yore Concealed
 |
|
| Location | Guili Plains, Liyue |
|---|---|
In a City of Yore Concealed Disguise List
| Disguise | Observations |
|---|---|
 Stone Lamp |
Recommended Disguise • Large and noticeable. • Can be overlooked amongst other scarecrows. |
 Old Wooden Barrel |
Easy-to-Spot Disguise • Easy to notice by itself. • Can blend in with other barrels. |
 Old Wooden Crate |
Easy-to-Spot Disguise • Large and bulkier. • Harder to hide in small places. |
Previous Hiding Spots & Contested Zones
Best 2.4 Hiding Spots in Each Zone
| Windtrace Rerun Version 2.4 | |||
|---|---|---|---|
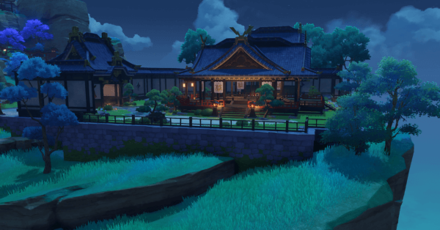 Central Hall Shadow-Chasers Central Hall Shadow-Chasers |
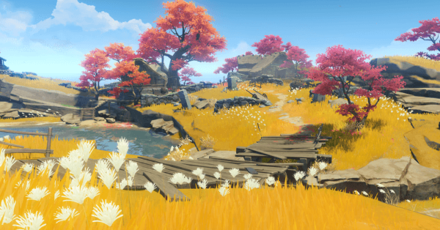 Amidst Autumn Trees Amidst Autumn Trees |
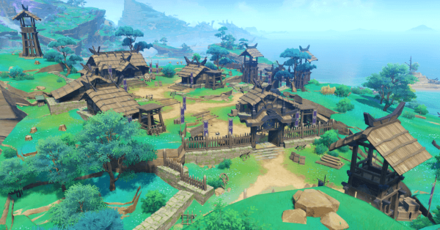 The Hidden Trials The Hidden Trials |
|
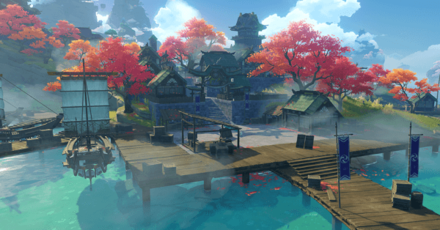 Ritou Runaround Ritou Runaround |
 In a City of Yore Concealed In a City of Yore Concealed |
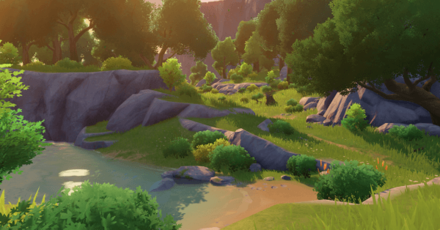 Searching the Silent Woods Searching the Silent Woods |
|
 Terrace Patrol Terrace Patrol |
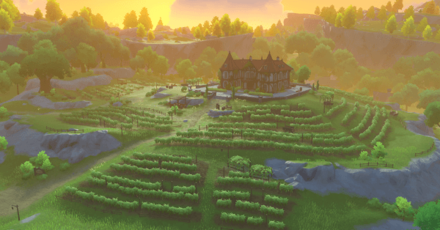 Winery Clash Winery Clash |
||
Central Hall Shadow-Chasers
| Map Location | Hiding Spot | |
|---|---|---|
| 1 | 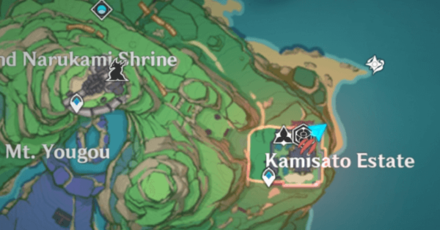 |
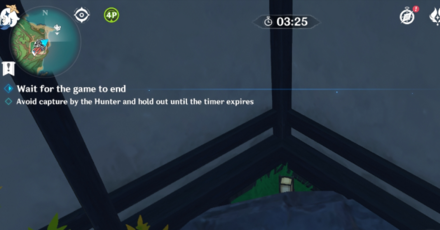 |
| 2 | 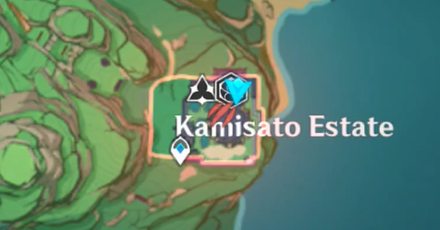 |
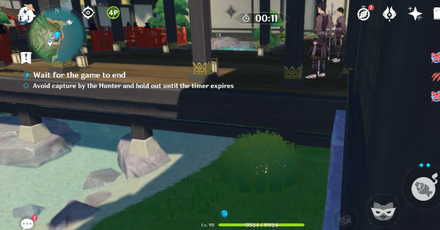 |
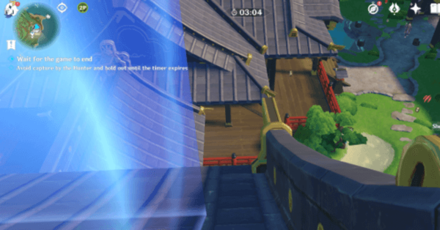
| 3 | 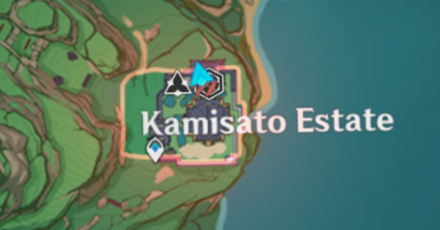 |
 |
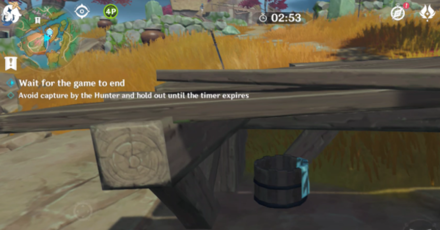
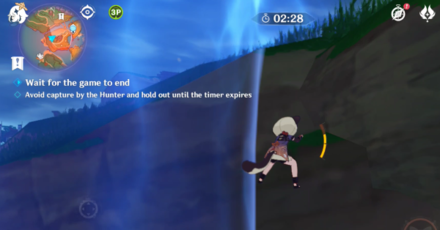
Amidst Autumn Trees
| Map Location | Hiding Spot | |
|---|---|---|
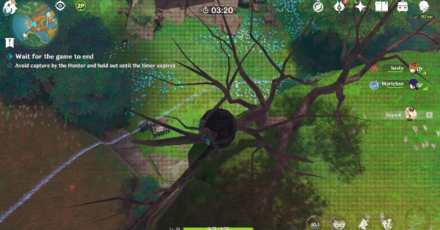
| 1 | 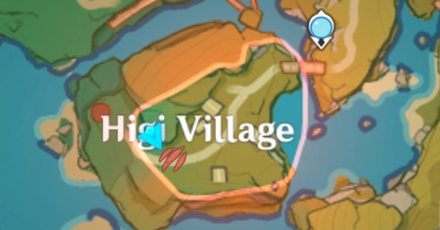 |
 |
| 2 | 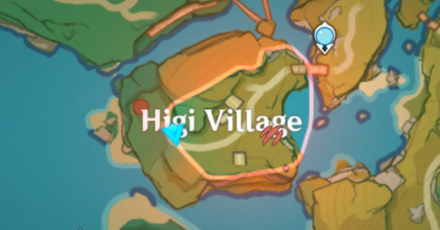 |
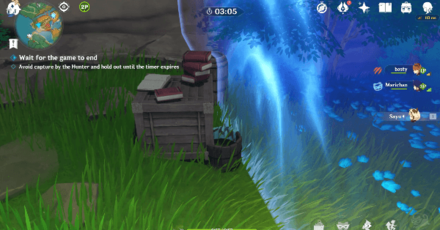 |
| 3 | 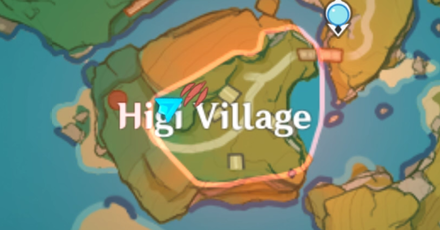 |
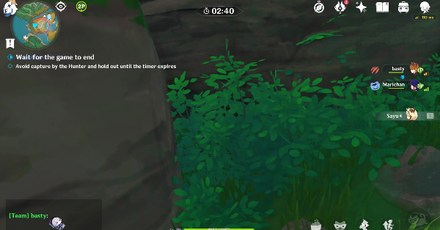 |
| 4 | 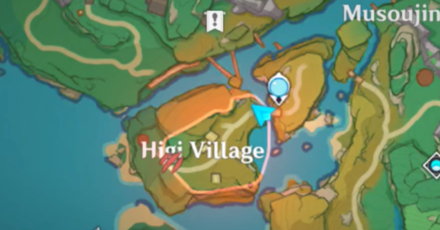 |
 |
| 5 | 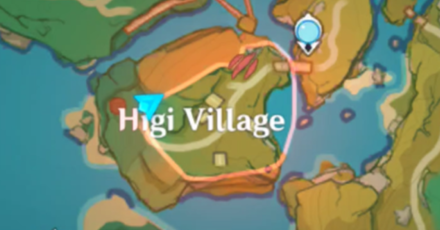 |
 |
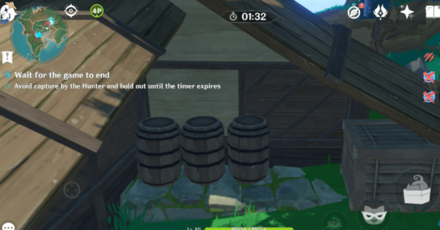
The Hidden Trials
| Map Location | Hiding Spot | |
|---|---|---|
| 1 |  |
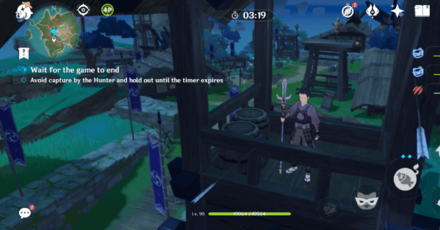 |
| 2 | 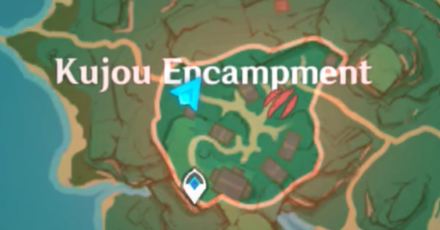 |
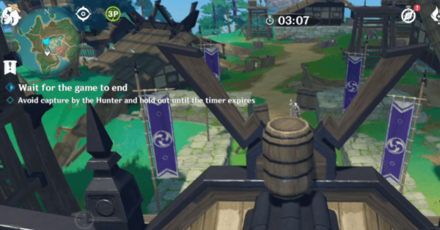 |
| 3 | 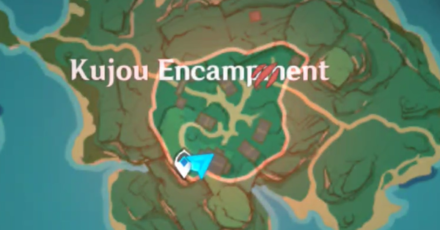 |
 |
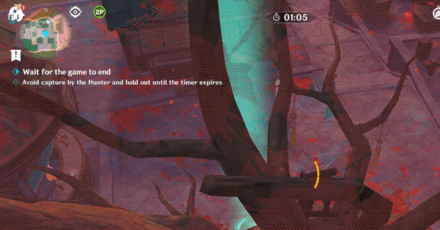
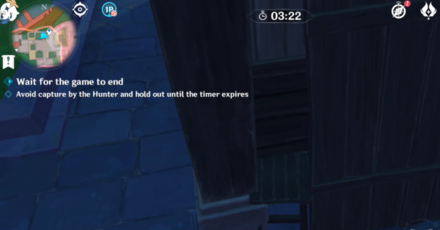
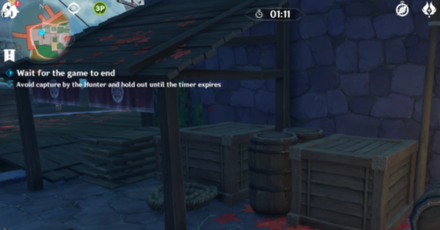
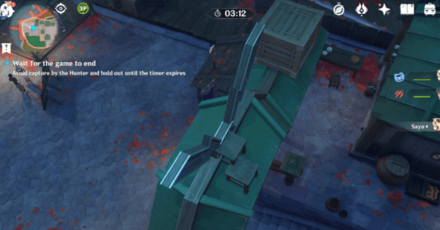
Ritou Runaround
| Map Location | Hiding Spot | |
|---|---|---|
| 1 | 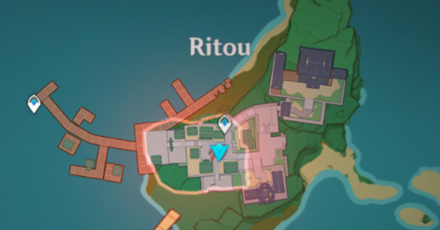 |
 |
| 2 | 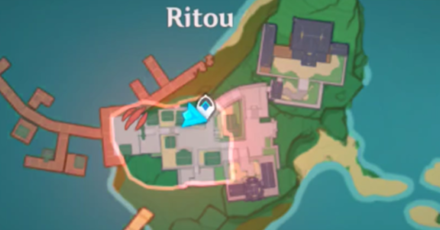 |
 |
| 3 | 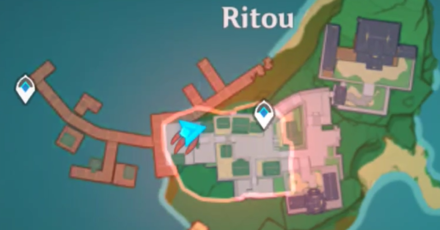 |
 |
| 4 | 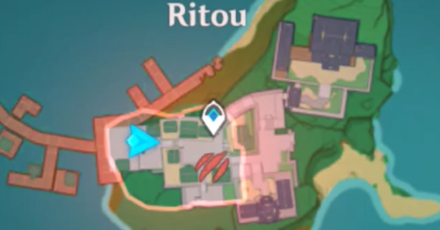 |
 |
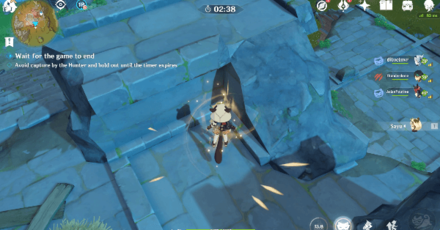
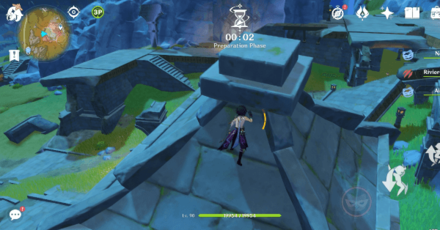
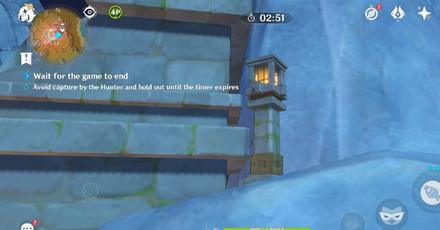
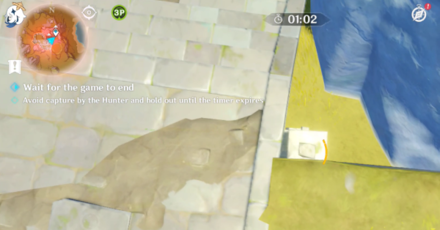
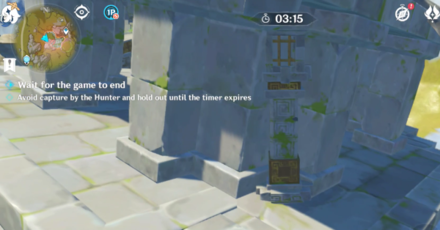
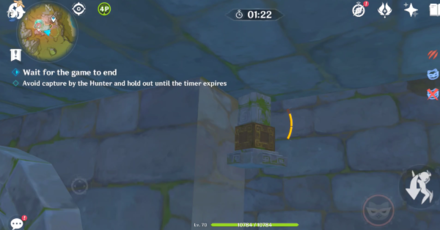
In a City of Yore Concealed
| Map Location | Hiding Spot | |
|---|---|---|
| 1 | 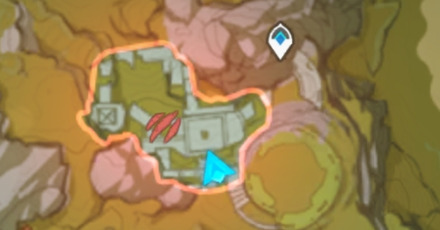 |
 |
| 2 | 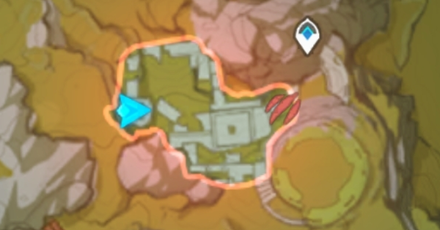 |
 |
| 3 | 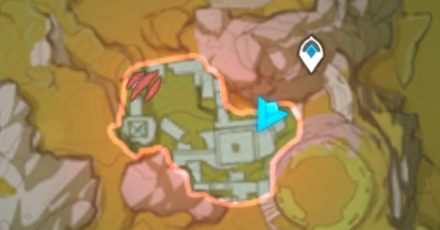 |
 |
| 4 | 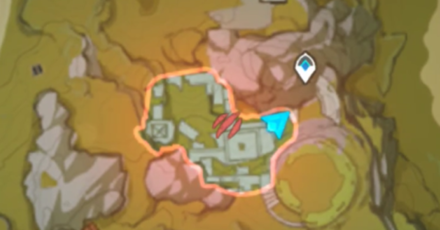 |
 |
| 5 | 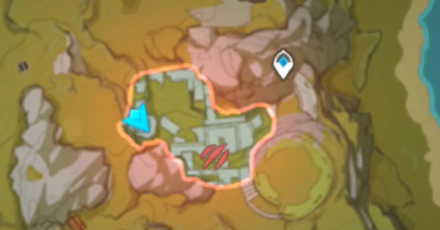 |
 |
| 6 | 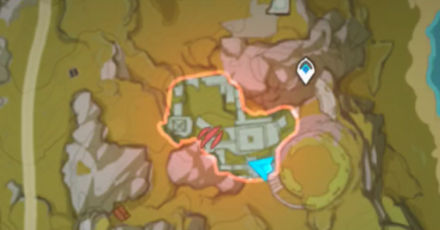 |
 |
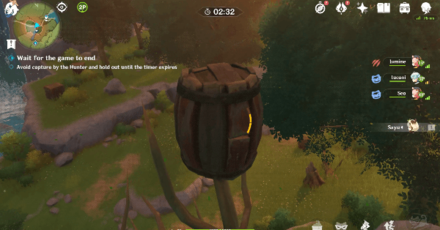
Searching the Silent Woods
| Map Location | Hiding Spot | |
|---|---|---|
| 1 | 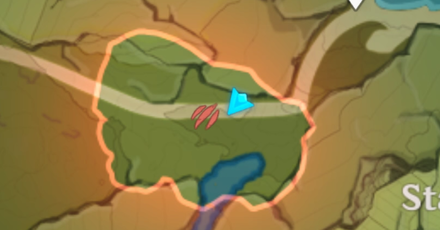 |
 |
| 2 | 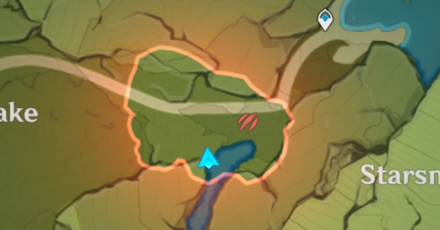 |
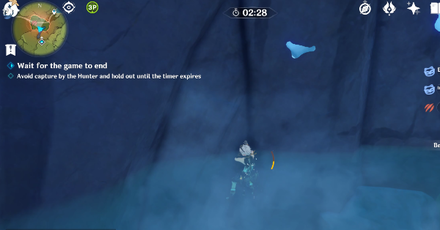 |
| 3 | 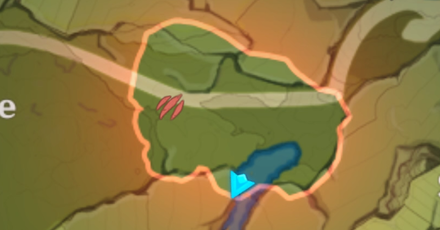 |
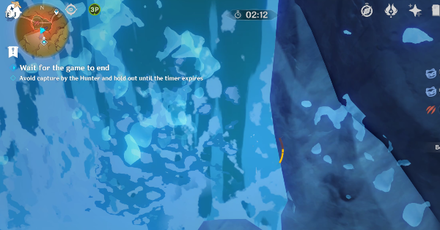 |
| 4 | 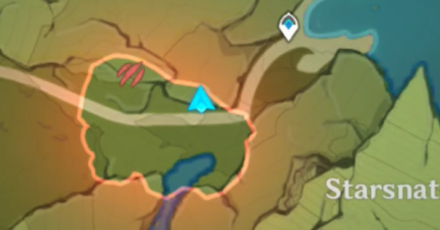 |
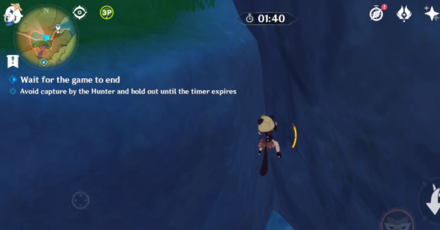 |
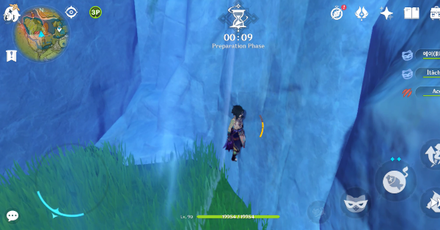
Terrace Patrol
| Map Location | Hiding Spot | |
|---|---|---|
| 1 | 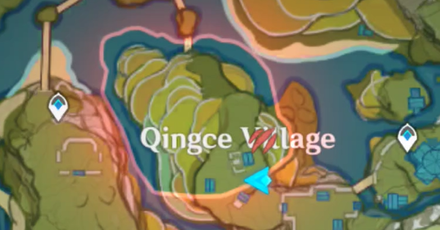 |
 |
| 2 | 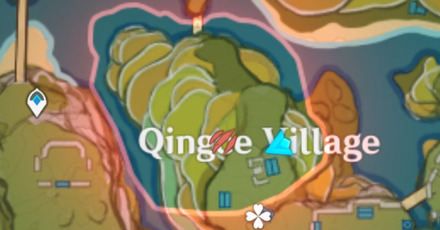 |
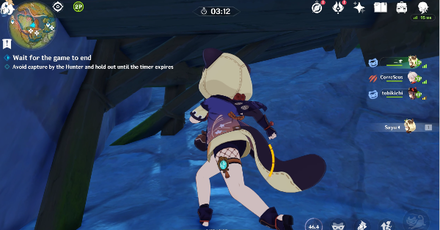 |
| 3 | 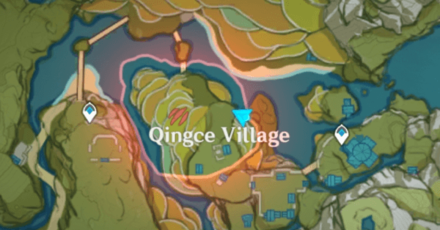 |
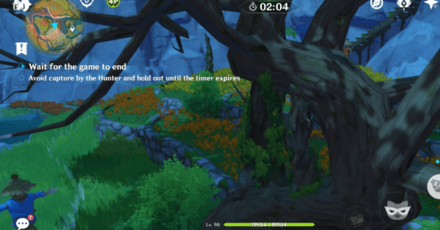 |
Winery Clash
| Map Location | Hiding Spot | |
|---|---|---|
| 1 | 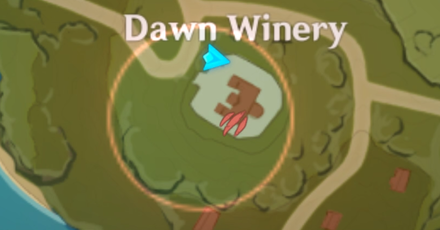 |
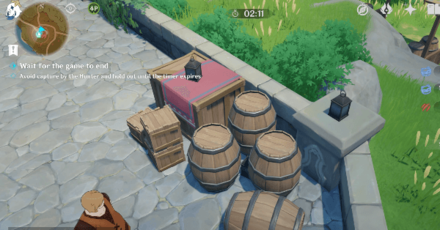 |
| 2 | 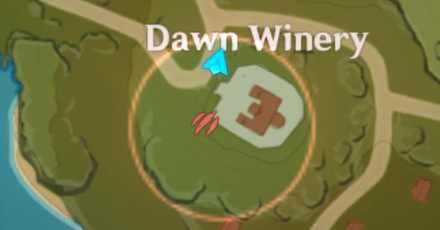 |
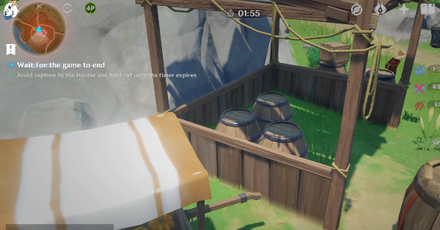 |
| 3 | 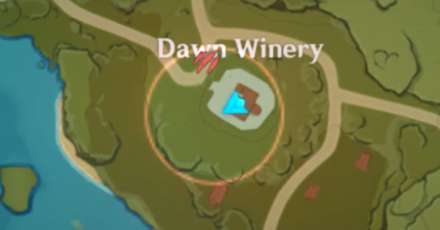 |
 |
All 2.4 Windtrace Areas
Central Hall Shadow-Chasers
 |
|
| Location | Kamisato Estate, Inazuma |
|---|---|
| Disguise | Observations |
 |
Recommended Disguise • Smaller and less noticeable. • Can fit small crevices. • Lights up at night. |
 |
Easy-to-Spot Disguise • Can easily be spotted with the white towel on it. • Can be hidden inside bushes. |
 |
Easy-to-Spot Disguise • Stands out when isolated. • Wood is dark enough to be hidden at night. |
Amidst Autumn Trees
 |
|
| Location | Higi Village, Inazuma |
|---|---|
| Disguise | Observations |
 |
Recommended Disguise • Smaller and less noticeable. • Can be hidden up on roofs or near edges. |
 |
Easy-to-Spot Disguise • Larger and easier to spot. • Stands out in isolated areas especially when there's no other items in the area. |
 |
Easy-to-Spot Disguise • Can be spotted from a distance if you move with it. • Hard to move to another place using this. • Hard to see when tucked somewhere at night. |
The Hidden Trials
 |
|
| Location | Kujou Encampment, Inazuma |
|---|---|
| Disguise | Observations |
 |
Recommended Disguise • Can be easily hidden at night or on top of watch towers or roofs. |
 |
Easy-to-Spot Disguise • Stands out in isolated areas and Hunter's would immediately investigate these. |
 |
Easy-to-Spot Disguise • Stands out no matter where you place it unless you surrounded yourself in baits. • If you move to another place using this, it can easily be spotted. |
Ritou Runaround
 |
|
| Location | Ritou, Inazuma |
|---|---|
| Disguise | Observations |
 |
Recommended Disguise • Can be easily hidden in a small crevice near houses. Can be used to hide in small corners the hunter wouldn't normally check. |
 |
Easy-to-Spot Disguise • Stands out when you're trying to move to another area. |
 |
Easy-to-Spot Disguise • There are stacked sacks everywhere which will make the hunter investigate them from the start. |
 |
Easy-to-Spot Disguise • Stands out in isolated areas and Hunter's would immediately investigate these. |
In a City of Yore Concealed
 |
|
| Location | Guili Plains, Liyue |
|---|---|
| Disguise | Observations |
 |
Recommended Disguise • Can be used to blend in the area's stone ruins. • Will light up at night. |
 |
Easy-to-Spot Disguise • A stands out due to the contrast with the stone ruins and the wood. |
 |
Easy-to-Spot Disguise • Larger and easier to spot. • Size makes it hard to move and escape. |
Searching the Silent Woods
 |
|
| Location | Starfell Lake, Mondstadt |
|---|---|
| Disguise | Observations |
 |
Recommended Disguise • Smaller and less noticeable. • Size makes it easier to hide on top of trees on in bushes. |
 |
Easy-to-Spot Disguise • Larger and easier to spot. • Size makes it hard to move and escape. |
Terrace Patrol
 |
|
| Location | Qingce Viillage, Liyue |
|---|---|
| Disguise | Observations |
 |
Recommended Disguise • Blends in with trees, bushes and grassy areas. |
 |
Easy-to-Spot Disguise • Stands out in isolated areas. • Hunter's will immediately investigate scarecrows |
 |
Easy-to-Spot Disguise • Stands out in isolated areas. • Hunter's will immediately investigate scarecrows |
Winery Clash
 |
|
| Location | Dawn Winery, Mondstadt |
|---|---|
| Disguise | Observations |
 |
Recommended Disguise • Very small and much less noticeable • Can fit in small areas. • Can be used to discreetly move away from the Hunter. • At night, it will light up. |
 |
Easy-to-Spot Disguise • Larger and easier to spot • Less noticeable at night especially around other barrels or other muted areas. |
Best 1.5 Hiding Spots in Each Zone
| All Hiding Spot Locations | ||
|---|---|---|
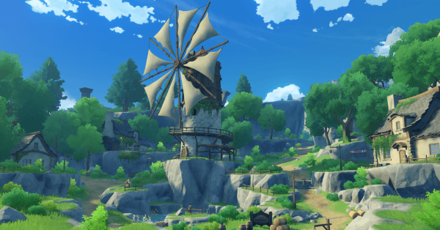 Springvale Springvale |
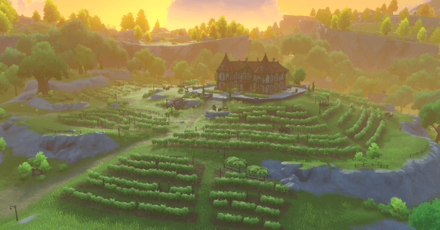 Dawn Winery Dawn Winery |
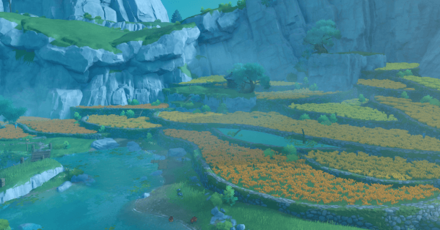 Qingce Village Qingce Village |
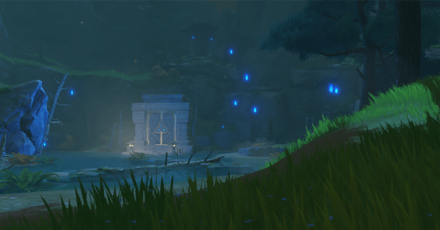 Wuwang Hill Wuwang Hill |
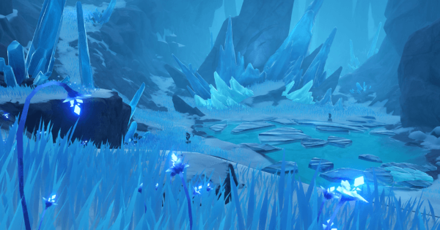 Dragonspine Dragonspine |
|
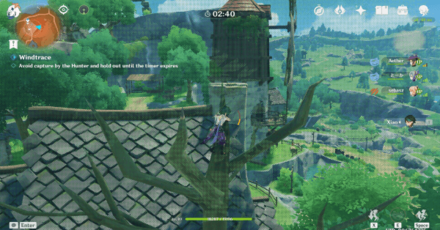
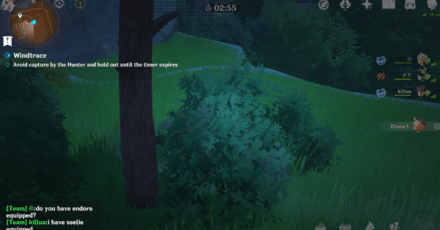
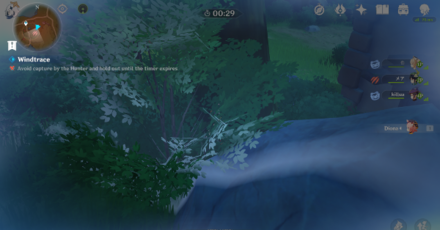
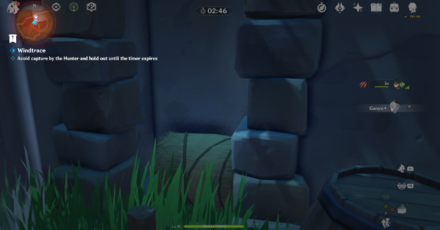
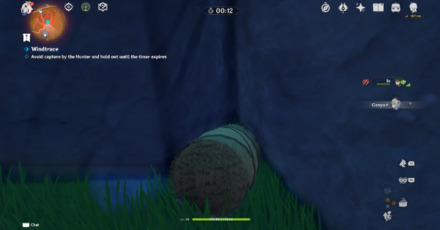
Small Town Guerilla War Hiding Spots
This stage has a number of small corners and rooftops to hide on. With the right disguise, you can easily elude Hunters throughout the game.
| Map Location | Hiding Spot | |
|---|---|---|
| 1 | 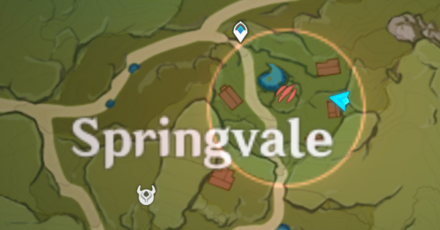 |
 |
| 2 | 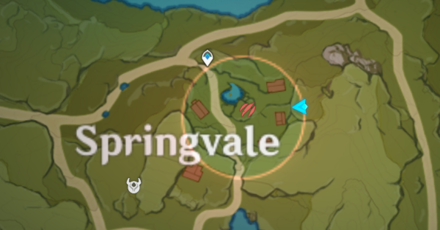 |
 |
| 3 | 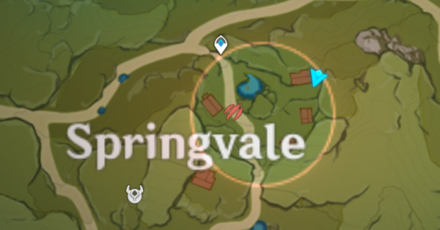 |
 |
| 4 | 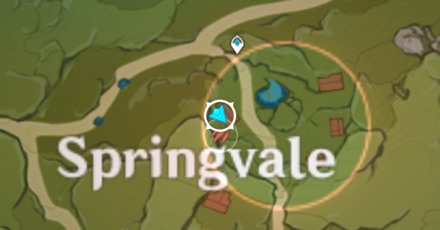 |
 |
| 5 | 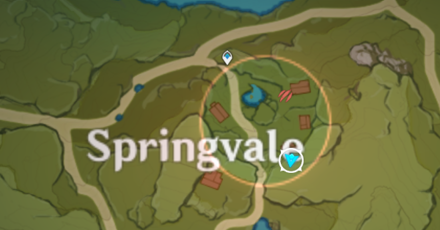 |
 |
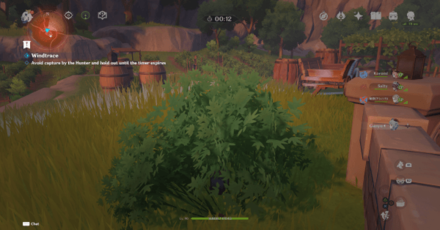
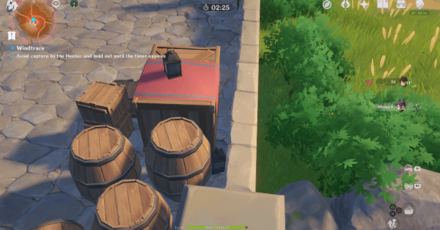
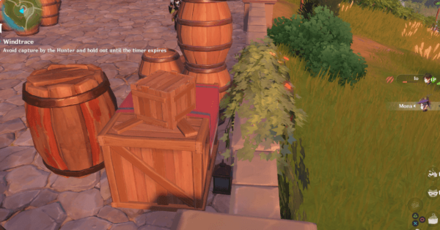
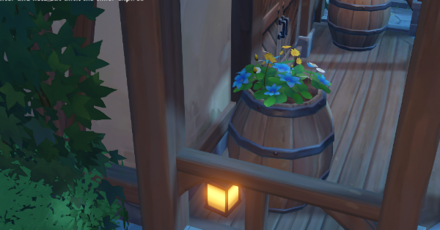
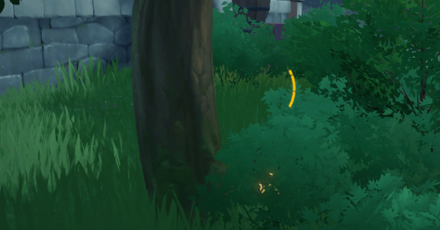
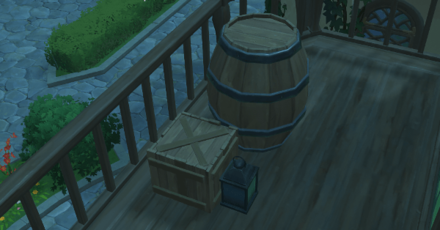
Winery Confrontation Hiding Spots
This large stage has many hidden corners and small crevices, providing many great spots for Rebels to hide.
| Map Location | Hiding Spot | |
|---|---|---|
| 1 | 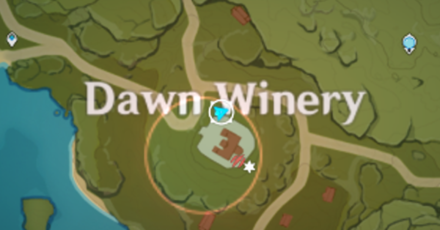 |
 |
| 2 | 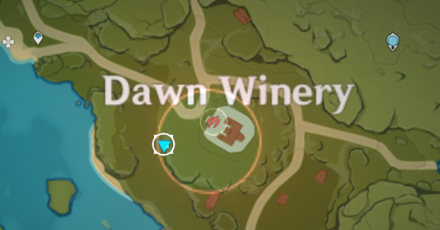 |
 |
| 3 | 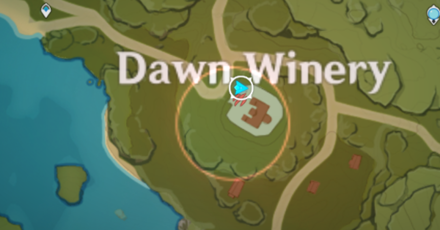 |
 |
| 4 | 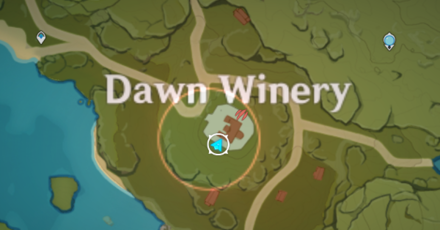 |
 |
| 5 | 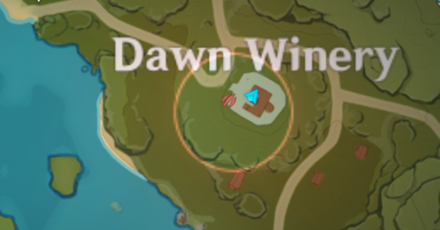 |
 |
| 6 | 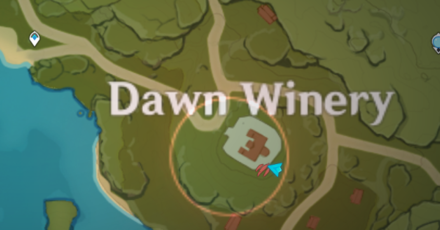 |
 |
| 7 | 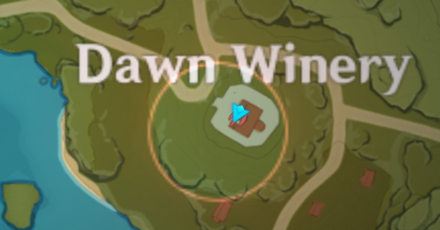 |
 |
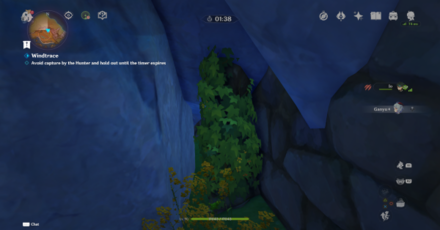
Drifters in the Terrace Depths Hiding Spots
With a lot of grass and trees, this stage has many areas where you can use disguises to hide in the backdrop and remain unseen for the entire round.
| Map Location | Hiding Spot | |
|---|---|---|
| 1 | 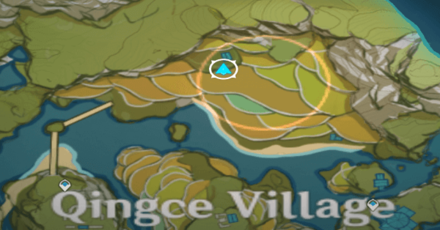 |
 |
| 2 | 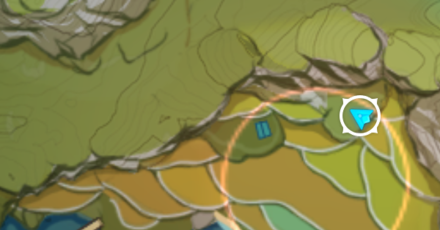 |
 |
| 3 | 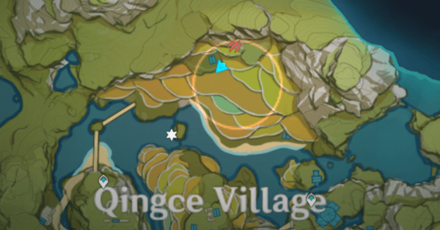 |
 |
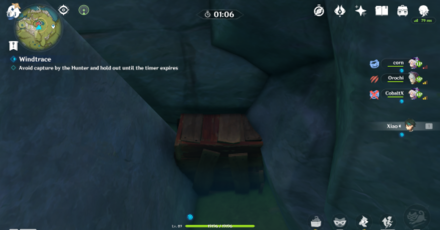
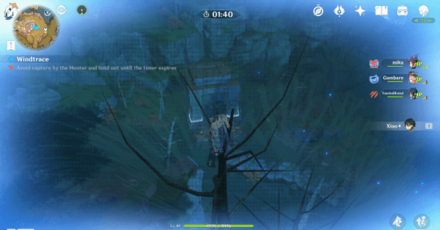
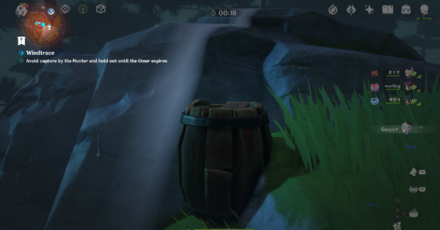
Ghost-Fire Stream Hiding Spots
This foggy stage has elevated locations and trees that will keep you safe from the Hunter's vision.
| Map Location | Hiding Spot | |
|---|---|---|
| 1 | 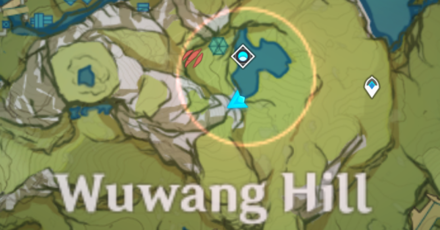 |
 |
| 2 | 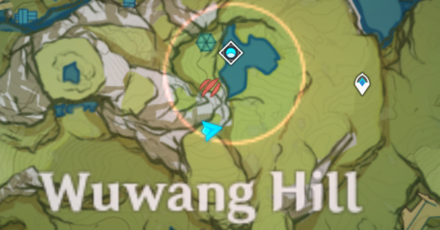 |
 |
| 3 | 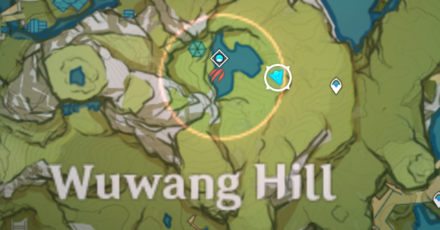 |
 |
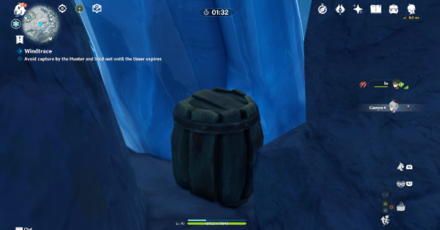
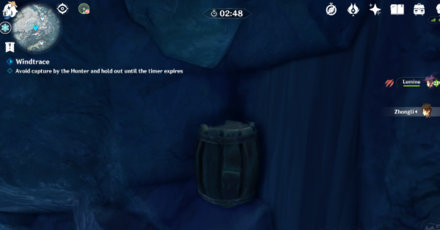
Ice-Sealed Maze Hiding Spots
A stage with many icicles and rocks to hide behind. However, Sheer Cold might be your worst enemy alongside the Hunters.
| Map Location | Hiding Spot | |
|---|---|---|
| 1 | 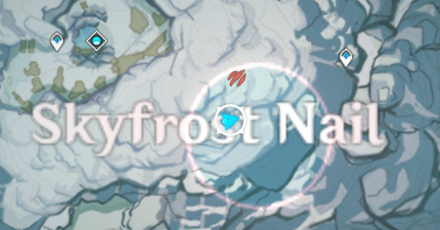 |
 |
| 2 |  |
 |
| 3 | 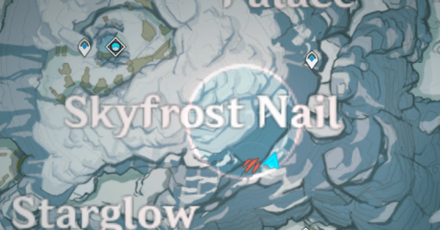 |
 |
Version 1.5 Windtrace Contested Zones
Small Town Guerilla War
 |
|
| Location | Springvale, Mondstadt |
|---|---|
| Disguise | Observations |
 |
Recommended Disguise • Smaller and less noticeable • Can be hidden in corners of rocks and houses |
 |
Easy-to-Spot Disguise • Larger and easier to spot |
This stage contains a number of houses and a large windmill in the middle, providing you with elevated hiding spots. There are some small corners you can hide in too!
Winery Confrontation
 |
|
| Location | Dawn Winery, Mondstadt |
|---|---|
| Disguise | Observations |
 |
Recommended Disguise • Very small and much less noticeable • You can move around without being seen • Can fit in small areas and crevices • More noticeable at night because they light up! |
 |
Easy-to-Spot Disguise • Larger and easier to spot • Less noticeable at night |
One of the largest stages, Dawn Winery has many hiding spots at the edge of the map. There are also many places where you can use your disguise to blend in and avoid capture.
Drifters in the Terrace Depths
 |
|
| Location | Qingce Village, Liyue |
|---|---|
| Disguise | Observations |
 |
Recommended Disguise • Blends in with trees and bushes |
 |
Easy-to-Spot Disguise • Hunter's instinct is to investigate scarecrows • Will stand out in isolated areas |
 |
Easy-to-Spot Disguise • Hunter's instinct is to investigate scarecrows • Will stand out in isolated areas |
The beautiful views of Qingce Village offer many natural hiding spots that allow you to blend in the background. With the right disguise, you can remain hidden in the background throughout the game.
Ghost-Fire Stream
 |
|
| Location | Wuwang Hill, Liyue |
|---|---|
| Disguise | Observations |
 |
Recommended Disguise • Smaller and less noticeable • Size makes it easy to hide behind rocks or in trees |
 |
Easy-to-Spot Disguise • Larger and easier to spot |
Wuwang Hill is a foggy area with many hidden corners and trees that you can use to hide from Hunters.
Ice-Sealed Maze
 |
|
| Location | Skyfrost Nail, Dragonspine |
|---|---|
| Disguise | Observations |
 |
Recommended Disguise • Smaller and less noticeable • Size makes it easy to hide behind icicles and rocks |
 |
Easy-to-Spot Disguise • Larger and easier to spot • Size makes it hard to move |
This Dragonspine stage offers a number of hiding spots. Be wary of Sheer Cold though, because it might catch you before the Hunters do!
Genshin Impact Related Guides

Rebel and Hunter Guides
 Hunter Guide Hunter Guide |
 Rebel Guide Rebel Guide |
Other Windtrace Event Guides
 Windtrace Coins Windtrace Coins |
 Windtrace Skills Windtrace Skills |
Previous Windtrace Event Guides
 Contested Zones and Best Hiding Spots Contested Zones and Best Hiding Spots |
All Event Guides

Comment
Author
List of Best Hiding Spots for 3.3 Windtrace
Premium Articles
Rankings
Gaming News
Popular Games

Genshin Impact Walkthrough & Guides Wiki

Honkai: Star Rail Walkthrough & Guides Wiki

Arknights: Endfield Walkthrough & Guides Wiki

Umamusume: Pretty Derby Walkthrough & Guides Wiki

Wuthering Waves Walkthrough & Guides Wiki

Pokemon TCG Pocket (PTCGP) Strategies & Guides Wiki

Abyss Walkthrough & Guides Wiki

Zenless Zone Zero Walkthrough & Guides Wiki

Digimon Story: Time Stranger Walkthrough & Guides Wiki

Clair Obscur: Expedition 33 Walkthrough & Guides Wiki
Recommended Games

Fire Emblem Heroes (FEH) Walkthrough & Guides Wiki

Pokemon Brilliant Diamond and Shining Pearl (BDSP) Walkthrough & Guides Wiki

Diablo 4: Vessel of Hatred Walkthrough & Guides Wiki

Super Smash Bros. Ultimate Walkthrough & Guides Wiki

Yu-Gi-Oh! Master Duel Walkthrough & Guides Wiki

Elden Ring Shadow of the Erdtree Walkthrough & Guides Wiki

Monster Hunter World Walkthrough & Guides Wiki

The Legend of Zelda: Tears of the Kingdom Walkthrough & Guides Wiki

Persona 3 Reload Walkthrough & Guides Wiki

Cyberpunk 2077: Ultimate Edition Walkthrough & Guides Wiki
All rights reserved
Copyright© 2012-2024 HoYoverse — COGNOSPHERE. All Rights Reserved.
The copyrights of videos of games used in our content and other intellectual property rights belong to the provider of the game.
The contents we provide on this site were created personally by members of the Game8 editorial department.
We refuse the right to reuse or repost content taken without our permission such as data or images to other sites.


![Animal Crossing: New Horizons Review [Switch 2] | Needlessly Crossing Over to a New Generation](https://img.game8.co/4391759/47d0408b0b8a892e453a0b90f54beb8a.png/show)


