This survey will take about 1 minute.
Your answers will help us to improve our website.
Zelda: Tears of the Kingdom (TotK)
Akkala Highlands Region Map: Korok Seed Locations, Shrines, and Quests
▲ Get Pristine Weapons from the depths!
△ All 1000 Koroks | All 4 Great Fairies
▲ 81 Addison Signs | 147 Caves | 58 Wells
△ Tips: Farm Rupees | Starting Armor
▲ Best Weapons | Best Armor | Best Food
Akkala Highlands is a region found in the Surface of Hyrule in The Legend of Zelda: Tears of the Kingdom (TotK). Read on to see the full Akkala Highlands region map, as well as locations for Korok Seeds, Shrines, Quests, and other points of interest found within the Akkala Highlands!
List of Contents
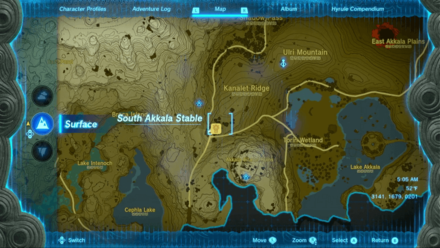
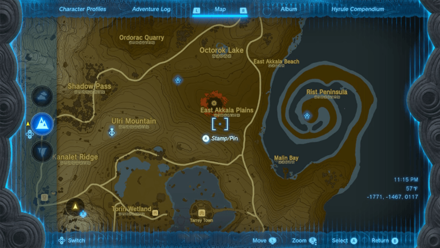
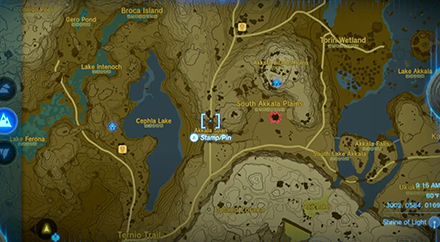
Akkala Highlands Region Map
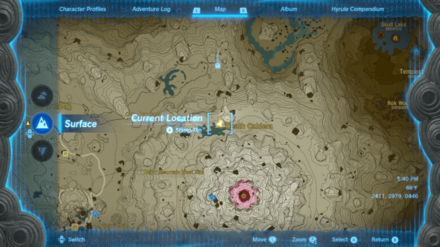
Akkala Highlands Full Map
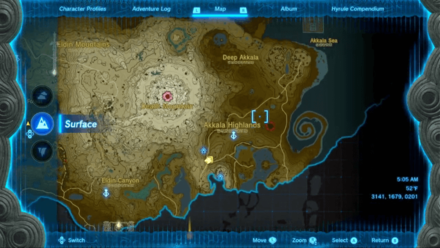 Enlarge EnlargeView Full Image |
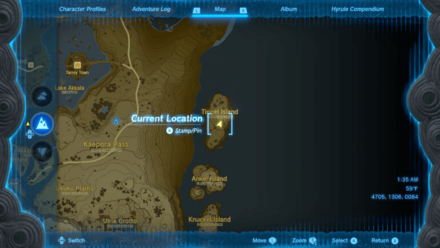
Akkala Highlands Tower Map Location
Map and Coordinates
| Overworld Location | Coordinates |
|---|---|
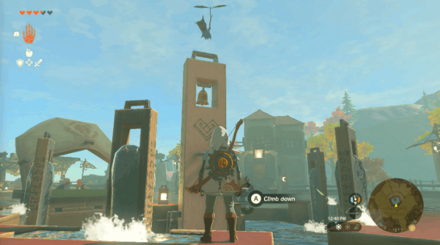
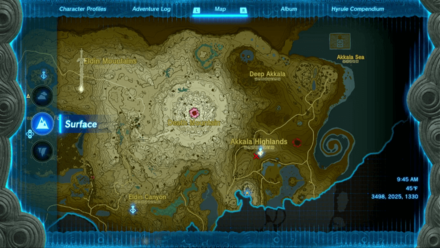 Enlarge EnlargeUlri Mountain Skyview Tower |
3497, 2025, 0188 |
Skyview Tower Guide: All Tower Locations
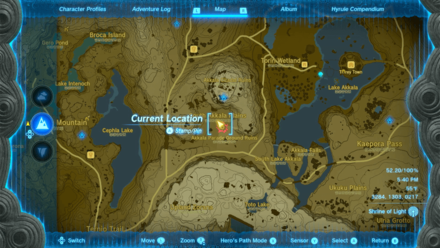
Akkala Highlands Shrine Locations
Shrine Map Locations and Coordinates
| Location | Coordinates |
|---|---|
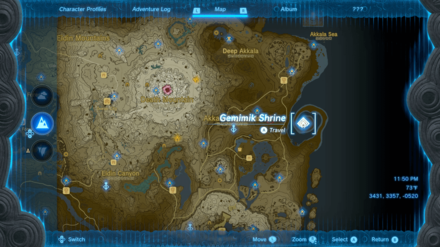 Enlarge EnlargeGemimik Shrine (Turbine Power) |
Video Guide 4511, 2114, 0001 |
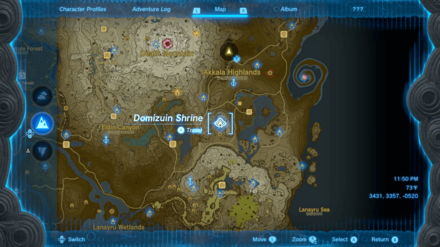 Enlarge EnlargeDomizuin Shrine (A Prone Pathway) |
Video Guide 3305, 1443, 0426 |
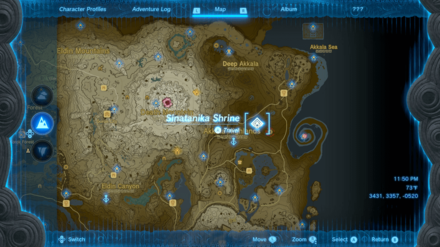 Enlarge EnlargeSinatanika Shrine (Combat Training: Sneakstrike) |
Video Guide 3842, 2300, 0048 |
 Enlarge EnlargeRasitakiwak Shrine (Proving Grounds: Vehicles) |
4166, 1323, 0229 |
 Enlarge EnlargeJochi-ihiga Shrine (Rauru's Blessing) |
3809, 1219, 0090 |
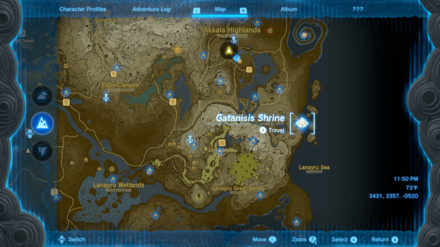 Enlarge EnlargeGatanisis Shrine (A Well-Timed Bounce) |
Video Guide 4498, 0825, 0095 |
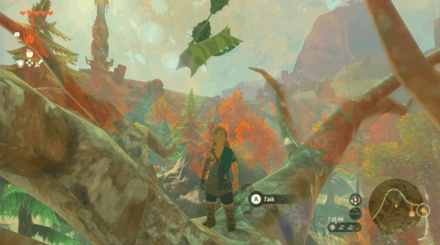
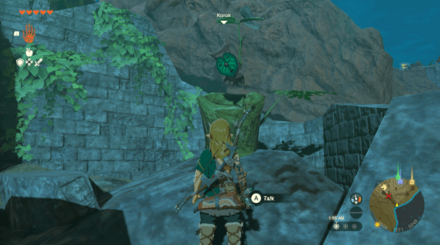
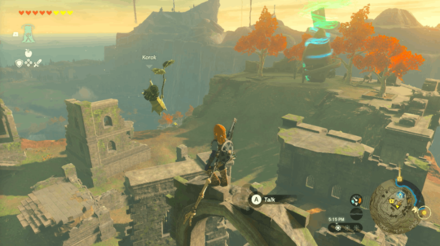
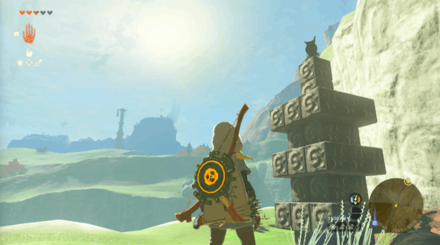
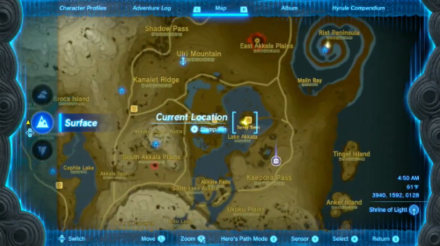
Akkala Highlands Korok Seed Locations
Korok Seed Locations and Coordinates
| Overworld | Location Details |
|---|---|
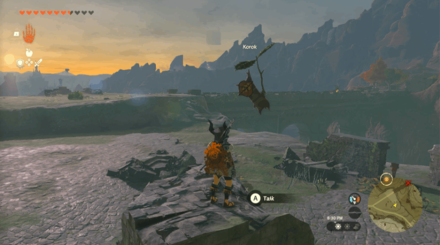
 Enlarge EnlargeKorok Seed x2 |
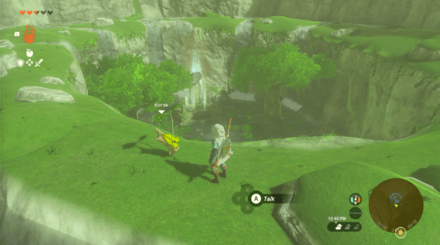
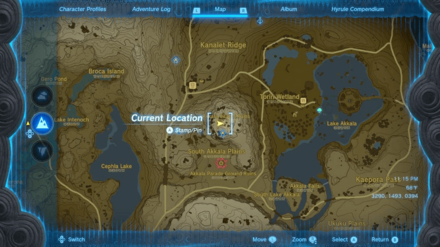
Start Coordinates 3093, 1757, 0196 End Coordinates 3220, 2167, 0128 Reunite the Korok near South Akkala Stable with his friend in the forest in the north. |
 Enlarge EnlargeKorok Seed |
Start Coordinates 4696, 0545, 0230 End Coordinates 4637, 0565, 0215 Get to the target without hitting the ground to get the Korok Seed. |
 Enlarge EnlargeKorok Seed |
Start Coordinates 3326, 2168, 0135 Examine the sparkles that appear when you climb the tree. |
 Enlarge EnlargeKorok Seed |
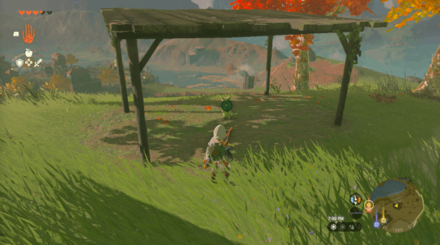
Start Coordinates 3232, 1788, 0227 Pick up the lone rock on top of the red tree northeast of South Akkala Stable. |
 Enlarge EnlargeKorok Seed |
Start Coordinates 3009, 1201, 0240 Pull the cork out to get the Korok Seed on the broken pillar beneath the Akkala Span bridge. |
 Enlarge EnlargeKorok Seed |
Start Coordinates 3108, 1295, 0320 Chase and examine the moving sparkles on the hill east of Akkala Span bridge. |
 Enlarge EnlargeKorok Seed |
Start Coordinates 3296, 1511, 0436 Climb the highest broken pillar in Akkala Citadel Ruins and examine the sparkles that appear. |
 Enlarge EnlargeKorok Seed |
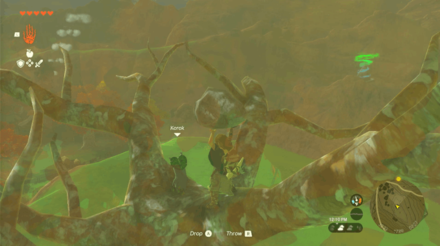
Start Coordinates 3362, 1305, 0287 Use Ultrahand to place the small set of blocks in the gap to complete the large set of blocks. |
 Enlarge EnlargeKorok Seed |
Start Coordinates 3274, 1399, 0285 Pick up the lone rock on the edge of a small cliff overlooking South Akkala Plains Chasm. |
 Enlarge EnlargeKorok Seed |
Start Coordinates 3161, 1424, 0257 Burn the pile of leaves and pick up the rock hidden beneath on the broken pillar of Akkala Bridge Ruins. |
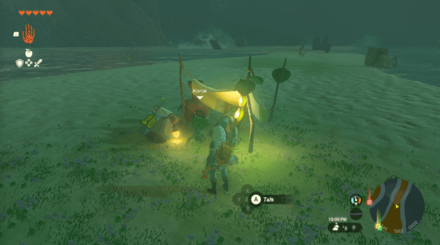
 Enlarge EnlargeKorok Seed |
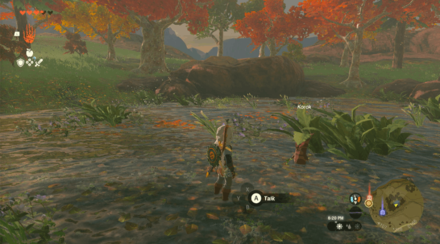
Start Coordinates 3667, 1466, 0095 End Coordinates 3646, 1458, 0096 Follow the yellow disappearing flowers until you reach the white flower around the Hudson Construction Site. |
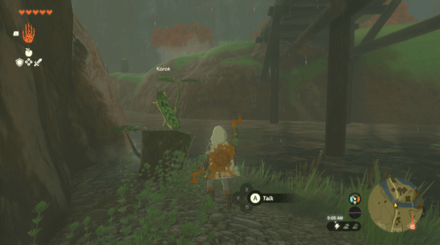
 Enlarge EnlargeKorok Seed |
Start Coordinates 3647, 1796, 0112 Pick up the lone rock on top of the large Zonai ruin north of Torin Wetland. |
 Enlarge EnlargeKorok Seed |
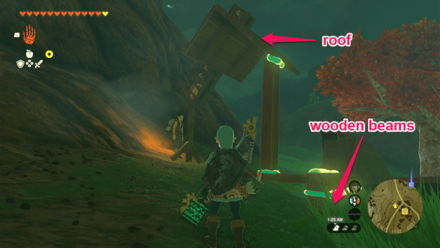
Start Coordinates 4135, 1497, 0170 Repair the broken roof by placing the wooden plank back into its proper place. |
 Enlarge EnlargeKorok Seed |
Start Coordinates 4108, 1368, 0166 Chase and examine the moving sparkles on the pond north of Keapora Pass. |
 Enlarge EnlargeKorok Seed |
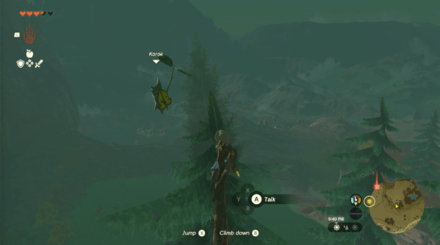
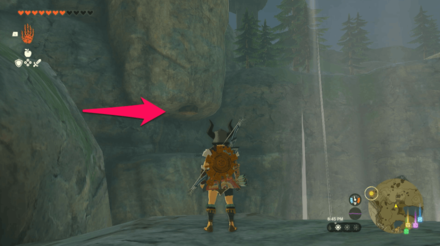
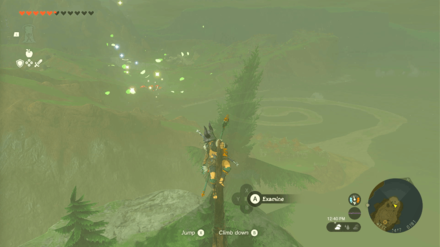
Start Coordinates 4048, 1284, 0216 Climb up the southmost pine tree and examine the sparkles that appear at the top. |
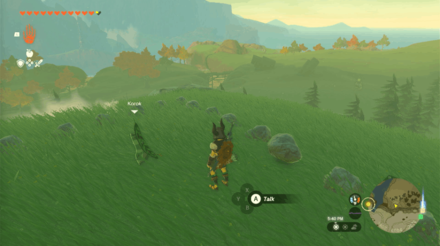
 Enlarge EnlargeKorok Seed |
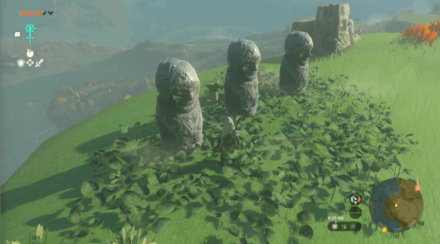
Start Coordinates 3882, 1344, 0247 Follow the yellow flowers around the three stone statues until you reach the white flower. |
 Enlarge EnlargeKorok Seed |
Start Coordinates 4021, 1623, 0137 Pick up the lone rock on top of the entrance sign of Tarrey Town. |
 Enlarge EnlargeKorok Seed |
Start Coordinates 3968, 1611, 0127 Ring the bell in the middle of Tarrey Town's fountain 5 times to reveal the Korok. |
 Enlarge EnlargeKorok Seed |
Start Coordinates 3546, 2641, 0078 Use Ultrahand to place the small set of blocks to complete the bigger set. |
 Enlarge EnlargeKorok Seed |
Start Coordinates 3726, 2656, 0019 Chase and examine the moving sparkles on top of the Spring of Power. |
 Enlarge EnlargeKorok Seed x2 |
Start Coordinates 3748, 2302, 0094 End Coordinates 4276, 2338, 0020 Reunite the Korok with his friend located by East Akkala Beach. |
 Enlarge EnlargeKorok Seed |
Start Coordinates 4074, 2451, 0073 Destroy the pile of leaves and lift the rock to reveal the Korok. |
 Enlarge EnlargeKorok Seed x2 |
Start Coordinates 4201, 2744, 0125 End Coordinates 3855, 2686, 0049 Reunite the Korok at East Akkala Stable with his friend near the Spring of Power. |
 Enlarge EnlargeKorok Seed x2 |
Start Coordinates 4292, 1606, 0153 End Coordinates 4748, 1982, 0000 Reunite the Korok near Tarrey Town to its friend on Rist Peninsula. |
 Enlarge EnlargeKorok Seed |
Start Coordinates 4598, 1855, 0009 Burn the pile of leaves south of Rist Peninsula and pick up the rock hidden beneath. |
 Enlarge EnlargeKorok Seed |
Start Coordinates 3871, 1088, 0224 Using the Ultrahand ability, plunge the cork under East Sokkala Bridge deep into the water, then immediately let go to pull the cork out. |
 Enlarge EnlargeKorok Seed |
Start Coordinates 3804, 0855, 0276 Place the two rocks on the gaps of the rock triangle, south of Ukuku Plains. |
 Enlarge EnlargeKorok Seed |
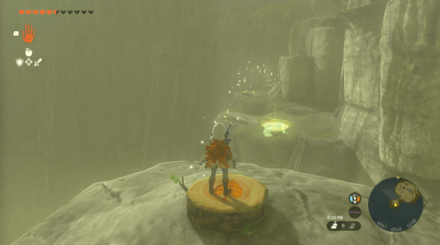
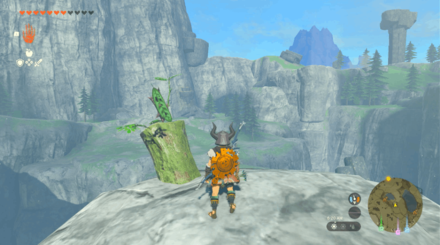
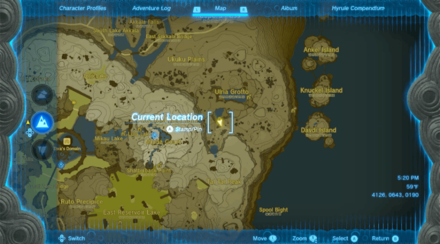
Start Coordinates 4077, 0821, 0232 Ascend through the tree stump in a small opening of the cliff west of Ulria Grotto. |
 Enlarge EnlargeKorok Seed |
Start Coordinates 4175, 0701, 0246 Remove the cork to reveal the Korok. You can do this by attaching a boulder to the cork. |
 Enlarge EnlargeKorok Seed |
Start Coordinates 4386, 0609, 0275 Place the two rocks on the gaps of the rock pattern. |
 Enlarge EnlargeKorok Seed |
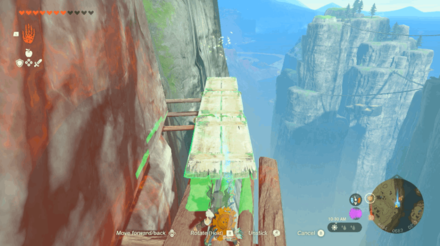
Start Coordinates 4484, 0675, 0254 Use Ultrahand to make a bridge with the nearby planks to reach and examine the sparkles. |
 Enlarge EnlargeKorok Seed x2 |
Start Coordinates 4053, 0944, 0276 End Coordinates 4359, 0076, 0280 Reunite the Korok located northwest of Ulria Grotto to its friend located. |
 Enlarge EnlargeKorok Seed |
Start Coordinates 3074, 1138, 0281 Examine the sparkles that appear on top of the broken pillar southeast of Akkala Span bridge. |
 Enlarge EnlargeKorok Seed |
Start Coordinates 4477, 0937, 0097 End Coordinates 4561, 0941, 0176 Step on the stump north of Gatanisis Shrine and get to the ring before time runs out. |
 Enlarge EnlargeKorok Seed |
Start Coordinates 4272, 0510, 0336 On a cliff northeast of Tal Tal peak, stand by the pinwheel and shoot the three balloons. |
 Enlarge EnlargeKorok Seed |
Start Coordinates 4717, 1417, 0181 Climb up the tallest pine tree being pointed at by the red arrow signs in the area, and examine the sparkles at the top. |
Korok Seed Map: All Korok Seed Locations
Akkala Highlands Stables
All Stable Locations
| Overworld Location | Coordinates |
|---|---|
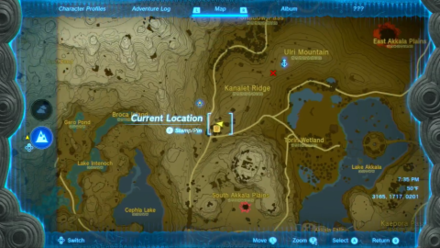
 Enlarge EnlargeSouth Akkala Stable |
3141, 1679, 0201 |
Stables Map and All Stable Locations
Akkala Highlands Chasm Locations
Chasm Map Locations and Coordinates
| Location | Coordinates |
|---|---|
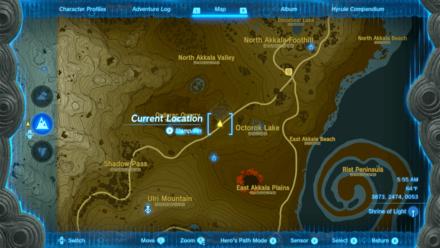
 Enlarge EnlargeEast Akkala Plains Chasm |
4004, 2155, 0029 |
 Enlarge EnlargeTingel Island Chasm |
4706, 1306, 0061 |
 Enlarge EnlargeSouth Akkala Plains Chasm |
3284, 1303, 0217 |
Akkala Highlands Quests
Side Quests
| Quest | Coordinates |
|---|---|
 Enlarge EnlargeOne-Hit Wonder |
3085, 1672, 0201 |
 Enlarge EnlargeHome on Arrange |
3946, 1596, 0128 |
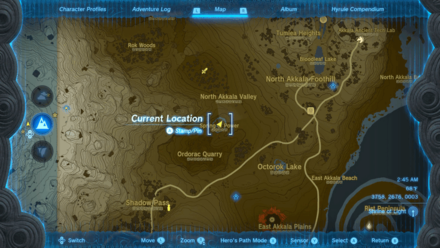 Enlarge EnlargeGoddess Statue of Power |
3758, 2676, 0003 |
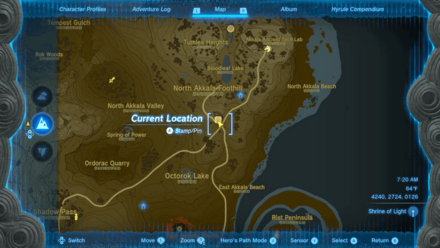 Enlarge EnlargeThe Gathering Pirates |
4240, 2724, 0126 |
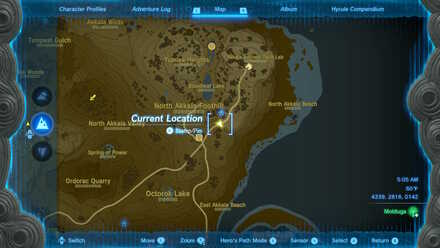 Enlarge EnlargeEldin's Colossal Fossil |
4339, 2816, 0142 |
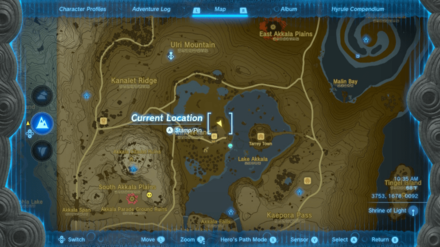 Enlarge EnlargeMaster the Vehicle Prototype |
3755, 1677, 0092 |
|
Enlarge The Tarrey Town Race is On |
3755, 1677, 0092 |
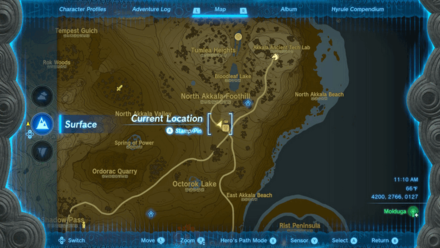 Enlarge EnlargeStrongest in the World |
4200, 2766, 0127 |
 Enlarge EnlargeSecrets Within |
3798, 1564, 0091 |
|
Enlarge A Picture for South Akkala Stable |
3141, 1679, 0201 |
Side Adventures
| Quest | Coordinates |
|---|---|
 Enlarge EnlargeThe All-Clucking Cucco |
3165, 1717, 0201 |
 Enlarge EnlargeMattison's Independence |
3937, 1591, 0129 |
 Enlarge EnlargeBring Peace to Akkala |
2411, 2979, 0446 |
 Enlarge EnlargeA Monstrous Collection |
3961, 1642, 0128 |
Akkala Highlands Settlements
All Towns and Settlement Locations
| Overworld Location | Coordinates |
|---|---|
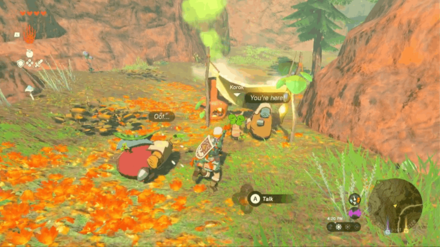
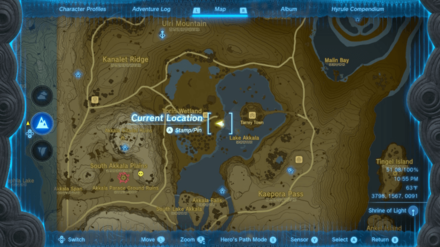
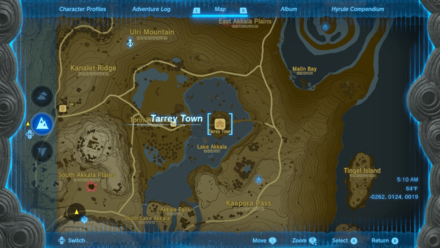 Enlarge EnlargeTarrey Town |
4012, 1619, 0127 |
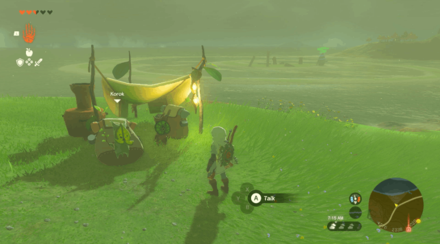
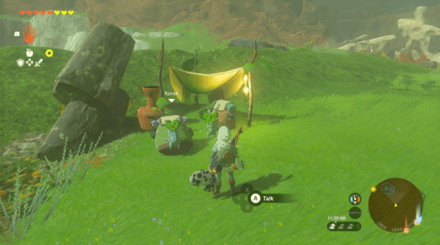
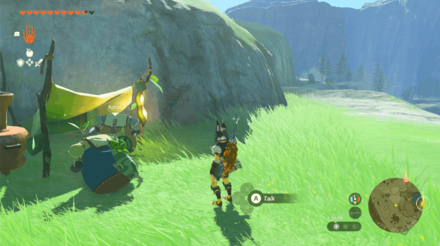
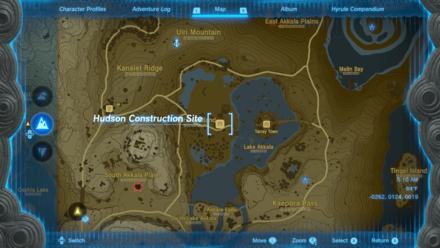 Enlarge EnlargeHudson Construction Site |
3773, 1597, 0089 |
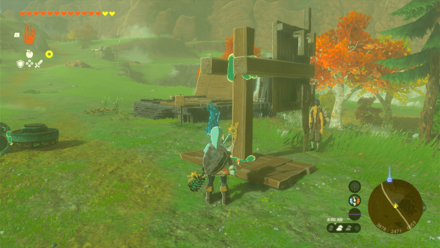
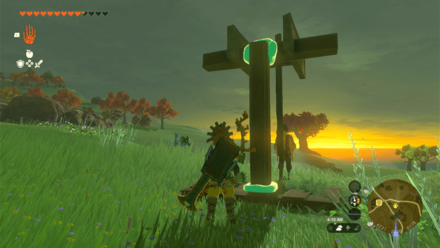
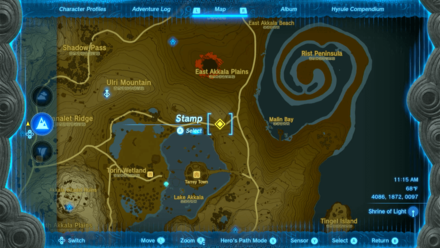
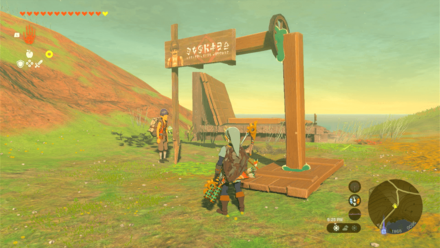
Akkala Highlands Hudson Signs
Addison Sign Locations
| Location | Solution |
|---|---|
 Enlarge Enlarge |
 Enlarge Enlarge |
| Coordinates: 3872, 2474, 0053 Solution: From a nearby Restoration Materials pile, attach a lumber parallel to the side of a small board. Then, insert the makeshift stand on the back of the sign. |
|
 Enlarge Enlarge |
 Enlarge Enlarge |
| Coordinates: 4234, 2647, 0118 Solution: Slot in a lumber horizontally in the gap of the sign. Then take a board and attach another lumber, this time vertically, in the middle. Finally, attach the top of the vertical lumber in the middle of the horizontal lumber. |
|
 Enlarge Enlarge |
 Enlarge Enlarge |
| Coordinates: 4086, 1872, 0097 Solution: Create a stand with the wooden boards and beams. Insert a wooden beam behind the Hudson sign to hold it in place. |
|
 Enlarge Enlarge |
 Enlarge Enlarge |
| Coordinates: 3162, 1626, 0203 Solution: Use the nearby wooden boards and beams to make a stand. Attach wooden beams at the bottom of the base to even it out, and use the roof for the slanted Hudson signs to lean on. |
|
All Hudson Sign Locations: How to Help Addison's Signs Stand
Akkala Highlands Points of Interest
Cave Locations and Coordinates
| Overworld Location | Coordinates |
|---|---|
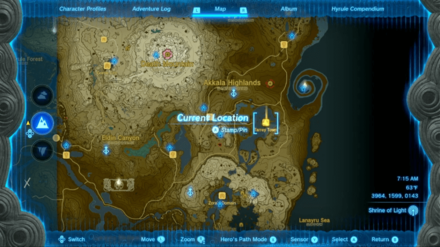
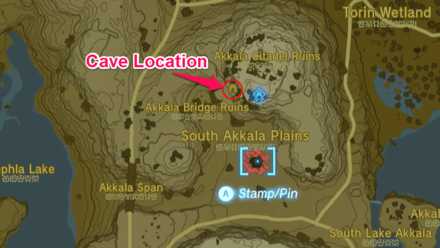 Enlarge EnlargeAkkala Citadel Ruins Cave |
3252, 1461, 0292 |
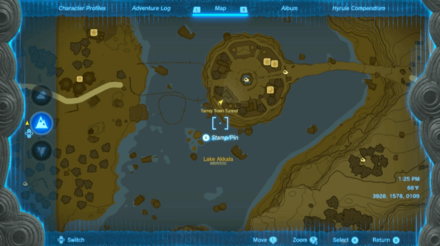 Enlarge EnlargeTarrey Town Tunnel |
3928, 1578, 0109 |
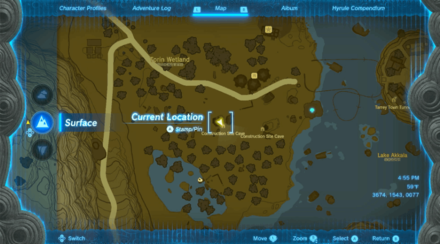 Enlarge EnlargeConstruction Site Cave |
3677, 1538, 0074 |
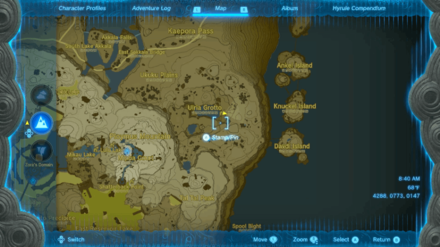 Enlarge EnlargeUlria Grotto East Cave |
4288, 0773, 0147 |
 Enlarge EnlargeUlria Grotto South Cave |
4122, 0657, 0189 |
 Enlarge EnlargeAkkala Citadel Ruins Summit Cave |
3290, 1492, 0414 |
Well Locations and Coordinates
| Overworld Location | Coordinates |
|---|---|
 Enlarge EnlargeSouth Akkala Stable Well |
3192, 1715, 0201 |
 Enlarge EnlargeConstruction Site Well |
3718, 1586, 0090 |
Notable Map Locations
| Overworld Location | Coordinates |
|---|---|
|
Enlarge Akkala Citadel Ruins |
3255, 1442, 0390 |
 Enlarge EnlargeAkkala Span |
3006, 1297, 0281 |
The Legend of Zelda: Tears of the Kingdom Related Guides

Interactive Map of Hyrule:
All Locations and Map Icons
All Area Maps and Locations
| Hyrule Map Locations | |||||
|---|---|---|---|---|---|
Other Maps
List of Surface Regions
Comment
Author

The Legend of Zelda: Tears of the Kingdom Walkthrough & Guides Wiki
Akkala Highlands Region Map: Korok Seed Locations, Shrines, and Quests
Please participate in our site
improvement survey
03/2026
improvement survey
03/2026
Would you assist in
improving Game8's site?
improving Game8's site?

×
We are listening to our users' valuable opinions and discussing how to act on them.
The information collected through this survey will be used for the purpose of improving our services. In addition, the information will only be disclosed a part of a statistic in a format that will not allow identification of personal information.
Begin Survey
Not Now
×
Please rate each item regarding Game8.co's Advertisements.
Amount of Ads
Very Dissatisfied
Somewhat Dissatisfied
Fine
Somewhat Satisfied
Highly Satisfied
Placement of Ads
Timing of Ad Display
Ad Loading Speed
Safeness of Ads
Content of Ads
×
Please rate each item regarding Game8.co's Quality of Articles.
Amount of information
Very Dissatisfied
Somewhat Dissatisfied
Fine
Somewhat Satisfied
Highly Satisfied
Frequency of updates
Speed of new information
Accuracy of articles
Understandibility of articles
Readability of sentences
×
Please rate each item regarding Game8.co's Usability of the Site.
Ease of finding information
Very Dissatisfied
Somewhat Dissatisfied
Fine
Somewhat Satisfied
Highly Satisfied
Loading Speed
Use of Color
Font Size
Visibility of Images
Easy to Understand Layout
×
Please rate each item regarding Game8.co's Message Boards, Comments.
Ease of Writing
Very Dissatisfied
Somewhat Dissatisfied
Fine
Somewhat Satisfied
Highly Satisfied
Readability
Ease in Finding Information
Comment Quality
Comment Quantity
Admin Response
×
Please rate each item regarding Game8.co's Site's new design.
Please rate our site's new design
Very Dissatisfied
Somewhat Dissatisfied
Fine
Somewhat Satisfied
Highly Satisfied
Do you think that the website's design change makes the site easier to use?
Has the new design made it easier for you to find information on the site?
Has the new design improved the overall visual appeal of the site?
How would you rate your overall satisfaction with the new design of the site?
×
How likely are you to recommend Game8 to someone you know?
Very Unlikely
0
1
2
3
4
5
6
7
8
9
10
Very Likely
If you have other opinions regarding potential improvement to the website, please share them with us. We would appreciate your honest opinion.
Note: This is a free response section, so you can proceed without entering anything.
Note: Please be sure not to enter any kind of personal information into your response.
Note: Please be sure not to enter any kind of personal information into your response.
×
Thank You
×
Thank you for participating in our survey! Your answers will help us to improve the quality of our website and services.
We hope you continue to make use of Game8.
We hope you continue to make use of Game8.
Close
Rankings
- We could not find the message board you were looking for.
Gaming News


![Slay the Spire 2 Review [Early Access] | Still the Deckbuilder to Beat](https://img.game8.co/4433115/44e19e1fb0b4755466b9e516ec7ffb1e.png/thumb)

![Resident Evil Village Review [Switch 2] | Almost Flawless Port](https://img.game8.co/4432790/e1859f64830960ce4248d898f8cd38d9.jpeg/thumb)
Popular Games

Genshin Impact Walkthrough & Guides Wiki
Honkai: Star Rail Walkthrough & Guides Wiki
Umamusume: Pretty Derby Walkthrough & Guides Wiki
Pokemon Pokopia Walkthrough & Guides Wiki
Resident Evil Requiem (RE9) Walkthrough & Guides Wiki
Monster Hunter Wilds Walkthrough & Guides Wiki
Wuthering Waves Walkthrough & Guides Wiki
Arknights: Endfield Walkthrough & Guides Wiki
Pokemon FireRed and LeafGreen (FRLG) Walkthrough & Guides Wiki
Pokemon TCG Pocket (PTCGP) Strategies & Guides Wiki


Recommended Games
Fire Emblem Heroes (FEH) Walkthrough & Guides Wiki
Diablo 4: Vessel of Hatred Walkthrough & Guides Wiki
Yu-Gi-Oh! Master Duel Walkthrough & Guides Wiki
Super Smash Bros. Ultimate Walkthrough & Guides Wiki
Pokemon Brilliant Diamond and Shining Pearl (BDSP) Walkthrough & Guides Wiki
Elden Ring Shadow of the Erdtree Walkthrough & Guides Wiki
Monster Hunter World Walkthrough & Guides Wiki
The Legend of Zelda: Tears of the Kingdom Walkthrough & Guides Wiki
Persona 3 Reload Walkthrough & Guides Wiki
Cyberpunk 2077: Ultimate Edition Walkthrough & Guides Wiki


All rights reserved
© Nintendo. The Legend of Zelda and Nintendo Switch are trademarks of Nintendo.
The copyrights of videos of games used in our content and other intellectual property rights belong to the provider of the game.
The contents we provide on this site were created personally by members of the Game8 editorial department.
We refuse the right to reuse or repost content taken without our permission such as data or images to other sites.