Fire Temple Walkthrough and Puzzle Solutions
▲ Get Pristine Weapons from the depths!
△ All 1000 Koroks | All 4 Great Fairies
▲ 81 Addison Signs | 147 Caves | 58 Wells
△ Tips: Farm Rupees | Starting Armor
▲ Best Weapons | Best Armor | Best Food
This guide will show you how to ring the five gongs and defeat Marbled Gohma to clear the Fire Temple in The Legend of Zelda: Tears of the Kingdom (TotK). This walkthrough also contains chest locations, puzzle solutions, and more!
List of Contents
Preparing For the Fire Temple
Things to Prepare
| Things to Prepare for the Fire Temple | |||
|---|---|---|---|
 Flamebreaker Helm Flamebreaker Helm
|
 Flamebreaker Armor Flamebreaker Armor
|
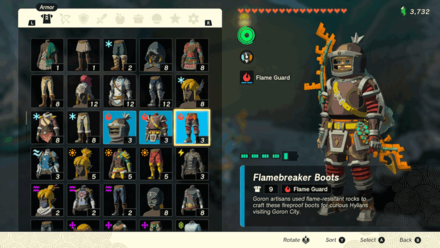
 Flamebreaker Boots Flamebreaker Boots
|
 Vah Rudania Divine Helm Vah Rudania Divine Helm
|
 Fireproof Elixir Fireproof Elixir
|
 Fierce Deity Sword Fierce Deity Sword
|
 Zora Longsword Zora Longsword
|
 Dusk Bow Dusk Bow
|
To combat the intense heat, make sure to equip armor sets with built-in flame guard. The most accessible set you can find is the Flamebreaker Set which you can buy for 700 Rupees at the Armor Shop in Goron City.
Additionally, refrain from bringing and using wood-based weapons as the intense heat will immediately burn them. Use metal weapons instead.
Fireproof Elixirs Are Inefficient
While elixirs made with Fireproof Lizards can give you the Flame Guard trait, the Fire Temple is a large dungeon and is likely to take more time than most elixirs will allow, making them an inefficient tool for exploring this area.
Bring a few to use for when you want to equip different armor, but otherwise rely on Flamebreaker gear or the Vah Rudania Divine Helm instead.
How to Get the Vah Rudania Divine Helm: Location and Stats
Progress through the Yunobo of Goron City Quest
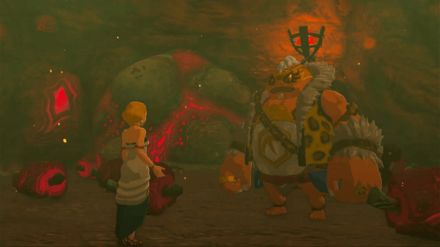
To access the Fire Temple, you need to complete the first parts of the Yunobo of Goron City main quest first. This means that you need to defeat Moragia and unlock the Death Mountain Chasm before you proceed to the temple.
Yunobo of Goron City Walkthrough
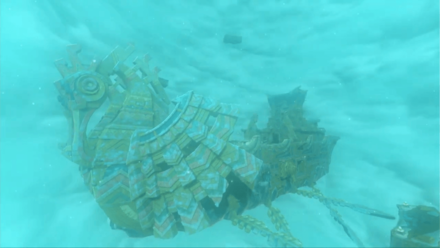
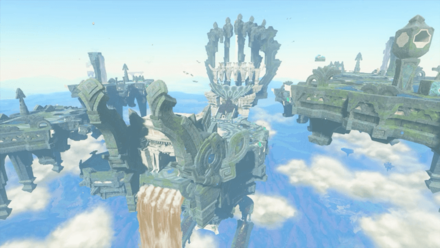
How to Get to the Fire Temple
| 1 |
 Dive down from the Death Mountin Chasm and head west upon landing. |
|---|---|
| 2 |
 Activate the Mustis Lightroot for extra vision and continue heading west until you reach some mine cart tracks. |
| 3 |
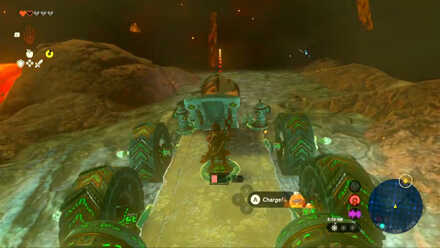
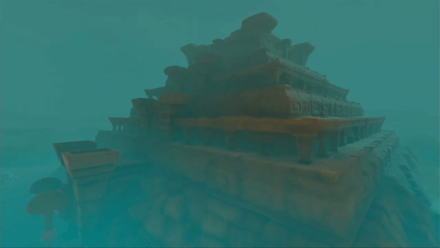
 Create a movable cart (cart with a fan or rocket) and ride it all the way to the end. The tracks will bring you straight to the entrance of Fire Temple. |
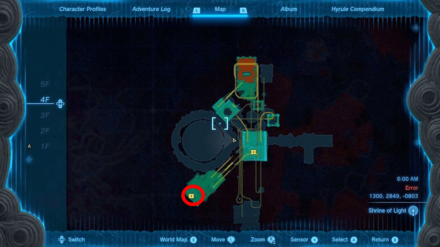
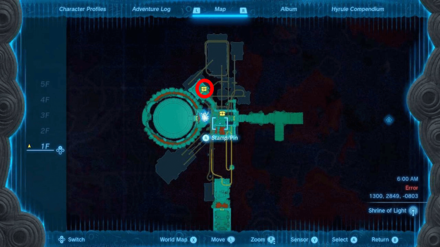
Fire Temple Map
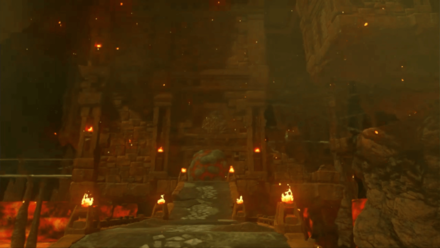
The Fire Temple requires you to ring five gongs to unlock the main gate. You can find two gongs in the first floor and you need to reach higher floors to find the others.
1F

2F
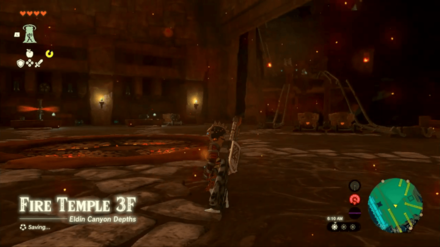
3F

4F

5F

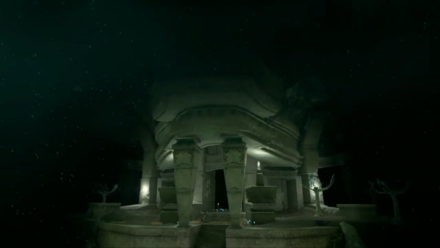
Ringing the Five Gongs
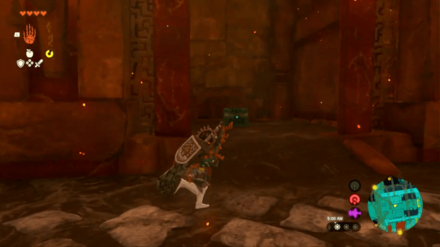
To start doing the puzzles of the Fire Temple, make sure to activate the Zonai Terminal first.
After that, you can start looking for all the five gongs to unlock the main gate. You can do this in any order.
| Fire Temple Gongs | ||||
|---|---|---|---|---|
| 1F South Gong | 2F North Gong | 5F South Gong | 4F North Gong | 1F North Gong |
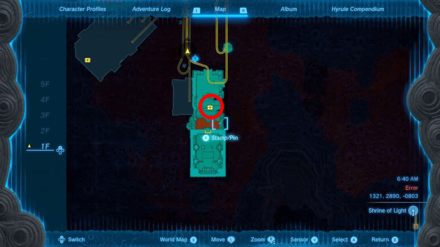
1F South Gong
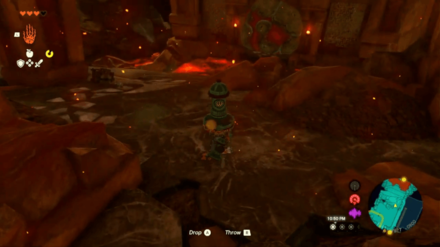
Follow the path on the left side of the Fire Temple until you reach a mine cart and a train track. Ride the mine cart and launch Yunobo to hit the mechanism to prevent the cart from looping. At the end of the track, you can find the gong just behind the marbled rock.

Keep in mind that you will encounter a couple of magma streams along your way, so make sure to use hydrants to make platforms.
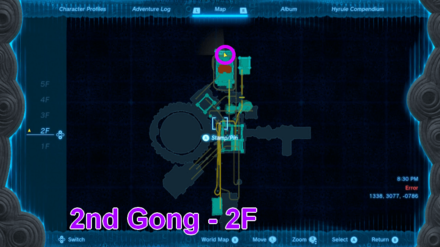
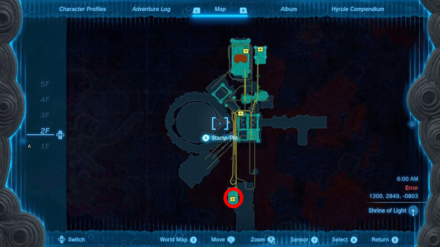
2F North Gong
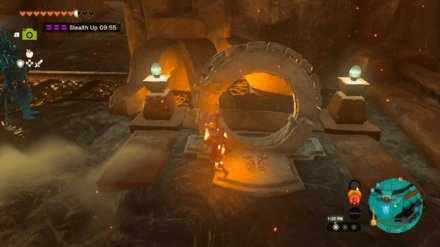
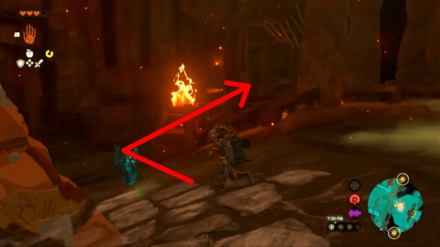
Transfer the mine cart to the other side of the block and continue riding it up to the second floor. Upon reaching the end of the track, reverse the mine cart to hit the second mechanism. Once you reach the new area, head left and hit the another mechanism to pull down the train track. This allows you to reach the next area where the gong is.
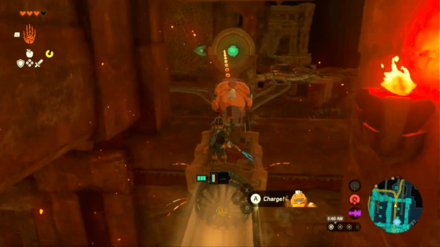
Make sure to launch Yunobo to release the water flow and help you create platforms to reach the gong.
5F South Gong

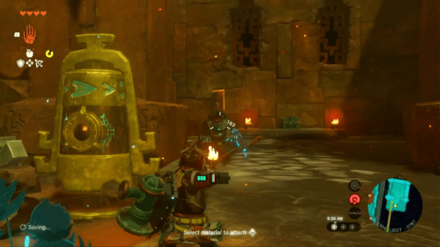
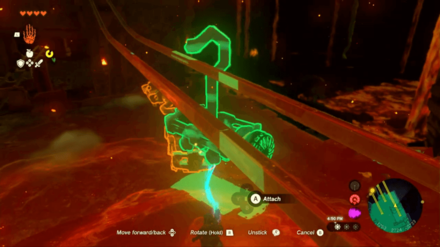
Use your bow and hit the the same mechanism to change the direction of the track. This will lead you to the third floor where you can find a bunch of Zonai Devices. Take one of the rockets and attach it to the mine cart to safely cross the broken rail track. Upon reaching on the fourth floor, attach the broken bridge to launch Yunobo upwards and hit the marbled rock.
After that, a metal block will fall from the fifth floor. Use Recall on this block to climb and reach the fifth floor's gong.
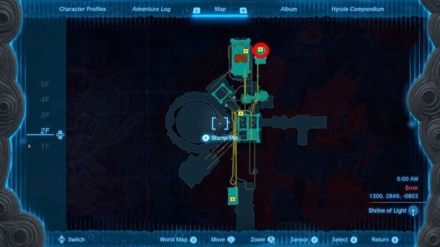
4F North Gong
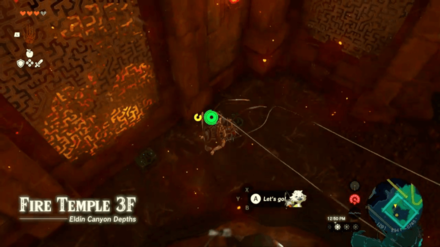
Head back to the third floor and activate the two mechanisms to change the direction. This will take you to the fourth floor but in another area where the gong is. Destroy the marbled rock to reveal the hydrant and make a platform to hit the elevated gong.
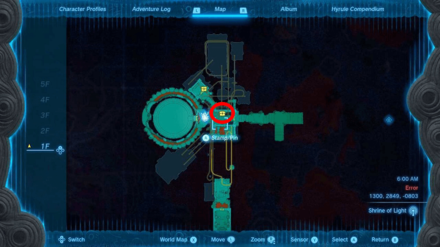
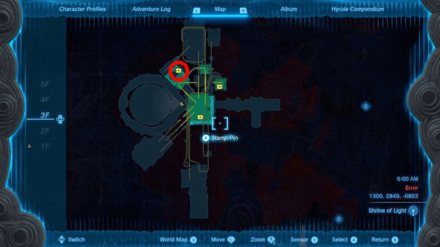
1F North Gong
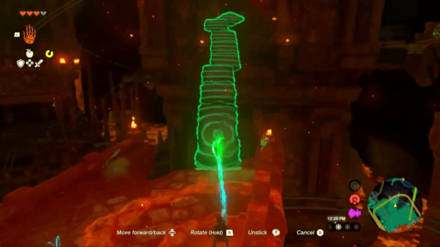
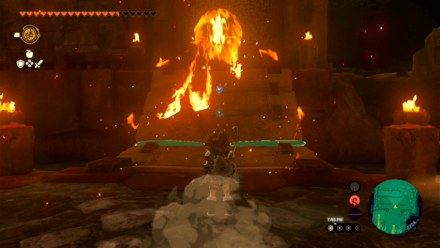
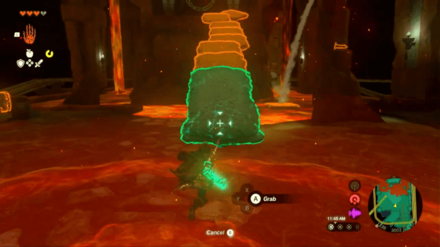
The second gong in the first floor requires you to go to fourth floor first in order to access it. The tower is directly opposite of the fourth floor's gong. From there, use the same makeshift platform to destroy the marbled rock covering the side of the tower. Find a way to enter the tower from here and drop down to the bottom to see the last gong.
Fire Temple Chest Locations
| # | How to Get Treasure Chest |
|---|---|
| 1 |
 1F - Arrows x10 |
| 2 |
 1F - Strong Construct Bow |
| 3 |
 |
| 4 |
 2F - Arrows x10 |
| 5 |
 2F - Strong Zonaite Shield |
| 6 |
 2F - Zonaite x3 |
| 7 |
 3F - Arrows x10 |
| 8 |
 3F - Strong Zonaite Shield |
| 9 |
 4F - Arrows x10 |
| 10 |
 4F - Arrows x10 |
| 11 |
 4F - Ruby |
| 12-13 |
 3F - Soldier Reaper 1F - Strong Zonaite Longsword |
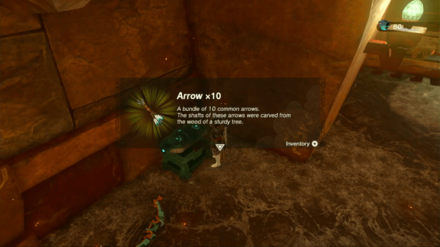
Arrows - 1F
Head to the main entrance of the Fire Temple and find the right room of the main hall way to see the treasure chest. This treasure chest contains Arrows.
Strong Construct Bow - 1F
Head to the first gong of the first floor and defeat the Fire Like. This will give you an access to a chest on the wall that contains a Strong Construct Bow.
Diamond - 2F
Climb the opposite side of the Fire Like to reach the treasure chest containing a Diamond.
Arrows - 2F
Follow the mine cart track from the first floor up to the second floor. Along the way, you'll find a chest on a broken platform which also contains 10 Arrows.
Strong Zonaite Shield - 2F
Hit the mechanism to change the direction of the mine cart on the second floor. Continue heading north by activating another mechanism on the right to find the next chest containing a Strong Zonaite Shield.
Zonaite - 2F
Find the broken ledges before reaching the second floor's gong. Use ascend on one of the ledge to find the next chest which contains 3 pieces of Zonaite.
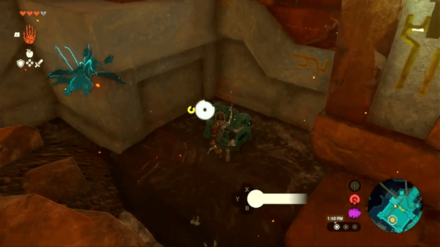
Arrows - 3F
Defeat the enemy behind the table where you can find Zonai Devices to safely reach the chest. This one contains 10 Arrows as well.
Strong Zonaite Shield - 3F

Use Yunobo's Charge to find the hidden mechanism. Activate this to use the curved track on the far right and reach the next chest containing a Strong Zonaite Shield.
Arrows - 4F

Using the same mechanism, activate it once again to change the direction of the track. This now leads you to the fourth floor where you can find a chest that contains 10 Arrows as well.
Arrows #2 - 4F

You can also find another chest at the very back area of the floor. This one is covered in metal plates and contains another set of arrows.
Ruby - 4F
On the same floor, create a functioning cart with a hook using Ultrahand, then place it on the track. This will lead you to a chest containing a ruby.
Soldier Reaper II - 3F
On the opposite side of the elevated gong, you can find a tower with marbled rocks on its side. Have Yunobo destroy it and enter the tower. Glide to the third floor first to find a chest that contains a Soldier Reaper II.
Strong Zonai Longsword - 1F
From the same tower, drop down to the first floor where you can find the gong. You can find the last chest here containing a Strong Zonai Longsword.
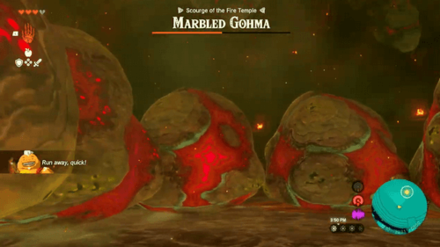
How to Beat the Fire Temple Boss (Marbled Gohma)

| Marbled Gohma Strategies |
|---|
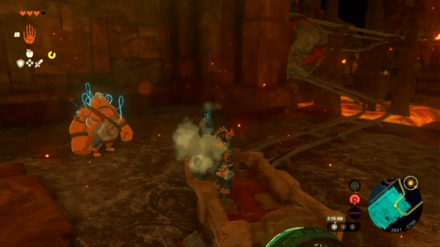
Phase 1
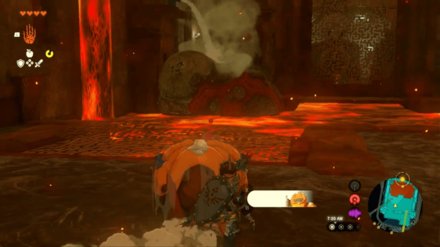
Using Yunobo's Charge, destroy two of Marbled Gohma's legs to make it vulnerable. Once it goes down, climb it and attack its eye to do damage. If you're too far away, you can use your bow instead.
Use Recall on Exploding Marbled Rocks
You can also recall the exploding rocks to stun Marbled Gohma. This is a good way to minimize the obstacles that you need to avoid when trying to hit its legs.
Phase 2
During the second phase, you can use the walls to propel Yunobo's Charge upwards and destroy its legs. After destroying two of its legs, it will go down once again. Inflict as much damage as you can before it recovers.
Alternatively, you can also use your bow and attach explosives to inflict damages from below.
The Legend of Zelda: Tears of the Kingdom Dungeon Walkthroughs

All Temple Locations and Dungeon Guides
All Temple Guides
| List of All Temples | |
|---|---|
 Wind Temple Wind Temple |
 Lightning Temple Lightning Temple |
 Fire Temple Fire Temple |
 Water Temple Water Temple |
 Hyrule Castle Hyrule Castle |
 Spirit Temple Spirit Temple |
Comment
Author

The Legend of Zelda: Tears of the Kingdom Walkthrough & Guides Wiki
Fire Temple Walkthrough and Puzzle Solutions
Rankings
- We could not find the message board you were looking for.
Gaming News
![Animal Crossing: New Horizons Review [Switch 2] | Needlessly Crossing Over to a New Generation](https://img.game8.co/4391759/47d0408b0b8a892e453a0b90f54beb8a.png/show)


Popular Games

Genshin Impact Walkthrough & Guides Wiki
Honkai: Star Rail Walkthrough & Guides Wiki
Arknights: Endfield Walkthrough & Guides Wiki
Umamusume: Pretty Derby Walkthrough & Guides Wiki
Wuthering Waves Walkthrough & Guides Wiki
Pokemon TCG Pocket (PTCGP) Strategies & Guides Wiki
Abyss Walkthrough & Guides Wiki
Zenless Zone Zero Walkthrough & Guides Wiki
Digimon Story: Time Stranger Walkthrough & Guides Wiki
Clair Obscur: Expedition 33 Walkthrough & Guides Wiki


Recommended Games
Fire Emblem Heroes (FEH) Walkthrough & Guides Wiki
Pokemon Brilliant Diamond and Shining Pearl (BDSP) Walkthrough & Guides Wiki
Diablo 4: Vessel of Hatred Walkthrough & Guides Wiki
Super Smash Bros. Ultimate Walkthrough & Guides Wiki
Yu-Gi-Oh! Master Duel Walkthrough & Guides Wiki
Elden Ring Shadow of the Erdtree Walkthrough & Guides Wiki
Monster Hunter World Walkthrough & Guides Wiki
The Legend of Zelda: Tears of the Kingdom Walkthrough & Guides Wiki
Persona 3 Reload Walkthrough & Guides Wiki
Cyberpunk 2077: Ultimate Edition Walkthrough & Guides Wiki


All rights reserved
© Nintendo. The Legend of Zelda and Nintendo Switch are trademarks of Nintendo.
The copyrights of videos of games used in our content and other intellectual property rights belong to the provider of the game.
The contents we provide on this site were created personally by members of the Game8 editorial department.
We refuse the right to reuse or repost content taken without our permission such as data or images to other sites.