Hyrule Ridge Region Map: Korok Seed Locations, Shrines, and Quests
▲ Get Pristine Weapons from the depths!
△ All 1000 Koroks | All 4 Great Fairies
▲ 81 Addison Signs | 147 Caves | 58 Wells
△ Tips: Farm Rupees | Starting Armor
▲ Best Weapons | Best Armor | Best Food
Hyrule Ridge is a region found in the Surface of Hyrule in The Legend of Zelda: Tears of the Kingdom (TotK). Read on to see the full Hyrule Ridge region map, as well as locations for Korok Seeds, Shrines, Quests, and other points of interest found within the Hyrule Ridge!
List of Contents
Hyrule Ridge Region Map
Hyrule Ridge Full Map
 Enlarge EnlargeView Full Image |
Hyrule Ridge Tower Map Location
Map and Coordinates
| Overworld Location | Coordinates |
|---|---|
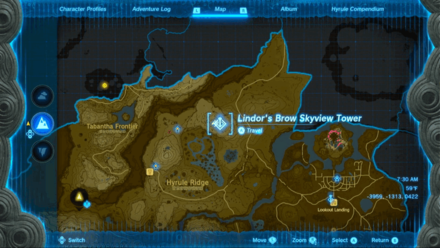 Enlarge EnlargeLindor's Brow Skyview Tower |
-1909, 1245, 0297 |
Skyview Tower Guide: All Tower Locations
Hyrule Ridge Shrine Locations
Shrine Map Locations and Coordinates
| Location | Coordinates |
|---|---|
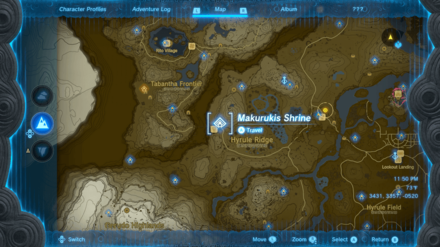 Enlarge EnlargeMakurukis Shrine (Combat Training: Archery) |
Video Guide -2846, 0630, 0233 |
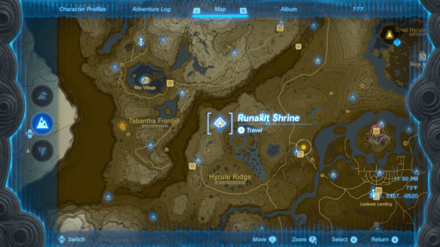 Enlarge EnlargeRunakit Shrine (Built to Carry) |
Video Guide -2530, 1169, 0178 |
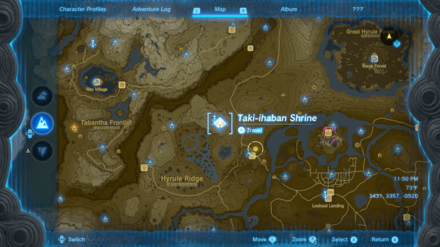 Enlarge EnlargeTaki-Ihaban Shrine (Rauru's Blessing) |
-1830, 1149, 0147 |
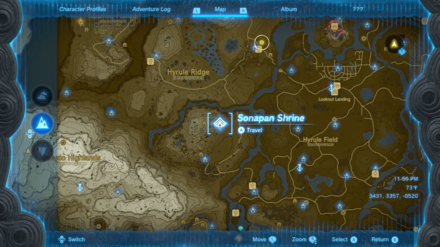 Enlarge EnlargeSonapan Shrine (Missing Pathways) |
-1921, -0357, 0228 |
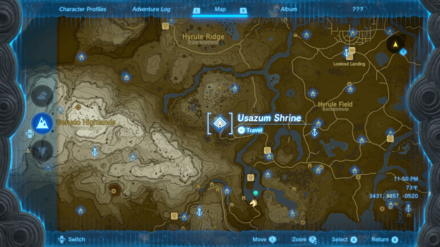 Enlarge EnlargeUsazum Shrine (Rauru's Blessing) |
-2139, -0873, 0093 |
Hyrule Ridge Korok Seed Locations
Korok Seed Locations and Coordinates
| Overworld | Location Details |
|---|---|
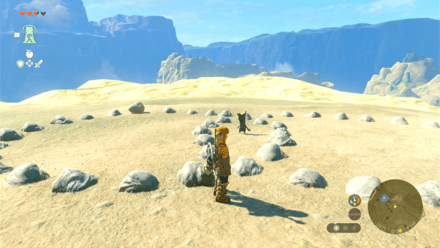 Enlarge EnlargeKorok Seed |
Start Coordinates -2817, 0704, 0244 Pick up the nearby rock and place it in the gap of the rock circle. |
 Enlarge EnlargeKorok Seed |
Start Coordinates -2677, 0887, 0230 Jump into the middle of the ring of water lilies to reveal the Korok. |
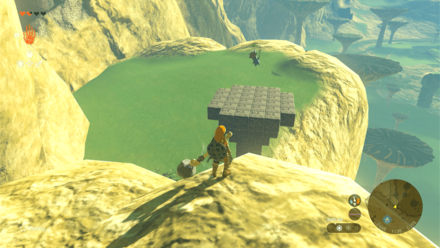 Enlarge EnlargeKorok Seed |
Start Coordinates -2435, 1138, 0163 Complete the mushroom-shaped metal block set to reveal the Korok. |
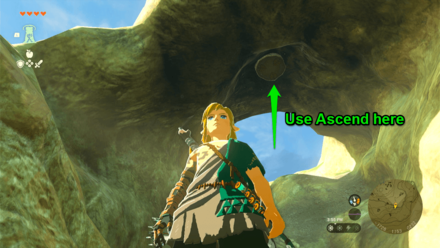 Enlarge EnlargeKorok Seed |
Start Coordinates -1730, 1161, 0254 Locate the Korok sign above the cave entrance and use Ascend to pass through it. |
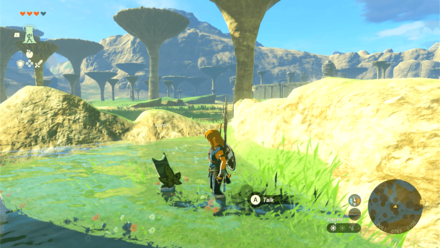 Enlarge EnlargeKorok Seed |
Start Coordinates -2061, 0783, 0100 Chase the moving sparkles and interact with it to reveal the Korok. |
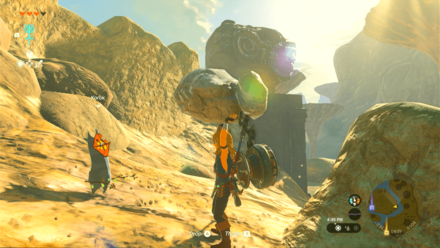 Enlarge EnlargeKorok Seed |
Start Coordinates -2343, 0939, 0104 Burn the pile of leaves and pick up the rock hidden beneath. |
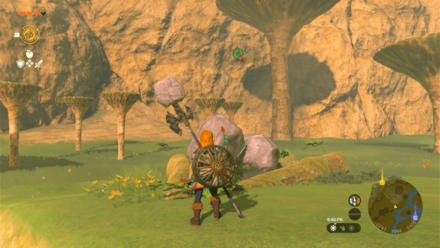 Enlarge EnlargeKorok Seed |
Start Coordinates -2238, 1066, 0105 Use the boulders, Ultrahand, and Recall to reach the sparkles. Interact with it to reveal the Korok. |
 Enlarge EnlargeKorok Seed |
Start Coordinates -3011, 0585, 0132 Pick up the rock from the below the bridge to get the Korok Seed. |
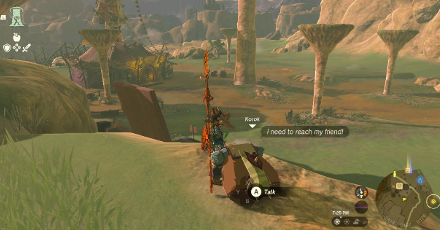 Enlarge EnlargeKorok Seed x2 |
Start Coordinates -2874, 0497, 0179 End Coordinates -2600, 0189, 0147 Players can casually bring the Korok to his friend on the other side to get the Korok Seed. |
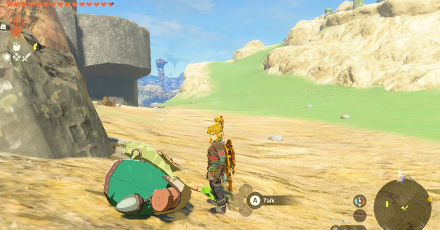 Enlarge EnlargeKorok Seed x2 |
Start Coordinates -2961, 0068, 0143 End Coordinates -3018, 0105, 0205 Use a Zonai Stake to help Link climb with the Korok. |
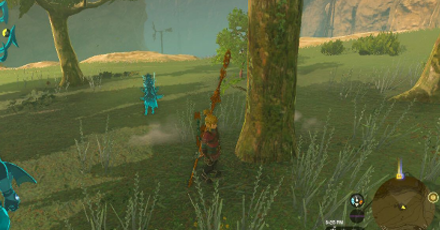 Enlarge EnlargeKorok Seed |
Start Coordinates -3019, 0241, 0111 Look for the rest of the flowers until the Korok appears to give Link the seed. |
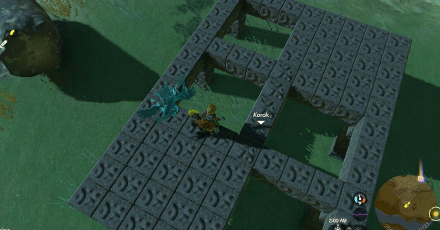 Enlarge EnlargeKorok Seed |
Start Coordinates -2640, -0322, 0133 Fill in the space using the metal rod to get the Korok Seed. |
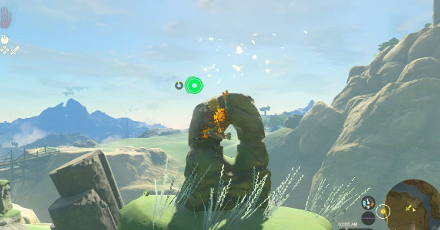 Enlarge EnlargeKorok Seed |
Start Coordinates -1863, -0094, 0117 Climb the rock formation and interact with the floating sparkles on it. |
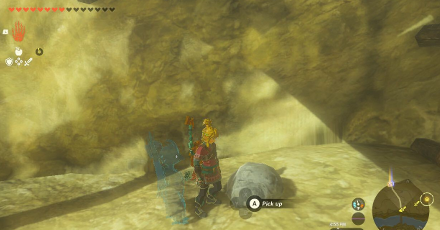 Enlarge EnlargeKorok Seed |
Start Coordinates -1703, -0084, 0091 Pick up the rock from under the bridge to get the Korok Seed. |
 Enlarge EnlargeKorok Seed |
Start Coordinates -1646, -0012, 0123 Shoot down the balloons using Link's bow to get the Korok Seed. |
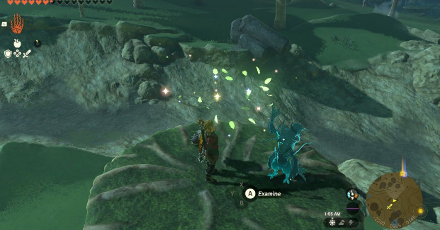 Enlarge EnlargeKorok Seed |
Start Coordinates -2202, 0355, 0148 Follow the arrow signs to the floating sparkles and examine it get the Korok Seed. |
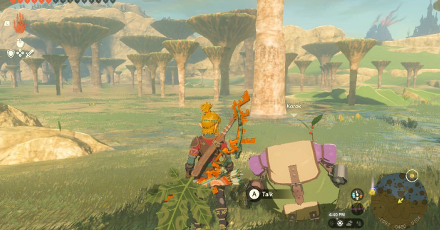 Enlarge EnlargeKorok Seed x2 |
Start Coordinates -2082, 0481, 0103 End Coordinates -2055, 0513, 0139 Use device to make the Korok float to its friend. |
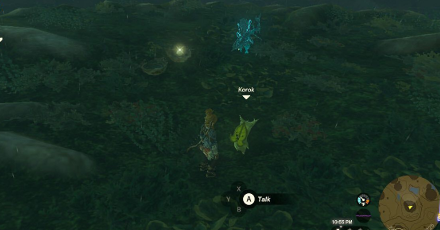 Enlarge EnlargeKorok Seed |
Start Coordinates -2436, 0510, 0225 Burn the leaves to reveal the rock then lift it up to get a Korok Seed. |
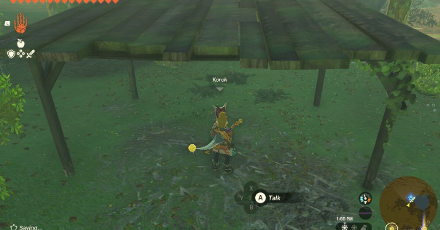 Enlarge EnlargeKorok Seed |
Start Coordinates -3444, -0167, 0066 Pick up the plank from the northeastern side of the shelter when facing the nearvy shrine. Slot it in to get the Korok Seed. |
 Enlarge EnlargeKorok Seed x2 |
Start Coordinates -3582, 0014, 0070 End Coordinates -4075, 0034, 0057 Make a small car using the Zonai device found near the Korok. |
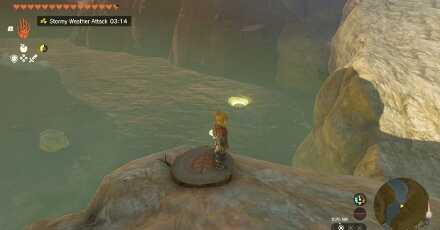 Enlarge EnlargeKorok Seed |
Start Coordinates -2838, -0436, 0052 End Coordinates -2918, -0480, 0013 Glide to the next platform without touching the ground. |
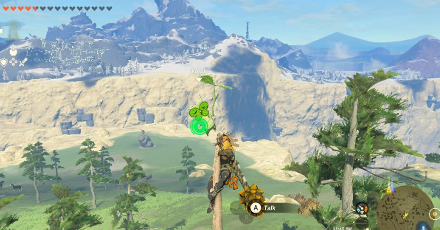 Enlarge EnlargeKorok Seed |
Start Coordinates -2023, 1302, 0283 Climb to the top of the tree to and examine the floating sparkles to get the Korok Seed. |
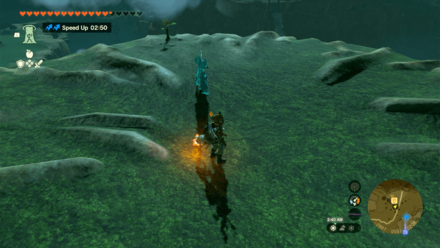 Enlarge EnlargeKorok Seed |
Start Coordinates -2897, 0557, 0208 End Coordinates -2921, 0546, 0193 Follow the flowers on top of the mushroom beside Tabantha Bridge Stable. The flowers will lead you to the roof of the stable. |
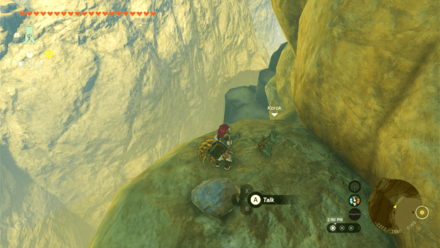 Enlarge EnlargeKorok Seed |
Start Coordinates -2222, 1580, 0169 Pick up the lone rock located at the cliffside. |
 Enlarge EnlargeKorok Seed |
Start Coordinates -2580, 1249, 0216 End Coordinates 2653, 1283, 0204 Step on the tree stump and race towards the ring before time runs out. |
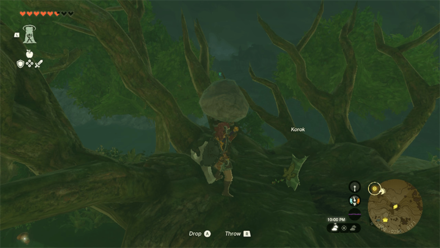 Enlarge EnlargeKorok Seed |
Start Coordinates -2200, -0797, 0170 Pick up the lone rock on top of the giant tree. |
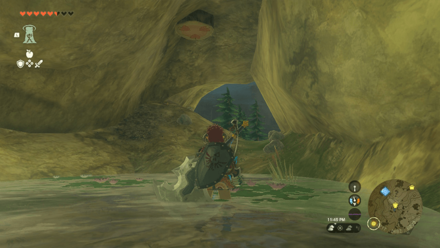 Enlarge EnlargeKorok Seed |
Start Coordinates -2221, -0694, 0210 Go to the cave below then ascend through the korok stump on the ceiling. |
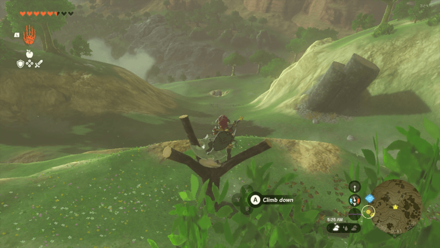 Enlarge EnlargeKorok Seed |
Start Coordinates -2352, -0741, 0206 Grab the boulder located down the hill, then place it on the wooden pedestal. |
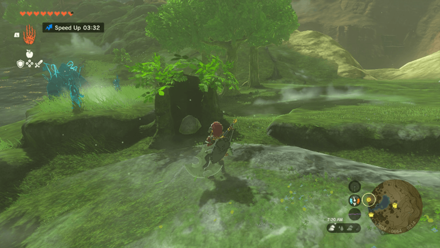 Enlarge EnlargeKorok Seed |
Start Coordinates -2601, -0668, 0213 Pick up the lone rock inside the broken tree stump. |
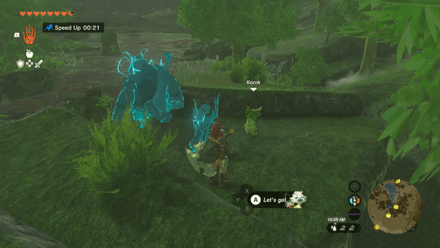 Enlarge EnlargeKorok Seed |
Start Coordinates -2536, -0629, 0202 End Coordinates -2497, -0567, 0205 Follow the yellow flowers around Rutile Lake until you reach the white flower. |
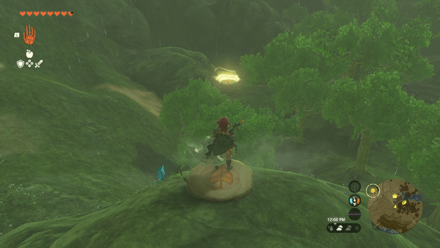 Enlarge EnlargeKorok Seed |
Start Coordinates -2479, -0509, 0222 End Coordinates -2439, -0552, 0204 Step on the tree stump and glide down towards the platform. |
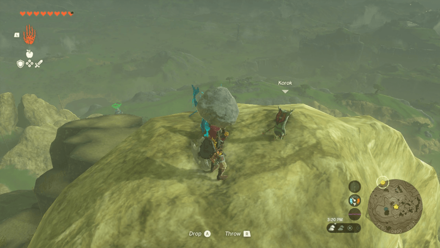 Enlarge EnlargeKorok Seed |
Start Coordinates -2280, -0402, 0398 Pick up the lone rock on top of the mountain. |
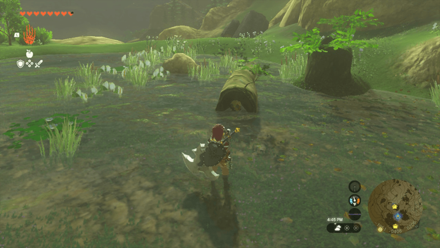 Enlarge EnlargeKorok Seed |
Start Coordinates -1954, -0409, 0206 Shoot the acorn hiding inside the log. |
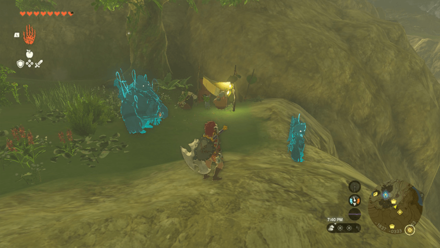 Enlarge EnlargeKorok Seed x2 |
Start Coordinates -1797, -0322, 0119 End Coordinates -1848, -0329, 0162 Attach a balloon to the nearby platform and use a flame emitter to fly up to the mountainside. |
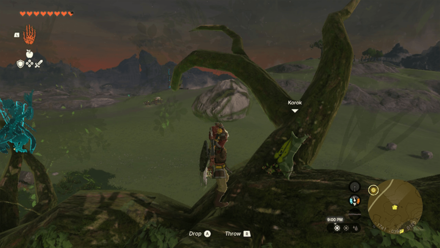 Enlarge EnlargeKorok Seed |
Start Coordinates -1741, -0400, 0121 Pick up the lone rock on top of the tree. |
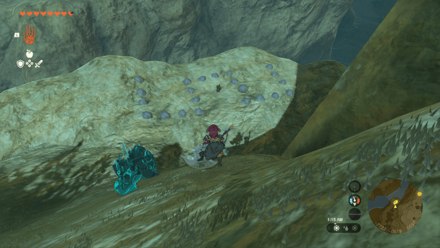 Enlarge EnlargeKorok Seed |
Start Coordinates -2714, -0496, 0086 Grab the nearby rock at the edge of the cliff and place it in the gap to complete the pattern. |
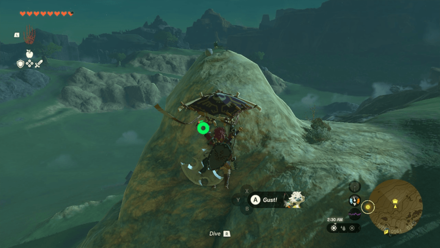 Enlarge EnlargeKorok Seed |
Start Coordinates -1968, -0594, 0148 Pick up the lone rock on top of the hill. |
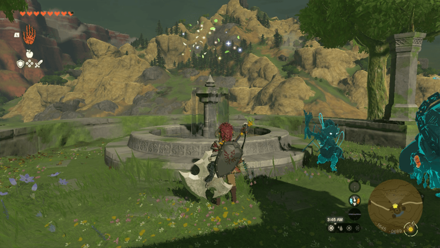 Enlarge EnlargeKorok Seed |
Start Coordinates -1650, -0688, 0139 Examine the sparkles on top of the fountain in Sanidin Park Ruins. |
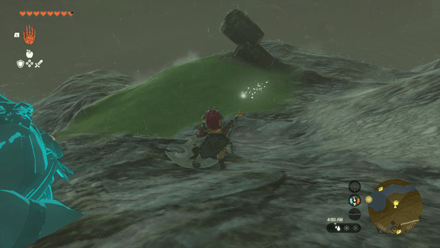 Enlarge EnlargeKorok Seed |
Start Coordinates -1555, -0817, 0061 Chase the sparkles circling around the mountainside and interact with it to reveal the korok. |
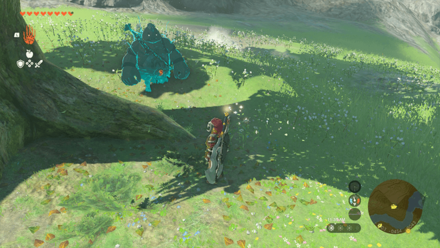 Enlarge EnlargeKorok Seed |
Start Coordinates -1409, -0454, 0044 Chase the sparkles circling around the tree and interact with it to reveal the korok. |
 Enlarge EnlargeKorok Seed |
Start Coordinates -1969, -1091, 0098 End Coordinates -1969, -1091, 0098 Follow the yellow flowers around the ritual statues until you reach the white flower. |
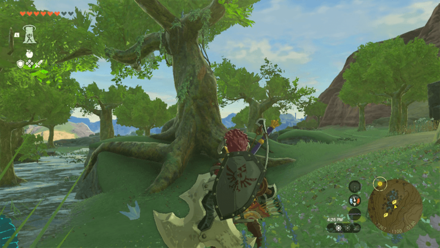 Enlarge EnlargeKorok Seed |
Start Coordinates -2340, -1103, 0143 Pick up the lone rock on top of the giant tree in Dalite Forest. |
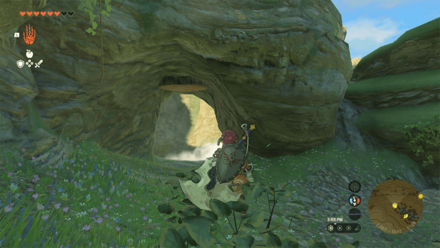 Enlarge EnlargeKorok Seed |
Start Coordinates -2394, -1033, 0125 Go through the small passageway under the hill, look up and ascend through the korok target. |
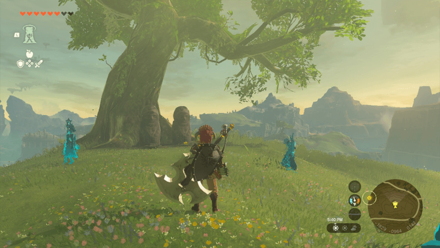 Enlarge EnlargeKorok Seed |
Start Coordinates -1819, -0973, 0143 Place a golden apple on the empty bowl in front of the statue. |
Korok Seed Map: All Korok Seed Locations
Hyrule Ridge Stables
All Stable Locations
| Overworld Location | Coordinates |
|---|---|
 Enlarge EnlargeTabantha Bridge Stable |
-2919, 0545, 0169 |
Hyrule Ridge Chasm Locations
Chasm Map Locations and Coordinates
| Location | Coordinates |
|---|---|
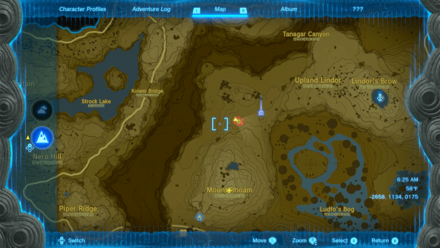 Enlarge EnlargeHyrule Ridge Chasm |
-2658, 1134, 0175 |
Hyrule Ridge Quests
Main Quests
| Quest | Coordinates |
|---|---|
 Enlarge EnlargeImpa and the Geoglyphs |
-1615, 0558, 0032 |
|
The Dragon's Tears |
-1615, 0558, 0032 |
Side Quests
| Quest | Coordinates |
|---|---|
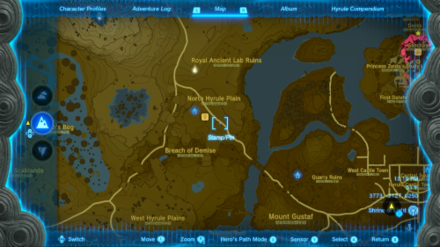 Enlarge EnlargeHorse-Drawn Dreams |
-1333, 0723, 0085 |
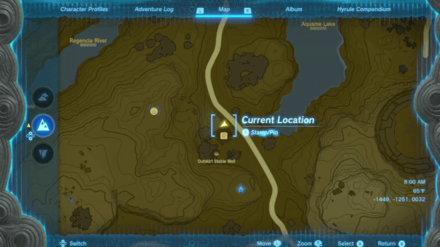 Enlarge EnlargeThe Horse Guard's Request |
-1449, -1251, 0032 |
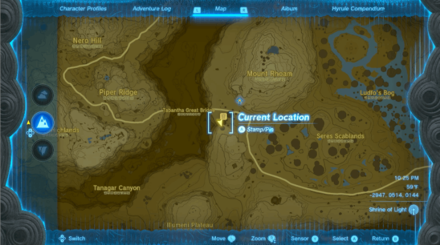 Enlarge EnlargeWhere Are the Wells |
-2947, 0513, 0144 |
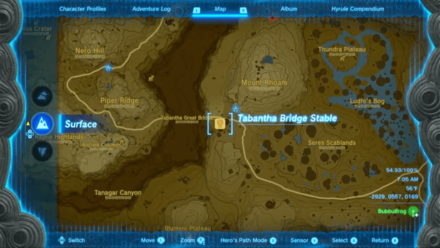 Enlarge EnlargeA Picture for Tabantha Bridge Stable |
-2527, 0549, 0169 |
Side Adventures
| Quest | Coordinates |
|---|---|
 Enlarge EnlargeWhite Goats Gone Missing |
-2909, 0523, 0169 |
Hyrule Ridge Hudson Signs
Addison Sign Locations
| Location | Solution |
|---|---|
 Enlarge Enlarge |
 Enlarge Enlarge |
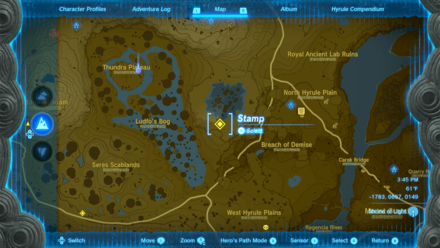
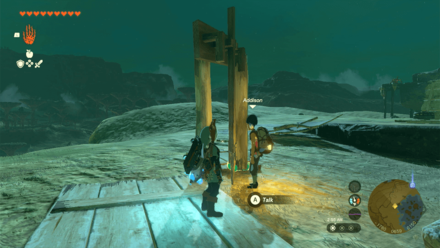
| Coordinates: -1783, 0657, 0149 Solution: Use the nearby wooden planks and logs and build a makeshift stand to hold the Hudson board steady. |
|
 Enlarge Enlarge |
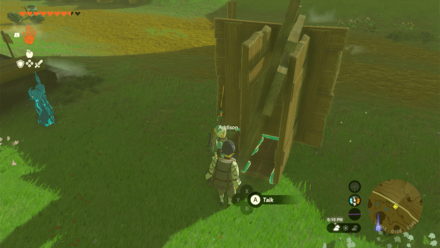 Enlarge Enlarge |
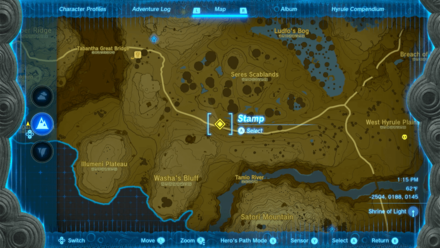
| Coordinates: -2504, 0188, 0145 Solution: Use the wooden planks to create a makeshift cubicle that will catch the Hudson board. |
|
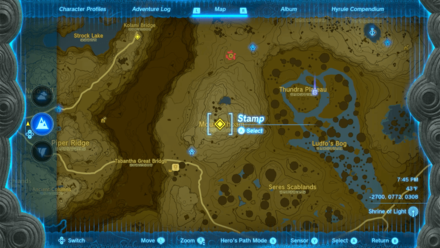 Enlarge Enlarge |
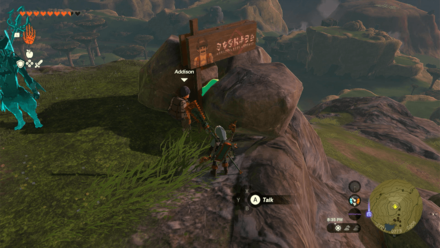 Enlarge Enlarge |
| Coordinates: -2700, 0772, 0308 Solution: Surround the Hudson board with the boulders nearby. |
|
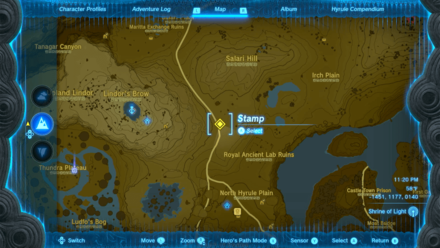 Enlarge Enlarge |
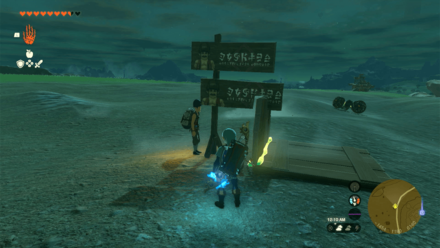 Enlarge Enlarge |
| Coordinates: -1451, 1177, 0140 Solution: Use the nearby wooden planks to make a frame and slide it along the chipped part of the lower Hudson board. |
|
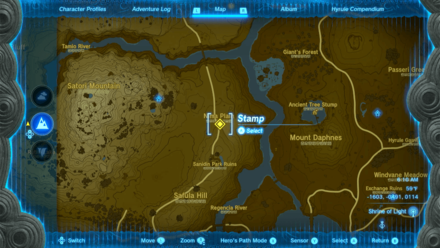 Enlarge Enlarge |
 Enlarge Enlarge |
| Coordinates: -1603, -0491, 0114 Solution: Build a stand using the nearby wooden materials. Slide a wooden board behind the Hudson sign to hold it in position. |
|
All Hudson Sign Locations: How to Help Addison's Signs Stand
Hyrule Ridge Points of Interest
Cave Locations and Coordinates
| Overworld Location | Coordinates |
|---|---|
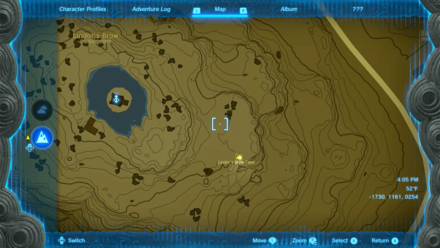 Enlarge EnlargeLindor's Brow Cave |
-1737, 1167, 0229 |
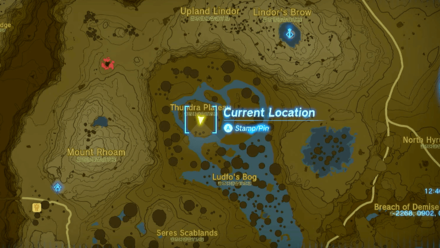 Enlarge EnlargeThundra Plateau Cave |
-2269, 0900, 0097 |
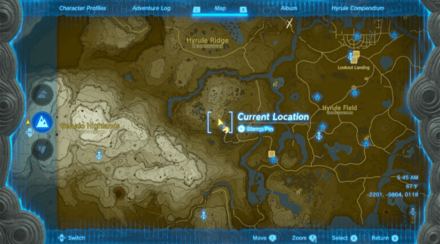 Enlarge EnlargeSatori Mountain Foothill Cave |
-2201, -0804, 0118 |
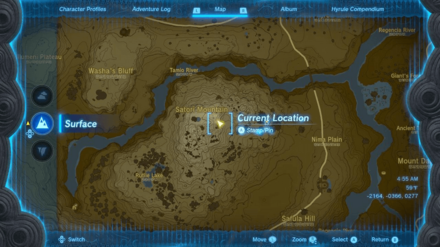 Enlarge EnlargeSatori Mountain Cave |
-2164, -0366, 0277 |
Well Locations and Coordinates
| Overworld Location | Coordinates |
|---|---|
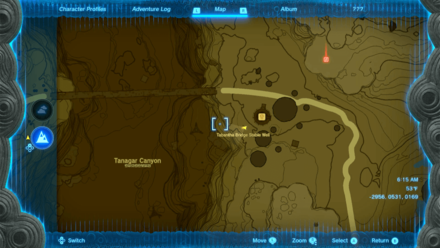 Enlarge EnlargeTabantha Bridge Stable Well |
-2956, 0531, 0169 |
Notable Map Locations
| Overworld Location | Coordinates |
|---|---|
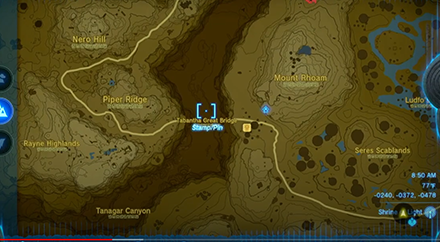 Enlarge EnlargeTabantha Great Bridge |
-3008, 0585, 0172 |
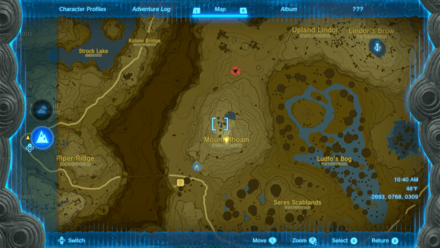 Enlarge EnlargeMount Rhoam |
-2963, 0768, 0309 |
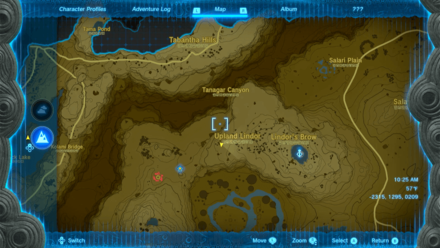 Enlarge EnlargeUpland Lindor |
-2315, 1295, 0209 |
 Enlarge EnlargeLindor's Brow |
1953, 1337, 0273 |
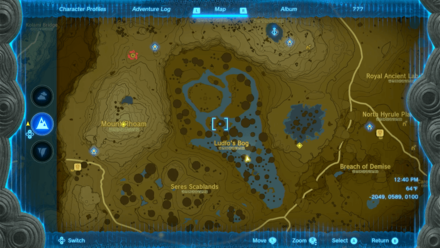 Enlarge EnlargeLudfo's Bog |
-2049, 0589, 0100 |
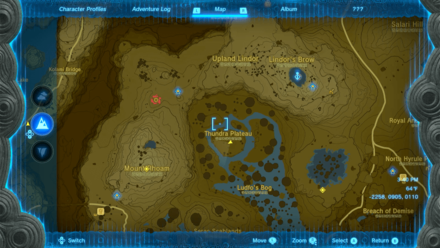 Enlarge EnlargeThundra Plateau |
-2256, 0905, 0110 |
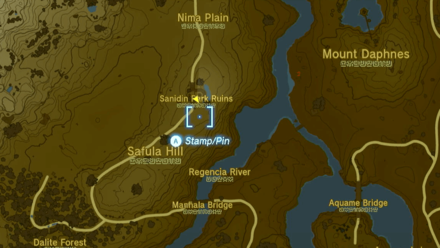 Enlarge EnlargeSanidin Park Ruins |
-1643, -0691, 0139 |
The Legend of Zelda: Tears of the Kingdom Related Guides

Interactive Map of Hyrule:
All Locations and Map Icons
All Area Maps and Locations
| Hyrule Map Locations | |||||
|---|---|---|---|---|---|
Other Maps
List of Surface Regions
Comment
Author
The Legend of Zelda: Tears of the Kingdom Walkthrough & Guides Wiki
Hyrule Ridge Region Map: Korok Seed Locations, Shrines, and Quests
improvement survey
03/2026
improving Game8's site?

Your answers will help us to improve our website.
Note: Please be sure not to enter any kind of personal information into your response.

We hope you continue to make use of Game8.
Rankings
- We could not find the message board you were looking for.
Gaming News
Popular Games

Genshin Impact Walkthrough & Guides Wiki

Honkai: Star Rail Walkthrough & Guides Wiki

Umamusume: Pretty Derby Walkthrough & Guides Wiki

Pokemon Pokopia Walkthrough & Guides Wiki

Resident Evil Requiem (RE9) Walkthrough & Guides Wiki

Monster Hunter Wilds Walkthrough & Guides Wiki

Wuthering Waves Walkthrough & Guides Wiki

Arknights: Endfield Walkthrough & Guides Wiki

Pokemon FireRed and LeafGreen (FRLG) Walkthrough & Guides Wiki

Pokemon TCG Pocket (PTCGP) Strategies & Guides Wiki
Recommended Games

Fire Emblem Heroes (FEH) Walkthrough & Guides Wiki

Diablo 4: Vessel of Hatred Walkthrough & Guides Wiki

Yu-Gi-Oh! Master Duel Walkthrough & Guides Wiki

Super Smash Bros. Ultimate Walkthrough & Guides Wiki

Pokemon Brilliant Diamond and Shining Pearl (BDSP) Walkthrough & Guides Wiki

Elden Ring Shadow of the Erdtree Walkthrough & Guides Wiki

Monster Hunter World Walkthrough & Guides Wiki

The Legend of Zelda: Tears of the Kingdom Walkthrough & Guides Wiki

Persona 3 Reload Walkthrough & Guides Wiki

Cyberpunk 2077: Ultimate Edition Walkthrough & Guides Wiki
All rights reserved
© Nintendo. The Legend of Zelda and Nintendo Switch are trademarks of Nintendo.
The copyrights of videos of games used in our content and other intellectual property rights belong to the provider of the game.
The contents we provide on this site were created personally by members of the Game8 editorial department.
We refuse the right to reuse or repost content taken without our permission such as data or images to other sites.


![Monster Hunter Stories 3 Review [First Impressions] | Simply Rejuvenating](https://img.game8.co/4438641/2a31b7702bd70e78ec8efd24661dacda.jpeg/thumb)
![Slay the Spire 2 Review [Early Access] | Still the Deckbuilder to Beat](https://img.game8.co/4433115/44e19e1fb0b4755466b9e516ec7ffb1e.png/thumb)


