Faron Grasslands Region Map: Korok Seed Locations, Shrines, and Quests
▲ Get Pristine Weapons from the depths!
△ All 1000 Koroks | All 4 Great Fairies
▲ 81 Addison Signs | 147 Caves | 58 Wells
△ Tips: Farm Rupees | Starting Armor
▲ Best Weapons | Best Armor | Best Food
Faron Grasslands is a region found in the Surface of Hyrule in The Legend of Zelda: Tears of the Kingdom (TotK). Read on to see the full Faron Grasslands region map, as well as locations for Korok Seeds, Shrines, Quests, and other points of interest found within the Faron Grasslands!
List of Contents
Faron Grasslands Region Map
Faron Grasslands Full Map
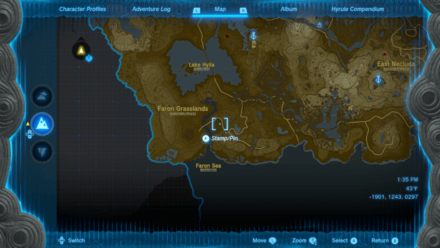 Enlarge EnlargeView Full Image |
Faron Grasslands Shrine Locations
Shrine Map Locations and Coordinates
| Location | Coordinates |
|---|---|
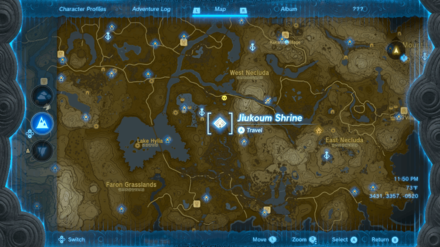 Enlarge EnlargeJiukoum Shrine (Built For Rails) |
0867, -2279, 0141 |
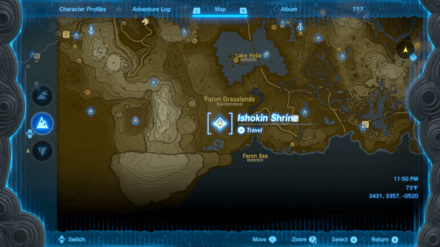 Enlarge EnlargeIshokin Shrine (Rauru's Blessing) |
-0565, -3524, 0129 |
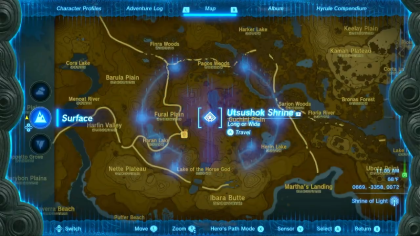 Enlarge EnlargeUtsushok Shrine (Long or Wide) |
Video Guide 0669, -3358, 0072 |
Faron Grasslands Korok Seed Locations
Korok Seed Locations and Coordinates
| Overworld | Location Details |
|---|---|
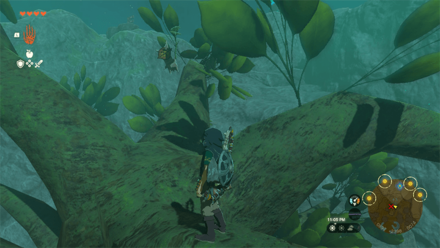 Enlarge EnlargeKorok Seed |
Start Coordinates 0885, -2424, 0065 End Coordinates 0888, -2934, 0075 Step on the tree stump and race towards the ring before time runs out. |
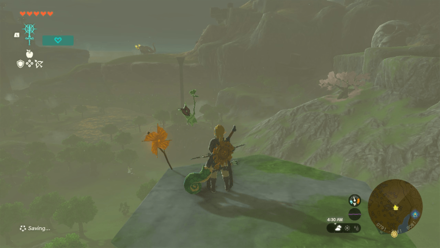 Enlarge EnlargeKorok Seed |
Start Coordinates 0791, -3341, 0081 Climb on top of the pillar and shoot the floating balloons near it. |
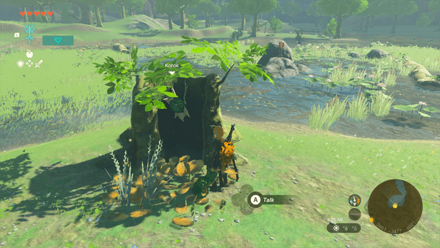 Enlarge EnlargeKorok Seed |
Start Coordinates 0951, -3477, 0021 Interact with the Sparkles near the tree stump being pointed by the red arrow signs around the area. |
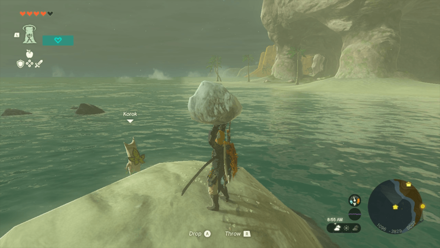 Enlarge EnlargeKorok Seed |
Start Coordinates 1096, -3829, 0002 Swim towards the rock near the beach and pick up the stone to reveal the Korok. |
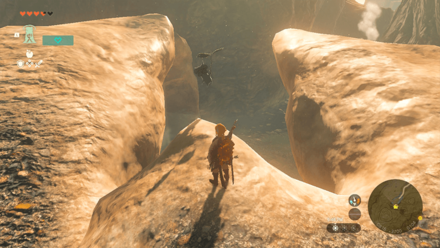 Enlarge EnlargeKorok Seed |
Start Coordinates 0813, -3717, 0107 End Coordinates 0816, -3700, 0104 Follow the yellow flowers until you reach the white flower on the other side of the canyon. |
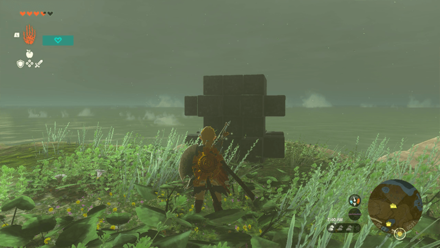 Enlarge EnlargeKorok Seed |
Start Coordinates 0572, -3850, 0030 Fill in the Metal Box in the second layer to reveal the Korok. |
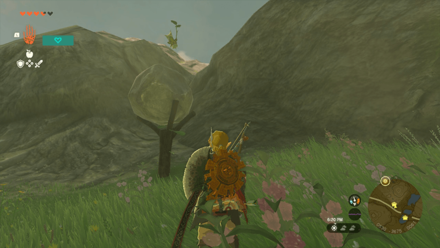 Enlarge EnlargeKorok Seed |
Start Coordinates 0529, -3667, 0063 Place the nearby boulder ontop of the wooden pedestal to reveal the Korok. |
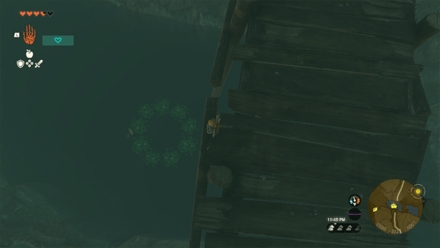 Enlarge EnlargeKorok Seed |
Start Coordinates 0594, -3726, 0061 Jump into the middle of the ring of water lilies beneath Horse God Bridge. |
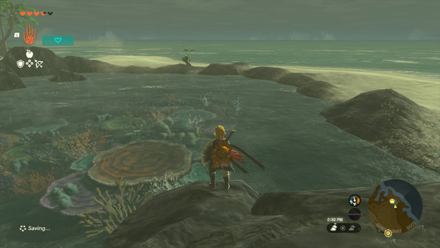 Enlarge EnlargeKorok Seed |
Start Coordinates 0259, -3891, 0002 Shoot the acorn floating in the middle of the pond. |
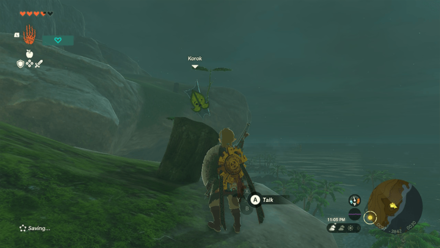 Enlarge EnlargeKorok Seed |
Start Coordinates 0100, -3842, 0031 Using Ultrahand, attach all the rocks to the cork and throw it off the Cliff to pull the opposite cork out. |
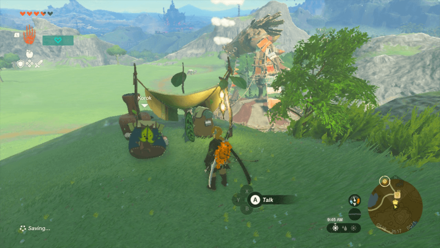 Enlarge EnlargeKorok Seed x2 |
Start Coordinates 0521, -3482, 0048 End Coordinates 0518, -3517, 0071 Reunite the Korok with his friend located on top of the mountain ridge. |
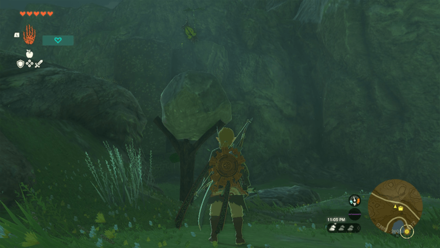 Enlarge EnlargeKorok Seed |
Start Coordinates 0389, -3605, 0072 Place the nearby boulder ontop of the wooden pedestal to reveal the Korok. |
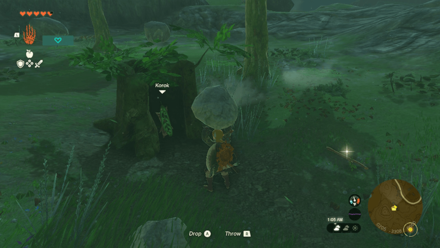 Enlarge EnlargeKorok Seed |
Start Coordinates 0205, -3308, 0060 Pick up the lone rock hiding in the destroyed tree trunk. |
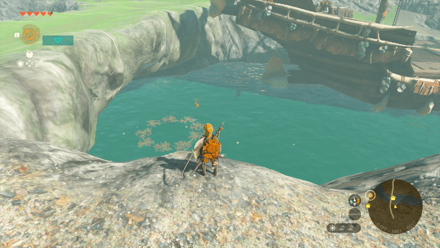 Enlarge EnlargeKorok Seed |
Start Coordinates -0108, -3427, 0015 Dive into the middle of the ring of water lilies near the ship. |
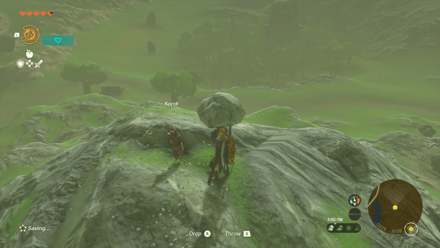 Enlarge EnlargeKorok Seed |
Start Coordinates -0225, -3339, 0071 Pick up the lone rock on top of the hill. |
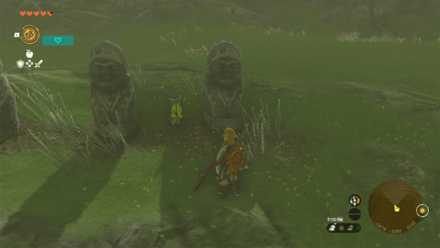 Enlarge EnlargeKorok Seed |
Start Coordinates -0415, -3370, 0032 Chase the moving sparkles circling around the ritual statues. |
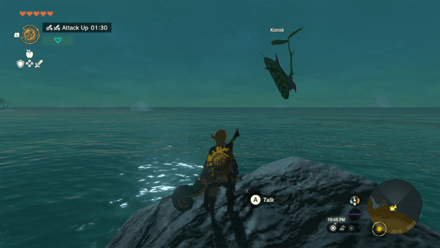 Enlarge EnlargeKorok Seed |
Start Coordinates -0242, -3917, 0004 Interact with the Sparkles on top of the southernmost rock. |
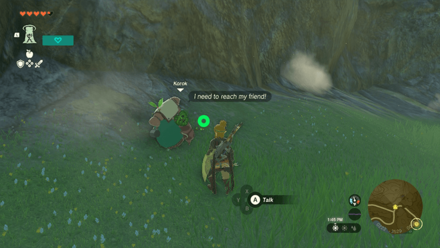 Enlarge EnlargeKorok Seed x2 |
Start Coordinates 0222, -3529, 0068 End Coordinates 0049, -3393, 0025 Reunite the Korok with his friend on the other side of the ridge. |
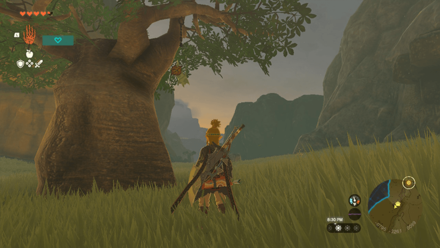 Enlarge EnlargeKorok Seed |
Start Coordinates -0799, -3259, 0089 Shoot the acorn hanging on top of the tree. |
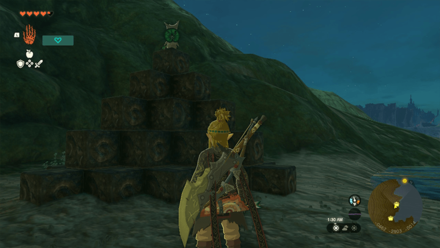 Enlarge EnlargeKorok Seed |
Start Coordinates -0464, -2900, -0014 Insert the metal blocks in the third layer to form a tower-like structure. |
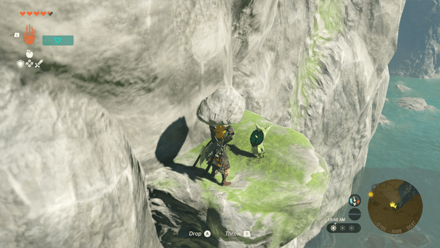 Enlarge EnlargeKorok Seed |
Start Coordinates -0152, -3068, 0037 Pick up the lone rock on a ledge on the side of the cliff. |
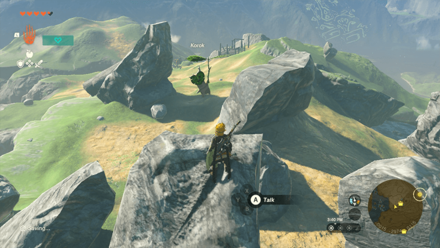 Enlarge EnlargeKorok Seed |
Start Coordinates -0038, -2962, 0111 End Coordinates -0015, -2974, 0115 Follow the yellow flowers around the stone structures until you reach the white flower. |
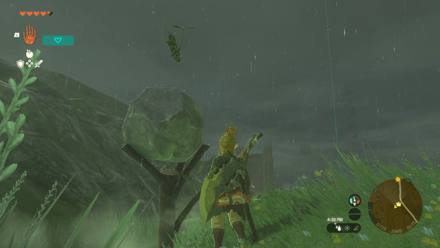 Enlarge EnlargeKorok Seed |
Start Coordinates 0117, -2963, 0034 Place the nearby boulder ontop of the wooden pedestal to reveal the Korok. |
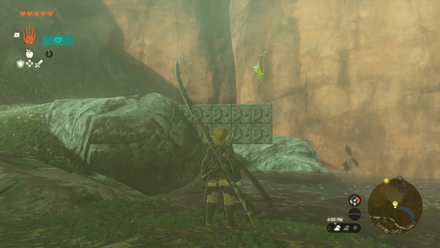 Enlarge EnlargeKorok Seed |
Start Coordinates 0699, -2953, 0014 Insert the small blocks in the lower left corner of the main block set. |
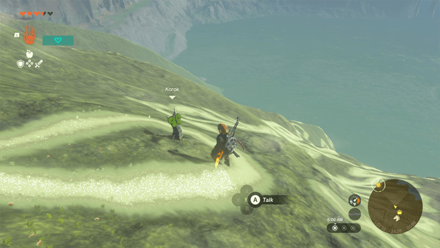 Enlarge EnlargeKorok Seed |
Start Coordinates -0711, -2625, 0099 Pick up the rock on the mountain slope. |
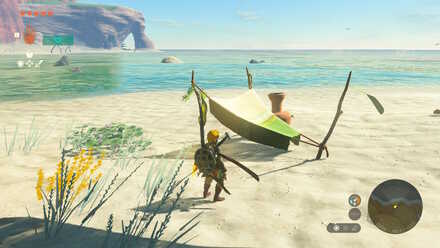 Enlarge EnlargeKorok Seed x2 |
Start Coordinates 1392, 3637, 0001 End Coordinates 0995, -3803, 0001 Take the Korok to his friend on the other side of the beach. |
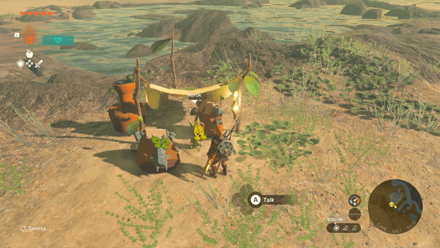 Enlarge EnlargeKorok Seed x2 |
Start Coordinates 0055, -3760, 0003 End Coordinates 0395, -3861, 0000 Take the Korok to his friend beside the lagoon. |
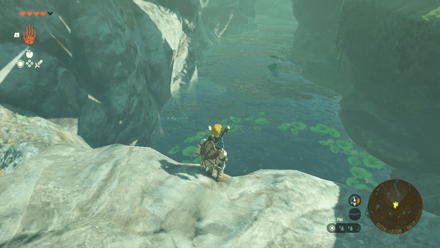 Enlarge EnlargeKorok Seed |
Start Coordinates 0782, -2763, 0006 Dive into the middle of the lilypad circle in the water. |
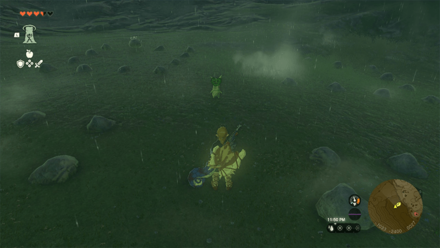 Enlarge EnlargeKorok Seed |
Start Coordinates -1038, -2397, 0028 Pick up the nearby rocks and place it in the gaps of the rock square formations. |
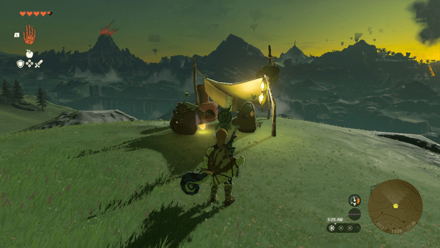 Enlarge EnlargeKorok Seed x2 |
Start Coordinates -0307, -3290, 0024 End Coordinates -0594, -3335, 0138 Take the Korok to its friend on Zokassa Ridge. |
Korok Seed Map: All Korok Seed Locations
Faron Grasslands Stables
All Stable Locations
| Overworld Location | Coordinates |
|---|---|
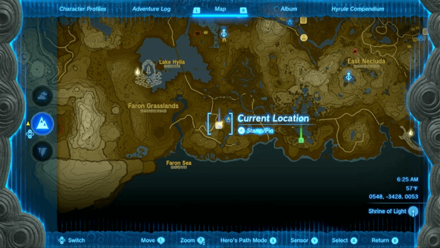 Enlarge EnlargeHighland Stable |
0548, -3428, 0053 |
Faron Grasslands Quests
Main Quests
| Quest | Coordinates |
|---|---|
|
Guidance from Ages Past |
1363, -3263, 0431 |
Side Quests
| Quest | Coordinates |
|---|---|
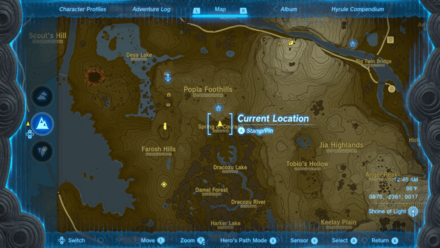 Enlarge EnlargeGoddess Statue of Courage |
0875, -2361, 0017 |
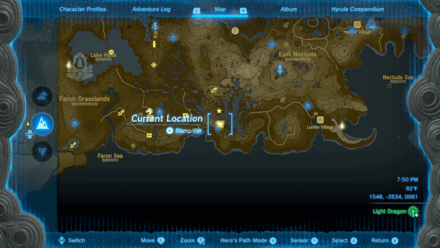 Enlarge EnlargeA Picture for Lakeside Stable |
1551, -3533, 0061 |
 Enlarge EnlargeA Picture for Highland Stable |
0523, -3458, 0047 |
Side Adventures
| Quest | Coordinates |
|---|---|
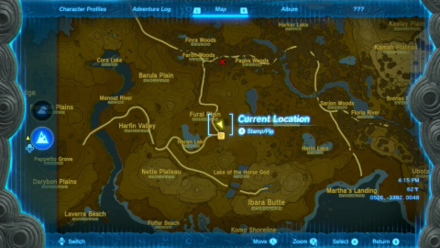 Enlarge EnlargeThe Flute Player's Plan |
0528, -3394, 0056 |
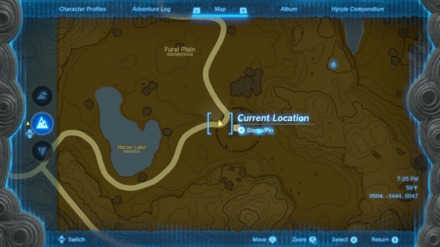 Enlarge EnlargeAn Eerie Voice |
0504, -3444, 0047 |
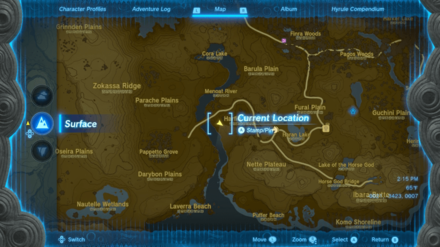 Enlarge EnlargeBring Peace to Faron |
-0021, 3423, 0007 |
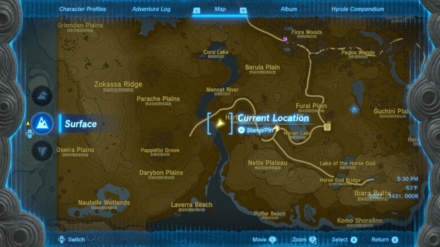 Enlarge EnlargeBring Peace to Hebra |
-0027, 3431, 0008 |
Faron Grasslands Hudson Signs
Addison Sign Locations
| Location | Solution |
|---|---|
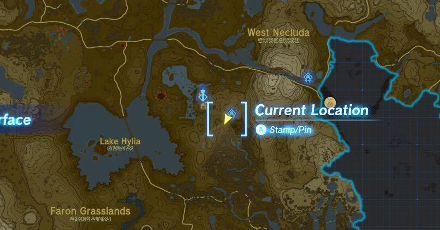 Enlarge Enlarge |
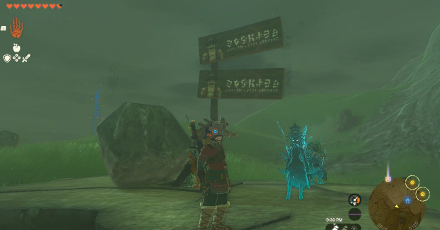 Enlarge Enlarge |
| Coordinates: 0824, -2327, 0120 Solution: Place a rock at the bottom of the sign to keep it from falling. |
|
 Enlarge Enlarge |
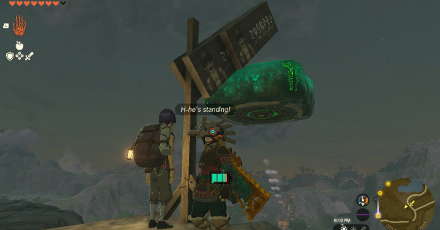 Enlarge Enlarge |
| Coordinates: 0254, -3456, 0077 Solution: Use the floating Zonai device to prop the sign up. |
|
 Enlarge Enlarge |
 Enlarge Enlarge |
| Coordinates: -0205, -3486, 0024 Solution: Slide a plank into the slot to use as a base for the sign. |
|
All Hudson Sign Locations: How to Help Addison's Signs Stand
Faron Grasslands Points of Interest
Cave Locations and Coordinates
| Overworld Location | Coordinates |
|---|---|
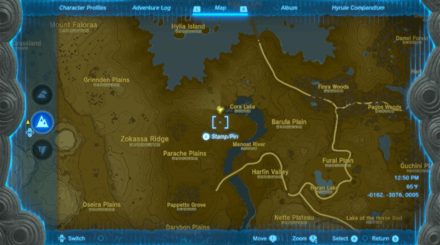 Enlarge EnlargeCora Lakefront Cave |
-0162, -3076, 0005 |
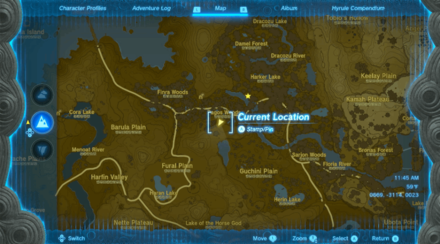 Enlarge EnlargePagos Woods Excavation Site |
0669, -3114, 0023 |
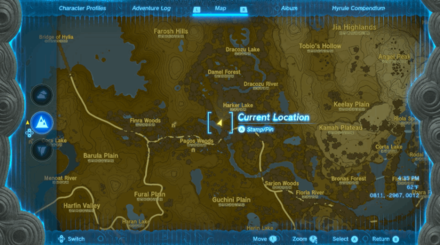 Enlarge EnlargeFloria River Upstream Excavation |
0811, -2967, 0012 |
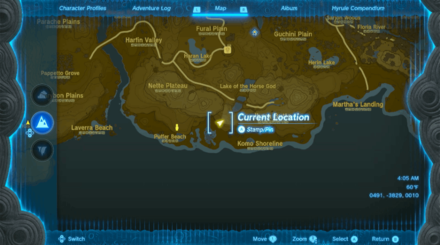 Enlarge EnlargeKomo Shoreline Cave |
0491, -3829, 0010 |
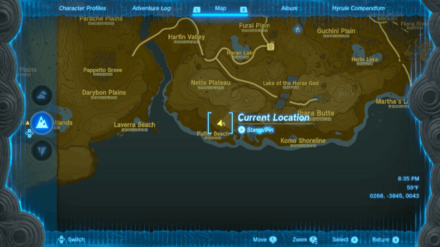 Enlarge EnlargePuffer Beach Overhead Cave |
0268, -3845, 0043 |
Well Locations and Coordinates
| Overworld Location | Coordinates |
|---|---|
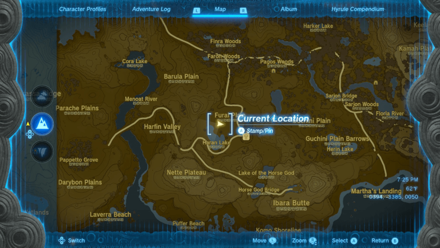 Enlarge EnlargeHaran Lakefront Well |
0393, -3386, 0050 |
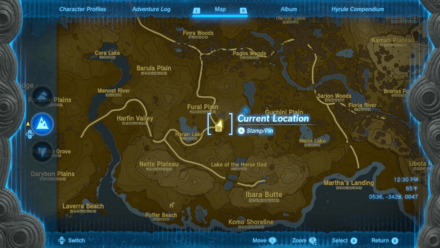 Enlarge EnlargeHighland Stable Well |
0536, -3428, 0047 |
The Legend of Zelda: Tears of the Kingdom Related Guides

Interactive Map of Hyrule:
All Locations and Map Icons
All Area Maps and Locations
| Hyrule Map Locations | |||||
|---|---|---|---|---|---|
Other Maps
List of Surface Regions
Comment
Author
The Legend of Zelda: Tears of the Kingdom Walkthrough & Guides Wiki
Faron Grasslands Region Map: Korok Seed Locations, Shrines, and Quests
improvement survey
03/2026
improving Game8's site?

Your answers will help us to improve our website.
Note: Please be sure not to enter any kind of personal information into your response.

We hope you continue to make use of Game8.
Rankings
- We could not find the message board you were looking for.
Gaming News
Popular Games

Genshin Impact Walkthrough & Guides Wiki

Honkai: Star Rail Walkthrough & Guides Wiki

Umamusume: Pretty Derby Walkthrough & Guides Wiki

Pokemon Pokopia Walkthrough & Guides Wiki

Resident Evil Requiem (RE9) Walkthrough & Guides Wiki

Monster Hunter Wilds Walkthrough & Guides Wiki

Wuthering Waves Walkthrough & Guides Wiki

Arknights: Endfield Walkthrough & Guides Wiki

Pokemon FireRed and LeafGreen (FRLG) Walkthrough & Guides Wiki

Pokemon TCG Pocket (PTCGP) Strategies & Guides Wiki
Recommended Games

Diablo 4: Vessel of Hatred Walkthrough & Guides Wiki

Fire Emblem Heroes (FEH) Walkthrough & Guides Wiki

Yu-Gi-Oh! Master Duel Walkthrough & Guides Wiki

Super Smash Bros. Ultimate Walkthrough & Guides Wiki

Pokemon Brilliant Diamond and Shining Pearl (BDSP) Walkthrough & Guides Wiki

Elden Ring Shadow of the Erdtree Walkthrough & Guides Wiki

Monster Hunter World Walkthrough & Guides Wiki

The Legend of Zelda: Tears of the Kingdom Walkthrough & Guides Wiki

Persona 3 Reload Walkthrough & Guides Wiki

Cyberpunk 2077: Ultimate Edition Walkthrough & Guides Wiki
All rights reserved
© Nintendo. The Legend of Zelda and Nintendo Switch are trademarks of Nintendo.
The copyrights of videos of games used in our content and other intellectual property rights belong to the provider of the game.
The contents we provide on this site were created personally by members of the Game8 editorial department.
We refuse the right to reuse or repost content taken without our permission such as data or images to other sites.


