Best Monowire Build
★ Coming to Switch 2
★ New: Metro System, Car Racing, Romantic Hangouts
★ Phantom Liberty: Dogtown Map & Relics System
★ See our Best Builds here!
┗ HOT: Blades Build, Netrunner Build, & Assassin Build
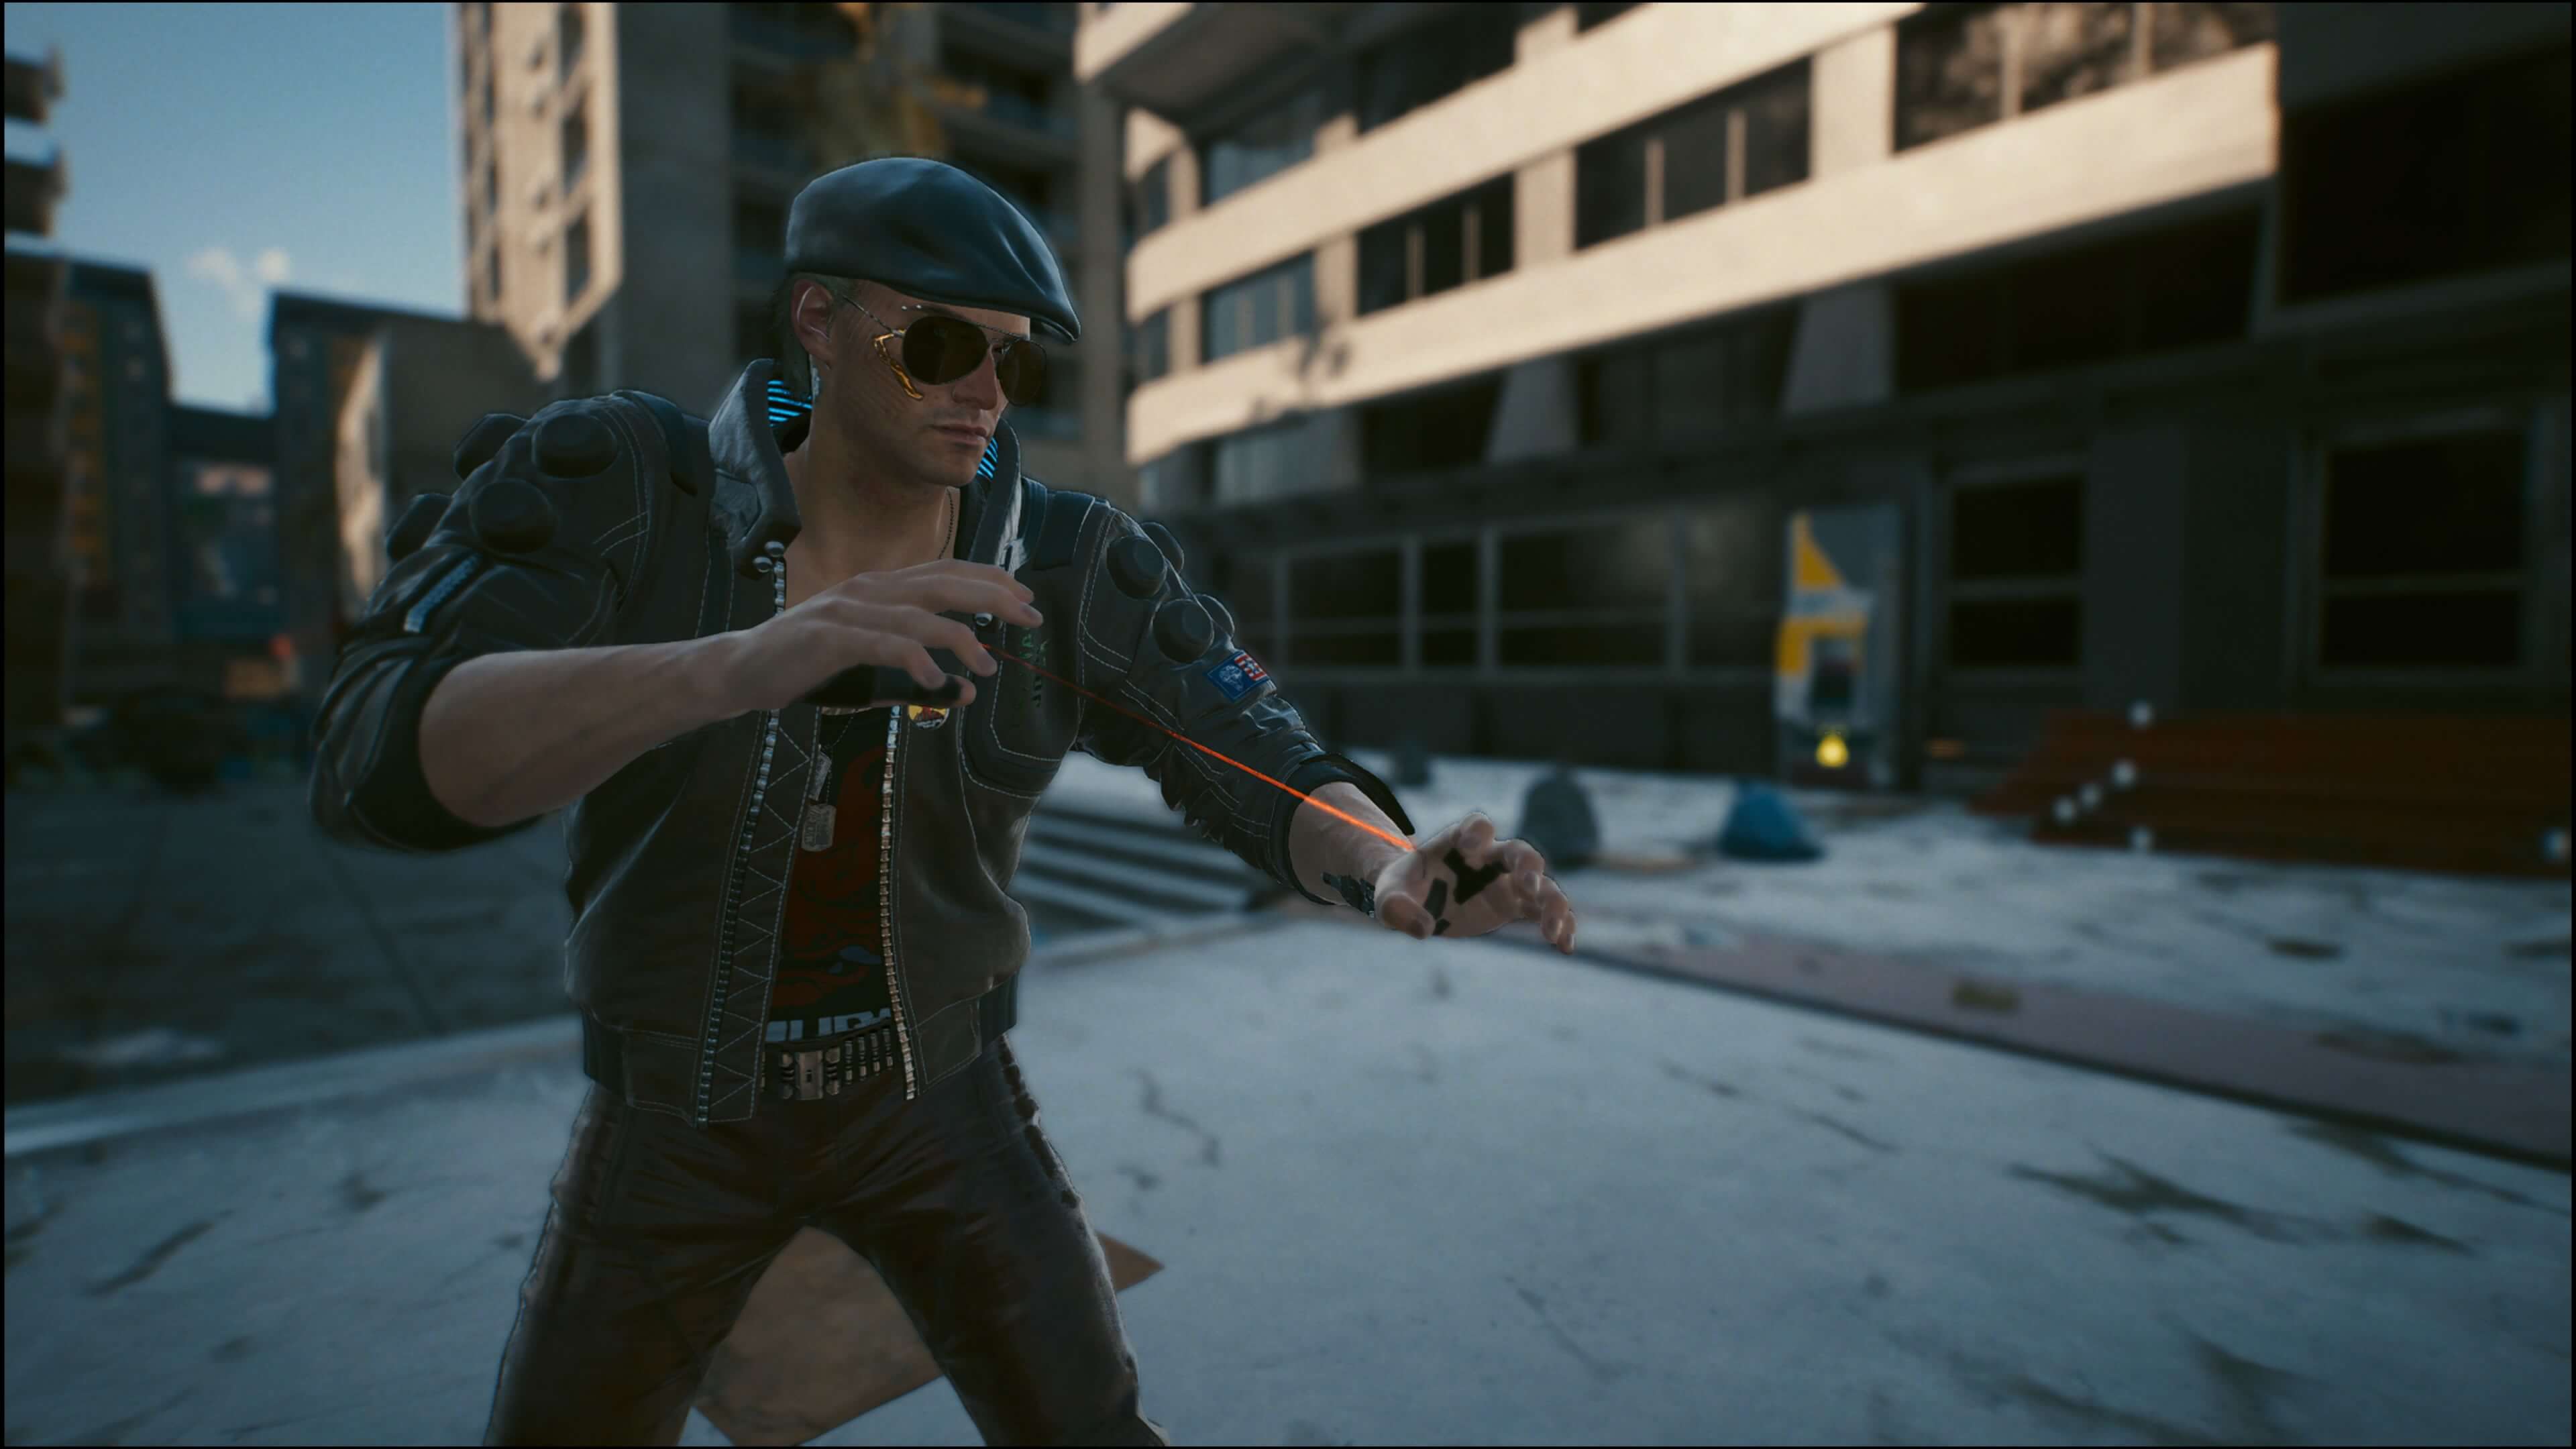
Here is the best Monowire Build for Cyberpunk 2077: Phantom Liberty. Check out details about the build, what attributes to level up, which perks to choose, and what weapons and cyberware to use to in this guide.
List of Contents
Monowire Build Overview
Build Basic Information
| Monowire Build | |
|---|---|
| Main Attributes | |
| Quickhacks | ・Contagion ・Cyberware Malfunction ・Cripple Movement |
| Main Weapons / Arm Cyberware | ・Thermal Monowire Blades: ・Byakko Revolver: ・Archangel / Ol' Reliable Sniper: ・Overwatch / Rasetsu |
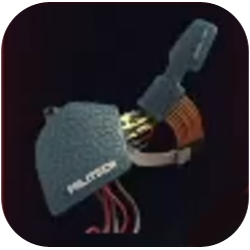
| Operating System | Militech Paraline MK.4 |
Strengths and Weaknesses
Strengths
This build's focus is to maximize your Monowire damage. Engage and end fights with your thermal string of death and watch your enemies burn!
Weaknesses
You have to be extra wary of your health while using Overclock to extend your RAM; enemies can easily flatline you with your decreased health.
Monowire Build Best Attributes
Attribute Progression
| Build Attributes | |||||
|---|---|---|---|---|---|
| Lv. | Body | Reflex | Tech | Intel | Cool |
| 1 | 4 | 5 | 3 | 6 | 4 |
| 10 | 4 | 5 | 3 | 15 | 4 |
| 50 | 15 | 15 | 6 | 20 | 15 |
| 60 | 15 | 20 | 11 | 20 | 15 |
The max level is only up until 50 in the base game. Purchase Phantom Liberty to reach level 60.
Always invest on the Intelligence attribute to get both the Finisher: Live Wire and Siphon perks for your Monowire. Then, acquire the Overclock perk, which will extend your RAM to easily upload quickhacks at the cost of your health. Finally, use your remaining perk points on ones that reduce upload time and on perks such as Sublimation and Power Surge to help with survivability.
Next, use your attribute points to max out the Reflexes attribute. This is to unlock the Dash and Air Dash perks, making you more mobile during fights. This attribute will also benefit Blade gameplay.
Put points into the Body attribute until you get Adrenaline Rush. Not only will this increase health and health item effects, but this will also grant you boosts in damage and movement speed every time you use a health item.
For the Cool attribute, take the Focus and Deadeye perks to help with your Revolver gameplay. For a more stealthy approach, put points into the Ninjutsu perk.
In Phantom Liberty, when you get the maximum level of 60, put your additional points into the Technical Ability attribute and acquire perks that will synergize with your health item usage.
Monowire Build Best Perks
This is the full list of 2.0 perks that you can get if you achieve the maximum level 60 with the Phantom Liberty DLC. Optional perks are also listed in their own section in case you have not purchased the DLC.
| Jump to Each Attribute for Their Perks! | |||
|---|---|---|---|
| Optional Perks | |||
Intelligence
Always focus on getting the Finisher: Live Wire and Siphon perks first for your Monowire. Then, acquire Overclock and upload speed-related perks to make quickhacks more effective.
Perk List
| Main Perk | Secondary Perk(s) |
|---|---|
|
(1 pt) |
|
|
(1 pt) |
Main Perk Only |
|
(2 pt) |
|
|
(2 pt) |
|
|
(3 pt) |
|
|
(3 pt) |
Final Perks
| Final Perks | |||
|---|---|---|---|
|
|
|
||
Reflexes
Acquire the Air Dash and Dash perks to make you more mobile during fights. These perks will make it easier for you to get close to enemies and slice them up with your Monowire. Also acquire Lead and Steel and Finisher: Bladerunner for your Blade playstyle.
Perk List
| Main Perk | Secondary Perk(s) |
|---|---|
|
(1 pt) |
|
|
(2 pt) |
|
|
(2 pt) |
Main Perk Only |
|
(3 pt) |
|
|
(3 pt) |
Main Perk Only |
Final Perks
| Final Perks | |||
|---|---|---|---|
|
|
|||
Vehicle Perk
| Vehicle Perk | ||
|---|---|---|
|
|
||
Cool
Make your Revolver usage more effective by acquiring the Focus and Deadeye perks. For situations where you need to be stealthy, put points into the Ninjutsu perk.
Perk List
| Main Perk | Secondary Perk(s) |
|---|---|
|
(1 pt) |
Main Perk Only |
|
(2 pt) |
|
|
(3 pt) |
|
|
(3 pt) |
Body
Acquire Adrenaline Rush as soon as you can to boost your movement speed and damage while its activated. This attribute also helps manage your health better whenever Overclock is active.
Perk List
| Main Perk | Secondary Perk(s) |
|---|---|
|
(1 pt) |
|
|
(3 pt) |
Technical Ability
Technical Ability acts like a support attribute to Adrenaline Rush. This attribute can help your health items become more effective, keeping you alive longer during fights.
Perk List
| Main Perk | Secondary Perk(s) |
|---|---|
|
(1 pt) |
|
|
(2 pt) |
|
|
(2 pt) |
Vehicle Perk
| Vehicle Perk | ||
|---|---|---|
|
|
||
Optional Perks
If you still have not purchased the Phantom Liberty DLC and have no access to the 10 additional perk points that came with it, these perks are optional and can be removed.
| Removable Perks (10 pts) | |
|---|---|
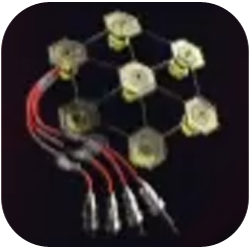
Monowire Build Relic Skill Priority
Take Jailbreak and Data Tunneling First
| Priority | Main Skill | → | Branch Skill |
|---|---|---|---|
| 1st |
|
→ |
|
| 2nd |
|
||
| 3rd |
|
||
Take the Jailbreak relic skill first then branch off to Data Tunneling.
Jailbreak gives your Monowire an additonal slot for a Quickhack that you can use without any RAM cost. This will make your Monowire gameplay more effective, especially when slotting in the Cripple Movement quickhack!
When you have enough points, make sure to take Emergency Cloaking next. This improves on your Optical Camo which helps you survive when you get detected by enemies.
The last branch to take here is Vulnerability Analytics. This essentially improves on your other weapons by introducing weakspots on enemies. Slice these weakspots up to double your Monowire damage!
Relic Skill Tree Available in the DLC
Please take note that the Phantom Liberty expansion is needed to access the Relic Skill Tree.
Relic Skill Tree Guide and List
Monowire Build Recommended Weapons
Base Game Only
| Recommended Weapons (Base Game only) |
||
|---|---|---|
| Archangel | Overwatch | Byakko |
- Use Archangel as your backup weapon. This can easily neutralize enemies as long as you land your headshots.
- For enemies that are too far, snipe them out of existence with the Overwatch, courtesy of our Nomad friend, Panam.
- When Monowire attacks get too stale, use the Byakko Katana to slice enemies up.
Base Game + Phantom Liberty DLC
| Recommended Weapons (with Phantom Liberty) |
||
|---|---|---|
| Ol' Reliable | Rasetsu | Byakko |
- You'll get guaranteed Crit Hits when Deadye is active. The Ol' Reliable Power Revolver adds more Crit Damage with every headshot, making this the best revolver to use.
- For a powerful Sniper Rifle, pick up the Rasetsu Tech Sniper for huge long-range damage. You can automatically get this during the You Know My Name gig.
- No need to look for a replacement for the Byakko Katana; it's still as deadly in Dogtown!
Monowire Build Best Cyberwares
Monowire Cyberware Selection
| Jump to Each Cyberware! | |||
|---|---|---|---|
| Operating System | Arms | Face | Hands |
| Circulatory System | Legs | Frontal Cortex | Skeleton |
| Nervous System | Integumentary System | ||
Operating System
| Cyberware | Effect (Tier 5) |
|---|---|
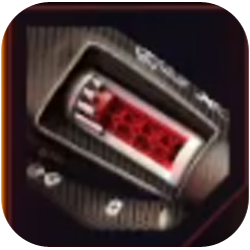
 Militech Paraline MK.4 Militech Paraline MK.4
|
Allows you to perform quickhacks on enemies and devices while scanning. +10% quickhack damage +2% Monowire damage per used RAM unit (max. 30%). When uploading a quickhack to an enemy, shooting them with a Smart weapon will accelerate upload speed. When Overclock is active: Smart weapons and Monowire deal bonus Electrical damage equal to 25% of normal attack damage. |
The Militech Paraline MK.4 increases your Monowire damage as long as you spend your RAM, which synergizes well with uploading quickhacks. It also grants bonus Electrical damage as long as Overclock is active, so this Cyberdeck is the best one to use for this build.
▲ Back to Cyberware Selection ▲
Arms
| Cyberware | Effect (Tier 5) |
|---|---|
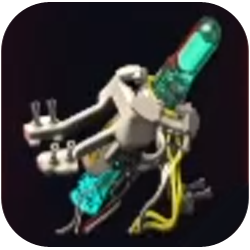
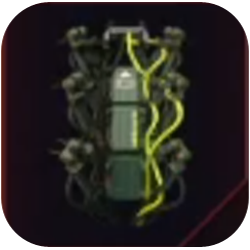
 Thermal Monowire Thermal Monowire
|
+3.1% Melee Damage +0.16 RAM Regen from neutralizing an enemy |
The Thermal Monowire deals Thermal Damage, which can detonate the leaked substances from uploading the Contagion quickhack. This make this the best Monowire to use for this build.
▲ Back to Cyberware Selection ▲
Face
| Cyberware | Effect (Tier 5) |
|---|---|
 Kiroshi "Sentry" Optics Kiroshi "Sentry" Optics
|
Effect active when scanning: Highlights cameras and turrets within 35m. |
The Kiroshi "Sentry" Optics is attuned to your Intelligence attribute, which increases all damage dealt per point, including quickhack damage.
Alternative Phantom Liberty Cyberware
| Cyberware | Effect (Tier 5) |
|---|---|
 Kiroshi "Cockatrice" Optics Kiroshi "Cockatrice" Optics
|
Increases Crit Chance by 30%. 10x optical zoom when scanning or aiming. |
The Kiroshi "Cockatrice" Optics increases Crit Chance, greatly contributing to your DPS.
▲ Back to Cyberware Selection ▲
Hands
| Cyberware | Effect (Tier 5) |
|---|---|
 Shock Absorber Shock Absorber
|
-20% Recoil |
Shock Absorber reduces recoil, making your Revolver much more accurate.
▲ Back to Cyberware Selection ▲
Circulatory System
| Cyberware | Effect (Tier 5) |
|---|---|
 Adrenaline Booster Adrenaline Booster
|
Stamina +23% whenever you use a melee weapon to neutralize an enemy. |
 Heal-on-Kill Heal-on-Kill
|
Health +7% when you neutralize an enemy. |
 Microrotors Microrotors
|
Increase melee attack speed by 23%. (Melee attack speed cannot exceed 2 attacks per second.) |
Heal-On-Kill helps you survive the onslaught you will bring to your enemies while Adrenaline Booster and Microrotors help your melee attacks become much more effective.
▲ Back to Cyberware Selection ▲
Legs
| Cyberware | Effect (Tier 5) |
|---|---|
 Reinforced Tendons Reinforced Tendons
|
Press Space Bar in midair to perform a double jump. |
Reinforced Tendons enables double jump. Use this option to regroup when things go bad or when there are too many enemies nearby.
▲ Back to Cyberware Selection ▲
Frontal Cortex
| Cyberware | Effect (Tier 5) |
|---|---|
 Ram Upgrade Ram Upgrade
|
Increase RAM recovery rate by +0.17 unit(s) per sec. +2 Max RAM. |
 Camillo Ram Manager Camillo Ram Manager
|
Instantly recovers 23% Max RAM when available RAM falls to 20%. +2 Max RAM Cooldown: 100 sec. |
 Bioconductor Bioconductor
|
Allows your quickhacks to deal Crit Hits. 35% Crit Chance with quickhacks. -4 Max RAM. |
Ram Upgrade and Camillo Ram Manager helps with your RAM management. Bioconductor decreases your RAM but you only need the extra crit chance for quickhacks since most of your damage comes from the Monowire anyway.
▲ Back to Cyberware Selection ▲
Skeleton
| Cyberware | Effect (Tier 5) |
|---|---|
 Dense Marrow Dense Marrow
|
+24% melee damage +15% melee Stamina cost |
 Ram Recoup Ram Recoup
|
Receiving damage restores RAM equal to 0.28% of damage received. +2 Max RAM |
Ram Recoup restores RAM based on the damage you take, which is useful for this build since you're going to be up in the face of your enemies a lot. For increased Monowire effectiveness, slot in Dense Marrow.
▲ Back to Cyberware Selection ▲
Nervous System
| Cyberware | Effect (Tier 5) |
|---|---|
 Adrenaline Converter Adrenaline Converter
|
+40% movement speed for 7 sec. when entering combat. |
 Stabber Stabber
|
+16.75% Crit Chance with Blades and throwable weapons. |
The Adrenaline Converter is useful when engaging fights, giving you ample movement speed to close the gap on enemies faster. For extra Blade damage, slot in the Stabber cyberware.
▲ Back to Cyberware Selection ▲
Integumentary System
| Cyberware | Effect (Tier 5) |
|---|---|
 Subdermal Armor Subdermal Armor
|
+0.5 Armor per Attribute Point. +1.3% Decreased enemy vision +2.6 Health |
 Pain Editor Pain Editor
|
-7% all incoming damage +0.1% damage reduction per Attribute Point. +0.5% Mitigation Chance +2.1% Damage Over Time Resistance |
 Cogito Lattice Cogito Lattice
|
+240% Armor from this cyberware when available RAM is below 10 |
These cyberwares will help your survivability by making you more tanky, which will prove useful considering you'll mostly be at melee range with the Monowire.
Since your playstyle with this build is to upload as much quickhacks before slicing them down with Monowire, Cogito Lattice's buff will make you almost unkillable in close-ranged fights!
▲ Back to Cyberware Selection ▲
Monowire Build Best Quickhacks
Contagion
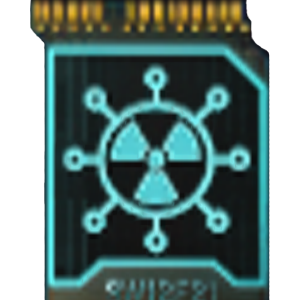 Contagion Contagion |
Type / Stats |
|---|---|
| Combat Quickhack RAM Requirement: 12 Upload Time: 2sec Duration Time: 8sec |
|
| Effects | |
|
▸Infects the enemy with a virus that causes toxic cyberware substances to leak. This deals poison damage over time and can spread to 4 enemy(-ies) within 8 m. Effective against closely grouped enemies. Ineffective against mechs, robots, drones and turrets. Stacks 2 times. ▸Applying a Burn or Overheat effect against an affected enemy will cause the leaked toxic substance to detonate. The explosion removes Contagion's effect. ▸+15% damage with this quickhack against each subsequent enemy it spreads to. |
Upload Contagion before slicing enemies up with your Thermal Monowire. When the burn from you Monowire activates, it will detonate the leaked toxins in enemies from this quickhack, which is great in dealing with large, grouped up enemies.
Cyberware Malfunction
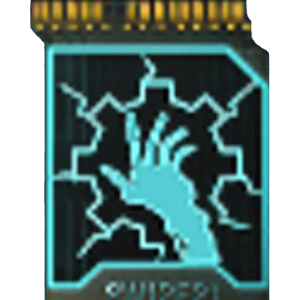 Cyberware Malfunction Cyberware Malfunction |
Type / Stats |
|---|---|
| Control Quickhack RAM Requirement: 4 Upload Time: 0.3sec Duration Time: 10sec |
|
| Effects | |
|
▸Stacks up to 8 times. ▸Disables enemy cyberware for 10 sec. and increases all damage against affected enemy by 5%. ▸At 2 stacks, permanently disables enemy cyberware. ▸At 3 stacks, deals Electrical damage over time. The amount of damage increases with each subsequent stack. ▸At maximum stacks, enemy cyberware overloads, dealing massive damage. Cyberware Malfunction cannot be used on the same enemy again. |
The Cyberware Malfunction quickhack will disable enemy cyberwares, which will greatly support your melee gameplay.
Bonus: Cripple Movement on Monowire
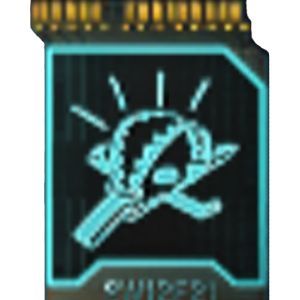 Cripple Movement Cripple Movement |
Type / Stats |
|---|---|
| Control Quickhack RAM Requirement: 6 Upload Time: 0.3sec Duration Time: 13.8sec |
|
| Effects | |
|
▸Disables enemy movement and cyberware that supports movement and dodging. ▸+15% melee damage against affected enemies. ▸Affected enemies are more susceptible to melee Finishers. ▸+5% Health and +2 RAM after performing Finishers on affected enemies. |
Thanks to the Jailbreak and Data Tunneling relic skills, you can now slot in Control Quickhacks in your Monowire. You can upload this quickhack without the RAM cost and spread it across enemies.
We recommend slotting in Cripple Movement to get that additional damage against affected enemies.
How to Play the Monowire Build
Engage by Activating Overclock First
Activate Overclock first before anything else. This will allow you to upload as much quickhacks as you can, maximizing the damage your Monowire can do thanks to the Militech Paraline MK.4. Upload quickhacks like Contagion or Cyberware Malfunction to deal with enemies easier and start slicing away!
Extended RAM Capacity Thanks to the Body and Technical Ability Attribute
The Overclock perk allows you to extend your RAM in exchange for your health. The Adrenaline Rush in the Body attribute is the key to survivability. Along with Health Freak, Glutton for War, and their secondary perks from the Technical Ability attribute, not only will your health items become more effective, but they will also grant you boosts in movement speed and damage.
Upload Control Quickhacks With Your Monowire
Thanks to the Data Tunneling Relic Skill, you can now use your Monowire to upload Control Quickhacks on enemies. Do this by charging your Monowire before attacking. We recommend the Cripple Movement Quickhack for a boost in your melee damage.
Use the Revolver or Sniper Rifle Sparingly
Only use the Revolver or Sniper Rifle you have equipped to engage enemies, target some that are too far away, or when their numbers are low. Should they overwhelm you, best to just slice them up with the Monowire.
Cyberpunk 2077: Phantom Liberty Related Guides

All Build Guides
All Cyberpunk 2077 Guides
Comment
Can we still see the builds before Phantom Liberty? It totally ruined operating systems.
Author

Best Monowire Build
Rankings
- We could not find the message board you were looking for.
Gaming News

![Death Stranding 2: On The Beach [PC] Review | A Port That Delivers](https://img.game8.co/4447392/15310a0c9aa1b6843bb713b2ea216930.jpeg/show)


Popular Games

Genshin Impact Walkthrough & Guides Wiki
Umamusume: Pretty Derby Walkthrough & Guides Wiki
Crimson Desert Walkthrough & Guides Wiki
Monster Hunter Stories 3: Twisted Reflection Walkthrough & Guides Wiki
Honkai: Star Rail Walkthrough & Guides Wiki
Pokemon Pokopia Walkthrough & Guides Wiki
The Seven Deadly Sins: Origin Walkthrough & Guides Wiki
Wuthering Waves Walkthrough & Guides Wiki
Zenless Zone Zero Walkthrough & Guides Wiki
Arknights: Endfield Walkthrough & Guides Wiki


Recommended Games
Fire Emblem Heroes (FEH) Walkthrough & Guides Wiki
Diablo 4: Vessel of Hatred Walkthrough & Guides Wiki
Cyberpunk 2077: Ultimate Edition Walkthrough & Guides Wiki
Yu-Gi-Oh! Master Duel Walkthrough & Guides Wiki
Super Smash Bros. Ultimate Walkthrough & Guides Wiki
Pokemon Brilliant Diamond and Shining Pearl (BDSP) Walkthrough & Guides Wiki
Elden Ring Shadow of the Erdtree Walkthrough & Guides Wiki
Monster Hunter World Walkthrough & Guides Wiki
The Legend of Zelda: Tears of the Kingdom Walkthrough & Guides Wiki
Persona 3 Reload Walkthrough & Guides Wiki


All rights reserved
CD PROJEKT®, Cyberpunk®, Cyberpunk 2077® are registered trademarks of CD PROJEKT S.A. © 2020 CD PROJEKT S.A. All rights reserved. All other copyrights and trademarks are the property of their respective owners.
The copyrights of videos of games used in our content and other intellectual property rights belong to the provider of the game.
The contents we provide on this site were created personally by members of the Game8 editorial department.
We refuse the right to reuse or repost content taken without our permission such as data or images to other sites.
Update 2.0 ruined operating systems, I mean. This monowire build is SUPPOSED to be paired with a QuiaNT Mk. 4 Sandevistan, but now it's ruined because update 2.0 erased it.