Somewhat Damaged Walkthrough: Should You Kill or Spare Songbird?
★ Coming to Switch 2
★ New: Metro System, Car Racing, Romantic Hangouts
★ Phantom Liberty: Dogtown Map & Relics System
★ See our Best Builds here!
┗ HOT: Blades Build, Netrunner Build, & Assassin Build
Somewhat Damaged is a Main Quest in Cyberpunk 2077: Phantom Liberty. Read on for a walkthrough of Somewhat Damaged, if you should kill or spare Songbird, tips and strategies, and all available rewards!
| Previous Quest | Current Quest | Next Quest |
|---|---|---|
| Black Steel in the Hour of Chaos | Somewhat Damaged | Leave in Silence |
List of Contents
Somewhat Damaged Basic Information
Overview
| Quest Type | Main |
|---|---|
| Act | Act 2 |
| Quest No. | 13 |
| Lifepath | All |
How to Unlock Somewhat Damaged
| Quest Unlock Conditions | Complete Black Steel in the Hour of Chaos |
|---|
Somewhat Damaged Walkthrough
Quest Objectives
- Investigate the Area
- Follow Traces of the Blackwall
- Jump Down the Shaft then Access the Terminal
- Find a Way Around the Gate
- Locate Dataterminal Alpha and Bravo
- Hide From the Robot
- Find Dataterminal Sierra
- Find Dataterminal Victor
- Return to the Sealed Gate
- Follow Songbird's Trail
- Find the Neural Network, Datafort Command, and Thermic Rooms
- Do Not Let the Robot Detect You
- Return to the Core Control Room
1. Investigate the Area
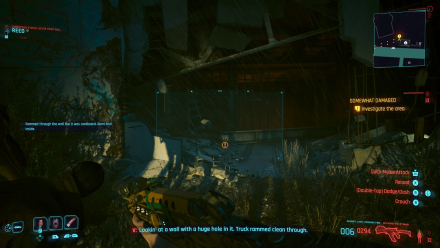
Begin this quest by investigating the area where Songbird crashed the MaxTac truck. Head down the affected building and look for Songbird in the truck. When you get to the truck, you will see traces of the Blackwall and you'll need to look for more of this in the next objective.
2. Follow Traces of the Blackwall
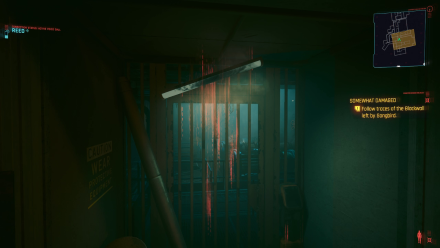
Continue on the path to your left then proceed down the metal walkway where you should see more of the traces on the metal door. To open this door you'll need at least 20 attribute points in Body but if insufficient, you can proceed through the exit hatch in the floor.
3. Jump Down the Shaft then Access the Terminal
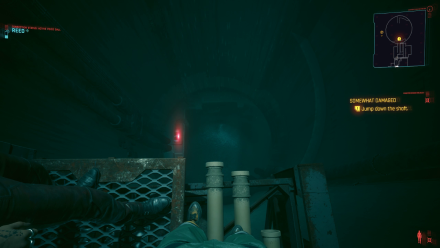
After gaining access to the sealed-off area, continue on the path and follow the objective markers which leads to an open shaft. Jump down the shaft and get out of the water then resume following the Blackwall traces.
Enter the hole beside the Militech logo on the right then jack in at the terminal at the bottom. Songbird will hijack the connection then talk to you. After the dialogue with her, continue following the Blackwall traces.
4. Find a Way Around the Gate
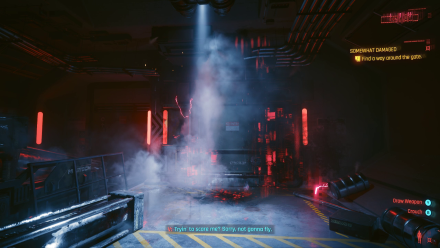
Following the Blackwall traces will lead you to a corridor that leads to a door. Passage through this door will be blocked so you'll need to enter the door on the right. After seeing a vision of Songbird talking with Hansen, continue through the rooms until you reach a corridor with an open door at the end with Songbird's silhouette.
Head straight to Songbird's silhouette and she will shut the door. Interact with the screen beside the door which will tell you that you need to get to dataterminals Alpha and Bravo.
5. Locate Dataterminal Alpha and Bravo
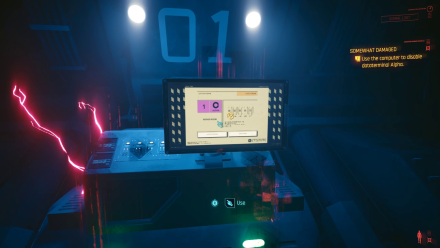
Head back to the middle of the corridor to the metal shutter doors and you should see dataterminal Alpha. Interact with the dataterminal and then hack it with Breach Protocol to shut it down.
Drop down the hole in the floor to head to dataterminal Bravo. Songbird will have tampered with it so you'll have to crawl underneath it then detach the cables to shut this terminal down.
6. Hide From the Robot
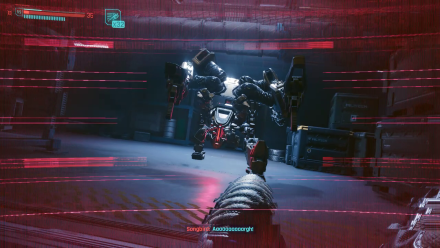
After shutting down dataterminal Bravo, a robot will be dispatched to look for you. You'll have to continue through the vents and complete a series of quick time events to get successfully get away.
7. Find Dataterminal Sierra
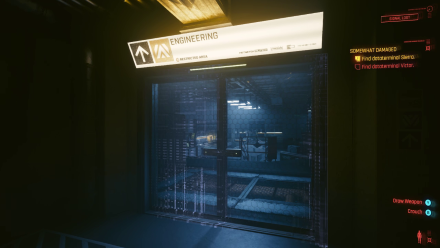
Once you've escaped from the robot, resume following the Blackwall traces. Continue through the rooms marked Engineering then hack the terminal with Breach Protocol.
8. Find Dataterminal Victor
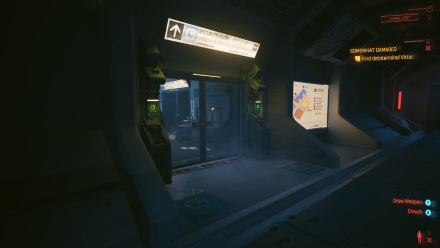
Leave the Engineering room then make your way to the Security room. Connect to the dataterminal and you'll have to hack it once again. After completing the hack, there will still be a robot patrolling the area so stick to the shadows.
9. Return to the Sealed Gate
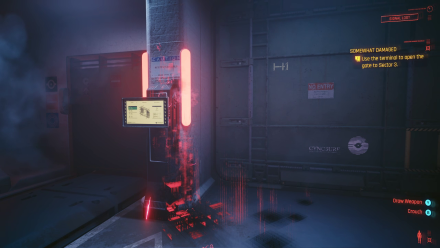
Head back to the sealed gate from objective 4 then use the terminal to get through the previously sealed gate. Go through the gate then start running as the robot will be right behind you. Follow the Blackwall traces to the end of the hall then open the airlock doors on the left.
10. Follow Songbird's Trail
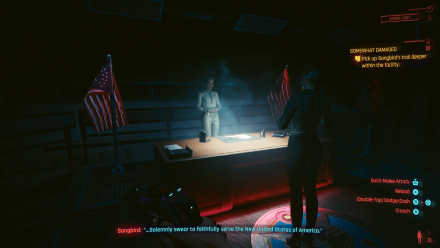
Once you're past the airlock doors, continue following Songbird's trail that goes deeper into the facility. The trail will lead you to another terminal which will shutdown the cynosure core.
The terminal will indicate that the Neural Network, Datafort Command, and Thermic controls aren't responding so you'll have to find each of their rooms to get them back up.
11. Find the Neural Network, Datafort Command, and Thermic Rooms
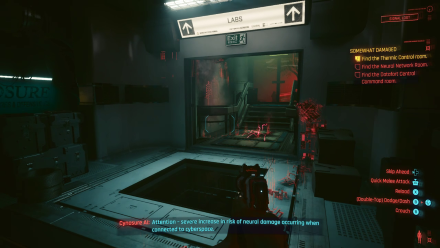
Head through the Labs hallway to access these rooms. Each of these rooms will be explicitly named so enter whichever room you find first. For the Neural Network and Datafort Command systems, you'll have to shut them down so follow the instructions on your screen to do so.
The Thermic room will be a bit tricky as the robot will be close to you again. Proceed carefully then find the fuse box to deactivate the Thermal control systems.
12. Do Not Let the Robot Detect You
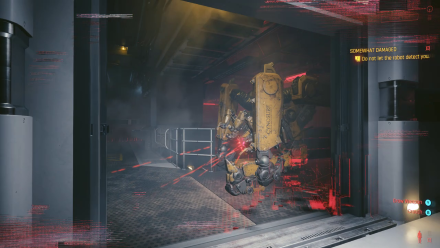
After disabling the Thermal control systems, you'll have to make your way back to the control room but on your way the robot will be searching the area. Find a place to hide from the robot's line of sight and wait for it to move past you. The robot will scan the room so move around with it.
13. Return to the Core Control Room
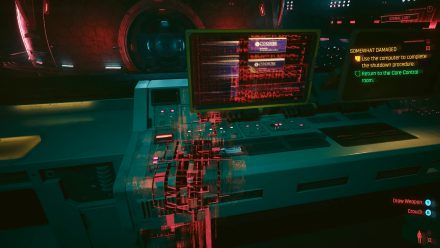
After successfully hiding from the robot, follow the Blackwall trail back to the control room. Interact with the computer to complete the shutdown procedure.
After using the computer the robot will get you appear to capture you, this is the part of the quest and will lead to another cutscene that ends this quest.
Should You Kill or Spare Songbird?
Songbird's Fate Determines DLC Ending
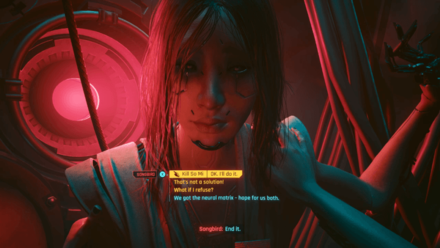
In the cutscene succeeding this quest, you will have the choice of letting Songbird live or die. Your decision at this moment determines the ending you get for the Phantom Liberty expansion. Your choice here also determines how the next quest, Leave in Silence, plays out.
Killing Songbird will lead to the King of Cups ending where V won't get the cure for the Relic. On the other hand, sparing her leads to the King of Pentacles ending and the cure for the Relic attained. Additionally, sparing her also lets you get the Tower ending, an alternate ending to the base game.
Tips and Strategies for Somewhat Damaged
Listen for the Robot
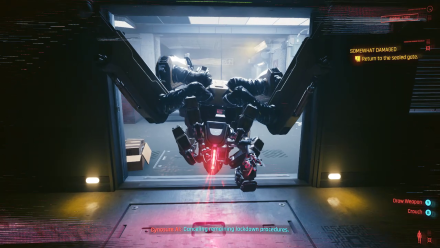
During the latter part of this quest, Songbird will send a robot to chase after you. Make sure to listen and hide from it as any detection from the robot will have it run straight towards you, effectively sending you to the Flatlined screen. Stay crouched and hidden and wait for the robot to walk away from your location.
Cyberpunk 2077: Phantom Liberty Related Guides
All Main Quest Guides
Act 1
| No. | Quest | |||||
|---|---|---|---|---|---|---|
| 1 | The Streetkid | The Nomad | The Corpo-Rat | |||
| 2 | The Rescue | |||||
| 3 | The Ripperdoc | |||||
| 4 | The Ride | |||||
| 5 | The Information | The Pickup | ||||
| 6 | The Heist | |||||
Act 2
Act 3
1.5*: Only available in the Secret Ending
Phantom Liberty Main Quests
All Quest Types
| Quest Types | ||
|---|---|---|
Comment
Author
Somewhat Damaged Walkthrough: Should You Kill or Spare Songbird?
Rankings
Gaming News
Popular Games

Genshin Impact Walkthrough & Guides Wiki

Honkai: Star Rail Walkthrough & Guides Wiki

Arknights: Endfield Walkthrough & Guides Wiki

Umamusume: Pretty Derby Walkthrough & Guides Wiki

Wuthering Waves Walkthrough & Guides Wiki

Pokemon TCG Pocket (PTCGP) Strategies & Guides Wiki

Abyss Walkthrough & Guides Wiki

Zenless Zone Zero Walkthrough & Guides Wiki

Digimon Story: Time Stranger Walkthrough & Guides Wiki

Clair Obscur: Expedition 33 Walkthrough & Guides Wiki
Recommended Games

Fire Emblem Heroes (FEH) Walkthrough & Guides Wiki

Pokemon Brilliant Diamond and Shining Pearl (BDSP) Walkthrough & Guides Wiki

Diablo 4: Vessel of Hatred Walkthrough & Guides Wiki

Super Smash Bros. Ultimate Walkthrough & Guides Wiki

Yu-Gi-Oh! Master Duel Walkthrough & Guides Wiki

Elden Ring Shadow of the Erdtree Walkthrough & Guides Wiki

Monster Hunter World Walkthrough & Guides Wiki

The Legend of Zelda: Tears of the Kingdom Walkthrough & Guides Wiki

Persona 3 Reload Walkthrough & Guides Wiki

Cyberpunk 2077: Ultimate Edition Walkthrough & Guides Wiki
All rights reserved
CD PROJEKT®, Cyberpunk®, Cyberpunk 2077® are registered trademarks of CD PROJEKT S.A. © 2020 CD PROJEKT S.A. All rights reserved. All other copyrights and trademarks are the property of their respective owners.
The copyrights of videos of games used in our content and other intellectual property rights belong to the provider of the game.
The contents we provide on this site were created personally by members of the Game8 editorial department.
We refuse the right to reuse or repost content taken without our permission such as data or images to other sites.


![Animal Crossing: New Horizons Review [Switch 2] | Needlessly Crossing Over to a New Generation](https://img.game8.co/4391759/47d0408b0b8a892e453a0b90f54beb8a.png/show)


