This survey will take about 1 minute.
Your answers will help us to improve our website.
Cyberpunk 2077
How to Use Photo Mode
★ Coming to Switch 2
★ New: Metro System, Car Racing, Romantic Hangouts
★ Phantom Liberty: Dogtown Map & Relics System
★ See our Best Builds here!
┗ HOT: Blades Build, Netrunner Build, & Assassin Build
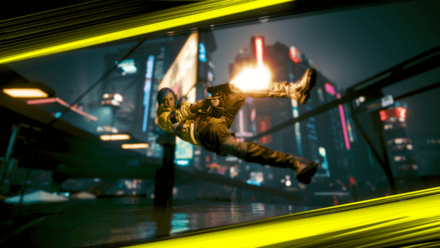
Cyberpunk 2077's Photo Mode lets you control and adjust the camera, your character, and other settings in any way you like to get your own perfect snap! Read on to know how to use Photo Mode, how to take photos as Johnny Silverhand, and all the features available in Photo Mode!
List of Contents
How to Use Photo Mode
Press N for Keyboards or Both Analog Sticks for Controllers

To access Photo Mode, press the N key if you're using a keyboard or press both analog sticks on a controller. You can work around the Photo Mode in many ways, as there are 5 main tabs for editing and lots of slides to adjust and many options to choose from.
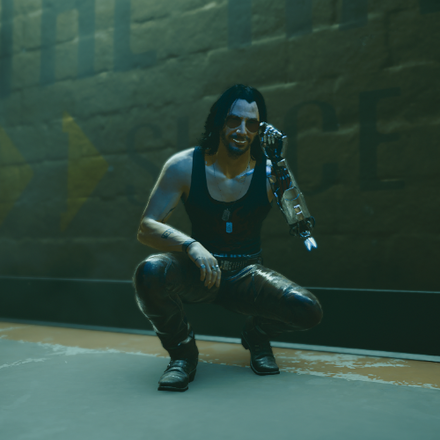
How to Access Johnny Silverhand Photo Mode
Open Photo Mode During Johnny's Flashbacks
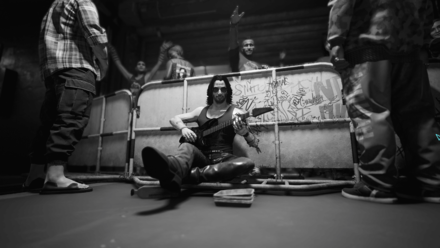
To take photos as Johnny Silverhand instead of V, you need to open Photo Mode on occassions where you are playing as Johnny. These are during Playing for Time or Transmission, which act as flashbacks showcasing Johnny's past.
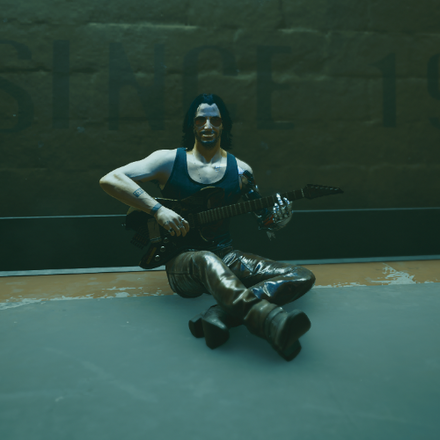
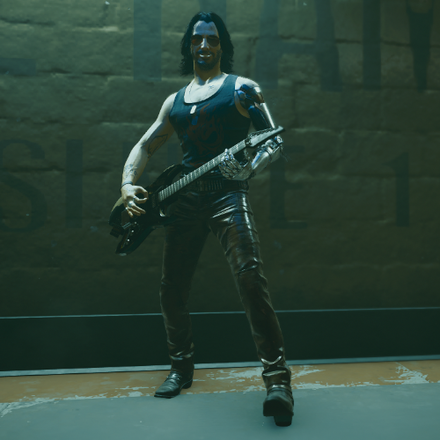
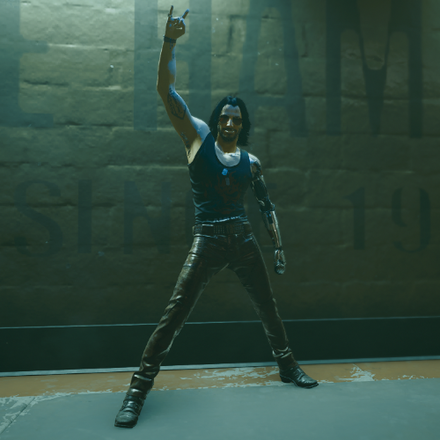
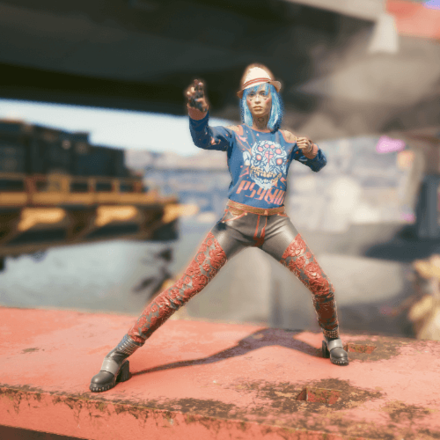
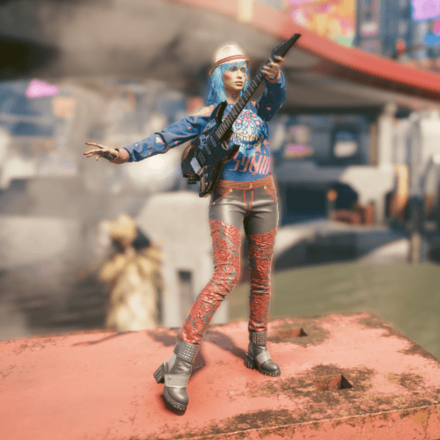
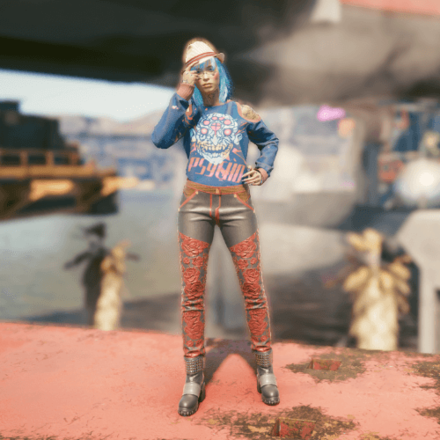
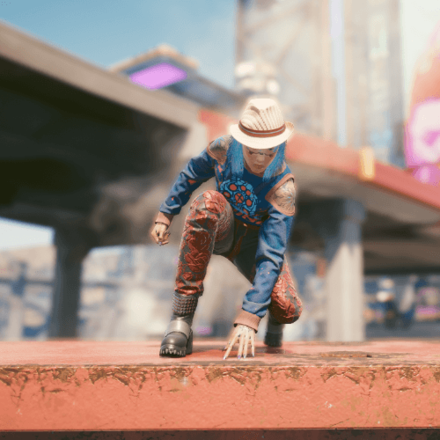
Features Unique Poses
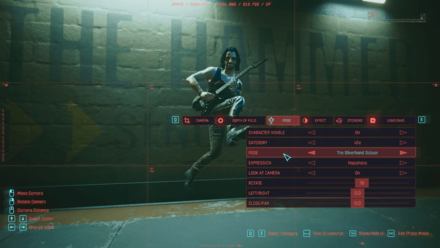
Using the Photo Mode while playing as Johnny will allow you to select unique poses that highlights his rockerboy lifestyle!
| Johnny Silverhand Unique Idle Poses | ||
|---|---|---|
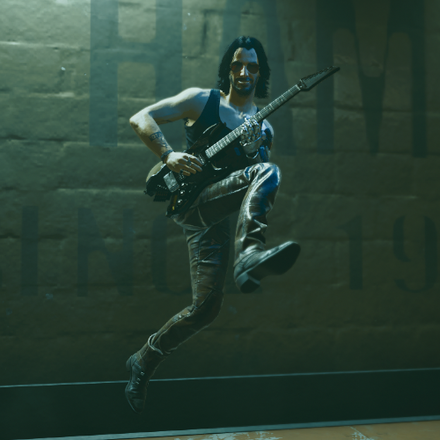 The Silverhand Scissor |
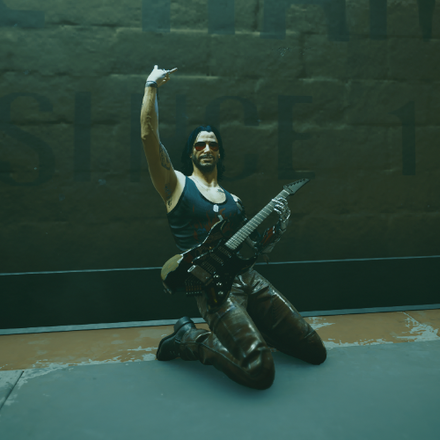 Power Slide |
 Jam Sesh |
 The Show Must Go On |
 Silver Hand, Metal Soul |
 This Song's Dedicated To... |
 Night City Idol |
 The Big Finish |
 Wake the Fuck Up, Samurai |
Added During Patch 1.5

This feature was added in Cyberpunk 2077's 1.5 patch, which includes new content and several adjustments to the game.
Patch 1.5: Patch Notes and Release Date
Photo Mode Features
Customize Your Snaps!
Cyberpunk 2077's Photo Mode offers several features that you can play with which allows you to freely customize your shots in a variety of ways. Set the scene and frame your photo in any way you like!
| Photo Mode Features | ||
|---|---|---|
| Camera | Depth of Field | Pose |
| Effect | Stickers | Load/Save |
Camera
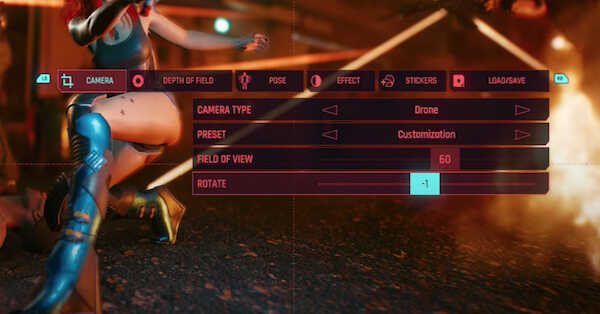
In the Camera tab, you have the option to adjust the following:
| Mode | Description |
|---|---|
| Camera Type | This determines what type of camera your photo will be taken by. You can choose between a Drone or a First Person Perspective. |
| Preset | You can either choose a preset from the game or use Customization to adjust everything. |
| Field of View | This determines the extent of the scene the camera will take a photo of. |
| Rotate | Adjustable by value and determines how rotated the entire photo looks. As of Patch 1.6, the rotation can go up to 90 degrees both ways, allowing for vertical shots. |
▲ Back to Photo Mode Features ▲
Depth of Field
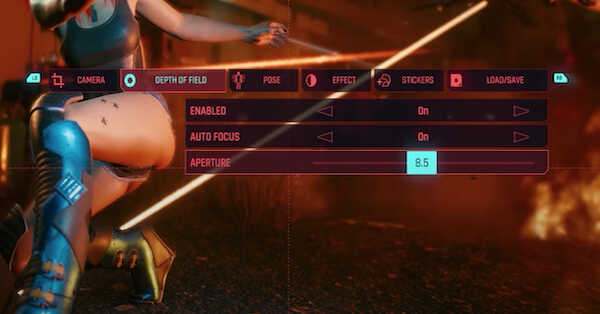
In Depth of Field, you can determine how in focus or out of focus you character will appear by adjusting the following:
| Mode | Description |
|---|---|
| Enabled | You can toggle this on/off. |
| Auto Focus | You can toggle this on/off. |
| Aperture | Higher aperture puts everything in focus. Lower aperture puts focus on your character. |
▲ Back to Photo Mode Features ▲
Pose
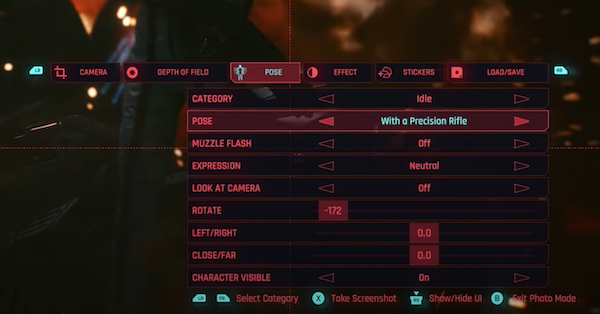
You can choose the way your character will appear on the photo by customizing these things. Patch 1.6 also allows you to take photos with Nibbles the cat.
| Mode | Description |
|---|---|
| Character | Switch between V and Nibbles to adjust their poses. |
| Character Visible | You can toggle this on/off if you want V or Nibbles to show or not. |
| Category | This sets the overall theme or feel of the photo. |
| Pose | This determines which pose your character will be in. |
| Muzzle Flash | This is the visible light that comes from a gun blast. You can toggle this on/off. |
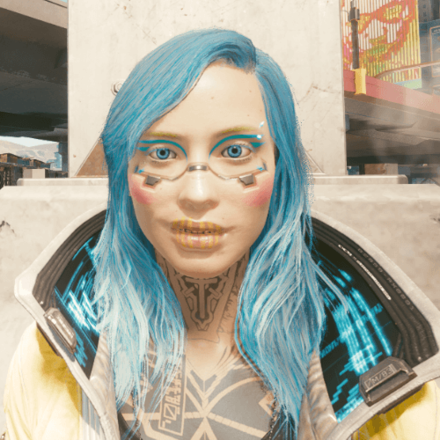
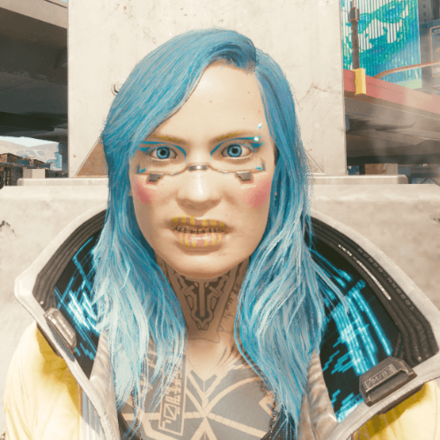
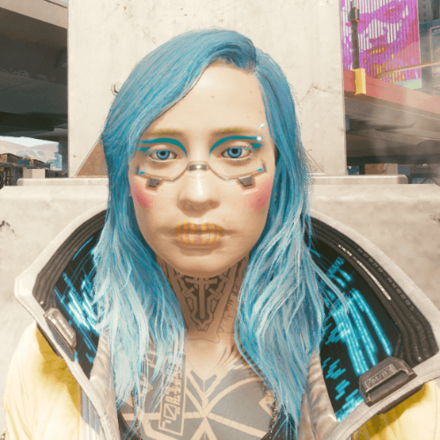
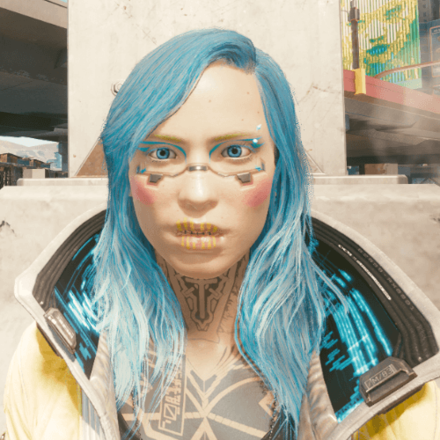
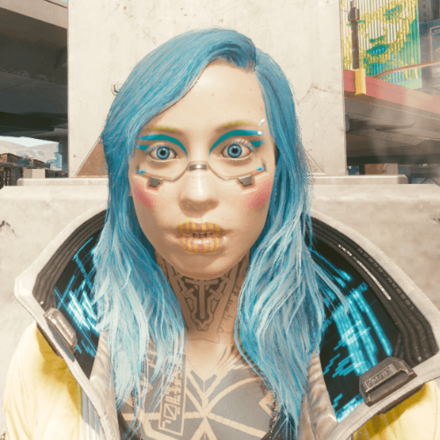
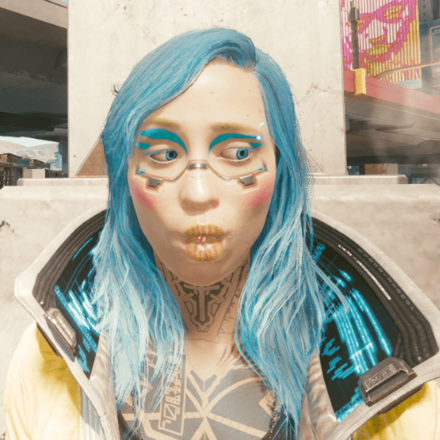
| Expression (V only) |
You have the option to put on an Angry face, or Sad face, or Smug face, lots of faces! |
| Look at Camera (V only) |
Toggle this on/off if you want V to look at the camera. |
| Rotate | This determines how angled your character will appear. |
| Left/Right | This determines how much to the left or right your character will be positioned in. |
| Close/Far | This determines how close or far from the camera your character will appear. |
| Poses and Expressions | ||
|---|---|---|
| Idle Poses | Action Poses | Expressions |
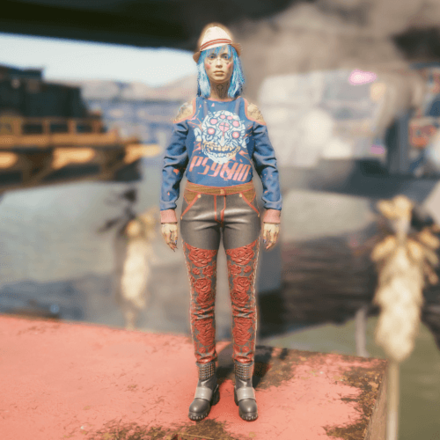
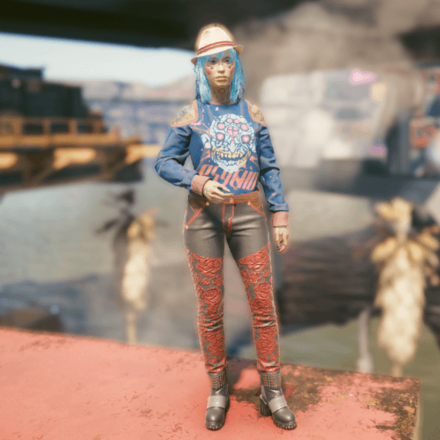
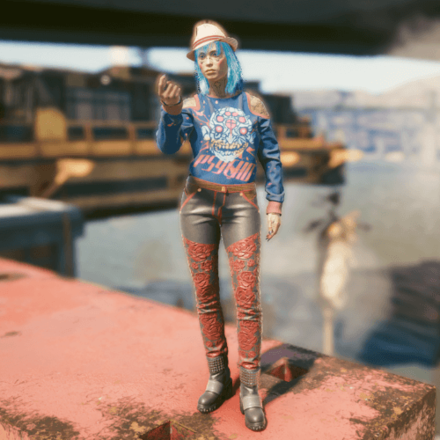
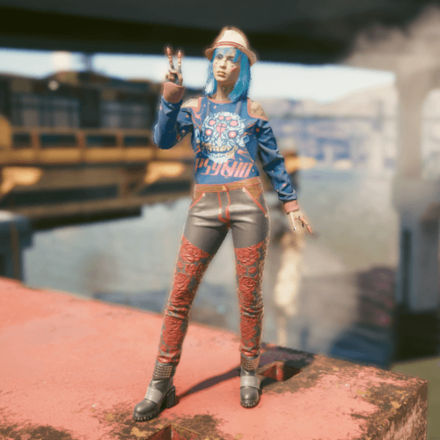
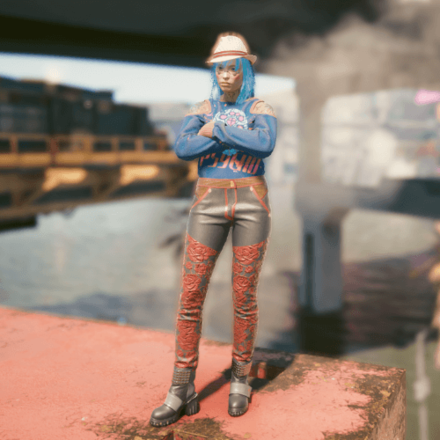
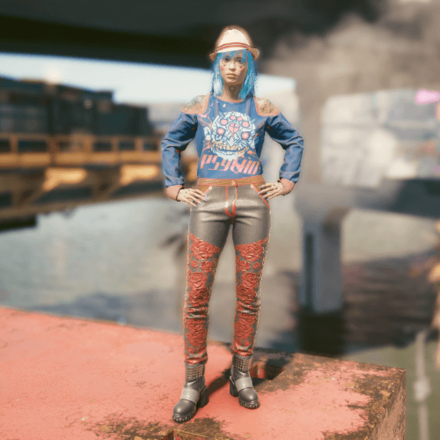
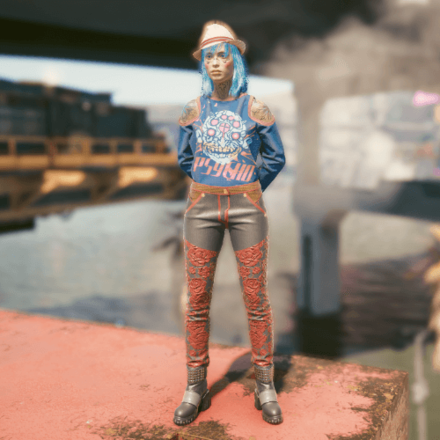
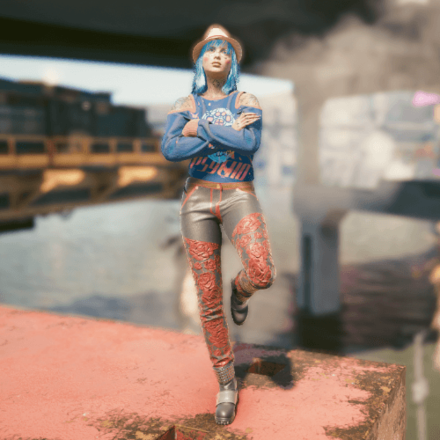
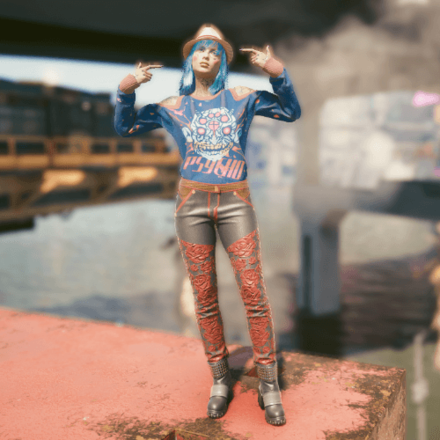
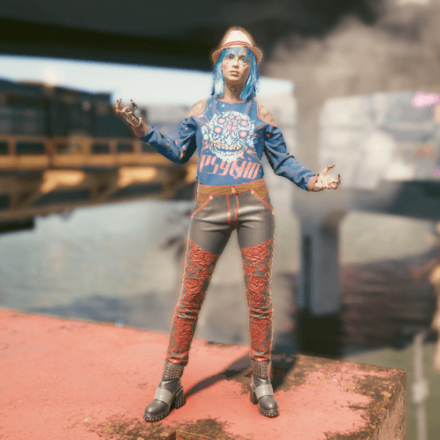
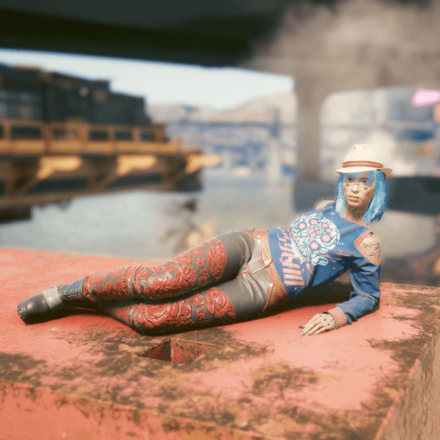
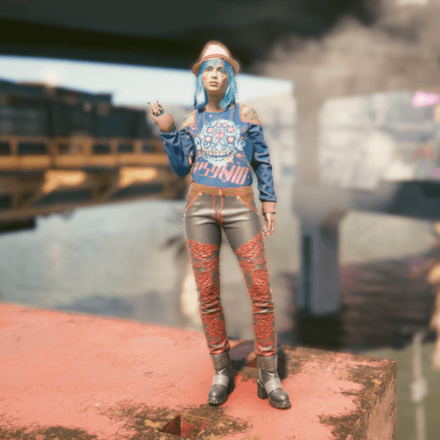
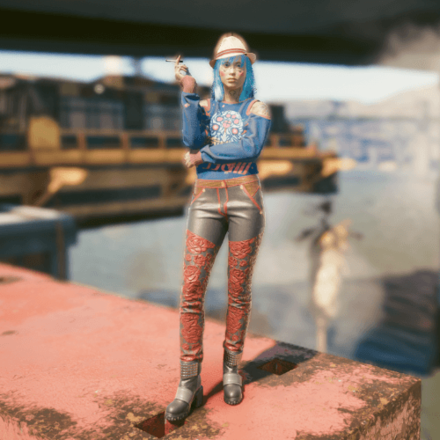
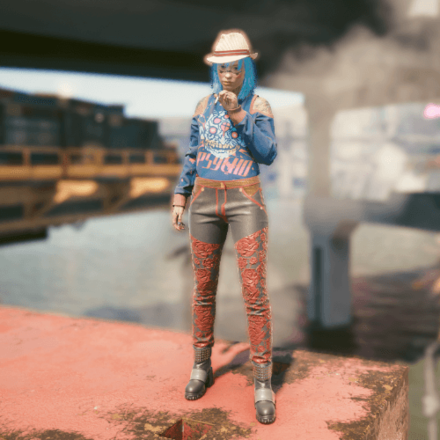
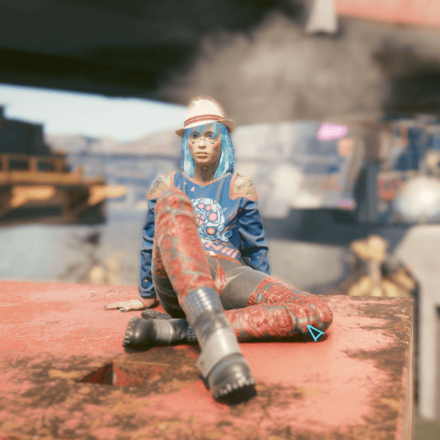
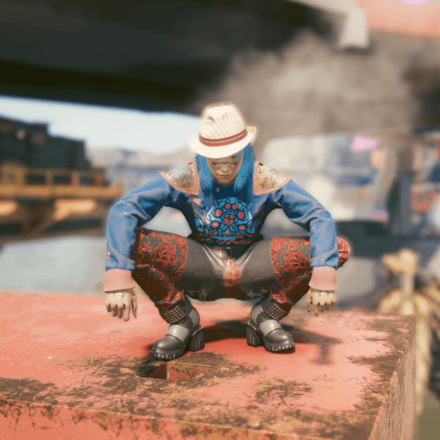
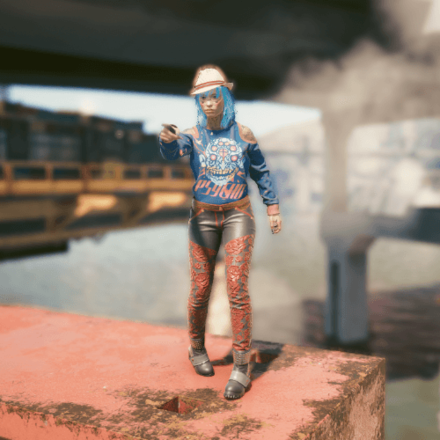
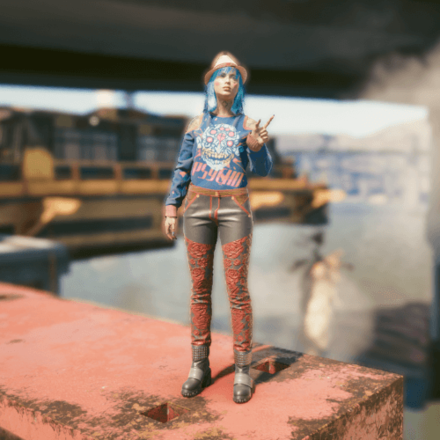
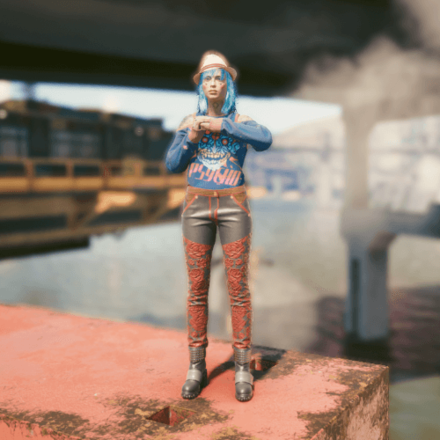
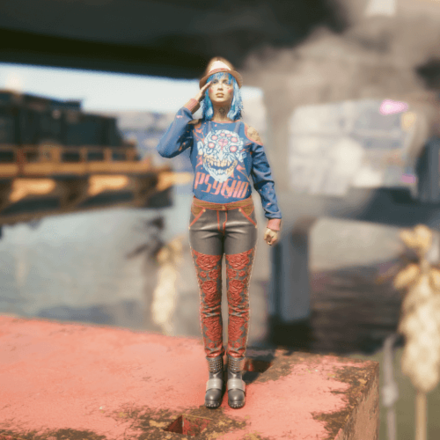
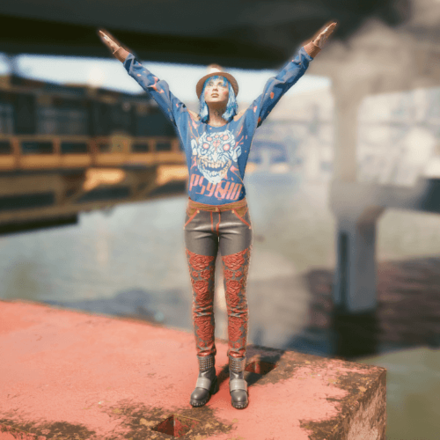
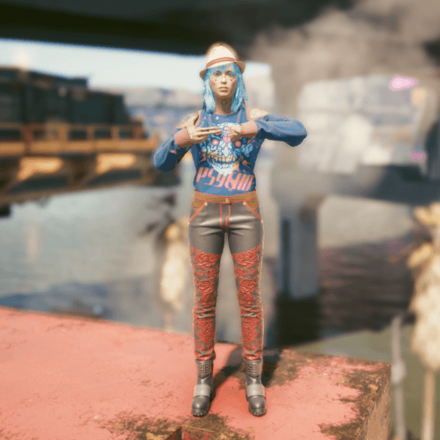
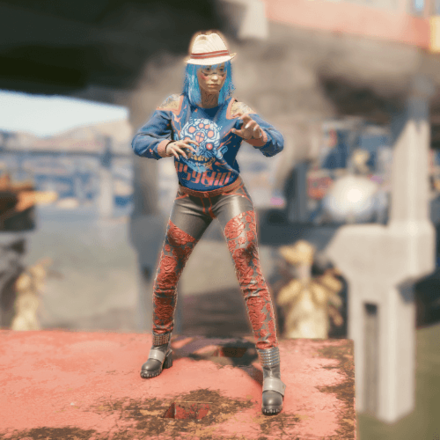
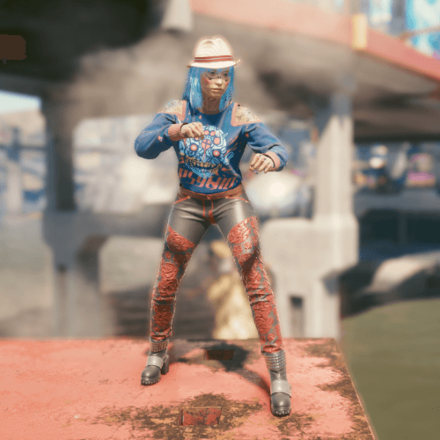
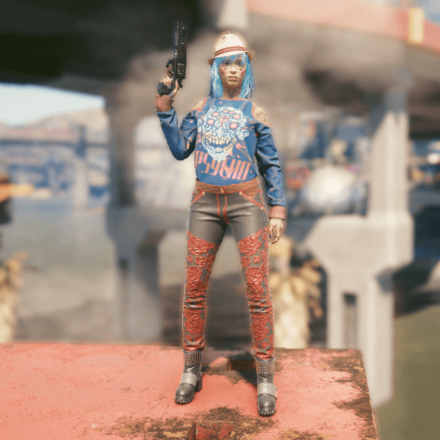
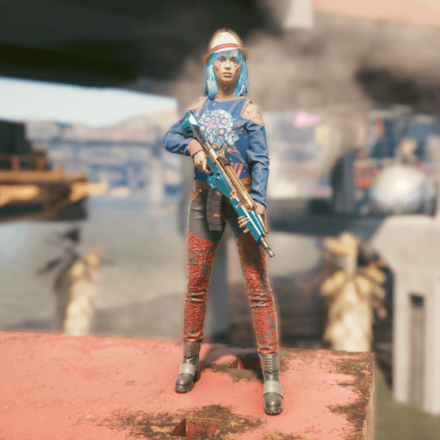
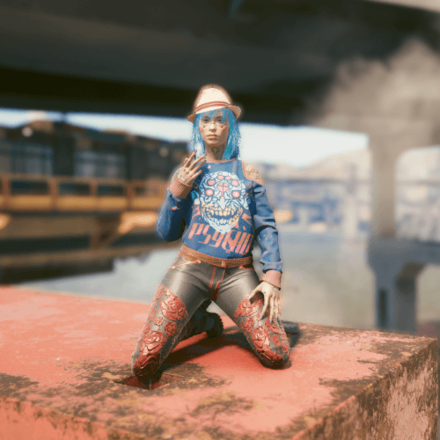
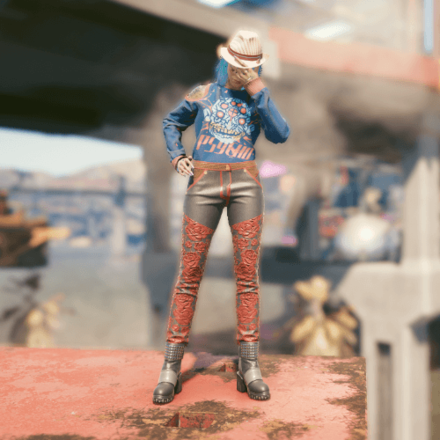
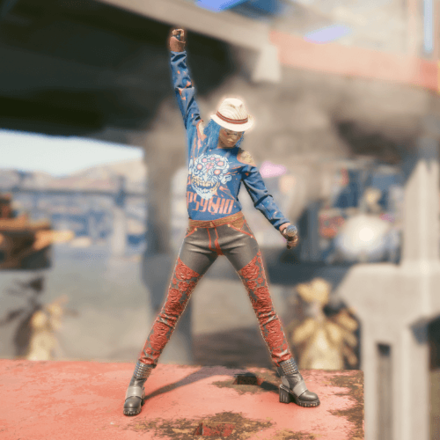
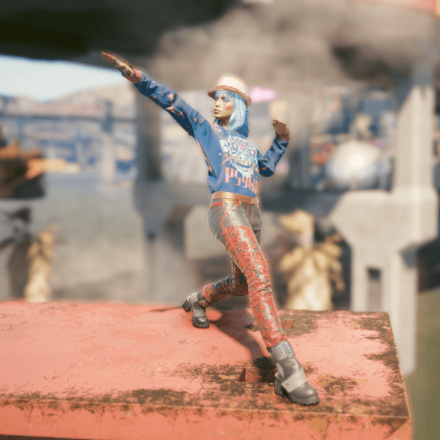
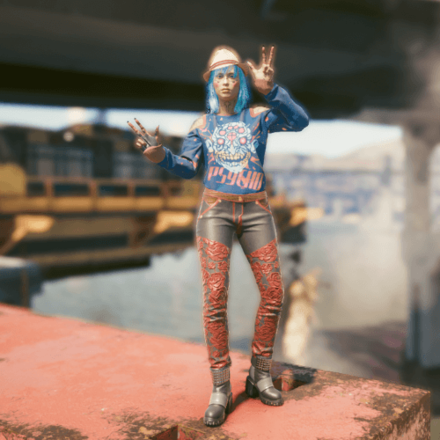
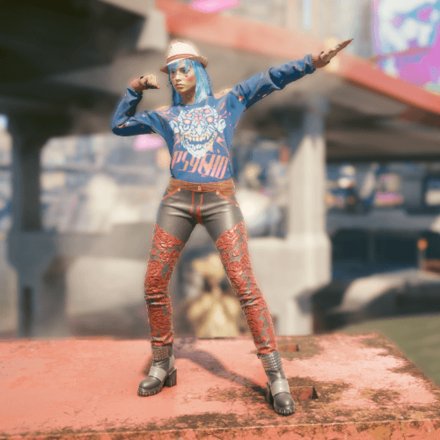
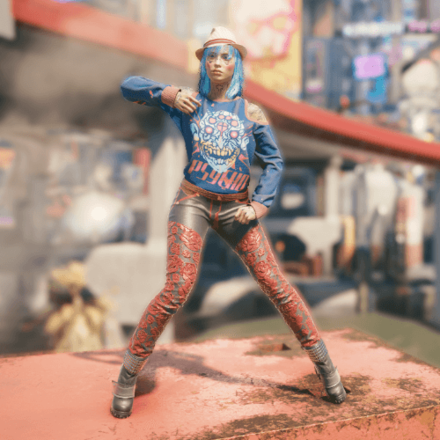
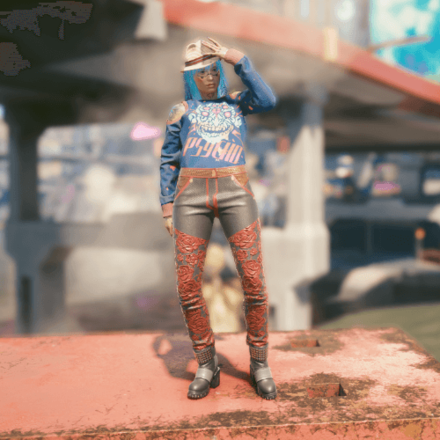
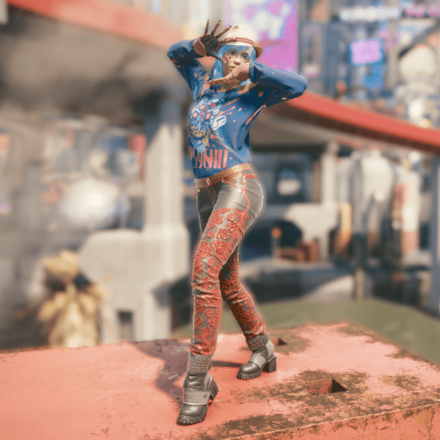
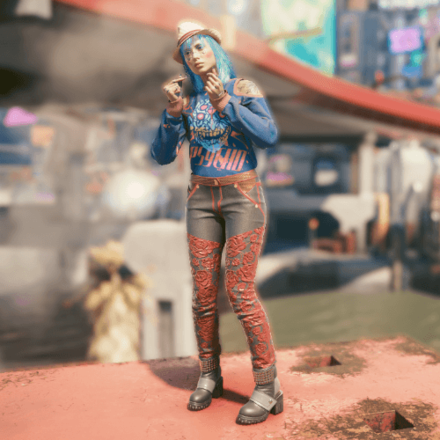
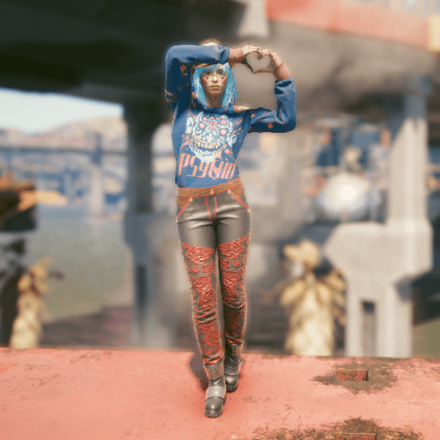
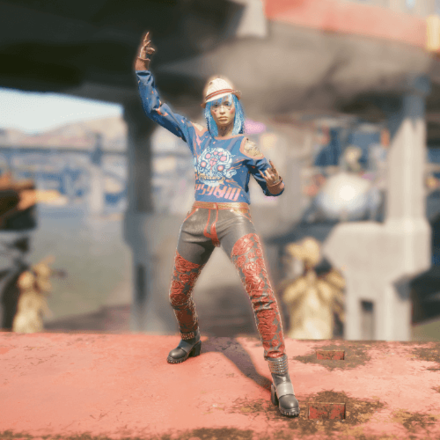
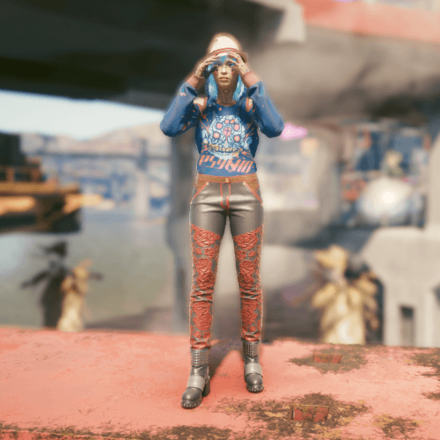
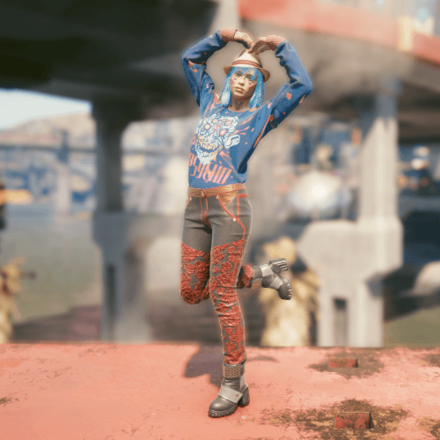
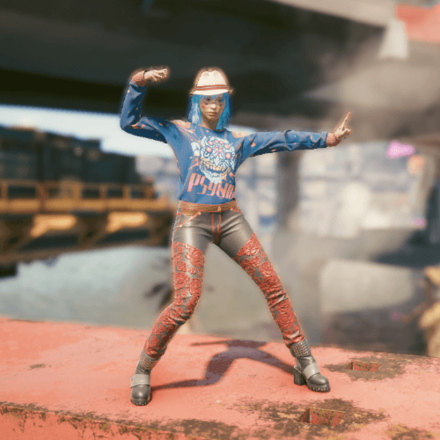
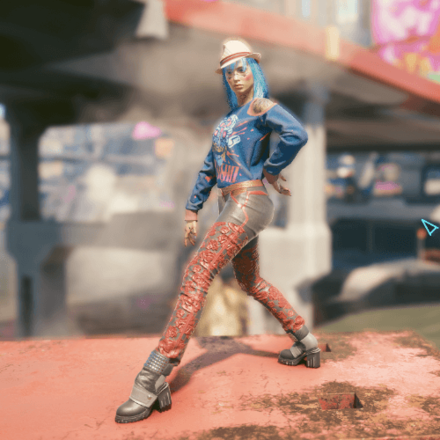
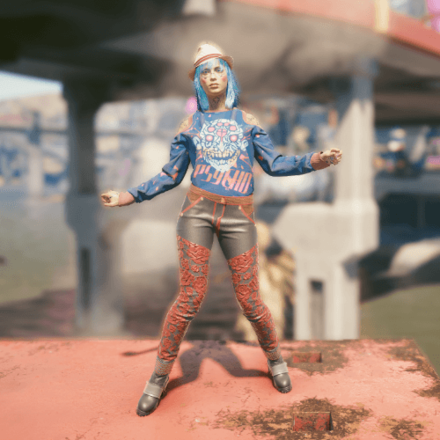
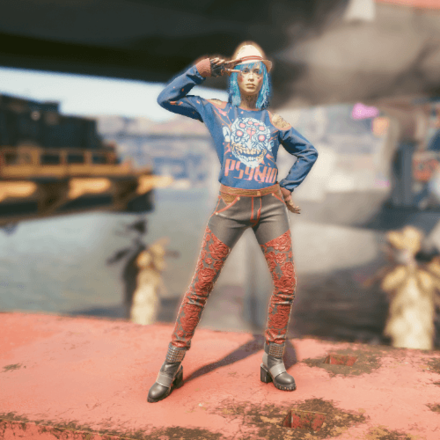
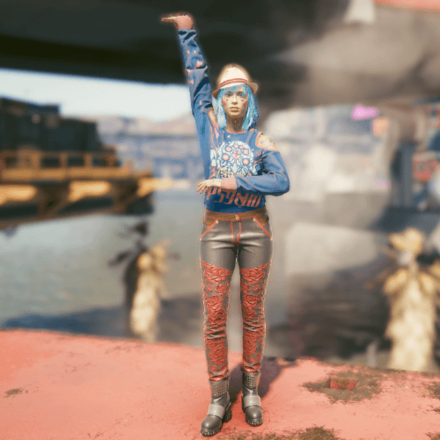
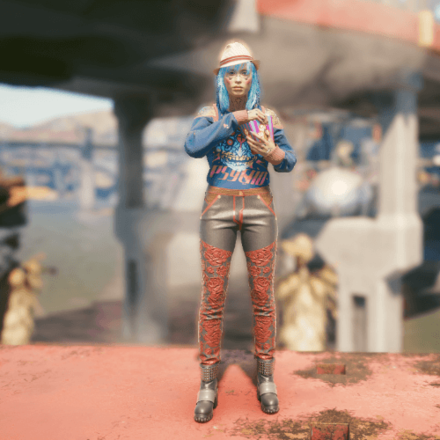
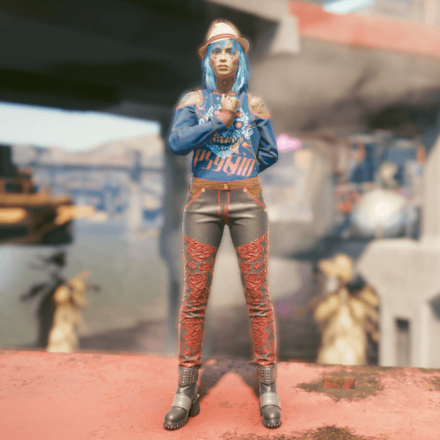
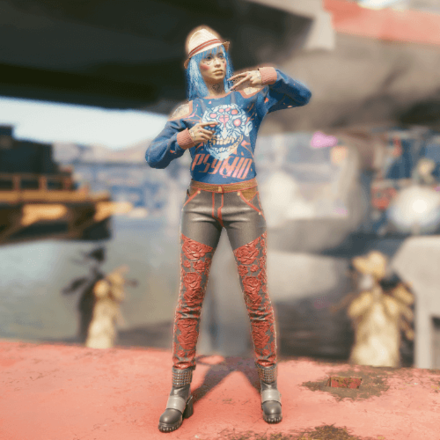
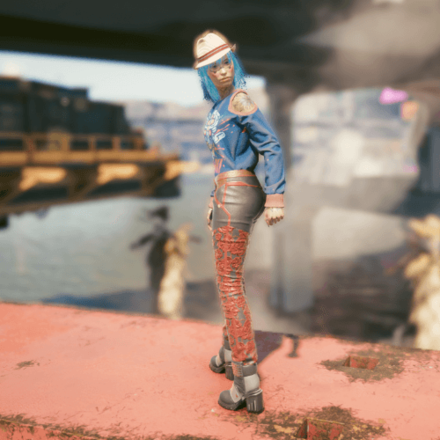
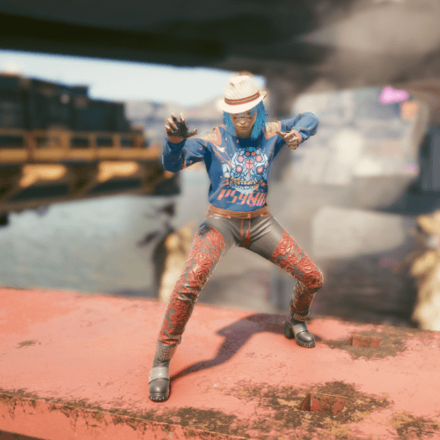
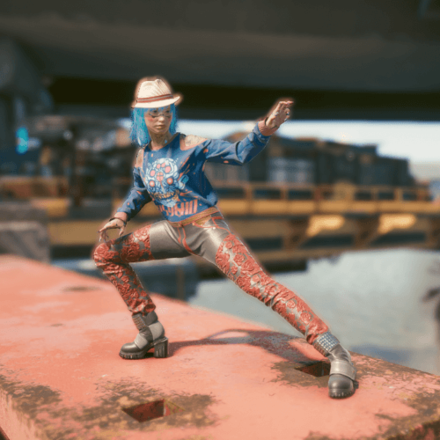
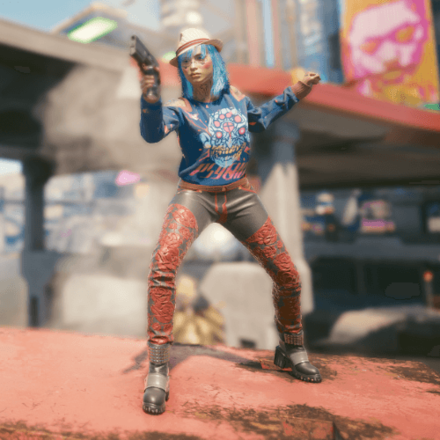
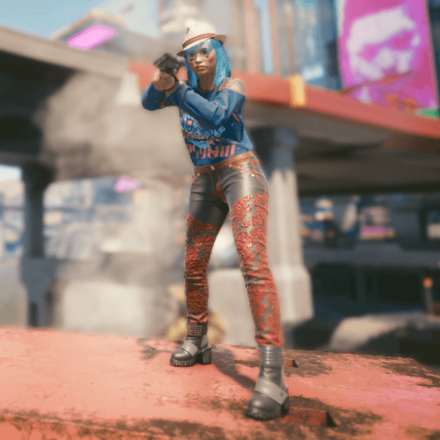
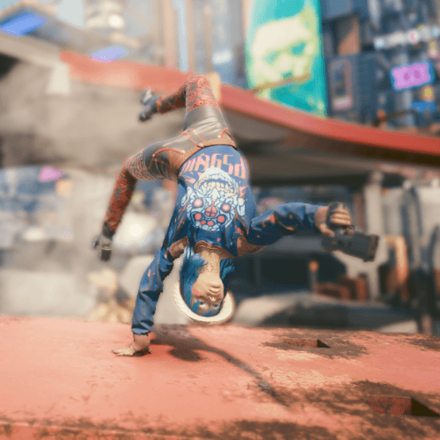
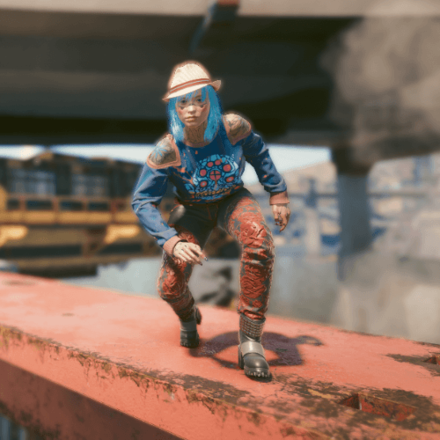
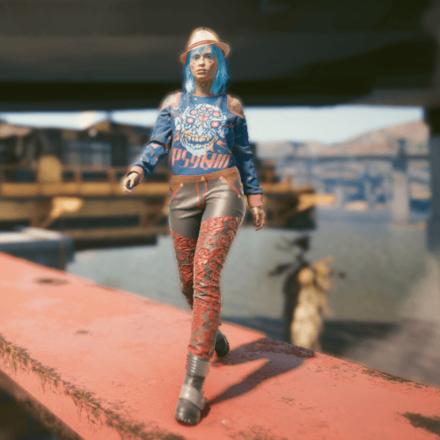
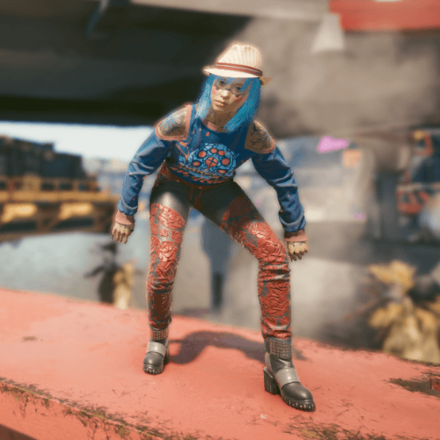
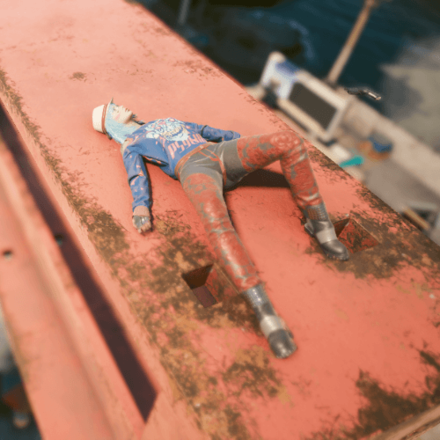
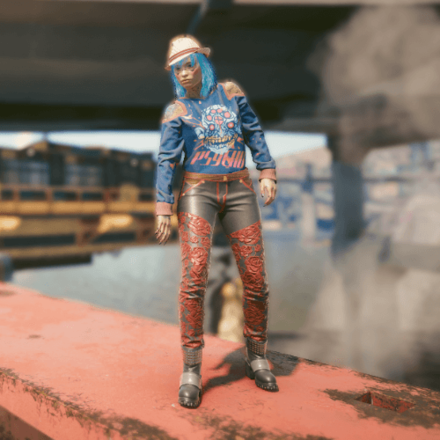
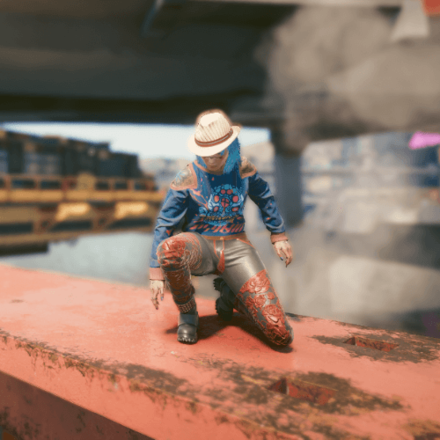
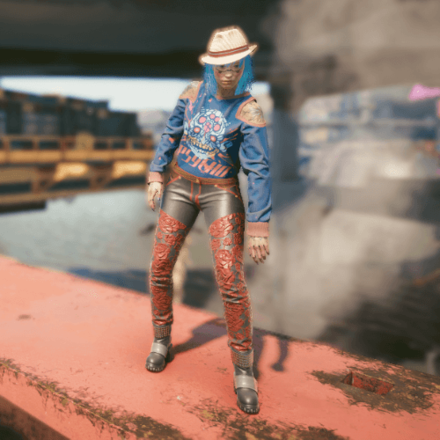
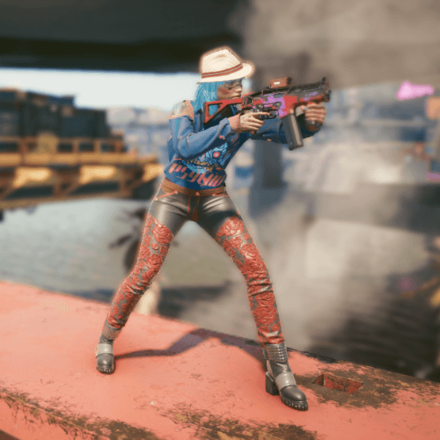
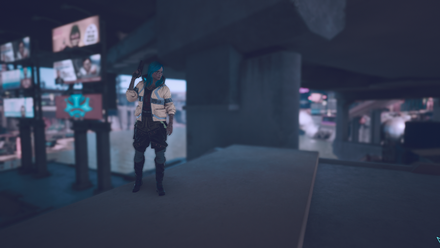
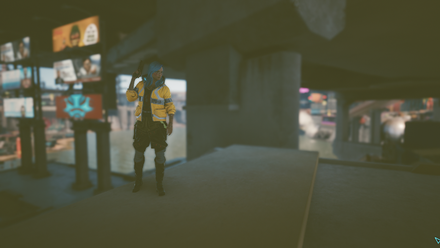
List of Idle Poses
| List of Photo Mode Idle Poses | |||
|---|---|---|---|
 |
 |
 |
 |
 |
 |
 |
 |
 |
 |
 |
 |
 |
 |
 |
 |
 |
 |
 |
 |
 |
 |
 |
 |
 |
 |
 |
 |
 |
 |
 |
 |
 |
 |
 |
 |
 |
 |
 |
 |
 |
 |
 |
 |
 |
 |
 |
 |
 |
 |
 |
 |
 |
 |
 |
 |
 |
 |
 |
 |
 |
 |
 |
 |
 |
 |
 |
 |
 |
 |
 |
 |
 |
 |
 |
 |
 |
 |
||
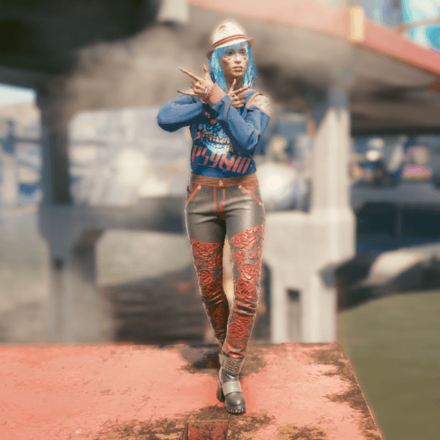
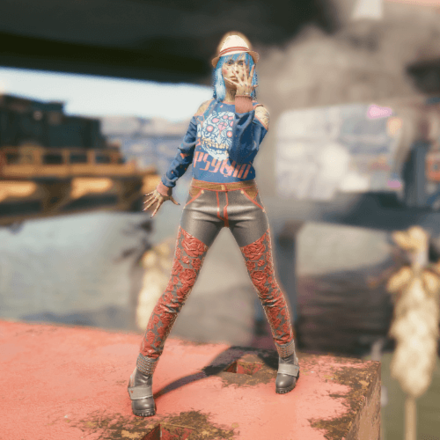
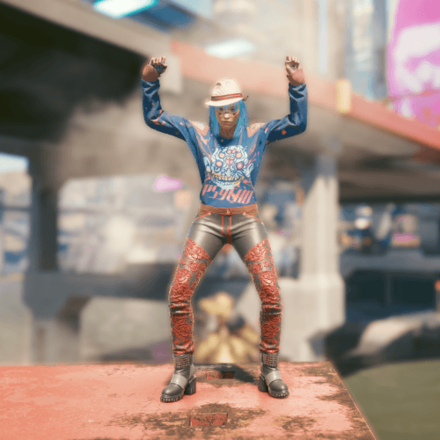
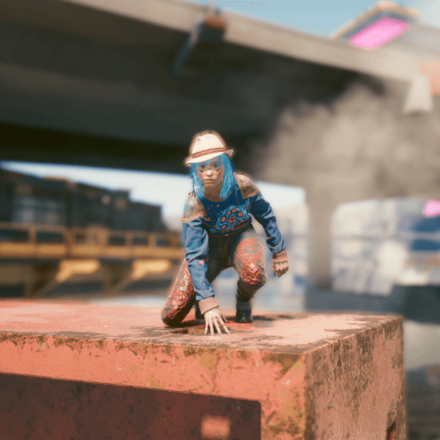
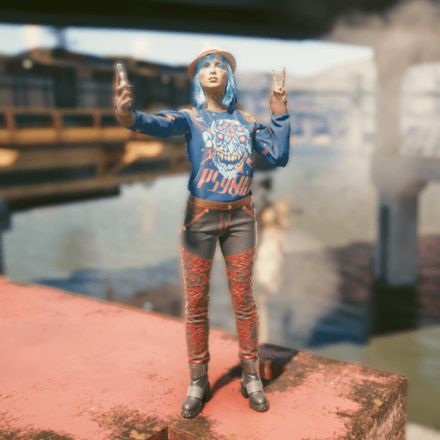
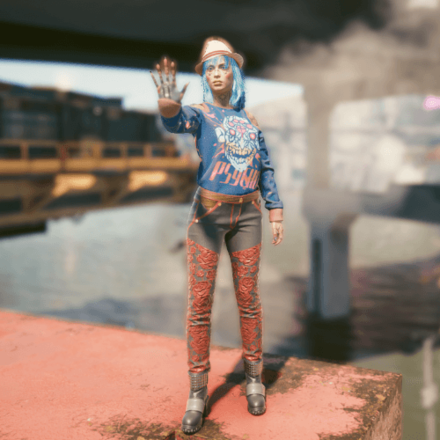
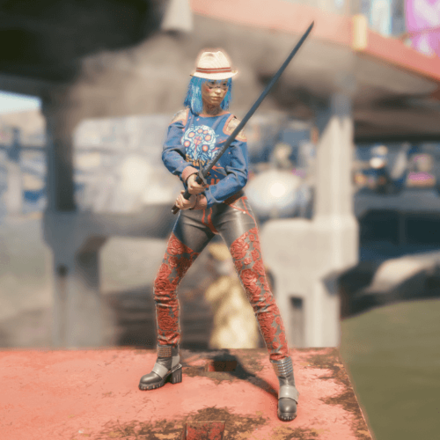
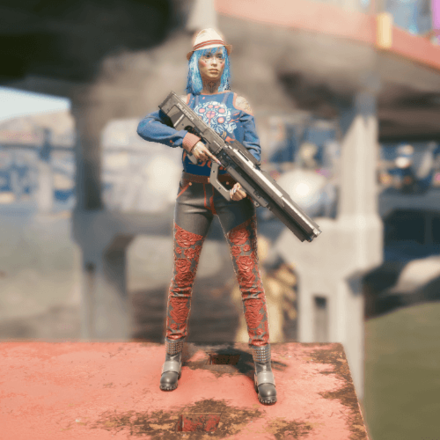
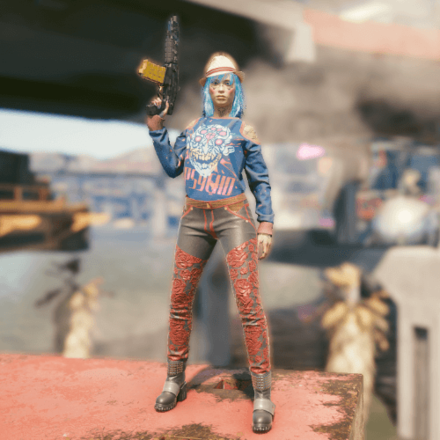
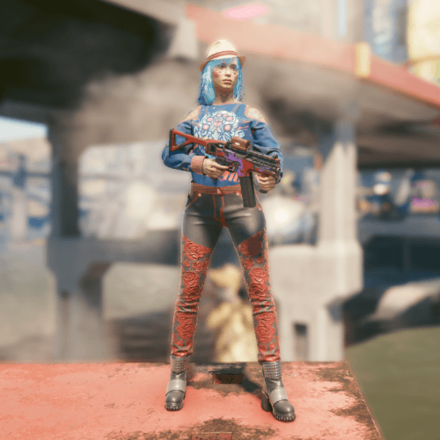
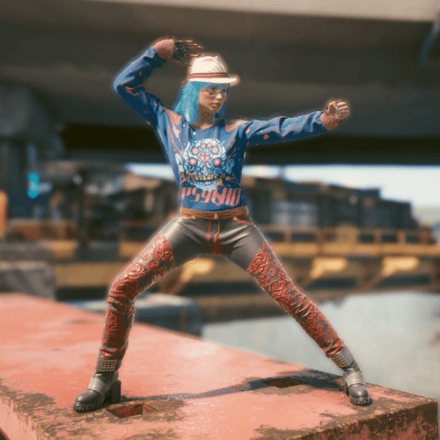
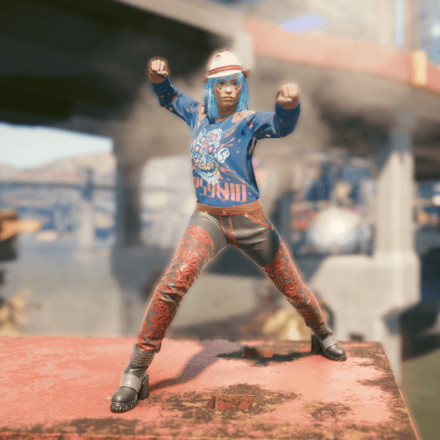
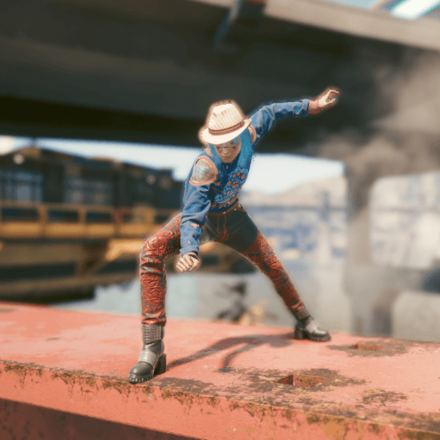
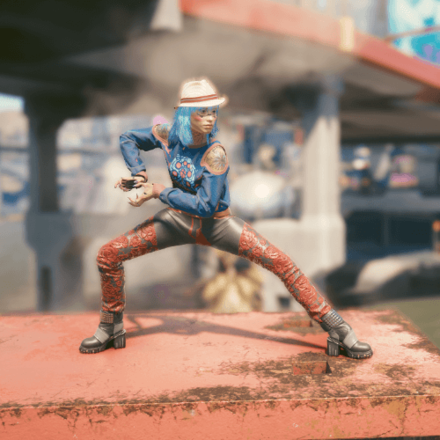
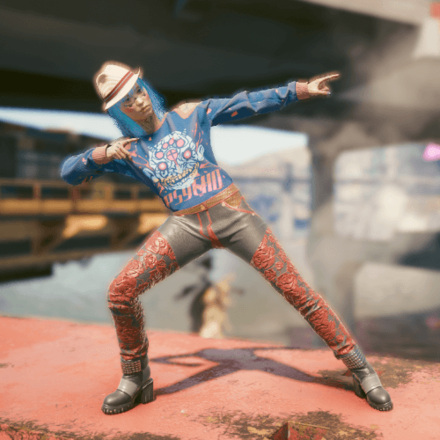
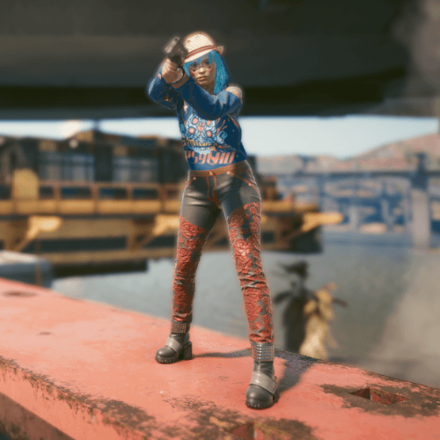
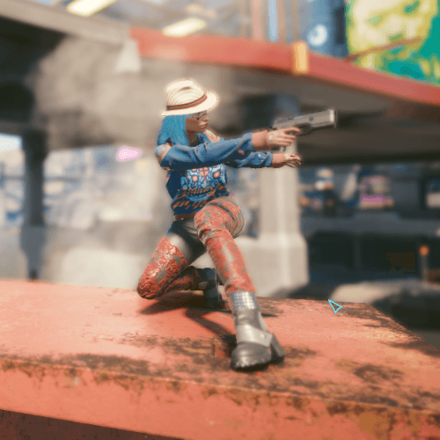
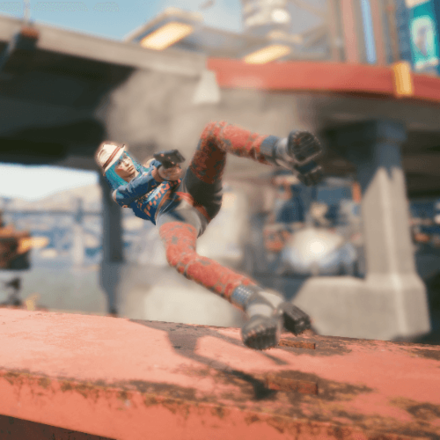
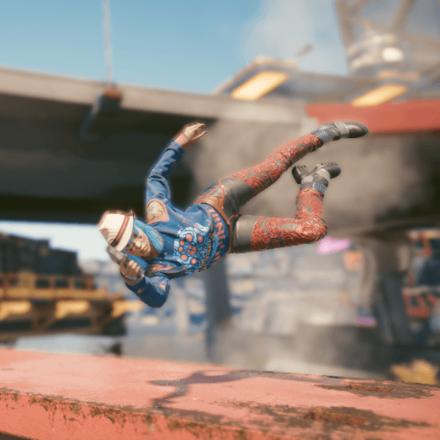
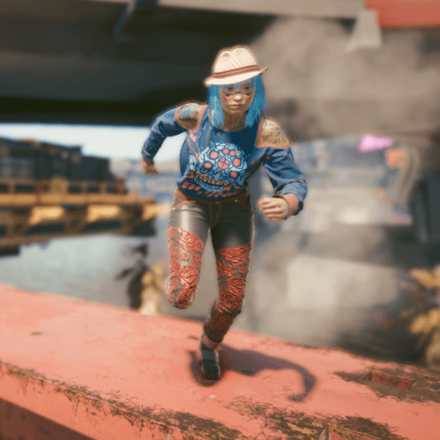
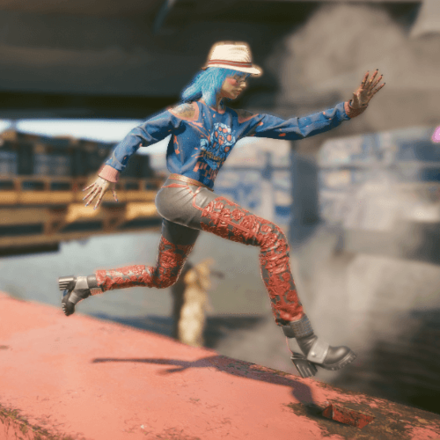
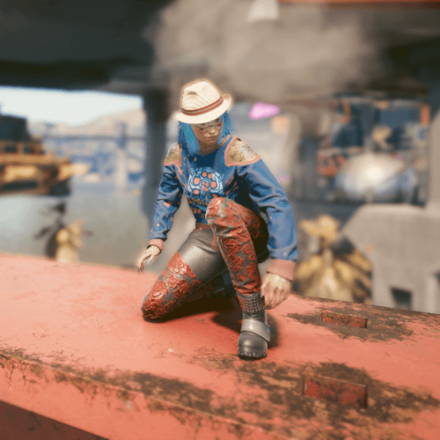
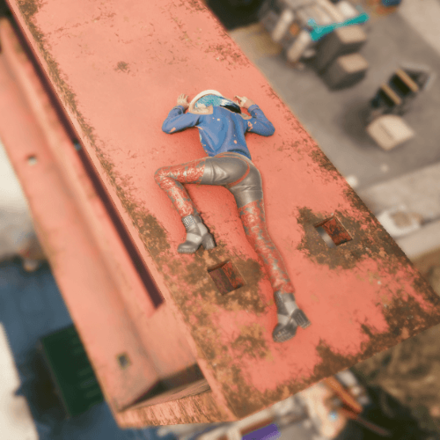
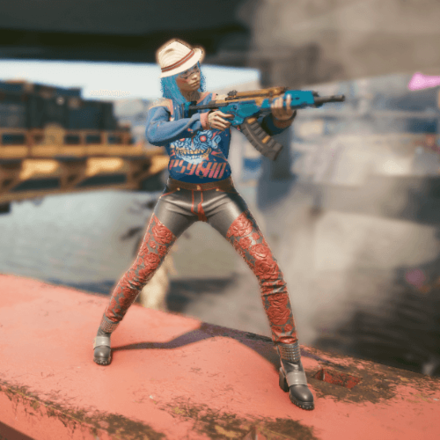
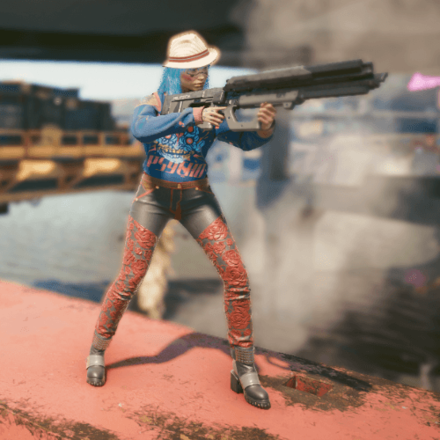
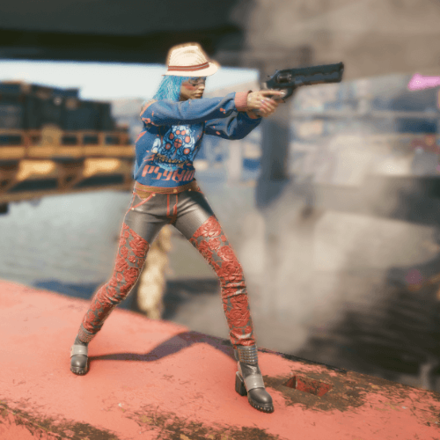
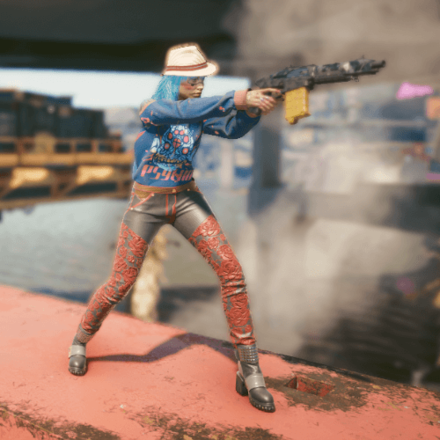
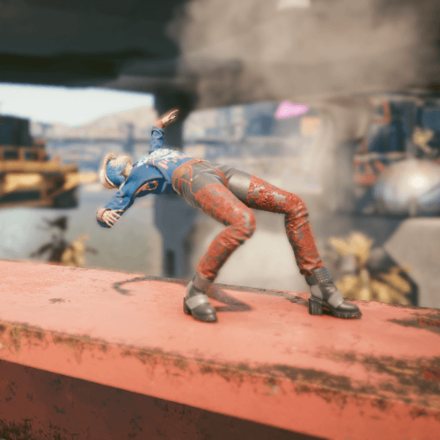
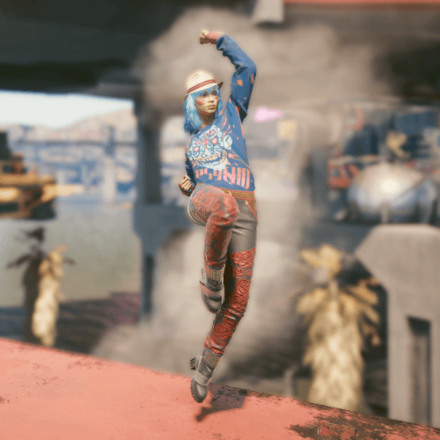
List of Action Poses
| List of Photo Mode Action Poses | |||
|---|---|---|---|
 |
 |
 |
 |
 |
 |
 |
 |
 |
 |
 |
 |
 |
 |
 |
 |
 |
 |
 |
 |
 |
 |
 |
 |
 |
 |
 |
|
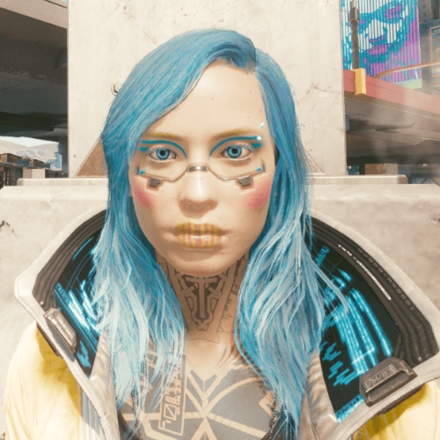
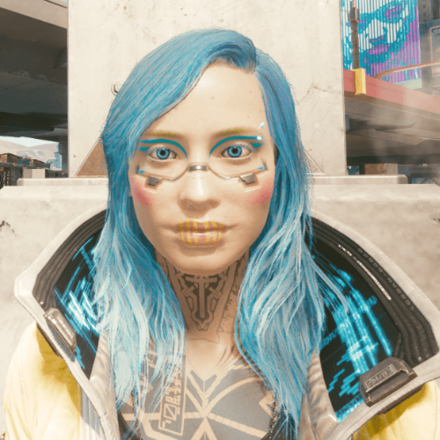
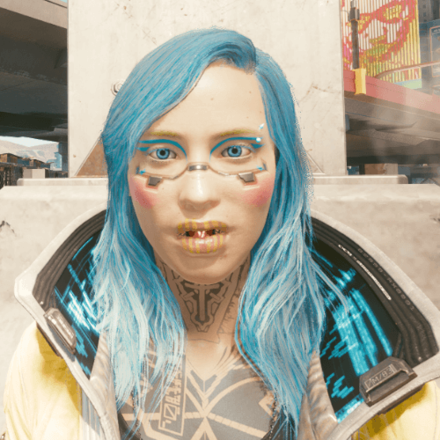
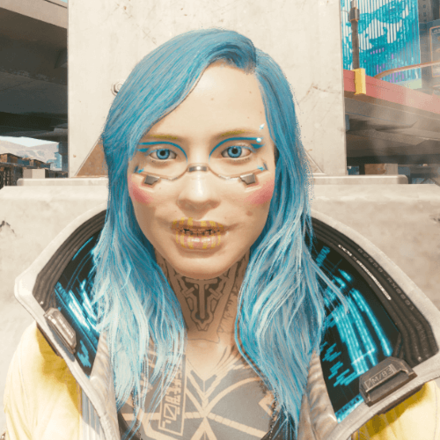
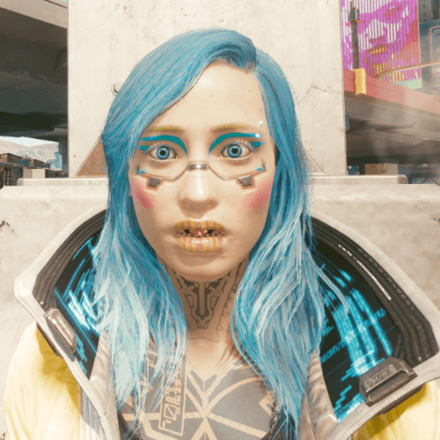
List of Expressions
| List of Photo Mode Expressions | |||
|---|---|---|---|
 |
 |
 |
 |
 |
 |
 |
 |
 |
 |
 |
 |
▲ Back to Photo Mode Features ▲
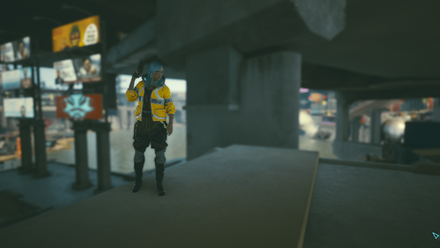
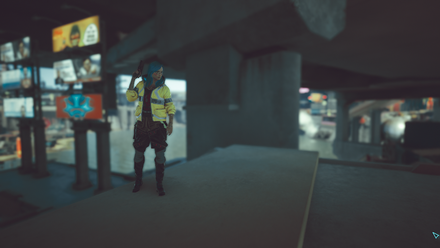
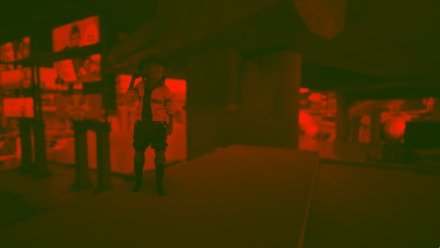
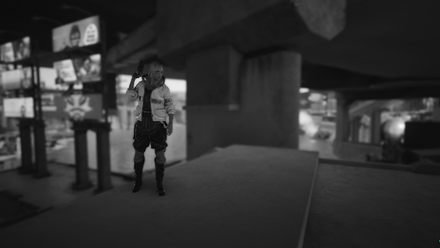
Effect

Customizing Effects can shake things up and put some spice into your photo.
| Mode | Description |
|---|---|
| Exposure | This determines the amount of light that reaches the camera. |
| Contrast | This determines the ratio between color tones in the photo. Higher contrast makes the photo darker. |
| Highlights | This adjusts the lighting effects, making lit surfaces appear brigher or darker. |
| Vignette | You can use this to darken the corners of your image. |
| Chromatic Aberration | Simulates the refraction of light through a lens to create a distortion that makes the photo have blurry rainbow-like edges. |
| Grain | This determines the granularity or noisiness of the photo. |
| Effect | You can choose among different effects such as changing the color temperature and hue of the photo. |
List of Effects
| List of Photo Mode Effects | |
|---|---|
 |
 |
 |
 |
 |
 |
 |
 |
 |
 |
 |
 |
 |
 |
 |
 |
▲ Back to Photo Mode Features ▲
Stickers
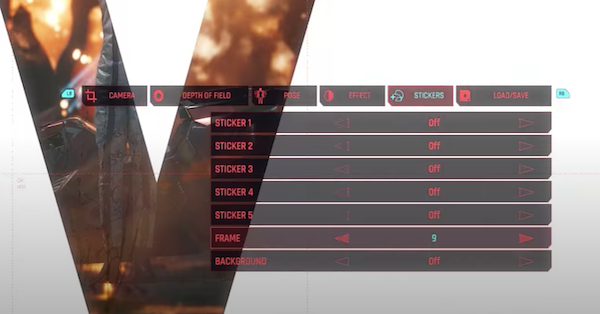
Some add-ons to your photo for final touches!
| Mode | Description |
|---|---|
| Sticker | You can place up to 10 stickers on your photo. |
| Frame | Choose from several different frames, borders, and overlays to give a distinct look to your pictures. |
| Background | You can choose a different backdrop for the photo if you prefer. |
▲ Back to Photo Mode Features ▲
Load/Save

You can save up to three settings of your choice, allowing you to use your preferred angles, poses, and effects as presets for future shots.
▲ Back to Photo Mode Features ▲
Cyberpunk 2077 Related Guides

List of Game Mechanics Guides
Update 2.1 Guides
- Metro (Train) System
- Replayable Car Racing
- Romantic Hangouts
- How to Get and Use the Radioport
- Accessibility Features
Update 2.0 and Phantom Liberty Changes
- How to Upgrade Iconic Weapons
- Crafting Specs Overhaul
- Clothing and Armor Overhaul
- Revamped Police System and Wanted Levels
- Cyberware Overhaul Guide
- Cyberware Capacity & How to Increase It
- 2.0 Crafting Guide
- Ammo Changes
- Combat AI Overhaul
- Vehicle Combat
- 2.0 UI Changes and Overhaul
- Airdrop Guide and Rewards
- Stealth Overhaul: All Known Changes
How to Play
- List of Controls
- Settings Guide
- How to Save and Transfer Saves
- Difficulty Settings
- List of Stats and Stat Explanations
- List of Status Effects
- Dialogue Options and Icons
- Language Settings and Available Languages
Game Features
- How to Get Non-Lethal Takedowns
- How to Use Photo Mode
- How to Use Braindance
- How to Fast Travel
- Wardrobe Guide
- Does Cyberpunk Have Third Person View?
All Cyberpunk 2077 Guides
Author

How to Use Photo Mode
Please participate in our site
improvement survey
03/2026
improvement survey
03/2026
Would you assist in
improving Game8's site?
improving Game8's site?

×
We are listening to our users' valuable opinions and discussing how to act on them.
The information collected through this survey will be used for the purpose of improving our services. In addition, the information will only be disclosed a part of a statistic in a format that will not allow identification of personal information.
Begin Survey
Not Now
×
Please rate each item regarding Game8.co's Advertisements.
Amount of Ads
Very Dissatisfied
Somewhat Dissatisfied
Fine
Somewhat Satisfied
Highly Satisfied
Placement of Ads
Timing of Ad Display
Ad Loading Speed
Safeness of Ads
Content of Ads
×
Please rate each item regarding Game8.co's Quality of Articles.
Amount of information
Very Dissatisfied
Somewhat Dissatisfied
Fine
Somewhat Satisfied
Highly Satisfied
Frequency of updates
Speed of new information
Accuracy of articles
Understandibility of articles
Readability of sentences
×
Please rate each item regarding Game8.co's Usability of the Site.
Ease of finding information
Very Dissatisfied
Somewhat Dissatisfied
Fine
Somewhat Satisfied
Highly Satisfied
Loading Speed
Use of Color
Font Size
Visibility of Images
Easy to Understand Layout
×
Please rate each item regarding Game8.co's Message Boards, Comments.
Ease of Writing
Very Dissatisfied
Somewhat Dissatisfied
Fine
Somewhat Satisfied
Highly Satisfied
Readability
Ease in Finding Information
Comment Quality
Comment Quantity
Admin Response
×
Please rate each item regarding Game8.co's Site's new design.
Please rate our site's new design
Very Dissatisfied
Somewhat Dissatisfied
Fine
Somewhat Satisfied
Highly Satisfied
Do you think that the website's design change makes the site easier to use?
Has the new design made it easier for you to find information on the site?
Has the new design improved the overall visual appeal of the site?
How would you rate your overall satisfaction with the new design of the site?
×
How likely are you to recommend Game8 to someone you know?
Very Unlikely
0
1
2
3
4
5
6
7
8
9
10
Very Likely
If you have other opinions regarding potential improvement to the website, please share them with us. We would appreciate your honest opinion.
Note: This is a free response section, so you can proceed without entering anything.
Note: Please be sure not to enter any kind of personal information into your response.
Note: Please be sure not to enter any kind of personal information into your response.
×
Thank You
×
Thank you for participating in our survey! Your answers will help us to improve the quality of our website and services.
We hope you continue to make use of Game8.
We hope you continue to make use of Game8.
Close
Rankings
- We could not find the message board you were looking for.
Gaming News


![Monster Hunter Stories 3 Review [First Impressions] | Simply Rejuvenating](https://img.game8.co/4438641/2a31b7702bd70e78ec8efd24661dacda.jpeg/thumb)
Popular Games

Genshin Impact Walkthrough & Guides Wiki
Honkai: Star Rail Walkthrough & Guides Wiki
Umamusume: Pretty Derby Walkthrough & Guides Wiki
Pokemon Pokopia Walkthrough & Guides Wiki
Resident Evil Requiem (RE9) Walkthrough & Guides Wiki
Monster Hunter Wilds Walkthrough & Guides Wiki
Wuthering Waves Walkthrough & Guides Wiki
Arknights: Endfield Walkthrough & Guides Wiki
Pokemon FireRed and LeafGreen (FRLG) Walkthrough & Guides Wiki
Pokemon TCG Pocket (PTCGP) Strategies & Guides Wiki


Recommended Games
Diablo 4: Vessel of Hatred Walkthrough & Guides Wiki
Cyberpunk 2077: Ultimate Edition Walkthrough & Guides Wiki
Fire Emblem Heroes (FEH) Walkthrough & Guides Wiki
Yu-Gi-Oh! Master Duel Walkthrough & Guides Wiki
Super Smash Bros. Ultimate Walkthrough & Guides Wiki
Pokemon Brilliant Diamond and Shining Pearl (BDSP) Walkthrough & Guides Wiki
Elden Ring Shadow of the Erdtree Walkthrough & Guides Wiki
Monster Hunter World Walkthrough & Guides Wiki
The Legend of Zelda: Tears of the Kingdom Walkthrough & Guides Wiki
Persona 3 Reload Walkthrough & Guides Wiki


All rights reserved
CD PROJEKT®, Cyberpunk®, Cyberpunk 2077® are registered trademarks of CD PROJEKT S.A. © 2020 CD PROJEKT S.A. All rights reserved. All other copyrights and trademarks are the property of their respective owners.
The copyrights of videos of games used in our content and other intellectual property rights belong to the provider of the game.
The contents we provide on this site were created personally by members of the Game8 editorial department.
We refuse the right to reuse or repost content taken without our permission such as data or images to other sites.