Season 9 Questline Walkthrough
★ NEW: Season 12 Guide and New Features
┗ Seasonal Content: New Uniques | Bloodied Sigils | Slaughterhouses
┗ Seasonal Mechanic: Killstreaks and Bloodied Items
★ NEW: Lord of Hatred Expansion Release Date
★ Check out our Vessel of Hatred expansion guide
This is a walkthrough for the Season 9 questline in Diablo 4: Vessel of Hatred (D4). Read on to discover how to unlock the questline and learn about the quests you must complete in Season 9.
List of Contents
Season 9 Questline Walkthrough
| Season 9 Questline Walkthrough |
|---|
|
|
The Embers Yet Smolder Guide
| The Embers Yet Smolder Guide | |
|---|---|
| 1 | 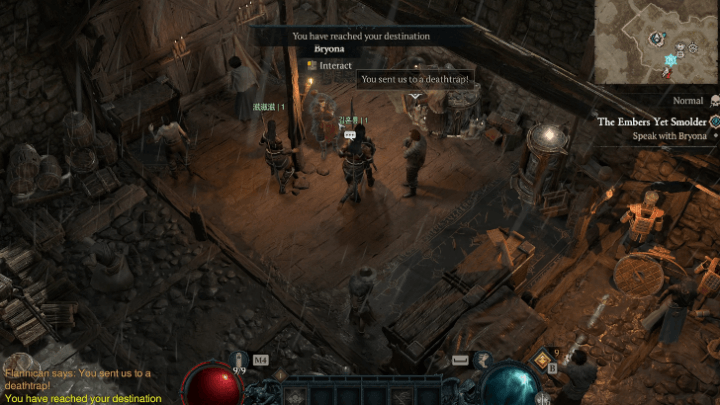 Head to the Scosglen region and talk to Bryona in Cerrigar to begin the quest. |
| 2 | 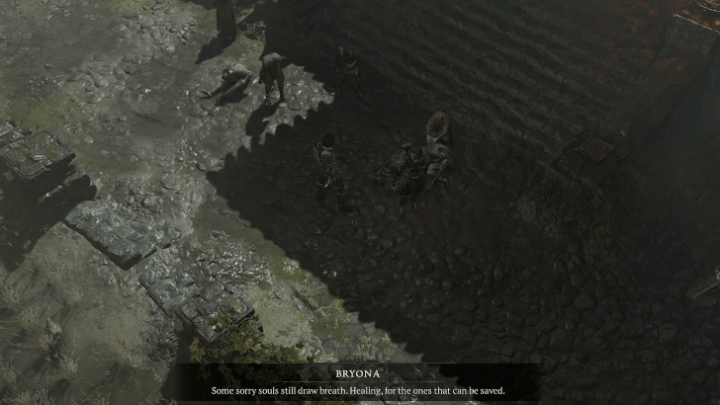 Head to Firebreak Manor and talk to Bryona. |
| 3 |  Head south and look for survivors. Defeat the hordes of demons and make your way to Eldhaim Keep. |
| 4 | 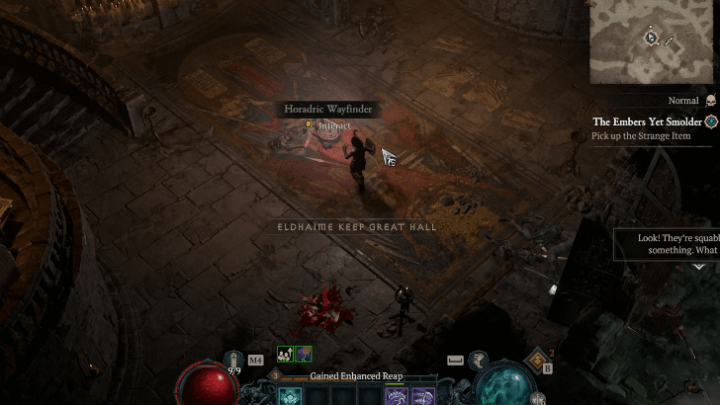 Head indoors and pick up the Horadric Wayfinder. |
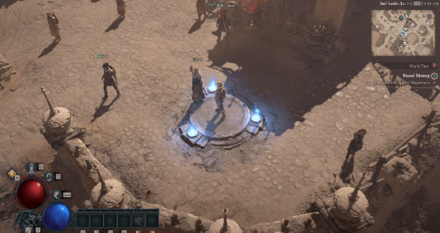
| 5 |  Head to the Burning Keep and make your way to the Horadric Strongroom. Choose one of the three shrines and defeat the demons within the time limit. Then, defeat the boss that spawns after the time limit expires. |
| 6 | 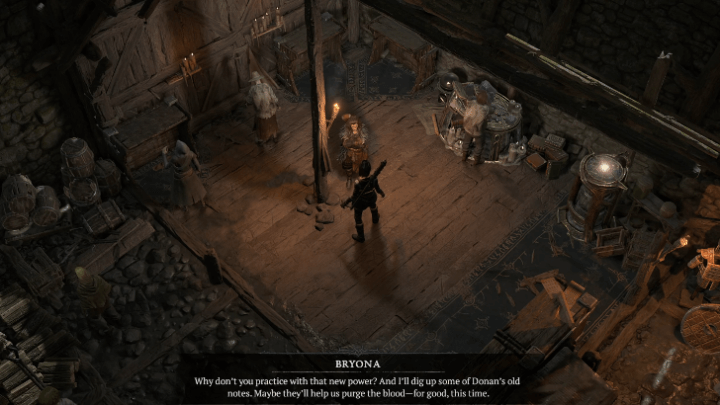
Return to Cerrigar and speak with Bryona. Then, interact with the Horadric Wayfinder and speak with Bryona again to finish the quest. |
Bearing the Weight of Ghosts
| Bearing the Weight of Ghosts Guide | |
|---|---|
| 1 | 
Talk to Bryona to begin the quest. |
| 2 | 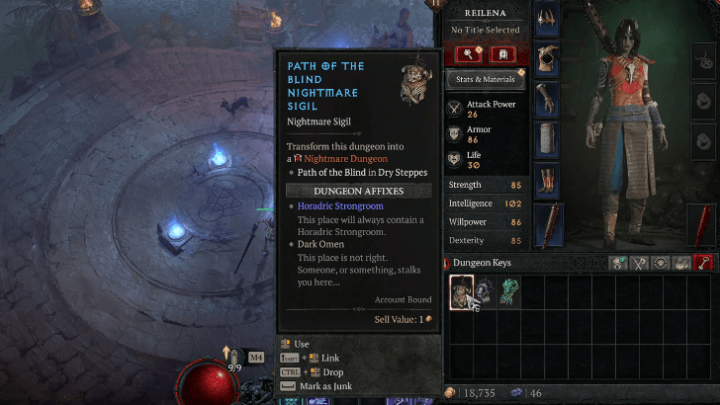
Use a Nightmare Sigil to open any Nightmare Dungeon. You can obtain Nightmare Sigils from caches by doing in-game activities. |
| 3 | 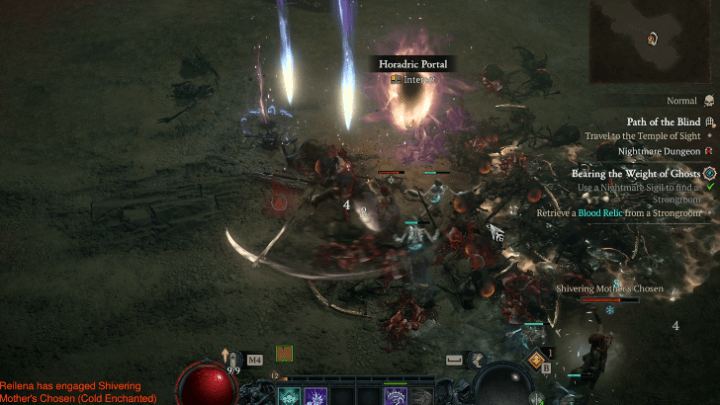 Head inside the Nightmare Dungeon and defeat enemies to make the Horadric Portal appear. Enter it once it spawns. |
| 4 | 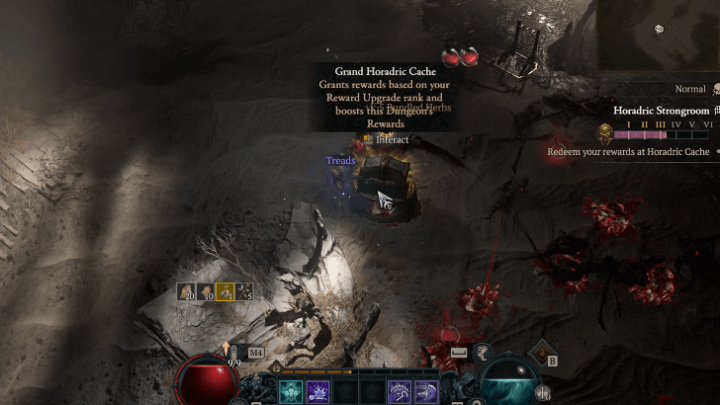 Defeat the enemies inside the strongroom to make the boss appear. Defeat the boss to obtain the Blood Relic. |
| 5 | 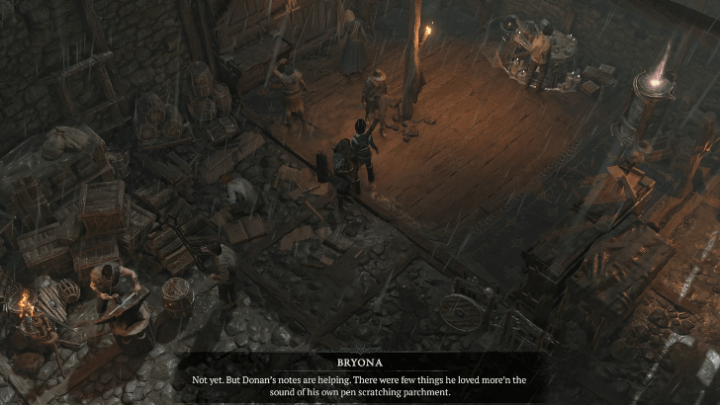 Return to Bryona at Cerrigar to finish the quest. |
Keepers of the Glen
| Keepers of the Glen Guide | |
|---|---|
| 1 | 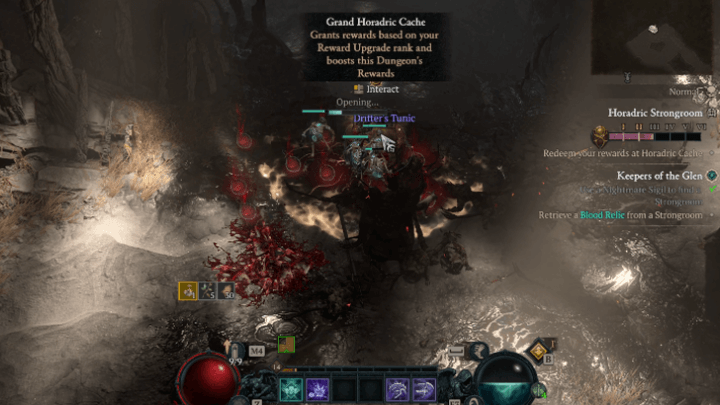 For this quest step, all you have to do is obtain another Blood Relic, which you can do by clearing another nightmare dungeon. |
To Walk Where Spirits Tread
| To Walk Where Spirits Tread Guide | |
|---|---|
| 1 |  Speak with Bryona to begin this quest. |
| 2 | 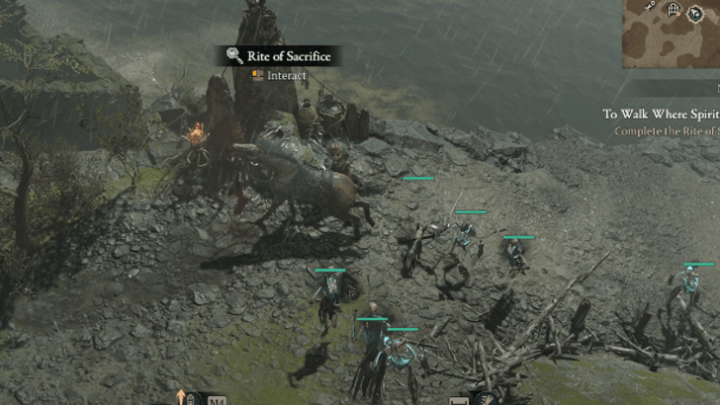 Head east of Cerrigar and enter the Rite of Sacrifice. Interact with it to begin the next step. |
| 4 |  Continue following the wolf and defeating the demons you encounter until you reach the stone of the Rite of Resolve. Interact with the stone to progress. |
| 6 |  Clear the Tur Dulra Stronghold In order to gain access the Oaken Cavern. |
| 5 | 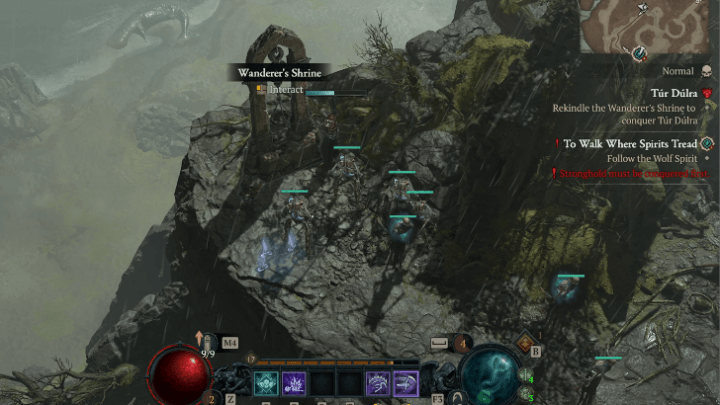 Go south of the Tul Dulra stronghold and down into the Oaken Cavern. |
| 6 |  Once inside, defeat the Binding Annihilator. Once the area has been cleared, return to Cerrigar. |
| 7 | 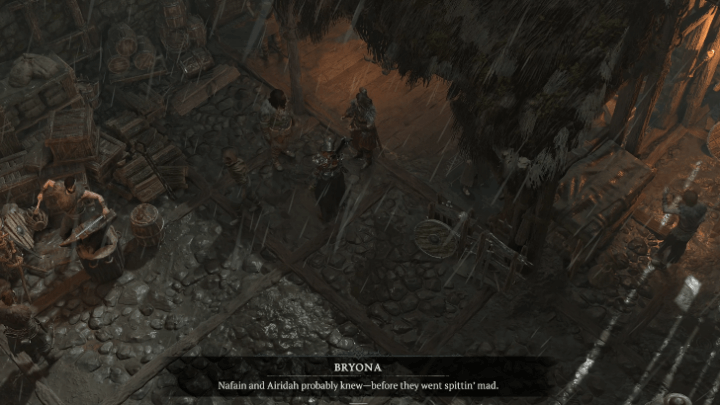 Talk to Bryona one more time to finish the quest. |
Reopening the Wound
| Reopening the Wound Guide | |
|---|---|
| 1 |  Head to Tirmair and speak with Bryona to begin the quest. |
| 2 | 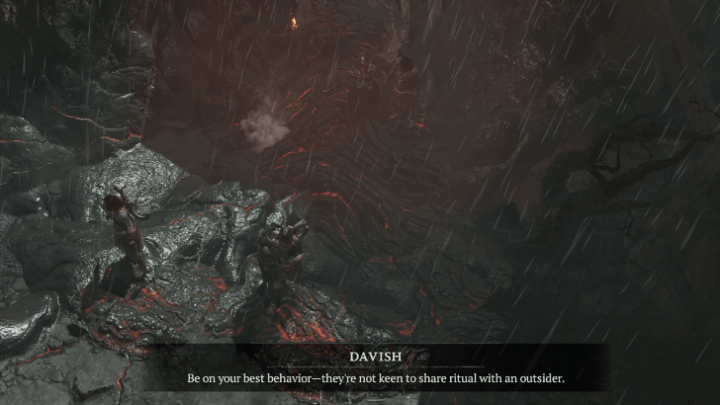 Go east and enter The Scar. You don't need to kill any enemies on the way. Just go straight through the objective using your mount. |
| 4 |  Interact with the four cleansing incenses around you, then offer Hluttered to the ritual. Defeat the enemies that spawn, and head outside once you're done. |
| 5 | 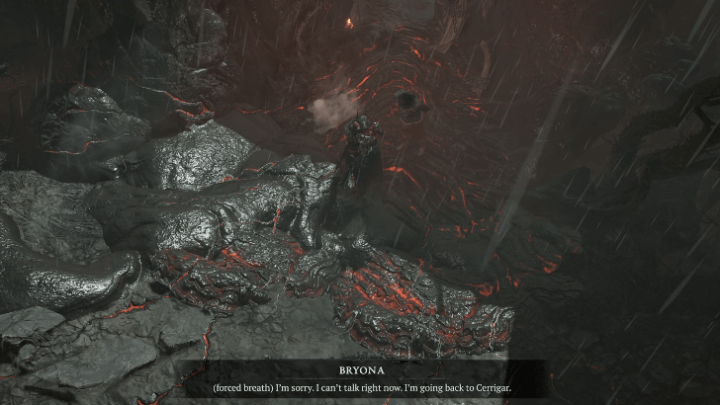 Talk to Bryona to complete the quest. |
The Unseeable Demands Their Gaze
| The Unseeable Demands Their Gaze Guide | |
|---|---|
| 1 | 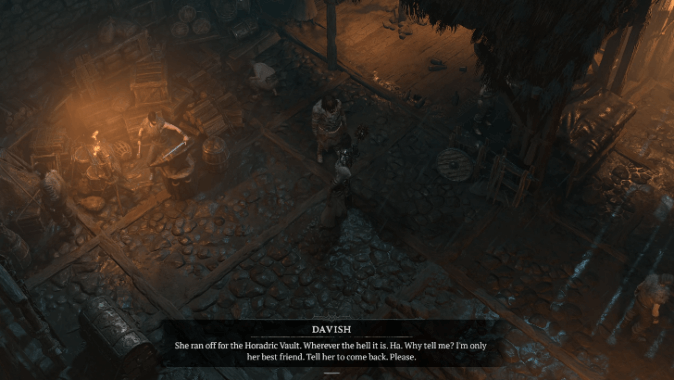 IHead to Cerrigar, and you'll see that Bryona isn't in her usual spot. To start this quest, talk to Davish in Cerrigar. |
| 2 |  Head to the Horadric Vault and talk to Bryona. |
| 3 |  Look for three of Donan's drafts scattered around the Horadric Vault. Go back to Bryona after you have all three. |
| 4 | 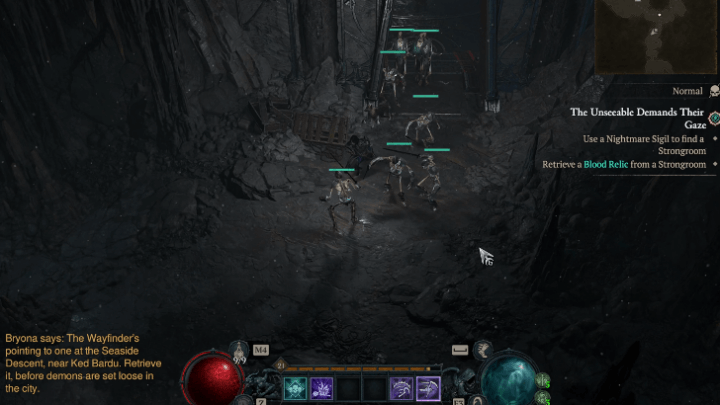 Use another nightmare sigil by going to another nightmare dungeon. The quest ends as soon as you get another blood relic. |
Damn the Precipice
| Damn the Precipice Guide | |
|---|---|
| 1 | 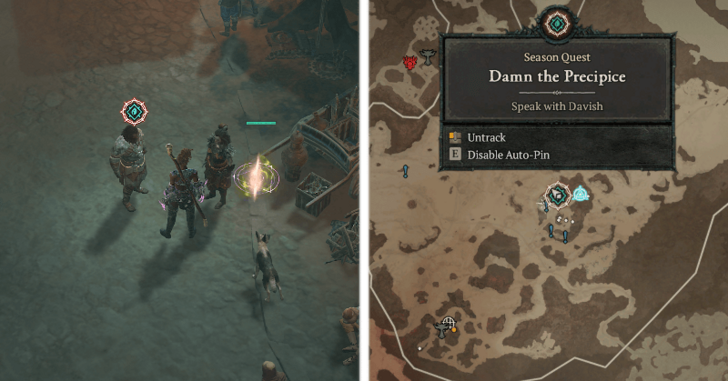 Start by heading to Tarsark and listen to Davish and Bryona's conversation. Once they are done, talk to Davish to continue the quest. |
| 2 |  Head north to the Outer Gardens while defeating the enemies along the way and enter the Abandoned Alcove. Progress the dungeon to find the Heavy Tome at the end of the room. |
| 3 |  Talk to Bryona just north of the Heavy Tome to complete the quest. |
A Wanderer, into Flames
| A Wanderer, into Flames Guide | |
|---|---|
| 1 | 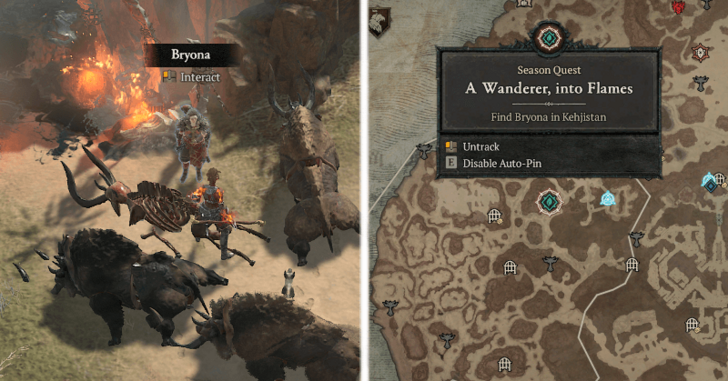 Head for the Iron Wolves Encampment and travel east to talk to Bryona. |
| 2 | 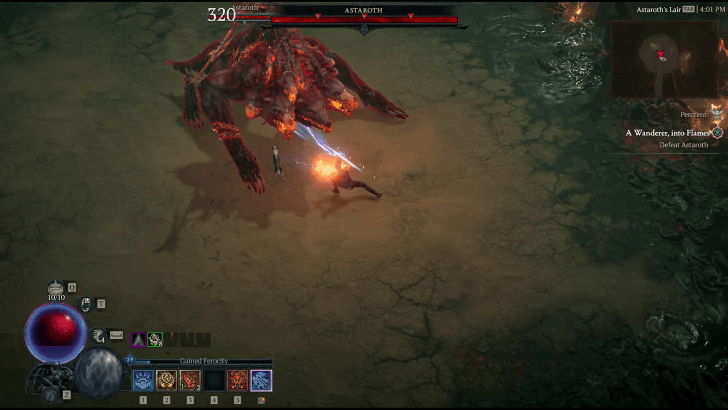 After talking with Bryona, enter Astaroth's Lair just behind her and progress further until you can talk to Bryona again. Doing so will ask you to activate the 3 Horadric Gateways and summon Astaroth using the Tome in the middle. Defeat Astaroth to continue the quest. |
| 3 | 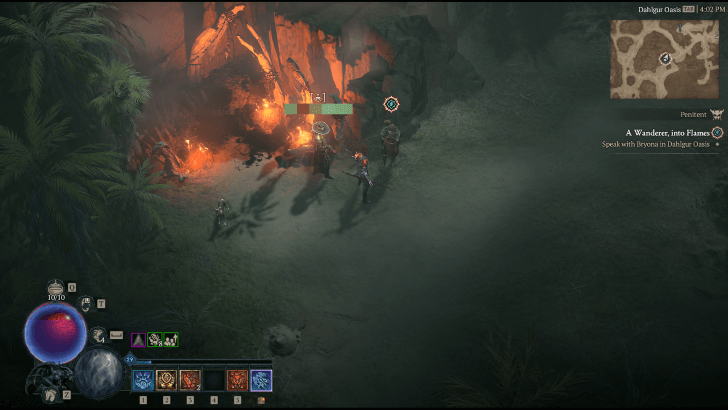 After defeating Astaroth, head back outside the dungeon and talk to Bryona again to finish the quest. |
The Torch, Unforgotten
| The Torch, Unforgotten Guide | |
|---|---|
| 1 | 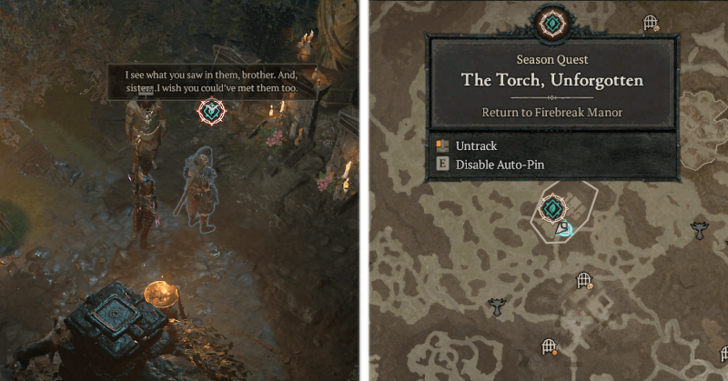 Return to Firebreak Manor and listen to Bryona and Davish's conversation. Once they are done, talk to Bryona to complete the quest. |
Wisdom's Chosen
| Wisdom's Chosen Guide | |
|---|---|
| 1 | 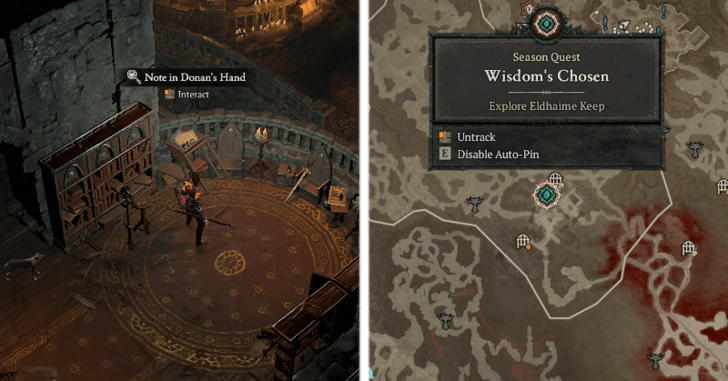 Head south of Firebreak Manor and interact with the Note on Dohan's Hand by the small table. |
| 2 | 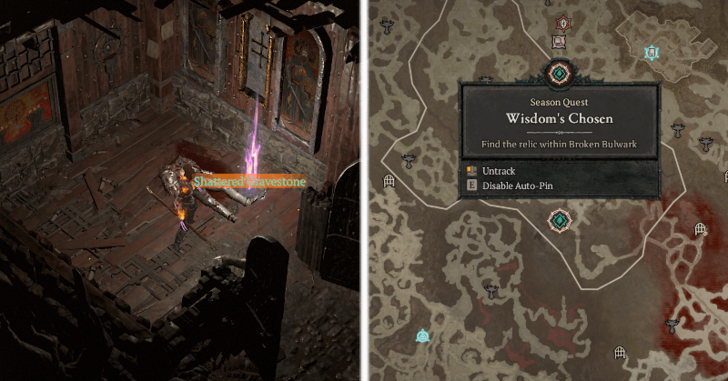 Enter the Broken Bulwark dungeon just south of where you found the note to continue the quest. Progress the dungeon and you should pick up the Shattered Gravestone off a corpse inside small room just south of the Boss area. |
| 3 |  Head back to Cerrigar and talk to Bryona. After that, place the Relic at the table behind Bryona. Once you have placed the Relic, talk to Terra just northeast of your location to progress further. |
| 4 |  Enter Calibel's Mine at the far north of Cerrigar and complete the dungeon to pick up the Remnants of Tal Rasha's Tomb off the dungeon boss. |
| 5 | 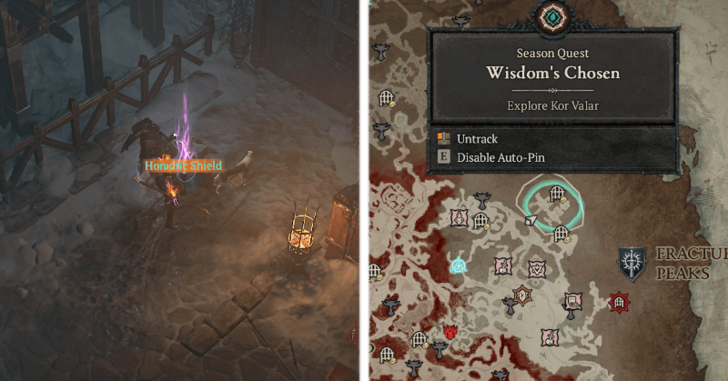 Head for Kor Valar just northeast of the Bear Tribe Refuge and pick up the Horadric Shield off a corpse. |
| 6 |  Finally, head back to Cerrigar and place the 2 Relics near the table where you placed the first Relic to finish the quest. |
The Priestess Horadrim
| The Priestess Horadrim Guide | |
|---|---|
| 1 | 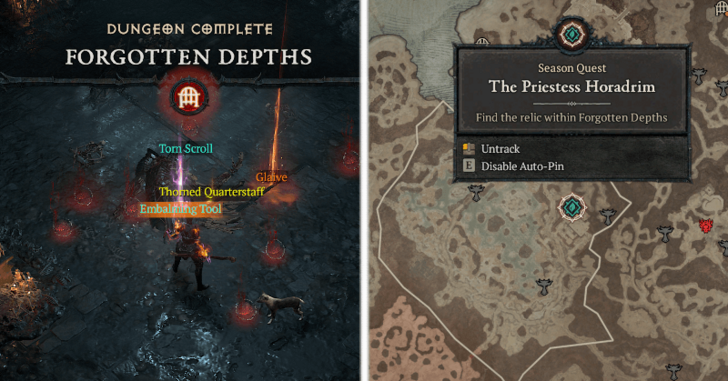 Enter the Forgotten Depths just south of Ked Bardu. Complete the dungeon and pick up the Embalming Tool after defeating the dungeon boss. |
| 2 | 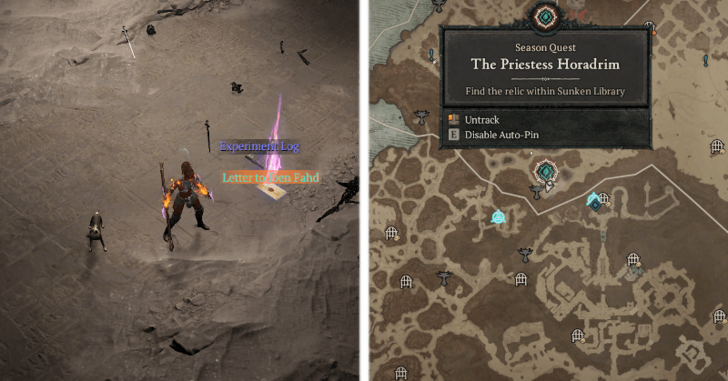 Enter the Sunken Library dungeon east of the Iron Wolves Encampment. Progress the dungeon and defeat the Elite enemy to pick up the Letter to Iben Fahd. |
| 3 | 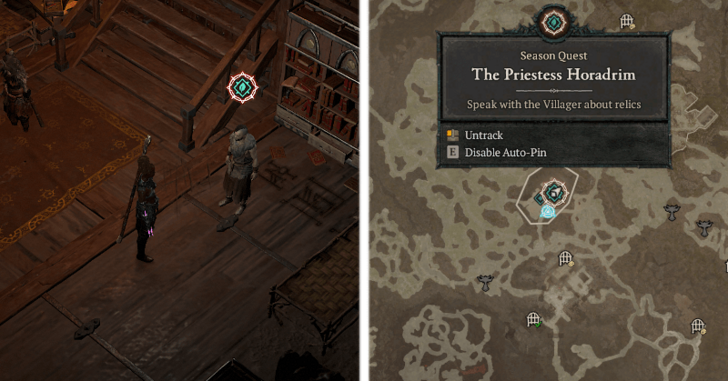 Head back to Firebreak Manor and talk to Finch to continue the quest. |
| 4 | 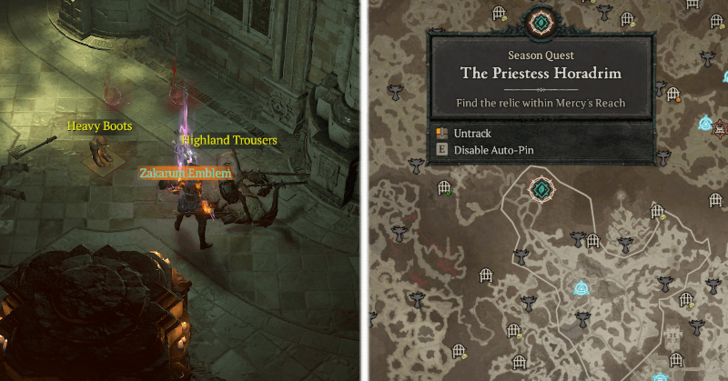 From Firebreak Manor, enter Mercy's Reach to the southeast and eliminate the Elite enemy to pick up the Zakarum Emblem. |
| 5 | 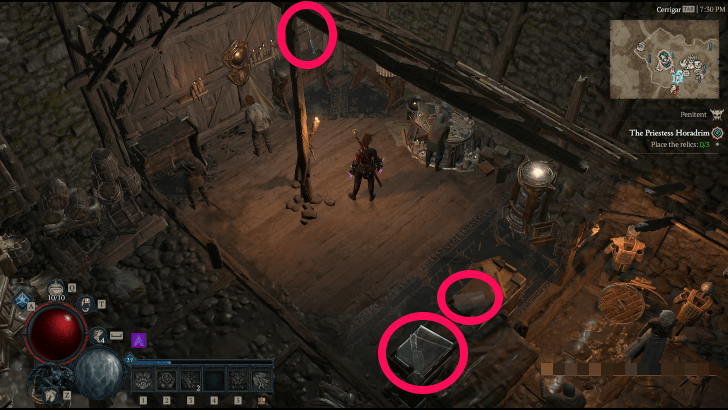 Finally, head back to Cerrigar and place the 3 Relics near the tables where you placed the first 3 Relics to finish the quest. |
The Kin of Cain
| The Kin of Cain Guide | |
|---|---|
| 1 | 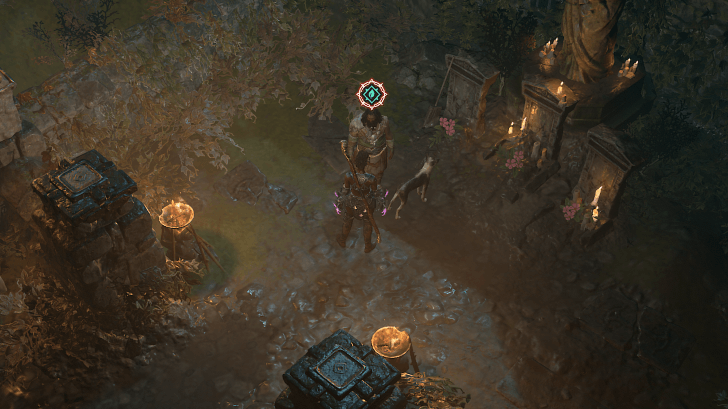 Talk to Davish at the Firebreak Manor by the cemetery. |
| 2 | 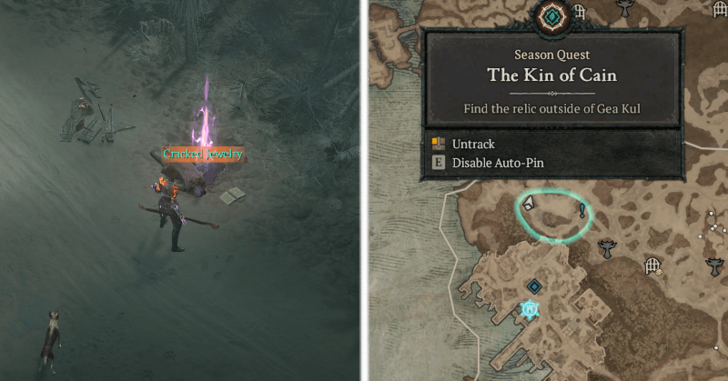 Start heading for Gea Kul and loot the corpse just north of the town near the entrance to pick up the Cracked Jewelry. Once you pick that up, make sure to interact with the Scavenger's Note just beside the corpse to continue the quest. |
| 3 | 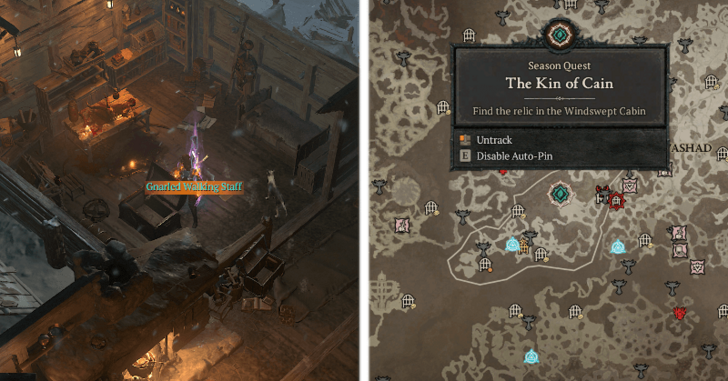 Head for the Windswept Cabin just northeast of Nevesk and open the Horadric Chest to pick up the Gnarled Walking Staff. Make sure to interact with the Terse Note before leaving to progress the quest. |
| 4 |  Head for the Imperial Library and enter the Yshari Sanctum nearby. Progress through the dungeon a bit until you find a chest you can open to pick up the Book of Cain. |
| 5 |  Lastly, head back to Cerrigar and place the 3 Relics near the tables where you placed the first 3 Relics to finish the quest. |
The Truths That Lie Within Requirements
| 1 | Earn 150 Hordadric Knowledge |
|---|---|
| 2 | Earn 500 Hordadric Knowledge |
| 3 | Earn 1,500 Hordadric Knowledge |
| 4 | Earn 2,000 Hordadric Knowledge |
| 5 | Earn 2,500 Hordadric Knowledge |
| 6 | Earn 4,000 Hordadric Knowledge |
| 7 | Earn 5,000 Hordadric Knowledge |
| 8 | Earn 6,000 Hordadric Knowledge |
| 9 | Earn 26,000 Hordadric Knowledge |
| 10 | Earn 28,000 Hordadric Knowledge |
| 11 | Earn 30,000 Hordadric Knowledge |
| 12 | Earn 32,000 Hordadric Knowledge |
| 13 | Earn 34,000 Hordadric Knowledge |
| 14 | Earn 144,000 Hordadric Knowledge |
| 15 | Earn 152,000 Hordadric Knowledge |
| 16 | Earn 160,000 Hordadric Knowledge |
| 17 | Earn 168,000 Hordadric Knowledge |
| 18 | Earn 240,000 Hordadric Knowledge |
The Truths That Lie Within is a recurring quest in the Sins of the Horadrim questline. The quest gives you a task to earn Horadric Knowledge after certain quests in order to unlock the next quest. The best method for farming the Seasonal Reputation is by clearing Horadric Strongrooms.
How to Farm Horadric Knowledge
How to Unlock Season 9 Quests
Speak to Bryona in Scosglen
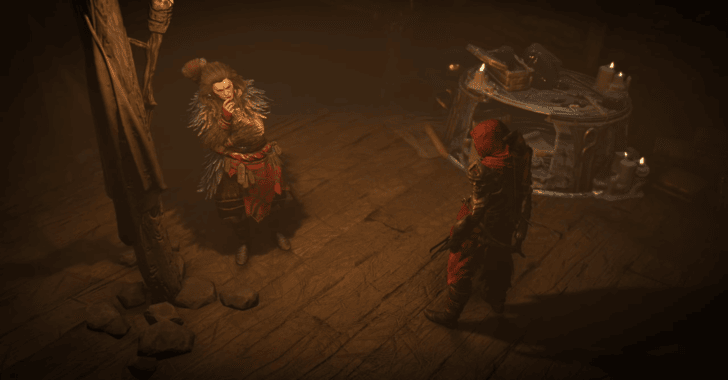
Speak to Bryona in Scosglen to start the Season 9 questline. She gives you a task to kill demons and investigate in Eldhaime Keep, where you'll encounter a Horadric Wayfinder which you can use to find secrets in Nightmare Dungeons.
Finish The Campaign to Unlock the Story
You can access the Season 9 Questline by completing the Epilogue from the game's main storyline. However, any Seasonal Character can immediately access the Season Journey and the Battle Pass.
Players who have access to Vessel of Hatred must first complete the prologue of the expansion to access the Season 9 questline.
How to Access Season 9 Questline
You Can Skip The Campaign

Once you've completed the campaign on any of your characters, you are eligible to skip the entire campaign when creating new characters. This feature also carries over to new Seasonal Characters that you create, allowing you to immediately access the new content without playing through the main story.
Note that players who own the Vessel of Hated expansion can also choose to skip the entire campaign of the expansion.
Use a Seasonal Character

You can only access the Season 9 content by using a character from the Seasonal Realm. This means that you have to create a new Seasonal Character.
How to Create a Seasonal Character
Diablo 4 Related Guides

List of Seasons: How Do Seasons Work?
Season 12 Guides
Season Guides
Comment
Author

Season 9 Questline Walkthrough
Rankings
- We could not find the message board you were looking for.

Gaming News

![Star Savior Review [First Impressions] | Engaging, Entertaining, and Expensive](https://img.game8.co/4447603/8f500e9bf666bdb8adb1af478e9dfdbd.png/show)


Popular Games

Genshin Impact Walkthrough & Guides Wiki
Umamusume: Pretty Derby Walkthrough & Guides Wiki
Crimson Desert Walkthrough & Guides Wiki
Monster Hunter Stories 3: Twisted Reflection Walkthrough & Guides Wiki
Honkai: Star Rail Walkthrough & Guides Wiki
Pokemon Pokopia Walkthrough & Guides Wiki
The Seven Deadly Sins: Origin Walkthrough & Guides Wiki
Wuthering Waves Walkthrough & Guides Wiki
Zenless Zone Zero Walkthrough & Guides Wiki
Arknights: Endfield Walkthrough & Guides Wiki


Recommended Games
Fire Emblem Heroes (FEH) Walkthrough & Guides Wiki
Diablo 4: Vessel of Hatred Walkthrough & Guides Wiki
Cyberpunk 2077: Ultimate Edition Walkthrough & Guides Wiki
Yu-Gi-Oh! Master Duel Walkthrough & Guides Wiki
Super Smash Bros. Ultimate Walkthrough & Guides Wiki
Pokemon Brilliant Diamond and Shining Pearl (BDSP) Walkthrough & Guides Wiki
Elden Ring Shadow of the Erdtree Walkthrough & Guides Wiki
Monster Hunter World Walkthrough & Guides Wiki
The Legend of Zelda: Tears of the Kingdom Walkthrough & Guides Wiki
Persona 3 Reload Walkthrough & Guides Wiki


All rights reserved
©2022 BLIZZARD ENTERTAINMENT, INC. ALL RIGHTS RESERVED.
All trademarks referenced herein are the properties of their respective owners.
The copyrights of videos of games used in our content and other intellectual property rights belong to the provider of the game.
The contents we provide on this site were created personally by members of the Game8 editorial department.
We refuse the right to reuse or repost content taken without our permission such as data or images to other sites.