Get It Together Quest Walkthrough and Rewards
★ Coming to Switch 2
★ New: Metro System, Car Racing, Romantic Hangouts
★ Phantom Liberty: Dogtown Map & Relics System
★ See our Best Builds here!
┗ HOT: Blades Build, Netrunner Build, & Assassin Build
Get It Together is a Main Quest in Cyberpunk 2077: Phantom Liberty. Read on to learn the walkthrough for Get It Together, obtainable items, tips and strategies, and all available rewards!
| Previous Quest | Current Quest | Next Quest |
|---|---|---|
| The Damned | Get It Together | You Know My Name |
List of Contents
Get It Together Basic Information
Overview
| Quest Type | Main |
|---|---|
| Act | Act 2 |
| Quest No. | 6 |
| Lifepath | All |
How to Unlock Get It Together
| Quest Unlock Conditions | Complete The Damned |
|---|
Get It Together Walkthrough
Quest Objectives
- Call Mr. Hands
- Complete at Least Three Gigs for Mr. Hands
- Prototype in the Scraper Walkthrough
- Treating Symptoms Walkthrough
- Waiting for Dodger Walkthrough
- Talk to Mr. Hands Then Read His Message
- Go to the Heavy Hearts Club
- Talk to Mr. Hands then Leave the Club
- Call Reed and Send Him the Data
- Meet with Reed at The Moth
1. Call Mr. Hands
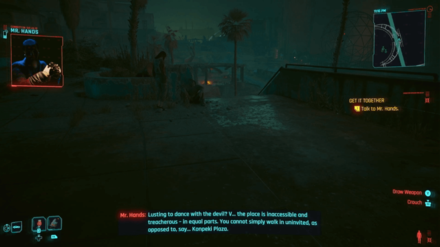
After speaking with Solomon Reed, call Mr. Hands on your phone to begin this quest. Mr. Hands will cut a deal with you in exchange for getting in at the Black Sapphire.
2. Complete at Least Three Gigs for Mr. Hands
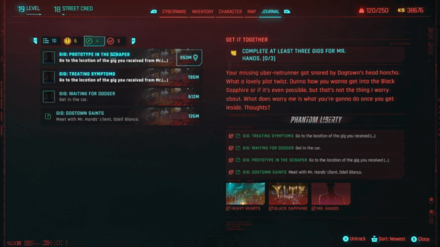
After accepting Mr. Hands' offer, head over to the Gigs tab (found as a green compass icon in your Journal) and complete at least 3 of the listed gigs to complete this mission.
You may choose to take on any of the four gigs listed but for the purposes of this guide the gigs we chose are: Prototype in the Scraper, Treating Symptoms, and Waiting for Dodger.
3. Prototype in the Scraper Walkthrough
Go to the Scraper construction site and enter the scavs' nest
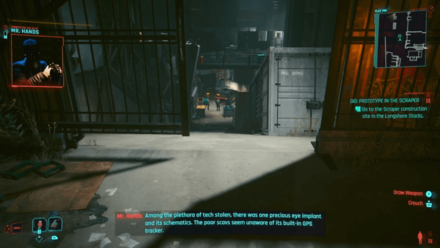
After selecting this gig, head to the construction site in Longshort Stacks by following the objective marker. When you reach the area, you will need to enter the scavs' nest. There will be multiple hostiles in this area so be prepared to fight.
Find the prototype emitting the signal
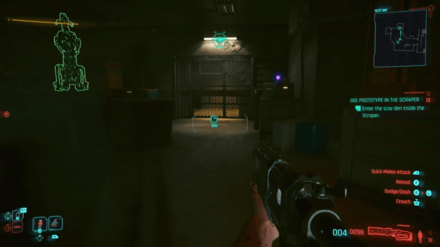
Once you enter the scavs' nest, take the elevator and find the prototype emitting the signal. The signal will be in a room on the second floor.
Talk to the Prisoner

Pinpointing the signal leads to a prisoner by the name of Hasan Demir. Hasan explains that he planted the prototype tech to himself and also knows where the schematics are. He proposes that you help get him out in exchange for both the prototype and the schematics.
Find the passcode to Hasan's cell
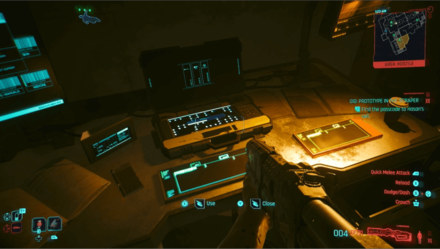
You can find the passcode in the room you walked past to get to Hasan's cell. Interact with the laptop on the table and select Files then Codes & Passwords which reveals the passcode to be 2753. Head back to Hasan's cell to free him then follow him to the tablet with the schematics.
Lower the Drawbridge to escape from the Scraper

Step outside of the room to the ledge and interact with the fuse box to your left to lower the drawbridge. After lowering the drawbridge, follow Hasan and call for Mr. Hands' fixer. This will take a while and you will have to go through some dialogue with Hasan as well as Mr. Hands.
Talk to Mr. Hands' Merc
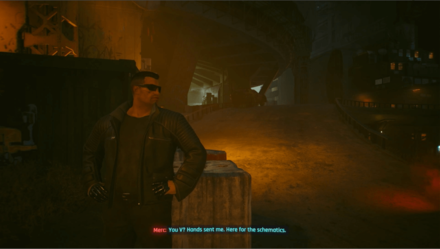
After the conversation with Mr. Hands, the scene jumps to you talking with Mr. Hands' merc. Hand over the tablet with the schematics to the merc to finish this gig.
4. Treating Symptoms Walkthrough
Get inside the Voodoo Boys' base
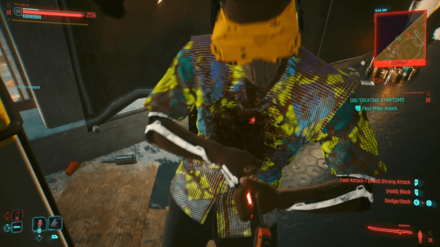
This gig requires you to get inside the Voodoo Boys' base and find a blackmailer by the name of Milko Alexis. Milko's location is deep within the base with multiple enemies moving about. While players can opt for a more stealthy approach, make sure you're ready to fight as well.
Neutralize the Robots
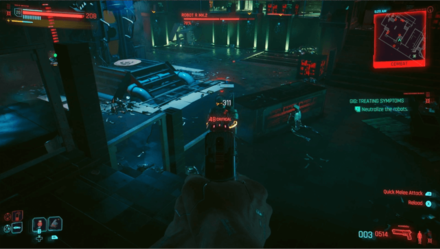
On your way to get to the room where Milko is located, the Voodoo Boys' base will activate its defense system and send out Robot R Mk.2. This acts as a boss fight so take your time and aim for the lights on its body for maximum damage output.
Find Milko Alexis

After dealing with the robots, proceed further down the base to Milko Alexis' room. Eliminate Milko to finish this objective.
Leave the Voodoo Boys' base
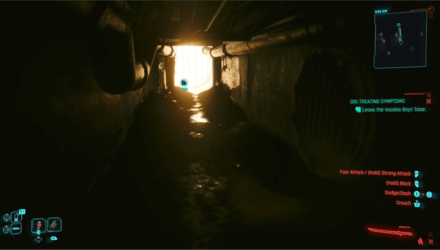
Once you deal with Milko Alexis, exit through the back of the room and through the sewer grate to finish this gig.
5. Waiting for Dodger Walkthrough
Meet up with Stella
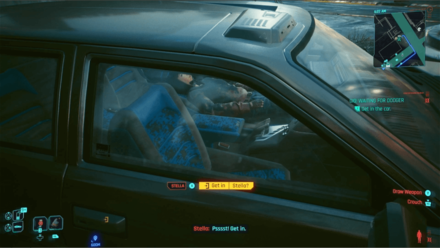
Start this gig by following the marker on your minimap and meeting up with Stella. Get in her car to start the conversation so that she can give you the access card for the NCPD precinct right outside.
Enter Dodger's base
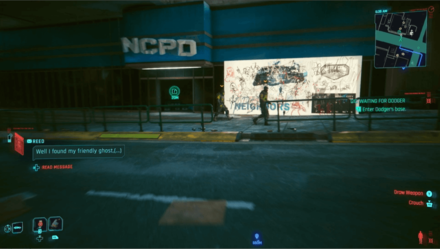
After securing the access card from Stella, enter the NCPD precinct across the street where Dodger has setup his base. Proceed to the main room in the first floor and take the elevator to the left. There will be a few hostiles in this area so make your way quietly or prepare to engage in combat.
Find Bill and Charles
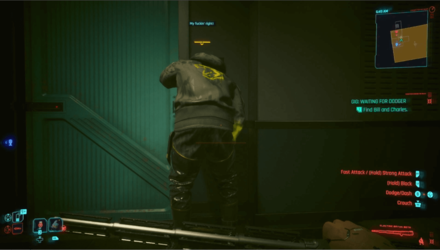
After stepping out the elevator, proceed forward to the man in front of the door. The door will be stuck so give Charles a hand in opening it. Enter the room and talk to Bill and Charles as they explain their situation.
Escort Bill and Charles to the squad car
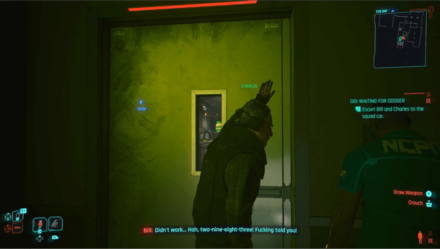
After talking to Bill and Charles, walk with them to the squad car. You will pass by a room with one of Dodger's goons and a camera. Since this goon is alone, you can simply do a quickhack to the camera and take out the goon nice and easy.
Find a way to open the door
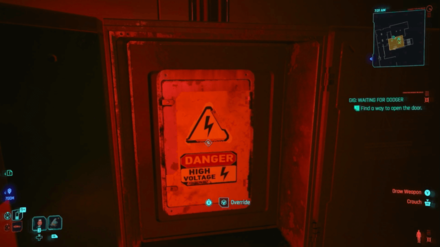
After taking care of the Dodger's goon, continue to the room down the hall. In the room is a sealed door and interacting with the laptop reveals that the door has problems with the wiring. Head to the other room, override the fuse box, then return to Bill and Charles.
Eliminate the threat
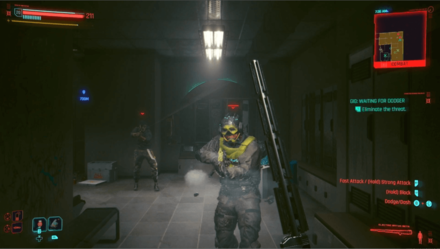
In the next room, there will be a few hostiles that are armed. Take them out and head to the garage to get to Bill and Charles' squad car.
Confront Dodger
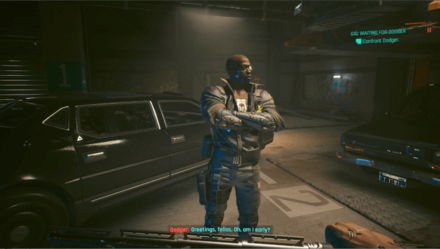
As you get to the squad car, Dodger arrives at the scene and you will have to confront him. After some dialogue, there is a choice of lying to him or telling him the truth but either way, Dodger will start attacking you. At this point you next objective is to defeat all the enemies, Dodger included.
Talk to Bill and Charles
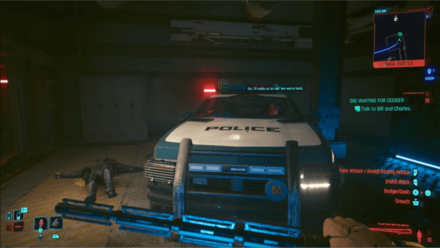
After clearing all the enemies, talk to Bill and Charles to complete this gig. At this point, all three gigs are complete and Mr. Hands will give you a call.
6. Talk to Mr. Hands
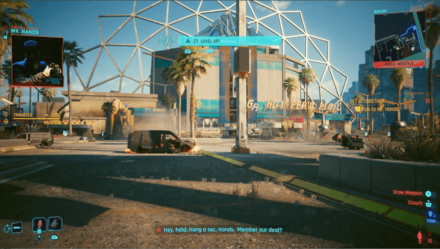
After completing the third gig, talk to Mr. Hands. He will commend you for completing all three gigs then ask to meet at the Heavy Hearts club. After the call, read the message Mr. Hands sent you as it contains the code 2589 for the private floor on the Heavy Hearts Club.
7. Read Mr. Hands’ Message Then Go to the Heavy Hearts Club
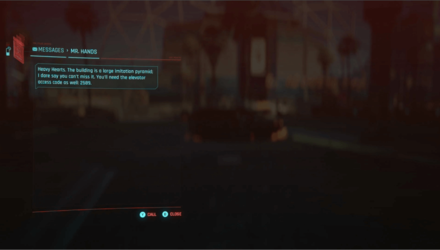
Get to the Heavy Hearts and enter the code on the elevator. Follow the objective marker all the way to the private level where you will meet face-to-face with Mr. Hands.
8. Talk to Mr. Hands then Leave the Club
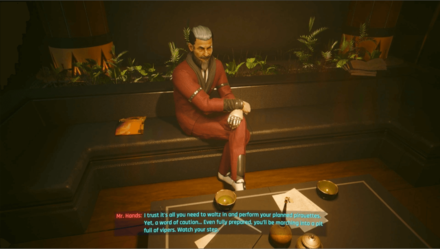
Once you get to the private level, head to Mr. Hands' room. This next objective will consist of a lengthy conversation between V and Mr. Hands. After finishing your conversation, exit the way you came and leave the club.
9. Call Reed and Send Him the Data
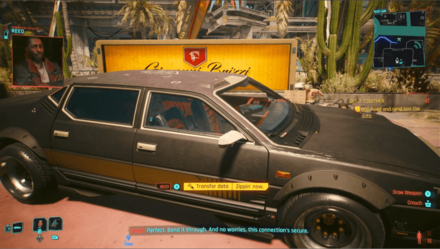
After leaving the club, call Reed and send him the data from Mr. Hands. Once you've sent the data, head over to The Moth where you'll meet with Reed.
10. Meet with Reed at The Moth

As you enter The Moth, V will experience a malfunction with the relic. Reed will be there in time to help you up and will begin a conversation. After the conversation, follow Reed to the safehouse. This objective continues with more conversation, with Reed explaining the history between him and Songbird
After even more talking, Alex will arrive and will let you take some gear they have. Grab the diving suit and pistol in the boxes in front of you. Additionally, you are free to take any of the other gear in the room should you wish. Wrap up the quest by talking to Reed, at which point the next quest, You Know My Name, begins.
Cyberpunk 2077: Phantom Liberty Related Guides
All Main Quest Guides
Act 1
| No. | Quest | |||||
|---|---|---|---|---|---|---|
| 1 | The Streetkid | The Nomad | The Corpo-Rat | |||
| 2 | The Rescue | |||||
| 3 | The Ripperdoc | |||||
| 4 | The Ride | |||||
| 5 | The Information | The Pickup | ||||
| 6 | The Heist | |||||
Act 2
Act 3
1.5*: Only available in the Secret Ending
Phantom Liberty Main Quests
All Quest Types
| Quest Types | ||
|---|---|---|
Comment
Author
Get It Together Quest Walkthrough and Rewards
improvement survey
03/2026
improving Game8's site?

Your answers will help us to improve our website.
Note: Please be sure not to enter any kind of personal information into your response.

We hope you continue to make use of Game8.
Rankings
Gaming News
Popular Games

Genshin Impact Walkthrough & Guides Wiki

Honkai: Star Rail Walkthrough & Guides Wiki

Umamusume: Pretty Derby Walkthrough & Guides Wiki

Pokemon Pokopia Walkthrough & Guides Wiki

Resident Evil Requiem (RE9) Walkthrough & Guides Wiki

Monster Hunter Wilds Walkthrough & Guides Wiki

Wuthering Waves Walkthrough & Guides Wiki

Arknights: Endfield Walkthrough & Guides Wiki

Pokemon FireRed and LeafGreen (FRLG) Walkthrough & Guides Wiki

Pokemon TCG Pocket (PTCGP) Strategies & Guides Wiki
Recommended Games

Diablo 4: Vessel of Hatred Walkthrough & Guides Wiki

Fire Emblem Heroes (FEH) Walkthrough & Guides Wiki

Yu-Gi-Oh! Master Duel Walkthrough & Guides Wiki

Super Smash Bros. Ultimate Walkthrough & Guides Wiki

Pokemon Brilliant Diamond and Shining Pearl (BDSP) Walkthrough & Guides Wiki

Elden Ring Shadow of the Erdtree Walkthrough & Guides Wiki

Monster Hunter World Walkthrough & Guides Wiki

The Legend of Zelda: Tears of the Kingdom Walkthrough & Guides Wiki

Persona 3 Reload Walkthrough & Guides Wiki

Cyberpunk 2077: Ultimate Edition Walkthrough & Guides Wiki
All rights reserved
CD PROJEKT®, Cyberpunk®, Cyberpunk 2077® are registered trademarks of CD PROJEKT S.A. © 2020 CD PROJEKT S.A. All rights reserved. All other copyrights and trademarks are the property of their respective owners.
The copyrights of videos of games used in our content and other intellectual property rights belong to the provider of the game.
The contents we provide on this site were created personally by members of the Game8 editorial department.
We refuse the right to reuse or repost content taken without our permission such as data or images to other sites.


