All Collection Chest Locations
Opening Collections Chests in Hogwarts Legacy will reveal Wand Handles, Conjurations, and more! Learn where to find all Collectible Chests and what rewards you receive for collecting them!
List of Contents
Hogwarts Collection Chest Locations
| The Astronomy Wing | Bell Tower Wing | The Grand Staircase |
| The Great Hall | The Library Annex | Secret Rooms |
| The South Wing | - | - |
|---|
The Astronomy Wing
| World View | Map View |
|---|---|
 |
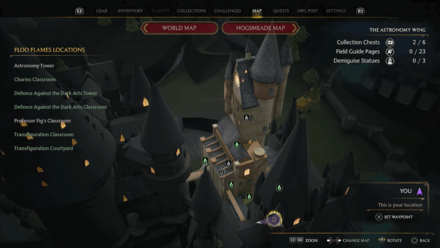 |
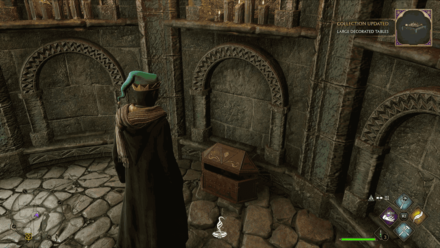
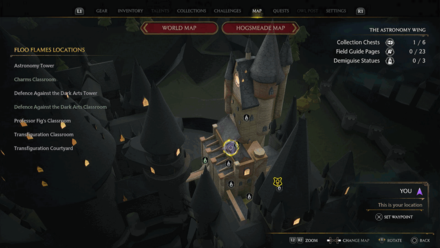
| Location: From the Central Hall Floo Flame under the Library Annex area, go down the stairs in front of the flame and take a left by the fountain. Go down the stairs again and on your right you'll find an Arithmancy Door Puzzle. Solve it and you'll find the chest inside. |
|
 |
 |
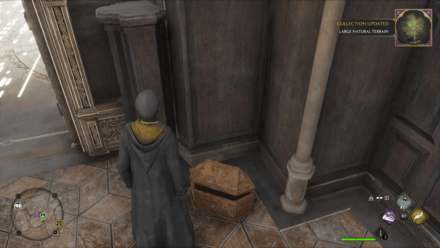
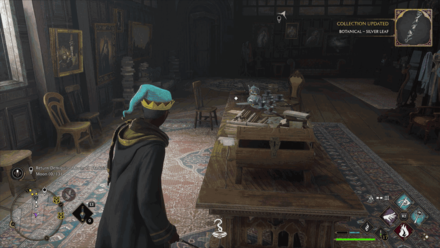
| Location: From the Charms Classroom Floo Flame, go south, then turn left and you'll see an Arithmancy Door Puzzle on your left. Unlock it and you'll find the chest inside next to the door. | |
 |
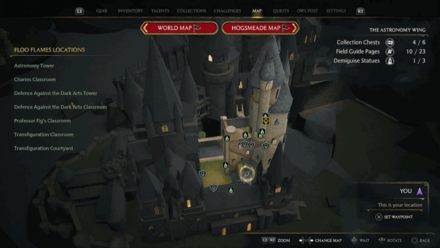 |
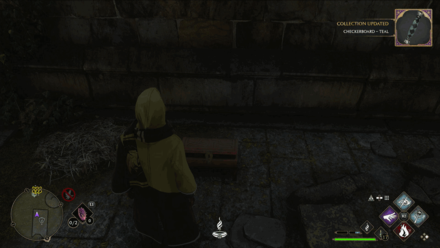
| Location: Facing away from the Transfiguration Courtyard Floo Flame, enter the door to the right to enter the Defense Against the Dark Arts Tower. Upon entry, go west towards the Level 2 Locked Door between some gargoyles. Inside the room, you'll find the chest at the end of the table. |
|
 |
 |
| Location: From the Charms Classroom Floo Flame, go down the stairs northeast, and enter the Charms Classroom to your right. Take the stairs up on your left and enter Professor Ronen's Office. Once inside, take the spiral staircase up and you'll find the chest outside by the wall. |
|
 |
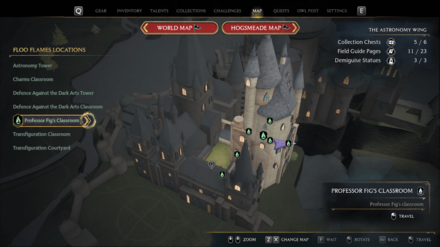 |
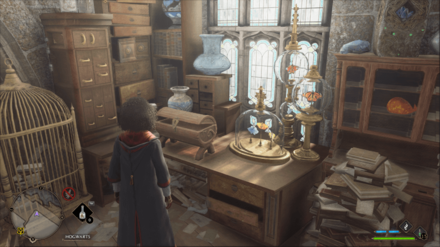
| Location: From the Professor Fig's Classroom Floo Flame, enter Professor Fig's Classroom and you'll find the chest to your left by the corner of the room on a table. | |
 |
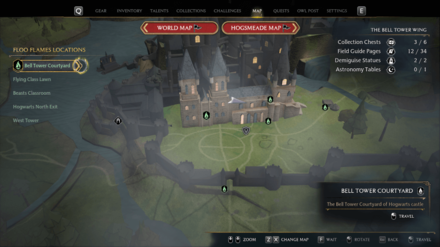 |
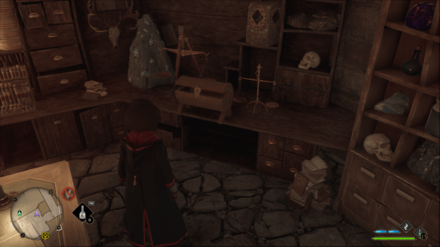
| Location: From the Bell Tower Courtyard Floo Flame, take the stairs on the left and enter the door in front. Then, take the stairs down on your left and keep following the path until you see a Sleeping Dragon Statue on your left. Once there, take a right and follow the path straight and enter the Level 2 Locked Door full of cauldrons on the side. You'll find the chest on your right by the table. |
|
Bell Tower Wing
| World View | Map View |
|---|---|
 |
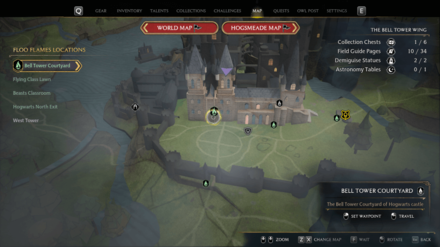 |
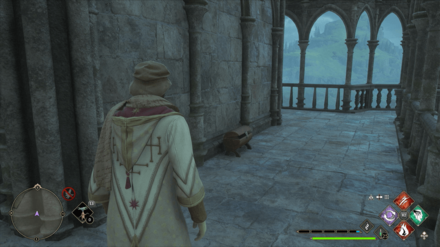
| Location: From the Bell Tower Courtyard Floo Flame, take the stairs on the left, then take a left again up the stairs and keep following this path until you reach the Music Room. Once there, keep going upstairs past the bells until you're at the top. Go outside the door, approach the frog statue to your right, then turn right to find the chest by the wall. |
|
 |
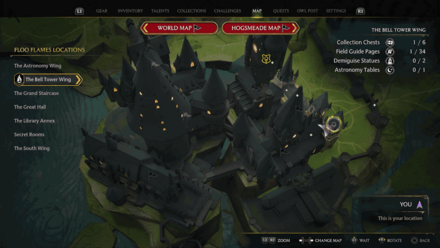 |
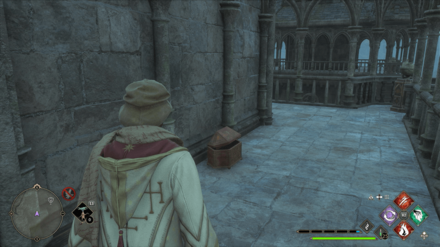
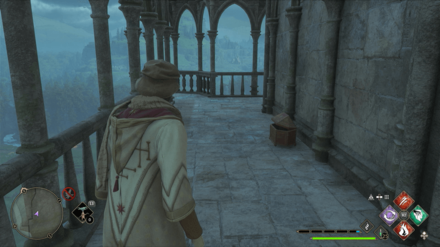
| Location: From the Bell Tower Courtyard Floo Flame, take the stairs on the left, then take a left again up the stairs and keep following this path until you reach the Music Room. Once there, keep going upstairs up past the bells until you're at the top.Go outside the door, enter the frog statue to your right, and you'll find the chest in front of you by the wall. |
|
 |
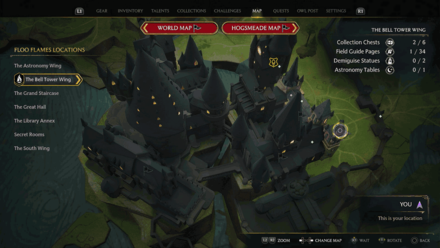 |
| Location: From the Bell Tower Courtyard Floo Flame, take the stairs on the left, then take a left again up the stairs and keep following this path until you reach the Music Room. Once there, keep going upstairs up past the bells until you're at the top. Go outside the door, enter the frog statue to your right, walk to the left path, then turn right at the corner and you'll find the chest by the wall. |
|
 |
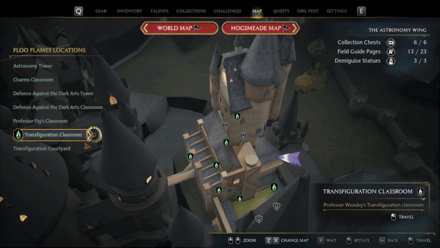 |
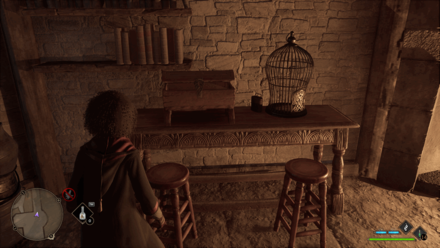
| Location: From the Transfiguration Classroom Floo Flame, turn northeast and enter the first door to the left. Go forward then turn right, then go upstairs until you reach a Level 1 Locked Door. Inside the room behind this door, there is an Arithmancy Puzzle Doorwith the chest inside. |
|
 |
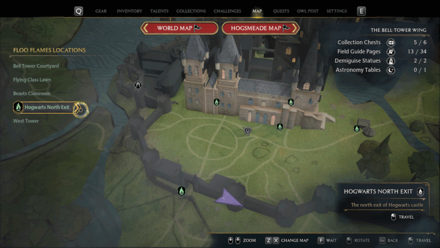 |
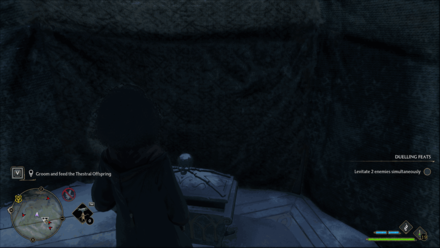
| Location: From the Hogwarts North Exit Floo Flame, turn right to inside of the castle walls, then turn right and walk along the wall until you reach the shed with Thestrals, with a stone room beside it. Go around this stone structure to find the Level 2 Locked Door; the chest is behind this door. | |
 |
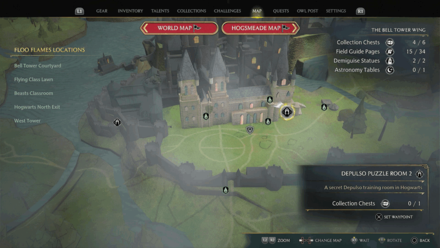 |
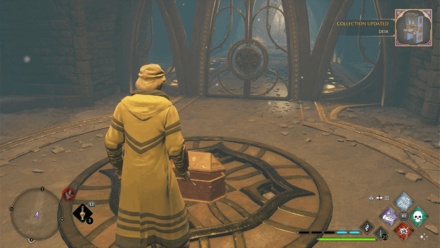
| Location: The chest is found after completing the Depulso Puzzle Room 2 in the Hieroglyphic Hall. | |
The Grand Staircase
| World View | Map View |
|---|---|
 |
 |
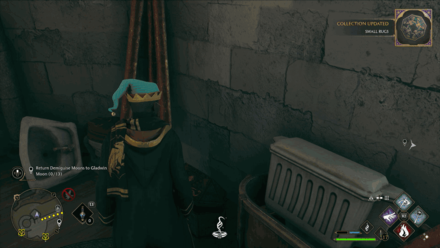
| Location: From the Ravenclaw Tower Floo Flame, walk northwest to find an Arithmancy Door Puzzle next to the spiral staircase; the chest is behind this door. | |
 |
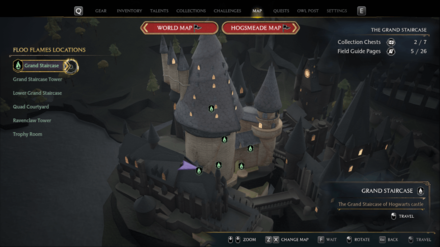 |
| Location: From the Grand Staircase Floo Flame, walk up the stairs due northeast, then go up another set of stairs past the architect statue, until you're a floor above the Floo Flame. You'll find the chest behind the Arithmancy Door Puzzle by the bend walking forward from the stairs (the second '??' for this puzzle is downstairs just by the Floo Flame). |
|
 |
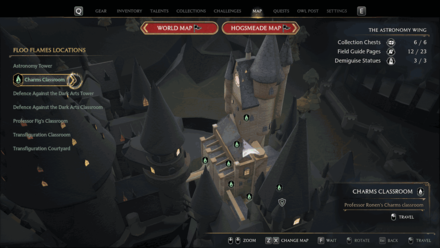 |
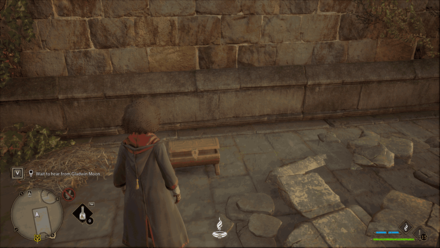
| Location: From the Grand Staircase Tower Floo Flame, go west to the moving staircases, and keep going down until you come across an Arithmancy Door Puzzle; the chest is behind this door. | |
 |
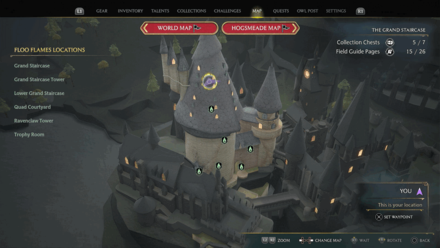 |
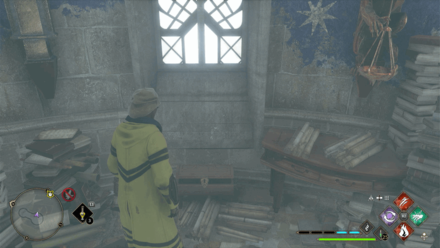
| Location: From the Trophy Room Floo Flame, go northwest and follow this curved path until you see a gate with a Level 1 Lock. Enter it and keep following the path up; through a spiral staircase, a hallway, and another spiral staircase. At the end of this staircase is a door: upon entering it, turn right and you will find a locked door, which you can only unlock with the Key of Admittance, obtainable from one of the hidden Hogwarts secrets. The chest is inside this locked room, next to a table. |
|
 |
 |
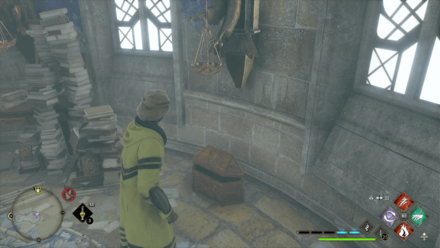
| Location: From the Trophy Room Floo Flame, go northwest and follow this curved path until you see a gate with a Level 1 Lock. Enter it and keep following the path up; through a spiral staircase, a hallway, and another spiral staircase. At the end of this staircase is a door: upon entering it, turn right and you will find a locked door, which you can only unlock with the Key of Admittance, obtainable from one of the hidden Hogwarts secrets. The chest is inside this locked room, next to a table. |
|
 |
 |
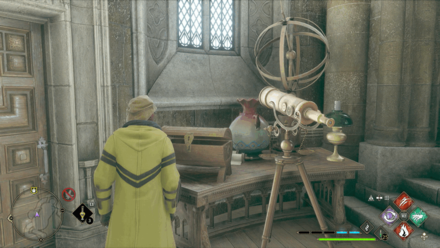
| Location: From the Trophy Room Floo Flame, go northwest and follow this curved path until you see a gate with a Level 1 Lock. Enter it and keep following the path up; through a spiral staircase, a hallway, and another spiral staircase. At the end of this staircase is a door; upon entering it, turn left and enter the stone spiral staircase up to the Headmaster's Office (requires completion of the main quest, The Polyjuice Plot). You'll find the chest on your left next to the door. |
|
 |
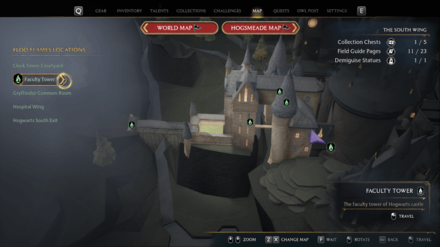 |
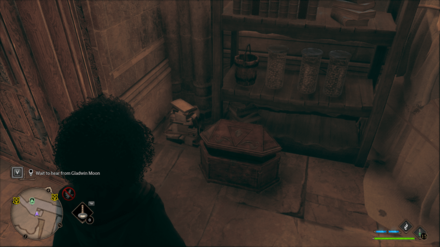
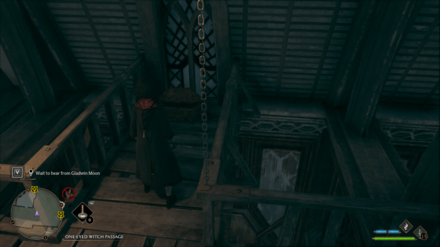
| Location: From the Faculty Tower Floo Flame in the South Wing area, walk forward into the Faculty Tower southwest, and enter the first door on your right. This is the the door where Gladwin Moon taught you to use Alohomora with, if you finished his quest: The Caretaker's Lunar Lament. Take the stairs up one floor and you'll find the chest behind an Arithmancy Door Puzzle you need to solve. |
|
The Great Hall
| World View | Map View |
|---|---|
 |
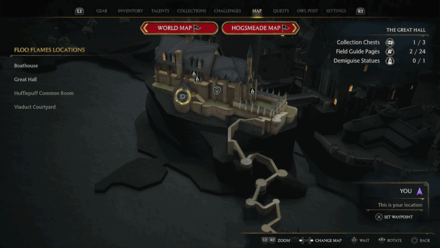 |
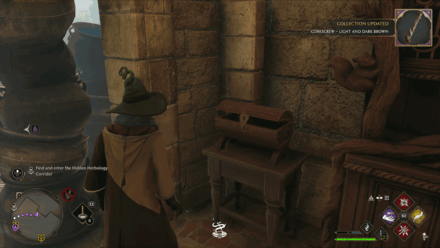
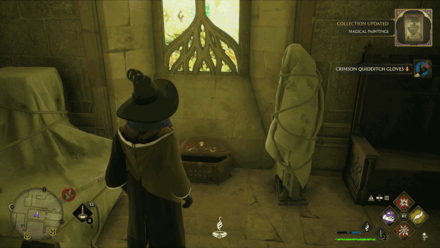
| Location: From the Grand Staircase Floo Flame in the Grand Staircase area, take the spiral staircase down on your right; at the bottom, you'll see a painting full of fruits on your left. Tickle the pear when prompted to enter the Kitchens Room, where you'll find the chest at the east area of the room between a stack of pots and a cupboard. |
|
 |
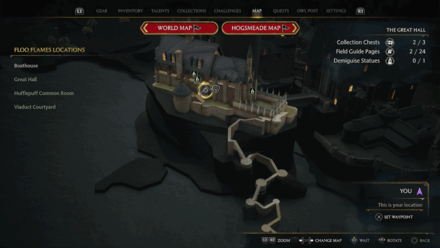 |
| Location: From the Great Hall Floo Flame, take a left towards the fireplace and a left again down the hall into an Arithmancy Door Puzzle. Solve it and you'll find the chest on your left by the window. | |
 |
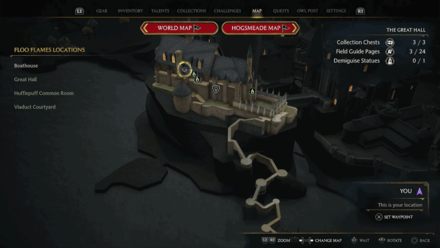 |
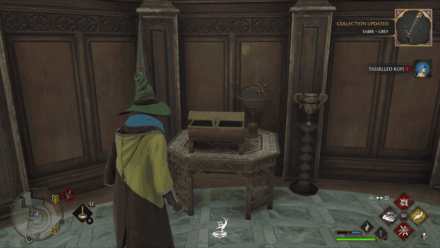
| Location: From the Great Hall Floo Flame, go towards the southwest corner of the hall and find the Level 1 Locked Door. Unlock it and you'll find the chest on your left on top of a small table. | |
The Library Annex
| World View | Map View |
|---|---|
 |
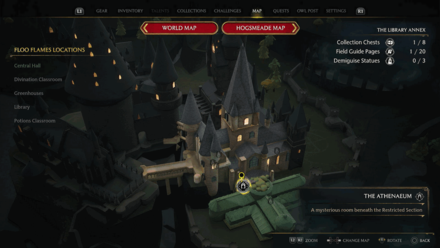 |
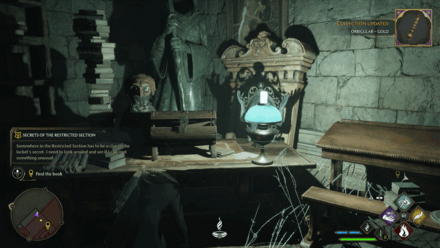
| Location: Go to the Restricted Section of the Library, located east of the Library Floo Flame. Keep going downstairs, passing through many cages and rooms, until you reach a door at the end of the path. In this messy room, you'll find the chest next to a blue lamp. | |
 |
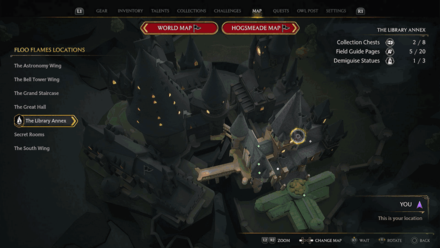 |
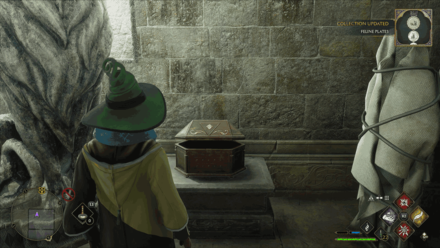
| Location: From the Bell Tower Courtyard Floo Flame in the Bell Tower Wing area, enter the Level 1 Locked Door beside the Floo Flame. Then, take the stairs down and take a right. Solve the Arithmancy Door Puzzle and you'll find the chest behind the Gorgon Portrait. |
|
 |
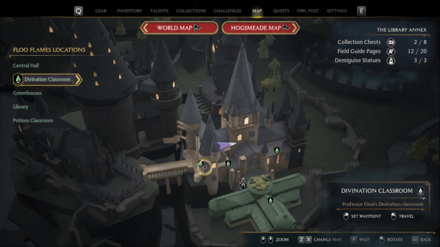 |
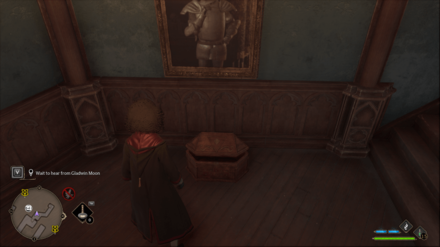
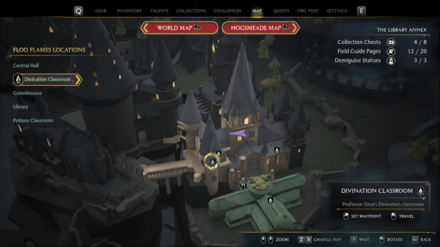
| Location: From the Divination Classroom Floo Flame, go to the entrance beside the Floo Flame. Pass through the wooden hall, taking a right as soon as you can to find an Arithmancy Door Puzzle. Behind this door is the Arithmancy Classroom; you'll find the chest in front of you as you enter. |
|
 |
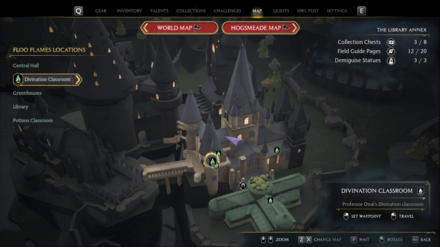 |
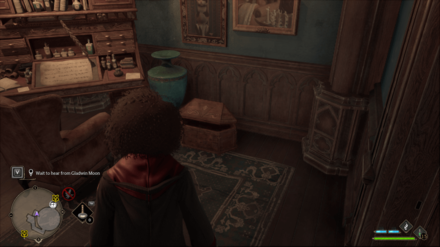
| Location: From the Divination Classroom Floo Flame, go to the entrance beside the Floo Flame. Pass through the wooden hall, taking a right as soon as you can to find an Arithmancy Door Puzzle. Behind this door is the Arithmancy Classroom; pass through the hall and into the door to get to the actual classroom, then turn left to the southeast part of the room to another Arithmancy Door Puzzle. The chest is behind this door. |
|
 |
 |
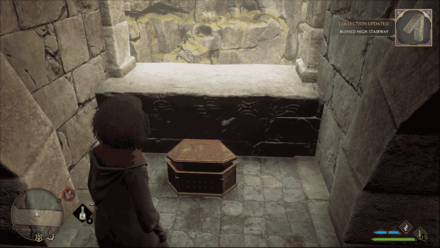
| Location: In the Arithmancy Classroom; pass through the hall and into the door to get to the actual classroom, then walk forward to another Arithmancy Door Puzzle. The chest is behind this door. | |
 |
 |
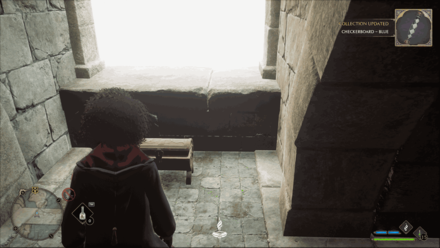
| Location: From the Central Hall Floo Flame, head up the stairs and out the large doors. Solve the brazier puzzle on the bridge to gain access to a ladder under the bridge. There are two chests here; this one is at the left side, near the ladder. |
|
 |
 |
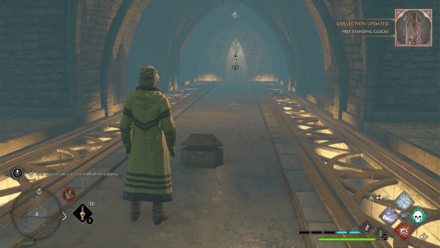
| Location: From the Central Hall Floo Flame, head up the stairs and out the large doors. Solve the brazier puzzle on the bridge to gain access to a ladder under the bridge. There are two chests here; this one is at the right side, at the middle of the tunnel. |
|
 |
 |
| Location: The chest is found after completing the Depulso Puzzle Room 1 in the Library Annex. | |
Secret Rooms
| World View | Map View |
|---|---|
 |
- |
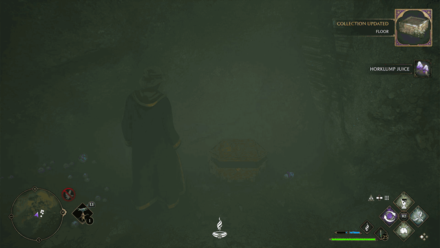
| Location: The chest is inside a cave in the Vivarium. Can only be obtained after finishing The Elf, The Nab-Sack, and The Loom quest. | |
The South Wing
| World View | Map View |
|---|---|
 |
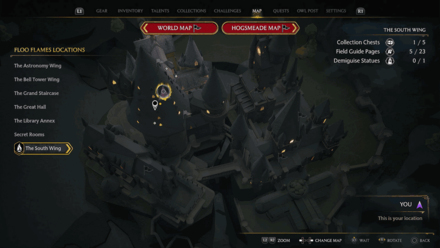 |
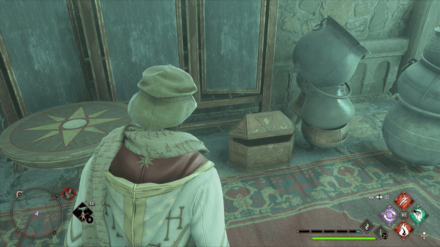
| Location: From the Faculty Tower Floo Flame, walk to the hall southwest into the Faculty Tower, and keep going until you reach the spiral staircase at the end of the hall. Go downstairs and immediately turn left at the end to find a Frog Statue. Enter the statue and you'll find the chest in front of you by the table. |
|
 |
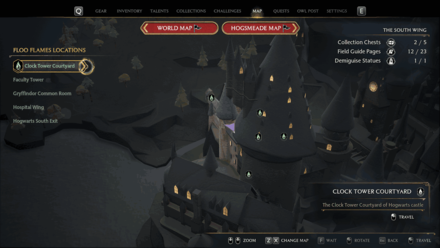 |
| Location: From the Clock Tower Courtyard Floo Flame, unlock the Level 1 Locked Door at the south corner of the room, and go up the stairs to the second floor of the Clock Tower. Use Arresto Momentum or Glacius to align the two-headed dragon figure to unlock the door with the chest at the end of the second floor hallway. There are two chests in this room; this one is on the floor by the wall. |
|
 |
 |
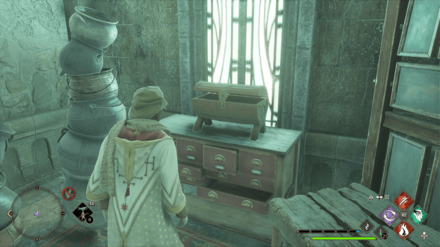
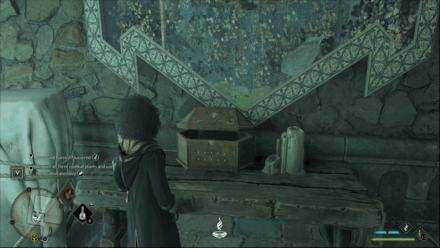
| Location: From the Clock Tower Courtyard Floo Flame, unlock the Level 1 Locked Door at the south corner of the room, and go up the stairs to the second floor of the Clock Tower. Use Arresto Momentum or Glacius to align the two-headed dragon figure to unlock the door with the chest at the end of the second floor hallway. There are two chests in this room; this one is on the drawer by the window. |
|
 |
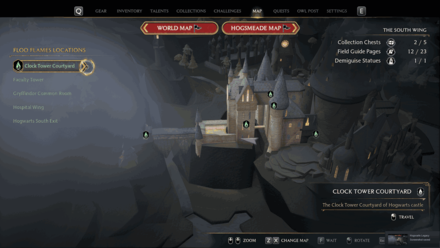 |
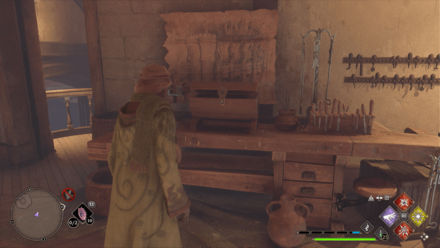
| Location: From the Clock Tower Courtyard Floo Flame, look up to the pendulum in the room and use Arresto Momentum or Glacius when it is aligned with the horse symbol. This will unlock the door with the horse mural at the east side of the room; the chest is behind this door. |
|
 |
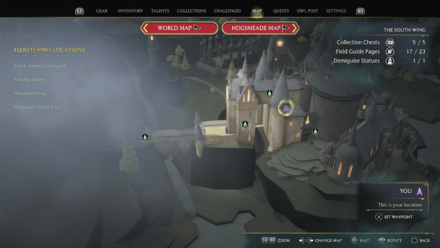 |
| Location: From the Faculty Tower Floo Flame in the South Wing area, walk forward into the Faculty Tower southwest, and enter the first door on your right. This is the the door where Gladwin Moon taught you to use Alohomora with, if you finished his quest: The Caretaker's Lunar Lament
. Take the stairs up two floors and unlock the Level 3 Locked Door. Use Glacius on the fireplace in the room and enter it. Follow the path up and you'll find the chest by the table next to the brazier. |
|
Hogsmeade Collection Chest Locations
 |
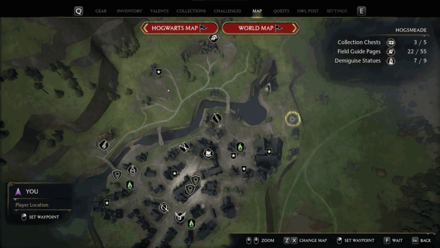 |
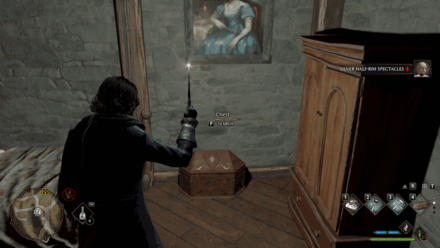
| Location: From the North Hogsmeade Floo Flame, take the brick path northeast and the first house you'll encounter to your right is a house with a Level 3 Lock. This house is directly across the house with a water mill. The chest is inside this house. | |
 |
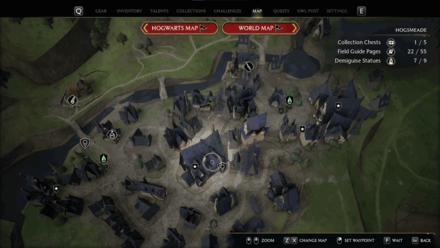 |
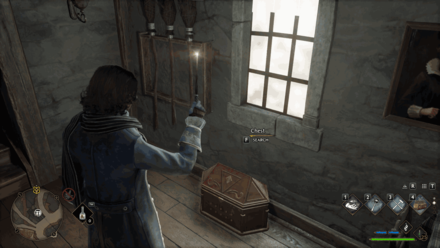
| Location: The chest can be found inside a Level 1 Locked Room at the topmost floor of the The Three Broomsticks. | |
 |
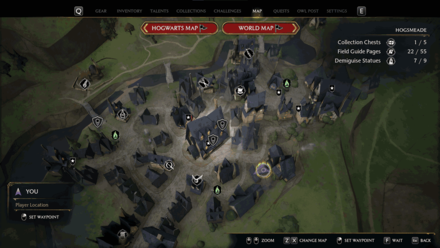 |
| Location: From the South Hogsmeade Floo Flame, take the alley east to find a house with a Level 3 Lock. The chest can be found on the floor just before the stairs. | |
 |
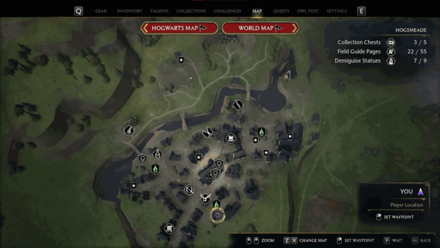 |
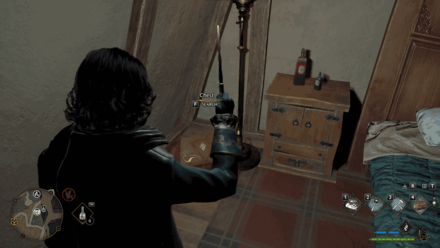
| Location: From the South Hogsmeade Floo Flame, take the stairs down due east and go to the house with a Level 3 Lock. Enter the house and go to the bedroom on the second floor to find the chest. | |
 |
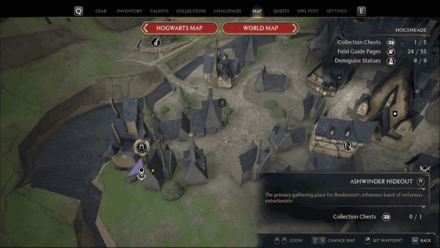 |
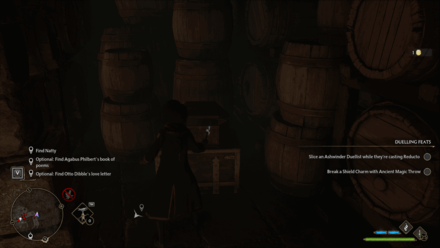
| Location: The chest can be found inside the Ashwinder Hideout beside Hog's Head. The hideout can be accessed during the quest, A Basis for Blackmail. | |
The Highlands Collection Chest Locations
Forbidden Forest
 |
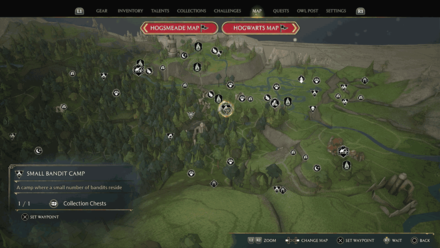 |
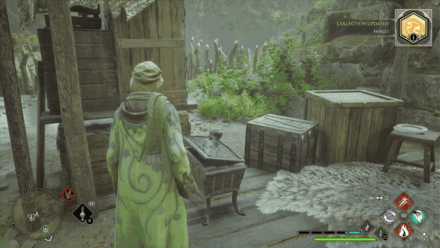
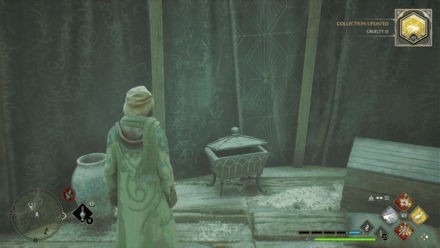
| Location: The chest can be found inside a Small Bandit Camp south of the North Ford Bog Entrance Floo Flame. | |
 |
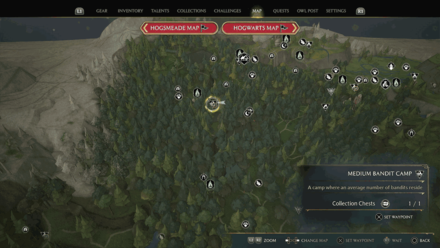 |
| Location: The chest can be found inside a Small Bandit Camp south of the West Forbidden Forest Floo Flame. | |
 |
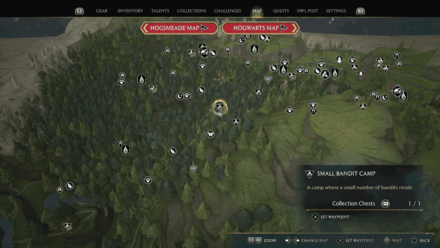 |
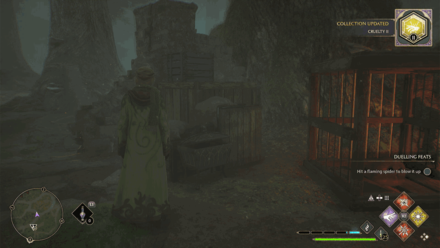
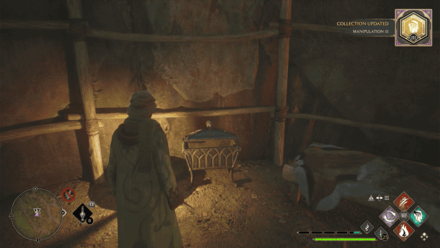
| Location: The chest can be found inside the Small Bandit Camp in the middle of the forest, located east of the West Forbidden Forest Floo Flame. | |
 |
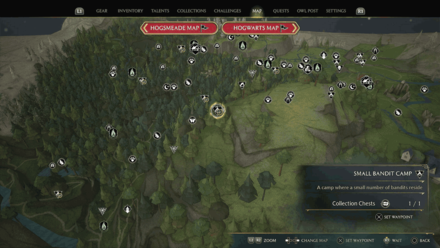 |
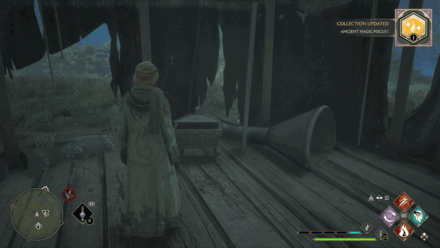
| Location: The chest can be found inside a Small Bandit Camp next to a cliff, located east of the West Forbidden Forest Floo Flame. | |
 |
 |
| Location: The chest can be found inside a Small Bandit Camp on top of a cliff, located south of the North Ford Bog Entrance Floo Flame. | |
 |
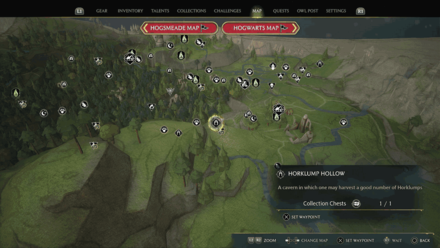 |
| Location: The chest can be found inside the Horklump Hollow, located southwest of the Upper Hogsfield Floo Flame. | |
Hogsmeade Valley
| World View | Map View |
|---|---|
 |
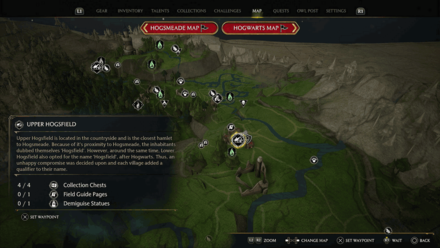 |
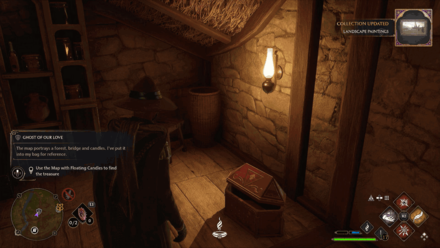
| Location: From the Upper Hogsfield Floo Flame, head for the Hamlet Shop, enter the house behind it and you'll find the chest to the right of the door upon entering. | |
 |
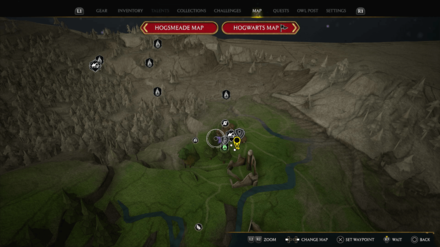 |
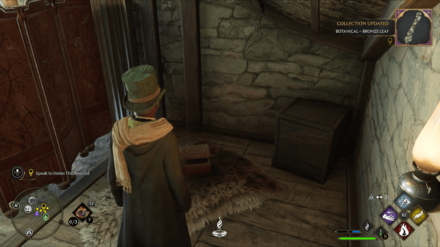
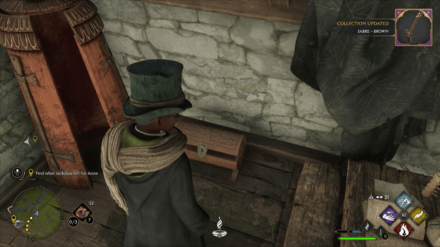
| Location: From the Upper Hogsfield Floo Flame, enter the first house you see on the left with a Level 1 Locked Door and you'll find the chest behind a room divider. | |
 |
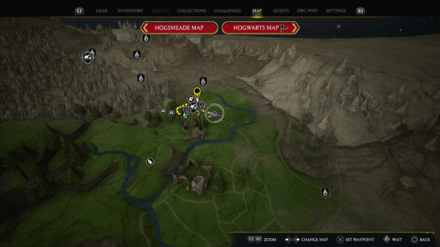 |
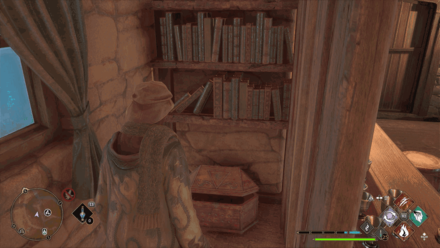
| Location: From the Upper Hogsfield Floo Flame, take a right and you'll find the chest inside a small house near the outskirts of the village. | |
 |
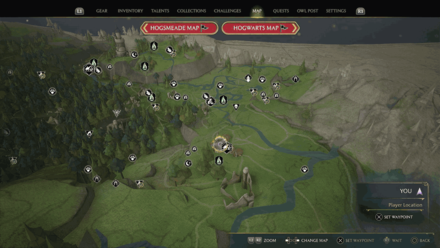 |
| Location: From the Upper Hogsfield Floo Flame, head straight, enter the second house on the left with a wheel in front and a Level 1 Locked Door, and you'll find the chest behind the table. | |
 |
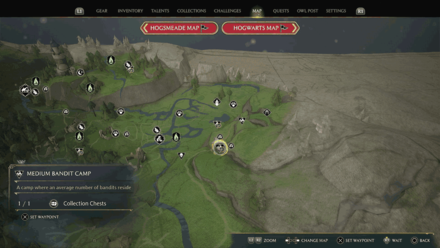 |
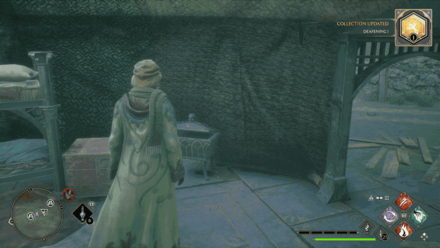
| Location: The chest can be found inside a Medium Bandit Camp north of the Upper Hogsfield Floo Flame. | |
 |
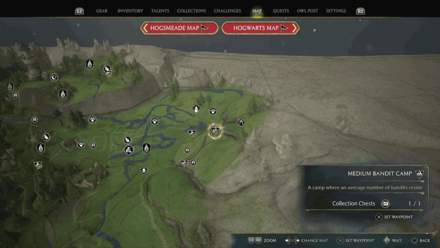 |
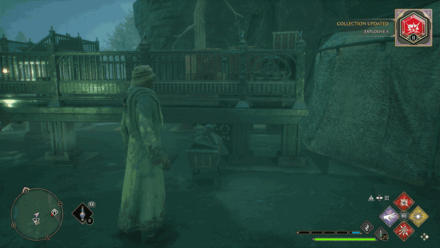
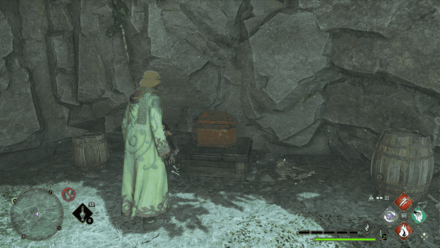
| Location: The chest can be found inside a Medium Bandit Camp north of the Upper Hogsfield Floo Flame, near the Overlook Mine. | |
 |
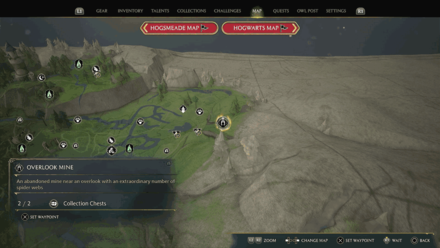 |
| Location: The chest can be found inside the Overlook Mine. | |
 |
 |
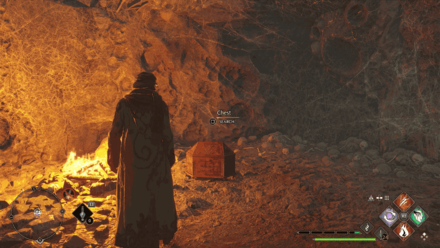
| Location: The chest can be found inside the Overlook Mine. | |
North Hogwarts Region
| World View | Map View |
|---|---|
 |
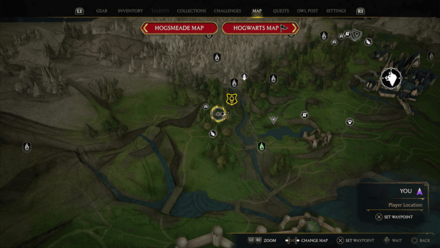 |
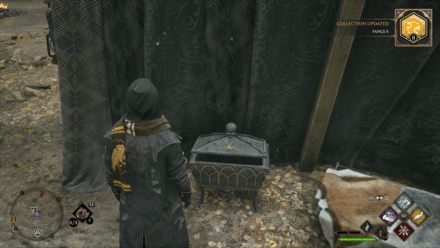
| Location: The chest can be found inside a Small Bandit Camp in the East North Hogwarts Region. | |
 |
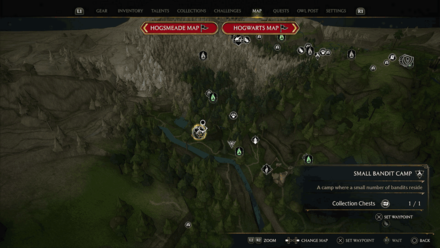 |
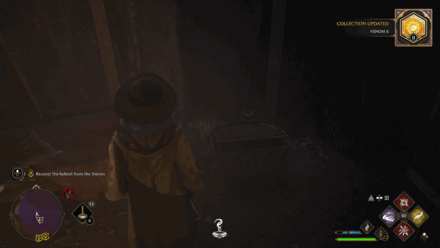
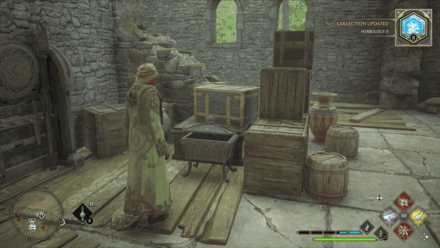
| Location: The chest can be found inside a Small Bandit Camp in the Forbidden Forest. | |
 |
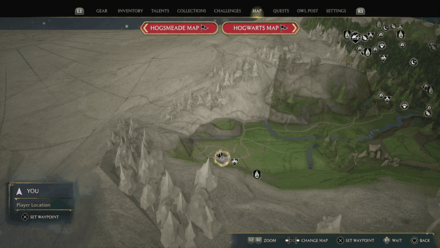 |
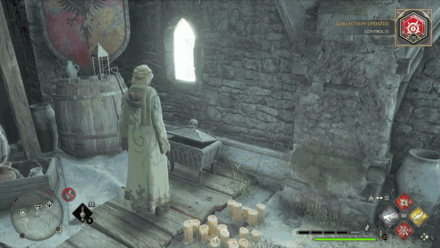
| Location: The chest can be found inside a Bandit Camp near the Korrow Ruins. | |
 |
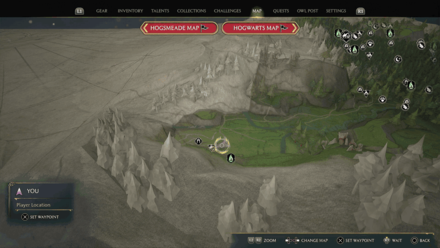 |
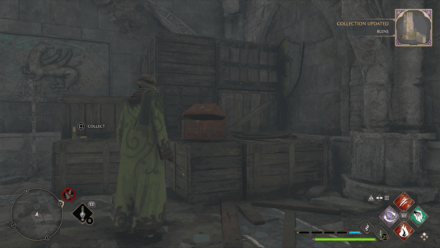
| Location: The chest can be found inside a Bandit Camp near the Korrow Ruins. | |
 |
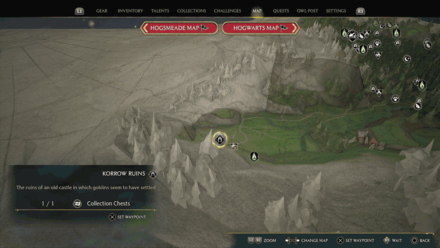 |
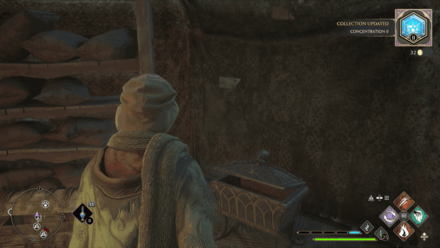
| Location: The chest can be found inside the Korrow Ruins. | |
 |
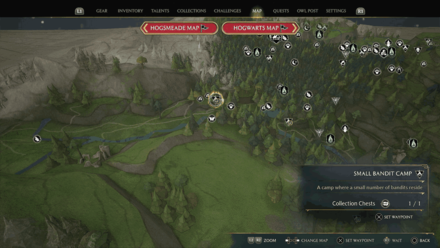 |
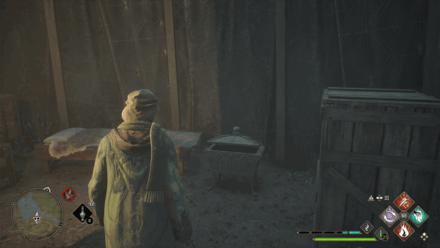
| Location: The chest can be found inside a Small Bandit Camp by the northern part of the region. | |
 |
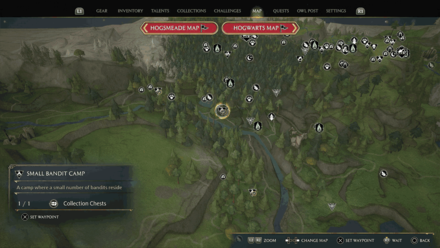 |
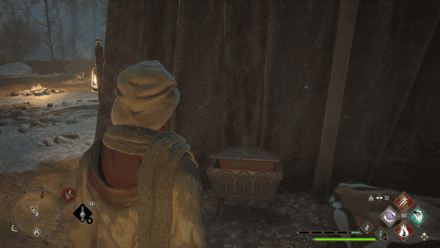
| Location: The chest can be found inside a Small Bandit Camp by the river west of the East North Hogwarts Region Floo Flame. | |
 |
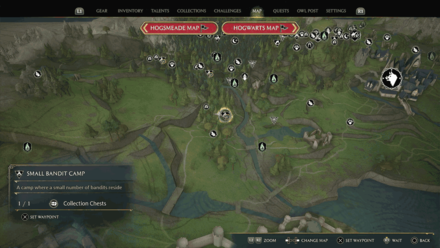 |
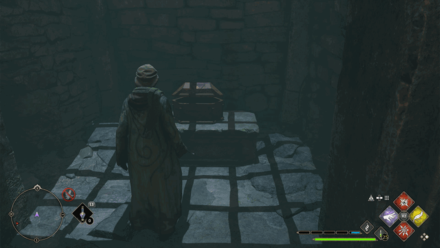
| Location: The chest can be found inside a Small Bandit Camp by the river south of the East North Hogwarts Region Floo Flame. | |
 |
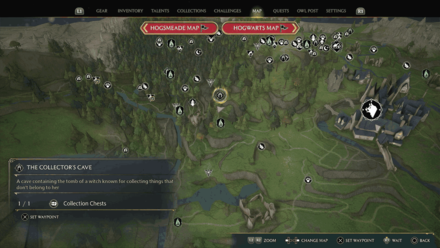 |
| Location: The chest can be found inside the Collector's Cave. | |
South Hogwarts Region
| World View | Map View |
|---|---|
 |
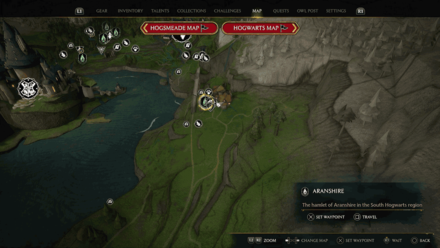 |
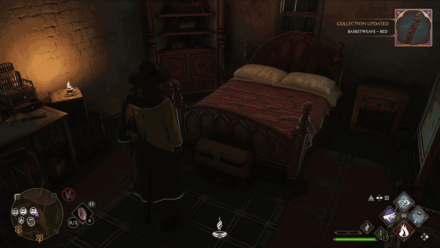
| Location: From the Aranshire Floo Flame, head for the Hamlet Shop and you'll find the chest at the 2nd floor of the house right of in front of the shop. | |
 |
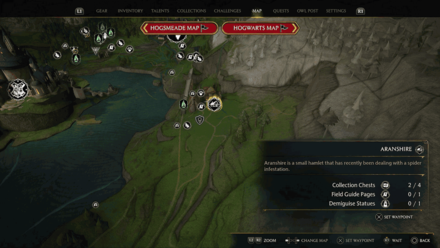 |
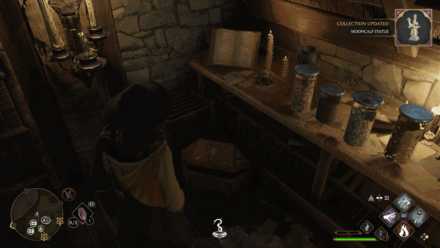
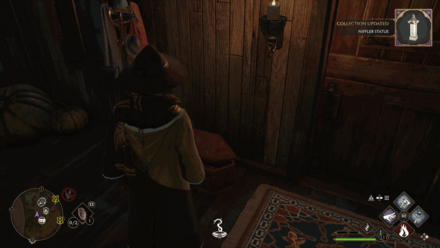
| Location: From the Aranshire Floo Flame, head for the flower shop in front and enter the small house with a Level 3 Locked Door. You'll find the chest on the right. | |
 |
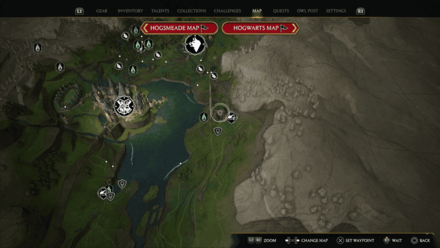 |
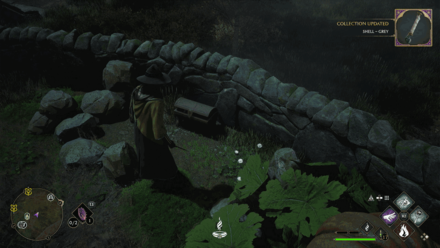
| Location: From the Aranshire Floo Flame, head for the house with flowers on it right across the Floo Flame. You'll find the chest just by the Level 1 Locked Door on the right. | |
 |
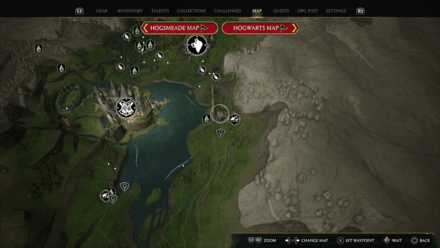 |
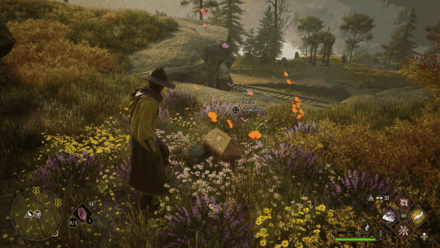
| Location: From the Aranshire Floo Flame, head for the small farm between the two houses on the left. Attack the rubble at the backside of the farm and you'll find the chest hidden there. | |
 |
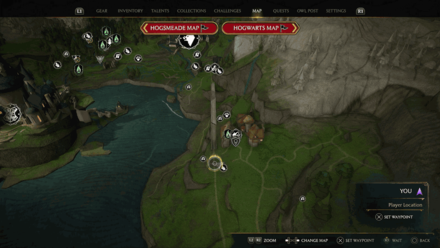 |
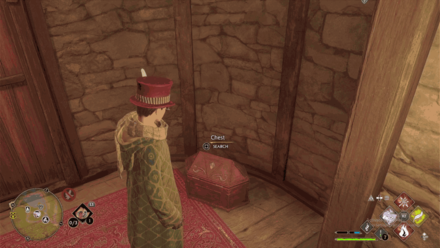
| Location: From the Aranshire Floo Flame, head south towards the nearby Merlin Trial and you'll see a small gorge near it. You'll find the chest by the outer part of the gorge by some butterflies. | |
 |
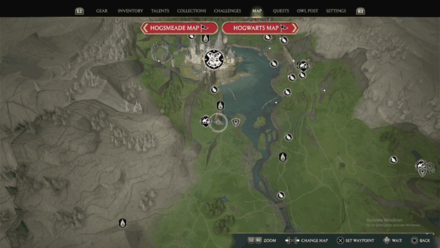 |
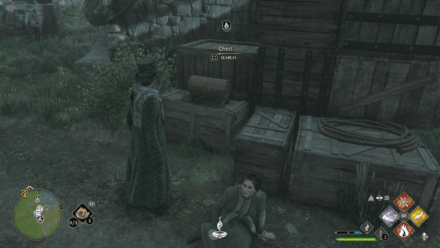
| Location: From the Lower Hogsfield Floo Flame, turn around and head for the second house you see on the left. You'll find the chest behind the Level 1 Locked Door to the left just by the door. | |
 |
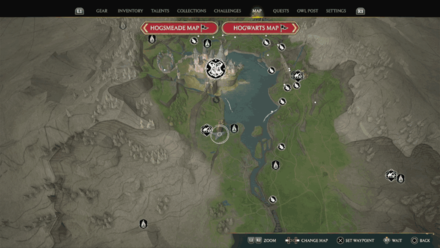 |
| Location: From the Lower Hogsfield Floo Flame, head for the Hamlet Shop and face towards the nearby house. You'll find the chest at the back of the house by some crates. | |
 |
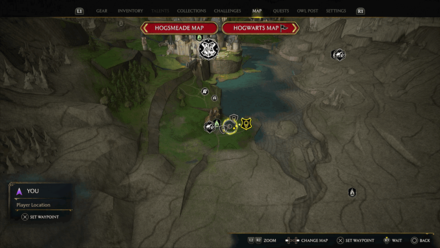 |
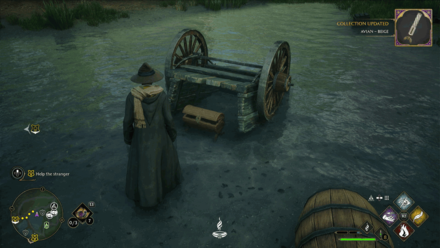
| Location: From the Lower Hogsfield Floo Flame, follow the road inside Lower Hogsfield past the two houses and you'll find the chest on your left by a broken wheelbarrow by the pond. | |
Hogwarts Valley
| World View | Map View |
|---|---|
 |
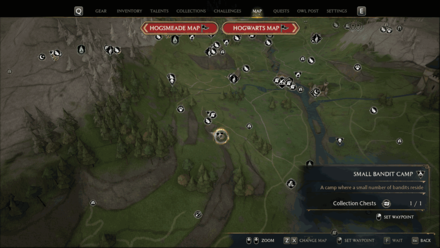 |
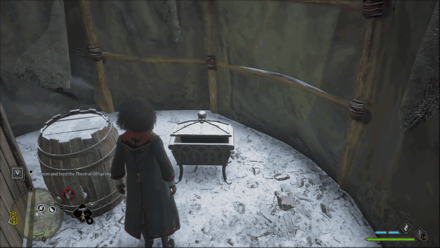
| Location: Can be found inside a Small Bandit Camp below another Bandit Camp northwest of the Northern South Sea Bog Floo Flame | |
 |
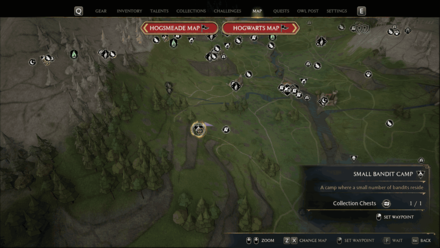 |
| Location: Can be found inside a Small Bandit Camp above another Bandit Camp southwest of Keenbridge Floo Flame | |
 |
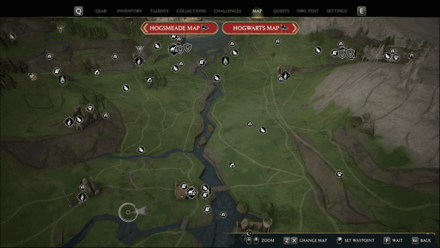 |
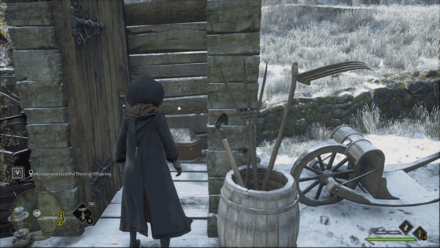
| Location: Can be found inside a small shack west of the Keenbridge Floo Flame. | |
 |
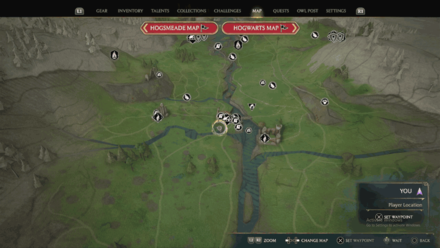 |
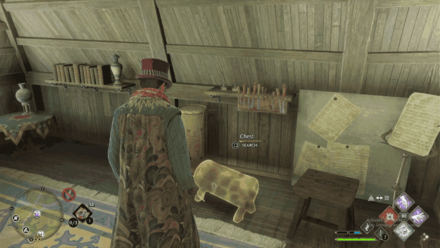
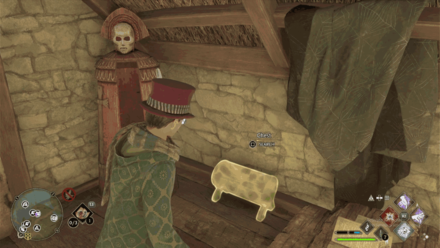
| Location: On the second floor of a locked house in Keenbridge | |
 |
 |
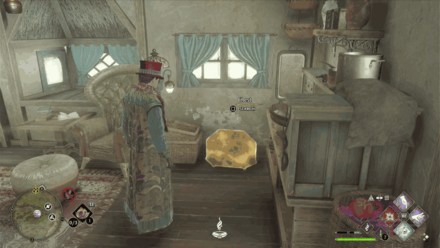
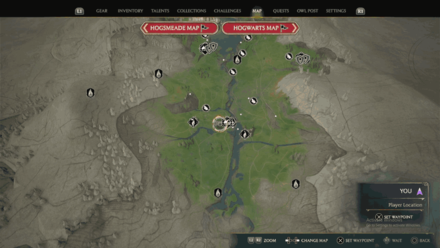
| Location: Can be found inside a small room in Keenbridge | |
 |
 |
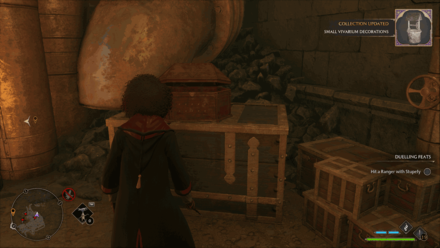
| Location: Inside a locked house in Keenbridge | |
 |
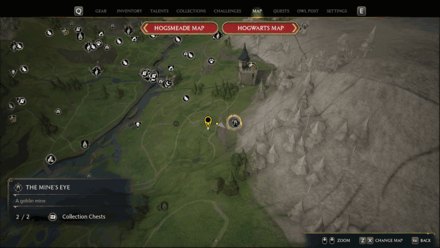 |
| Location: Can be found inside the Mine's Eye. The chest can be found behind some metal bars that can be destroyed by Depulso. Unlock the area by finishing the "It's All Gobbledegook" quest. | |
 |
 |
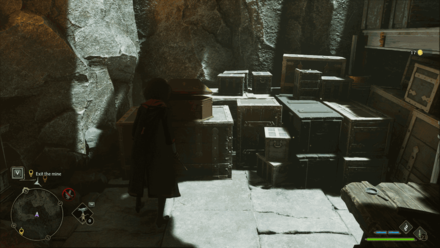
| Location: Can be found behind a Level 2 locked door in the Mine's Eye.Unlock the area by finishing the "It's All Gobbledegook" quest. | |
 |
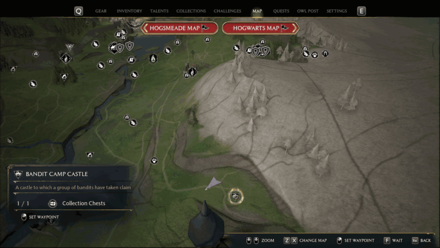 |
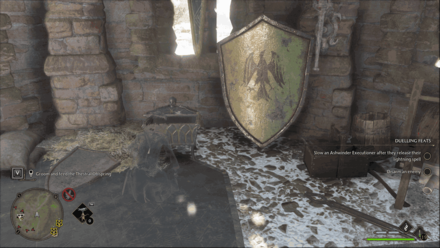
| Location: Can be found inside the Bandit Camp Castle southeast of the Keenbridge Floo Flame. | |
 |
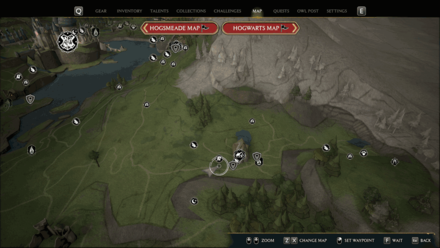 |
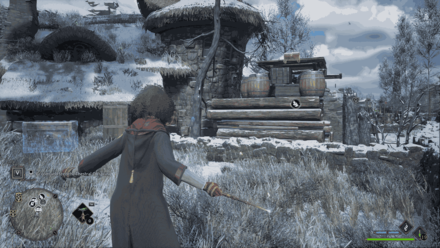
| Location: Can be found outside of a house west of the Brocburrow Floo Flame. Use Wingardium Leviosa to move the crate and use it as a platform to reach the chest. | |
 |
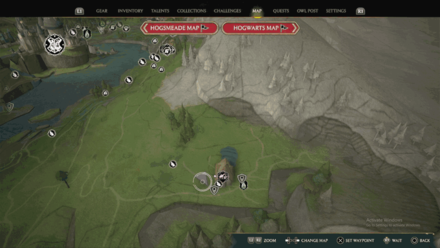 |
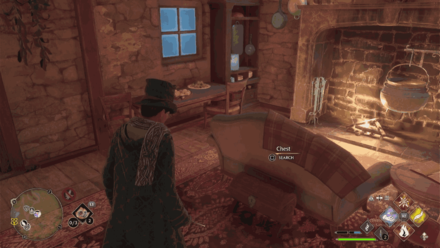
| Location: Inside a locked house in Brocburrow | |
 |
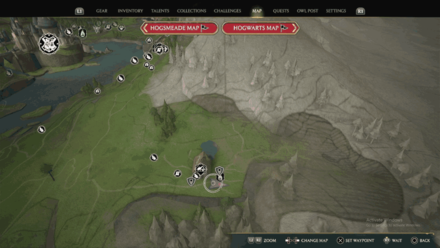 |
| Location: Inside an unlocked house in Brocburrow | |
 |
 |
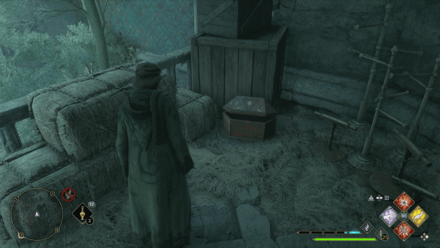
| Location: Can be found north of the Brocburrow Floo Flame. The chest is located north of the small pond, hidden behind some wooden crates. | |
 |
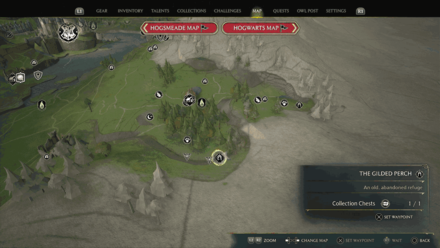 |
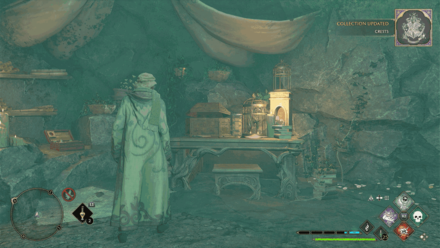
| Location: Can be found inside The Gilded Perch during the "A Bird in the Hand" side quest. | |
 |
 |
| Location: Can be found inside the Dale Family Tomb during the "Beeting a Curse" side quest. | |
North Ford Bog
| World View | Map View |
|---|---|
 |
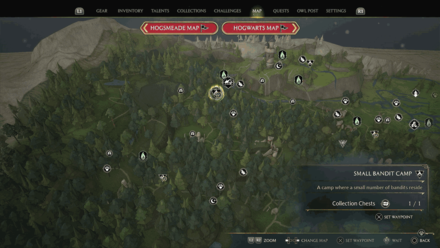 |
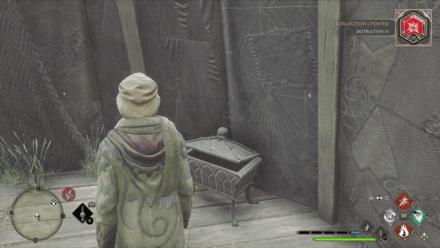
| Location: Can be found inside a Small Bandit Camp south of Pitt-Upon-Ford. | |
 |
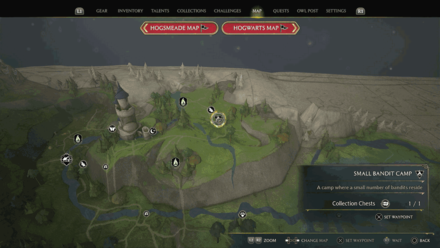 |
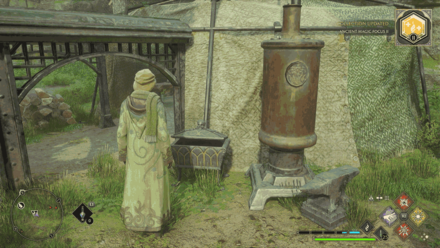
| Location: Can be found inside a Small Bandit Camp east of the North Ford Bog Floo Flame. | |
 |
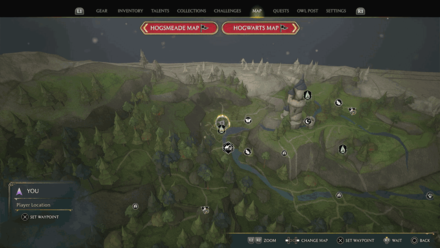 |
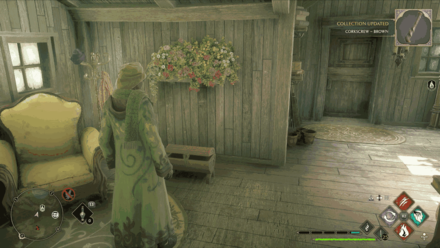
| Location: Can be found behind a Level 1 Locked Door inside a house behind the Pitt-Upon-Ford Floo Flame. | |
 |
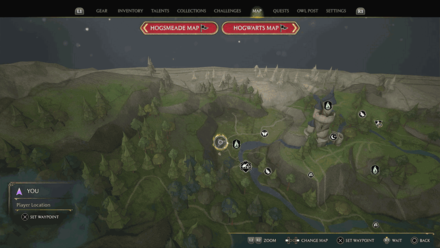 |
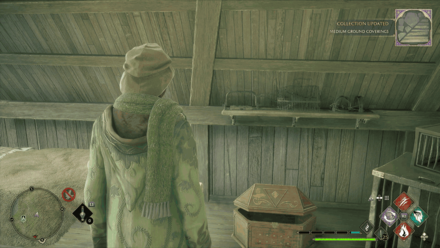
| Location: Can be found on the second floor of a house with crops and campfire in front of it. Located right beside the Pitt-Upon-Ford Floo Flame. | |
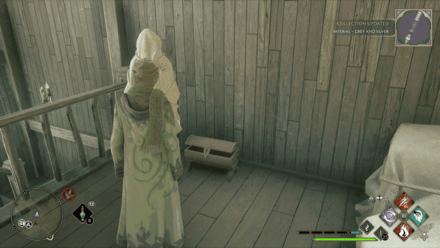 |
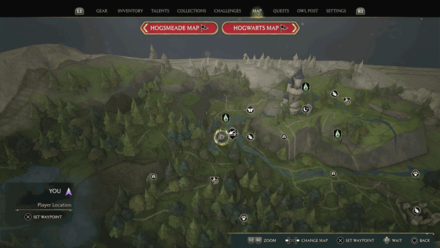 |
| Location: Can be found on the second floor of a house with a Level 3 Locked Door. House can be found south of the Pitt-Upon-Ford Floo Flame, just past the bridge with the "Beware Spiders" sign. | |
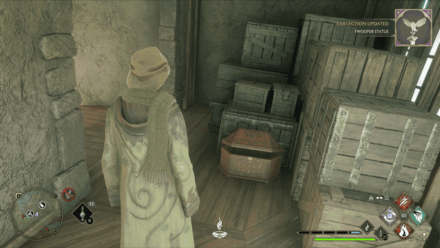 |
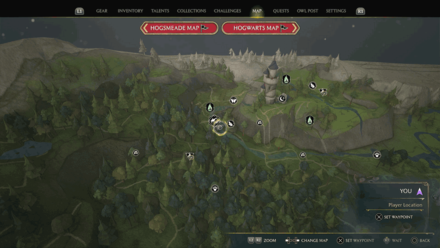 |
| Location: Can be found inside the house behind the Hamlet Shop south of the Pitt-Upon-Ford Floo Flame. | |
 |
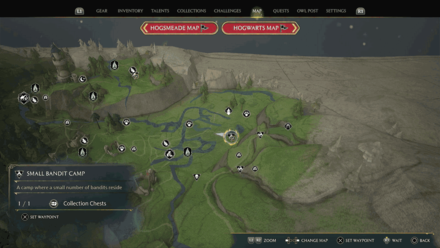 |
| Location: Can be found inside a Small Bandit Camp near a lake east of the East North Ford Bog Floo Flame. | |
Feldcroft Region
| World View | Map View |
|---|---|
 |
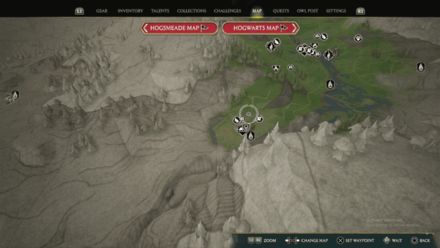 |
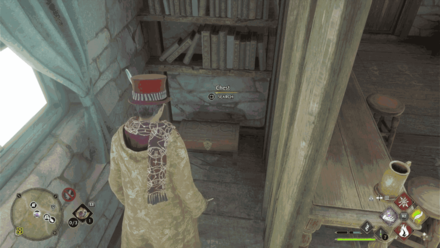
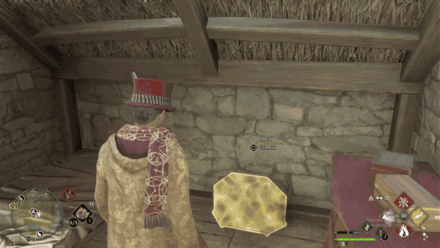
| Location: Inside the house beside the Windmill in Irondale | |
 |
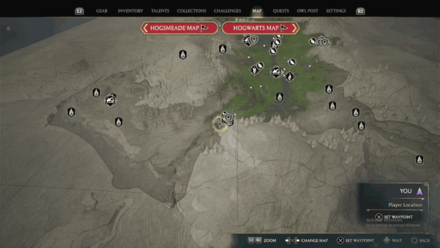 |
| Location: Inside a locked house beside the Hamlet Shop in Irondale | |
 |
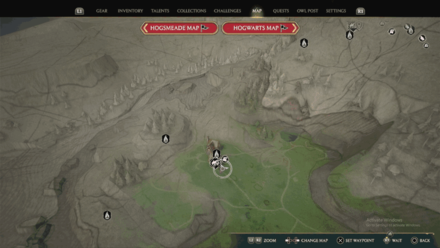 |
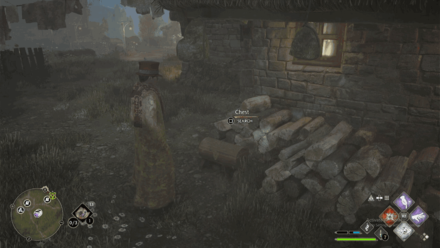
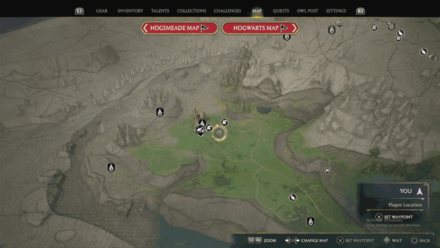
| Location: Inside a house in the southern part of Feldcroft | |
 |
 |
| Location: Can be found by some logs in Feldcroft | |
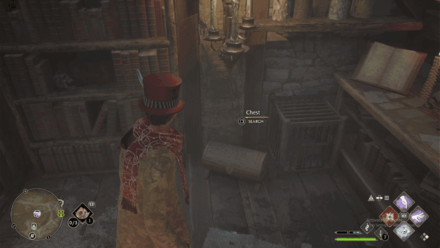 |
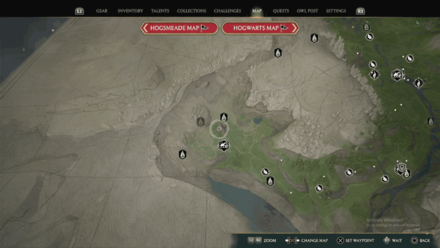 |
| Location: Inside a small room in Feldcroft | |
 |
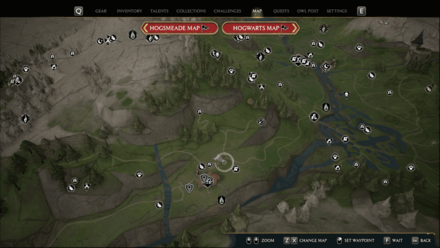 |
| Location: Can be found inside a level 1 Locked door inside a house northeast of the Irondale Floo Flame. | |
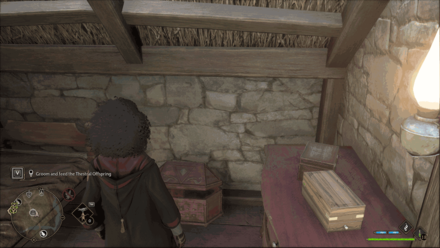 |
 |
| Location: Can be found inside a Level 1 Locked House west of the Irondale Floo Flame. | |
 |
 |
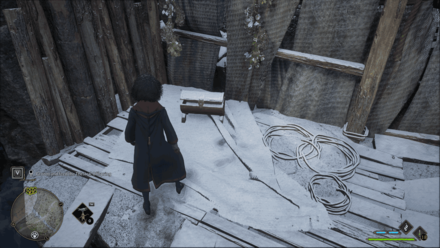
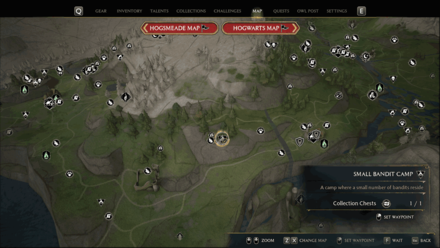
| Location: Can be found near the waterfalls northwest of the Irondale Floo Flame. | |
 |
 |
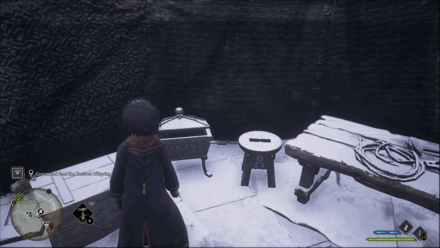
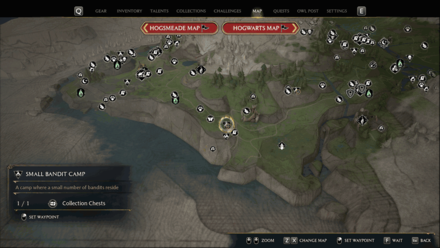
| Location: Can be found inside a Small Bandit Camp northwest of the Irondale Floo Flame. | |
 |
 |
| Location: Can be found inside a Small Bandit Camp southeast of the Feldcroft Catacomb Floo Flame. | |
 |
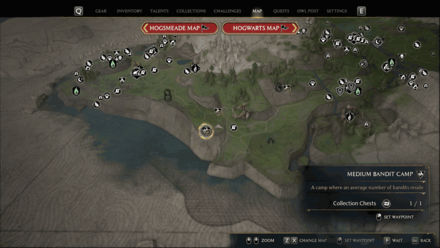 |
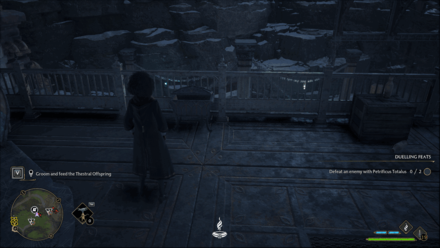
| Location: Can be found inside a Medium Bandit Camp southeast of the Feldcroft Catacomb Floo Flame. | |
 |
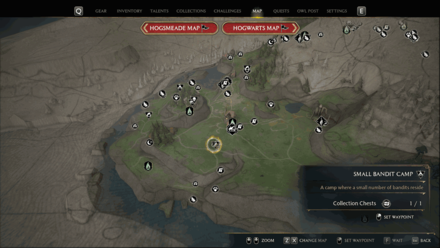 |
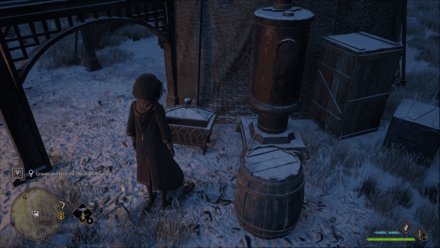
| Location: Can be found inside a Small Bandit Camp southwest of the Feldcroft Floo Flame. | |
 |
 |
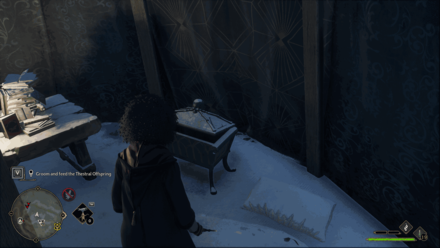
| Location: Can be found inside the Bandit Camp Castle north of the Rookwood Castle Floo Flame. | |
 |
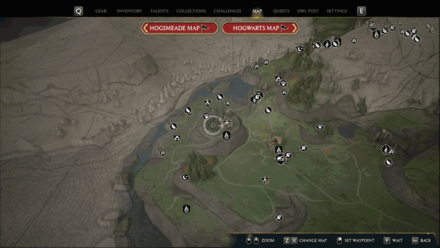 |
| Location: Can be found inside the Bandit Camp Castle north of the Rookwood Castle Floo Flame. | |
 |
 |
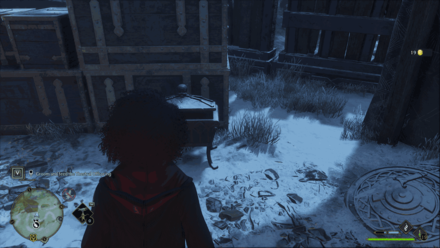
| Location: Can be found inside a Small Bandit Camp northwest of the Rookwood Castle Floo Flame. | |
 |
 |
| Location: Can be found inside a Small Bandit Camp west of the North Feldcroft Floo Flame. | |
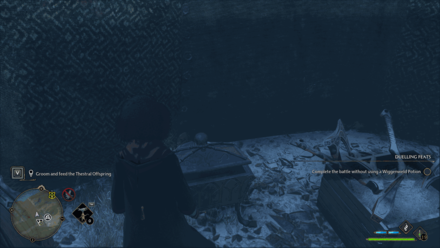 |
 |
| Location: Can be found inside a Small Bandit Camp west of the North Feldcroft Floo Flame. | |
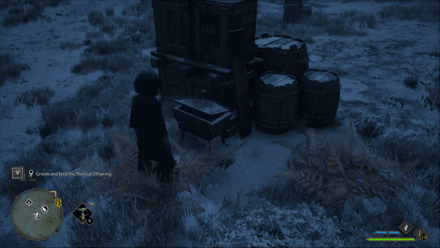 |
 |
| Location: Can be found inside a Small Bandit Camp northeast of the North Feldcroft Floo Flame. | |
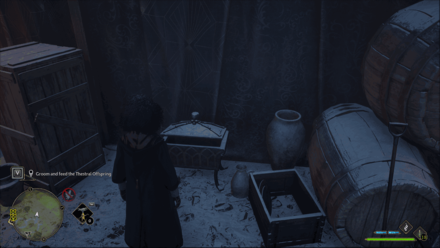 |
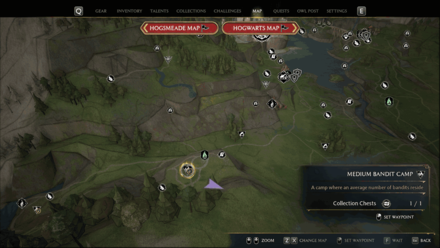 |
| Location: Can be found inside a Medium Bandit Camp south of the West Hogwarts Valley Floo Flame. | |
 |
 |
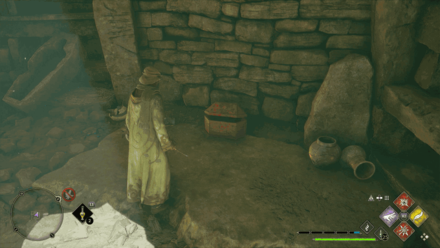
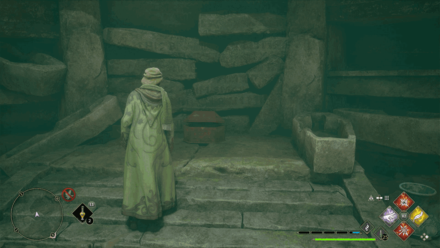
| Location: Can be found inside the Feldcroft Catacomb. | |
 |
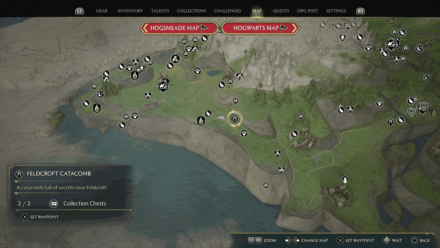 |
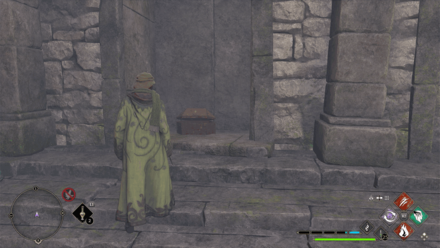
| Location: Can be found inside the Feldcroft Catacomb. | |
 |
 |
| Location: Can be found inside the Moonstone Garden. | |
 |
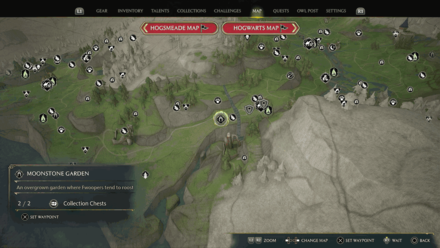 |
| Location: Can be found inside the Moonstone Garden. | |
South Sea Bog
| World View | Map View |
|---|---|
 |
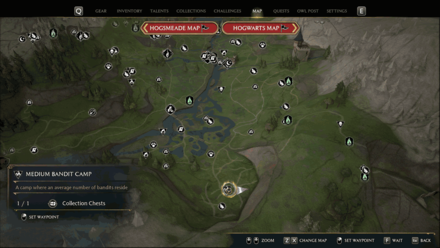 |
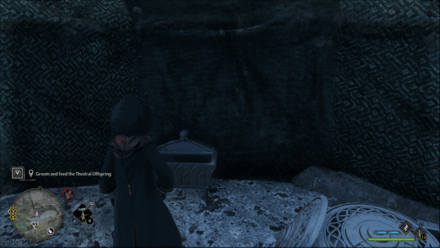
| Location: Can be found inside a Medium Bandit Camp southwest of the East Sea Bog Floo Flame. | |
Coastal Cavern
| World View | Map View |
|---|---|
 |
- |
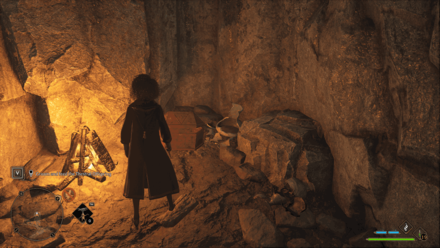
| Location: Can be found inside the Tomb of Treachery. | |
Poidsear Coast
| World View | Map View |
|---|---|
 |
 |
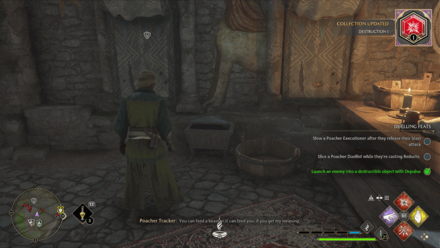
| Location: Found inside a Bandit Camp Castle with an Infamous Foe nearby | |
 |
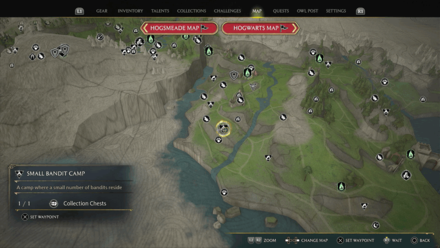 |
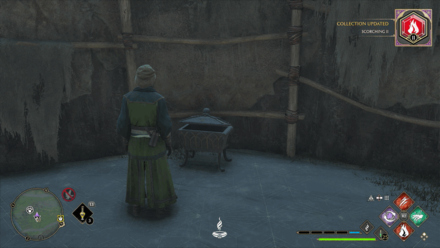
| Location: Found inside a Small Bandit Camp just south of Poidsear Castle | |
 |
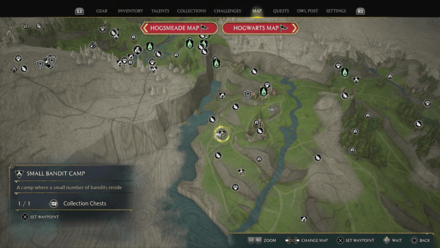 |
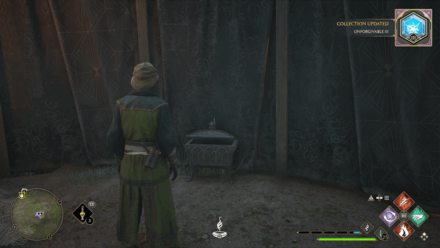
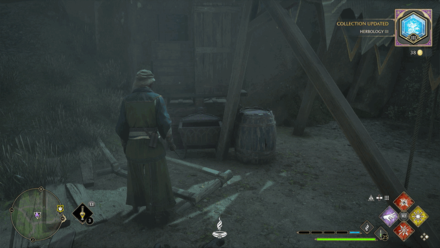
| Location: Found inside a Small Bandit Camp just south of Poidsear Castle | |
 |
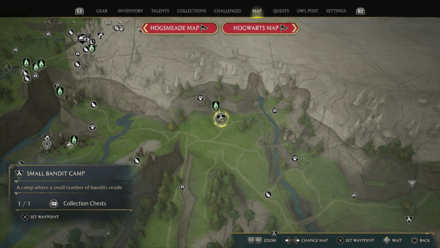 |
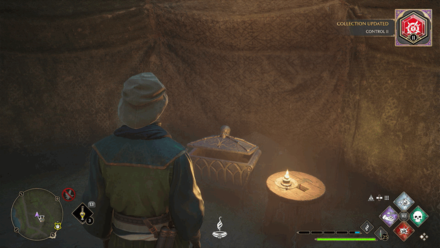
| Location: Found inside a Small Bandit Camp just south of the Phoenix Mountain Cave | |
 |
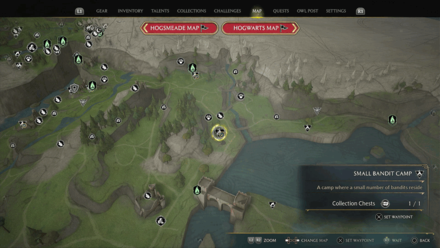 |
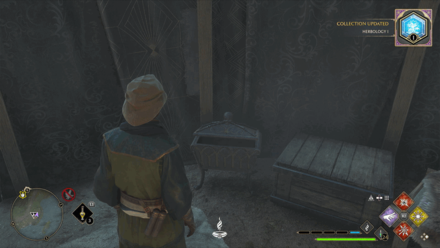
| Location: Found inside a Small Bandit Camp just south of the Phoenix Mountain Cave near the river | |
 |
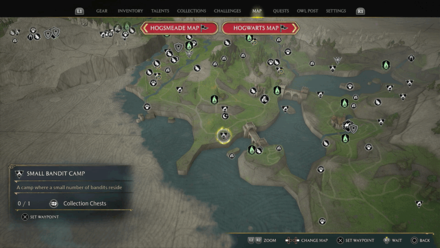 |
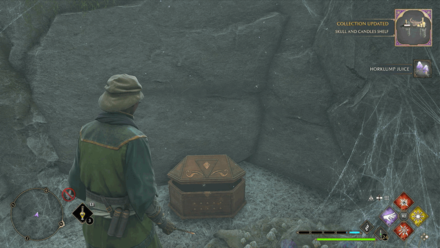
| Location: Found inside a Small Bandit Camp south of South Poidsear Coast by the shore | |
 |
 |
| Location: Found inside the Phoenix Mountain Cave dungeon during the Phoenix Rising side quest | |
 |
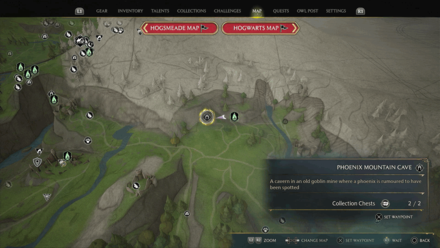 |
| Location: Found inside the Phoenix Mountain Cave dungeon during the Phoenix Rising side quest | |
Marunweem Lake
| World View | Map View |
|---|---|
 |
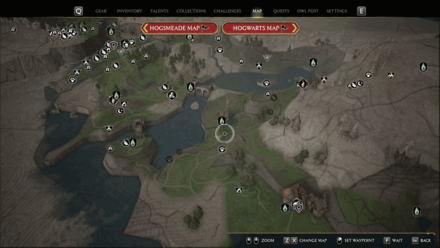 |
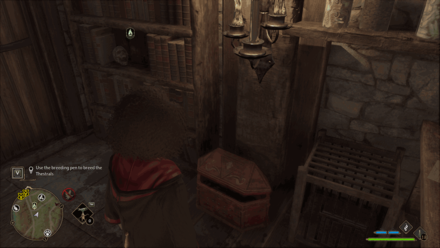
| Location: Can be found inside the house behind the Marunweem Floo Flame. | |
 |
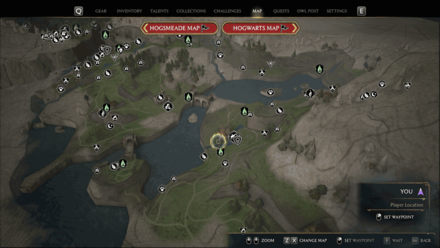 |
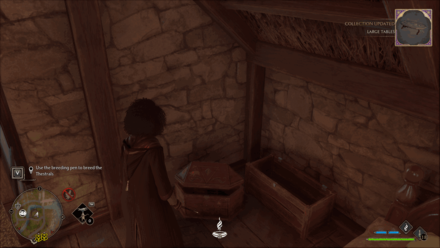
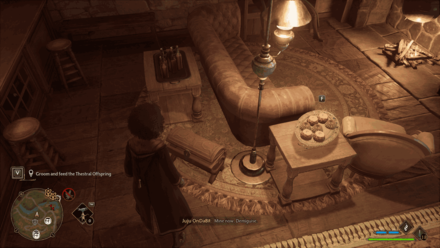
| Location: Can be found inside a locked house north of the Marunweem Floo Flame. | |
 |
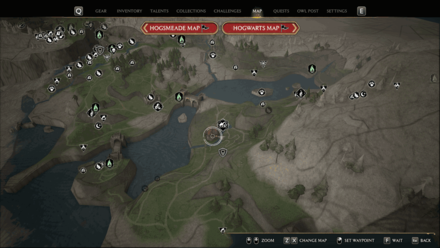 |
| Location: Can be found inside a locked house northeast of the Marunweem Floo Flame. | |
 |
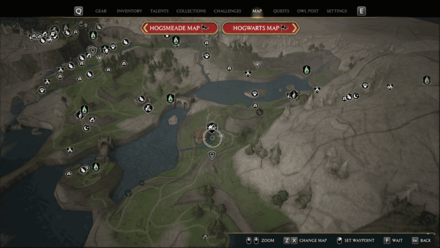 |
| Location: Can be found inside an unlocked house northeast of the Marunweem Floo Flame. | |
 |
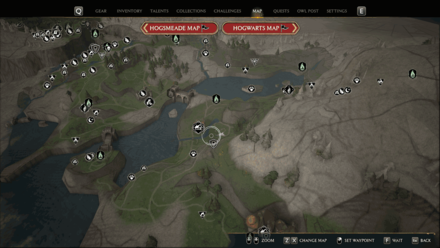 |
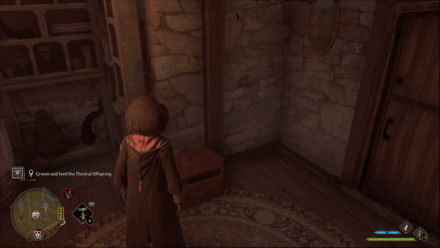
| Location: Can be found behind a level 2 locked door northeast of the Marunweem Floo Flame. | |
 |
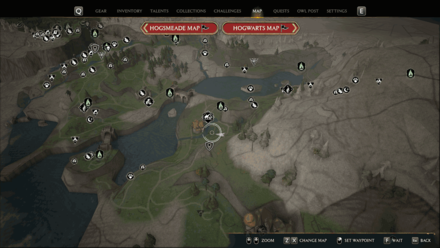 |
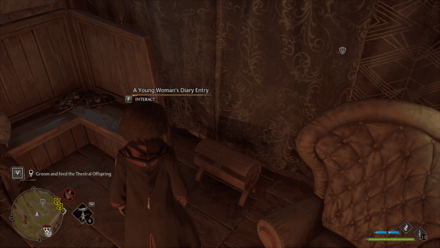
| Location: Can be found behind a level 2 locked door northeast of the Marunweem Floo Flame. | |
 |
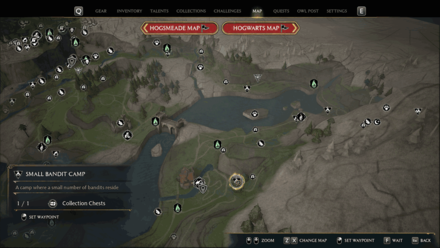 |
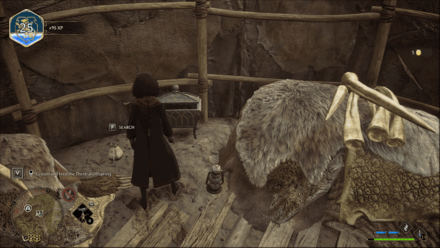
| Location: Can be found inside a Small Bandit Camp southeast of the Marunweem Lake Floo Flame. | |
 |
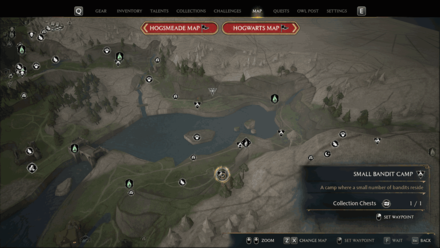 |
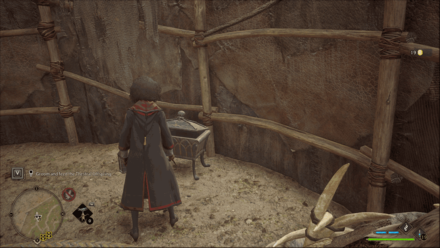
| Location: Can be found inside a Small Bandit Camp northeast of the Marunweem Lake Floo Flame. | |
 |
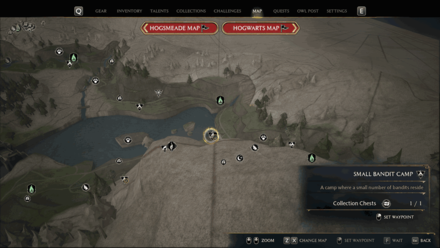 |
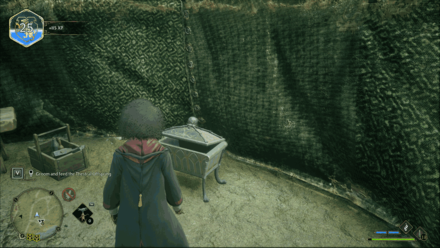
| Location: Can be found inside a Small Bandit Camp south of the Coastal Mine Floo Flame. | |
 |
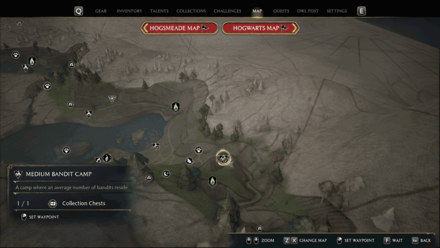 |
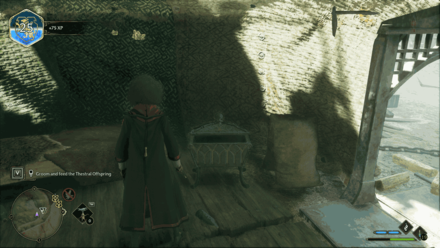
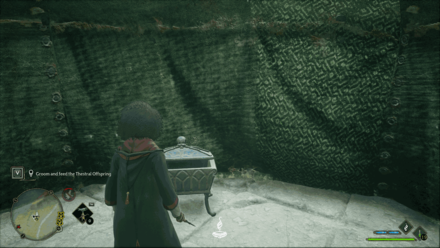
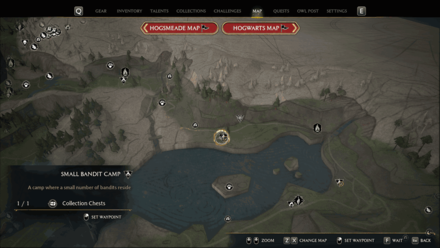
| Location: Can be found inside a Medium Bandit Camp north of the Tower Tunnel Floo Flame. | |
 |
 |
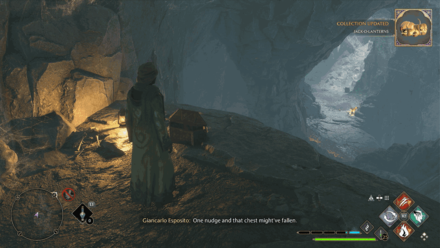
| Location: Can be found inside a Small Bandit Camp west of the Coastal Mine Floo Flame. | |
 |
 |
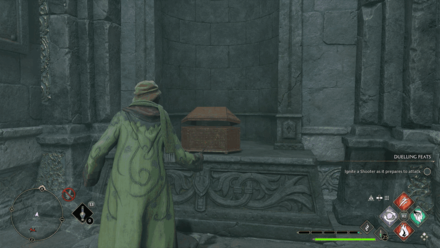
| Location: Can be found inside the Tower Tunnel. | |
 |
 |
| Location: Can be found inside the Tower Tunnel. | |
 |
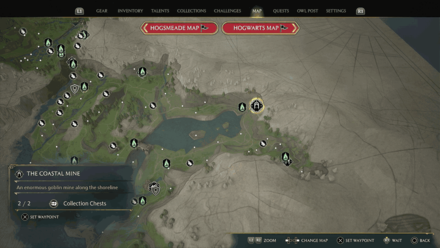 |
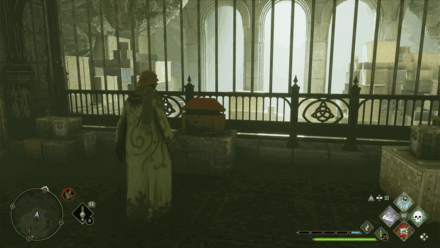
| Location: Can be found inside the Coastal Mine. | |
 |
 |
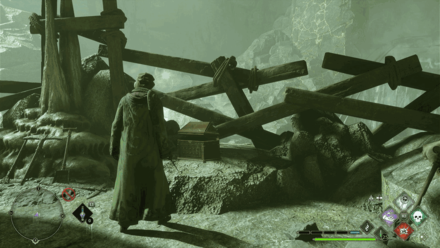
| Location: Can be found inside the Coastal Mine. | |
Cragcroftshire
| World View | Map View |
|---|---|
 |
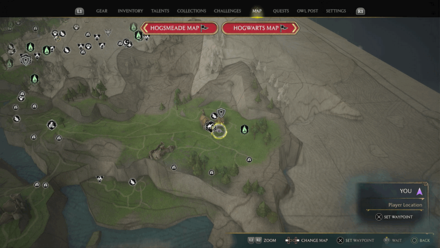 |
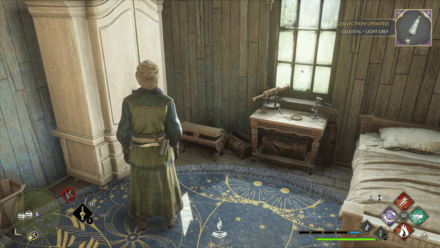
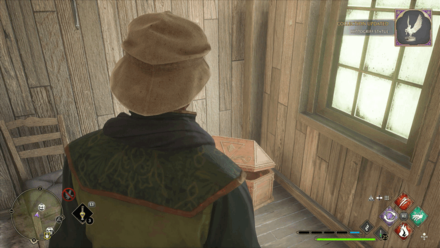
| Location: Found behind a Level 2 Locked Door inside the 2nd floor of a small house near the Cragcroft Floo Flame | |
 |
 |
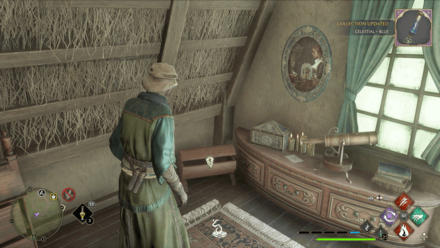
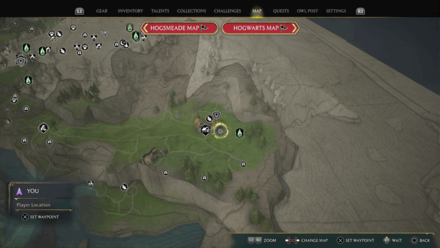
| Location: Found inside a small house near the Cragcroft Floo Flame | |
 |
 |
| Location: Found behind a Level 1 Locked Door inside the 2nd floor of a small house up a hill near the Cragcroft Floo Flame | |
 |
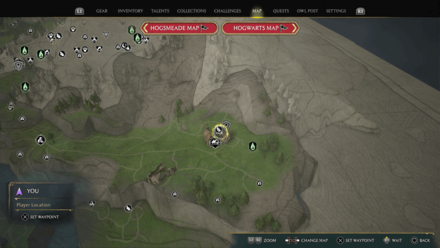 |
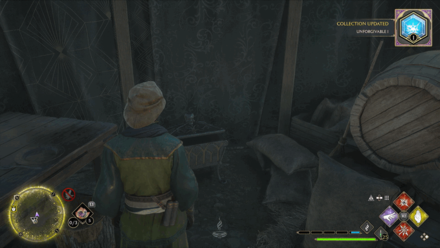
| Location: Found behind a Level 2 Locked Door inside of a small house across the Hamlet Shop | |
 |
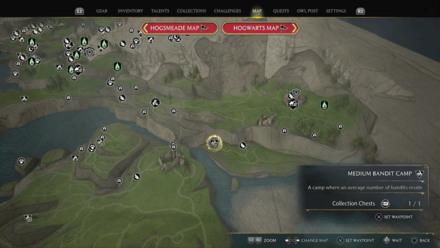 |
| Location: Found inside a Medium Bandit Camp southwest of Cragcroft | |
Manor Cape
| World View | Map View |
|---|---|
 |
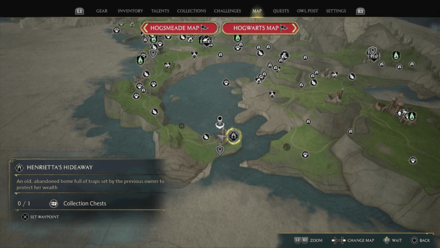 |
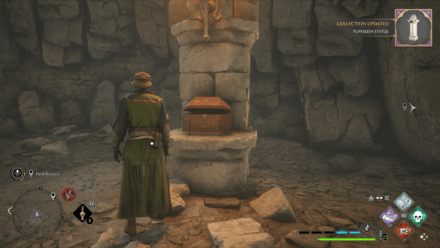
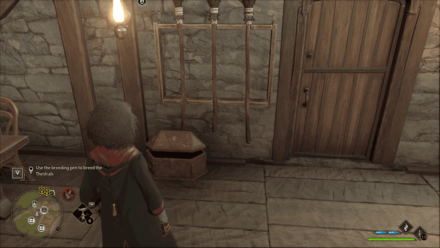
| Location: Found inside Henrietta's Hideaway during the Rescuing Rococo side quest | |
 |
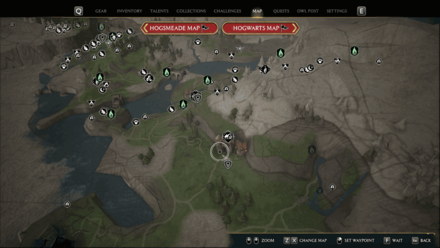 |
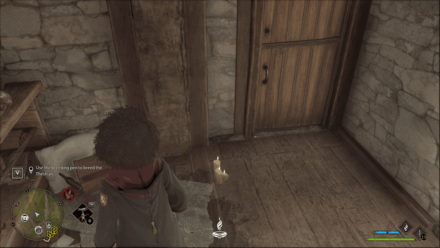
| Location: Found inside a Level 2 Locked Door north of the Bainburgh Floo Flame | |
 |
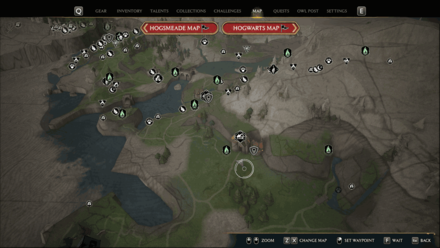 |
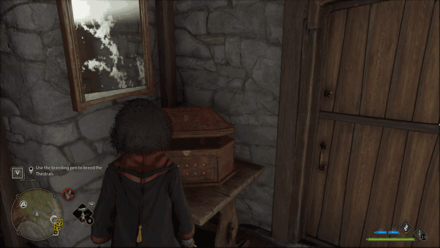
| Location: Found inside a Level 1 Locked Door southeast of the Bainburgh Floo Flame | |
 |
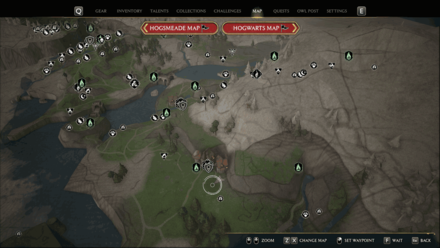 |
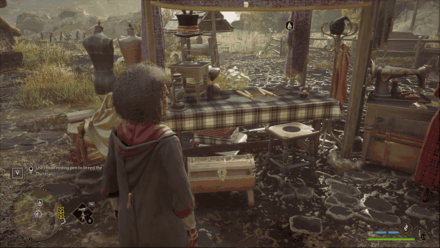
| Location: Found inside a Level 1 Locked Door southeast of the Bainburgh Floo Flame | |
 |
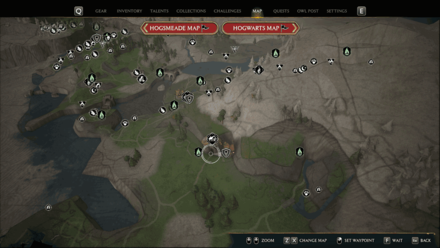 |
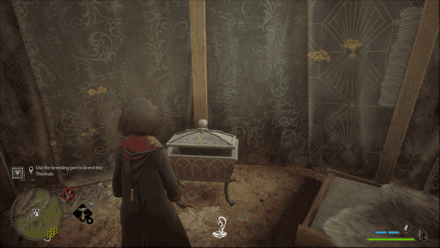
| Location: Found inside a store east of the Bainburgh Floo Flame | |
 |
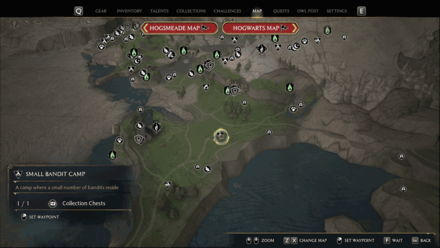 |
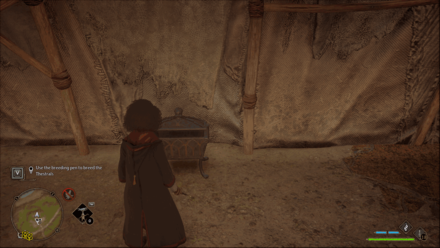
| Location: Found inside a small bandit camp south of the Bainburgh Floo Flame | |
 |
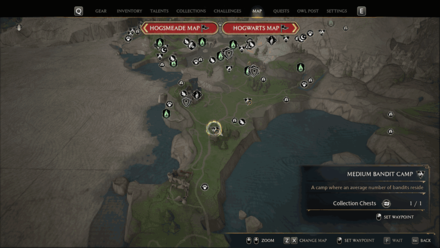 |
| Location: Found inside a medium bandit camp southeast of the West Manor Cape Floo Flame | |
Clagmar Coast
| World View | Map View |
|---|---|
 |
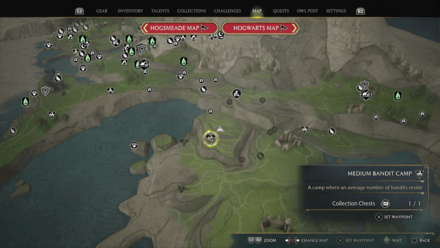 |
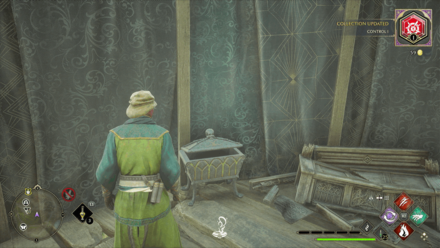
| Location: Found north of Clagmar Castle inside a Medium Bandit Camp | |
 |
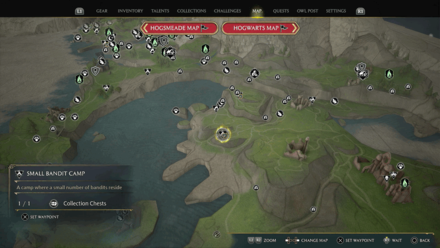 |
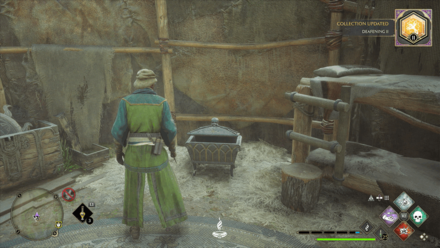
| Location: Found northwest of Clagmar Castle inside a Small Bandit Camp | |
 |
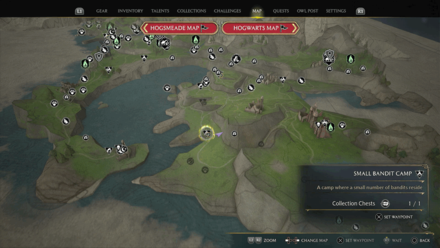 |
| Location: Found west of Clagmar Castle beneath a cliff near a Treasure Vault | |
 |
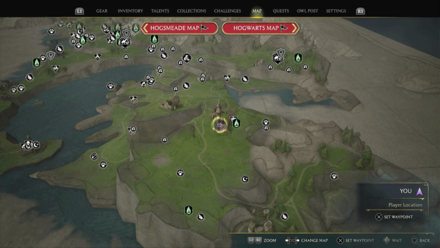 |
| Location: Found inside a Bandit Camp Castle inside Clagmar Castle | |
 |
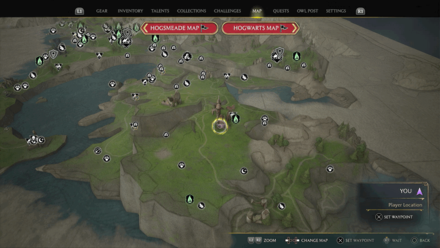 |
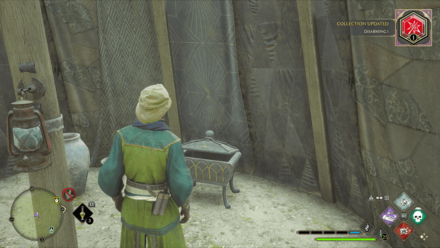
| Location: Found inside a Bandit Camp Castle inside Clagmar Castle | |
Collection Chest Rewards
Wand Handles and Conjurations

Wand Handles and Conjurations can be found within Collection Chests. The rewards in each chest are random.
You can find a list of all your collected Wand Handles and Conjurations in the Collections tab of the menu.
How to Unlock Collection Chests
Open Locked Chests with Alohomora
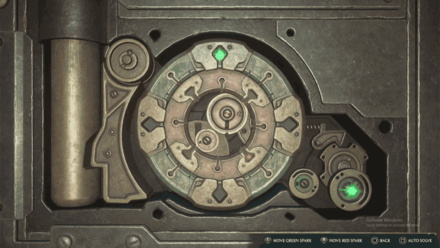
Casting Alohomora allows you to open locked chests and doors. Unlock and upgrade this spell by completing the The Caretaker's Lunar Lament quest.
Other chests may also require you to solve puzzles before reaching them. We recommend also unlocking Incendio and Arresto Momentum to help you overcome chest-related obstacles along the way!
Spell List: How to Get All Spells
Hogwarts Legacy Related Guides

Collections and List of All Collectibles
List of Collections
| All Collections | ||
|---|---|---|
 Enemies Enemies |
 Appearances Appearances |
 Revelio Pages Revelio Pages |
 Beasts Beasts |
 Traits Traits |
 Wand Handles Wand Handles |
 Conjurations Conjurations |
 Ingredients Ingredients |
 Brooms Brooms |
 Tools Tools |
Additional Content Appearances | |
Other Collectibles
| Other Collectibles | ||
|---|---|---|
 Floo Flames Floo Flames |
 Collection Chests Collection Chests |
 Merlin Trials Merlin Trials |
 Ancient Magic Hotspots Ancient Magic Hotspots |
 Balloons Balloons |
 Demiguise Statues Demiguise Statues |
 Astronomy Tables Astronomy Tables |
 Cairn Dungeons Cairn Dungeons |
 Landing Platforms Landing Platforms |
 Butterfly Chests Butterfly Chests |
 Hedge Mazes Hedge Mazes |
 Moth Puzzles Moth Puzzles |
 Field Guide Pages Field Guide Pages |
||
Comment
You have the same bandit camp twice for hogwarts Valley area, there's only 1 chest there, so you're missing one
Author
All Collection Chest Locations
improvement survey
03/2026
improving Game8's site?

Your answers will help us to improve our website.
Note: Please be sure not to enter any kind of personal information into your response.

We hope you continue to make use of Game8.
Rankings
Gaming News
Popular Games

Genshin Impact Walkthrough & Guides Wiki

Honkai: Star Rail Walkthrough & Guides Wiki

Umamusume: Pretty Derby Walkthrough & Guides Wiki

Pokemon Pokopia Walkthrough & Guides Wiki

Resident Evil Requiem (RE9) Walkthrough & Guides Wiki

Monster Hunter Wilds Walkthrough & Guides Wiki

Wuthering Waves Walkthrough & Guides Wiki

Arknights: Endfield Walkthrough & Guides Wiki

Pokemon FireRed and LeafGreen (FRLG) Walkthrough & Guides Wiki

Pokemon TCG Pocket (PTCGP) Strategies & Guides Wiki
Recommended Games

Fire Emblem Heroes (FEH) Walkthrough & Guides Wiki

Diablo 4: Vessel of Hatred Walkthrough & Guides Wiki

Yu-Gi-Oh! Master Duel Walkthrough & Guides Wiki

Super Smash Bros. Ultimate Walkthrough & Guides Wiki

Pokemon Brilliant Diamond and Shining Pearl (BDSP) Walkthrough & Guides Wiki

Elden Ring Shadow of the Erdtree Walkthrough & Guides Wiki

Monster Hunter World Walkthrough & Guides Wiki

The Legend of Zelda: Tears of the Kingdom Walkthrough & Guides Wiki

Persona 3 Reload Walkthrough & Guides Wiki

Cyberpunk 2077: Ultimate Edition Walkthrough & Guides Wiki
All rights reserved
HOGWARTS LEGACY software © 2022 Warner Bros. Entertainment Inc. Developed by Avalanche Software. WIZARDING WORLD and HARRY POTTER Publishing Rights © J.K. Rowling. PORTKEY GAMES, HOGWARTS LEGACY, WIZARDING WORLD AND HARRY POTTER characters, names and related indicia © and ™ Warner Bros. Entertainment Inc.
The copyrights of videos of games used in our content and other intellectual property rights belong to the provider of the game.
The contents we provide on this site were created personally by members of the Game8 editorial department.
We refuse the right to reuse or repost content taken without our permission such as data or images to other sites.





![Slay the Spire 2 Review [Early Access] | Still the Deckbuilder to Beat](https://img.game8.co/4433115/44e19e1fb0b4755466b9e516ec7ffb1e.png/thumb)

![Resident Evil Village Review [Switch 2] | Almost Flawless Port](https://img.game8.co/4432790/e1859f64830960ce4248d898f8cd38d9.jpeg/thumb)


Why are the sections for Hogwarts all messed up? You say that it’s all the chests in one section but then give the chests for different parts of the castle? Really confusing.