How to Unlock All Treasure Vault Puzzles
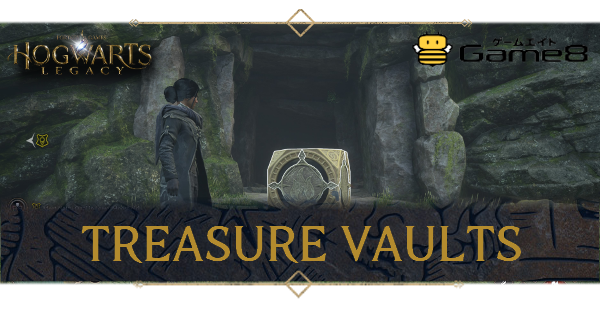
You can find hidden chests by solving puzzles and unlocking Treasure Vaults in the overworld of Hogwarts Legacy. Learn all about the locations of Treasure Vaults in each region of the map, how to solve the puzzles and unlock Treasure Vaults, which spells to use, and more!
List of Contents
Treasure Vault Interactive Map
World Map Treasure Vault Locations
All Treasure Vault Locations and Puzzle Solutions
North Ford Bog Treasure Vaults
| World View | Map View |
|---|---|
 |
 |
|
Location: Near San Bakar's Tower Floo Flame.
Solution: Use Depulso at rubble. |
|
 |
 |
|
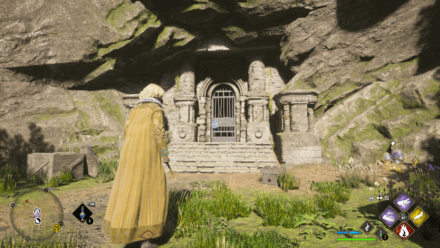
Location: Near the Merlin Trial and Inferi Lair spots east of San Bakar's Tower.
Solution: Use Alohomora II on lock. |
|
 |
 |
|
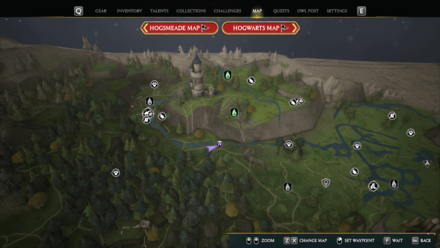
Location: Near the big bridge found below San Bakar's Tower Floo Flame.
Solution: Cast Incendio on the wooden gate and destroy it with Accio. Once inside, use Wingardium Leviosa and stack the arrow block while following the pattern of the complete stone block stack. ▶︎ How to Solve Arrow Block Puzzle |
|
 |
 |
|
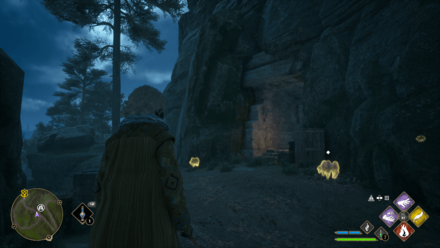
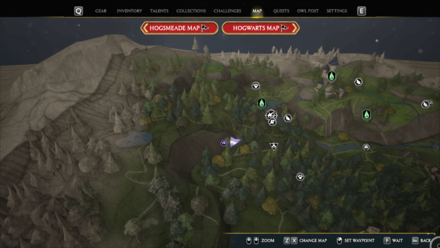
Location: Southwest of Pitt-Upon-Ford.
Solution: No puzzle, simply head inside the ruins to collect the loot. |
|
North Ford Bog Treasure Vaults
Forbidden Forest Treasure Vaults
| World View | Map View |
|---|---|
 |
 |
|
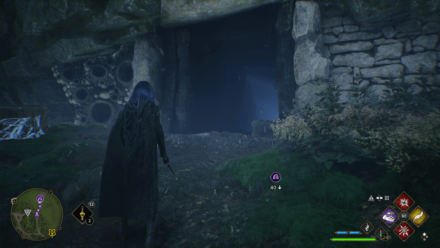
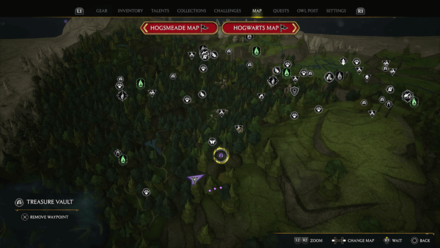
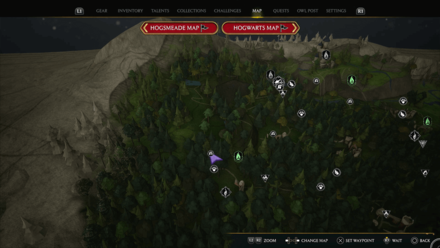
Location: Entrance by the Spider Den, east of Jackdaw's Tomb Floo Flame.
Solution: Cast Incendio or Confringo to destroy the pots. |
|
 |
 |
|
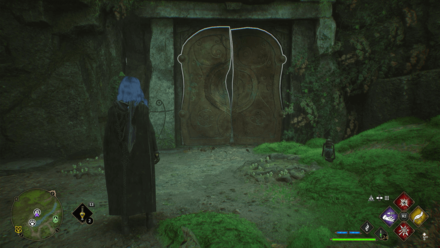
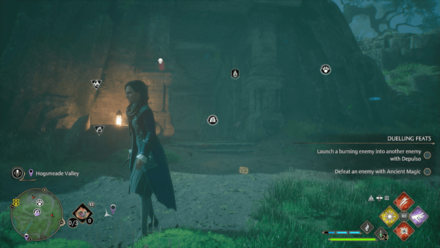
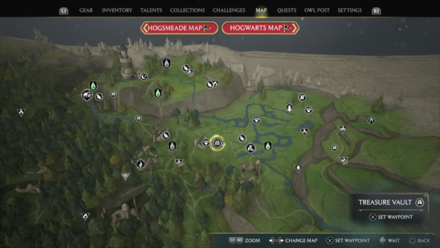
Location: By the Purple Toad Den, near West Forbidden Forest Floo Flame.
Solution: Cast Accio at the door, then use Incendio or Confringo to destroy the pots. |
|
 |
 |
|
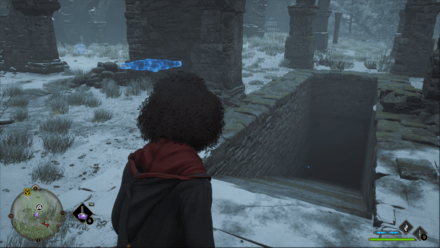
Location: Found west of East North Ford Bog Floo Flame.
Solution: No puzzle; simply head inside the cave. |
|
 |
 |
|
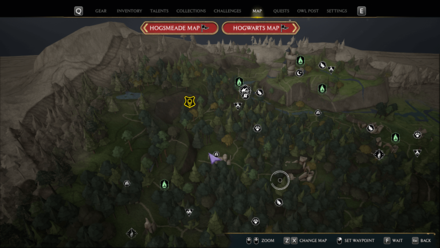
Location: Northeast of West Forbidden Forest Floo Flame
Solution: Use Accio on the metal cube, bring it to the platform and use Levioso. |
|
Forbidden Forest Treasure Vaults
Hogsmeade Valley Treasure Vaults
| World View | Map View |
|---|---|
 |
 |
|
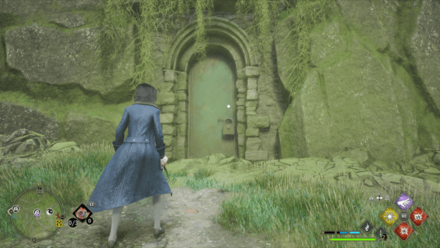
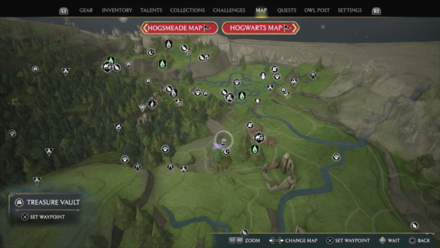
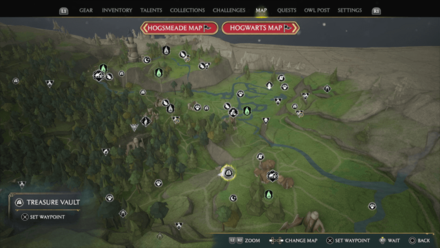
Location: Found west of Upper Hogsfield Floo Flame
Solution: Use Alohomora III on lock. |
|
 |
 |
|
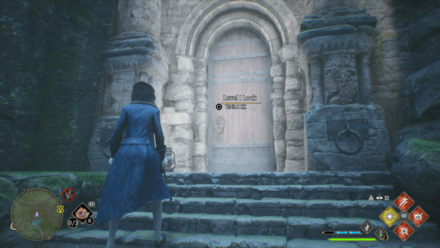
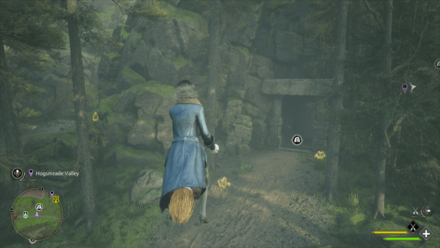
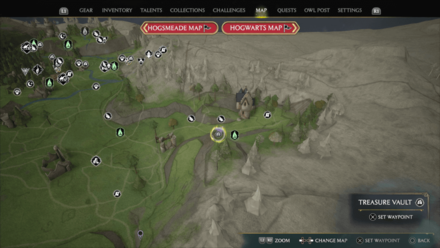
Location: West of Upper Hogsfield Floo Flame, down the hill heading towards the Forbidden Forest.
Solution: Use Alohomora I on lock. |
|
 |
 |
|
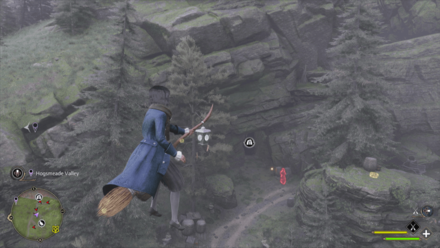
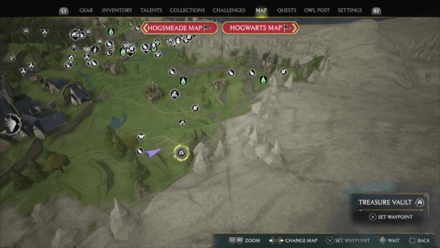
Location: West of Falbarton Castle Floo Flame
Solution: Use Alohomora II on lock. |
|
 |
 |
|
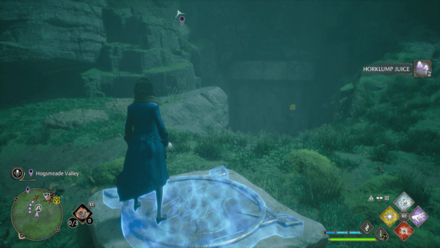
Location: South of East Hogsmeade Valley Floo Flame.
Solution: No puzzle; simply head inside the cave. |
|
 |
 |
|
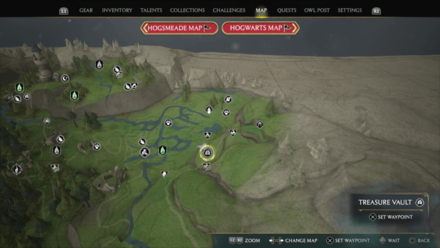
Location: Found east of East North Ford Bog Floo Flame.
Solution: Grab the spell cube with Accio and place it on top of the platform, then cast Incendio. |
|
Hogsmeade Valley Treasure Vaults
Hogwarts Valley Treasure Vault Locations
| World View | Map View |
|---|---|
 |
 |
|
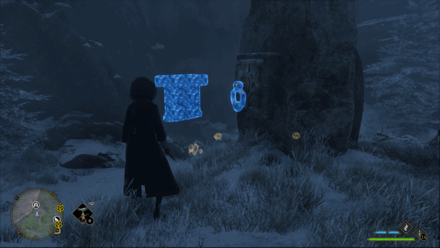
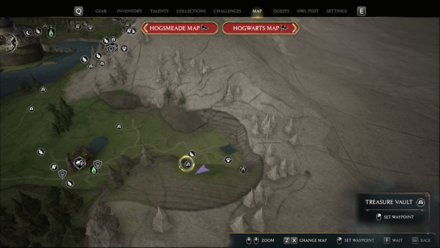
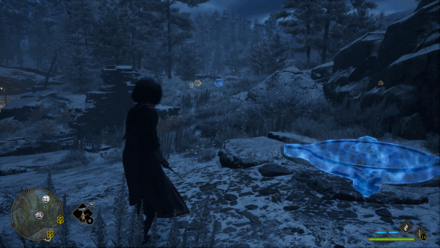
Location: East of Brocburrow Floo Flame
Solution: Use Accio on the pillar to open the door go inside the cave and there will be some bones use Wingardium Leviosa to put them on the pedestal to get the chest. |
|
 |
 |
|
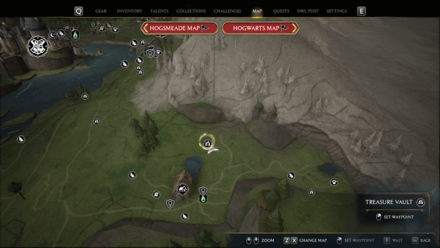
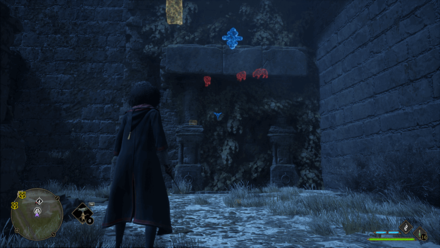
Location: North of Brocburrow Floo Flame
Solution: Find the cube and use Wingardium Leviosa to bring it to the pedestal and use Glacius to open the door. Go inside and just go walk through the door way to reveal the chest. |
|
 |
 |
|
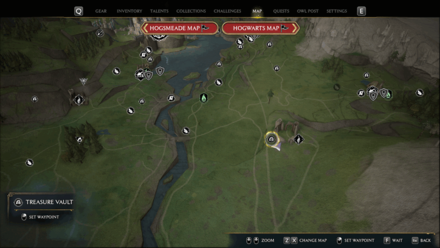
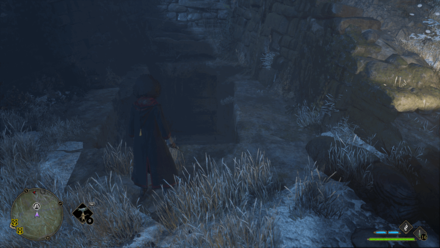
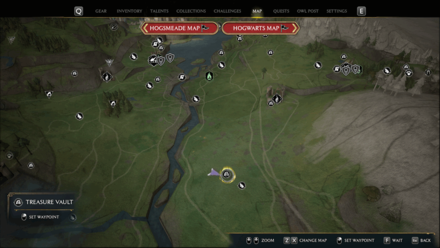
Location: Southeast of Central Hogwarts Valley Floo Flame
Solution: Clear out the vines to see the door and the ladder up to the pedestal. Get the cube with Wingardium Leviosa and put it on the pedestal, and use Levioso to open the door. Once inside, use Glacius to put out the flames and stand on the platform to get the chest. |
|
 |
 |
|
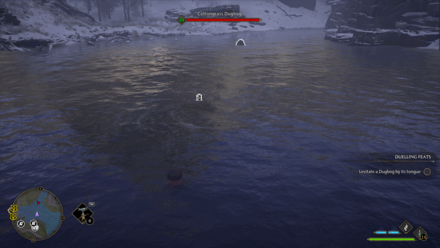
Location: Northeast of Keenbridge Floo Flame
Solution: Clear out the blocked path by using Depulso. Use Incendio to burn the leaves to reveal the chest. |
|
 |
 |
|
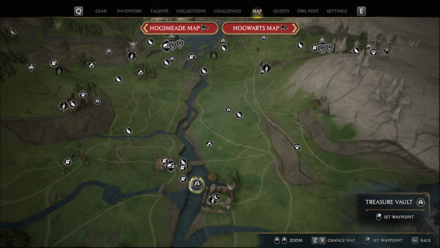
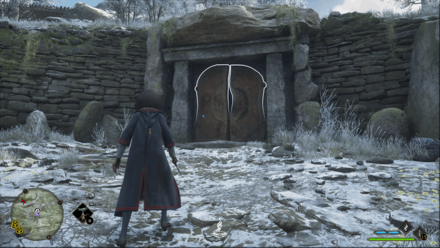
Location: South of Keenbridge Floo Flame
Solution: Go to the diving spot and dive. Find the pillar and use Accio to open the door. |
|
 |
 |
|
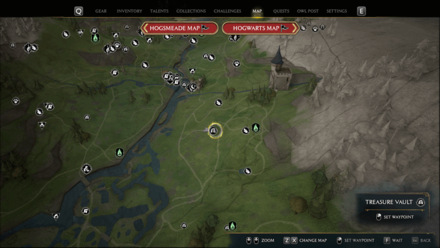
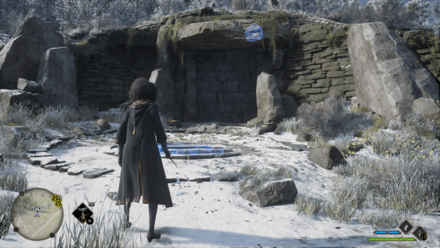
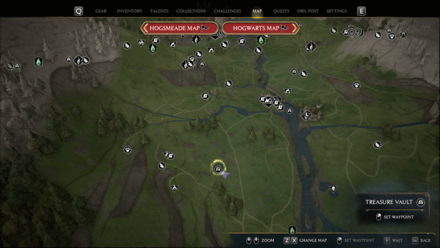
Location: West of The Mine's Eye Floo Flame
Solution: Defeat the Inferius guarding the door, and use Depulso on the door to open it. |
|
 |
 |
|
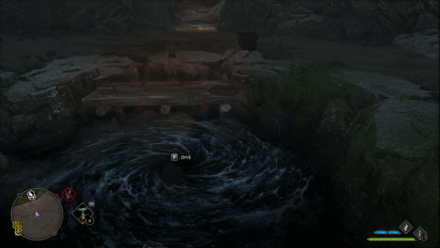
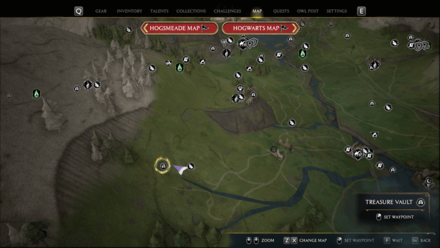
Location: Northwest of Northern South Sea Bog Floo Flame
Solution: Find the cube and bring it to the pedestal using Wingardium Leviosa, then use Levioso on the cube to open the gate. Once inside, use Revelio to see what pillar you need to use Accio on, then get the chest. |
|
 |
 |
|
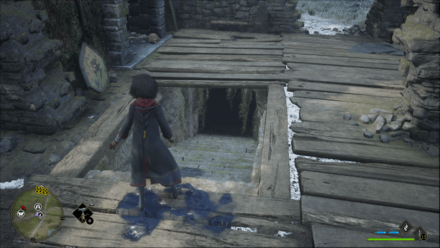
Location: Southwest of Keenbridge Floo Flame
Solution: Go inside the cave and dive to get the chest. |
|
 |
 |
|
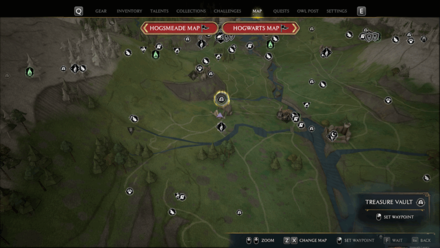
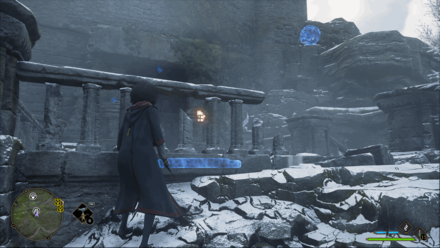
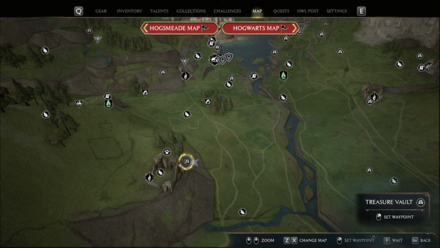
Location: West of Keenbridge Floo Flame
Solution: Use Depulso to reveal the staircase down to the Vault then use Depulso again to open the gate. Use Wingardium Leviosa to get the cube to the pedestal, and use Incendio to clear out the pillars. |
|
 |
 |
|
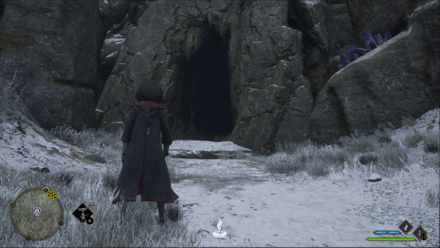
Location: Northwest of Keenbridge Floo Flame
Solution: Get the cube and use Wingardium Leviosa to bring it to the pedestal, then use Levioso to open the door. Inside is the chest that is guarded by Inferius. Use Incendio to burn down the cobwebs to get to the chest. |
|
 |
 |
|
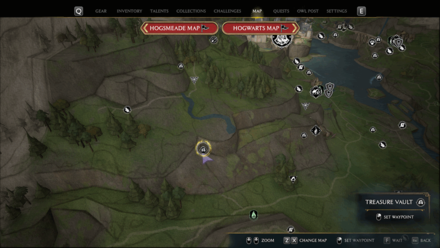
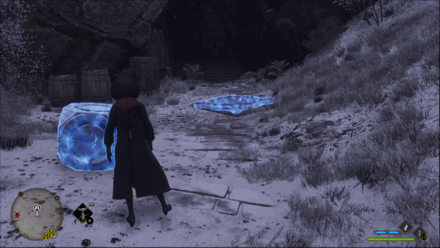
Location: Northwest of West Hogwarts Valley Floo Flame
Solution: No puzzles. Just defeat the spiders guarding the entrance and the chest. |
|
 |
 |
|
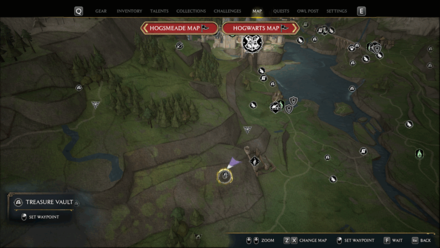
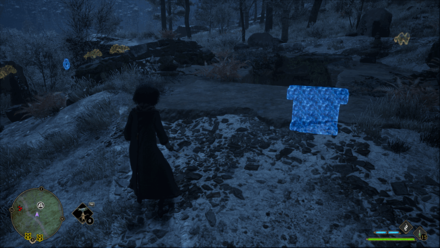
Location: Northeast of West Hogwarts Valley Floo Flame
Solution: Get the cube and put it on the pedestal with Wingardium Leviosa, and use Levioso to open the door. Cast Revelio to find the chest and walk in front of the wall on the leftside of the doorway to get the chest. |
|
 |
 |
|
Location: West of Central Hogwarts Valley Floo Flame
Solution: Use Accio on a nearby pillar to open the gate go inside and use Wingardium Leviosa to get the cube and place it near the chest to get it. |
|
Hogwarts Valley Treasure Vaults
North Hogwarts Treasure Vault Locations
| World View | Map View |
|---|---|
 |
 |
|
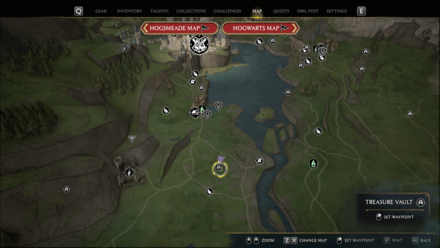
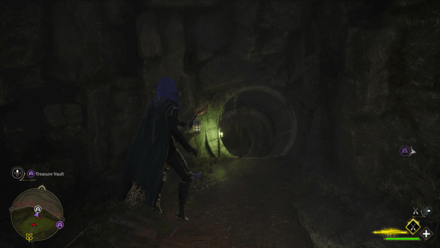
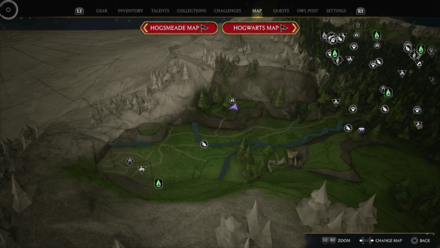
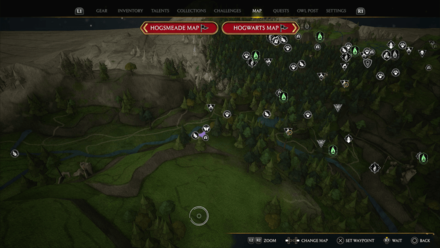
Location: Northeast of Korrow Ruins Floo Flame.
Solution: No puzzle. Sneak past the troll to enter the cave. |
|
 |
 |
|
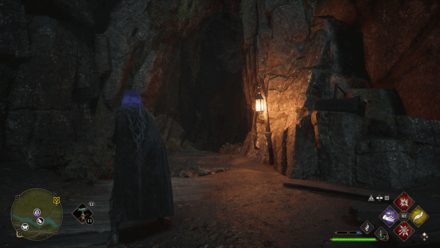
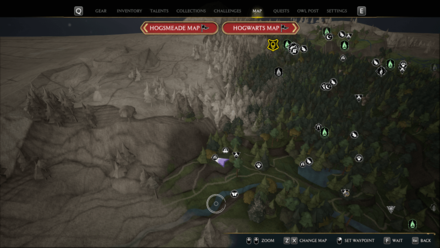
Location: Southwest of Jackdaw's Tomb Floo Flame.
Solution: Cast Incendio to remove webs blocking the entrance. |
|
 |
 |
|
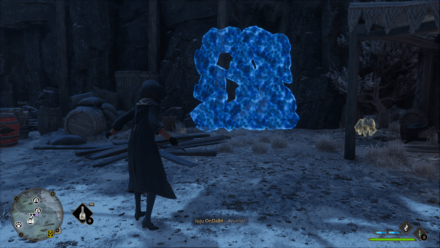
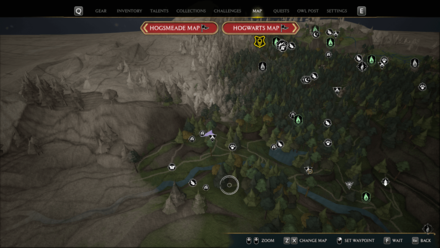
Location: West of Jackdaw's Tomb Floo Flame.
Solution: Defeat the Inferius at the entrance of the vault then dive down to get to the chest. |
|
 |
 |
|
Location: At a Bandit Camp Southwest of Jackdaw's Tomb Floo Flame.
Solution: Use Depulso to break the rocks |
|
North Hogwarts Treasure Vaults
South Hogwarts Treasure Vault Locations
| World View | Map View |
|---|---|
 |
 |
|
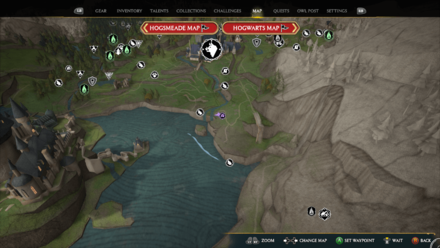
Location: Near a Merlin Trial northeast of Hogwarts Castle.
Solution: Follow the path to the left of the Treasure Vault and grab the spell cube with Accio. Bring the cube back to the platform and use Levioso |
|
 |
 |
|
Location: Near a lake west of the Owlery.
Solution: Burn the vines with Incendio, then use Depulso to uncover the chest. |
|
 |
 |
|
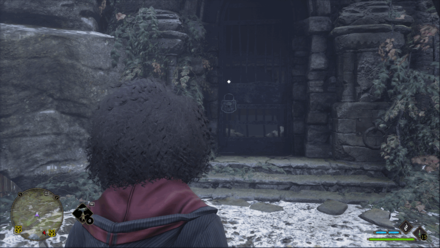
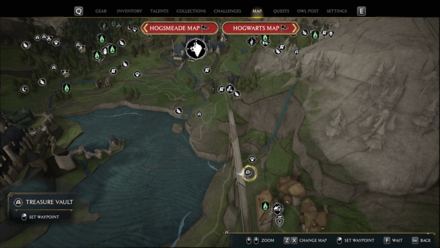
Location: By the lakeshore north of Lower Hogsfield Floo Flame
Solution: Grab the spell cube with Accio and place it on top of the platform, then cast Incendio |
|
 |
 |
|
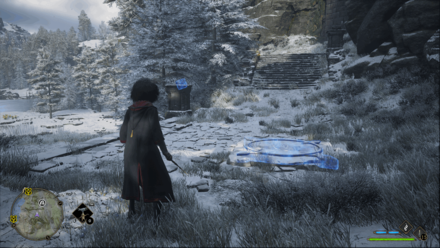
Location: North of Aranshire Floo Flame
Solution: Use Alohomora to unlock the level II locked door. Just walk through the mini whirlwind to get the chest. |
|
 |
 |
|
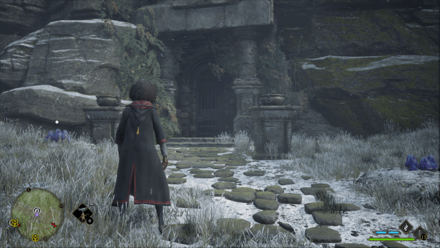
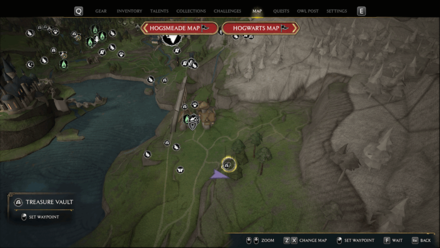
Location: Southwest of Aranshire Floo Flame
Solution: Find the cube then use Wingardium Leviosa to bring it back to the pedestal, and use Levioso to open the door. Step on the highlighted floor and you'll get transferred on the room with the chest. |
|
 |
 |
|
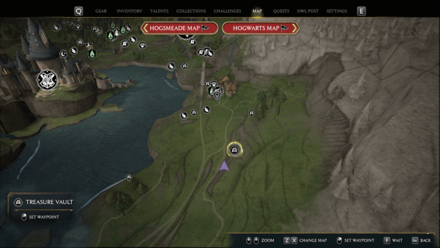
Location: Southeast of Aranshire Floo Flame
Solution: Go to the location and use Alohomora to unlock the Level II gate, and inside are some Inferius guarding the chest. |
|
 |
 |
|
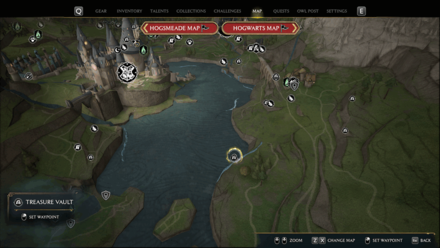
Location: Southeast of Aranshire Floo Flame
Solution: Get the cube across the road and use Wingardium Leviosa to bring it to the pedestal then use Incendio to open the door. Put out the fire in front of the statue using Glacius and stand on the platform to get the chest. |
|
 |
 |
|
Location: Southwest of Aranshire Floo Flame
Solution: Go to the diving spot and dive. To open the door, use Accio on the lever across from the door. |
|
 |
 |
|
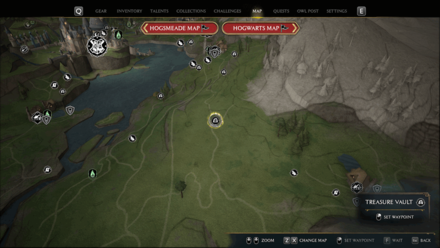
Location: Northeast of Central Hogwarts Valley Floo Flame
Solution: Use Depulso to clear out the rumbles and inside is the chest. |
|
South Hogwarts Treasure Vaults
Clagmar Coast Treasure Vaults
| World View | Map View |
|---|---|
 |
 |
|
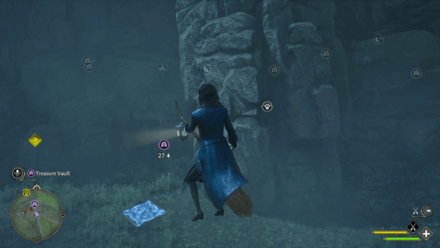
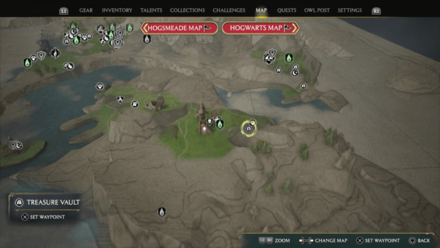
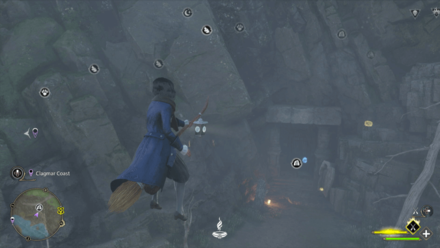
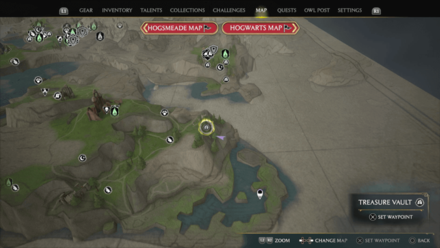
Location: East of Clagmar Castle Floo Flame.
Solution: Grab the spell cube with Accio and place it on top of the platform, then cast Levioso. |
|
 |
 |
|
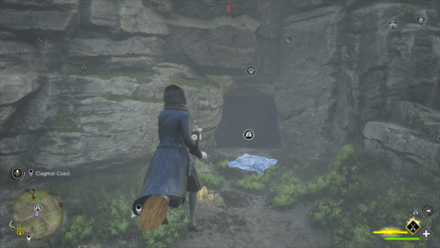
Location: Found near a lake east of Clagmar Castle Floo Flame.
Solution: Use Alohomora II on lock. |
|
 |
 |
|
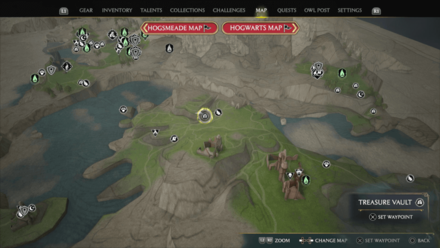
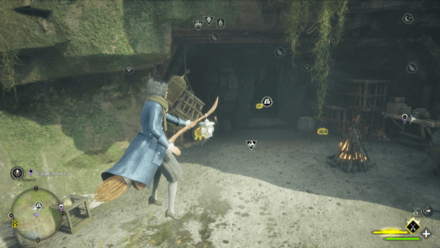
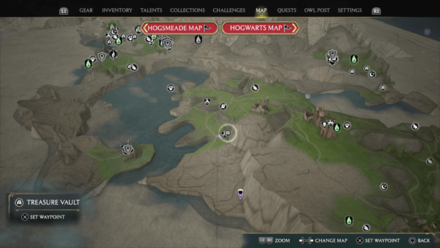
Location: Found northwest of Clagmar Castle Floo Flame.
Solution: Grab the spell cube with Accio and place it on top of the platform, then cast Levioso. Once inside, use Revelio to highlight the wall blocks to pull with the use of Accio. |
|
 |
 |
|
Location: Found west of Clagmar Castle Floo Flame.
Solution: Cast Incendio on Devil's Snare to light it on fire then dodge roll towards it to destroy the plant. |
|
 |
 |
|
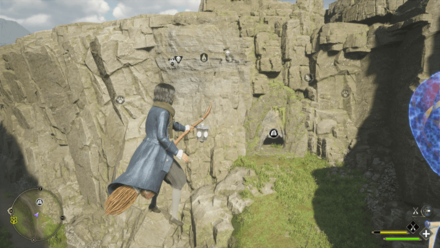
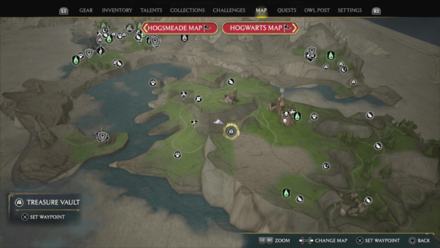
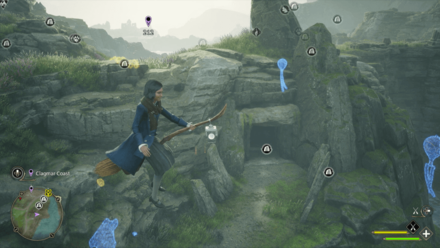
Location: By the tall cliff west of Clagmar Castle Floo Flame.
Solution: Follow the small tornado multiple times until it spawns a chest. |
|
 |
 |
|
Location: North of Clagmar Castle Floo Flame.
Solution: Cast Incendio at unlit cauldrons. |
|
 |
 |
|
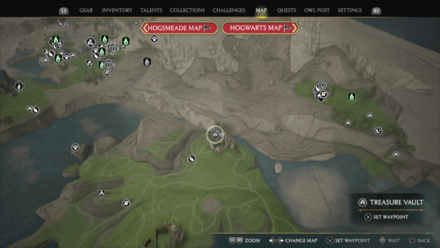
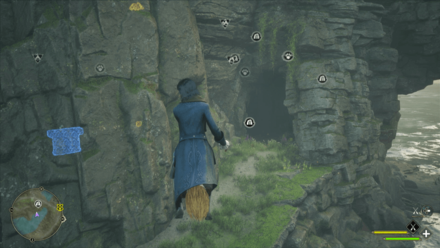
Location: Found north of Clagmar Castle Floo Flame.
Solution: Use Accio to pull wall block. Contains a dead body with a note that says mudblood. |
|
 |
 |
|
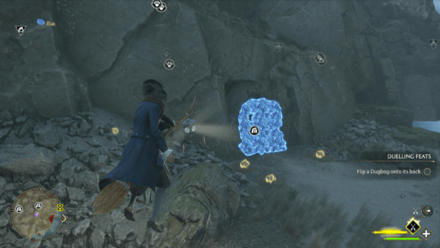
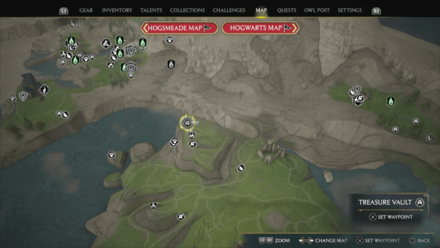
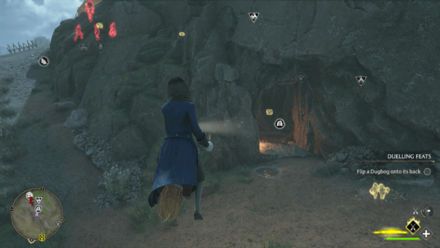
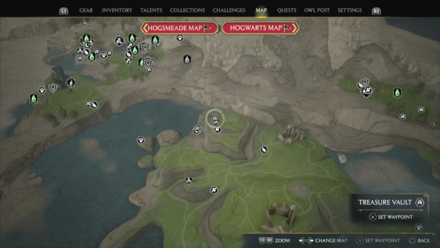
Location: Found northwest of Clagmar Castle Floo Flame, near the Clagmar Coast border.
Solution: Cast Depulso at the rubble. |
|
 |
 |
|
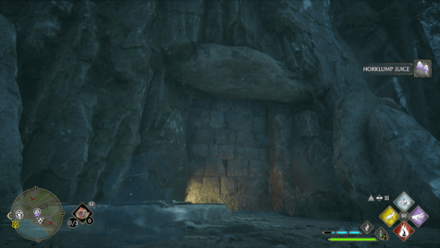
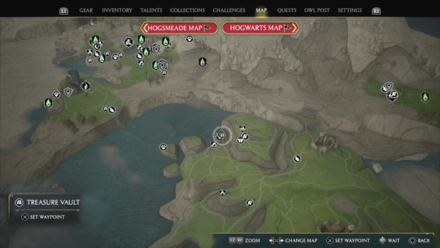
Location: Below the bandit camp northwest of Clagmar Castle Floo Flame, near the Clagmar Coast border.
Solution: No puzzle; simply head inside the creepy cave. |
|
 |
 |
|
Location: Found below the cliffs near the shore northwest of Clagmar Castle Floo Flame.
Solution: Grab the spell cube with Accio and place it on top of the platform, then cast Glacius. Once inside, use Revelio to highlight the wall blocks to pull with the use of Accio. |
|
Cragcroftshire Treasure Vaults
| World View | Map View |
|---|---|
 |
 |
|
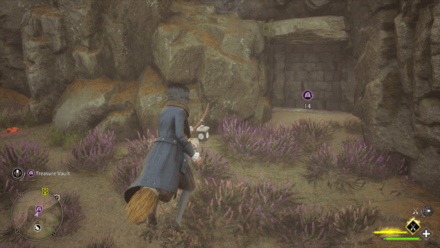
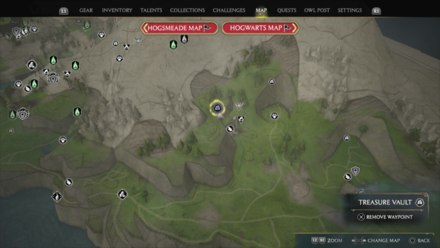
Location: On the top of a cliff northwest of Cragcroft Floo Flame.
Solution: Grab the spell cube with Accio and place it on top of the platform, then cast Incendio. Once inside, use the Transformation spell on the chair inside the room to turn it into a knight piece. Move the piece with Wingardium Leviosa and create a checkmate. ▶︎ How to Solve Chess Puzzles |
|
 |
 |
|
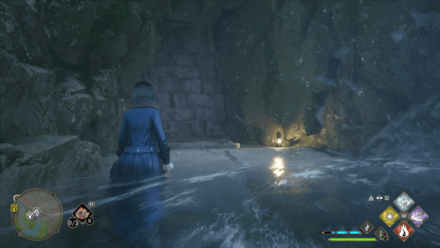
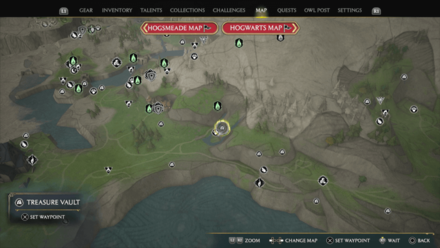
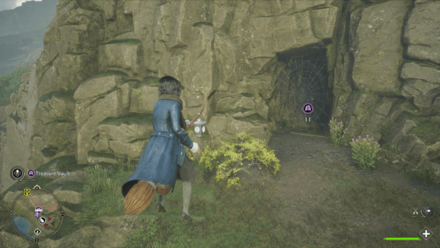
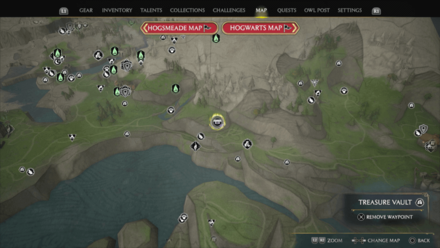
Location: At the left of a waterfall south of Cragcroft Shore Foo Flame.
Solution: Grab the spell cube with Accio and place it on top of the platform, then cast Incendio. |
|
 |
 |
|
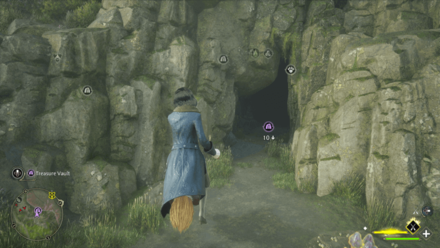
Location: On top of a cliff southeast of Cragcroft Shore Floo Flame.
Solution: Cast Incendio on the spider web blocking the entrance. |
|
 |
 |
|
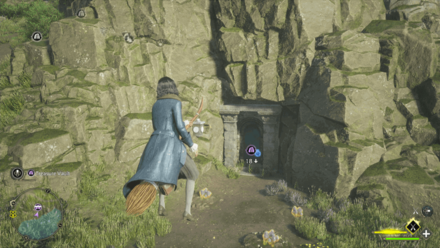
Location: East of a ruined castle located southeast of Cragcroft Shore Foo Flame.
Solution: Head into the diving spot. |
|
 |
 |
|
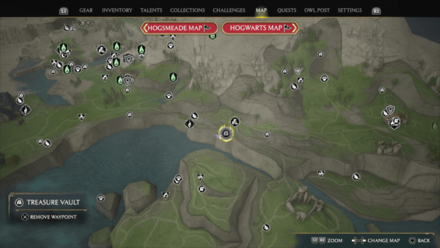
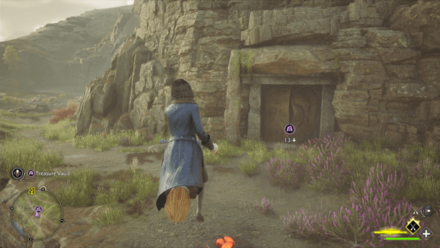
Location: Southeast of Cragcroft Shore Floo Flame.
Solution: Use Alohomora III on lock. Walk to the other side of the arch to get the chest. |
|
 |
 |
|
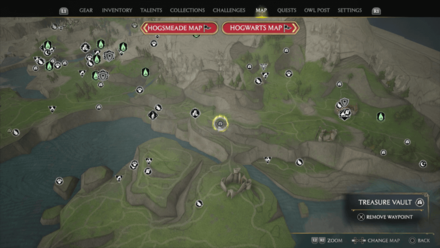
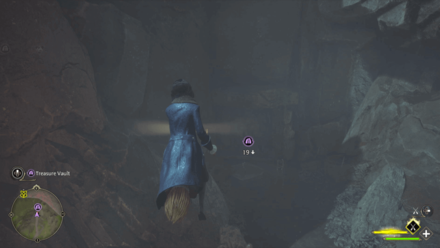
Location: At the center of Cragcroftshire region, located west of Cragcroft Floo Flame.
Solution: Use Depulso to open the door. Once inside, grab the spell cube with Wingardium Leviosa and place it on top of the platform at the other side of the pillars, then cast Incendio. |
|
 |
 |
|
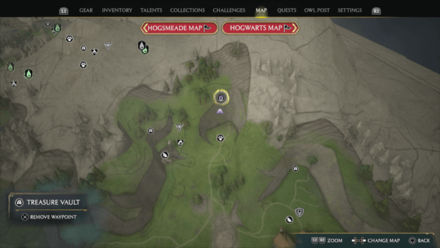
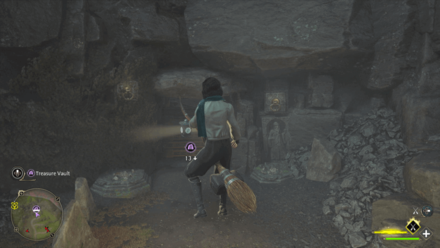
Location: At the top of a cliff northwest of Cragcroft Floo Flame, near another Treasure Vault.
Solution: Grab the spell cube with Accio and place it on top of the platform, then cast Glacius. |
|
 |
 |
|
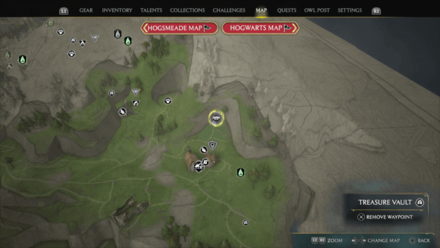
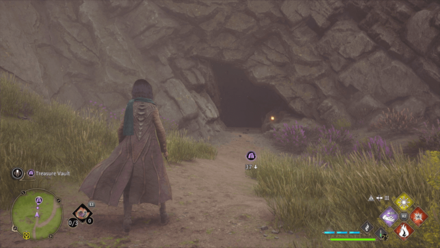
Location: Found north of Cragcroft Floo Flame.
Solution: Use Incendio to get rid of the vines of the left, then use Accio to pull the wall blocks on both sides. Once inside, use the Transformation spell on the vase inside the room to turn it into a knight piece. Move the piece with Wingardium Leviosa and create a checkmate. ▶︎ How to Solve Chess Puzzles |
|
 |
 |
|
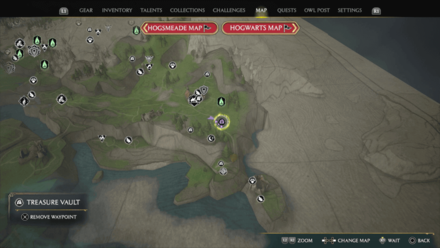
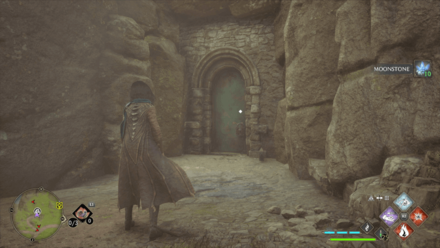
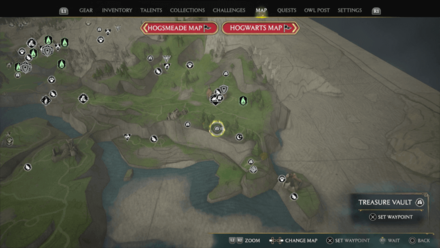
Location: South of Cragcroft Floo Flame.
Solution: Use Revelio to highlight the wall blocks to pull with the use of Accio. |
|
 |
 |
|
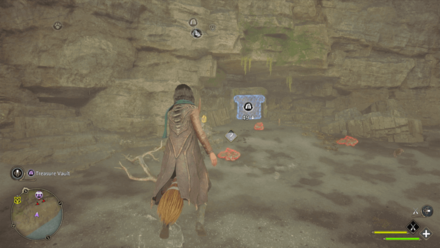
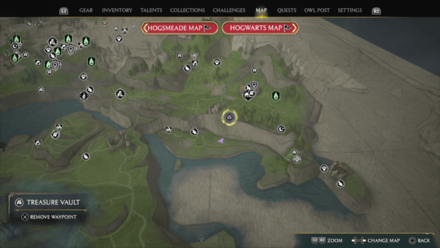
Location: Southwest of Cragcroft Floo Flame.
Solution: Use Alohomora III on lock. Once inside, use Revelio to highlight three walls. The loot is behind a wall adjacent to the room's entrance. |
|
 |
 |
|
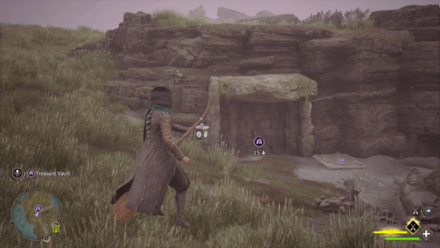
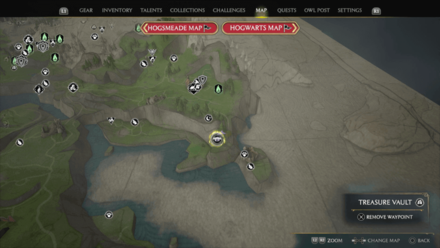
Location: Near the shoreline with dugbogs southwest of Cragcroft Floo Flame.
Solution: Use Incendio to burn the vines on the right side of the door. Use Accio to pull the wall block. |
|
 |
 |
|
Location: South of Cragcroft Floo Flame.
Solution: Grab the spell cube with Accio and place it on top of the platform, then cast Glacius. |
|
Cragcroftshire Treasure Vaults
Feldcroft Region Treasure Vaults
| World View | Map View |
|---|---|
 |
 |
|
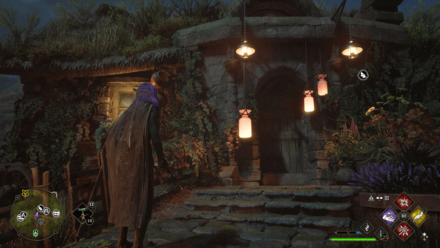
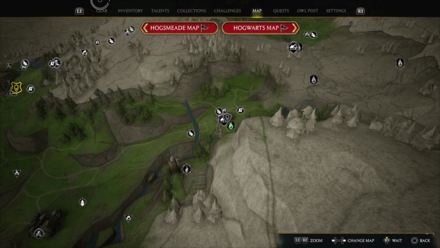
Location: Inside a house in Irondale.
Solution: No puzzle; Treasure Vault entrance is found inside the house. |
|
 |
 |
|
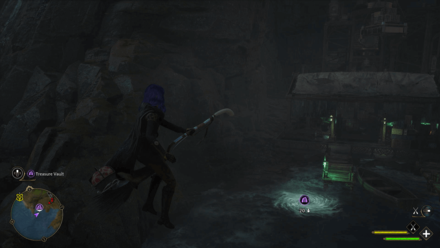
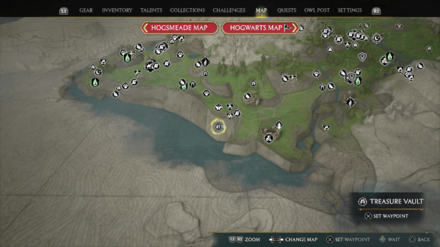
Location: At a dive spot near the coast south of Feldcroft Catacomb Floo Flame.
Solution: Enter the dive spot, then pull the block in the area with Accio. |
|
 |
 |
|
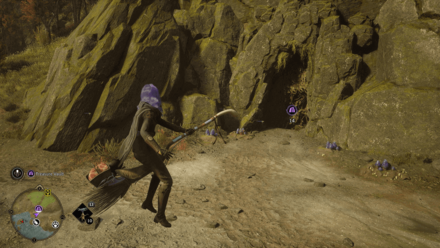
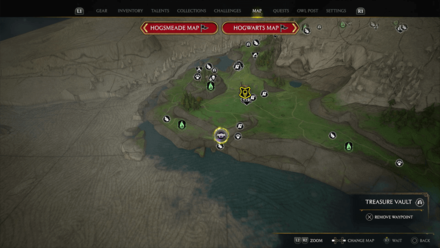
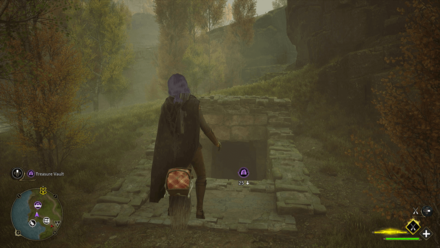
Location: Found along the coast south of Feldcroft Floo Flame.
Solution: Burn the vines with Incendio. |
|
 |
 |
|
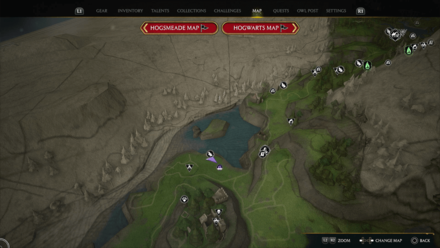
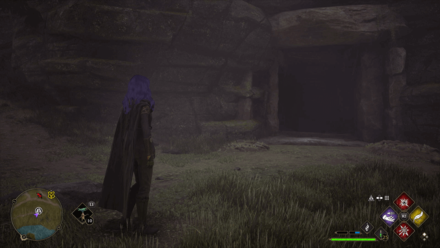
Location: Found north of Feldcroft Floo Flame.
Solution: Use Alohomora II on lock. |
|
 |
 |
|
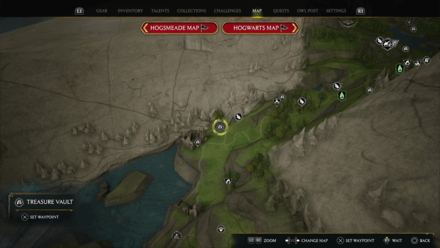
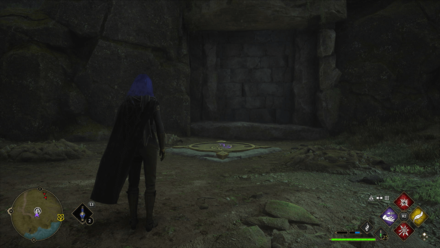
Location: Found along the coast north of a troll lair located north of Feldcroft Floo Flame.
Solution: No puzzle, simply head inside. |
|
 |
 |
|
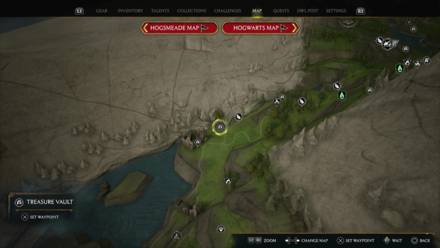
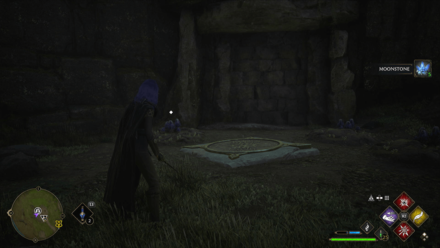
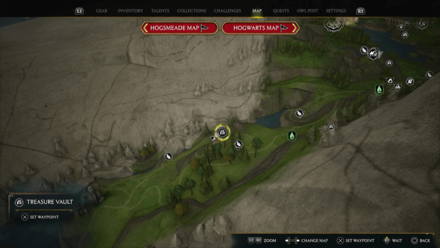
Location: North of a troll lair found north of Feldcroft Floo Flame.
Solution: Grab the spell cube with Accio and place it on top of the platform, then use Levioso. Once inside, use Wingardium Leviosa and stack the arrow block while following the pattern of the complete stone block stack. ▶︎ How to Solve Arrow Block Puzzle |
|
 |
 |
|
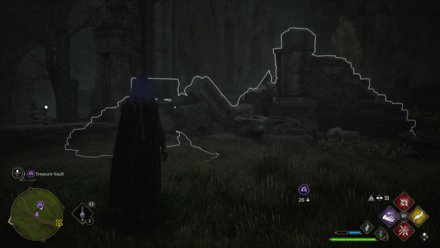
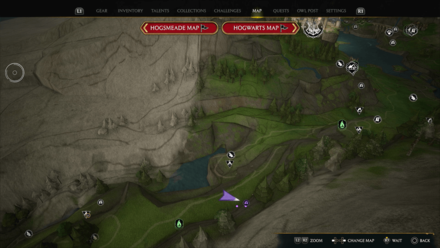
Location: Near a bandit camp west of North Feldcroft Floo Flame.
Solution: Grab the spell cube with Accio and place it on top of the platform, then use Glacius. |
|
 |
 |
|
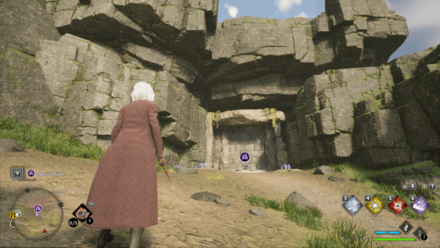
Location: East of North Feldcroft Floo Flame.
Solution: Use Reparo on the ruins, then head inside. Use Revelio to highlight the magical walls and approach the one to the immediate left of the entrance. |
|
 |
 |
|
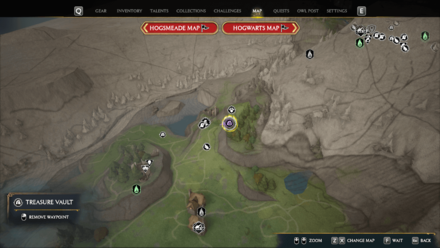
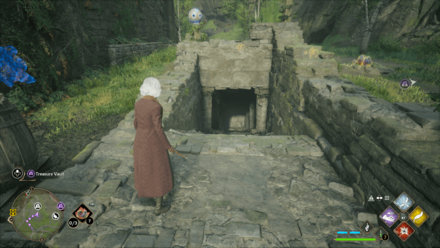
Location: Northeast of Rookwood Castle Floo Flame.
Solution: Grab the spell cube with Accio and place it on top of the platform, then use Levioso. |
|
 |
 |
|
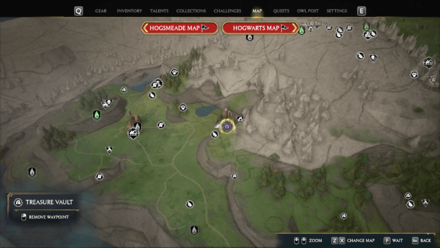
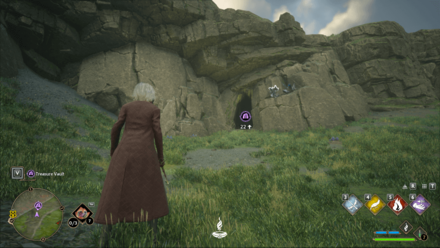
Location: Located east of Rookwood Castle Floo Flame near a troll lair.
Solution: Grab the spell cube with Accio and place it on top of the platform, then use Incendio. |
|
 |
 |
|
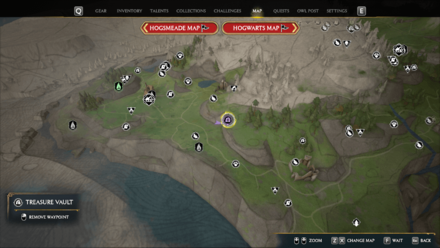
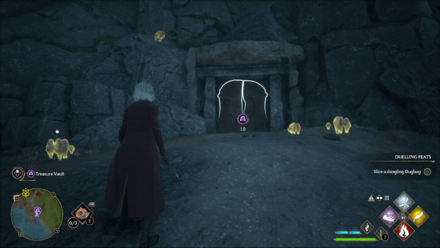
Location: Northeast of Feldcroft Catacomb Floo Flame.
Solution: Cast Incendio on Devil's Snare to light it on fire. Once inside, dive into the diving spot then cast Incendio to burn the vines and get access to the loot. |
|
 |
 |
|
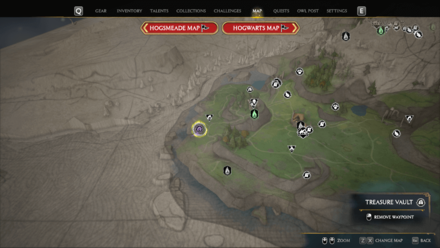
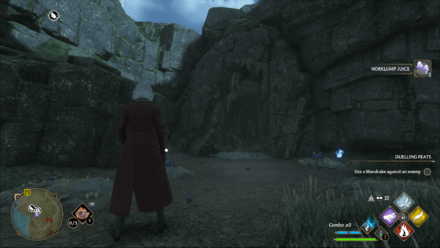
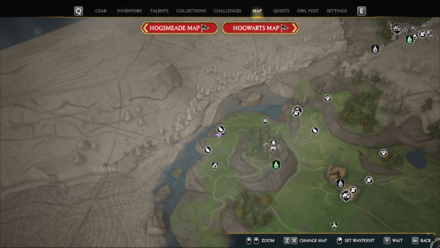
Location: Near the shoreline west of Rookwood Castle Floo Flame.
Solution: Use Depulso to open the door. Once inside, look for a set of arrow blocks stacked in a 3x3 pattern. Use Wingardium Leviosa to grab the other stone blocks and stack them following the pattern. ▶︎ How to Solve Arrow Block Puzzle |
|
 |
 |
|
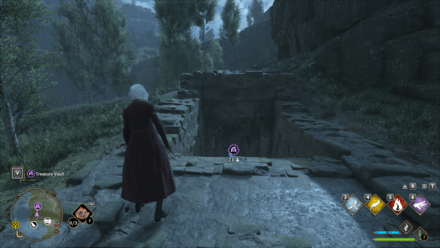
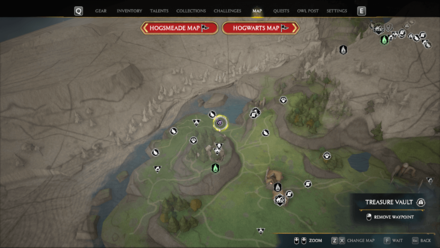
Location: Northwest of Rookwood Castle Floo Flame, near a Merlin Trial.
Solution: Cast Incendio to remove the spider web. then follow the small tornado multiple times until it spawns a chest. |
|
 |
 |
|
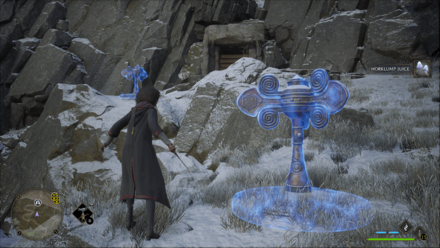
Location: North of Rookwood Castle Floo Flame.
Solution: Use Alohomora II on lock. |
|
 |
 |
|
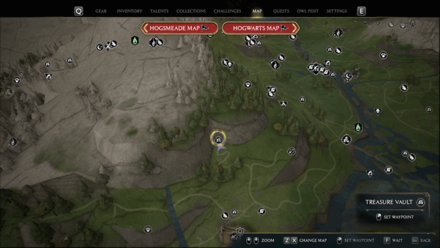
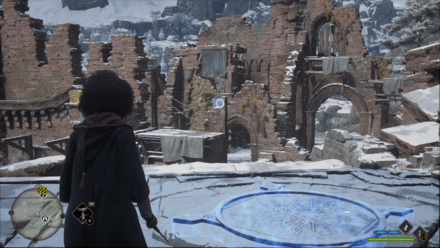
Location: North of Irondale Bog Floo Flame
Solution: Use Depulso on both mechanism to open the door. Once inside, use Wingardium Leviosa on the bone pile and bring them to the bone pillars to form a staircase leading to the chest. |
|
 |
 |
|
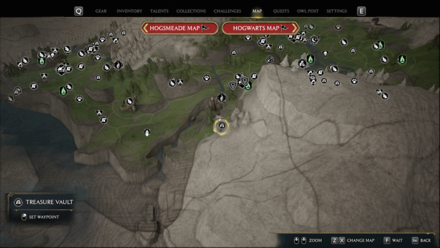
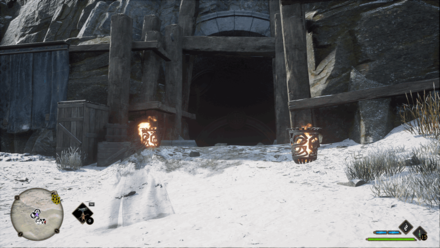
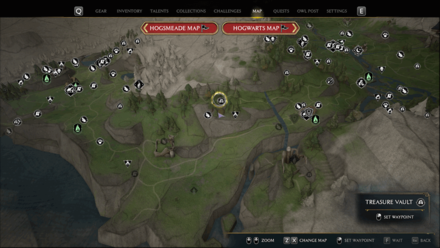
Location: South of Irondale Bog Floo Flame
Solution: Get the cube and bring it to the pedestal. Use Incendio to burn down the platform and bring the cube to the pedestal using Wingardium Leviosa, then use Glacius to open the door. |
|
 |
 |
|
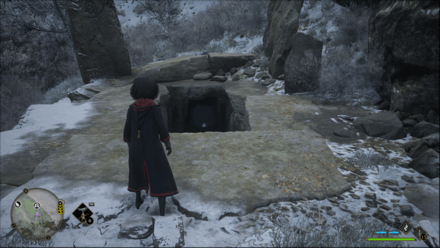
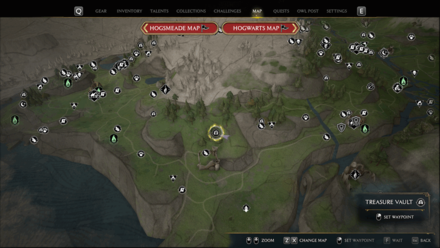
Location: Northwest of Irondale Bog Floo Flame
Solution: No puzzle. You can easily sneak past the bandit camp, and inside is the chest. |
|
 |
 |
|
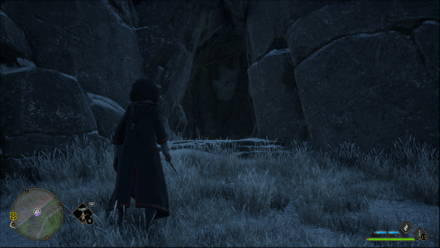
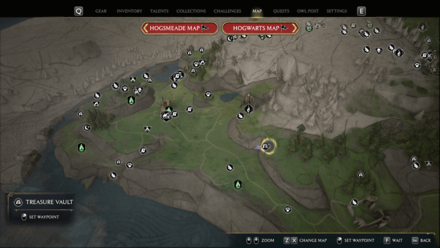
Location: Northwest of Feldcroft Catacomb Floo Flame
Solution: Go downstairs and bring the cube near the ledge to bring the ground up to climb up the ledge. |
|
 |
 |
|
Location: Northeast of Feldcroft Catacomb Floo Flame
Solution: Use Incendio or Confringo to clear out the vines and dive. On the next area use Incendio to burn down the leaves and get the chest. |
|
Feldcroft Region Treasure Vaults
Manor Cape Treasure Vaults
| World View | Map View |
|---|---|
 |
 |
|
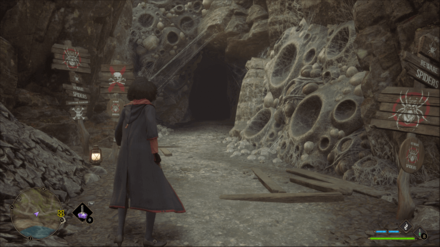
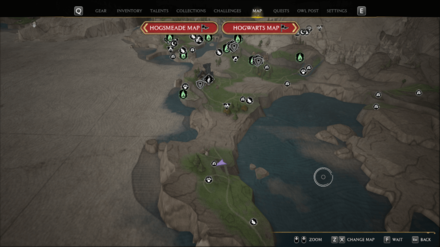
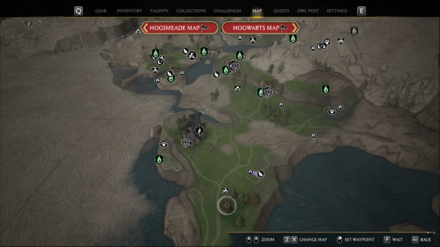
Location: South of West Manor Cape Floo Flame
Solution: Use Incendio on the cobwebs |
|
 |
 |
|
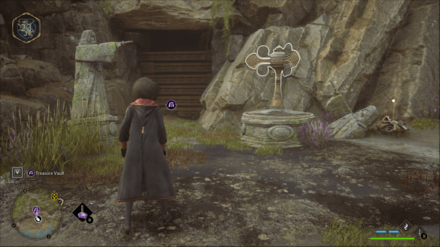
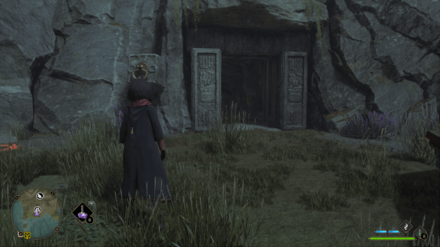
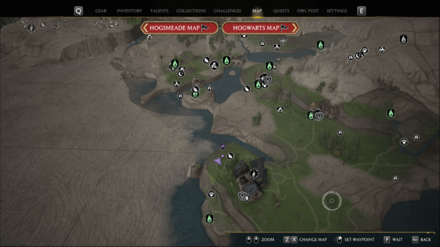
Location: East of West Manor Cape Floo Flame
Solution: Use Depulso to open the gate and use Wingardium Leviosa on the rock and make it face down to open up the door. |
|
 |
 |
|
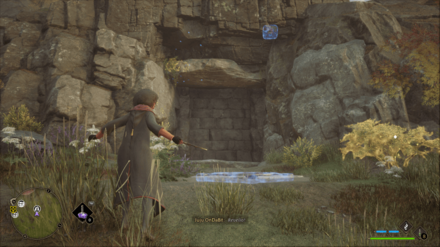
Location: North of West Manor Cape Floo Flame
Solution: Use Accio to open up the door and use Accio again on the highlighted pillars to get on the chest |
|
 |
 |
|
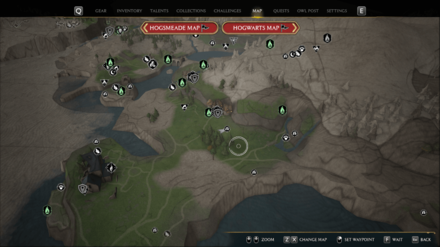
Location: Southwest of Bainburgh Floo Flame
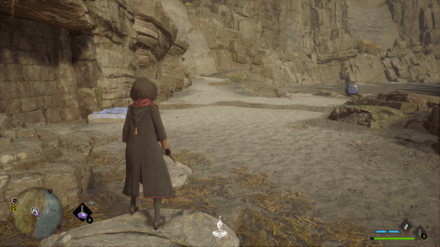
Solution: Use Accio on the stone to put it on the pedestal, and use Levioso. While inside, cast Incendio or Confringo on the stone and use Wingardium Leviosa to get it on the pedestal to open the door |
|
 |
 |
|
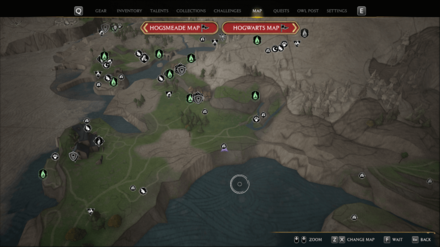
Location: Southwest of Bainburgh Floo Flame
Solution: Use Accio on the stone to put it on the pedestal and use Levioso. Use Wingardium Leviosa to move the cube on the ledge to get up and get the chest. |
|
Marunweem Lake Treasure Vaults
| World View | Map View |
|---|---|
 |
 |
|
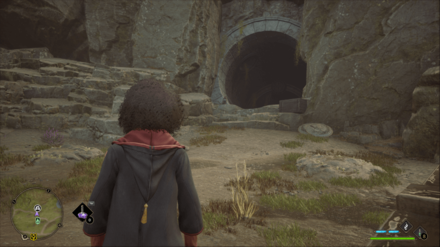
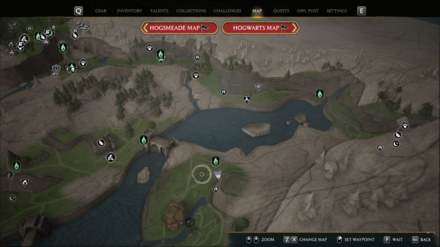
Location: Marunweem Lake Floo Flame
Solution: No puzzle but there's a mongrel outside of the vault that can be easily avoided |
|
 |
 |
|
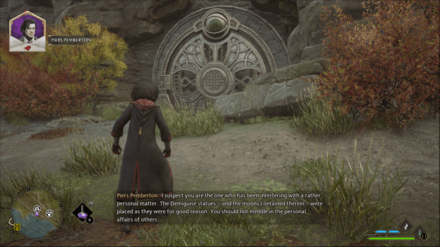
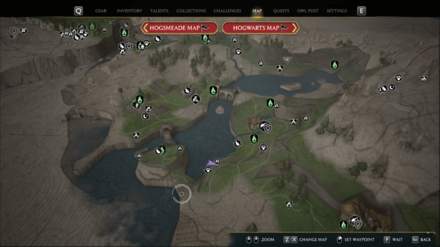
Location: Southwest of Marunweem Floo Flame
Solution: Use Disillusionment to enter the door but be careful, as there will be an Inferius waiting inside. |
|
 |
 |
|
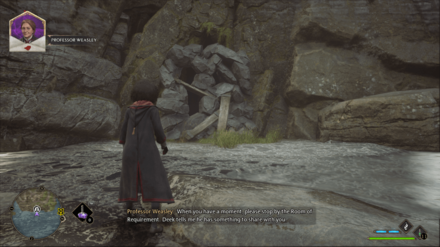
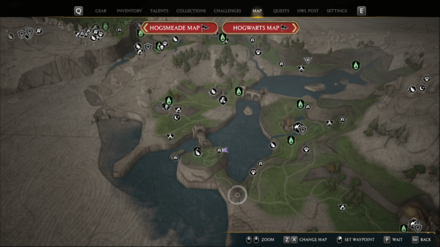
Location: Northeast of Marunweem Ruins Floo Flame
Solution: Use Depulso on the rubbles to open the cave |
|
 |
 |
|
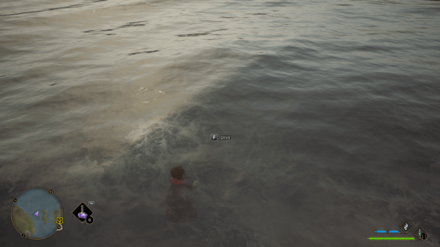
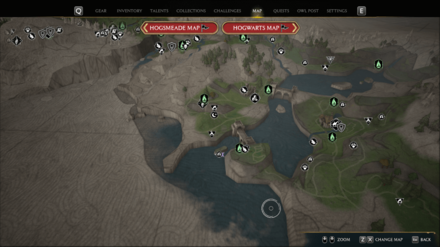
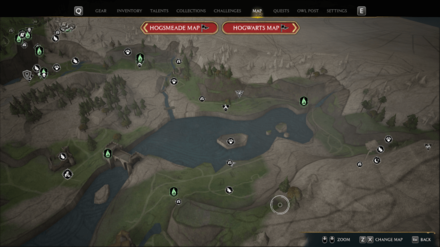
Location: West of Marunweem Ruins Floo Flame
Solution: Get to the diving spot and dive. Use Accio to open the door |
|
 |
 |
|
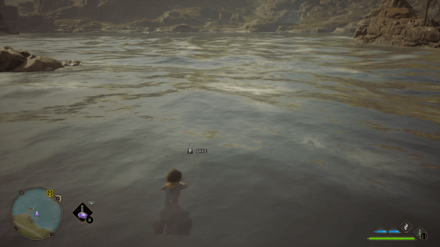
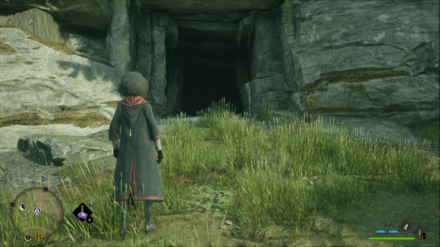
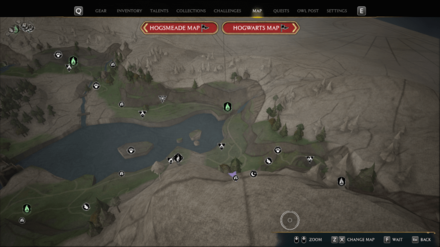
Location: Northeast of Marunweem Lake Floo Flame
Solution: Get to the diving spot and dive. Use Accio to open the door |
|
 |
 |
|
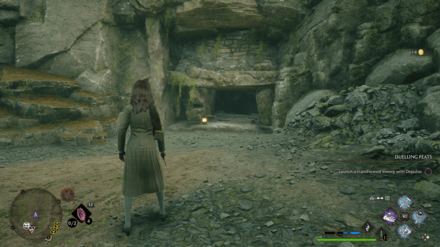
Location: South of Coastal Mine Floo Flame
Solution: Use Accio on highlighted bricks to open the door |
|
 |
 |
|
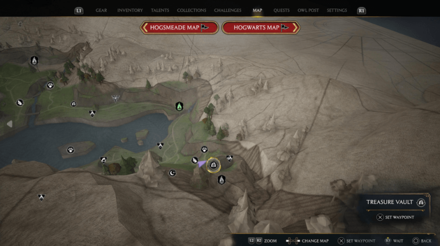
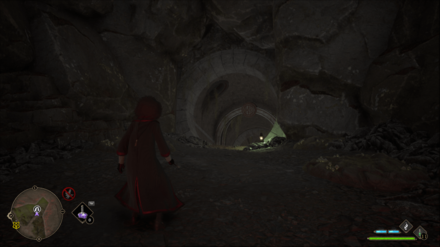
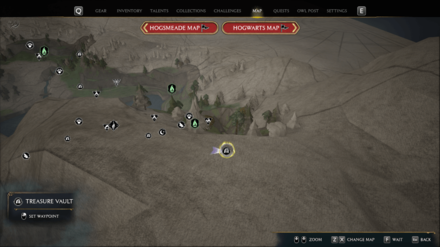
Location: North of Tower Tunnel Floo Flame
Solution: Use Depulso on the lever to position the rocks for you to climb into the room with the chest. |
|
 |
 |
|
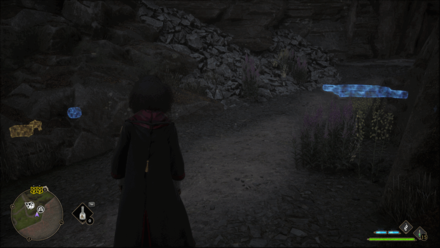
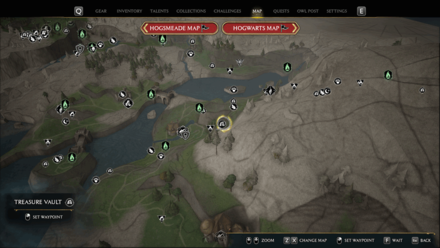
Location: Southeast of Tower Tunnel Floo Flame
Solution: No puzzle. Just head out and go to this location. |
|
 |
 |
|
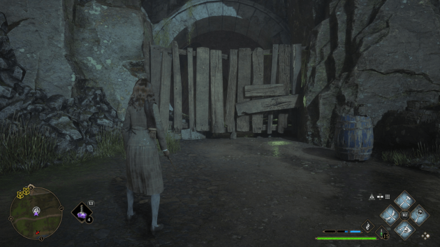
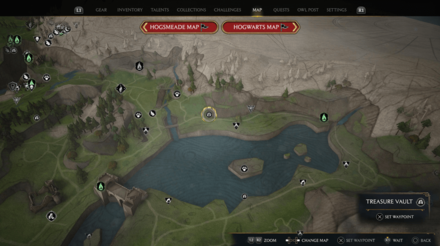
Location: Southwest of Marunweem Lake Floo Flame
Solution: Get the cube on the nearby bandit camp and use Wingardium Leviosa to bring it to the pedestal then use Glacius to open the door. Inside is a chess puzzle use Transformation spell on the jar to make it a chess piece put it near the King to finish get the chest. ▶︎ How to Solve Marunweem Lake Chess Puzzle |
|
 |
 |
|
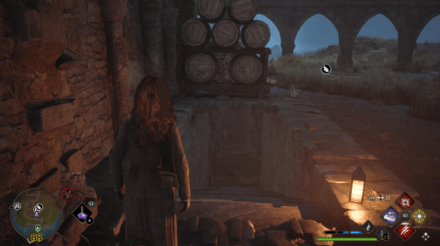
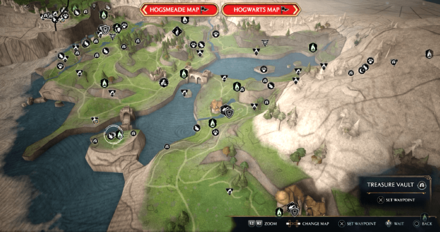
Location: By the road near the water, west of Coastal Mine Floo Flame
Solution: Defeat the Goblins outside the vault and cast Depulso to destroy plants blocking the entrance. |
|
 |
 |
|
Location: Inside the ruins, on a cliff beside the Marunweem Ruins Floo Flame.
Solution: Use Alohomora II to unlock the door. |
|
Marunweem Lake Treasure Vaults
Poidsear Coast Treasure Vaults
| World View | Map View |
|---|---|
 |
 |
|
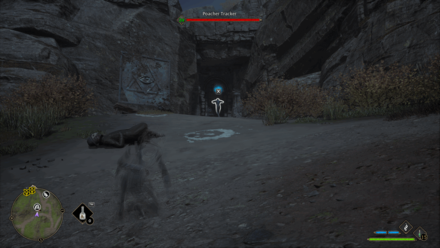
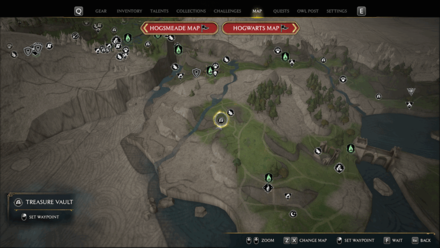
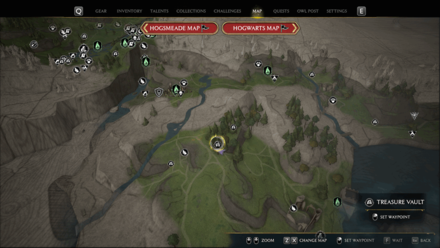
Location: North of South Poidsear Floo Flame
Solution: Defeat the Poachers guarding the gate then use Level III Alohomora to unlock the gate. Inside are Inferius. After defeating them, use Revelio to check the walls. The one that has the chest is the wall next to the door. |
|
 |
 |
|
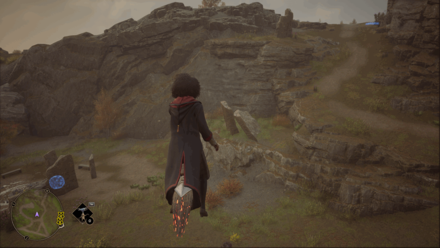
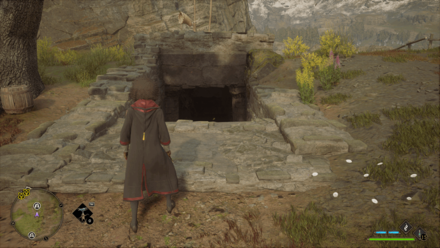
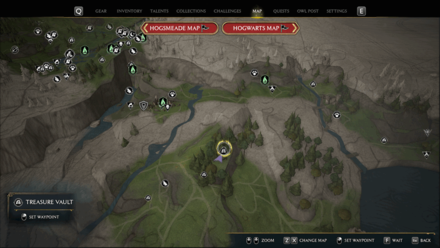
Location: North of South Poidsear Floo Flame
Solution: Get the cube on the nearby bandit camp and use Wingardium Leviosa to bring it to the pedestal, then use Glacius to open the door. Inside is a mechanism that you need to use Depulso spell to move the boulders on the other side. Once done, climb up to get the chest. |
|
 |
 |
|
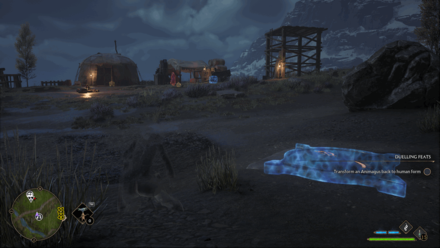
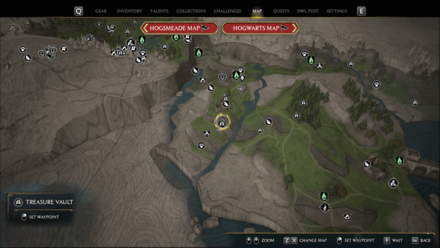
Location: Northwest of Marunweem Bridge Floo Flame
Solution: Use Level III Alohomora to unlock the door. |
|
 |
 |
|
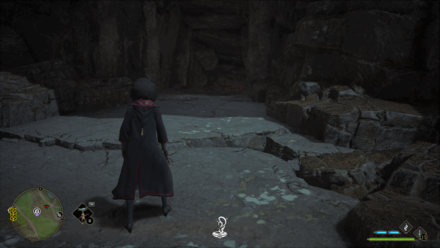
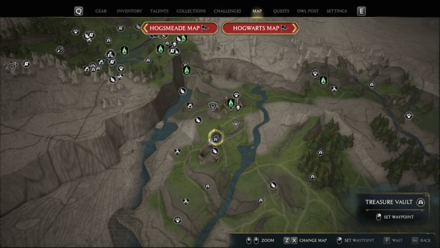
Location: South of Poidsear Castle Floo Flame
Solution: Get the cube that is locked in the nearby bandit camp. Unlock with Alohomora level III spell, and use Wingardium Leviosa to bring it to the pedestal. Use Incendio to open the door. You'll find the chest inside. |
|
 |
 |
|
Location: South of Poidsear Castle Floo Flame
Solution: No puzzle. Just head on the location. |
|
Poidsear Coast Treasure Vaults
South Sea Bog Treasure Vaults
| World View | Map View |
|---|---|
 |
 |
|
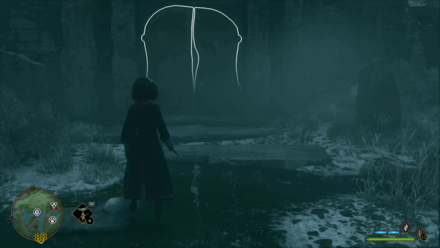
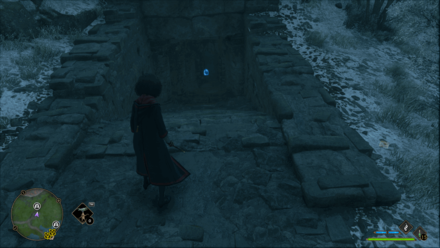
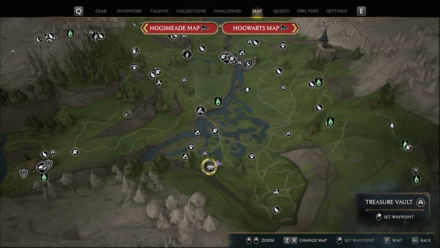
Location: South of Northern South Sea Bog Floo Flame
Solution: Use Depulso to open the door and get the chest inside. |
|
 |
 |
|
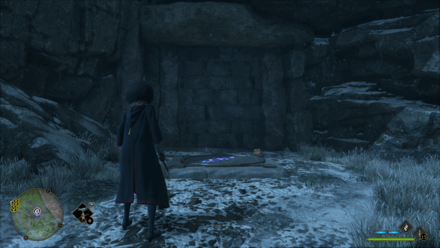
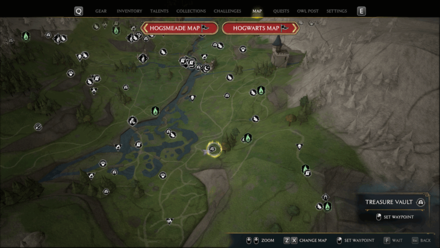
Location: South of Northern South Sea Bog Floo Flame
Solution: Use Alohomora to unlock the Level III locked door and catch the mini whirlwind three times to get the chest. |
|
 |
 |
|
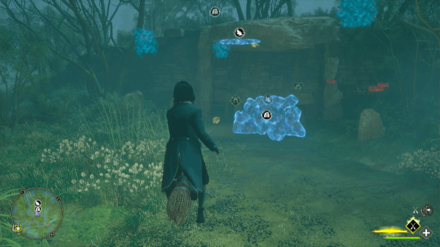
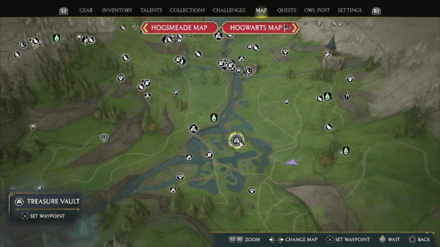
Location: Southeast of Northern South Sea Bog Floo Flame
Solution: Get the cube that is located in southwest of the treasure vault and bring it to the pedestal with Wingardium Leviosa and use Glacius to open the door. Use Wingardium Leviosa on the bone pile and put it on the bone pillar to create bone staircase that leads to the chest. |
|
 |
 |
|
Location: Southeast of Northern South Sea Bog Floo Flame
Solution: Use Depulso to destroy the rocks that are blocking the entrance of the treasure vault. |
|
Coastal Cavern Treasure Vaults
| World View | Map View |
|---|---|
 |
 |
|
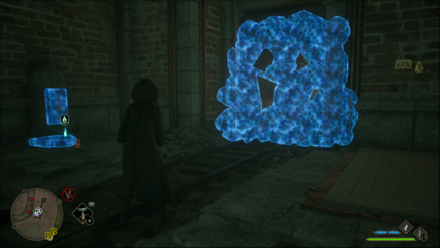
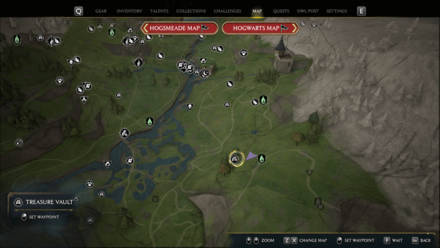
Location: South of East South Sea Bog Floo Flame
Solution: Use Depulso to open up the path to the Chest. |
|
Coastal Cavern Treasure Vaults
How to Unlock All Treasure Vault Puzzles
Cast Corresponding Spell at Spell Cubes
| Spell Cubes | ||
|---|---|---|
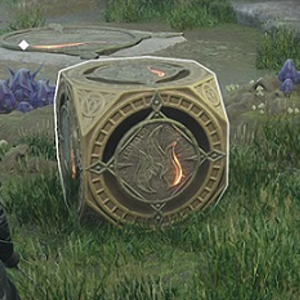 Incendio |
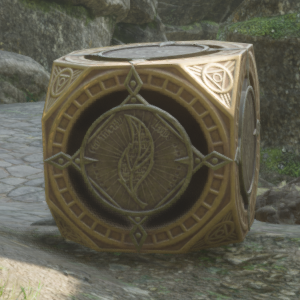 Levioso |
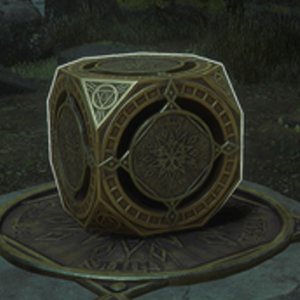 Glacius |
Some Treasure Vault puzzles have platforms in front of the Treasure Vault. These may seem out of place, but to solve the puzzle you need to locate a spell cube found near the area and bring it to the platform. You can use Accio to carry the spell cube back to the platform.
Once placed on top, you then need to use the spell indicated on the cube to activate the platform. Aim at the cube and cast the corresponding spell, and you will get access to the Treasure Vault!
Stack Stone Blocks
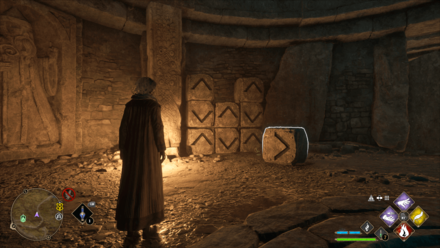
You may encounter a stone block puzzle inside a Treasure Vault before you can reach the loot inside.
For this puzzle, simply follow the pattern and stack the lone stone block on top of the other stone blocks with Wingardium Leviosa.
How to Solve Arrow Block Puzzle
Pull Wall Blocks
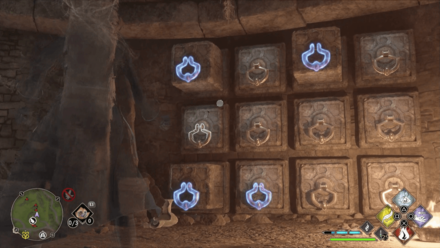
You may also come across a puzzle involving rows of wall blocks with protruding handles. You need to pull the correct blocks with Accio to solve the puzzle.
You can use Revelio to determine which wall blocks to pull. Pulling the wrong block will reset the puzzle, so try aiming your spell to have more control of the block you will pull.
Create a Checkmate in Chess Puzzles
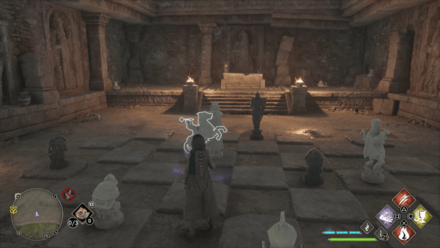
If you encounter a chess board inside the Treasure Vault, you need to use the Transformation spell on an object inside a room and create a checkmate on the board with that piece.
Use Revelio to locate the object you need to change then cast the Transformation spell at it to change it. Then, use Wingardium Leviosa and place the chess piece on a space that will create a checkmate.
Ignite Unlit Cauldrons
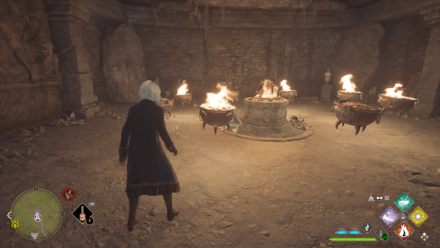
You may also encounter a puzzle room with several cauldrons revolving around a fireplace. Use Incendio to light the unlit cauldrons on fire and this should solve the puzzle.
Move Bone Piles
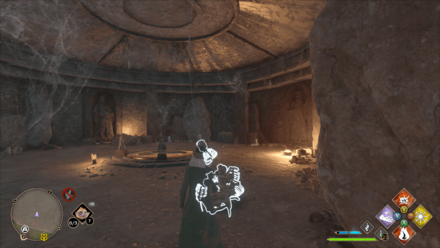
If you come across bone totems inside the puzzle room, look around the area for bone piles. Use Accio to grab and drag these bones towards the bone totem.
Hogwarts Legacy Related Guides

Hogwarts Puzzle Guides
Other Puzzle Guides
| Other Puzzle Guides | |
|---|---|
| How to Solve Bone Pile Puzzle | How to Unlock All Treasure Vaults |
| All Landing Platform Puzzles | How to Solve the Chess Puzzle |
| How to Solve Arrow Block Puzzle | How to Solve Light and Darkness Puzzle |
| How to Solve Marunweem Lake Chess Puzzle | |
Comment
There are 2 solutions for the treasure vault located by the Giant Purple Toad Den in the West Forbidden Forest. First, use a force spell like Depulso to blow the gate to the vault. The inner chamber has a series of floating cauldrons encircling a central brazier. Light the unlit cauldrons to drop a chest in front of the central brazier. You can also cast Glazier on all cauldrons and on central brazier to put the fires out. This will cause a door to open on the right side of chamber. The Reason?
Author
How to Unlock All Treasure Vault Puzzles
improvement survey
03/2026
improving Game8's site?

Your answers will help us to improve our website.
Note: Please be sure not to enter any kind of personal information into your response.

We hope you continue to make use of Game8.
Rankings
- We could not find the message board you were looking for.
Gaming News
Popular Games

Genshin Impact Walkthrough & Guides Wiki

Honkai: Star Rail Walkthrough & Guides Wiki

Umamusume: Pretty Derby Walkthrough & Guides Wiki

Pokemon Pokopia Walkthrough & Guides Wiki

Resident Evil Requiem (RE9) Walkthrough & Guides Wiki

Monster Hunter Wilds Walkthrough & Guides Wiki

Wuthering Waves Walkthrough & Guides Wiki

Arknights: Endfield Walkthrough & Guides Wiki

Pokemon FireRed and LeafGreen (FRLG) Walkthrough & Guides Wiki

Pokemon TCG Pocket (PTCGP) Strategies & Guides Wiki
Recommended Games

Diablo 4: Vessel of Hatred Walkthrough & Guides Wiki

Fire Emblem Heroes (FEH) Walkthrough & Guides Wiki

Yu-Gi-Oh! Master Duel Walkthrough & Guides Wiki

Super Smash Bros. Ultimate Walkthrough & Guides Wiki

Pokemon Brilliant Diamond and Shining Pearl (BDSP) Walkthrough & Guides Wiki

Elden Ring Shadow of the Erdtree Walkthrough & Guides Wiki

Monster Hunter World Walkthrough & Guides Wiki

The Legend of Zelda: Tears of the Kingdom Walkthrough & Guides Wiki

Persona 3 Reload Walkthrough & Guides Wiki

Cyberpunk 2077: Ultimate Edition Walkthrough & Guides Wiki
All rights reserved
HOGWARTS LEGACY software © 2022 Warner Bros. Entertainment Inc. Developed by Avalanche Software. WIZARDING WORLD and HARRY POTTER Publishing Rights © J.K. Rowling. PORTKEY GAMES, HOGWARTS LEGACY, WIZARDING WORLD AND HARRY POTTER characters, names and related indicia © and ™ Warner Bros. Entertainment Inc.
The copyrights of videos of games used in our content and other intellectual property rights belong to the provider of the game.
The contents we provide on this site were created personally by members of the Game8 editorial department.
We refuse the right to reuse or repost content taken without our permission such as data or images to other sites.


![Everwind Review [Early Access] | The Shaky First Step to A Very Long Journey](https://img.game8.co/4440226/ab079b1153298a042633dd1ef51e878e.png/thumb)

![Monster Hunter Stories 3 Review [First Impressions] | Simply Rejuvenating](https://img.game8.co/4438641/2a31b7702bd70e78ec8efd24661dacda.jpeg/thumb)


I have the same problem, can't find the entrance