Percival Rackham's Trial Quest Walkthrough
Percival Rackham's Trial is one of the main quests in Hogwarts Legacy. Read on for a detailed walkthrough on how to complete Percival Rackham's Trial, list of rewards, as well as a boss guide on the Pensieve Guardian!
| ◄ Previous Quest | Next Quest ▶ |
|---|---|
| The Map Chamber | Beasts Class |
List of Contents
Percival Rackham's Trial Overview
How to Unlock
Percival Rackham's Trial unlocks after completing The Map Chamber quest.
The starting point is quite far from the places you've been through in the main quests (unless you did a lot of exploring), so we recommend getting a Broom first from Hogsmeade before setting out.
Quest Information
| Percival Rackham's Trial | |
|---|---|
| Quest Type | Main Quest |
| Requirement(s) | Reach level 11 and complete The Map Chamber |
| Description | Professor Fig and I had to run off goblins we found at the tower. My ability to see traces of ancient magic allowed me to discover the entrance to the first trial. |
Learn about the Petrificus Totalus Spell
During the quest, you will be taught by the professor on how to use the Petrificus Totalus spell by sneaking on enemy with the Disillusionment charm.
Petrificus Totalus Effects and How to Get
Percival Rackham's Trial Walkthrough
Quest Objectives
| Objectives | |
|---|---|
| 1 | 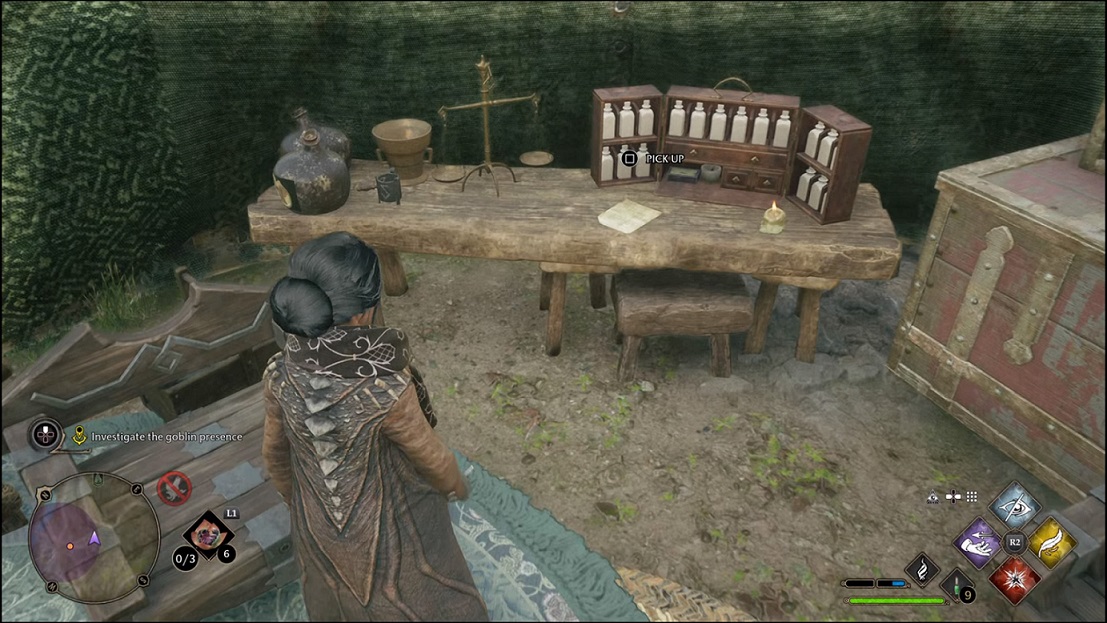 Investigate the goblin presence Follow Professor Fig to the goblin camp in front of San Bakar's Tower. There will be a pop-up tip about Petrificus Totalus—which you already have access since learning the Disillusionment Spell—and how to use it to quietly take out the goblins. You can use Petrificus Totalus to take out the goblins one by one or fight them head on. Once the coast is clear, enter the southeast tent and pick up the letter on the table. |
| 2 | 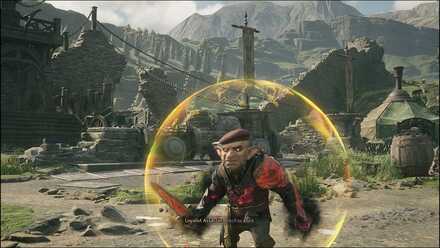 Get past the goblins As you exit the tent, a squad of goblins led by a Loyalist Assassin will ambush you. Assassins have unblockable attacks and can recover from Control and Force Spells quickly. |
| 3 | 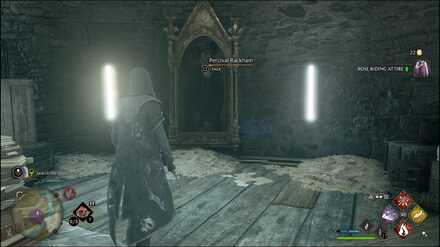 Search the tower Enter San Bakar's tower after the fight. Open the Chest behind the statue first then go up the stairs until you reach the top, where you will find Percival Rackham's portrait. |
| 4 | 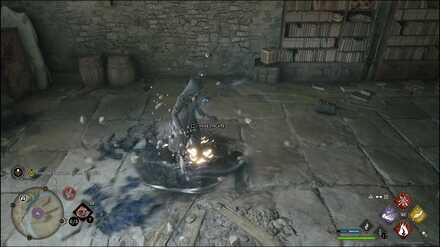 Find the Entrance to the first trial Go back to the first floor and interact with the swirling pool of Ancient Magic to reveal an entrance next to you. |
| 5 | 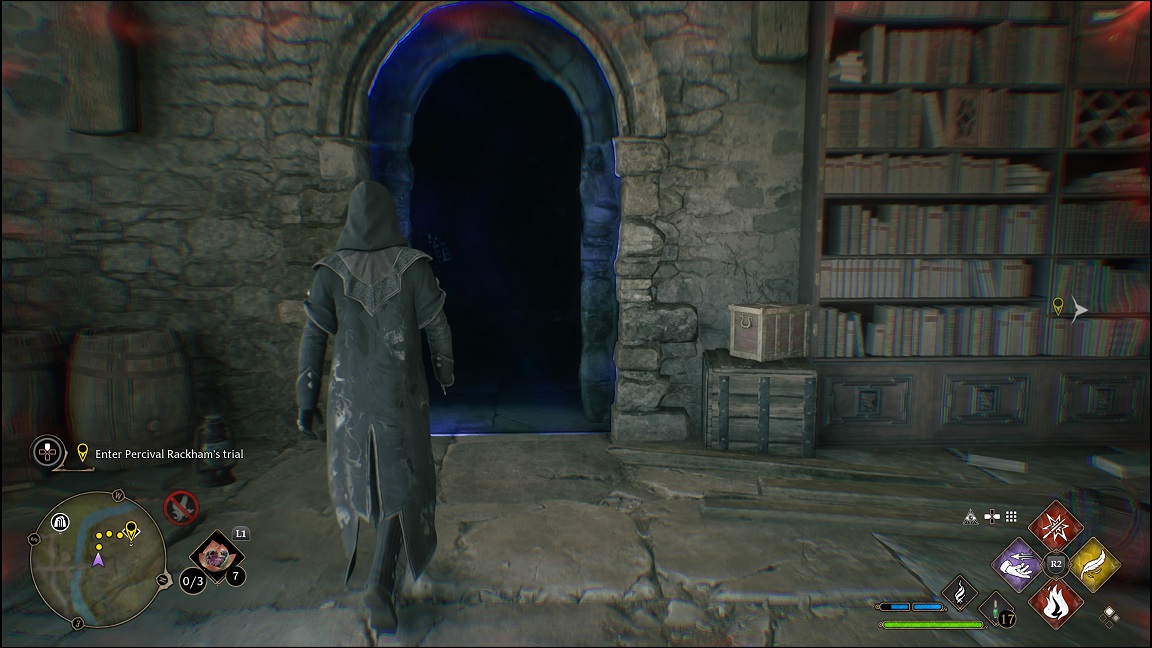 Enter Percival Rackham's trial Pass through the secret entrance and follow the path until you reach the door to Percival Rackham's Trial. |
| 6 | 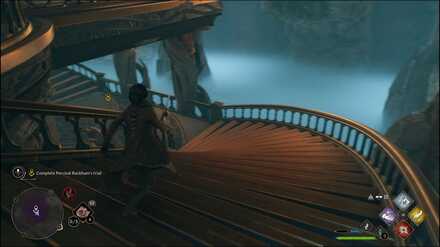 Complete Percival Rackham's trial As soon as you enter the trial, go down the stairs and enter the first room where you will find an archway before a chasm. Go down the stairs on either side and investigate the pool below to activate the archway upstairs and reveal an "alternate version" of the room. Open the small Chest behind the pool first then go back up and pass through the archway. There are two more small Chests on both sides of the bridge. Loot them then cross the bridge to the next room. |
| 6.1 | 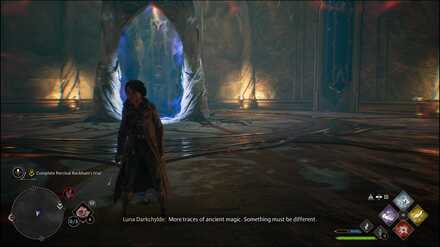 In the next room, interact with the pool past the archway to activate it. Before you pass through the archway, check the two Chests on the right side of the room: one up the stairs and another directly right of where the pool was. |
| 6.2 | 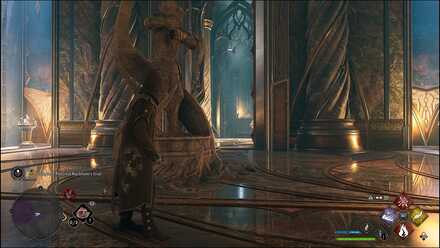 Now follow the archway until it leads you to a room with Protectors. After defeating all three, look to the right of the last pair of statues in the room (nearest to where the Protectors were) to find a hidden room. Hit the switch on one of the pillars to create a bridge that will take you to the Chest on the other side. After looting it, return to the previous room and proceed. |
| 6.3 | 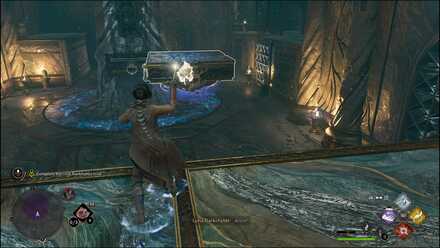 Go around the back and pull the floating platform with Accio. Hop on and drag it back to the center with the same spell. |
| 6.4 | 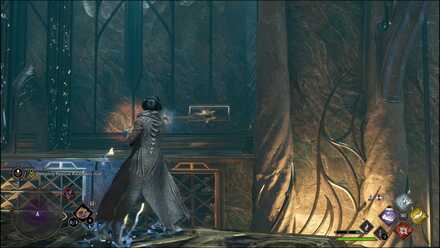 Look on your right to find another handle you can cast Accio on to reach the other side. Investigate the pool to reveal the path to the next room, as well as more handles that you can Accio onto. |
| 6.5 | 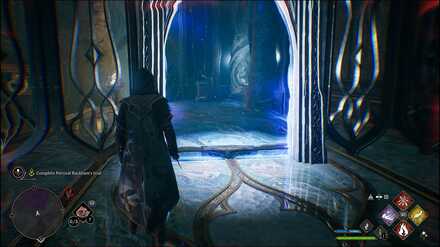 Check the other side of the archway and you should see a small room with a Chest inside. Pass through archway and grab its contents then get out. |
| 6.6 | 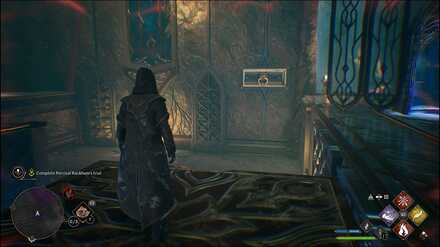 Now, hop back on the floating platform and use Accio on the handle to the south, but only halfway through. Turn east and cast Accio on another handle on the wall and release it once you reach the Chest in the middle. Get back on and move the platform again to reach the other Chest. Move the platform back to where the archway is then proceed to the next room for another fight. |
| 6.7 | 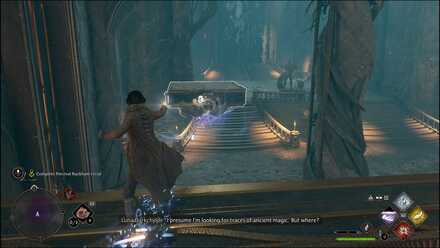 Take out the two Protectors then climb the stairs to your right so you can pull the platform. You should be able to interact with the floating pool by hopping on top of the platform. |
| 6.8 | 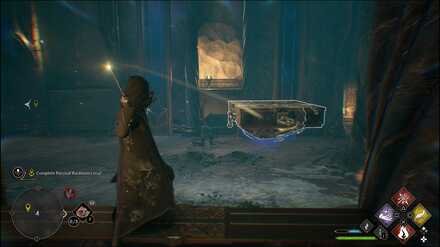 Drop back down and enter the archway to enter a version of the room where there is no bridge nor wall at the center. Go up the stairs again and pull the platform to your side. Hop on the platform and turn left to find a handle that will let you reach a Chest in its alcove. |
| 6.9 | 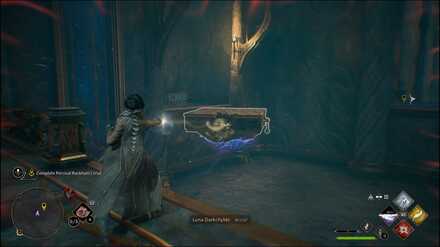 Drop down the platform and pass through the archway again. Climb up the bridge at the center and pull the platform so you can hop on it. Move to the other side and take the path forward. Go down the first set of stairs and turn right to find a small Chest next to a statue. Enter the next room and defeat the enemies inside. You'll inevitably get surrounded so prepare your Protegos and dodges while casting. |
| 6.10 | 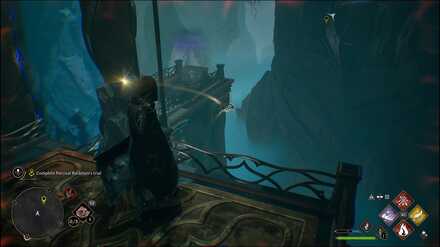 After the fight, investigate the pool to enter a different space. Ride the floating platform to the center and check past the archway below to find another handle next to a small Chest. Pull the platform towards it and drop down for the Chest. |
| 6.11 | 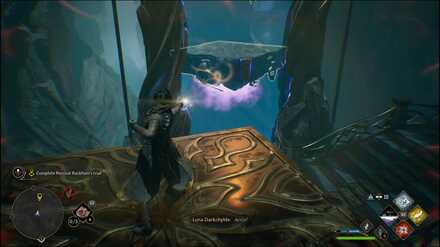 Pass through the archway and hop on to the floating platform again. Position yourself in front of the archway so you can pull the other platform in the archway towards you. The platform won't squeeze through but you can use the first platform to reach the second platform and cross the chasm. Make your way to the final room and prepare for a boss fight. You'll find a Chest with some Wiggenweld Potions right before the boss room. |
| 7 | Defeat the Guards You will have to fight a group of Guardians, then a Pensieve Guardian. ▶ Pensieve Guardian Boss Fight Guide ▶ Boss Fight Tips |
| 8 | 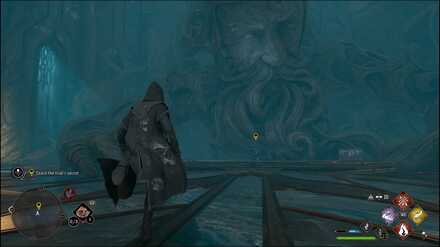 Learn the trial's secret After defeating the Guardian, cross the bridge and enter the Pensieve Room. You will also find a Chest near the center. When you're ready, interact with the Pensieve to view Percival Rackham's memories. |
| 9 | Speak to Fig and Professor Rackham Enter the Map Chamber through the crystallized stone and talk to Professor Fig and Professor Rackham. |
| 10 | Speak with Charles Rookwood Speak with Charles Rookwood before you leave to complete the quest. |
Pensieve Guardian Boss Fight Tips
Spam Basic Casts and dodge the fissures
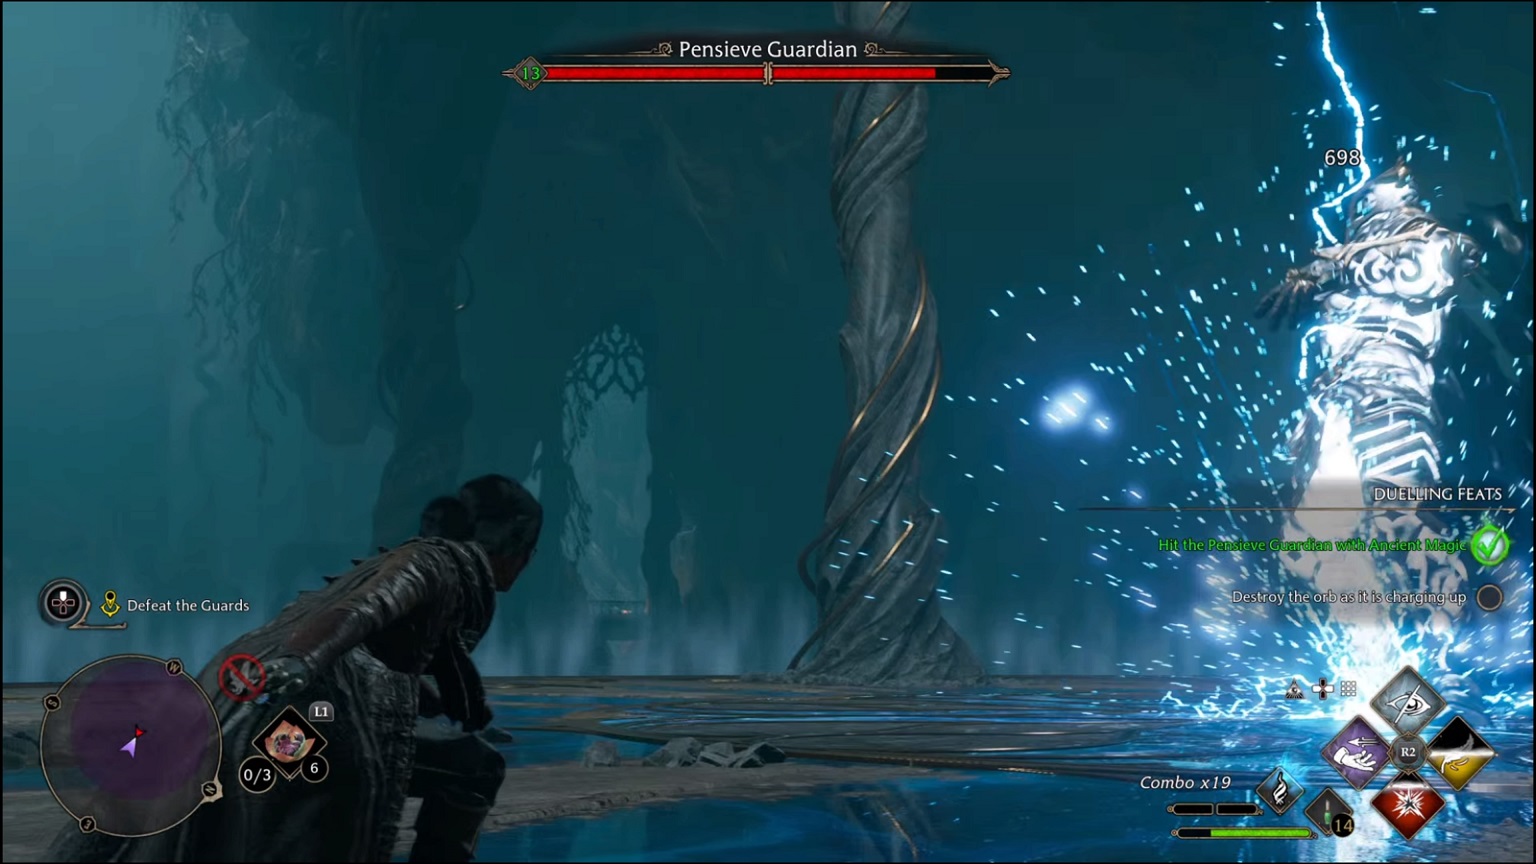
Keep spamming Basic Casts while rolling away from the unblockable fissure attacks to build up your Ancient Magic gauge. As soon as you get one blue bar, cast an Ancient Magic to deal significant damage to the Guardian.
Prepare various types of spells and save them on the orbs
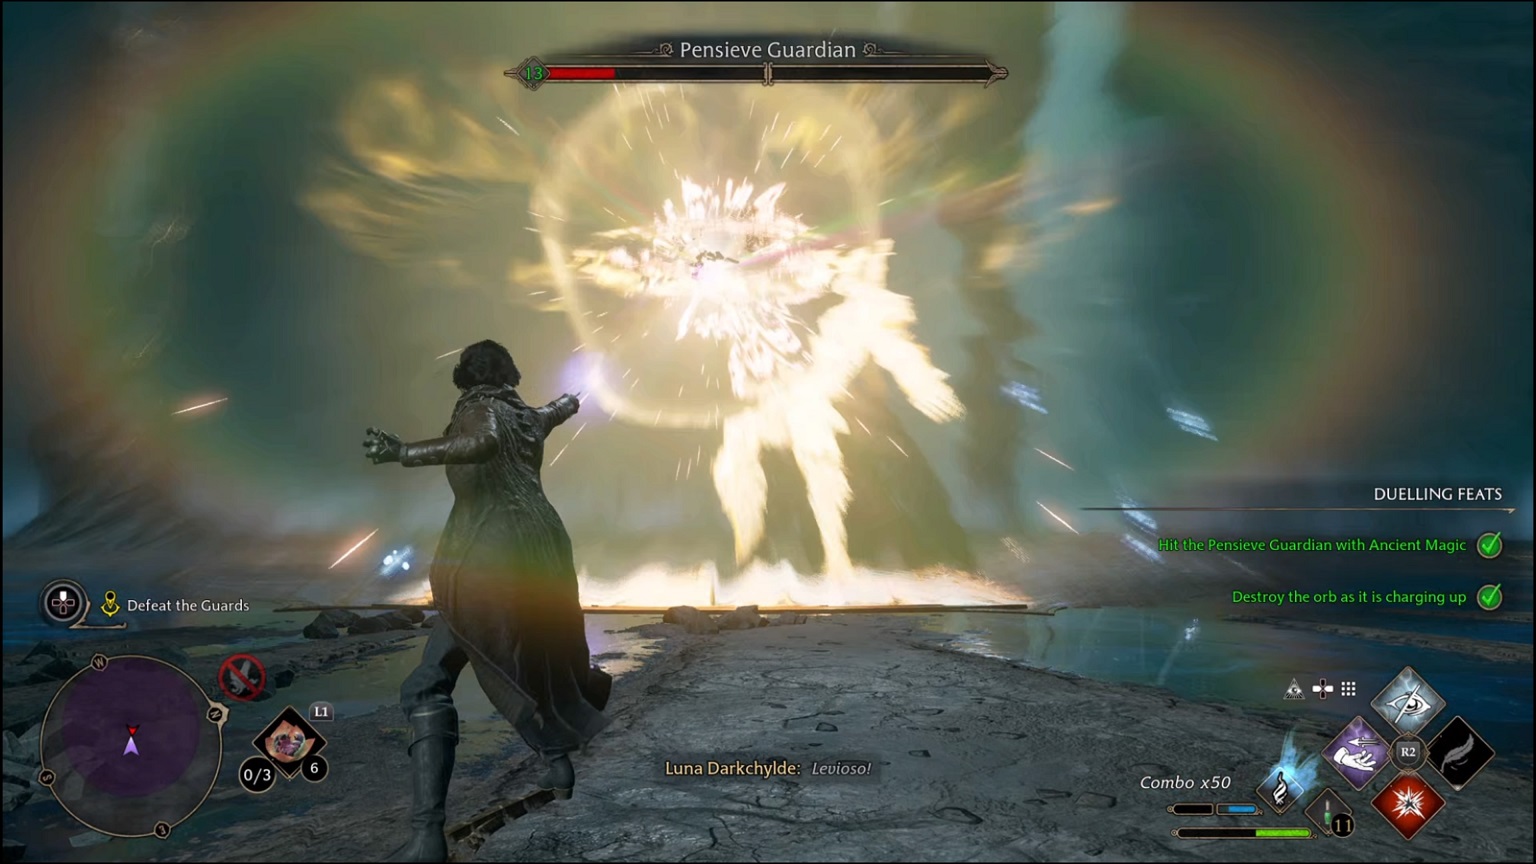
The Pensieve Guardian has an unblockable orb attack that you can interrupt with the correct type of magic.
Make sure to have one Control, Force, and Damage spells with you and cast the spell type that matchest the orb's color.
Back away when it starts recovering
Stunning the Guardian with Ancient Magic or by destroying an orb stuns if briefly and leaves it vulnerable to attacks. Shortly after, you will see a blue circle around it, indicating that the Guardian is starting to recover.
Back away until you leave the circle before you get hit by an unblockable area attack.
Pensieve Guardian Boss Fight Guide
Previous and Next Quests
| ◄ Previous Quest | Next Quest ▶ |
|---|---|
| The Map Chamber | Beasts Class |
Hogwarts Legacy Related Guides

List of All Main Quests
List of Assignments
Author
Percival Rackham's Trial Quest Walkthrough
improvement survey
03/2026
improving Game8's site?

Your answers will help us to improve our website.
Note: Please be sure not to enter any kind of personal information into your response.

We hope you continue to make use of Game8.
Rankings
- We could not find the message board you were looking for.
Gaming News
Popular Games

Genshin Impact Walkthrough & Guides Wiki

Honkai: Star Rail Walkthrough & Guides Wiki

Umamusume: Pretty Derby Walkthrough & Guides Wiki

Pokemon Pokopia Walkthrough & Guides Wiki

Resident Evil Requiem (RE9) Walkthrough & Guides Wiki

Monster Hunter Wilds Walkthrough & Guides Wiki

Wuthering Waves Walkthrough & Guides Wiki

Arknights: Endfield Walkthrough & Guides Wiki

Pokemon FireRed and LeafGreen (FRLG) Walkthrough & Guides Wiki

Pokemon TCG Pocket (PTCGP) Strategies & Guides Wiki
Recommended Games

Diablo 4: Vessel of Hatred Walkthrough & Guides Wiki

Fire Emblem Heroes (FEH) Walkthrough & Guides Wiki

Yu-Gi-Oh! Master Duel Walkthrough & Guides Wiki

Super Smash Bros. Ultimate Walkthrough & Guides Wiki

Pokemon Brilliant Diamond and Shining Pearl (BDSP) Walkthrough & Guides Wiki

Elden Ring Shadow of the Erdtree Walkthrough & Guides Wiki

Monster Hunter World Walkthrough & Guides Wiki

The Legend of Zelda: Tears of the Kingdom Walkthrough & Guides Wiki

Persona 3 Reload Walkthrough & Guides Wiki

Cyberpunk 2077: Ultimate Edition Walkthrough & Guides Wiki
All rights reserved
HOGWARTS LEGACY software © 2022 Warner Bros. Entertainment Inc. Developed by Avalanche Software. WIZARDING WORLD and HARRY POTTER Publishing Rights © J.K. Rowling. PORTKEY GAMES, HOGWARTS LEGACY, WIZARDING WORLD AND HARRY POTTER characters, names and related indicia © and ™ Warner Bros. Entertainment Inc.
The copyrights of videos of games used in our content and other intellectual property rights belong to the provider of the game.
The contents we provide on this site were created personally by members of the Game8 editorial department.
We refuse the right to reuse or repost content taken without our permission such as data or images to other sites.


![Everwind Review [Early Access] | The Shaky First Step to A Very Long Journey](https://img.game8.co/4440226/ab079b1153298a042633dd1ef51e878e.png/thumb)

![Monster Hunter Stories 3 Review [First Impressions] | Simply Rejuvenating](https://img.game8.co/4438641/2a31b7702bd70e78ec8efd24661dacda.jpeg/thumb)


