In the Shadow of the Mountain Quest Walkthrough
In the Shadow of the Mountain is a main quest in the Sebastian Sallow quest line of Hogwarts Legacy. Read on for a detailed walkthrough, list of rewards, and tips on how to complete In the Shadow of the Mountain!
| ◄ Previous Quest | Next Quest ▶ |
|---|---|
| Professor Howin's Assignment | Lodgok's Loyalty |
List of Contents
In the Shadow of the Mountain Overview
How to Unlock
The In the Shadow of the Mine main quest unlocks after completing Niamh Fitzgerald's Trial. You must also reach level 24 and learn Bombarda from Professor Howin's Assignment first to start the quest.
Quest Information
| In the Shadow of the Mountain | |
|---|---|
| Quest Type | Main Quest |
| Quest Giver | Sebastian Sallow |
| Requirement(s) | Reach level 24, complete Niamh Fitzgerald's Trial, and learn Bombarda |
| Description | I received an owl from Sebastian. It seems, despite our earlier disagreement, he would like to resume our search for the final piece of the triptych. He's apparently found a lead on its location and wants to meet along the coast to the southeast. |
In the Shadow of the Mountain Walkthrough
Quest Objectives
| Objectives | |
|---|---|
| 1 | 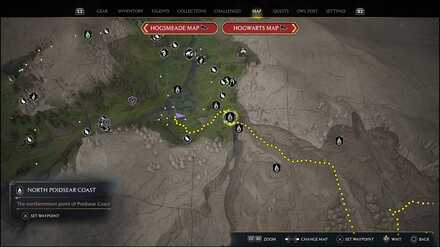 Meet Sebastian Along the Coast Sebastian can be found in the Marunweem Lake region, west of the Tower Tunnel Floo Flame and south of the Coastal Mine Floo Flame. If you haven't unlocked any Floo Flame in that region yet, you must pass through the Coastal Cavern on foot first as you can't cross while mounted. Getting to the other side unlocks the Coasting Along achievement. |
| 2 | 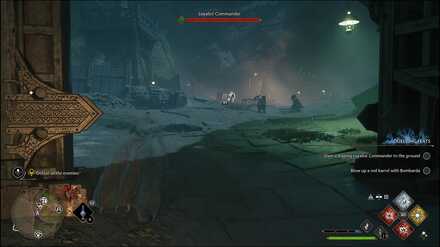 Travel Up the Switchbacks Follow the winding trail up the mountain and into the cavern, until you arrive at a goblin camp. |
| 3 | 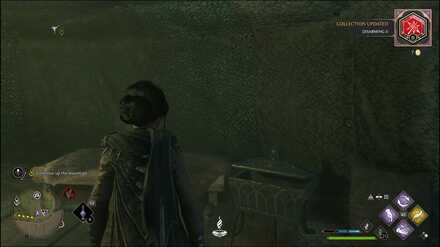 Defeat All the Enemies Clear the camp and open the Chest inside the tent for a Disarming II trait. |
| 4 | 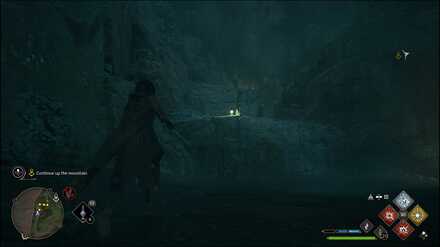 Continue Up the Mountain Head southeast, up the path going into the cavern. Climb up the ledges along the path until you reach the large cavern with ruins and a small campsite. |
| 5 | 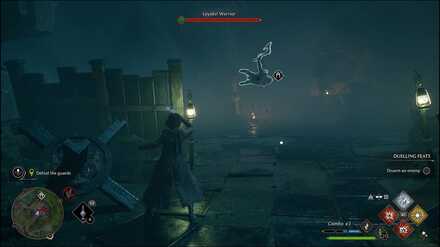 Defeat the Guards Defeat the goblins guarding the Tower Tunnel entrance. |
| 6 | 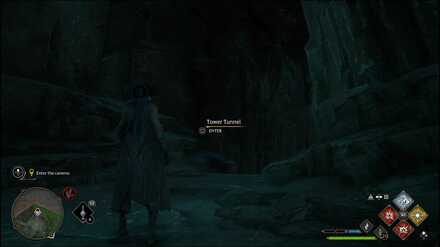 Enter the Caverns Head up the stairs and enter Tower Tunnel. |
| 7 | 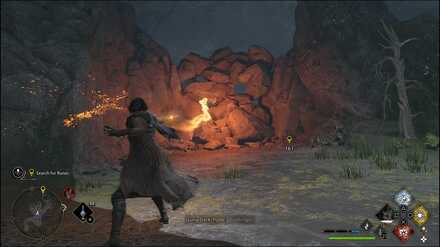 Search for Runes Follow the straightforward path while defeating the many spiders in the first area. Once it's clear, blast away the rocks to the north with Confringo. |
| 7.1 | 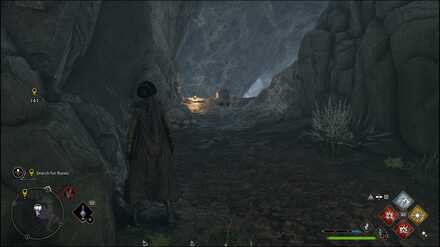 Take a left then turn right and burn the cobweb blocking the path to reach the chest containing the Jobberknoll Statue. Return to the main path and continue following the marker for another Spider ambush. |
| 7.2 | 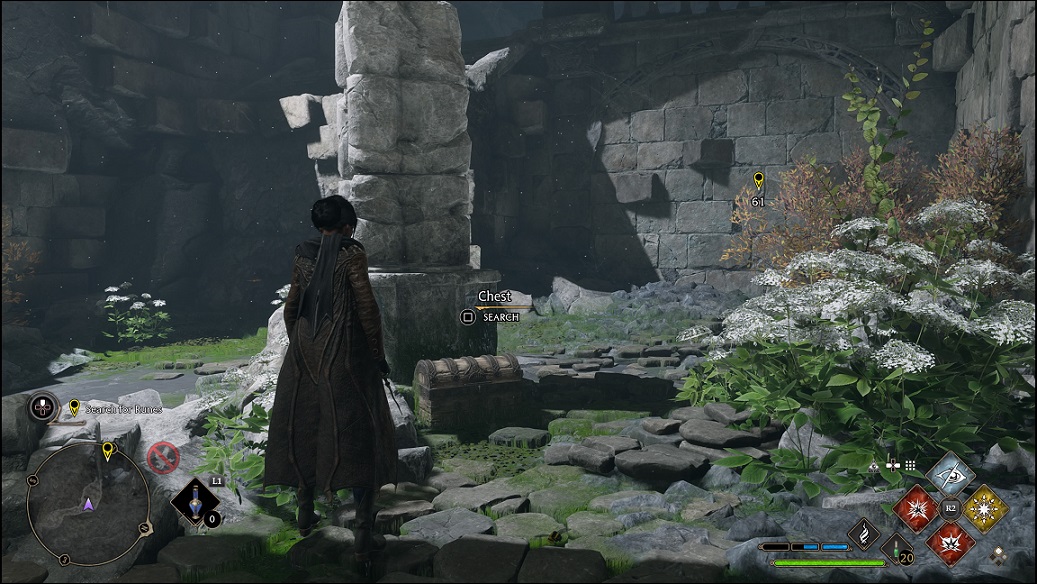 Once you reach the room with a staircase, check the broken pillar at the center first for a small Chest. Head upstairs, burn the cobweb, and blast the rubble ahead to clear your path. |
| 8 | 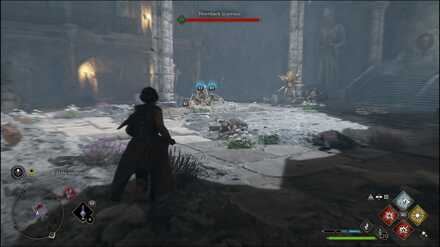 Defeat all the Enemies Follow the path and jump down into the ruined hall. Defeat all the spiders including the two Matriarchs to complete the objective. |
| 9 | 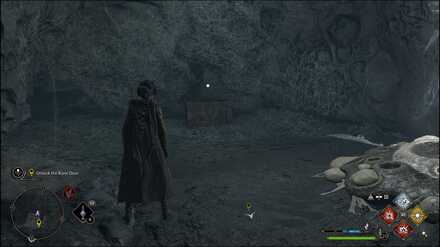 Unlock the Rune Door Before proceeding, check the small room to the south and open the small Chest inside. |
| 9.1 | 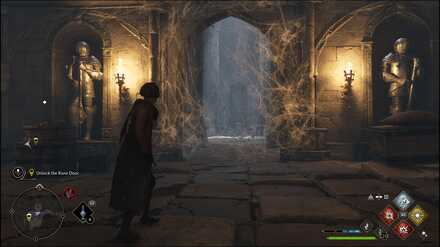 Next, burn the cobwebs blocking the room to the north and open the chest inside to obtain the Potioneer Tools Shelf. |
| 9.2 | 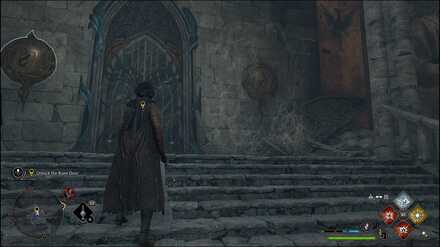 Now onto the Rune Door puzzle. Burn the spider webs blocking the rune on the right of the Rune Door, then use Basic Casts on the both sides of the door and the rune directly across in order to open the Rune Door. |
| 10 | 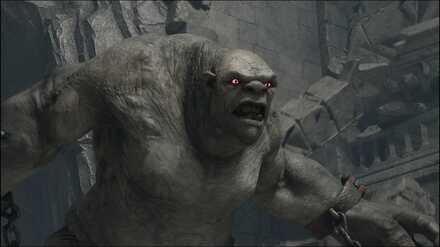 Search For the Triptych Segment Follow the short path forward then jump down. You'll encounter a Mountain Troll. Use Ancient Magic Throw on the troll as much as possible and defeat the spiders with combos to build up your Ancient Magic attacks. You can also use Flipendo to stun the Troll with its own club |
| 10.1 | 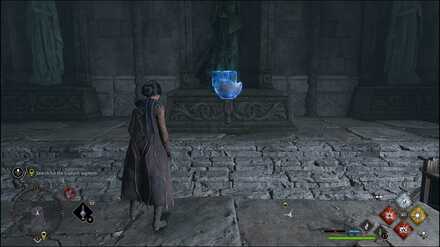 After the battle, check the blocked room to your south and use Confringo or Incendio on the statue inside to reveal a Chest. |
| 10.2 | 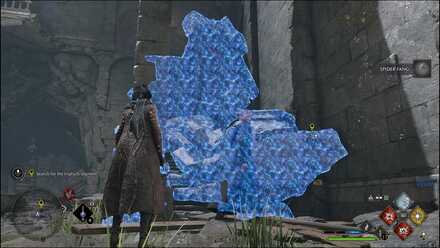 Return to the previous room and use Reparo on the broken piles of blocks. Head up the stairs and into the room, where you will find another Chest and a movable box. |
| 10.3 | 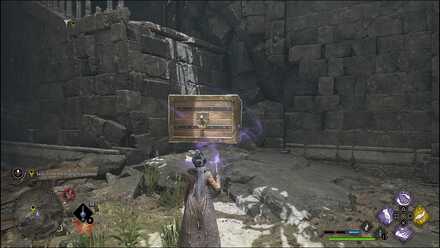 Use Wingardium Leviosa on the box to place it beside the ledge to the southwest. Get on the box to climb up onto the ledge. |
| 10.4 | 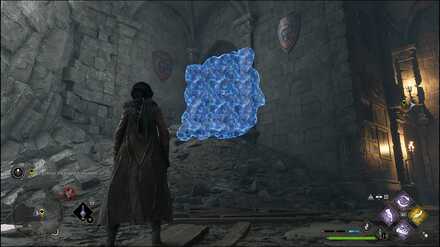 Head up to the second-floor room with a massive hole in the wall. To its left is a Chest and to its right is a wall of loose rocks you can blast open. |
| 10.5 | 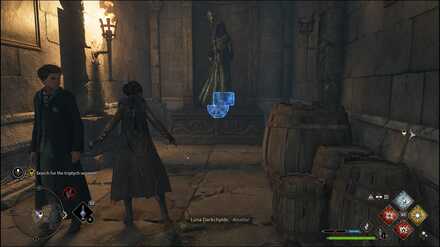 You will also find another statue you can move by igniting its brazier to reveal a Chest. Now, go through the hole you opened earlier and head up that path to the top floor. You will find another small Chest along the way, right after you jump across the gap. |
| 11 | 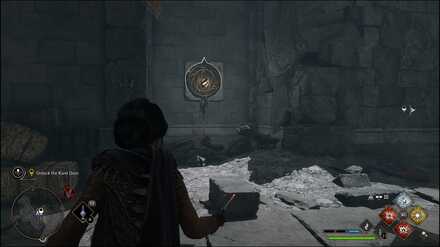 Approach the Rune Door and destroy the rubble to your left to find the hidden third rune. |
| 11.1 | 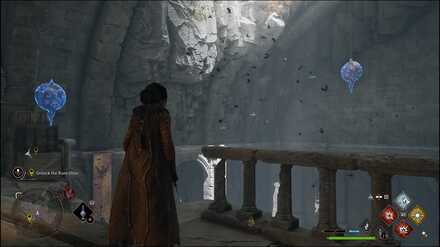 The first two runes are back in the main room. Hit these two first then sprint back to the third rune quickly to open the Rune Door. |
| 12 | 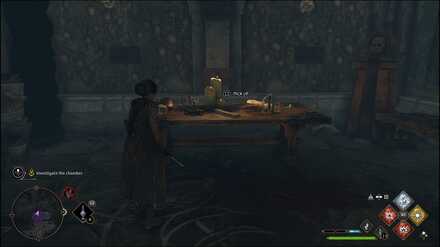 Investigate the Chamber Head up to the top floor of the chamber. Collect the Final Triptych Canvas Piece on the table with the candles. Before you leave, grab the contents of the small Chest further to the south. |
| 13 | 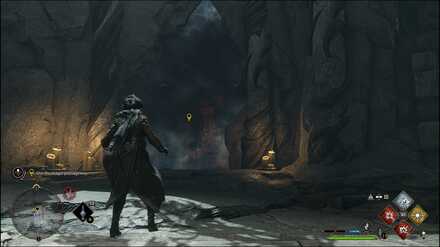 Use the Magic Passageway Head north to the crystallised stone to travel to the Undercroft. |
| 14 | 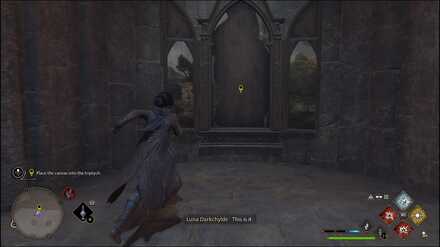 Place the Canvas Into the Triptych Simply place the canvas into the marked triptych to complete the quest. |
Previous and Next Quests
| ◄ Previous Quest | Next Quest ▶ |
|---|---|
| Professor Howin's Assignment | Lodgok's Loyalty |
Hogwarts Legacy Related Guides

List of All Main Quests
List of Assignments
Author
In the Shadow of the Mountain Quest Walkthrough
improvement survey
03/2026
improving Game8's site?

Your answers will help us to improve our website.
Note: Please be sure not to enter any kind of personal information into your response.

We hope you continue to make use of Game8.
Rankings
- We could not find the message board you were looking for.
Gaming News
Popular Games

Genshin Impact Walkthrough & Guides Wiki

Honkai: Star Rail Walkthrough & Guides Wiki

Umamusume: Pretty Derby Walkthrough & Guides Wiki

Pokemon Pokopia Walkthrough & Guides Wiki

Resident Evil Requiem (RE9) Walkthrough & Guides Wiki

Monster Hunter Wilds Walkthrough & Guides Wiki

Wuthering Waves Walkthrough & Guides Wiki

Arknights: Endfield Walkthrough & Guides Wiki

Pokemon FireRed and LeafGreen (FRLG) Walkthrough & Guides Wiki

Pokemon TCG Pocket (PTCGP) Strategies & Guides Wiki
Recommended Games

Fire Emblem Heroes (FEH) Walkthrough & Guides Wiki

Diablo 4: Vessel of Hatred Walkthrough & Guides Wiki

Yu-Gi-Oh! Master Duel Walkthrough & Guides Wiki

Super Smash Bros. Ultimate Walkthrough & Guides Wiki

Pokemon Brilliant Diamond and Shining Pearl (BDSP) Walkthrough & Guides Wiki

Elden Ring Shadow of the Erdtree Walkthrough & Guides Wiki

Monster Hunter World Walkthrough & Guides Wiki

The Legend of Zelda: Tears of the Kingdom Walkthrough & Guides Wiki

Persona 3 Reload Walkthrough & Guides Wiki

Cyberpunk 2077: Ultimate Edition Walkthrough & Guides Wiki
All rights reserved
HOGWARTS LEGACY software © 2022 Warner Bros. Entertainment Inc. Developed by Avalanche Software. WIZARDING WORLD and HARRY POTTER Publishing Rights © J.K. Rowling. PORTKEY GAMES, HOGWARTS LEGACY, WIZARDING WORLD AND HARRY POTTER characters, names and related indicia © and ™ Warner Bros. Entertainment Inc.
The copyrights of videos of games used in our content and other intellectual property rights belong to the provider of the game.
The contents we provide on this site were created personally by members of the Game8 editorial department.
We refuse the right to reuse or repost content taken without our permission such as data or images to other sites.





![Slay the Spire 2 Review [Early Access] | Still the Deckbuilder to Beat](https://img.game8.co/4433115/44e19e1fb0b4755466b9e516ec7ffb1e.png/thumb)

![Resident Evil Village Review [Switch 2] | Almost Flawless Port](https://img.game8.co/4432790/e1859f64830960ce4248d898f8cd38d9.jpeg/thumb)


