Spy in the Jungle Walkthrough and Rewards
★ Coming to Switch 2
★ New: Metro System, Car Racing, Romantic Hangouts
★ Phantom Liberty: Dogtown Map & Relics System
★ See our Best Builds here!
┗ HOT: Blades Build, Netrunner Build, & Assassin Build
Gig: Spy in the Jungle is a Gig Quest in Cyberpunk 2077: Phantom Liberty. Read on for a walkthrough of Gig: Spy in the Jungle, obtainable items, tips and strategies, and choice outcomes!
| Previous Quest | Current Quest | Next Quest |
|---|---|---|
| - | Gig: Spy in the Jungle | Money for Nothing |
List of Contents
Gig: Spy in the Jungle Quest Information
Overview
| Quest Type | Gig |
|---|---|
| Act | Act 2 |
| Lifepath | All |
How to Unlock Gig: Spy in the Jungle
| Quest Unlock Conditions | Complete The Damned |
|---|
Gig: Spy in the Jungle Rewards
| Quest Rewards | 4000 Eddies |
|---|
Gig: Spy in the Jungle Walkthrough
Quest Objectives
- Go to Room 203
- Go to Organitopia
- Go to the Main Museum Hall
- Defeat Ribakov
- Meet Bana in the Room Upstairs
- Take the Biomonitor
- Leave the Room
1. Go to Room 203
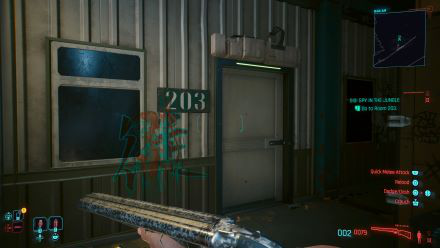
Follow the objective marker to the building in Pacifica and head up to Room 203. Once you're inside, talk to the agents to get more information on the mission.
2. Go to Organitopia
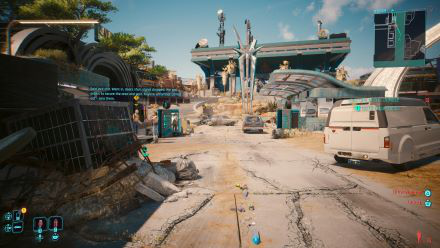
After talking with the agents, head to Organitopia and force open the broken roller door to get inside. Connect to the access point on the right of the room and talk to Mark Bana. He will then instruct you to go to the Main Museum Hall.
3. Go to the Main Museum Hall
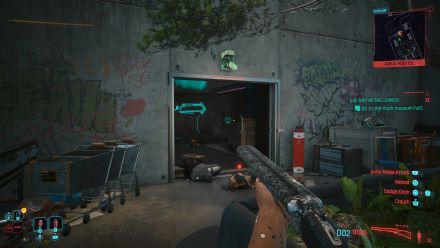
Enter through the door then make your way through the Organitopia. There will be hostiles stationed all over the area so be ready to fight if necessary. Continue following the objective marker though the Main Museum Hall to the door. Right before
4. Defeat Ribakov
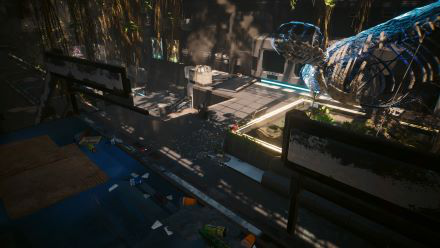
Continue following the objective marker though the Main Museum Hall to the door. Right before you open the door, Boris Ribakov will drop down from the ceiling and you'll have to defeat him to progress to the next objective.
5. Meet Bana in the Room Upstairs
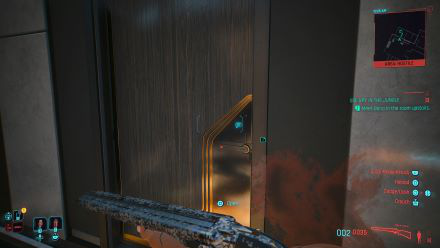
After defeating Ribakov, enter the room then proceed through to the secret room within where you'll meet Katya Karelina. Talk to Katya and she will explain what happened to Bana.
6. Take the Biomonitor
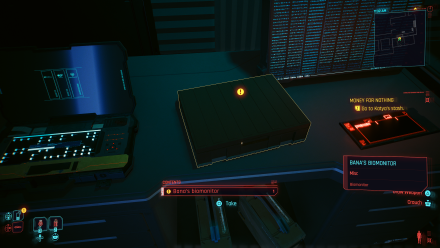
Take the biomonitor from Katya and head back to the agents. On your way to them, you will have a choice of depositing the biomonitor, destroying it, or handing it over to the agents. The gig ends when you've made a choice between the three.
Gig: Spy in the Jungle Choice Guide
Should You Kill Katya?
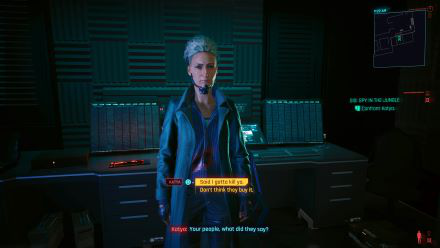
Once you enter the room to meet with Bana, you'll instead meet with Katya, an interrogation for SovOil. Killing Katya is irrelevant when it comes to retrieving the biomonitor for the gig as she will freely give it up.
In exchange for sparing her, she will give you her stash which includes a large amount of Eurodollars.
Should You Give the Biomonitor?
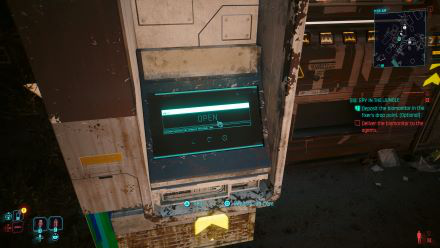
Once you've retrieved the biomonitor and you're on your way back to the agents, Steven message you to deposit the biomonitor. He mentions that there will be too much danger should the biomonitor be handed back to their agency.
Whatever happens to the biomonitor is more of a moral choice for your character and won't effect how this gig ends.
Cyberpunk 2077: Phantom Liberty Related Guides

Gig Guides
| Cyberpunk 2077: Phantom Liberty Gig Guides | |
|---|---|
| List of All Gigs | Vehicle Contracts Guide |
All Gig Guides
All Quest Types
| Quest Types | |
|---|---|
All Cyberpunk 2077 Guides
Author
Spy in the Jungle Walkthrough and Rewards
improvement survey
04/2026
improving Game8's site?

Your answers will help us to improve our website.
Note: Please be sure not to enter any kind of personal information into your response.

We hope you continue to make use of Game8.
Rankings
- We could not find the message board you were looking for.
Gaming News
Popular Games

Genshin Impact Walkthrough & Guides Wiki

Crimson Desert Walkthrough & Guides Wiki

Umamusume: Pretty Derby Walkthrough & Guides Wiki

Honkai: Star Rail Walkthrough & Guides Wiki

Monster Hunter Stories 3: Twisted Reflection Walkthrough & Guides Wiki

Wuthering Waves Walkthrough & Guides Wiki

The Seven Deadly Sins: Origin Walkthrough & Guides Wiki

Pokemon TCG Pocket (PTCGP) Strategies & Guides Wiki

Pokemon Pokopia Walkthrough & Guides Wiki

Zenless Zone Zero Walkthrough & Guides Wiki
Recommended Games

Monster Hunter World Walkthrough & Guides Wiki

Fire Emblem Heroes (FEH) Walkthrough & Guides Wiki

Pokemon Brilliant Diamond and Shining Pearl (BDSP) Walkthrough & Guides Wiki

Super Smash Bros. Ultimate Walkthrough & Guides Wiki

Diablo 4: Vessel of Hatred Walkthrough & Guides Wiki

Cyberpunk 2077: Ultimate Edition Walkthrough & Guides Wiki

Yu-Gi-Oh! Master Duel Walkthrough & Guides Wiki

Elden Ring Shadow of the Erdtree Walkthrough & Guides Wiki

The Legend of Zelda: Tears of the Kingdom Walkthrough & Guides Wiki

Persona 3 Reload Walkthrough & Guides Wiki
All rights reserved
CD PROJEKT®, Cyberpunk®, Cyberpunk 2077® are registered trademarks of CD PROJEKT S.A. © 2020 CD PROJEKT S.A. All rights reserved. All other copyrights and trademarks are the property of their respective owners.
The copyrights of videos of games used in our content and other intellectual property rights belong to the provider of the game.
The contents we provide on this site were created personally by members of the Game8 editorial department.
We refuse the right to reuse or repost content taken without our permission such as data or images to other sites.


![Forza Horizon 6 Review [Preview] | Beautiful Roads With a Whole Lot of Oversteer](https://img.game8.co/4460981/a7254c24945c43fbdf6ad9bea52b5ce9.png/thumb)
![Borderlands Mobile Review [Playtest] | The Same Borderlands Made Easy](https://img.game8.co/4465500/aac0c880a39ec5cd46073e49d18f3ed5.png/thumb)


If you give biomonitor to Ana, after some time you can find Steven in Dog Town Stadium - he works for Hansen now and Ana ends up in prison.