The North Lomei Prophecy Walkthrough and How to Unlock
▲ Get Pristine Weapons from the depths!
△ All 1000 Koroks | All 4 Great Fairies
▲ 81 Addison Signs | 147 Caves | 58 Wells
△ Tips: Farm Rupees | Starting Armor
▲ Best Weapons | Best Armor | Best Food
The North Lomei Prophecy is a Side Quest in The Legend of Zelda: Tears of the Kingdom (TotK) that can be found in North Lomei Labyrinth. Read on to learn how to unlock The North Lomei Prophecy, its location and rewards, walkthrough, as well as how to complete it.
| All North Lomei Guides | ||
|---|---|---|
| The North Lomei Prophecy | Mayaotaki Shrine | Tenbez Shrine |
List of Contents
How to Unlock The North Lomei Prophecy
Activate the North Lomei Labyrinth Terminal
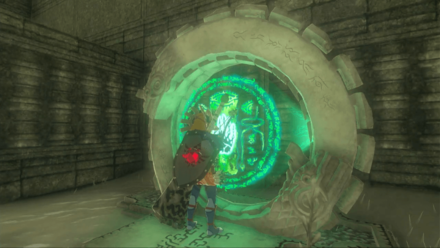
Reach the deepest part of the North Lomei Labyrinth. There you will find the Mayaotaki Shrine and the labyrinth terminal. Interact with terminal to start the side quest.
The North Lomei Prophecy Location and Rewards
Hebra Mountains - North Lomei Labyrinth
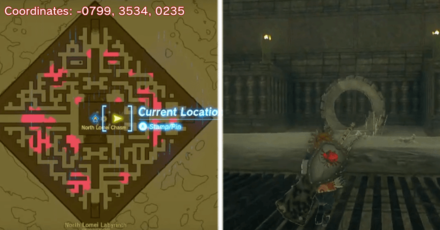
The exact coordinates for this quest on the map are -0799, 3534, 0235.
Rewards
| Rewards |
|---|
| ・Evil Spirit Greaves |
The North Lomei Prophecy Walkthrough Guide
| How to Complete The North Lomei Prophecy |
|---|
North Lomei Labyrinth
| How to Complete The South Lomei Prophecy |
|---|
Travel to Pikida Stonegrove Skyview Tower
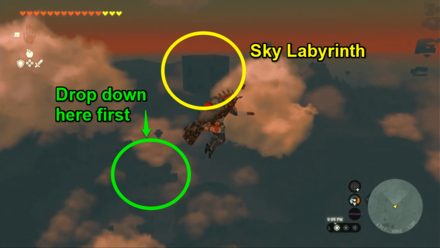
Use the Pikida Stonegrove Skyview Tower to get yourself up in the sky. On your left, you will see the North Lomei Castle Top Floor in the distance. Drop down to a nearby sky island first to plan your way to the sky labyrinth.
Be careful of the Aerocudas you will encounter in the air; shoot them down or maneuver around them.
Drop Down the East Hebra Sky Archipelago
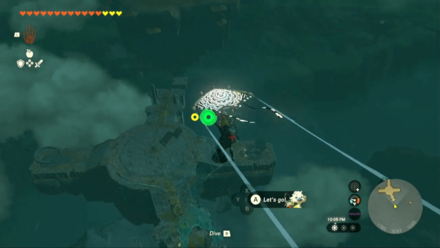
Since the sky labyrinth is quite far, you will need an aircraft to get there. Drop down to the nearby sky island to get resources and build your craft.
There is a Zonai Dispenser on the island, which you can use in case you're lacking in Zonai Devices. You can also choose to activate the Taninoud Shrine to easily get back here.
XYZ Coordinates: -1770, 3367, 1000
Travel Towards the Sky Labyrinth
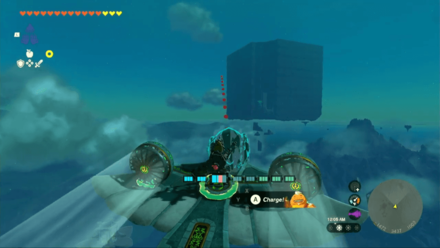
Use the aircraft you have created to travel to the sky labyrinth. Make sure to attach some Zonai Batteries if you don't have an upgraded Energy Cell. It takes approximately a total of 4 batteries to get there.
Activate the Tenbez Shrine
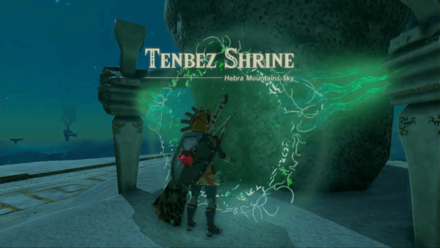
You will see the Tenbez Shrine upon arriving at the North Lomei Castle Top Floor. It's important to activate the shrine as this will be used later on.
XYZ Coordinates: -0972, 3535, 1011
Drop a Pin on the Surface Labyrinth
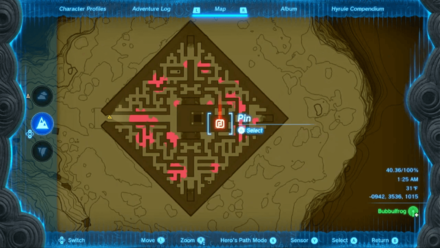
Pin a location on the right side, near the middle, of the surface labyrinth. It will serve as your marker to reach the deepest part of the labyrinth and begin the side quest.
Drop Down to the North Lomei Labyrinth
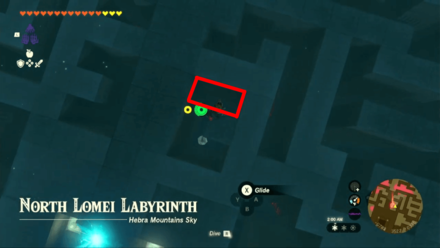
Using the marked location as a guide, drop down to the surface labyrinth. Enter a U-shaped hole and hug the corner on the left. You will land on a platform, which will lead you to the deepest area of the labyrinth.
XYZ Coordinates: -0774, 3524, 0285
Activate the Mayaotaki Shrine
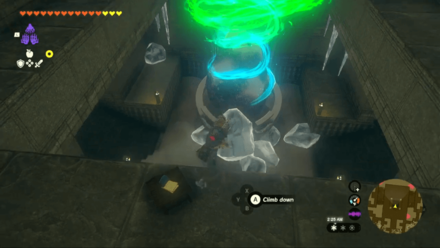
You can choose to activate the Mayaotaki Shrine. To do this, equip a weapon fused with a fire element, then stand near the ice blocking the entrance. The ice will melt and allow you to activate the shrine.
XYZ Coordinates: -0827, 3537, 0234
Interact with the Labyrinth Terminal
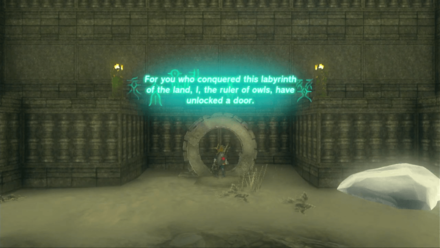
In front of the Mayaotaki Shrine, you will see the labyrinth terminal. Activate it to begin the side quest.
XYZ Coordinates: -0801, 3534, 0234
North Lomei Sky Labyrinth
| How to Complete The North Lomei Prophecy |
|---|
Return to Tenbez Shrine
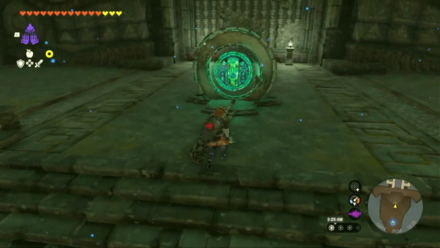
The first task of the side quest is to reach the North Lomei Castle Top Floor. Since you've already unlocked Tenbez Shrine, you can easily travel back there.
Activate the terminal at the entrance to open the labyrinth. You will be tasked to light up four terminals hidden inside. Be sure to have the side quest set in your Adventure Log to see the location of the terminals.
XYZ Coordinates: -0938, 3536, 1015
Climb the Sky Labyrinth
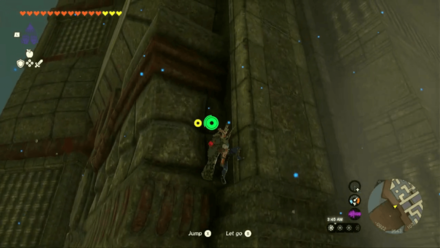
Using the pillar beside the entrance, climb to the top of the sky labyrinth. This is a good climbing spot due to the ledges along the pillar. Use these as stopping points whenever you run out of stamina. You can also build an aircraft that can take you up to the top if you have the resources to do so.
XYZ Coordinates: -0924, 3543, 1016
Place a Travel Medallion
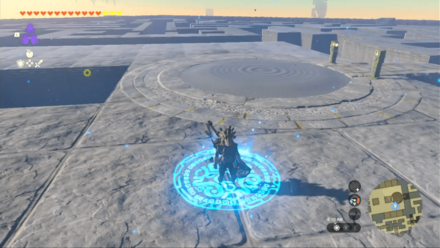
Once you're on top of the sky labyrinth, you can easily reach the four terminals scattered throughout the maze. Place a Travel Medallion in the middle to easily get back on top. This labyrinth does not have good spots to use the Ascend ability so this step is important to save time.
XYZ Coordinates: -0829, 3548, 1184
How to Get the Travel Medallion
Activate the Four Terminals
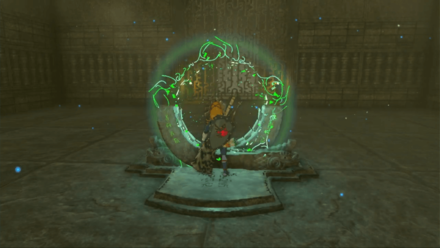
Traverse the top of the sky labyrinth to bypass the maze and go straight for the terminals.
Interact with the New Terminal
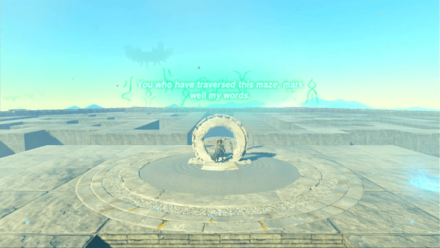
Lighting up all four terminals will reveal a fifth one. Go back to the top of the labyrinth and interact with it.
XYZ Coordinates: -0830, 3537, 1184
North Lomei Depths Labyrinth
| How to Complete The North Lomei Prophecy |
|---|
Proceed to the North Lomei Depths Labyrinth
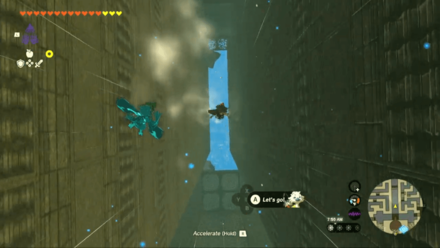
The next task is to go to the depths labyrinth. Dive down into the middle of the sky labyrinth and maneuver yourself correctly to get there.
Go to the Boss Room
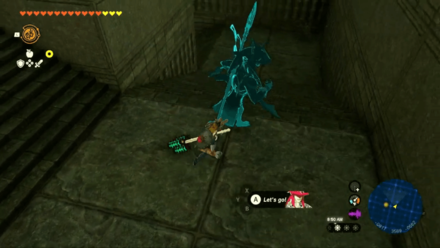
Once you reach the North Lomei Depths Labyrinth, head straight in either direction to get to the boss room. Make use of Brightbloom Seeds to light up the way. It will not immediately detect you, so use this time to prepare for the battle ahead.
XYZ Coordinates: -0813, 3534, -0652
Defeat the Flux Construct III
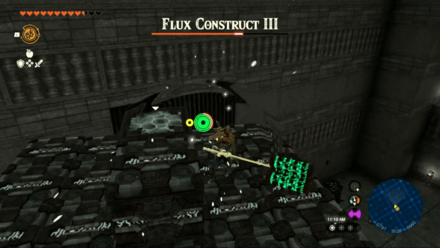
Similar to other Flux Constructs, this boss' weakness is the unique glowing cube located in its body. Deal significant damage by aiming at it!
Use the Ultrahand ability to pull out the unique glowing cube and make it drop to the ground. If it hides the cube up in the air, use the Recall ability and climb one of the cubes he throws to get on top!
How to Beat Flux Construct III
Activate the Last Terminal
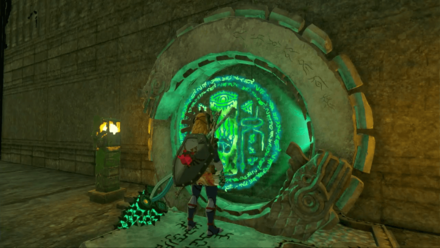
After defeating the Flux Construct III, you will be able to unlock the North Lomei Depths Labyrinth terminal. Interact with it to complete the side quest.
XYZ Coordinates: -0839, 3553, -0682
Get the Evil Spirit Greaves
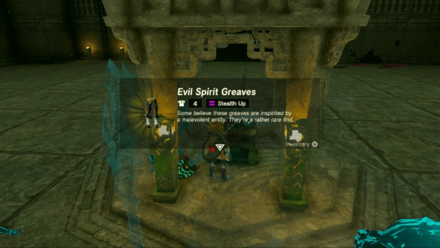
The ruler of owls have deemed you worthy! Open the chest in the middle of the room to claim the Evil Spirit Greaves.
The Legend of Zelda: Tears of the Kingdom Related Guides

List of All Walkthroughs
| All Quest Types | ||
|---|---|---|
 Main Quests Main Quests |
 Side Quests Side Quests |
 Side Adventures Side Adventures |
List of All Side Quests
Comment
Author
The Legend of Zelda: Tears of the Kingdom Walkthrough & Guides Wiki
The North Lomei Prophecy Walkthrough and How to Unlock
improvement survey
03/2026
improving Game8's site?

Your answers will help us to improve our website.
Note: Please be sure not to enter any kind of personal information into your response.

We hope you continue to make use of Game8.
Rankings
- We could not find the message board you were looking for.
Gaming News
Popular Games

Genshin Impact Walkthrough & Guides Wiki

Honkai: Star Rail Walkthrough & Guides Wiki

Umamusume: Pretty Derby Walkthrough & Guides Wiki

Pokemon Pokopia Walkthrough & Guides Wiki

Resident Evil Requiem (RE9) Walkthrough & Guides Wiki

Monster Hunter Wilds Walkthrough & Guides Wiki

Wuthering Waves Walkthrough & Guides Wiki

Arknights: Endfield Walkthrough & Guides Wiki

Pokemon FireRed and LeafGreen (FRLG) Walkthrough & Guides Wiki

Pokemon TCG Pocket (PTCGP) Strategies & Guides Wiki
Recommended Games

Diablo 4: Vessel of Hatred Walkthrough & Guides Wiki

Fire Emblem Heroes (FEH) Walkthrough & Guides Wiki

Yu-Gi-Oh! Master Duel Walkthrough & Guides Wiki

Super Smash Bros. Ultimate Walkthrough & Guides Wiki

Pokemon Brilliant Diamond and Shining Pearl (BDSP) Walkthrough & Guides Wiki

Elden Ring Shadow of the Erdtree Walkthrough & Guides Wiki

Monster Hunter World Walkthrough & Guides Wiki

The Legend of Zelda: Tears of the Kingdom Walkthrough & Guides Wiki

Persona 3 Reload Walkthrough & Guides Wiki

Cyberpunk 2077: Ultimate Edition Walkthrough & Guides Wiki
All rights reserved
© Nintendo. The Legend of Zelda and Nintendo Switch are trademarks of Nintendo.
The copyrights of videos of games used in our content and other intellectual property rights belong to the provider of the game.
The contents we provide on this site were created personally by members of the Game8 editorial department.
We refuse the right to reuse or repost content taken without our permission such as data or images to other sites.


![Monster Hunter Stories 3 Review [First Impressions] | Simply Rejuvenating](https://img.game8.co/4438641/2a31b7702bd70e78ec8efd24661dacda.jpeg/thumb)


