Royal Hidden Passage Bubbulfrog Location
▲ Get Pristine Weapons from the depths!
△ All 1000 Koroks | All 4 Great Fairies
▲ 81 Addison Signs | 147 Caves | 58 Wells
△ Tips: Farm Rupees | Starting Armor
▲ Best Weapons | Best Armor | Best Food
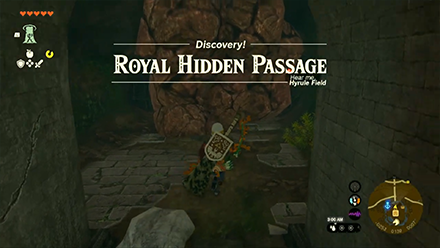
Royal Hidden Passage is a Cave that you can enter within the Central Hyrule region in The Legend of Zelda: Tears of the Kingdom. Discover all the entrances of this cave, as well as the Bubbulfrog location, materials and the enemies you might encounter when exploring this cave!
List of Contents
Royal Hidden Passage Overview
Royal Hidden Passage Map Location
Royal Hidden Passage Points of Interest
 |
|
|---|---|
| Entrance(s) |
・-0254, 0129, 0008
・-0324, 0799, 0075 ・-0254, 0768, 0097 |
| Bubbulfrog | ・-0221, 0717, -0051 |
| Shrine | N/A |
| Armor | |
| Enemies |
Fire Chuchu Keese Electric Keese Like Like Ice Like Shock Like Stalkoblin Stalmoblin Blue Lizalfos Horriblin Blue Horriblin Black Horriblin Stone Pebblit Stalnox |
Soldier's Helm Chest
| Map Image | Overworld Image |
|---|---|
 |
 |
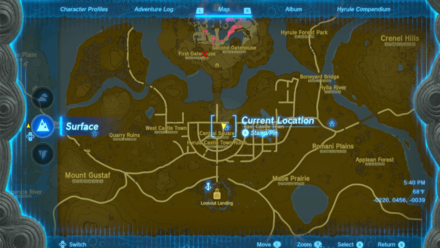
| XYZ Coordinates | - 0230, 0467, - 0039 |
Enter the Royal Hidden Passage through the Emergency Shelter at Lookout Landing, then take the left path from the alcove with the Demon Statue. Take the left path again at the next fork.
The next room will have a Like waiting for you. The path to the Soldier's Helm is above the Like. The next room will have two Stone Peblits. Defeat or run past them and head towards the blue breakable wall.
Ahead, you'll find a land bridge with three skeletal enemies. Get past them and destroy the breakable wall on the otherside of the land bridge.
Continue downwards until you reach an underground lake. Swim out onto the lake and first stand on the shore on the left side instead of going right.
The room containing the Soldier's Helm will initially be blocked by a breakable wall. Shoot at it with Bomb Arrows or swim up to it and break it to access the room.
Defeat the Ice Like blocking the way which drops a chest containing a random piece of equipment! Loot the Soldier's Helm from the chest on the left side of the alcove of the Ice Like.
Soldier's Helm Location and Stats
Soldier's Greaves Chest
| Map Image | Overworld Image |
|---|---|
 |
 |
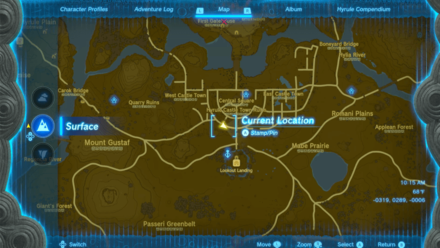
| XYZ Coordinates | -0319, 0289, -0006 |
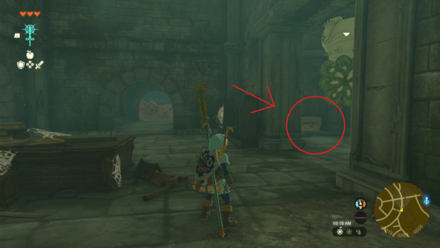
Enter the Royal Hidden Passage through the Emergency Shelter at Lookout Landing, then take the left path from the alcove with the Demon Statue.
Take the left path again at the next fork. The next room will have a Like Like waiting for you. The path to the Soldier's Greaves is above the Like Like.
The next room will two Stone Peblits, and two sets of breakable boulders. You'll want to break through the brown boulders on the left.
Breaking through the boulders on the left should reveal a passageway to a room that contains another Like Like and the Soldier's Greaves.
Defeat the Like Like to get to the chest behind it that has the Soldier's Greaves!
Soldier's Greaves Location and Stats
Soldier's Armor Chest
| Map Image | Overworld Image |
|---|---|
 |
 |
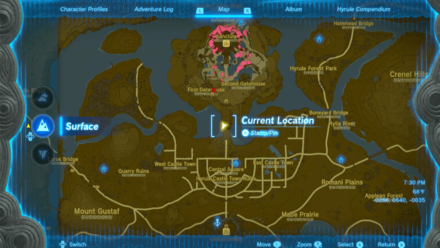
| XYZ Coordinates | - 0267, 0641, - 0035 |
Enter the Royal Hidden Passage through the Emergency Shelter at Lookout Landing, then take the left path from the alcove with the Demon Statue. Take the left path again at the next fork.
The next room will have a Like waiting for you. The path to the Soldier's Armor is above the Like.
The next room will have two Taluses. Defeat or run past them and head towards the blue breakable wall.
Ahead, you'll find a land bridge with three skeletal enemies. Get past them and destroy the breakable wall on the other side of the land bridge.
Continue downwards until you reach an underground lake. Swim across to the far side of the underground lake to reach a tunnel blocked by blue breakable boulders that you need to pass through.
Once through the previous wall, break through the next set of breakable boulders on the far end of the room. After passing the previous set of boulders, emerge from the tunnel to find another set of breakable rocks you need to get through.
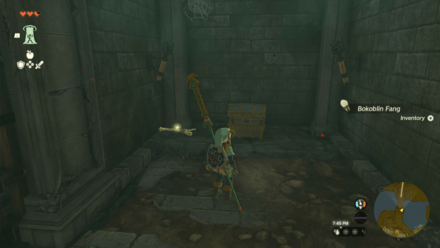
On the other side of the last wall, you'll emerge into a room with the chest containing the Soldier's Armor locked behind a gate. Head towards the passage on the far right side of the room.
Use Ultrahand on the boulder in this room to reveal a hole that you can fall through. After falling through the hole blocked by the boulder, walk towards the end of the tunnel and use Ascend to reach the room containing the Soldier's Armor.
Defeat the Bokoblin to access the chest containing the Soldier's Armor behind him.
Soldier's Armor Location and Stats
How to Get to Royal Hidden Passage
You can get to the Royal Hidden Passage in two ways:
- First is by clearing one temple and entering through the hole in the Emergency Shelter at Lookout Landing.
- and second is by entering through trapdoors in Hyrule Catle
Enter Hole in Emergency Shelter at Lookout Landing After Clearing One Temple
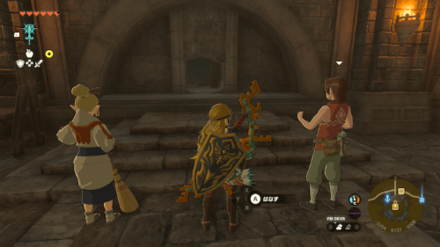
One way of reaching the Royal Hidden Passage is by entering the hole in the Emergency Shelter at Lookout Landing. This hole only shows up after clearing one temple in the Regional Phenomena main quest, so try to finish one before heading for Lookout Landing again.
Bring Plenty of Bomb Flowers or Weapons Fused with Boulders
The Royal Hidden Passage has plenty of rocks that you need to break in order to venture deeper into the cave, so make sure to bring plenty of Bomb Flowers and weapons fused with boulders. This way, you won't have a difficult time breaking the rocks in the way.
A few boulders and weapons may show up as you break the rocks as well. You can use these to replace your hammers that have already been broken.
Enter Trapdoors in Hyrule Castle
Hyrule Castle also has two entrances to the Royal Hidden Passage. You don't have to clear any of the temples if you plan to explore the cave this way!
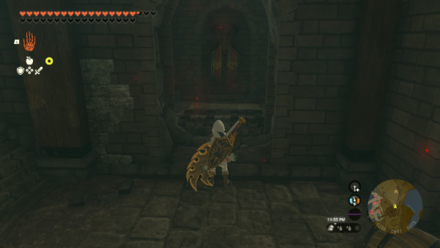
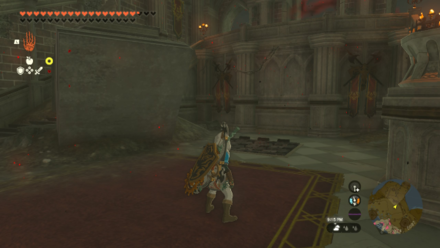
Simply look for the iron trap doors in the castle and open them with Ultrahand to get inside the cave.
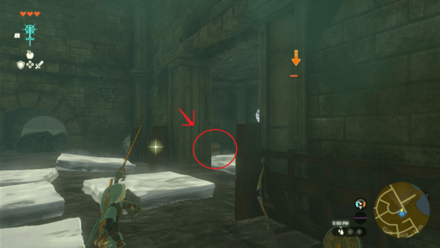
Check out the trapdoors' locations in the images below.
Hyrule Castle Trapdoors Entrance
| Place | Map | Overworld |
|---|---|---|
| Guard's Chamber | 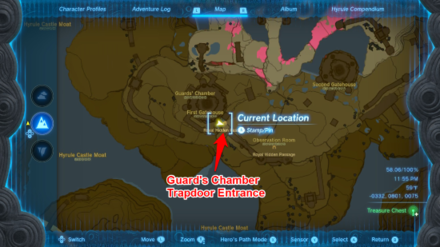 |
 |
| Observation Room | 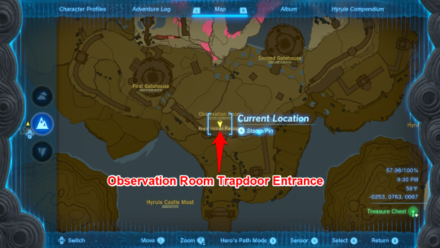 |
 |
Royal Hidden Passage Bubbulfrog Location
Bubbulfrog Coordinates
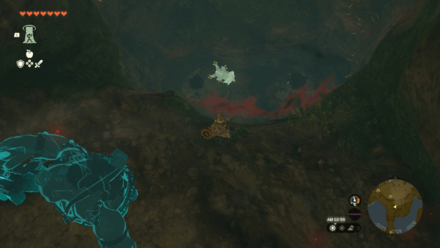
This Bubbulfrog is located exactly at -0221, 0717, -0051 within Royal Hidden Passage.
Use the Hyrule Castle Entrances to Reach It Faster
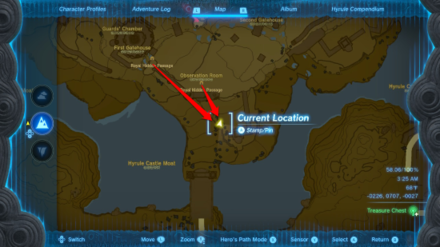
The shortest route to the Bubbulfrog is through one of the entrances inside Hyrule Castle. You'll need to go through a series of hallways and spiral stairs until you reach the familiar walls of a cave instead of the Hyrule Castle walls.
There are Bokoblins, Horriblins, and Pebblits on your way to the cave, so be careful. There is a Shock Like near the area where the Bubbulfrog is but its attacks can easily be dodged by simply running past by it.
Royal Hidden Passage Monsters
List of Enemies in Royal Hidden Passage
| List of Enemies | ||
|---|---|---|
 Fire Chuchu Fire Chuchu |
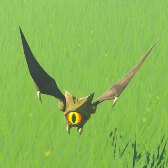 Keese Keese |
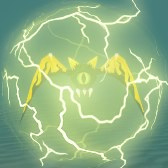 Electric Keese Electric Keese |
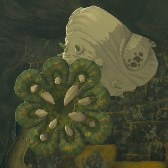 Like Like Like Like |
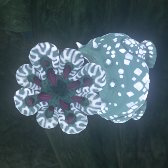 Ice Like Ice Like |
 Shock Like Shock Like |
 Stalkoblin Stalkoblin |
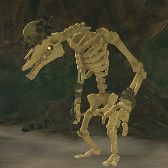 Stalmoblin Stalmoblin |
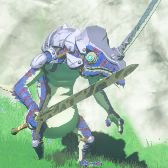 Blue Lizalfos Blue Lizalfos |
 Horriblin Horriblin |
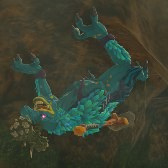 Blue Horriblin Blue Horriblin |
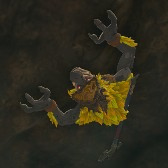 Black Horriblin Black Horriblin |
 Stone Pebblit Stone Pebblit |
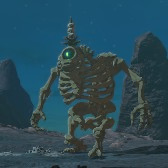 Stalnox Stalnox |
|
Royal Hidden Passage Materials
List of Items in Royal Hidden Passage
| List of Items | ||
|---|---|---|
 Topaz Topaz |
 Fairy Fairy |
 Amber Amber |
 Bomb Flower Bomb Flower |
 Hylian Shroom Hylian Shroom |
 Opal Opal |
 Giant Brightbloom Seed Giant Brightbloom Seed |
 Brightbloom Seed Brightbloom Seed |
 Flint Flint |
 Rock Salt Rock Salt |
 Luminous Stone Luminous Stone |
 Hearty Truffle Hearty Truffle |
 Brightcap Brightcap |
 Glowing Cave Fish Glowing Cave Fish |
 Tireless Frog Tireless Frog |
The Legend of Zelda: Tears of the Kingdom Related Guides
Other Caves in Central Hyrule
| List of Caves | |
|---|---|
| Royal Hidden Passage | Ancient Tree Stump Cave |
| Ranch Ruins Cave | Passeri Greenbelt Cave |
| Whistling Hill Cave | Great Plateau Foothill Cave |
| Sage Temple Cave | Coliseum Ruins Cave |
Comment
Author
The Legend of Zelda: Tears of the Kingdom Walkthrough & Guides Wiki
Royal Hidden Passage Bubbulfrog Location
improvement survey
03/2026
improving Game8's site?

Your answers will help us to improve our website.
Note: Please be sure not to enter any kind of personal information into your response.

We hope you continue to make use of Game8.
Rankings
- We could not find the message board you were looking for.
Gaming News
Popular Games

Genshin Impact Walkthrough & Guides Wiki

Honkai: Star Rail Walkthrough & Guides Wiki

Umamusume: Pretty Derby Walkthrough & Guides Wiki

Pokemon Pokopia Walkthrough & Guides Wiki

Resident Evil Requiem (RE9) Walkthrough & Guides Wiki

Monster Hunter Wilds Walkthrough & Guides Wiki

Wuthering Waves Walkthrough & Guides Wiki

Arknights: Endfield Walkthrough & Guides Wiki

Pokemon FireRed and LeafGreen (FRLG) Walkthrough & Guides Wiki

Pokemon TCG Pocket (PTCGP) Strategies & Guides Wiki
Recommended Games

Diablo 4: Vessel of Hatred Walkthrough & Guides Wiki

Fire Emblem Heroes (FEH) Walkthrough & Guides Wiki

Yu-Gi-Oh! Master Duel Walkthrough & Guides Wiki

Super Smash Bros. Ultimate Walkthrough & Guides Wiki

Pokemon Brilliant Diamond and Shining Pearl (BDSP) Walkthrough & Guides Wiki

Elden Ring Shadow of the Erdtree Walkthrough & Guides Wiki

Monster Hunter World Walkthrough & Guides Wiki

The Legend of Zelda: Tears of the Kingdom Walkthrough & Guides Wiki

Persona 3 Reload Walkthrough & Guides Wiki

Cyberpunk 2077: Ultimate Edition Walkthrough & Guides Wiki
All rights reserved
© Nintendo. The Legend of Zelda and Nintendo Switch are trademarks of Nintendo.
The copyrights of videos of games used in our content and other intellectual property rights belong to the provider of the game.
The contents we provide on this site were created personally by members of the Game8 editorial department.
We refuse the right to reuse or repost content taken without our permission such as data or images to other sites.


