The South Lomei Prophecy Walkthrough and How to Unlock
▲ Get Pristine Weapons from the depths!
△ All 1000 Koroks | All 4 Great Fairies
▲ 81 Addison Signs | 147 Caves | 58 Wells
△ Tips: Farm Rupees | Starting Armor
▲ Best Weapons | Best Armor | Best Food
The South Lomei Prophecy is a Side Quest in The Legend of Zelda: Tears of the Kingdom (TotK) that can be found in South Lomei Labyrinth. Read on to learn how to unlock The South Lomei Prophecy, its location and rewards, walkthrough, as well as how to complete it.
| All South Lomei Guides | ||
|---|---|---|
| The South Lomei Prophecy | Motsusis Shrine | Siyamotsus Shrine |
List of Contents
How to Unlock The South Lomei Prophecy
Activate the South Lomei Labyrinth Terminal
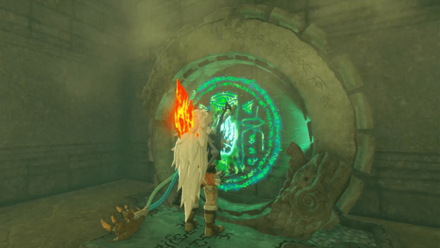
Reach the deepest part of the South Lomei Labyrinth. There you will find the Motsusis Shrine and the labyrinth terminal. Interact with terminal to start the side quest.
The South Lomei Prophecy Location and Rewards
Gerudo Highlands - South Lomei Labyrinth
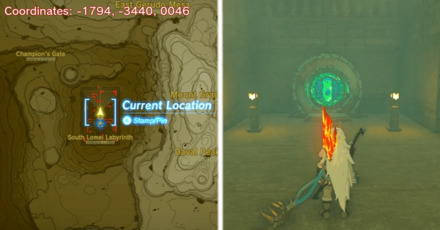
The exact coordinates for this quest on the map are -1794, -3440, 0046.
Rewards
| Rewards |
|---|
| ・Evil Spirit Mask |
The South Lomei Prophecy Walkthrough Guide
| How to Complete The South Lomei Prophecy |
|---|
South Lomei Labyrinth
| South Lomei Labyrinth |
|---|
Use the Gerudo Canyon Skyview Tower
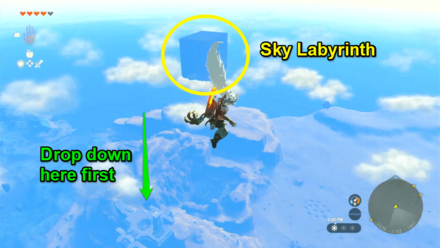
Travel to the Gerudo Canyon Skyview Tower and use it to lift yourself up. Once you're in the air, you will see the South Lomei Castle Top Floor to your left. Drop down to a nearby sky island to make an aircraft that will help you reach the labyrinth.
XYZ Coordinates: -2231, -2380, 1252
Create and Aircraft
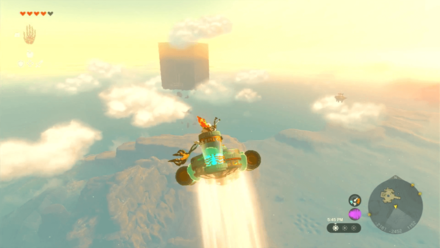
On the sky island you landed on, use the Ultrahand ability to create an aircraft that will help you reach the sky labyrinth. The labyrinth is quite far so make sure to attach some Zonai Battery if you don't have an upgraded Energy Cell.
Unlock Siyamotsus Shrine
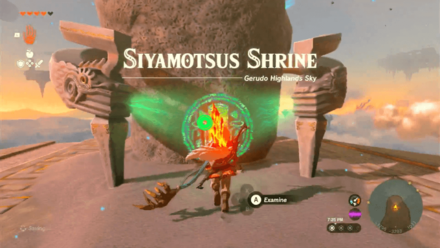
Activate the Siyamotsus Shrine found in front of the entrance of the sky labyrinth. Make sure to do this, as it will be used later on.
XYZ Coordinates: -1795, -3292, 1011
Drop Down to the Surface Labyrinth
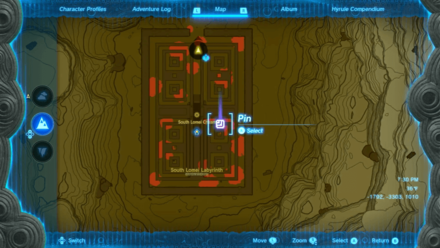
Open your map and pin a location on the lower right side, near the middle, of the surface labyrinth. This will serve as your guide to reach the labyrinth terminal and begin the side quest.
Reach the Deepest Part of the Labyrinth
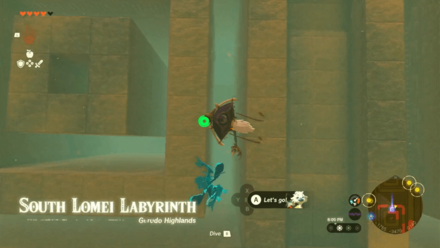
Drop down to the South Lomei Labyrinth using the location you pinned as a guide. Head down and you will see a passage that will lead you to a shrine and the labyrinth terminal.
XYZ Coordinates: -1755, -3469, 0120
Reach the Deepest Part of the Labyrinth
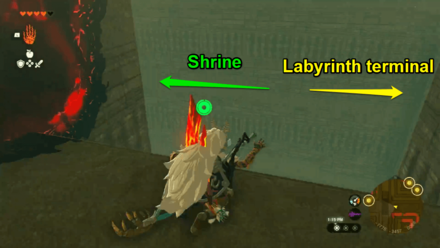
Once you enter the passage, head left and drop down to reach the Motsusis Shrine to your left and the labyrinth terminal to your right.
Activate the Side Quest
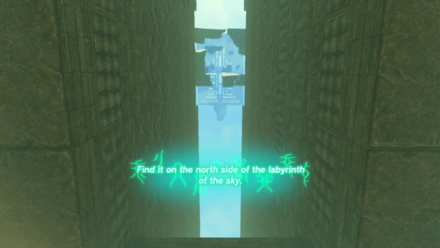
Interact with the labyrinth terminal to begin the side quest. The mysterious voice will ask you to reach the sky labyrinth.
South Lomei Sky Labyrinth
| South Lomei Sky Labyrinth |
|---|
Fast Travel to Siyamotsus Shrine
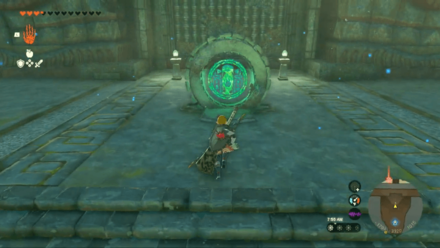
Since we already unlocked the Siyamotsus Shrine earlier, we can easily travel back to the sky labyrinth. Once you are there, activate the terminal that will open the entrance to the sky labyrinth.
Note that opening the sky labyrinth will update your quest and require you to activate four different terminals. Make sure to set this in your Adventure Log to see their locations.
XYZ Coordinates: -1778, -3457, 0068
Head Inside the Sky Labyrinth
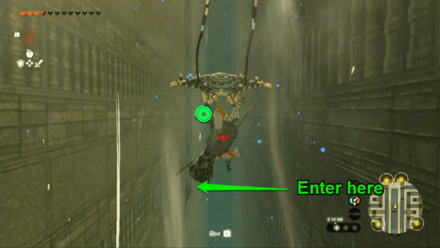
Glide slightly upwards, then proceed to move forward until you see a passageway to your left. Aim to drop down there.
XYZ Coordinates: -1782, -3462, 1040
Use Ascend
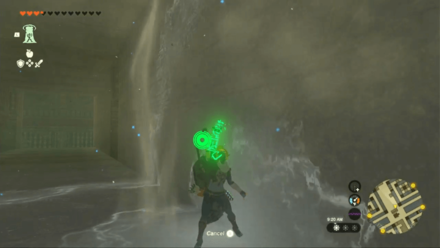
Use the Ascend ability on the ceiling of the passageway to get on top of the sky labyrinth.
Reach the Top of the Sky Labyrinth
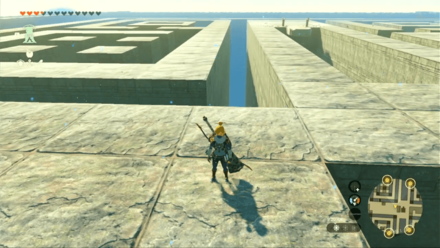
Getting on top of the sky labyrinth will allow you to bypass the confusing maze and just go straight for the terminals. There will be nearby ceilings on each terminal that you can use Ascend on to get back up, but you can also set a Travel Medallion here.
Activate the Terminals
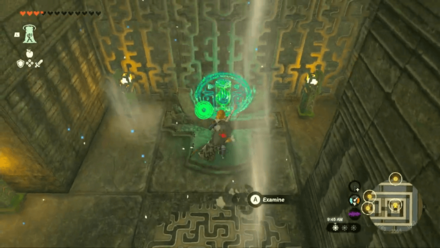
Go to each of the required terminals and activate them. Just follow the pinned locations from your Adventure Log, and you should not have a problem reaching them.
Interact with the New Terminal
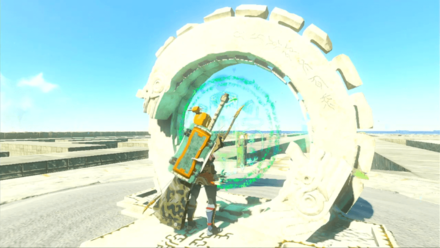
Once you have activated the four terminals, a new one will appear on the top of the sky labyrinth. Interact with that next to proceed with the side quest.
XYZ Coordinates: -1794, -3531, 1184
South Lomei Depths Labyrinth
| South Lomei Sky Labyrinth |
|---|
Drop Down to the Depths
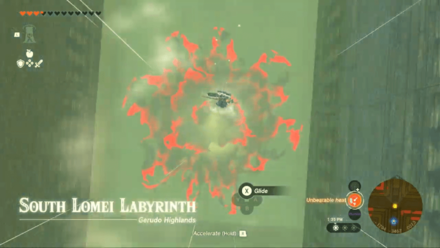
The next task given by the mysterious voice is to drop down to the South Lomei Depths Labyrinth. Dive in the middle of the sky labyrinth to get there.
Proceed to the Boss Room
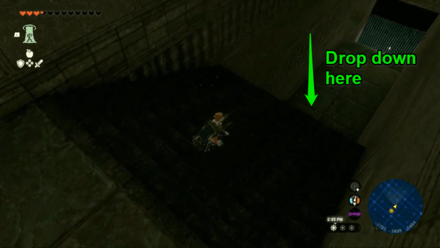
Once you reach the depths labyrinth, head straight and drop down to the boss room. It won't instantly detect you, so use this time to prepare for the battle ahead.
XYZ Coordinates: -1798, -3506, -0513
Fight the Flux Construct III
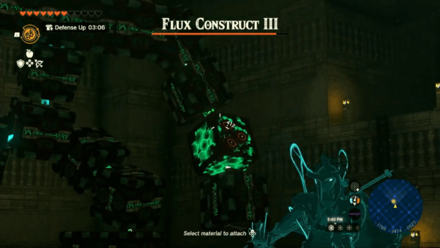
Just like any other Flux Construct, this boss' weakness is the unique glowing cube located in its body. Aim for that to deal significant damage!
You may also use the Ultrahand ability to pull out the unique glowing cube and make it drop to the ground. Follow up with melee attacks once it falls down!
How to Beat Flux Construct III
Activate the Last Terminal
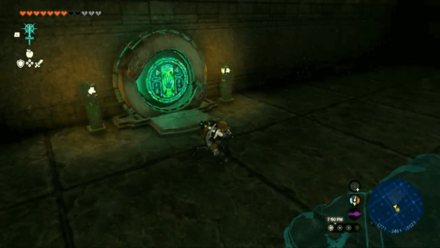
Once you have defeated the Flux Construct III, you'll be able to interact with a terminal in the room. Activate it to reveal the hidden treasure chest.
XYZ Coordinates: -1772, -3463, -0523
Get the Evil Spirit Mask
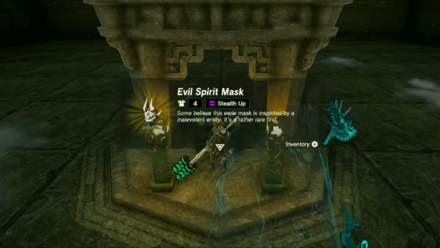
Open the chest that will appear in the middle of the room to get the Evil Spirit Mask!
XYZ Coordinates: -1793, -3462, -0522
How to Get the Evil Spirit Set: Location and Set Bonus
The Legend of Zelda: Tears of the Kingdom Related Guides

List of All Walkthroughs
| All Quest Types | ||
|---|---|---|
 Main Quests Main Quests |
 Side Quests Side Quests |
 Side Adventures Side Adventures |
List of All Side Quests
Comment
Author
The Legend of Zelda: Tears of the Kingdom Walkthrough & Guides Wiki
The South Lomei Prophecy Walkthrough and How to Unlock
improvement survey
03/2026
improving Game8's site?

Your answers will help us to improve our website.
Note: Please be sure not to enter any kind of personal information into your response.

We hope you continue to make use of Game8.
Rankings
- We could not find the message board you were looking for.
Gaming News
Popular Games

Genshin Impact Walkthrough & Guides Wiki

Honkai: Star Rail Walkthrough & Guides Wiki

Umamusume: Pretty Derby Walkthrough & Guides Wiki

Pokemon Pokopia Walkthrough & Guides Wiki

Resident Evil Requiem (RE9) Walkthrough & Guides Wiki

Monster Hunter Wilds Walkthrough & Guides Wiki

Wuthering Waves Walkthrough & Guides Wiki

Arknights: Endfield Walkthrough & Guides Wiki

Pokemon FireRed and LeafGreen (FRLG) Walkthrough & Guides Wiki

Pokemon TCG Pocket (PTCGP) Strategies & Guides Wiki
Recommended Games

Fire Emblem Heroes (FEH) Walkthrough & Guides Wiki

Diablo 4: Vessel of Hatred Walkthrough & Guides Wiki

Yu-Gi-Oh! Master Duel Walkthrough & Guides Wiki

Super Smash Bros. Ultimate Walkthrough & Guides Wiki

Pokemon Brilliant Diamond and Shining Pearl (BDSP) Walkthrough & Guides Wiki

Elden Ring Shadow of the Erdtree Walkthrough & Guides Wiki

Monster Hunter World Walkthrough & Guides Wiki

The Legend of Zelda: Tears of the Kingdom Walkthrough & Guides Wiki

Persona 3 Reload Walkthrough & Guides Wiki

Cyberpunk 2077: Ultimate Edition Walkthrough & Guides Wiki
All rights reserved
© Nintendo. The Legend of Zelda and Nintendo Switch are trademarks of Nintendo.
The copyrights of videos of games used in our content and other intellectual property rights belong to the provider of the game.
The contents we provide on this site were created personally by members of the Game8 editorial department.
We refuse the right to reuse or repost content taken without our permission such as data or images to other sites.


![Monster Hunter Stories 3 Review [First Impressions] | Simply Rejuvenating](https://img.game8.co/4438641/2a31b7702bd70e78ec8efd24661dacda.jpeg/thumb)
![Slay the Spire 2 Review [Early Access] | Still the Deckbuilder to Beat](https://img.game8.co/4433115/44e19e1fb0b4755466b9e516ec7ffb1e.png/thumb)


