Nekroz Deck List & Card Guide
Hello, Duelists! We regret to inform everyone that we have discontinued updates for Yu-Gi-Oh! Master Duel since December 2025. Our Friends Board and PVP Board will be active, but some of our guides will not be up-to-date. Thank you for your support!
Nekroz is a Control deck in Yu-Gi-Oh! Master Duel, which once stood at the top of the meta by summoning Ritual Monsters from the GY or using the Extra Deck as tribute fodder. See the core deck list, key combos, strategies how to play & beat as well as free-to-play (F2P), budget and alternate options here!
Nekroz Deck List
| Main Deck: 42 cards | ||||
|---|---|---|---|---|
 |
 |
 |
 |
 |
 |
 |
 |
 |
 |
 |
 |
 |
 |
 |
 |
 |
 |
 |
 |
 |
 |
- | - | - |
| Extra Deck: 15 cards | ||||
 |
 |
 |
 |
 |
 |
 |
 |
 |
 |
 |
 |
- | - | - |
Nekroz Breakdown
| Rarity | Name | Qty |
|---|---|---|
| Nadir Servant | 3 | |
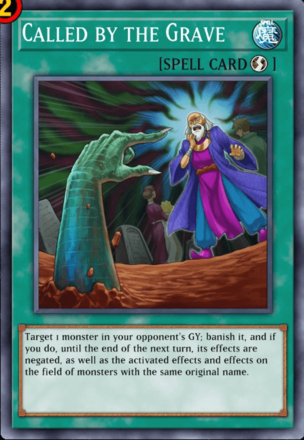
| Called by the Grave | 1 | |
| Crossout Designator | 1 | |
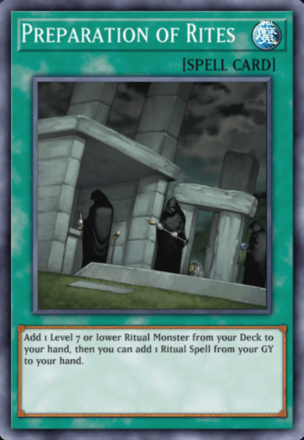
| Preparation of Rites | 3 | |
| Nekroz Divinemirror | 3 | |
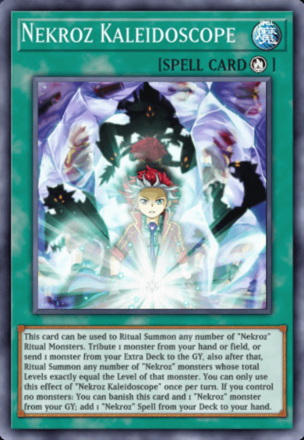
| Nekroz Kaleidoscope | 2 | |
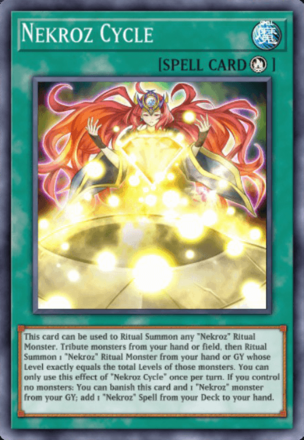
| Nekroz Cycle | 1 | |
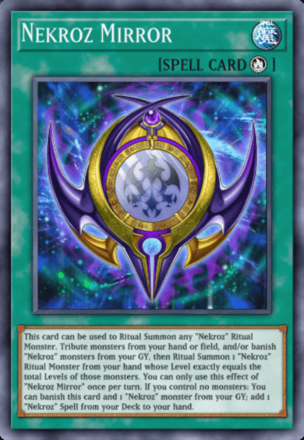
| Nekroz Mirror | 1 |
| Rarity | Name | Qty |
|---|---|---|
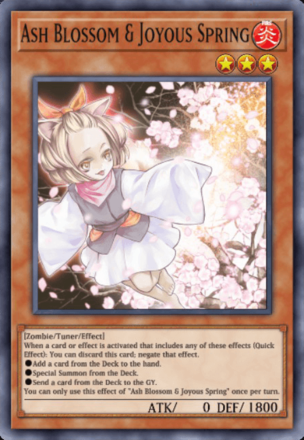
| Infinite Impermanence | 3 |
Alternative Cards for Nekroz
| Diviner of the Herald | |
|---|---|
|
|
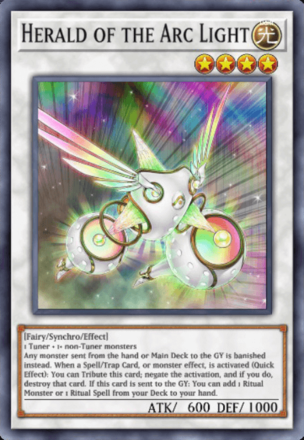
Diviner of the Herald seems like a staple for any Deck that heavily favors Ritual Monsters for its Deck, much like Voiceless Voice and Drytron. It is a Foolish Burial to send Herald of the Arc Light which should make getting the Nekroz monsters on hand faster. |
| Impcantation Engine | |
|
|
For those who want some more support for the Rigtual side of the Deck, players can opt to run the Impcantation Engine instead. Cards like Chalislime, Candoll and Talismandra should help getting either the needed Ritual Spell or Ritual Monster on hand for full combo. |
| Cyber Angel Benten | |
|
|
Another staple support for Ritual Monsters is Cyber Angel Benten. If you tribute this monster for any reason, which also includes being used as Ritual Summon material fodder, you can add a LIGHT Fairy monster from the Deck to the hand, which coincidentally works for another mentioned support here: Diviner of the Herald. |
| Barrier Statue of the Torrent | |
|
|
Barrier Statue of the Torrent makes sense for Nekroz, as most of the monsters from this archetype are under the WATER attribute. So long as this monster is face-up and alive on your field, neither player cannot Special Summon non-WATER monsters. |
Nekroz Deck Guide: How to Play
Playstyle and Win Condition
Nekroz is an archetype focused on Ritual Summoning mostly composed of monsters with the Attributes of WATER and LIGHT. They were once the best Ritual archetype in all of Yu-Gi-Oh, as most of the Ritual Monsters have effects that can be used while they were still on the hand instead of needing to be on the field.
This allowed the archetype
Nekroz Cards
|
|
|
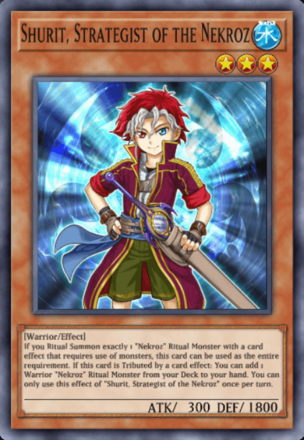
Shurit, Strategist of the Nekroz was once a mandatory card to have at 3 copies for its ability to fill the Level requirement for an entire Ritual Summon and then search off of it afterwards. However, the newer support Nekroz got makes his job a lot easier, which lets him no go down to even just one copy per Deck.
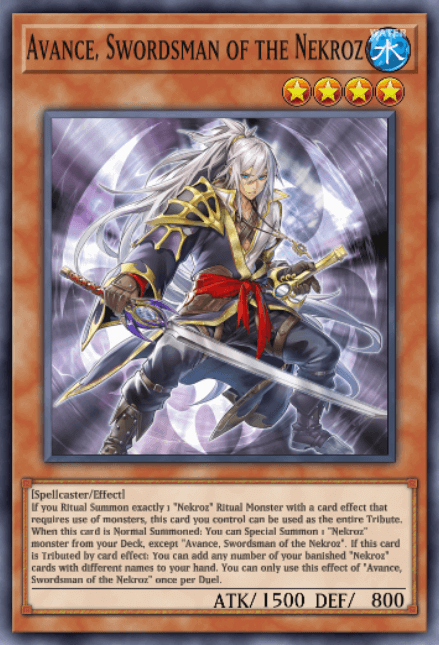
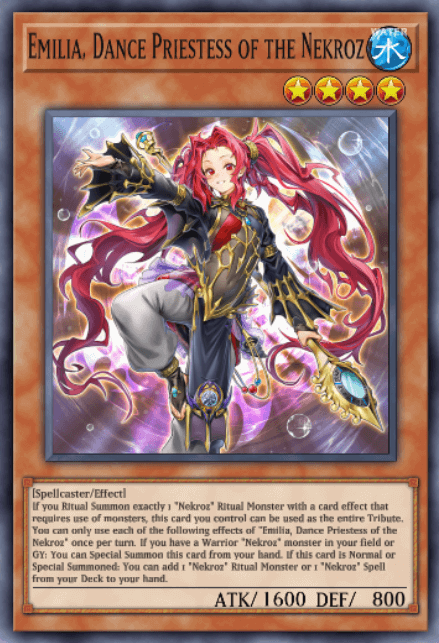
Both of the new cards can also fill the entire level requirement as needed. Avance, Swordsman of the Nekroz is usually Normal Summoned to Special Summon Emilia, Dance Priestess of the Nekroz, which could then search out a Nekroz Ritual Monster or Ritual Spell.
|
|
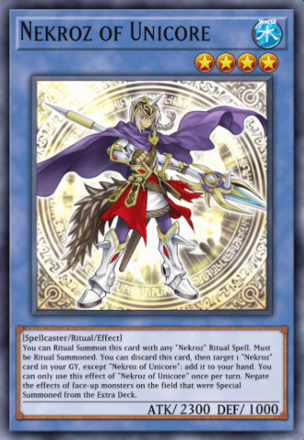
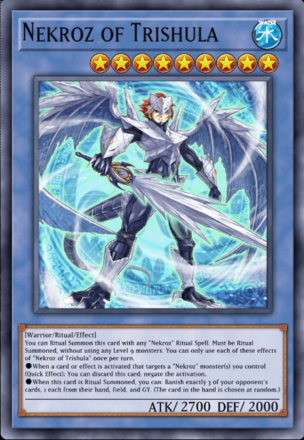
The core among the Ritual Monsters of the archetype remains the same. Nekroz of Unicore and Nekroz of Trishula are your primary Ritual Summon targets. Unicore offers a board-wide effect negation to any Monster that is Summoned from the Extra Deck. Trishula has a non-targeting removal effect, but the opponent must exactly have 1 on each Graveyard, Field, and Hand for this to activate and resolve.
|
|
|
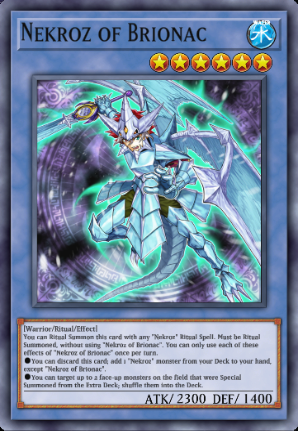
The higher-leveled Riual Monsters serve as means to interrupt the opponent, or be board breakers on their own right. For example, Nekroz of Brionac bounces back two Special Summoned monsters on the field back to the hand. This can be used on your own monsters if you need them back on hand.
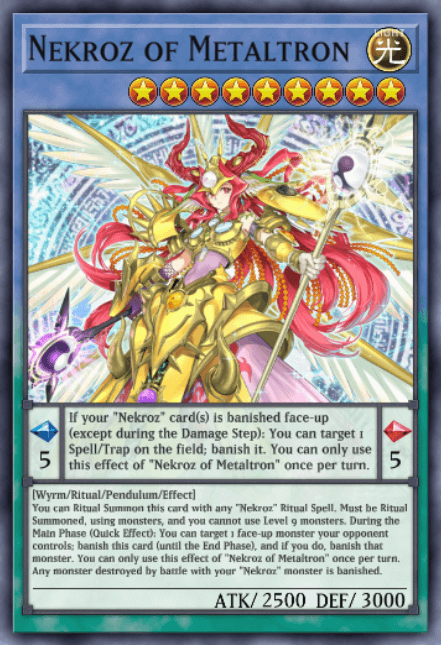
Nekroz of Metaltron is the only Pendulum Monster of the archetype, but it serves its purpose well. Its Pendulum Effect lets it banish a Spell/Trap if one of your own Nekroz monsters ends up getting banished. On the field, it has basically the same effect as S:P Little Knight to banish itself and another card for the rest of the turn.
The main boss monster would be Nekroz of Areadbhair, which has a negate against monsters and banishes them afterwards. On the hand, by tributing Nekroz monsters on the field or hand it is a double Foolish Burial, or even Foolish Burial Goods, which you can use to your advantage later.
|
|
For last resort monsters, there are two options. First is Nekroz of Decisive Armor, which is often just used to boost another Nekroz monster's stats for a turn by discarding itself. However, on the field, it destroys and banishes a Set card the opponent controls.
The second and stronger option is Nekroz of Sophia. Its Ritual Summon needing three different monster types is warranted once it banishes every other card in the Field and GYs. However, its effect on hand is even stronger, it prevents the opponent from Special Summoning from the Extra Deck by discarding itself and a Nekroz Spell Card.
|
|
|
|
Speaking of Nekroz Spell Cards, there are four of them to consider now. Nekroz Mirror and Nekroz Cycle are the classic cards for the archetype, as they also double as other searchers to keep cards on hand to be used later.
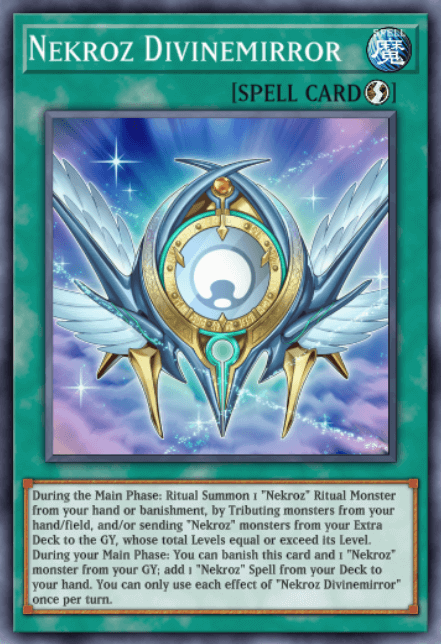
The newer cards are basically stronger retrains of the cards. Nekroz Kaleidoscope can be used to Ritual Number multiple Nekroz monsters so long as the monsters match the Level of the tributed monster combined. Nekroz Divinemirror can make use of your Extra Deck Nekroz Monsters and have them be used as tribute.
Core Combos and Interactions
Avance One-Card Combo
In this 1-card combo, all you need is a single Avance bring out Nekroz of Areadbhair, while still using minimal cards and gaining card advantage on hand immediately afterwards.
| Card(s) Needed on Hand | |
|---|---|
|
|
|
| Step | Description |
| 1 | Normal Summon Avance, Swordsman of the Nekroz, and trigger its effect on summon; Special Summon Emilia, Dance Priestess of the Nekroz from the Deck. Then, trigger Emilia's effect on Special Summon; add Nekroz of Areadbhair from the Deck. |
| 2 | Activate Nekroz of Areadbhair from the hand; tribute Emilia, Dance Priestess of the Nekroz from the field, and send Nekroz Divinemirror from the Deck to GY. From here, trigger Divinemirror's effect in the GY; banish itself and Emilia to add Nekroz Cycle from the Deck to hand. |
| 3 | Activate Nekroz Cycle from the hand; tribute Avance, Swordsman of the Nekroz on the field and have it act as the entire material needed to Ritual Summon Nekroz of Areadbhair from the Graveyard. Avance's effect triggers after being tributed; add the banished Divinemirror and Emilia, Dance Priestess of the Nekroz back to the hand. |
Note: You can kickstart this combo if you have Nekroz of Brionac on hand; discard it to search out Avance, Swordsman of th Nekroz if you don't have it on your starting hand.
Boss Monsters
| Nekroz of Unicore | |
|---|---|
|
|
For a Level 4 Ritual Monster, Nekroz of Unicore is pretty strong with a built-in floodgate effect. While this monstger is face-up and active on the field, this monster negates the effects of monsters on the field that werte Special Summoned from the Extgra Deck. It can also discard itself from the hand for a recycle effect, able to add a fellow Nekroz monster from the GY back to the hand. |
| Nekroz of Brionac | |
|
|
Nekroz of Brionac has a searcher effect by discarding itseld from the hand, adding another Nekroz monster from the Deck to hand. Then while on the field, this monster can shuffle back two monsters Special Summoned from the Extra Deck. Do tagke note that you cannot use another copy of itself as tribute to summon this card. |
| Nekroz of Trishula | |
|
|
When Nekroz of Trishula is Ritual Summoned, it immediately gets to banish one card each from the opponent's hand, field and Graveyard. This card also acts as a hand trap while in the hand, able to discard itself to negate an effect that was targeting a Nekroz monster. |
| Nekroz of Areadbhair | |
|
|
Nekroz of Areadbhair has an interesting effect on hand when it discards itself, as it aslo needs to tribute 2 Nekroz monsters from the hand and/or field to then send an equal number of Nekroz monsters from the Deck to the GY. Then while on tghe field, it can negate a monster effect by tributing another monster from the hand or Field. |
| Nekroz of Metaltron | |
|
|
Surprisingly, Nekroz of Metaltron is the only Pendulum Nekroz monster in the archetype. Its monster effect is basically the temporary banish effect S:P Little Knight has, while as a Pendulum Card it banishes a Spell/Trap Card once per turn when a Nekroz monster of yours gets banished. It also guarantees any monster that battles your own Nekroz monster will be banished after the Damage Step. |
| Nekroz of Sophia | |
|
|
Nekroz of Sophia must be summoned by using three monsters with different types. It can discard itself and another Nekroz Spell Card, this monster blocks the opponent from Special Summoning from the Extra Deck, but this effect can only be used during Main Phase 1. Also, on Ritual Summon it banishes all cards from both players' Graveyards, but you are barred from Summoning the turn you activate this effect. |
Nekroz Counters: How to Beat
Best Decks to Use Against Nekroz
Ice Barrier

Ice Barriers are an interesting archetype that share the same Attribute as the Nekroz monsters. Whoever gets to set up their field first with monsters that bottleneck the other player will determine the winner.
For Ice Barriers, they have to get Lancea, Ancestral Dragon of the Ice Mountain out as soon as possible to summon the Ice Barrier monsters that have floodgate effects. For the Nekroz, it's either Trishula, Metatron or Sophia they need to get out as soon as possible.
Ice Barrier Deck List & Card Guide
Kashtira

Even after all this time, Kashtira are still known for their ability to punish their opponents from using monster effects, lest they deal with banishing effectss on the field, in hand or even from the Extra Deck.
Especially dangerous is the twofold combo of Kashtira Shangri-Ira and Kashtira Arise-Heart. The latter basically is a pseudo-Macro Cosmos, while former will block off Card Zones each time a card is banished face-down.
| All Kashtira Deck Guides | ||
|---|---|---|
| Pure Kashtira | Scareclaw Kashtira | Fiendsmith Kashtira |
Tearlaments

Tearlaments can be quite monstrous depending on the version it has, from Lightsworn to Horus to now Gem-Knights. All of them share one thing in common; a rather powerful board with various Extra Deck Monsters and interruptions by the end of the turn.
If the Nekroz Deck can have their crucial monsters on their field as fast as possible, before the Tearlaments can Fusion Summon after sending their monsters to the GY, they would havea fighting chance. Otherwise, cards like Tearlaments Rulkallos, Predaplant Dragostapelia, Baronne de Fleur and more boss monsters will run away with Tearlaments for the win.
| All Tearlaments Deck Guides | |
|---|---|
| Tearlaments | Horus Tearlaments |
Maliss

Maliss at full power right now is the undisputed best Deck in Master Duel, gaining advantage by banishing its own cards in order to either get bodies on the field for Link Summon, or to have card advantage on hand or on the back row.
While Nekroz and their monsters with floodgate effects might hinder Maliss's playstyle (especially Nekroz of Unicore), some of the Link Monsters can just bypass the floodgate by being banished away from the field the same chain their effects resolve.
Maliss Deck Guide and Card List
Best Cards to Tech Against Nekroz
| Nibiru, the Primal Being | |
|---|---|
|
|
Being a Ritual-centric archetype, Nekroz will definitely go over 5 Special Summons in a single turn in order to get their more powerful boss monsters out on the field. Nibiru, the Primal Beingcan wipe out their field easily as it does not come from the Extra Deck. Be careful, however, as the token on the opponent's side of the field could end up being used as material for another Nekroz Ritual Summon. |
| Droll & Lock Bird | |
|
|
A number of monsters in Nekroz need to be searched out in order to get to their full combo. Droll & Lock Bird should lock them out of future searches, and additional cards to add on hand if they ever activate a Mulcharmy or Maxx "C". |
| Maxx "C" and Mulcharmy Purulia | |
|
|
Speaking of which, both Mulcharmy and Maxx "C" are powerful counters against Nekroz, who need to Special Summon multiple times in order to get their key monsters on the field as soon as possible. For Mulcharmy, the best card against Nekroz would have to be Mulcharmy Purulia as the Ritual Summons need to have the Ritual Monsters on hand in order to be summoned. |
| Super Polymerization | |
|
|
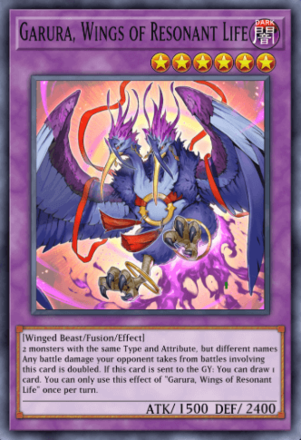
There is a chance that Fusion-centric Decks might decide to run Super Polymerization not just as an offensive option, but as a defensive one as well. Multiple Nekroz Monsters share the same Attribute, which is usually LIGHT or WATER. This makers them prime targets to be Fusion Materials for monsters like Mudragon of the Swamp and Garura, Wings of Resonant Life. |
| Skill Drain | |
|
|
A majority of the Nekroz monsters' real strength become active once they are on the field. Having Skill Drain denies them those floodgate effects while this Continuous Trap Card is face-up and active. Though, do keep in mind this also affects your own Effect Monsters that are on the field. |
Related Packs to Nekroz
Yu-Gi-Oh Master Duel Related Guides

Yu-Gi-Oh Master Duel Deck Archetypes
Yu-Gi-Oh Master Duel Decks
Deck Tier List: Best Decks for Season 49
List of All Covered Decks
World Champion Decks
Decks Used in Worlds 2024
| Decks Used By All Teams in Worlds 2024 | ||
|---|---|---|
| snipehunters | CER | Hero's Future |
| BOTB | MYYGO | Thank Love |
| CER 2 x FCG | BRAZ IL | Maxx “Yee” |
| Double Noir | Rogue Ruler | |
Aggro Decks
Control Decks
Burn Decks
| List of All Burn Decks | ||
|---|---|---|
| Red-Eyes Burn | Timelord Burn | Chain Burn |
| D.D. Dynamite | Igknight OTK | Cubic |
| Dinosaur Bishbaalkin FTK | Volcanic Snake-Eyes | Transaction Rollback Burn |
Alt-Win Decks
| List of All Alternate Win Decks | ||
|---|---|---|
| Crooked Cook Exodia | Flower Cardian Exodia | Treasure Panda Exodia |
| Suicide | Defense OTK | |
All Budget Decks
Best Cards for Decks
Author

Nekroz Deck List & Card Guide
Rankings
Gaming News


![Monster Hunter Stories 3 Review [First Impressions] | Simply Rejuvenating](https://img.game8.co/4438641/2a31b7702bd70e78ec8efd24661dacda.jpeg/thumb)
Popular Games

Genshin Impact Walkthrough & Guides Wiki
Umamusume: Pretty Derby Walkthrough & Guides Wiki
Pokemon Pokopia Walkthrough & Guides Wiki
Honkai: Star Rail Walkthrough & Guides Wiki
Monster Hunter Stories 3: Twisted Reflection Walkthrough & Guides Wiki
Arknights: Endfield Walkthrough & Guides Wiki
Wuthering Waves Walkthrough & Guides Wiki
Zenless Zone Zero Walkthrough & Guides Wiki
Pokemon TCG Pocket (PTCGP) Strategies & Guides Wiki
Monster Hunter Wilds Walkthrough & Guides Wiki


Recommended Games
Diablo 4: Vessel of Hatred Walkthrough & Guides Wiki
Cyberpunk 2077: Ultimate Edition Walkthrough & Guides Wiki
Fire Emblem Heroes (FEH) Walkthrough & Guides Wiki
Yu-Gi-Oh! Master Duel Walkthrough & Guides Wiki
Super Smash Bros. Ultimate Walkthrough & Guides Wiki
Pokemon Brilliant Diamond and Shining Pearl (BDSP) Walkthrough & Guides Wiki
Elden Ring Shadow of the Erdtree Walkthrough & Guides Wiki
Monster Hunter World Walkthrough & Guides Wiki
The Legend of Zelda: Tears of the Kingdom Walkthrough & Guides Wiki
Persona 3 Reload Walkthrough & Guides Wiki


All rights reserved
©高橋和希 スタジオ・ダイス/集英社・テレビ東京・NAS
©Konami Digital Entertainment
The copyrights of videos of games used in our content and other intellectual property rights belong to the provider of the game.
The contents we provide on this site were created personally by members of the Game8 editorial department.
We refuse the right to reuse or repost content taken without our permission such as data or images to other sites.