Leveling Guide: How to Level Up Fast
☆ Equipment: Best Weapons | Best Armor
★ Leveling Guide: Max Level | Stat Growth
☆ Fast Travel: Portcrystals | Oxcarts
★ Discipline Points (DP) | Rift Crystals (RC) | Gold
This is a leveling guide for Dragon's Dogma 2 (DD2). Learn how to level up fast, the best leveling locations, the best pawn composition for farming experience points, and find out the max level in this guide!
List of Contents
How to Level Up Fast
| How to Get Experience Fast |
|---|
|
|
Defeat Groups of Enemies
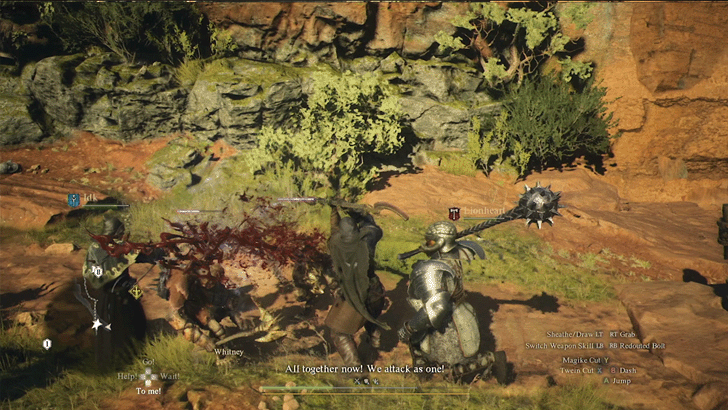
Fighting large groups of enemies results in a high yield of experience (EXP). Believe it or not, defeating a group of 10 goblins is equivalent to defeating a single Cyclops! Do not shy away from a large group of enemies; plan your approach and supplies!
Rest at Campfires
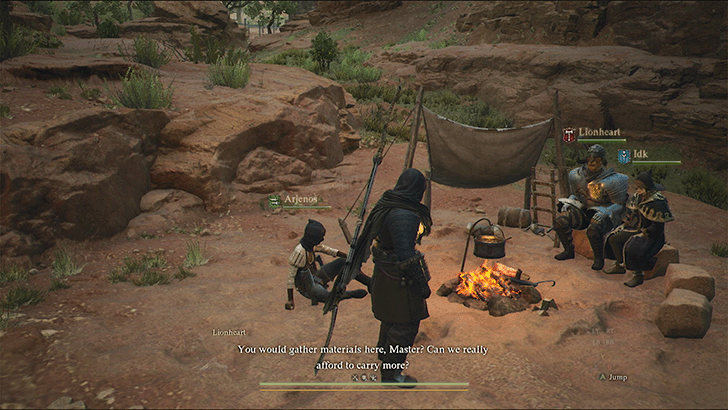
Resting at campfires will give the enemies you defeated in the area to respawn. After using a Camping Kit, you can also cook food to get increased stats, making the process of getting EXP much faster!
However, do keep in mind that monsters have randomized respawn timers and are not guaranteed to respawn after resting in the camp.
Hunt Down Monsters
As you explore the region, you will encounter beasts with high health. These sizable monsters are considered mini-bosses and they reward a significant amount of EXP when defeated. While they may be hard at first, they also hold materials for enhancement!
Finish Side Quests
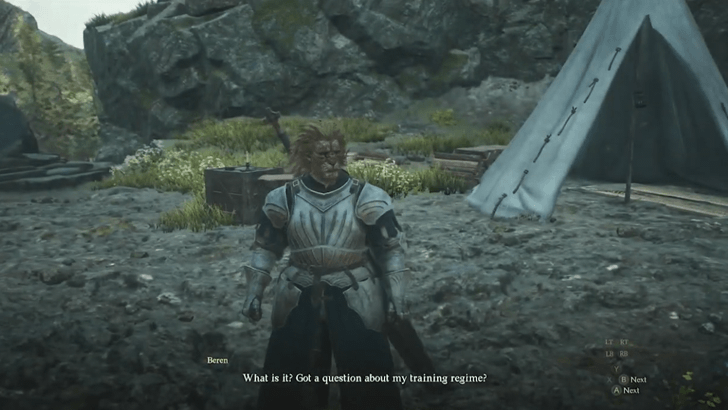
Dragon's Dogma 2 has a rich cast of NPCs that can give the Arisen side quests. Each side quest rewards you differently, but receiving EXP is guaranteed on its completion. While the EXP is static for each side quest, it is still recommended to complete as many side quests as possible to gain levels.
Bring Pawns With Widespread Damage
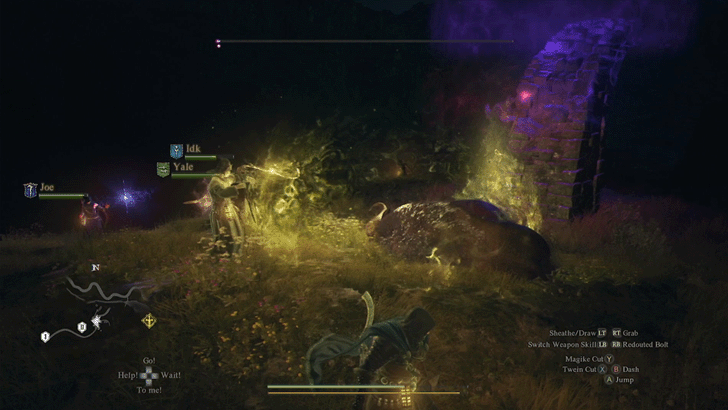
As the Arisen, you have complete dominion over all Pawns. For leveling up, choose Pawns with vocations that have access to Area of Effect (AOE) damage such as the Sorcerer and Warrior vocations.
Bring Thief with Bump and Lift
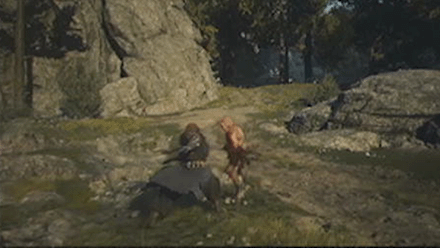
Optionally, if you need more materials while having high DPS for monsters, bring a Thief that knows the Bump and Lift Core Skill. This pawn setup periodically steals items from fighting enemies, thus helping you grind for items while getting EXP.
Bump and Lift Core Skill and How to Unlock
Best Early Game Leveling Locations
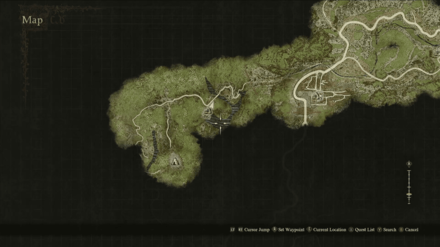
Farm Experience at Campfire Near the Checkpoint Rest Town
| Map Image | Overworld Image |
|---|---|
 |
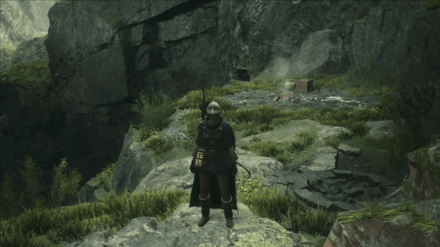 |
For the earlier parts of the game, this spot is ultimately the best spot for farming experience. After clearing out the monsters, rest at the campfire to reset the monster spawns!
Since you are also close to the town, you can also sell the materials gained from each of these monsters and then quickly re-configure your vocations and pawn setup.
Monsters
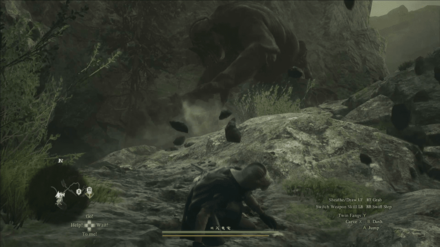
Mainly, you will be farming a large group of Rock Lizards. There is an abundance of these Rock Lizards, which give 624 EXP each.
You will encounter a passage guarded by an Armored Cyclops if you climb further. Entering the passage, you will encounter two Minotaurs and a hidden Chimera. Here are their EXP Values:
- Cyclops (2678 EXP)
- Minotaur (3296 EXP)
- Chimera (5047 EXP)
How to Reach
| 1 | 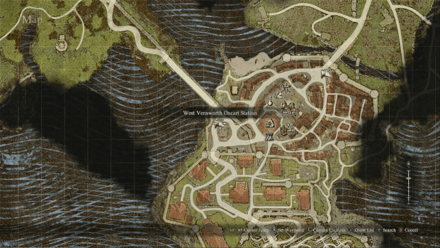 To quickly reach Checkpoint Rest Town, hitch a ride at the West Vernworth Oxcart Station for 200 Gold. |
|---|---|
| 2 | Descend the Bridge After reaching the checkpoint, descend the bridge and follow the stream until you reach a cave. |
| 3 | Climb the Rocks Enter the cave and hug your right until you can climb out the exit. |
| 4 | Cross the Wooden Bridge Ascend the slope then cross the rickety wooden bridge to reach the campfire. Watch out for the rolling Rock Lizards! |
Best Mid Game Leveling Locations
Western Road of Bakbattahl
| Map Image | 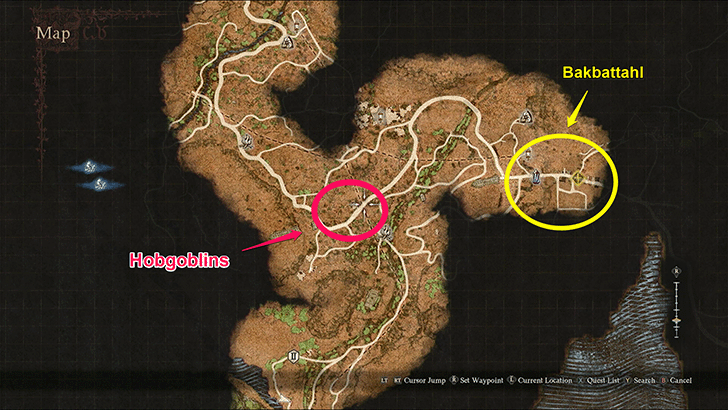 |
|---|---|
| Overworld Image | 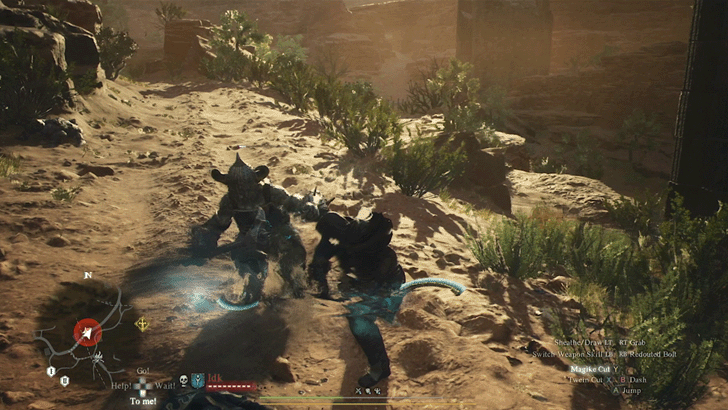 |
One good mid game leveling spot is the western road of Bakbattahl as it has a lot of Hobgoblins in the area that give out 295-550 EXP each when killed. They are fairly quick to kill, however, they do hit hard so it's still best to bring some curatives in case you're on the brink of death.
Additionally, there is a campfire located south of the road where you can rest and replenish your health before you can go back to farming enemies again for EXP.
Equip Ring of Ambition for Bonus EXP
Since the Hobgoblins in the area are pretty fast for gaining exp, you can even earn more by equipping the Ring of Ambition as this ring will slightly boost the experience points you'll receive for each enemy slain.
Ring of Ambition Effects and How to Get
Bakbattahl is Unlocked in Nation of Lambent Quest

Before you can reach Bakbattahl, you will have to progress the story up until the Nation of the Lambent Flame quest, where you will get a border pass in order to get to this area.
Nation of the Lambent Flame Walkthrough
Best End Game Leveling Locations
Road Leading to Dragonsbreath Tower in Bakbattahl
| Map Image | 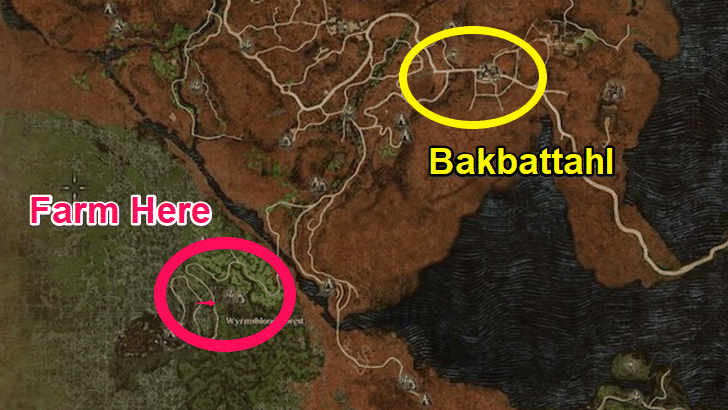 |
|---|---|
| Overworld Image | 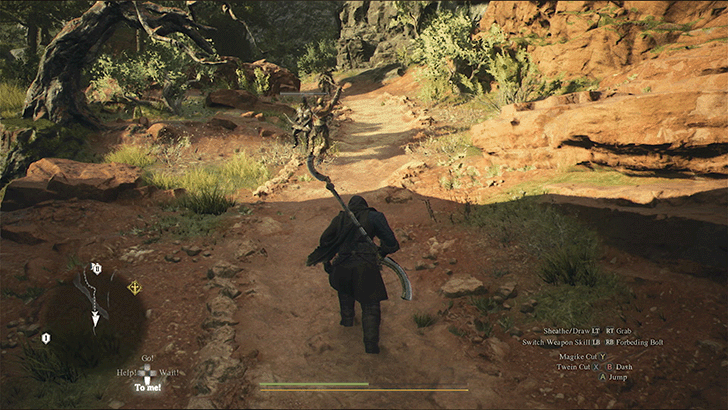 |
For late game, the road leading up to the Dragonsbreath Tower is swarmed with monsters that offer some of the fastest experience points, specifically Knackers, Redwolves, and Lost Mercenaries. At this point of the game, your gear is powerful enough to shred through them and gain some quick easy EXP.
Here's a breakdown for the EXP you'll receive upon killing them:
- Knacker (417 EXP)
- Redwolf (479 EXP)
- Lost Mercenary (556 EXP)
Use Medusan Spellbow for More EXP and to Deal with Harpies
The Medusa's Spellbow grants you additional experience points upon killing a monster, which is perfect for late game exp farming.
To add to this, there are some Gore Harpies flying around the road, so you'll want a ranged weapon to deal with them.
Medusan Spellbow Stats and How to Get
Fight the Drake at the Tower for Extra EXP
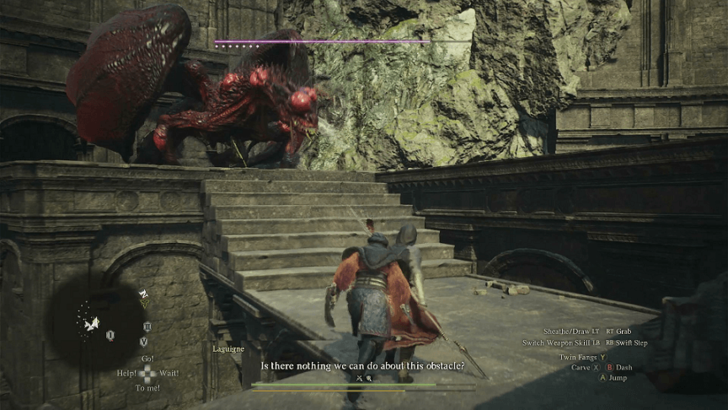
If you've managed to venture towards the tower, there will be a Drake present there that you can kill to get additional experience points and you'll also be able to harvest Wyrmslife Crystals from it!
Otherwise, you can ignore it if you're just there to farm EXP from the monsters around the area. Just try not to get too close to the tower to avoid drawing its attention to you.
Wyrmslife Crystals (WLC) Farming Guide
Best Pawn Composition for Leveling Up
Early Game Pawn Setup
| Pawns |
|---|
Note: You can look to the Game8 Community to get pawns with specific skills.
Mage
| Skill | Rank Unlock | Description |
|---|---|---|
| Palladium | 1 | Conjures a cluster of magickal energy that blocks up to three attacks from targets. The cluster will also dissipate after a time. |
| Fire Boon | 1 | Enchants the caster’s weapon or that of a single ally with fire. The enchantment persists for a period of time. |
| Ice Boon | 2 | Enchants the caster’s weapon or that of a single ally with ice. The enchantment persists for a period of time. |
| Celerity | 4 | Conjures a magickal sign that hastens the speed of allies within range. The effect persists for a period of time. |
For your main pawn, set their vocation to the Mage vocation and set their skills up for support. Celerity provides you and your other pawns with an increase in speed, including casting time and attacks!
Always bring Fire and Ice Boon for additional elemental coverage if you are using a Strength-focused vocation. Palladium is a strong early-game protection spell that lets the party absorb three instances of damage.
Sorcerer
| Skill | Rank Unlock | Description |
|---|---|---|
| Salamander | 1 | Conjures a flame that slithers forward along the ground. The flame remains for a time and deals continuous damage to any targets it touches. |
| Thundermine | 1 | Conjures a ball of lightning that automatically unleashes crackling bolts at foes who draw near. The bolts also knock down smaller targets. Dissipates in time or after a number of attacks. |
| Hagol | 2 | Summons a bone-chilling blizzard in the immediate vicinity that damages any targets it touches and inflicts them with frostbite. |
| Frigor | 3 | Conjures a giant pillar of ice that lingers for a period of time and can serve as a stepping stone. After the pillar is destroyed, grabbable blocks of ice will remain. |
As soon as you finish the Vocation Frustration side quest, look for a Sorcerer pawn with these AOE Elemental spells. When a Sorcerer is configured this way, you can quickly clear hordes of enemies for faster EXP growth.
Furthermore, Hagol can easily stun-lock large monsters, giving you a chance to pinpoint their weak points!
Fighter
| Skill | Rank Unlock | Description |
|---|---|---|
| Airward Slash | 1 | Performs a jump while slashing diagonally upward. An effective means of assailing flying targets. |
| Shield Bash | 1 | Delivers a powerful blow with the shield that can knock targets off balance. |
| Shield Summons | 2 | Raps the shield loudly to attract the attention of nearby targets. |
| Gouging Skewer | 4 | Thrusts the blade into the target’s body before raining further blows upon them. If strikes connect, the user clings to larger targets and pins down smaller targets that are flinching. |
When you look for a Fighter pawn, look for one that has a straightforward inclination and a Shield Summons to remove aggro for you and your caster pawns. For its other weapon skills, the Fighter is quite versatile, but these are the recommended skills to cover all of this vocation's weaknesses.
What is the Max Level?
Max Level for Both Arisen and Pawn is Lvl. 999
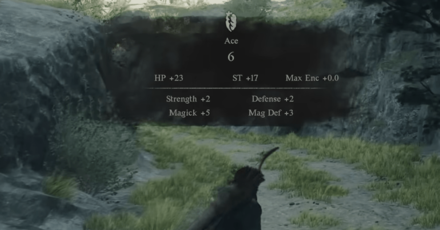
The level cap in Dragon's Dogma 2 is Lvl. 999 for both the Arisen and Pawns. Reaching this feat is almost impossible, as the first title has a maximum level of 200 and is already a hard enough challenge!
Dragon's Dogma 2 Related Guides

Beginner's Guide: Tips and Tricks
Tips and Tricks
Comment
Author
Leveling Guide: How to Level Up Fast
improvement survey
03/2026
improving Game8's site?

Your answers will help us to improve our website.
Note: Please be sure not to enter any kind of personal information into your response.

We hope you continue to make use of Game8.
Rankings
- We could not find the message board you were looking for.
Gaming News
Popular Games

Genshin Impact Walkthrough & Guides Wiki

Honkai: Star Rail Walkthrough & Guides Wiki

Umamusume: Pretty Derby Walkthrough & Guides Wiki

Pokemon Pokopia Walkthrough & Guides Wiki

Resident Evil Requiem (RE9) Walkthrough & Guides Wiki

Monster Hunter Wilds Walkthrough & Guides Wiki

Wuthering Waves Walkthrough & Guides Wiki

Arknights: Endfield Walkthrough & Guides Wiki

Pokemon FireRed and LeafGreen (FRLG) Walkthrough & Guides Wiki

Pokemon TCG Pocket (PTCGP) Strategies & Guides Wiki
Recommended Games

Diablo 4: Vessel of Hatred Walkthrough & Guides Wiki

Fire Emblem Heroes (FEH) Walkthrough & Guides Wiki

Yu-Gi-Oh! Master Duel Walkthrough & Guides Wiki

Super Smash Bros. Ultimate Walkthrough & Guides Wiki

Pokemon Brilliant Diamond and Shining Pearl (BDSP) Walkthrough & Guides Wiki

Elden Ring Shadow of the Erdtree Walkthrough & Guides Wiki

Monster Hunter World Walkthrough & Guides Wiki

The Legend of Zelda: Tears of the Kingdom Walkthrough & Guides Wiki

Persona 3 Reload Walkthrough & Guides Wiki

Cyberpunk 2077: Ultimate Edition Walkthrough & Guides Wiki
All rights reserved
©CAPCOM CO., LTD. ALL RIGHTS RESERVED.
The copyrights of videos of games used in our content and other intellectual property rights belong to the provider of the game.
The contents we provide on this site were created personally by members of the Game8 editorial department.
We refuse the right to reuse or repost content taken without our permission such as data or images to other sites.


![Monster Hunter Stories 3 Review [First Impressions] | Simply Rejuvenating](https://img.game8.co/4438641/2a31b7702bd70e78ec8efd24661dacda.jpeg/thumb)


