Roaring Temple Dungeon: How to Beat King Chimaerus
As of March 2025, Game8 has ended coverage of Throne and Liberty.
Thank you very much for your understanding and we hope you continue to enjoy Game8's guides!
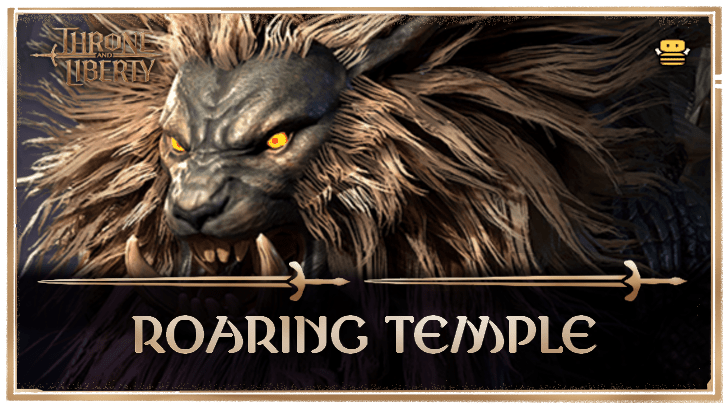
Roaring Temple is a Dimensional Circle dungeon where you must fight King Chimaerus in Throne and Liberty (TL). Read on to see an overview of Roaring Temple, a complete walkthrough of Temple of Roar, how to beat King Chimaerus, as well as the possible rewards and drops upon completion!
List of Contents
How to Beat King Chimaerus
King Chimaerus Boss Showcase
Disclaimer: This clear was done in the KR server and done on high-level accounts.
Check out our 2-minute clear of King Chimaerus!
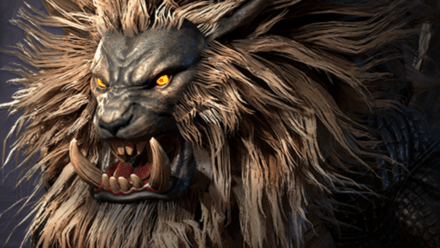
King Chimaerus Overview
| King Chimaerus | |
|---|---|
 |
|
| Type | Demon |
| Passive | Dusk Madness: Night: Damage Dealt ▲, Damage Taken ▲ |
King Chimaerus Mechanics
| King Chimaerus Mechanics |
|---|
Pull the Latches to Prevent Team Wipe
When King Chimaerus jumps into the middle of the stage and begins speaking in a different language, use the grapple hook to activate two of the four latches in the arena. This will cause King Chimaerus to be doused in water, preventing a team-wipe.
Fireball Projectile Mechanic
During the fight, King Chimaerus will target a player with poison, indicated by a green beam of light. The boss will then immediately shoot a fireball at the chosen target, which will result in an instant kill. You can only survive this by hiding behind the tank for them to block the projectile, mitigating the instant kill mechanic. Stay close to your team whenever possible so your party members can easily block the attack.
This can be difficult to execute if you are using a melee weapon, so be sure to watch King Chimaerus' movements and back off as soon as the poisoned player is selected.
King Chimaerus Attack Patterns
Pouce Attack
King Chimaerus will sometimes pounce on a player, stunning them, and it is then followed up with a barrage of attacks. You can use skills like Salvation Chain or Invincible Wall to prevent teammates from taking too much damage.
Poison Pools
King Chimaerus launches Poison Pools into the air, which will drop at players' locations, creating areas that deal damage to anyone standing in them. As much as possible, try to make sure that you prepare a Cleanse Skill for your allies or yourself to remove the debuff.
Roaring Temple Best Team and Roles
| Role | Explanation |
|---|---|
  Tank |
Weapon Combination: This weapon combo makes a great tank build to help the party take on the mobs of enemies encountered in the dungeon. Roaring Temple Role: Responsible for taking all of the mob's aggro and grouping them up for the DPS to clean up. King Chimaerus Role: Responsible for tanking damage from King Chimaerus and directing its attacks away from the party, as well as helping soak damage from its Fireball Attack. |
  DPS |
Weapon Combination: This weapon combo is the most ideal for DPS players, having high damage output. Roaring Temple Role: Responsible for clearing mobs in the dungeon, through AOE and single target damage. King Chimaerus Role: Responsible for dealing damage to King Chimaerus, and stacking Thunderclouds debuffs on the boss. |
  DPS |
Weapon Combination: This weapon combo can act as a flexible position within the team composition providing damage while aiding the team with utility. Roaring Temple Role: Responsible for clearing mobs, marking high priority targets, and providing supplementary healing. King Chimaerus Role: Responsible for marking and debuffing King Chimaerus, while also providing supplementary healing and cleansing from Poison. |
  DPS |
Weapon Combination: This weapon combo is a great Magic damage build that clears mobs and bosses efficiently. Roaring Temple Role: Inflicts burn on groups in order to maximize damage from lightning spells. King Chimaerus Role: Responsible for marking, debuffing, and dealing damage to King Chimaerus. |
  DPS |
Weapon Combination: This weapon combo is a DPS build that allows the player to effectively clear mobs and bosses with the interactions between Lightning based skills and Burning and Frost debuffs. Roaring Temple Role: Inflicts Frost on mobs to increase the range of Chain Lightning. King Chimaerus Role: Inflict Thunderclouds and Burning on King Chimaerus through skill rotations to deal damage and lower defenses. |
  Support |
Weapon Combination: This weapon combo is the quintessential Healer build. Use these weapons to provide healing to your teammates and cleanse them of status effects. Roaring Temple Role: Responsible for sustaining the team's Health throughout the dungeon. King Chimaerus Role: King Chimaerus deals large AOE damage, especially with its full-arena instakill attack. Use the team-wide healing and shielding of the Wand and Staff build to keep teammates alive. |
Roaring Temple Walkthrough
| Roaring Temple Sequences | |
|---|---|
| 1 | 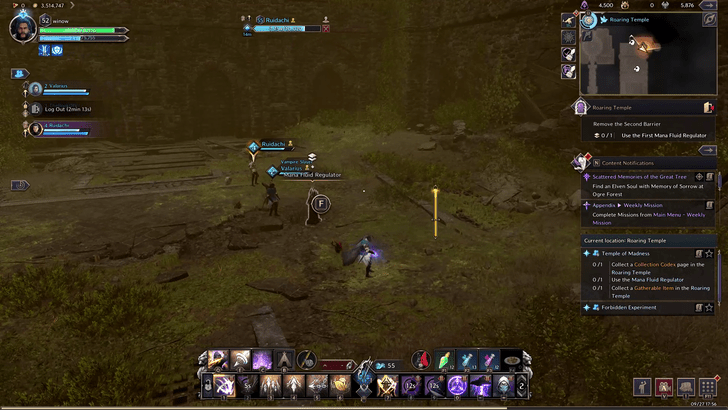 Activate Mana Fluid Regulator The second half of the dungeon is too high to reach. Proceed down the stairs into the lower levels and activate the Mana Fluid Regulators to raise the water level. |
| 2 | 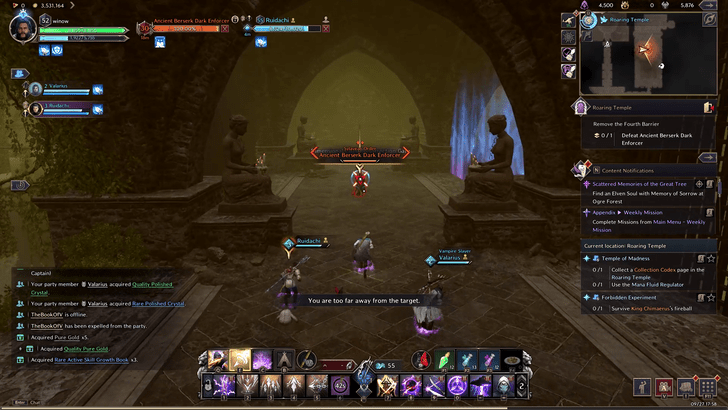 Defeat Ancient Berserk Dark Enforcer This is the first miniboss of the dungeon. Its only notable mechanic is an attack that burns a player, which can be cleansed by jumping in the water. After this, proceeding to the next area will require players to glide through flaming pillars. |
| 3 |  Defeat Ancient Berserk Shade Wizard This second miniboss is a slightly stronger version of the wizards encountered previously in this dungeon. It has a few more moves to note. ┗ How to Defeat Ancient Berserk Shade Wizard |
How to Defeat Ancient Berserk Shade Wizard
Parry the Ancient Berserk Shade Wizard's fury attack to prevent getting stunned. Getting stunned allows the miniboss to inflict even more debuffs on players that can be easily dodged.
The Ancient Berserk Shade Wizard also summons dogs that stun the player if they don't parry their fury attack.
Roaring Temple Overview
| Required Level | Lv. 30 |
|---|---|
| Type | Dimensional Circle |
| Contract Token |
|
| Min. Combat Power | |
| Description | |
| According to the ancient texts, Belluatan looked across the plains one day and spotted a lion. Seeing something of himself in the creature, he embedded within it a fragment of the Star of Sylaveth. The Order's avaricious, chaotic influence warped the lion's appearance over time, twisting its form into that of the hideous beast now known as King Chimaerus. | |
Roaring Temple Best Rewards and All Drops
Wand of Skyward Blessing
| Weapon | Stats |
|---|---|
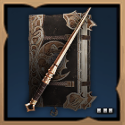 Wand of Skyward Blessing Wand of Skyward Blessing Wand of Skyward Blessing Perception 4
Mana Cost Efficiency +8% |
Type:
Damage: 34~62Atk Spd: 0.5s Range: 15.4m Modifiers: ・Perception 4 ・Mana Cost Efficiency +8% |
Wand of Skyward Blessing is a great rare weapon for healers to farm and fully trait in the early endgame. Its boost to Mana Cost Efficiency alleviates some of your Mana problems, while perception can provide an edge to your Hit Rate, allowing you to more consistently hit your debuffs.
How to Get Wand of Skyward Blessing
Glade Stalker Circlet
| Armor | Stats |
|---|---|
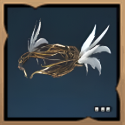 Glade Stalker Circlet Glade Stalker Circlet
|
Type: Head Armor Melee Def: 100 Ranged Def: 100 ・Hit Chance 85 |
Glade Stalker Circle can be viable in almost any build, entering the endgame. However, it is much more suited to those playing DPS characters, providing a significant boost to Hit Chance, and allowing players to hit their skills and inflict debuffs more consistently.
How to Get Glade Stalker Circlet
All Drops
Weapons
| All Weapon Drops |
 Daggers of Slaughtering Daggers of Slaughtering Daggers of Slaughtering Strength 7
Bonus Damage 6 |
 Farshot Longbow Farshot Longbow Farshot Longbow Perception 4
Critical Hit 100 |
 Relentless Cleaver Relentless Cleaver Relentless Cleaver Strength 2
Critical Hit Chance 50 Stamina Regen 1.5 |
 Wand of Skyward Blessing Wand of Skyward Blessing Wand of Skyward Blessing Perception 4
Mana Cost Efficiency +8% |
|---|---|---|---|
Armor
| All Armor Drops |
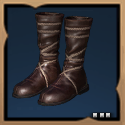 Elusive Hexweaver Shoes Elusive Hexweaver Shoes Elusive Hexweaver Shoes Sleep Chance 50
Health Regen 45 |
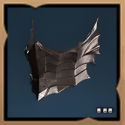 Feathered Drakeskin Mask Feathered Drakeskin Mask Feathered Drakeskin Mask Dexterity 2
Critical Hit Chance 50 |
 Glade Stalker Circlet Glade Stalker Circlet Glade Stalker Circlet Hit Chance 85
|
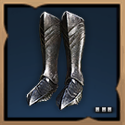 Gloom Guard Sabatons Gloom Guard Sabatons Gloom Guard Sabatons Strength 2
Melee Endurance 80 |
|---|---|---|---|
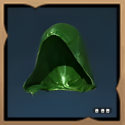 Nature's End Cowl Nature's End Cowl Nature's End Cowl Critical Hit Chance 40
Max Mana 450 |
|||
Accessories
| All Accessory Drops |
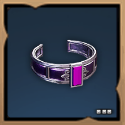 Kunzite Bangle Kunzite Bangle Kunzite Bangle Max Health 150
Silence Resistance 25 Bind Resistance 25 |
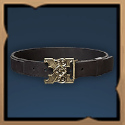 Regeneration Loop Regeneration Loop Regeneration Loop Health Regen 33.75
Mana Regen 33.75 |
|---|
Items
| All Item Drops |
 Rare Polished Crystal Rare Polished Crystal
|
 Quality Polished Crystal Quality Polished Crystal
|
 Fermented Rotein Fermented Rotein
|
 Mana Blood Mana Blood
|
|---|---|---|---|
Other
| All Other Rewards | |
|---|---|
| Abyssal Contract Token Points (x500) | Training Dew: 10,000 Points |
Throne and Liberty (TL) Related Guides

All Co-op Dungeons: Dimensional Circles
Dungeon Guides
| 3-Star Co-op Dungeons | 2-Star Co-op Dungeons |
3-Star Dimensional Circle Coop Dungeons
 Rancorwood Rancorwood |
 Halls of Tragedy Halls of Tragedy |
 Chapel of Madness Chapel of Madness |
 Doomrot Grove Doomrot Grove |
 Twisted Laboratory Twisted Laboratory |
- |
2-Star Dimensional Circle Coop Dungeons
 Island of Terror Island of Terror |
 Voidwastes Voidwastes |
 Valley of Slaughter Valley of Slaughter |
 Carmine Rage Island Carmine Rage Island |
 Torture Chamber of Screams Torture Chamber of Screams |
- |
1-Star Dimensional Circle Coop Dungeons
 Death's Abyss Death's Abyss |
 Cursed Wasteland Cursed Wasteland |
 Temple of Slaughter Temple of Slaughter |
 Butcher's Canyon Butcher's Canyon |
 Tyrant's Isle Tyrant's Isle |
 Cave of Destruction Cave of Destruction |
Dimensional Circle Coop Dungeons
 Specter's Abyss Specter's Abyss |
 Roaring Temple Roaring Temple |
 Cave of Desperation Cave of Desperation |
Event Coop Dungeons
 Haunted Labyrinth Haunted Labyrinth |
Comment
Author
Throne and Liberty: Wilds of Talandre Walkthrough & Guides Wiki
Roaring Temple Dungeon: How to Beat King Chimaerus
improvement survey
03/2026
improving Game8's site?

Your answers will help us to improve our website.
Note: Please be sure not to enter any kind of personal information into your response.

We hope you continue to make use of Game8.
Rankings
- We could not find the message board you were looking for.
Gaming News
Popular Games

Genshin Impact Walkthrough & Guides Wiki

Honkai: Star Rail Walkthrough & Guides Wiki

Umamusume: Pretty Derby Walkthrough & Guides Wiki

Pokemon Pokopia Walkthrough & Guides Wiki

Resident Evil Requiem (RE9) Walkthrough & Guides Wiki

Monster Hunter Wilds Walkthrough & Guides Wiki

Wuthering Waves Walkthrough & Guides Wiki

Arknights: Endfield Walkthrough & Guides Wiki

Pokemon FireRed and LeafGreen (FRLG) Walkthrough & Guides Wiki

Pokemon TCG Pocket (PTCGP) Strategies & Guides Wiki
Recommended Games

Diablo 4: Vessel of Hatred Walkthrough & Guides Wiki

Fire Emblem Heroes (FEH) Walkthrough & Guides Wiki

Yu-Gi-Oh! Master Duel Walkthrough & Guides Wiki

Super Smash Bros. Ultimate Walkthrough & Guides Wiki

Pokemon Brilliant Diamond and Shining Pearl (BDSP) Walkthrough & Guides Wiki

Elden Ring Shadow of the Erdtree Walkthrough & Guides Wiki

Monster Hunter World Walkthrough & Guides Wiki

The Legend of Zelda: Tears of the Kingdom Walkthrough & Guides Wiki

Persona 3 Reload Walkthrough & Guides Wiki

Cyberpunk 2077: Ultimate Edition Walkthrough & Guides Wiki
All rights reserved
Published by Amazon Games under license. ©2023-2024 NCSOFT Corporation. All rights reserved. THRONE AND LIBERTY and the THRONE AND LIBERTY logo are trademarks of NCSOFT Corporation. Used by Amazon Games under license. Amazon Games, Amazon, and all related logos are trademarks of Amazon.com, Inc. or its affiliates. The “PS” Family logo and “PS5” are registered trademarks of Sony Interactive Entertainment Inc. Steam and the Steam logo are trademarks and/or registered trademarks of Valve Corporation in the U.S. and/or other countries.
The copyrights of videos of games used in our content and other intellectual property rights belong to the provider of the game.
The contents we provide on this site were created personally by members of the Game8 editorial department.
We refuse the right to reuse or repost content taken without our permission such as data or images to other sites.


