This survey will take about 1 minute.
Your answers will help us to improve our website.
Throne and Liberty (TL)
Chapel of Madness Dungeon Guide: How to Beat Grayeye
As of March 2025, Game8 has ended coverage of Throne and Liberty.
Thank you very much for your understanding and we hope you continue to enjoy Game8's guides!
Chapel of Madness is a 3-Star Dimensional Circle dungeon where you must fight Grayeye in Throne and Liberty (TL). See an overview of Chapel of Madness, a complete walkthrough of Chapel of Madness, how to beat Grayeye, as well as the best rewards and drops upon completion!
 Attention! Attention! |
The contents of the page are based on the Korean version of the game. We will update the page when the Talandre update releases in the Global version. Thank you for your patience! |
|---|
List of Contents
How to Beat Grayeye
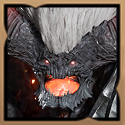
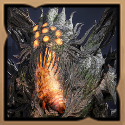
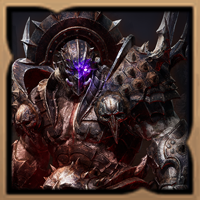
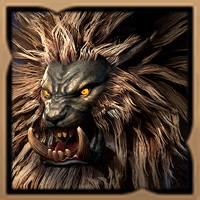
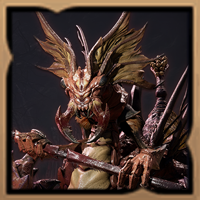
Grayeye Overview
| Grayeye | |
|---|---|
 |
|
| Type | Demon |
| Passive | Dusk Madness: Night: Damage Dealt ▲, Damage Taken ▲ |
Grayeye Mechanics
| Grayeye Mechanics |
|---|
|
|
Fear Mechanic
Grayeye marks a player with a blue eye. The marked player must then immediately stop attacking and face away from your team. This mark will highlight an area in a cone, and any teammate caught in the cone will be feared.
Spirits Mechanic
Three spirits will spawn in one of four predetermined locations. Defeat the three spirits and stand in the circle that spawns before Grayeye launches an AOE attack. This attack could potentially wipe your team.
Grayeye Attack Patterns
Grayeye follows and repeats this pattern the whole fight:
| Normal Attacks ▶ Beam Attacks ▶ Wrath Attack ▶ Fury Attack ▶ Double AOE Attack |
Beam Attacks
Grayeye shoots a beam in a straight line, leaving a lasting AOE that deals burning damage. Below 50% health, there is a chance for Grayeye to dash to a player location before doing this attack.
Wrath Attack
Grayeye winds up a Wrath Attack that covers the whole arena. Use a defensive skill while moving in a direction to avoid taking damage.
Fury Attack
Grayeye winds up a Fury Attack that covers half of the arena in a semicircle. This can be blocked with a defensive skill, but its also recommended for tanks to draw aggro in a direction opposite of the team for them to keep up the DPS.
Triple AOE Attack
Grayeye launches three AOE attacks that cover the whole arena. These attacks have safe zones, with the first safe zone being close to Grayeye, the second one being away from him, and the last one .
Chapel of Madness Best Team and Roles
| Role | Explanation |
|---|---|
  Tank |
Weapon Combination: One of the top weapon combinations for the tank role, the Sword and Shield is essential to taunting enemies while the Greatsword provides extra bulk. Dungeon Role: The tank is responsible for pulling mobs while the rest of the team inflicts damage. Grayeye Role: Responsible for pulling boss aggro away from teammates to enable them to put out high dps. |
  DPS |
Weapon Combination: The Dagger and Crossbow weapon combination is one of the best DPS loadouts currently. This build can output high and consistent DPS from a safe distance. Dungeon Role: Responsible for dealing damage and staying alive. Grayeye Role: Responsible for outputting DPS to clear the boss, and clearing the spirits during its mechanics. |
  Healer |
Weapon Combination: The Wand and Staff is one of the best healer builds, applying debuffs while keeping the team alive with healing skills and emergency defensive skills. Dungeon Role: Responsible for keeping the team alive, especially the tank. This build can also help with mobbing with its Sleep Bomb combo. Grayeye Role: Responsible for keeping the team alive during the fight. |
Chapel of Madness Walkthrough
| Chapel of Madness Sequences | |
|---|---|
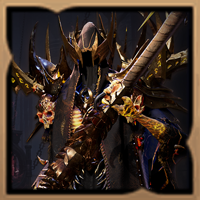
| 1 | 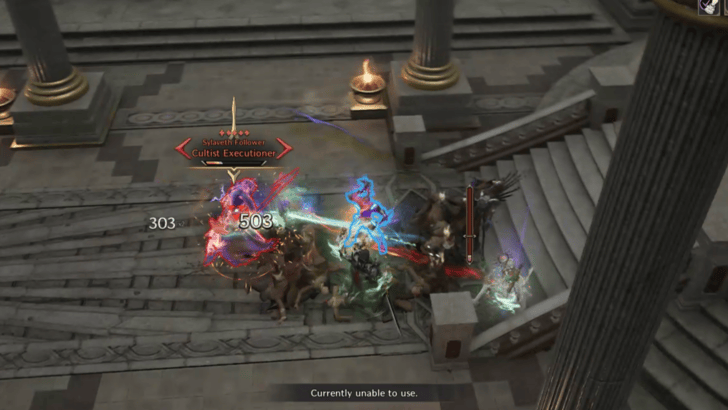 Defeat the Cultists Players must clear mobs to progress further. Only the mobs with orange health bars are required to be defeated. |
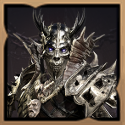
| 2 | 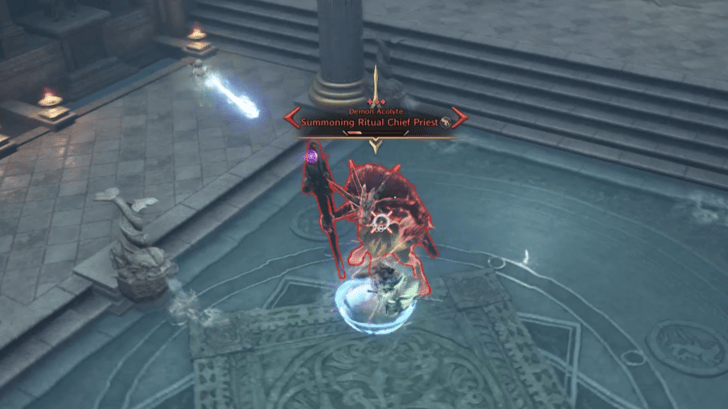 Defeat the Summoning Ritual Chief Priest Next, players will have to defeat the Summoning Ritual Chief Priest in order to proceed. ┗ How to Defeat the Summoning Ritual Chief Priest |
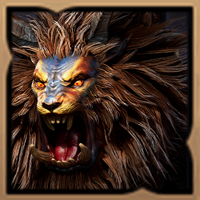
| 3 | 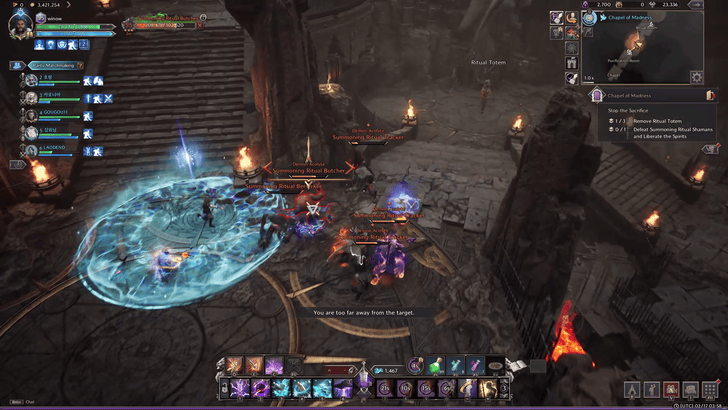 Fight Your Way to the Boss In the next room, players will find a staircase with three landings. These landings have mobs and totems that need to be cleared. |
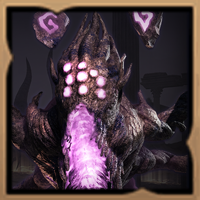
| 4 | 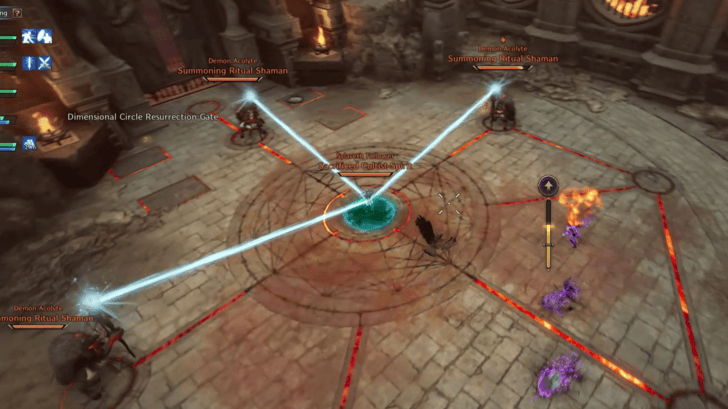 Release the Spirit Players will enter a room with three Shamans linked to a spirit. Defeat the mobs and the spirit, and glide from the platform to enter the boss arena. |
How to Defeat the Summoning Ritual Chief Priest
The Summoning Ritual Chief Priest can transform players into spirits, and launch a powerful attack that stuns players. These attacks have a long windup, so players can avoid being hit by stunning the miniboss.
Chapel of Madness Overview
| Required Level | Lv. 55 |
|---|---|
| Type | 3-Star Dimensional Circle |
| Contract Token |
|
| Min. Combat Power | |
| Description | |
| Skultus, the Grand Elder of Sylvaean Order, performed the demon summoning ritual disguised as a holy sermon. He hypnotized his loyal followers before sacrificing them to summon Grayeye. However, he soon realized he didn'thave the power to control the summoned demon, and hastily sealed the creature underground. Buried beneath the earth, Grayeye waits and schemes. As the demon gathers puppets and feeds on its victims' fear, it may yet gain the strength to break Skultus's seal. | |
Chapel of Madness Best Rewards and All Drops
Armor
| Armor | Stats |
|---|---|
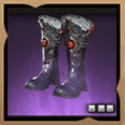 Infernal Demonpact Steps Infernal Demonpact Steps
|
Type: Feet Armor Melee Def: 220 Ranged Def: 241 ・Dexterity 1 ・Perception 3 ・Max Health 225 ・Ranged Evasion 100 |
This foot armor is the most versatile piece that can be obtained from the Chapel of Madness. It offers Dexterity and Perception, while offering Max Health and Ranged Evasion to round out your defenses.
Accessory
| Accessory | Stats |
|---|---|
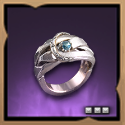 Ring of Celestial Light Ring of Celestial Light
|
Type: Ring Magic Def.: 240 Modifiers: ・Added Attack Speed +3% ・Dexterity 3 ・Perception 1 ・Mana Cost Efficiency +2% |
The Red Demonic Eye Bracelet is a solid ring to equip for both PvE and PvP players. It offers Added Attack Speed, Dexterity, and Perception, boosting your offensive capabilities, and provides Mana Cost Efficiency for some needed support.
All Drops
Weapons
| There are no Weapon Drops for this Dungeon. |
Armor
| All Armor Drops |
 Ardent Herald's Crown Ardent Herald's Crown Ardent Herald's Crown Wisdom 3
Heavy Attack Chance 27 Buff Duration +3% |
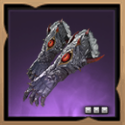 Infernal Demonpact Grasp Infernal Demonpact Grasp Infernal Demonpact Grasp Added Attack Speed +4.8%
Perception 2 Stun Chance 17 Collision Chance 22 |
Infernal Demonpact Steps Infernal Demonpact Steps Dexterity 1
Perception 3 Max Health 225 Ranged Evasion 100 |
 Oblivion's Wrath Barbute Oblivion's Wrath Barbute Oblivion's Wrath Barbute Strength 2
Dexterity 2 Cooldown Speed +1.7% |
|---|---|---|---|
 Transcendent Tempest's Cowl Transcendent Tempest's Cowl Transcendent Tempest's Cowl Strength 2
Dexterity 3 Max Health 225 |
 Void Stalker's Mask Void Stalker's Mask Void Stalker's Mask Hit Chance 70
Cooldown Speed +1.3% Magic Evasion 66 |
 Ascended Guardian Raiment Ascended Guardian Raiment Ascended Guardian Raiment Perception 2
Max Health 300 Stamina Regen 1.65 |
 Gilded Raven Tunic Gilded Raven Tunic Gilded Raven Tunic Fortitude 3
Max Health 150 Ranged Evasion 34 |
 Phantom Wolf Tunic Phantom Wolf Tunic Phantom Wolf Tunic Strength 2
Weaken Chance 21 Magic Evasion 80 |
 Plate of the Field General Plate of the Field General Plate of the Field General Strength 2
Perception 1 Stun Chance 26` |
 Shadow Harvester Tunic Shadow Harvester Tunic Shadow Harvester Tunic Bind Chance 41
Ranged Evasion 74 Stamina Regen 1.35 |
 Shock Commander Plate Armor Shock Commander Plate Armor Shock Commander Plate Armor Strength 4
Damage Reduction 4 |
 Swirling Essence Robe Swirling Essence Robe Swirling Essence Robe Dexterity 3
Wisdom 2 Heavy Attack Chance 33 |
|||
Accessories
| All Accessory Drops |
 Primal Golden Cuffs Primal Golden Cuffs Primal Golden Cuffs Hit Chance 50
Heavy Attack Chance 27 Mana Regen 39.75 3 |
Ring of Celestial Light Ring of Celestial Light Dexterity 3
Perception 1 Mana Cost Efficiency +2% 3 |
|---|
Items
| All Item Drops |
 Adventure Coin: Loyalty Adventure Coin: Loyalty
|
 Beast Fang Beast Fang
|
 Mana Blood Mana Blood
|
 Weapon Mastery Seal (100,000) Weapon Mastery Seal (100,000)
|
|---|---|---|---|
 Abyssal Contract Token Points (1800) Abyssal Contract Token Points (1800)
|
|||
Other
| All Other Rewards |
|---|
 Laughing Jolt Laughing Jolt
|
Throne and Liberty (TL) Related Guides
All Co-op Dungeons: Dimensional Circles
Dungeon Guides
| 3-Star Co-op Dungeons | 2-Star Co-op Dungeons |
3-Star Dimensional Circle Coop Dungeons
 Rancorwood Rancorwood |
 Halls of Tragedy Halls of Tragedy |
 Chapel of Madness Chapel of Madness |
 Doomrot Grove Doomrot Grove |
 Twisted Laboratory Twisted Laboratory |
- |
2-Star Dimensional Circle Coop Dungeons
 Island of Terror Island of Terror |
 Voidwastes Voidwastes |
 Valley of Slaughter Valley of Slaughter |
 Carmine Rage Island Carmine Rage Island |
 Torture Chamber of Screams Torture Chamber of Screams |
- |
1-Star Dimensional Circle Coop Dungeons
 Death's Abyss Death's Abyss |
 Cursed Wasteland Cursed Wasteland |
 Temple of Slaughter Temple of Slaughter |
 Butcher's Canyon Butcher's Canyon |
 Tyrant's Isle Tyrant's Isle |
 Cave of Destruction Cave of Destruction |
Dimensional Circle Coop Dungeons
 Specter's Abyss Specter's Abyss |
 Roaring Temple Roaring Temple |
 Cave of Desperation Cave of Desperation |
Event Coop Dungeons
 Haunted Labyrinth Haunted Labyrinth |
Comment
Author

Throne and Liberty: Wilds of Talandre Walkthrough & Guides Wiki
Chapel of Madness Dungeon Guide: How to Beat Grayeye
Please participate in our site
improvement survey
03/2026
improvement survey
03/2026
Would you assist in
improving Game8's site?
improving Game8's site?

×
We are listening to our users' valuable opinions and discussing how to act on them.
The information collected through this survey will be used for the purpose of improving our services. In addition, the information will only be disclosed a part of a statistic in a format that will not allow identification of personal information.
Begin Survey
Not Now
×
Please rate each item regarding Game8.co's Advertisements.
Amount of Ads
Very Dissatisfied
Somewhat Dissatisfied
Fine
Somewhat Satisfied
Highly Satisfied
Placement of Ads
Timing of Ad Display
Ad Loading Speed
Safeness of Ads
Content of Ads
×
Please rate each item regarding Game8.co's Quality of Articles.
Amount of information
Very Dissatisfied
Somewhat Dissatisfied
Fine
Somewhat Satisfied
Highly Satisfied
Frequency of updates
Speed of new information
Accuracy of articles
Understandibility of articles
Readability of sentences
×
Please rate each item regarding Game8.co's Usability of the Site.
Ease of finding information
Very Dissatisfied
Somewhat Dissatisfied
Fine
Somewhat Satisfied
Highly Satisfied
Loading Speed
Use of Color
Font Size
Visibility of Images
Easy to Understand Layout
×
Please rate each item regarding Game8.co's Message Boards, Comments.
Ease of Writing
Very Dissatisfied
Somewhat Dissatisfied
Fine
Somewhat Satisfied
Highly Satisfied
Readability
Ease in Finding Information
Comment Quality
Comment Quantity
Admin Response
×
Please rate each item regarding Game8.co's Site's new design.
Please rate our site's new design
Very Dissatisfied
Somewhat Dissatisfied
Fine
Somewhat Satisfied
Highly Satisfied
Do you think that the website's design change makes the site easier to use?
Has the new design made it easier for you to find information on the site?
Has the new design improved the overall visual appeal of the site?
How would you rate your overall satisfaction with the new design of the site?
×
How likely are you to recommend Game8 to someone you know?
Very Unlikely
0
1
2
3
4
5
6
7
8
9
10
Very Likely
If you have other opinions regarding potential improvement to the website, please share them with us. We would appreciate your honest opinion.
Note: This is a free response section, so you can proceed without entering anything.
Note: Please be sure not to enter any kind of personal information into your response.
Note: Please be sure not to enter any kind of personal information into your response.
×
Thank You
×
Thank you for participating in our survey! Your answers will help us to improve the quality of our website and services.
We hope you continue to make use of Game8.
We hope you continue to make use of Game8.
Close
Rankings
- We could not find the message board you were looking for.
Gaming News


![Slay the Spire 2 Review [Early Access] | Still the Deckbuilder to Beat](https://img.game8.co/4433115/44e19e1fb0b4755466b9e516ec7ffb1e.png/thumb)

![Resident Evil Village Review [Switch 2] | Almost Flawless Port](https://img.game8.co/4432790/e1859f64830960ce4248d898f8cd38d9.jpeg/thumb)
Popular Games

Genshin Impact Walkthrough & Guides Wiki
Honkai: Star Rail Walkthrough & Guides Wiki
Umamusume: Pretty Derby Walkthrough & Guides Wiki
Pokemon Pokopia Walkthrough & Guides Wiki
Resident Evil Requiem (RE9) Walkthrough & Guides Wiki
Monster Hunter Wilds Walkthrough & Guides Wiki
Wuthering Waves Walkthrough & Guides Wiki
Arknights: Endfield Walkthrough & Guides Wiki
Pokemon FireRed and LeafGreen (FRLG) Walkthrough & Guides Wiki
Pokemon TCG Pocket (PTCGP) Strategies & Guides Wiki


Recommended Games
Fire Emblem Heroes (FEH) Walkthrough & Guides Wiki
Diablo 4: Vessel of Hatred Walkthrough & Guides Wiki
Yu-Gi-Oh! Master Duel Walkthrough & Guides Wiki
Super Smash Bros. Ultimate Walkthrough & Guides Wiki
Pokemon Brilliant Diamond and Shining Pearl (BDSP) Walkthrough & Guides Wiki
Elden Ring Shadow of the Erdtree Walkthrough & Guides Wiki
Monster Hunter World Walkthrough & Guides Wiki
The Legend of Zelda: Tears of the Kingdom Walkthrough & Guides Wiki
Persona 3 Reload Walkthrough & Guides Wiki
Cyberpunk 2077: Ultimate Edition Walkthrough & Guides Wiki


All rights reserved
Published by Amazon Games under license. ©2023-2024 NCSOFT Corporation. All rights reserved. THRONE AND LIBERTY and the THRONE AND LIBERTY logo are trademarks of NCSOFT Corporation. Used by Amazon Games under license. Amazon Games, Amazon, and all related logos are trademarks of Amazon.com, Inc. or its affiliates. The “PS” Family logo and “PS5” are registered trademarks of Sony Interactive Entertainment Inc. Steam and the Steam logo are trademarks and/or registered trademarks of Valve Corporation in the U.S. and/or other countries.
The copyrights of videos of games used in our content and other intellectual property rights belong to the provider of the game.
The contents we provide on this site were created personally by members of the Game8 editorial department.
We refuse the right to reuse or repost content taken without our permission such as data or images to other sites.