Halls of Tragedy Dungeon Guide: How to Beat Limuny Bercant
As of March 2025, Game8 has ended coverage of Throne and Liberty.
Thank you very much for your understanding and we hope you continue to enjoy Game8's guides!
Halls of Tragedy is a 3-Star Dimensional Circle dungeon where you must fight Limuny Bercant in Throne and Liberty (TL). See an overview of Halls of Tragedy, a complete walkthrough of Halls of Tragedy, how to beat Limuny Bercant, as well as the best rewards and drops upon completion!
 Attention! Attention! |
The contents of the page are based on the Korean version of the game. We will update the page when the Talandre update releases in the Global version. Thank you for your patience! |
|---|
List of Contents
How to Beat Limuny Bercant
Limuny Bercant Overview
| Limuny Bercant | |
|---|---|
 |
|
| Type | Undead |
| Passive | Deathly Mind's Eye: Night: All Hit ▲ |
Limuny Bercant Mechanics
| Limuny Bercant Mechanics |
|---|
|
|
Thorns AOE
Limuny Bercant will mark players with a green circle that will detonate after a delay, leaving an area dealing damage over time (DOT). Marked players must isolate themselves from the group, and escape the circle before it detonates.
Stone Transformation
Limuny Bercant will mark a player with a red circle, before letting out a shout that CC's the whole group. Players need to stack together in this red circle to survive this attack. Once Limuny Bercant is below 50% Health, this circle will turn purple, but it does not change the properties of the mechanic.
Limuny Bercant Attack Patterns
Limuny Bercant follows and repeats this pattern the whole fight:
| Normal Attack ▶ Fury / Wrath Attack ▶ AOE Attacks |
Fury Attack
Limuny Bercant does a Wrath Attack in a wide cone directed toward the tank. This can be dodged by moving in any direction and activating a defensive skill. Player's behind Limuny Bercant can avoid this attack entirely, so it's important to position behind the boss while your tank taunts her.
Wrath Attack
Limuny Bercant does a Fury Attack, attacking players in a circle around her. This can be blocked with a defensive skill.
Halls of Tragedy Best Team and Roles
| Role | Explanation |
|---|---|
  Tank |
Weapon Combination: The BiS tank weapon combination, this build provides sustain and CC tools to draw aggro to itself. Dungeon Role: Responsible for pulling mobs and stunning minibosses. Limuny Bercant Role: Responsible for pulling aggro away from teammates. Be sure to stand across from your teammates when casting taunts. |
  DPS |
Weapon Combination: One of the top DPS weapon combinations, this build has a high and consistent damage output. Dungeon Role: Deals a bulk of the damage to progress further. Limuny Bercant Role: Deals damage during the boss fight. Position away from your tank to avoid AOE damage. |
  Healer |
Weapon Combination: One of the most potent weapon combinations for healers, this build can apply debuffs while sustaining the team. Dungeon Role: Responsible for keeping the team alive althroughout. Limuny Bercant Role: Responsible for keeping the team alive during the boss fight. Healers need to put extra focus on the tank as this boss specifically targets tanks. |
Halls of Tragedy Walkthrough
| Halls of Tragedy Sequences | |
|---|---|
| 1 | 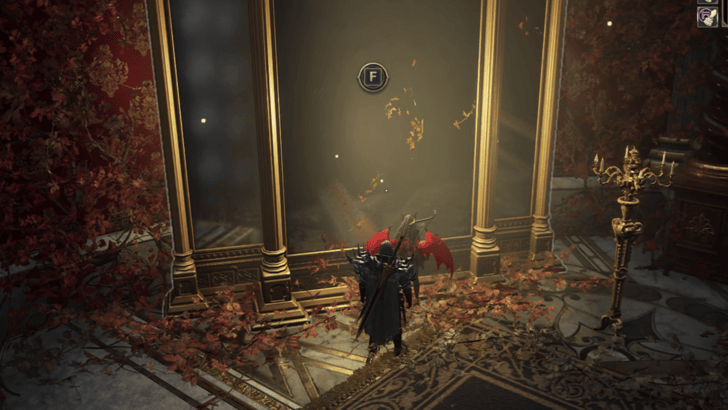 Activate the Mirror and Clear the Mobs Upon entering the dungeon, interact with the mirror on the left to enter the first section of the dungeon. Clear the mobs marked with an orange symbol and proceed further into the first miniboss. |
| 2 |  Defeat the Tree Knight Enter the room to start the boss fight. After defeating the Tree Knight, interact with the mirror to get transported back to the entrance. ┗ How to Defeat the Tree Knight |
| 3 | 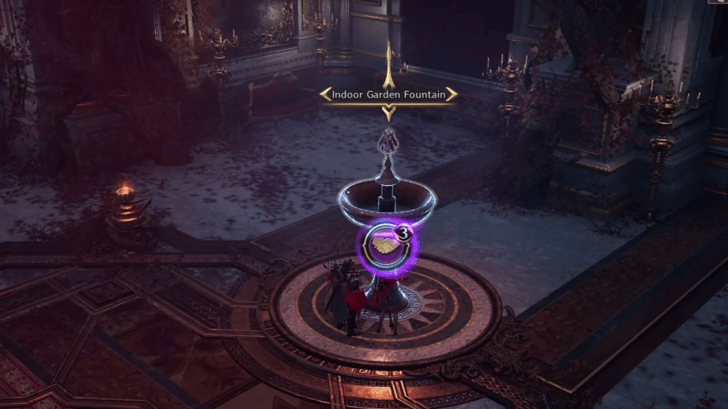 Navigate the Maze Once you're back at the entrance, interact with the mirror on the right to proceed to the next area. You will have to navigate a maze in two groups and activate the two fountains at the same time. ┗ How to Navigate the Maze |
| 4 | 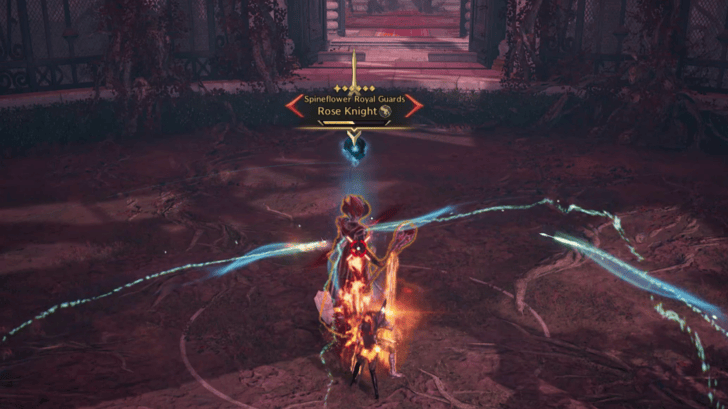 Defeat the Rose Knight Proceed further into the dungeon and defeat the Rose Knight. Interact with the mirror to be brought back to the start, and the mirror in the middle will be available, taking you to the boss. ┗ How to Defeat the Rose Knight |
How to Defeat the Tree Knight
Aside from parrying Fury Attacks, DPS players should try their best to stay behind the Tree Knight, with the tank pulling aggro away from it. This will ensure that players aren't caught in the AOE damage dealt by the Tree Knight.
The Tree Knight can also pull the players into the middle of the arena. This can be prevented by stunning the Tree Knight during the windup.
How to Navigate the Maze
In this section, players will have to split up into two groups to navigate the maze. You have to simultaneously activate the fountains before proceeding, clearing any mobs you come across. Keep in mind to avoid the red plants, as these will explode if you get too close.
How to Defeat the Rose Knight
The Rose Knight has two special attacks outside of a Fury Attack all players can parry. First, the Rose Knight can spawn flowers near players which do damage over time. Move away from this to avoid taking damage. Second, the Rose Knight casts sleep on all players. This can't be avoided, so it is recommended to use cleansing skills and skills that can apply burst healing.
Halls of Tragedy Overview
| Required Level | Lv. 55 |
|---|---|
| Type | 3-Star Dimensional Circle |
| Contract Token |
|
| Min. Combat Power | |
| Description | |
| They say there is a secret room hidden within the depths of Bercant Mansion. This place was magically created by the architect of the mansion, and over time, it was expanded to include other rooms at the lord's request including a hearing room, a garden, and even a prison. One day, Limuny, the Mansion's master and the Spineflower Knight commander, released the florified monster that Norn had become. In exchange, Norn granted the Spineflower Knights great power, for the price of their humanity. | |
Halls of Tragedy Best Rewards and All Drops
Armor
| Armor | Stats |
|---|---|
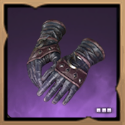 Transcendent Tempest's Touch Transcendent Tempest's Touch
|
Type: Hands Armor Set: Wing Gale Set Melee Def: 210 Ranged Def: 210 ・Added Attack Speed 2% ・Dexterity 3 ・Wisdom 2 |
The Transcendent Tempest's Touch is a great item for Dexterity and Wisdom users. It provides Added Attack Speed, Dexterity, and Wisdom.
Accessory
| Accessory | Stats |
|---|---|
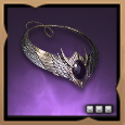 Death Knell Gorget Death Knell Gorget
|
Type: Necklace Magic Def.: 240 Modifiers: ・Added Attack Speed +4% ・Dexterity 1 ・Ranged Evasion 50 ・Magic Evasion 90 |
The Death Knell Gorget is the ideal accessory drop in this dungeon. Aside from giving even more Attack Speed and Dexterity, it also offers Melee and Ranged Evasion.
All Drops
Weapons
| There are no Weapon Drops for this Dungeon. |
Armor
| All Armor Drops |
 Ardent Herald's Gloves Ardent Herald's Gloves Ardent Herald's Gloves Range ▲ 3%
Perception 3 Max Health 425 |
 Oblivion's Wrath Gauntlets Oblivion's Wrath Gauntlets Oblivion's Wrath Gauntlets Added Attack Speed 2%
Perception 3 Max Health 185 |
 Opulent Noble's Mantle Opulent Noble's Mantle Opulent Noble's Mantle Hit Chance 60
Mana Regen 18.75 Cooldown Speed +2.2% |
 Royal Spineflower Drape Royal Spineflower Drape Royal Spineflower Drape Range 7%
Bind Chance 33 Damage Reduction 4 |
|---|---|---|---|
 Transcendent Tempest's Touch Transcendent Tempest's Touch Transcendent Tempest's Touch Added Attack Speed 2%
Dexterity 3 Wisdom 2 |
 Void Stalker's Caress Void Stalker's Caress Void Stalker's Caress Added Attack Speed +2.6%
Range ▲ 3% Dexterity 3 |
 Ascended Guardian Gloves Ascended Guardian Gloves Ascended Guardian Gloves Perception 4
Mana Cost Efficiency +6.3% |
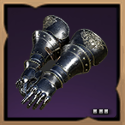 Gauntlets of the Field General Gauntlets of the Field General Gauntlets of the Field General Added Attack Speed +2%
Perception 4 |
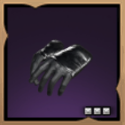 Gilded Raven Grips Gilded Raven Grips Gilded Raven Grips Added Attack Speed +1.1%
Dexterity 1 Fortitude 3 |
 Phantom Wolf Gloves Phantom Wolf Gloves Phantom Wolf Gloves Added Attack Speed +2%
Dexterity 2 Ranged Evasion 54 |
 Shadow Harvester Grips Shadow Harvester Grips Shadow Harvester Grips Range ▲ 1.7%
Dexterity 3 Critical Hit 20 |
 Shock Commander Gauntlets Shock Commander Gauntlets Shock Commander Gauntlets Range ▲ 3%
Dexterity 1 Critical Hit 31 |
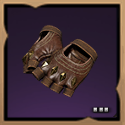 Swirling Essence Gloves Swirling Essence Gloves Swirling Essence Gloves Range ▲ 3.3%
Wisdom 2 Critical Hit 40 |
|||
Accessories
| All Accessory Drops |
 Death Knell Gorget Death Knell Gorget Death Knell Gorget Dexterity 1
Ranged Evasion 50 Magic Evasion 90 3 |
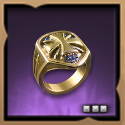 Honor's Promise Signet Honor's Promise Signet Honor's Promise Signet Wisdom 1
Hit Chance 53 Endurance 20 3 |
|---|
Items
| All Item Drops |
 Adventure Coin: Loyalty Adventure Coin: Loyalty
|
 Ant Wings Ant Wings
|
 Fermented Rotein Fermented Rotein
|
 Weapon Mastery Seal (100,000) Weapon Mastery Seal (100,000)
|
|---|---|---|---|
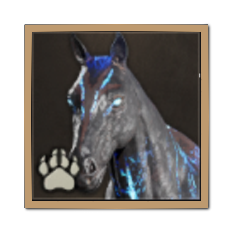 Dusk Grimchaser Dusk Grimchaser
|
 Abyssal Contract Token Points (1800) Abyssal Contract Token Points (1800)
|
||
Throne and Liberty (TL) Related Guides

All Co-op Dungeons: Dimensional Circles
Dungeon Guides
| 3-Star Co-op Dungeons | 2-Star Co-op Dungeons |
3-Star Dimensional Circle Coop Dungeons
 Rancorwood Rancorwood |
 Halls of Tragedy Halls of Tragedy |
 Chapel of Madness Chapel of Madness |
 Doomrot Grove Doomrot Grove |
 Twisted Laboratory Twisted Laboratory |
- |
2-Star Dimensional Circle Coop Dungeons
 Island of Terror Island of Terror |
 Voidwastes Voidwastes |
 Valley of Slaughter Valley of Slaughter |
 Carmine Rage Island Carmine Rage Island |
 Torture Chamber of Screams Torture Chamber of Screams |
- |
1-Star Dimensional Circle Coop Dungeons
 Death's Abyss Death's Abyss |
 Cursed Wasteland Cursed Wasteland |
 Temple of Slaughter Temple of Slaughter |
 Butcher's Canyon Butcher's Canyon |
 Tyrant's Isle Tyrant's Isle |
 Cave of Destruction Cave of Destruction |
Dimensional Circle Coop Dungeons
 Specter's Abyss Specter's Abyss |
 Roaring Temple Roaring Temple |
 Cave of Desperation Cave of Desperation |
Event Coop Dungeons
 Haunted Labyrinth Haunted Labyrinth |
Comment
Author
Throne and Liberty: Wilds of Talandre Walkthrough & Guides Wiki
Halls of Tragedy Dungeon Guide: How to Beat Limuny Bercant
improvement survey
03/2026
improving Game8's site?

Your answers will help us to improve our website.
Note: Please be sure not to enter any kind of personal information into your response.

We hope you continue to make use of Game8.
Rankings
- We could not find the message board you were looking for.
Gaming News
Popular Games

Genshin Impact Walkthrough & Guides Wiki

Honkai: Star Rail Walkthrough & Guides Wiki

Umamusume: Pretty Derby Walkthrough & Guides Wiki

Pokemon Pokopia Walkthrough & Guides Wiki

Resident Evil Requiem (RE9) Walkthrough & Guides Wiki

Monster Hunter Wilds Walkthrough & Guides Wiki

Wuthering Waves Walkthrough & Guides Wiki

Arknights: Endfield Walkthrough & Guides Wiki

Pokemon FireRed and LeafGreen (FRLG) Walkthrough & Guides Wiki

Pokemon TCG Pocket (PTCGP) Strategies & Guides Wiki
Recommended Games

Diablo 4: Vessel of Hatred Walkthrough & Guides Wiki

Fire Emblem Heroes (FEH) Walkthrough & Guides Wiki

Yu-Gi-Oh! Master Duel Walkthrough & Guides Wiki

Super Smash Bros. Ultimate Walkthrough & Guides Wiki

Pokemon Brilliant Diamond and Shining Pearl (BDSP) Walkthrough & Guides Wiki

Elden Ring Shadow of the Erdtree Walkthrough & Guides Wiki

Monster Hunter World Walkthrough & Guides Wiki

The Legend of Zelda: Tears of the Kingdom Walkthrough & Guides Wiki

Persona 3 Reload Walkthrough & Guides Wiki

Cyberpunk 2077: Ultimate Edition Walkthrough & Guides Wiki
All rights reserved
Published by Amazon Games under license. ©2023-2024 NCSOFT Corporation. All rights reserved. THRONE AND LIBERTY and the THRONE AND LIBERTY logo are trademarks of NCSOFT Corporation. Used by Amazon Games under license. Amazon Games, Amazon, and all related logos are trademarks of Amazon.com, Inc. or its affiliates. The “PS” Family logo and “PS5” are registered trademarks of Sony Interactive Entertainment Inc. Steam and the Steam logo are trademarks and/or registered trademarks of Valve Corporation in the U.S. and/or other countries.
The copyrights of videos of games used in our content and other intellectual property rights belong to the provider of the game.
The contents we provide on this site were created personally by members of the Game8 editorial department.
We refuse the right to reuse or repost content taken without our permission such as data or images to other sites.


