Doomrot Grove Dungeon Guide: How to Beat Norn Bercant
As of March 2025, Game8 has ended coverage of Throne and Liberty.
Thank you very much for your understanding and we hope you continue to enjoy Game8's guides!
Doomrot Grove is a 3-Star Dimensional Circle dungeon where you must fight Norn Bercant in Throne and Liberty (TL). See an overview of Doomrot Grove, a complete walkthrough of Doomrot Grove, how to beat Norn Bercant, as well as the best rewards and drops upon completion!
 Attention! Attention! |
The contents of the page are based on the Korean version of the game. We will update the page when the Talandre update releases in the Global version. Thank you for your patience! |
|---|
List of Contents
How to Beat Norn Bercant
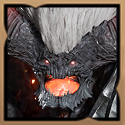
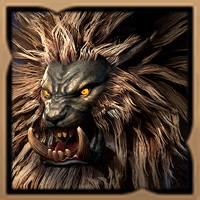
Norn Bercant Overview
| Norn Bercant | |
|---|---|
 |
|
| Type | Wildkin |
| Passive | Rain's Blessing: Rain: Damage Taken ▼ |
Norn Bercant Mechanics
| Norn Bercant Mechanics |
|---|
|
|
Poison Traps
Norn Bercant will spawn poison traps under players, detonating after a brief delay. When you see one spawning under you, quickly move away before it detonates. Also, avoid stacking together during this fight.
Tree Wall Mechanic
Norn Bercant will mark four players. They must stand at four points in the shape of a cross and face Norn Bercant. After a delay, a wall will spawn on the players, ideally boxing them inside with the boss. This wooden wall will protect players from the second half of this mechanic, where a wave of thorns come in from the edges of the arena and close in on the players. Positioning the walls well is key to surviving this mechanic.
Norn Bercant Attack Patterns
Norn Bercant follows and repeats this pattern the whole fight:
| Normal Attacks ▶ Wrath Attacks ▶ Launching Attack ▶ AOE Poison Attack |
Wrath Attacks
Norn Bercant does a Wrath attack targetting the players. This can be dodged by casting a defensive skill while moving.
Launching Attack
Norn Bercant launches the players in the air, while five turrets line up attacks in the highlighted areas. Glide down to prevent fall damage, and avoid the highlighted areas in order to not take any damage.
AOE Poison Attack
Norn Bercant does an AOE attack that spans the entire arena. This can be avoided by jumping over the circle as it closes in.
Doomrot Grove Best Team and Roles
| Role | Explanation |
|---|---|
  Tank |
Weapon Combination: This weapon combination is the best for tank players, as the Sword and Shield allows players to taunt enemies with its skills, while the Greatsword provides added bulk. Dungeon Role: Responsible for pulling mob aggro. Norn Bercant Role: Responsible for pulling boss aggro away from teammates. |
  DPS |
Weapon Combination: The Dagger and Crossbow is one of the best weapon combinations for DPS players, offering mobility and consistent damage. Dungeon Role: Responsible for clearing mobs and destroying the tree during the first miniboss. Norn Bercant Role: Responsible for damaging the boss. DPS players are also highly likely to get marked by Norn Bercant, so they should be well versed with the boss mechanics. |
  Healer |
Weapon Combination: The Wand and Staff is one of the strongest healer builds out there, providing burst healing, healing zones, and cleanses. Dungeon Role: Responsible for keeping teammates alive during the dungeon. Norn Bercant Role: Responsible for healing teammates and cleansing poison if needed. |
Doomrot Grove Walkthrough
| Doomrot Grove Sequences | |
|---|---|
| 1 |  Navigate the Traps and Clear the Mobs Glide down into the dungeon upon entering. Then, carefully make your way down the corridor while avoiding the projectiles. These traps fire projectiles in a line, and glow before shooting. |
| 2 | 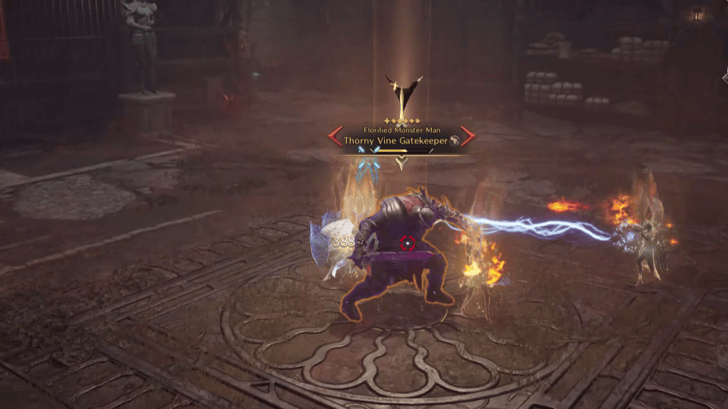 Defeat the Thorny Vine Gatekeeper To progress further, players will have to defeat the Thorny Vine Gatekeeper. This boss only has one mechanic worth noting. ┗ Thorny Vine Gatekeeper Mechanics |
| 3 | 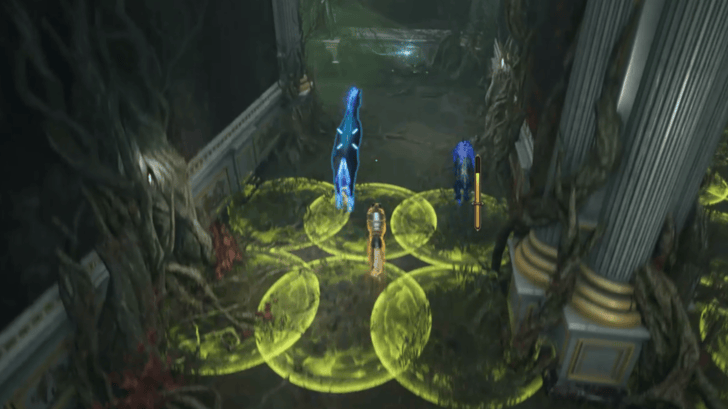 Avoid the Traps while Going Further After the miniboss, proceed into the corridor, avoiding even more traps. At the end, you will find a perch you can grapple onto. Keep proceeding while fighting and avoiding traps, and you will find another dead end with a perch. Grappling to the top will land you at the second miniboss. |
| 4 | 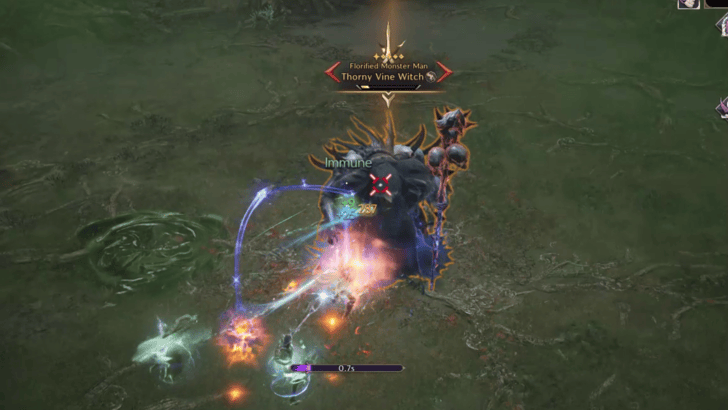 Defeat the Thorny Vine Witch Players will then have to defeat the Thorny Vine Witch. Unlike the previous miniboss, this one does not have any special mechanics. |
Thorny Vine Gatekeeper Mechanics
The Thorny Vine Gatekeeper has a two-part mechanic. First, the Gatekeeper will bind some players in place, spawning a tree somewhere in the arena. Then, it will do a jumping attack that will greatly damage the whole party. This attack can be avoided by jumping, so players have to destroy the tree that spawns to be able to jump over the next attack.
Doomrot Grove Overview
| Required Level | Lv. 55 |
|---|---|
| Type | 3-Star Dimensional Circle |
| Contract Token |
|
| Min. Combat Power | |
| Description | |
| Norn Bercant was kidnapped by the Crimsons and became a test subject for Kaiser's Florification experiments. While she escaped the lab, she could not escape the curse, turning into a powerful Florified monster. Using her own potent magic and the powers granted by the curse forced upon her, she created her own mutant garden and cut herself off from the rest of the world. | |
Doomrot Grove Best Rewards and All Drops
Armor
| Armor | Stats |
|---|
The Oracle Priest's Tranquility Shoes is a generally great set of Foot Armor to be claimed from this dungeon. It offers Movement Speed, Max Health, and Heavy Attack Chance, as well as raw Perception. These are a flexible set of boots that can slot into any build.
Accessory
| Accessory | Stats |
|---|---|
 Chief Shaman's Belt Chief Shaman's Belt
|
Type: Belt Magic Def.: 240 Modifiers: ・Movement Speed +1.8% ・Dexterity 2 ・Wisdom 1 ・Mana Regen 39.75 |
The Chief Shaman's Belt is another good accessory that fits into any build. It offers Strength and Wisdom, boosting Health and Mana, while also offering Movement Speed and Mana Regen.
All Drops
Weapons
| There are no Weapon Drops for this Dungeon. |
Armor
| All Armor Drops |
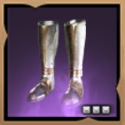 Auric Vanguard's Plate Boots Auric Vanguard's Plate Boots Auric Vanguard's Plate Boots Perception 3
Fortitude 2 Hit Chance 18 Max Health 270 |
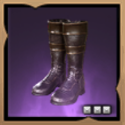
 Dread Admiral's Boots Dread Admiral's Boots Dread Admiral's Boots Dexterity 3
Wisdom 1 Mana Regen 32.25 Stun Resistance 33 |
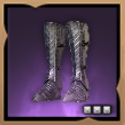 Eternal Warlord's Sabatons Eternal Warlord's Sabatons Eternal Warlord's Sabatons Perception 3
Critical Hit Chance 30 Health Regen 13.5 Bind Resistance 45 |
|---|---|---|
 Feral Prophet's Shoes Feral Prophet's Shoes Feral Prophet's Shoes Movement Speed +3.3%
Perception 1 Heavy Attack Chance 39 Max Health 525 |
 Florification Curse Uniform Florification Curse Uniform Florification Curse Uniform Wisdom 1
Perception 1 Heavy Attack Chance 50 Heavy Attack Evasion 47 |
 Forgotten Lotus Boots Forgotten Lotus Boots Forgotten Lotus Boots Strength 2
Dexterity 1 Melee Evasion 90 Magic Evasion 80 |
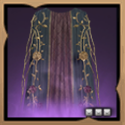 Grieving Vengeance Cloak Grieving Vengeance Cloak Grieving Vengeance Cloak Mana Cost Efficiency +3%
Stun Resistance 18 Collision Resistance 25 |
 Silver Fur Decorated Cloak Silver Fur Decorated Cloak Silver Fur Decorated Cloak Critical Hit Chance 70
Heavy Attack Chance 27 Damage Reduction 4 |
 Ascended Guardian Pants Ascended Guardian Pants Ascended Guardian Pants Wisdom 3
Damage Reduction 3 Collision Resistance 41 |
 Gilded Raven Trousers Gilded Raven Trousers Gilded Raven Trousers Fortitude 2
Max Health 225 Magic Evasion 54 |
 Greaves of the Field General Greaves of the Field General Greaves of the Field General Strength 2
Dexterity 1 |
 Phantom Wolf Breeches Phantom Wolf Breeches Phantom Wolf Breeches Perception 2
Damage Reduction 4 Magic Evasion 60 |
 Shadow Harvester Trousers Shadow Harvester Trousers Shadow Harvester Trousers Perception 3
Hit 22 Mana Regen 11.25 |
 Shock Commander Greaves Shock Commander Greaves Shock Commander Greaves Strength 2
Damage Reduction 3 |
 Swirling Essence Pants Swirling Essence Pants Swirling Essence Pants Wisdom 2
Weaken Chance 41 Mana Cost Efficiency +4% |
Accessories
| All Accessory Drops |
Chief Shaman's Belt Chief Shaman's Belt Dexterity 2
Wisdom 1 Mana Regen 39.75 3 |
 Manor Sunset Ring Manor Sunset Ring Manor Sunset Ring Strength 1
Wisdom 3 Mana Regen 15 3 |
|---|
Items
| All Item Drops |
 Reaper's Soul Reaper's Soul
|
 Mana Blood Mana Blood
|
|---|
Other
| All Other Rewards | ||
|---|---|---|
| Gardener Koble (Amitoi Summon Stone) |
Abyssal Contract Token Points (x500) | Weapon Mastery Seal: 10,000 EXP |
Throne and Liberty (TL) Related Guides
All Co-op Dungeons: Dimensional Circles
Dungeon Guides
| 3-Star Co-op Dungeons | 2-Star Co-op Dungeons |
3-Star Dimensional Circle Coop Dungeons
 Rancorwood Rancorwood |
 Halls of Tragedy Halls of Tragedy |
 Chapel of Madness Chapel of Madness |
 Doomrot Grove Doomrot Grove |
 Twisted Laboratory Twisted Laboratory |
- |
2-Star Dimensional Circle Coop Dungeons
 Island of Terror Island of Terror |
 Voidwastes Voidwastes |
 Valley of Slaughter Valley of Slaughter |
 Carmine Rage Island Carmine Rage Island |
 Torture Chamber of Screams Torture Chamber of Screams |
- |
1-Star Dimensional Circle Coop Dungeons
 Death's Abyss Death's Abyss |
 Cursed Wasteland Cursed Wasteland |
 Temple of Slaughter Temple of Slaughter |
 Butcher's Canyon Butcher's Canyon |
 Tyrant's Isle Tyrant's Isle |
 Cave of Destruction Cave of Destruction |
Dimensional Circle Coop Dungeons
 Specter's Abyss Specter's Abyss |
 Roaring Temple Roaring Temple |
 Cave of Desperation Cave of Desperation |
Event Coop Dungeons
 Haunted Labyrinth Haunted Labyrinth |
Comment
Author

Throne and Liberty: Wilds of Talandre Walkthrough & Guides Wiki
Doomrot Grove Dungeon Guide: How to Beat Norn Bercant
Rankings
- We could not find the message board you were looking for.
Gaming News


Popular Games

Genshin Impact Walkthrough & Guides Wiki
Umamusume: Pretty Derby Walkthrough & Guides Wiki
Crimson Desert Walkthrough & Guides Wiki
Monster Hunter Stories 3: Twisted Reflection Walkthrough & Guides Wiki
Honkai: Star Rail Walkthrough & Guides Wiki
Pokemon Pokopia Walkthrough & Guides Wiki
The Seven Deadly Sins: Origin Walkthrough & Guides Wiki
Wuthering Waves Walkthrough & Guides Wiki
Zenless Zone Zero Walkthrough & Guides Wiki
Arknights: Endfield Walkthrough & Guides Wiki


Recommended Games
Fire Emblem Heroes (FEH) Walkthrough & Guides Wiki
Diablo 4: Vessel of Hatred Walkthrough & Guides Wiki
Cyberpunk 2077: Ultimate Edition Walkthrough & Guides Wiki
Yu-Gi-Oh! Master Duel Walkthrough & Guides Wiki
Super Smash Bros. Ultimate Walkthrough & Guides Wiki
Pokemon Brilliant Diamond and Shining Pearl (BDSP) Walkthrough & Guides Wiki
Elden Ring Shadow of the Erdtree Walkthrough & Guides Wiki
Monster Hunter World Walkthrough & Guides Wiki
The Legend of Zelda: Tears of the Kingdom Walkthrough & Guides Wiki
Persona 3 Reload Walkthrough & Guides Wiki


All rights reserved
Published by Amazon Games under license. ©2023-2024 NCSOFT Corporation. All rights reserved. THRONE AND LIBERTY and the THRONE AND LIBERTY logo are trademarks of NCSOFT Corporation. Used by Amazon Games under license. Amazon Games, Amazon, and all related logos are trademarks of Amazon.com, Inc. or its affiliates. The “PS” Family logo and “PS5” are registered trademarks of Sony Interactive Entertainment Inc. Steam and the Steam logo are trademarks and/or registered trademarks of Valve Corporation in the U.S. and/or other countries.
The copyrights of videos of games used in our content and other intellectual property rights belong to the provider of the game.
The contents we provide on this site were created personally by members of the Game8 editorial department.
We refuse the right to reuse or repost content taken without our permission such as data or images to other sites.