Cerulean Echoes Adrift in the Winds (Part II) Quest Guide
★ Version 3.2 Banners → Livestream Codes
┣ Sigrika → Materials, Weapon, Banner
┣ Qiuyuan → Builds, Materials, Weapon
┗ Phase 2 → Lynae, Zani, Phoebe
★ Tapes of Last Words | Soliskin | 3.1 Trophies
★ Exclusives: Tier Maker | State of the Meta
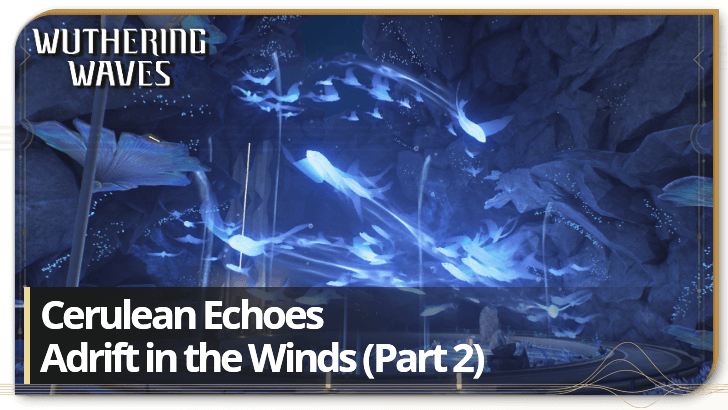
Cerulean Echoes Adrift in the Winds (Part II) is a Side Quest in Wuthering Waves. See how to unlock Cerulean Echoes Adrift in the Winds (Part II), its walkthrough, and all the rewards of this quest here!
How to Unlock Cerulean Echoes Adrift in the Winds (Part II)
Complete Cerulean Echoes Adrift in the Winds (Part I)
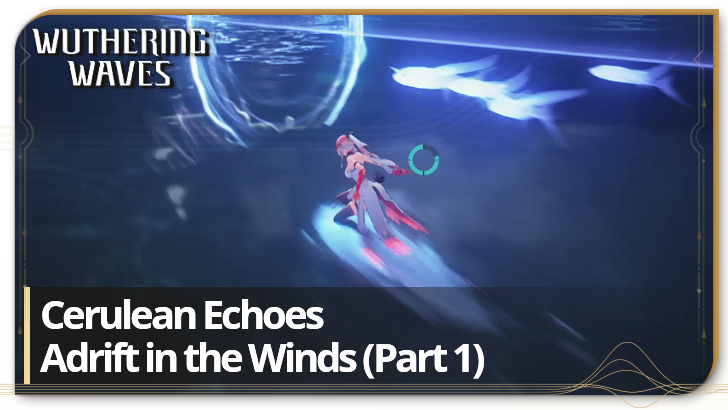
Cerulean Echoes Adrift in the Winds automatically unlocks upon completing the previous quest, Cerulean Echoes Adrift in the Winds (Part I).
Cerulean Echoes Adrift in the Winds (Part I) Quest Guide
Cerulean Echoes Adrift in the Winds (Part II) Walkthrough
Fast Travel to Tethys' Deep
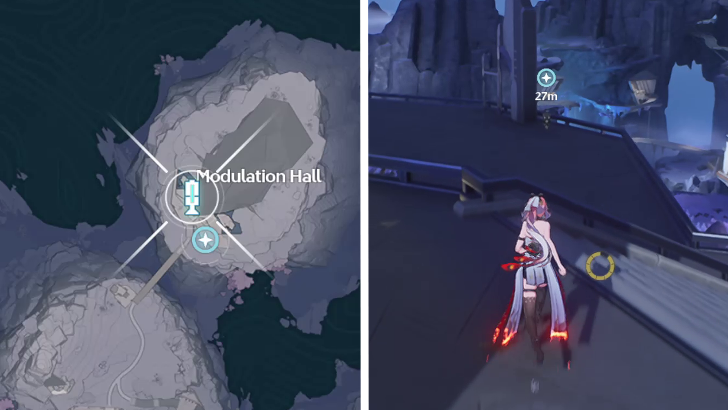
Fast Travel to the Resonance Beacon nearest the Modulation Hall in Tethys' Deep. From there, KU-Key's location is nearby.
Head to the designated location via the portal
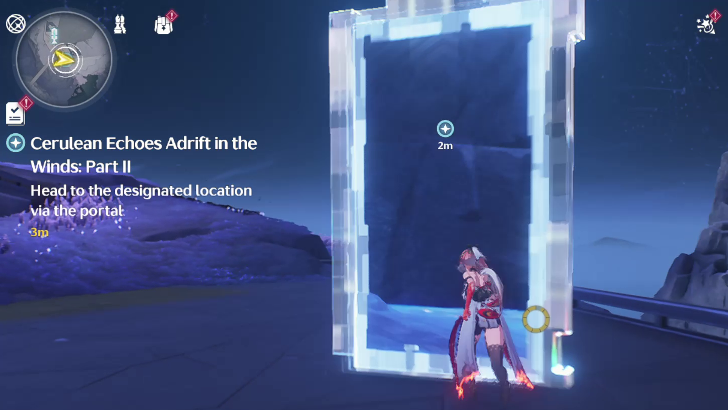
After a quick cutscene with KU-Key, a portal will appear right beside you. Enter it to move to the next target location.
Eliminate the corrupted core
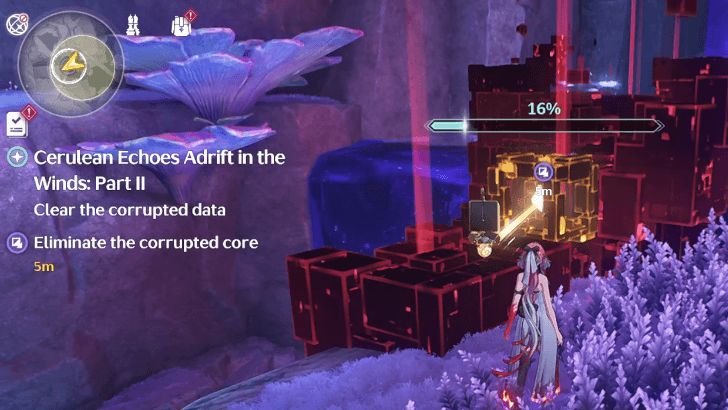
Get the clearance from KU-Key and approach the corrupted core to eliminate it.
Use KU-Key to shoot at the Data Wall and open a portal
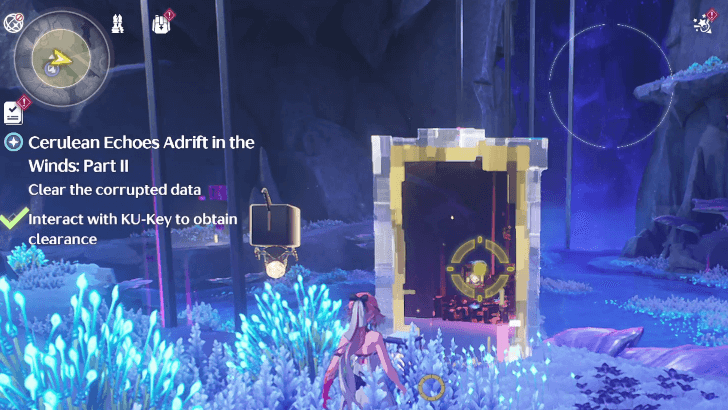
After a quick dialogue, KU-Key will spawn a Data Wall right beside itself. Get clearance from him to use the portal gun, and fire it at the Data Wall.
Eliminate the corrupted core
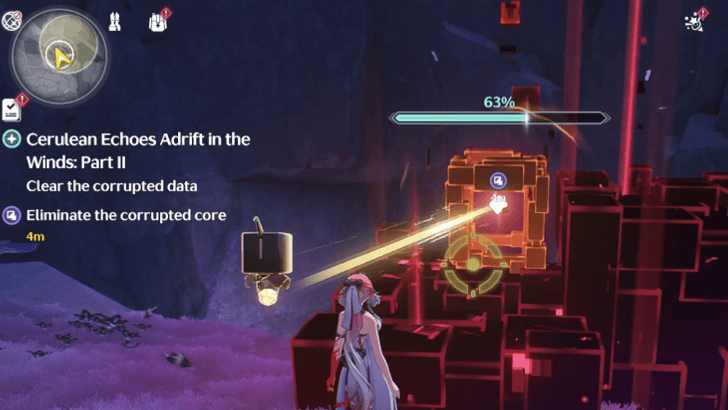
Once again, get clearance from KU-Key and approach the corrupted core to eliminate it.
Defeat the monsters
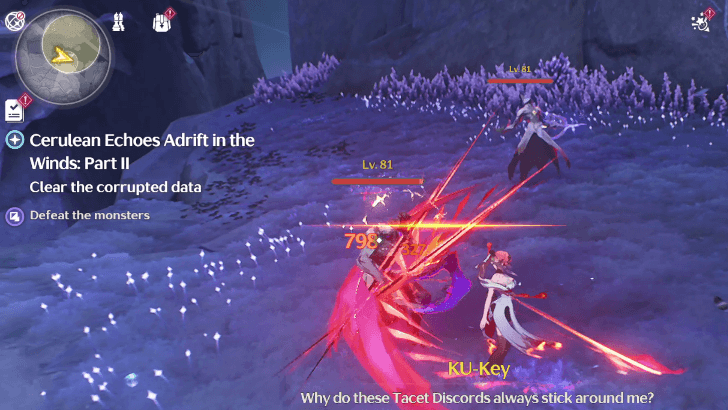
As soon as the second corrupted core is eliminated, corrupted Tacet Discords will spawn. Defeat them all!
Head to the designated location via the portal
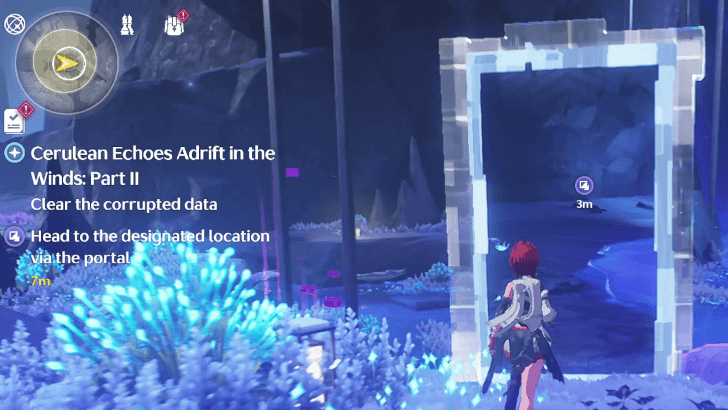
A Data Wall with a portal will spawn right beside where KU-Key is. Pass through it to arrive at your next target location quickly.
Interact with the Aetherfin
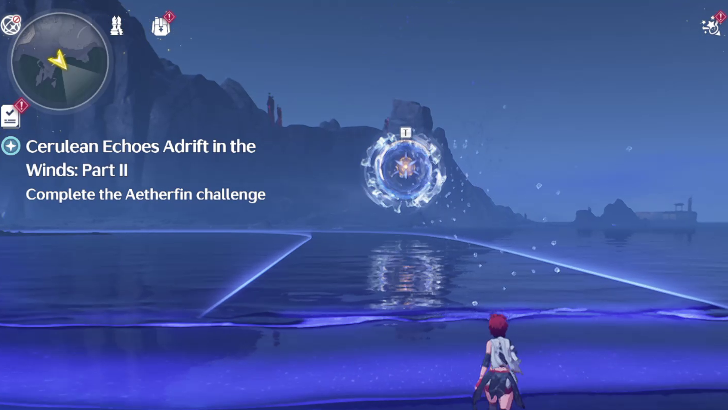
Find the floating Aetherfin, and approach it. This will trigger it to spawn the gate to start the Aetherfin challenge. Begin the challenge by using your Grappling Hook towards it.
Complete the Aetherfin Challenge
Some blue rings now move
With this Aetherfin Challenge, some of the blue rings will move left and right. Anticipate where they are moving next to pass through them with ease.
Cerulean Echoes Adrift in the Winds (Part II) Information
| Cerulean Echoes Adrift in the Winds (Part II) Quest Information | |
|---|---|
| Required Union Lvl | None |
| Quest Location | Modulation Hall |
| Version Release | 1.3 |
Cerulean Echoes Adrift in the Winds (Part II) Rewards
Total Quest Rewards
| Cerulean Echoes Adrift in the Winds (Part II) Quest Rewards |
|---|
|
|
Wuthering Waves Related Guides

List of Quest Types
| All Quest Types | |
|---|---|
| Main Quests | Companion Stories |
| Exploration Quests | Side Quests |
| Tutorial Quests | Daily Quests |
| Hidden Quests | - |
All Side Quest Guides
Comment
Author
Cerulean Echoes Adrift in the Winds (Part II) Quest Guide
improvement survey
03/2026
improving Game8's site?

Your answers will help us to improve our website.
Note: Please be sure not to enter any kind of personal information into your response.

We hope you continue to make use of Game8.
Premium Articles
Rankings
- We could not find the message board you were looking for.
Gaming News
Popular Games

Genshin Impact Walkthrough & Guides Wiki

Honkai: Star Rail Walkthrough & Guides Wiki

Umamusume: Pretty Derby Walkthrough & Guides Wiki

Pokemon Pokopia Walkthrough & Guides Wiki

Resident Evil Requiem (RE9) Walkthrough & Guides Wiki

Monster Hunter Wilds Walkthrough & Guides Wiki

Wuthering Waves Walkthrough & Guides Wiki

Arknights: Endfield Walkthrough & Guides Wiki

Pokemon FireRed and LeafGreen (FRLG) Walkthrough & Guides Wiki

Pokemon TCG Pocket (PTCGP) Strategies & Guides Wiki
Recommended Games

Diablo 4: Vessel of Hatred Walkthrough & Guides Wiki

Cyberpunk 2077: Ultimate Edition Walkthrough & Guides Wiki

Fire Emblem Heroes (FEH) Walkthrough & Guides Wiki

Yu-Gi-Oh! Master Duel Walkthrough & Guides Wiki

Super Smash Bros. Ultimate Walkthrough & Guides Wiki

Pokemon Brilliant Diamond and Shining Pearl (BDSP) Walkthrough & Guides Wiki

Elden Ring Shadow of the Erdtree Walkthrough & Guides Wiki

Monster Hunter World Walkthrough & Guides Wiki

The Legend of Zelda: Tears of the Kingdom Walkthrough & Guides Wiki

Persona 3 Reload Walkthrough & Guides Wiki
All rights reserved
Copyright© 2024-2025 Kuro Games. All Rights Reserved.
The copyrights of videos of games used in our content and other intellectual property rights belong to the provider of the game.
The contents we provide on this site were created personally by members of the Game8 editorial department.
We refuse the right to reuse or repost content taken without our permission such as data or images to other sites.


![Monster Hunter Stories 3 Review [First Impressions] | Simply Rejuvenating](https://img.game8.co/4438641/2a31b7702bd70e78ec8efd24661dacda.jpeg/thumb)


