This survey will take about 1 minute.
Your answers will help us to improve our website.
Elden Ring Nightreign
Best Items
★ Team up using our Multiplayer Board!
☆ The Forsaken Hollows DLC: Scholar | Undertaker
★ The Great Hollow Guide and Rewards
☆ New Bosses: Balancers | Dreglord
★ Best Class Tier List and Best Teams
☆ How to Unlock Forsaken Hollows DLC
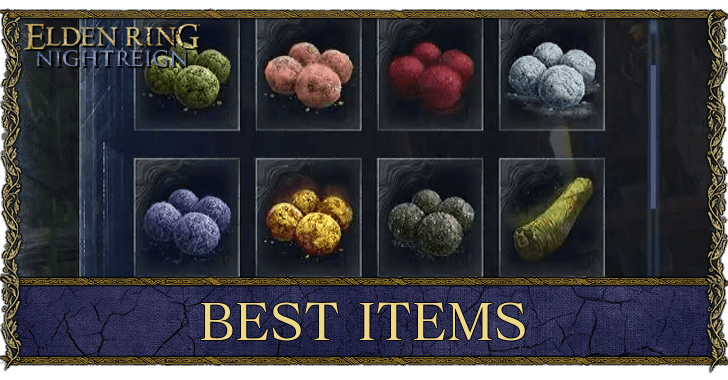
The best items in Elden Ring Nightreign include greases, boluses, and Starlight Shards. See which items you should always look out for and what they do here!
List of Contents
Best Items to Use in Elden Ring Nightreign
| Item | Rating |
|---|---|
| Wending Grace | ★★★★★ |
| Warming Stone | ★★★★★ |
| Stonesword Key | ★★★★★ |
| FP and Stamina Regen Items ・Starlight Shards ・Pickled Turtle Neck |
★★★★ |
| Throwable Bombs and Pots ・Damage Throwing Pots ・Gravity Stone Chunk and Fan |
★★★★ |
| Smithing Stones | ★★★ |
| Tools | ★★★ |
| Fowl Feet | ★★★ |
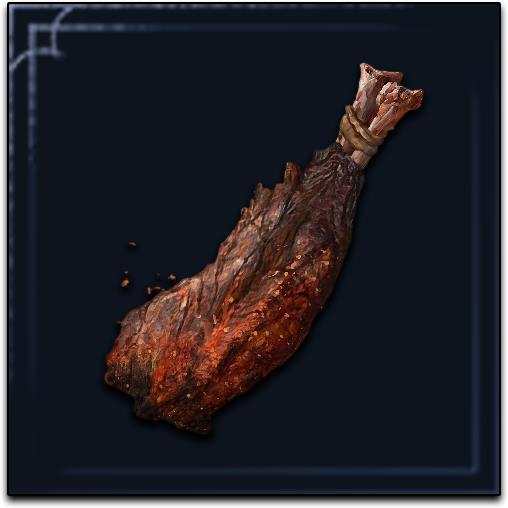
| DMG Negation and Bonus DMG ・Boiled Crab or Prawn ・Exalted Flesh |
★★★ |
| Greases | ★★★ |
| Boluses | ★★ |
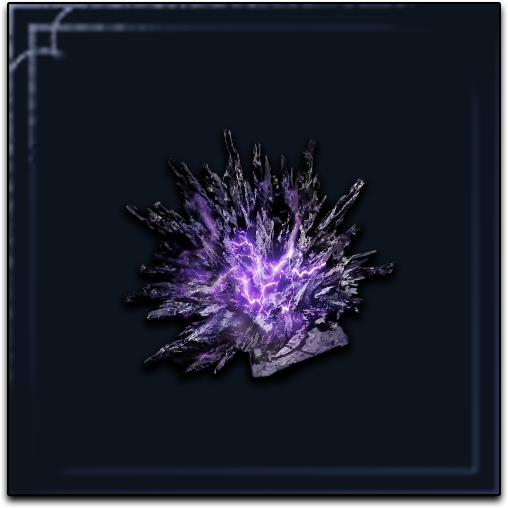
| Crystal Tears | ★★ |
| Throwing Knives and Lure Pots ・Throwing Knives and Darts ・Lure Pots |
★ |
Get a Wending Grace for a Free Revive
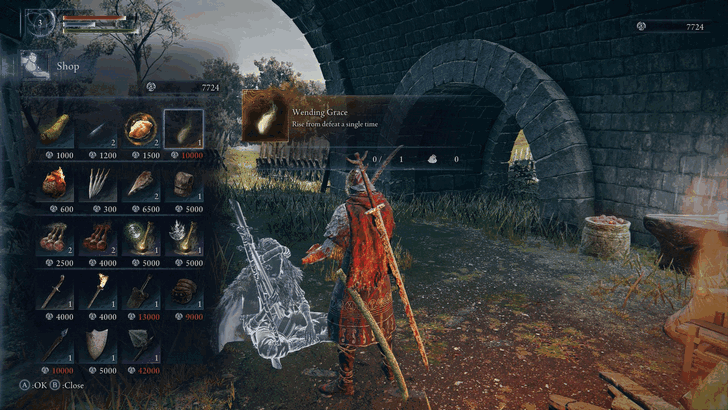
One of the best items you can get in Nightreign is the Wending Grace. As long as you have it in your inventory (or as a Dormant Power), you'll get a free revive if the whole team goes down.
Naturally, it's more effective if everyone on the team has one, but it can come in clutch during some of the longer boss fights in the game, especially when you have the boss down to a sliver of HP where one player alive makes all the difference.
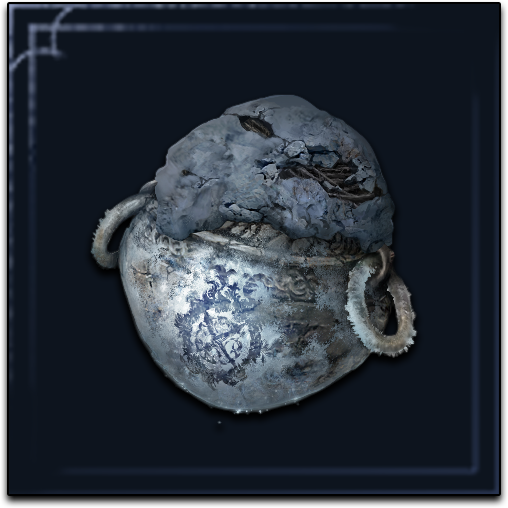
Use Warming Stones to Heal During the Final Boss Fight
A lot of the Nightlord fights are endurance battles and you'll sometimes find you and your team running out of flasks midway through them. To better manage your flask economy, make sure to bring along multiple Warming Stones for a quick passive healing session.
Remember, their effects can stack, which means 2 dropped Warming Stones will heal you much quicker, even when starting from low HP. You can even stack them with the Holy Ground weapon skill to save on stones as needed.
The reason these work is mostly because the Nightlord fights, as you'll quickly learn to realize, is all about managing boss aggro. As long as someone is tanking aggro, the others will be free to use the slow but steady healing aura of these stones to full effect.
Stonesword Keys Can Open Evergaols for Extra Runes and Damage
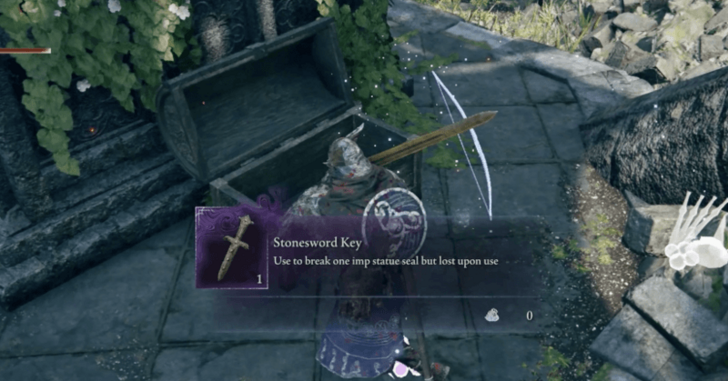
Out of all the items available before the final boss, nothing is more important than the Stonesword Key. These items are a ticket to easy runes since they open Evergaols that usually have bosses that are easy to beat.
When paired a relic that has the effect "Attack power permanently increased for each evergaol prisoner defeated", they skyrocket in importance since this attack power buff persists until the end of the expedition.
Get FP or Stamina Regen Depending on Your Build
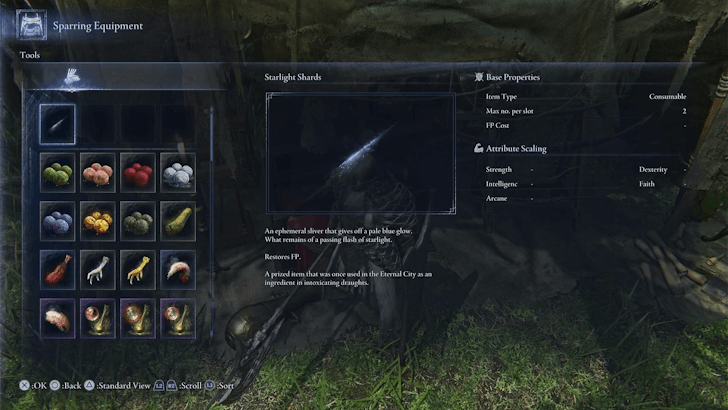
Starlight Shards or Pickled Turtle Necks are must-haves when you enter the final fight of the expedition.
Starlight Shards allow you to replenish your FP, making them essential for players who are running spellcasting setups or weapons that want to spam their weapon skills. Make sure to get some if you lean towards either playstyle.
Pickled Turtle Necks boost Stamina regen, making them game changers for characters that block (like Guardian) or those that swing around Colossals (like Raider). 2 of these should be enough so you can get comfortable at the start of a boss fight.
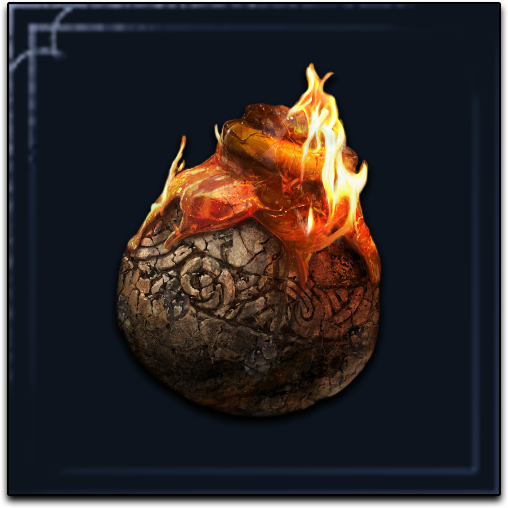
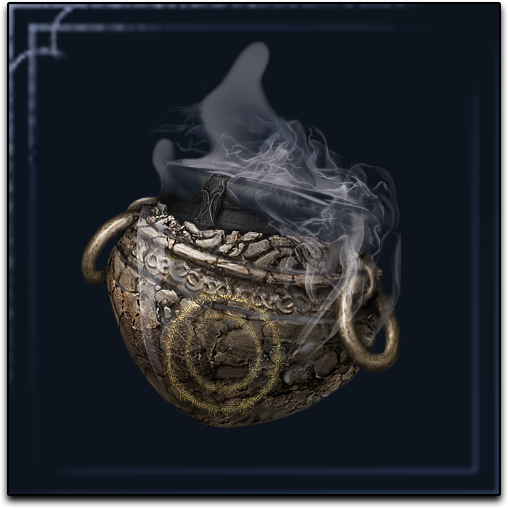
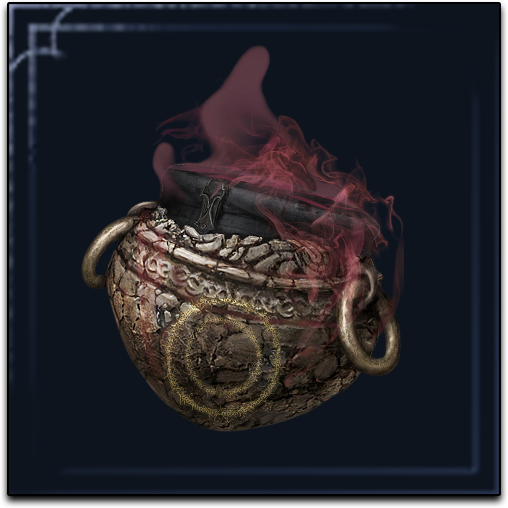
Throwing Pots and Gravity Stones Can Deal Decent Damage
 Fire Pot Fire Pot
|
 Magic Pot Magic Pot
|
 Lightning Pot Lightning Pot
|
 Poison Pot Poison Pot
|
 Rot Pot Rot Pot
|
 Swarm Pot Swarm Pot
|
 Freezing Pot Freezing Pot
|
 Gravity Stone Fan Gravity Stone Fan
|
 Gravity Stone Chunk Gravity Stone Chunk
|
Speed is key in Nightreign, especially during Days 1 and 2. To speed up POI clearing and boss takedowns, additional damage in the form of the different Throwing Pots and Gravity Stone Chunks / Fans can make all the difference.
If you're playing as the Scholar, these become even more important since the potency of the items increases as you use more of them. This makes for amazing early game damage with little to no rune investment on your end.
Do note that the Throwing Pots mentioned here are the ones that do damage. Pots that lure enemies aren't that good, unfortunately.
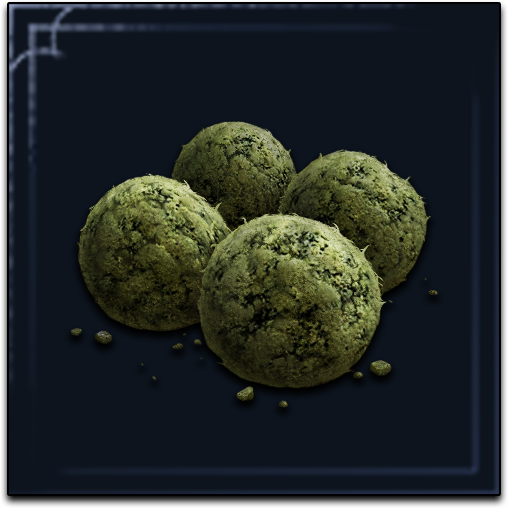
Smithing Stones Can Be Used to Upgrade Weapons
 Smithing Stone 1 Smithing Stone 1
|
 Smithing Stone 2 Smithing Stone 2
|
While they are quite easy to get, Smithing Stones aren't really that good unless you get really good weapons drops during your run. Remember, a mediocre weapon will still be pretty bad even at +2.
Of the two, the Smithing Stone 2 is the most important to get, if only so that you have the option to +2 a blue weapon if you find yourself with limited options after Night 2.
Tools Can be Used to Deal Additional Damage
Tools like the Wraith Calling Bell or the Omen Bairn can be used to deal additional damage, especially against Night 1 bosses. However, due to the fact that you have to go out of your way to no-name POIs to get them, they aren't usually worth it unless you get them early.
While it is true that they can deal a ton of damage when spammed (like the low FP cost Wraith Calling Bell), you won't usually have a need for them if you and your team are getting enough levels before Nights 1 and 2.
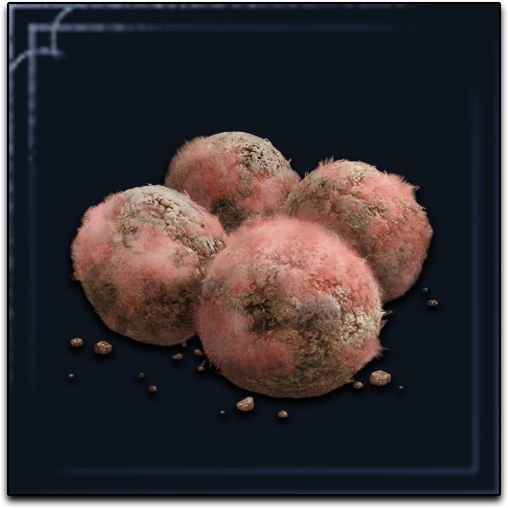
Fowl Feet Can be Used to Boost Rune Drops and Item Discovery
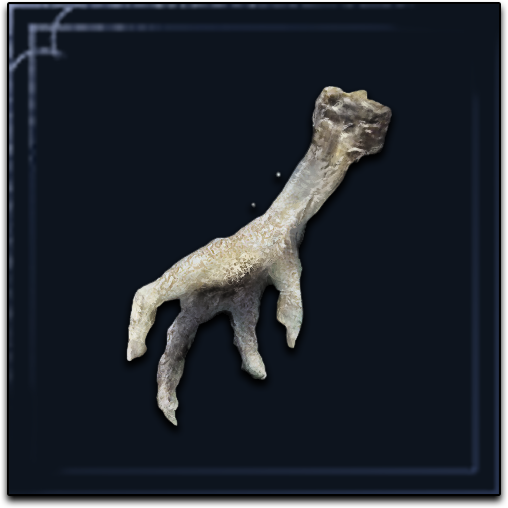 Silver-Pickled Fowl Foot Silver-Pickled Fowl Foot
|
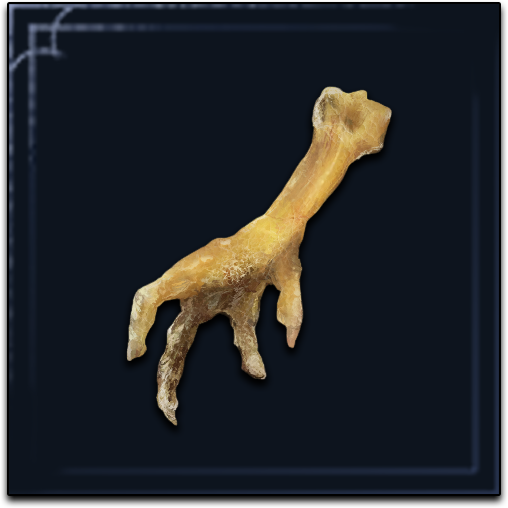 Gold-Pickled Fowl Foot Gold-Pickled Fowl Foot
|
The Gold-Pickled Fowl Foot and the Silver-Pickled Fowl Foot can be used to boost rune drops and raise item discovery, respectively. However, since their durations are limited, they're best used only during Days 1 and 2.
During Night 1 and 2 boss fights (especially if your team isn't well coordinated), you're better off bringing along regen items like Warming Stones or damage items like Throwing Pots.
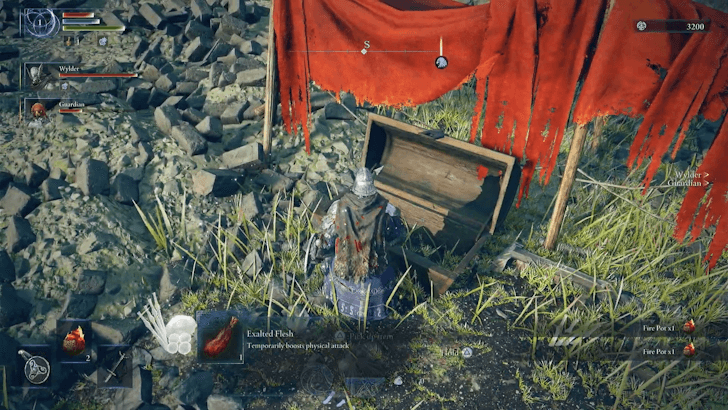
Damage Negation and Damage Boost Items are Optional
 Exalted Flesh Exalted Flesh
|
 Boiled Prawn Boiled Prawn
|
 Boiled Crab Boiled Crab
|
Damage negation and damage boosting consumables like Boiled Crab or Exalted Flesh are lower on this list since they have better alternatives from Dormant Power drops.
While they can be clutch during the early game, ideally, you'll want to bring along regen items for the final fight rather than temporary damage negation or extra damage.
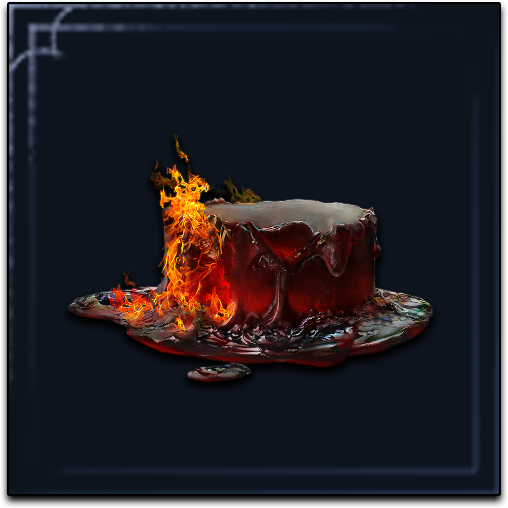
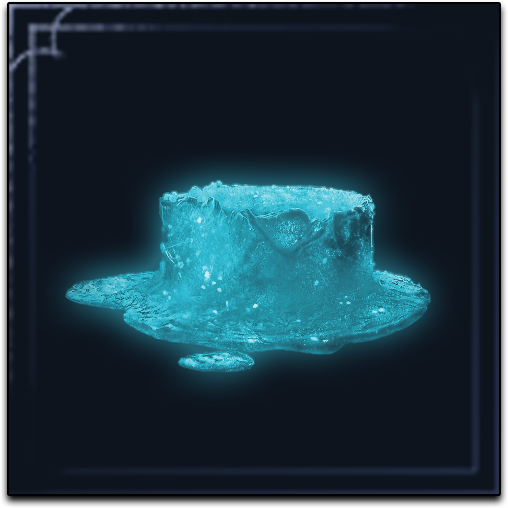
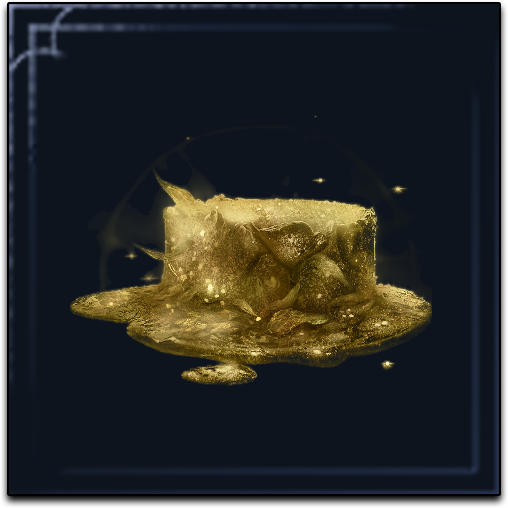
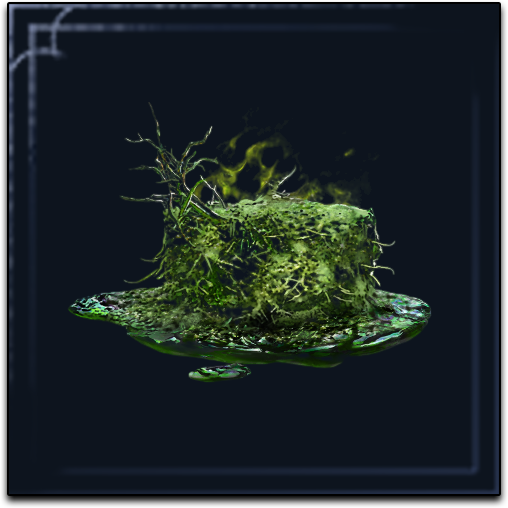
Grease Items Offer Affinity Damage on a Budget
 Fire Grease Fire Grease
|
 Magic Grease Magic Grease
|
 Lightning Grease Lightning Grease
|
 Holy Grease Holy Grease
|
 Poison Grease Poison Grease
|
 Rot Grease Rot Grease
|
 Blood Grease Blood Grease
|
 Freezing Grease Freezing Grease
|
 Dragonwound Grease Dragonwound Grease
|
Grease items, when used, can grant temporary affinity damage or status effect buildup. While good on paper, the biggest downsides to them are that they last only a short duration and that they only stack up to a max of 2.
For bosses that are weak to a certain damage type, you're better off securing a weapon that deals that damage type rather than stockpiling greases for the final fight. These items also get powercrept once you get the Night of the Lord relic.
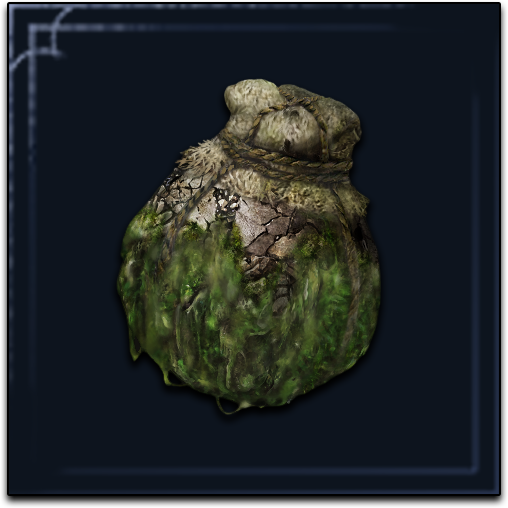
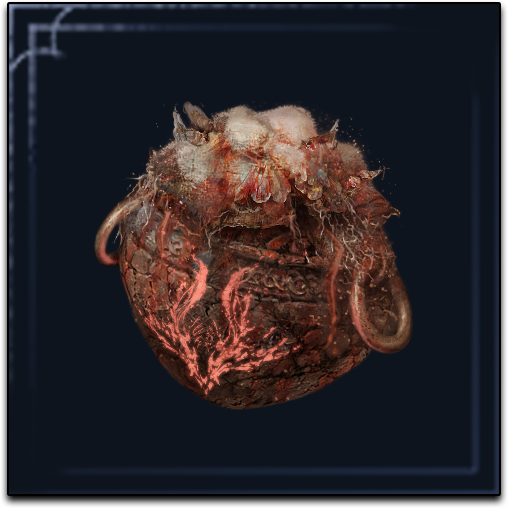
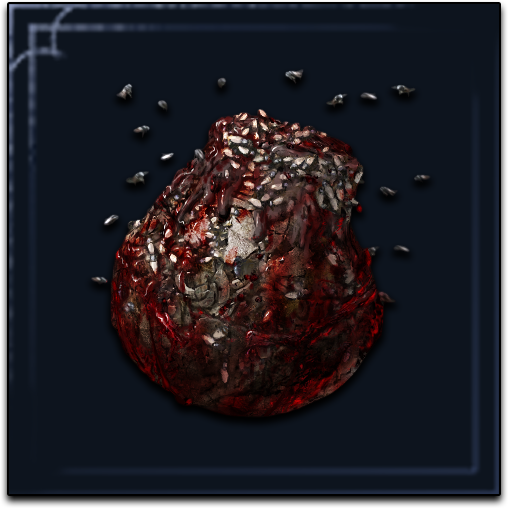
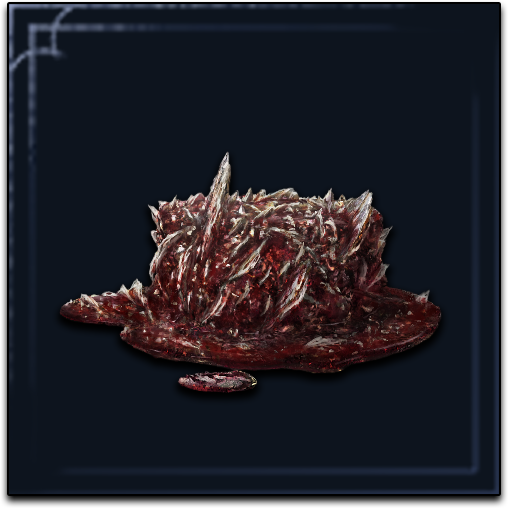
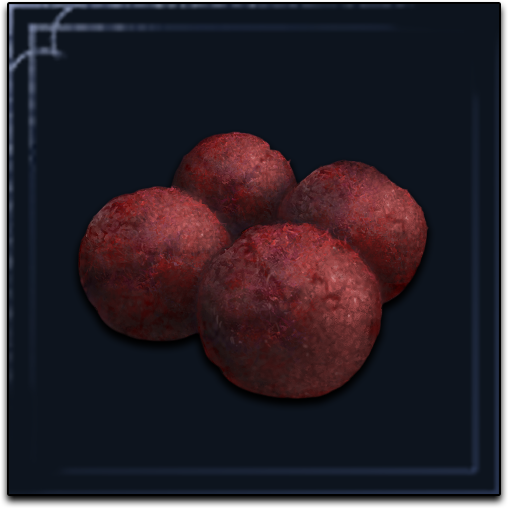
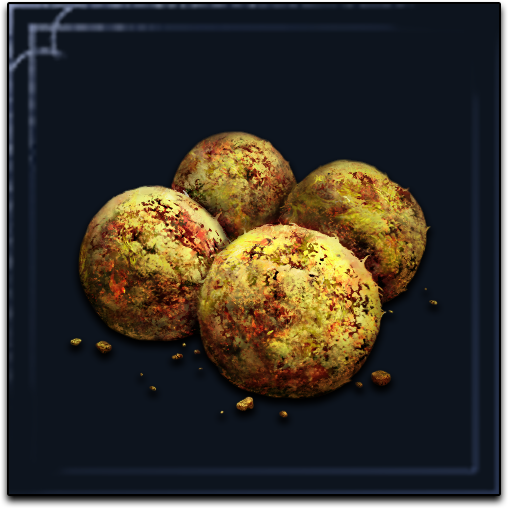
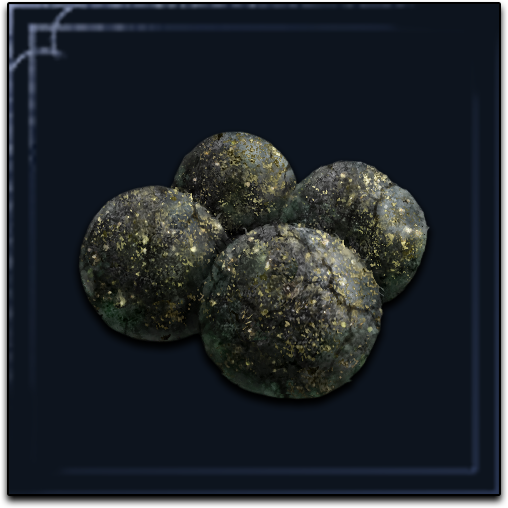
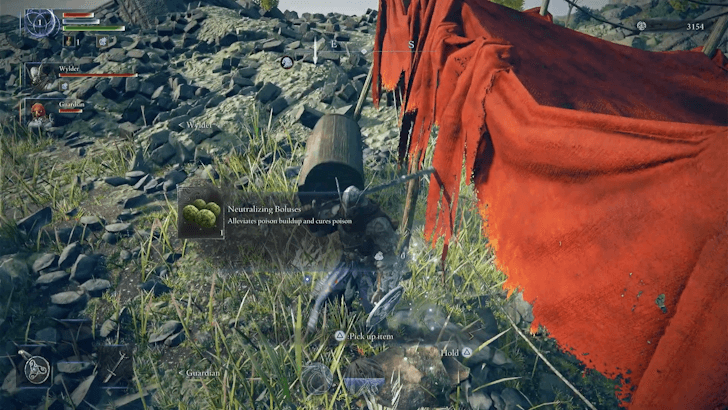
Boluses Relieve Status Buildup and Boost Resistances
 Neutralizing Boluses Neutralizing Boluses
|
 Preserving Boluses Preserving Boluses
|
 Stanching Boluses Stanching Boluses
|
 Stimulating Boluses Stimulating Boluses
|
 Clarifying Boluses Clarifying Boluses
|
 Rejuvinating Boluses Rejuvinating Boluses
|
Boluses alleviate status effect buildup when used, making them useful to bring along for certain boss fights (like when facing bosses like the Dreglord or the Lord of Blood).
Additionally, when consumed, they also permanently increase your resistance to the status effect (by a small amount) and gradually restore health.
Status Resistance Persists for the Remainder of the Run
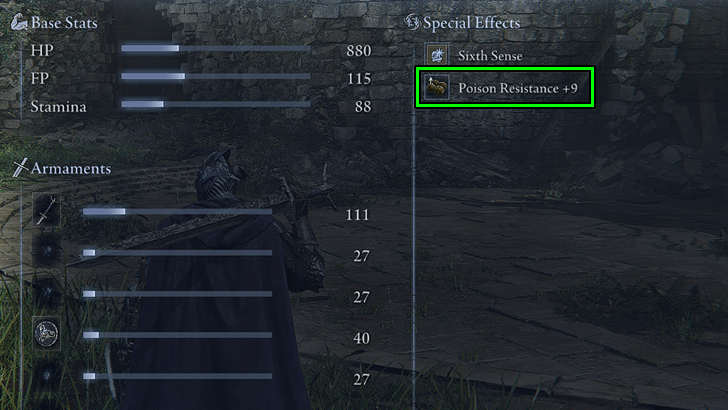
Whenever you find boluses, consume them directly from the ground as the status resistance persists until the end of your run! Boluses can stack up to a maximum of 10 times, which you can see via your status screen.
Crystal Tears are Only Useful During the Final Boss
Since Crystal Tears are a one-time use item, they are only ever useful during the fight against the expedition's Nightlord. Outside of this scenario, they're just inventory hogs, especially since their effects are highly situational.
During the final day (right before the last boss), make sure you only buy them if you have a surplus of runes. Otherwise, the priority will always be Levels > Regen Items (Warming Stones / Starlight Shards) > Crystal Tears.
Throwing Knives and Lure Pots are Only Good During Day 1
 Alluring Pot Alluring Pot
|
 Beastlure Pot Beastlure Pot
|
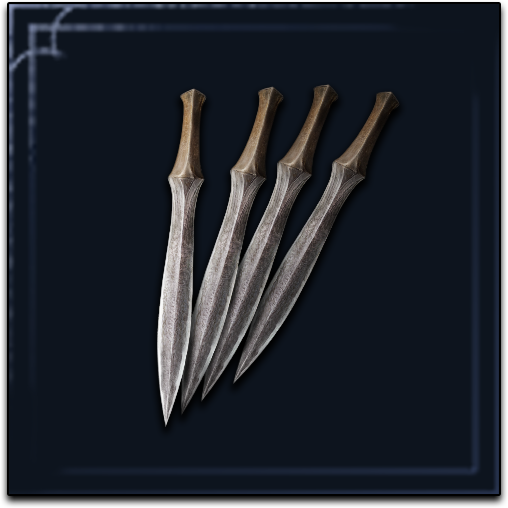 Throwing Dagger Throwing Dagger
|
Unfortunately, both of these item types have very limited uses and, even in Day 1, they aren't exactly a priorty. They're good to have when you don't have any items yet, just make sure to use them as often as possible so that you can replace them with better items during the run.
However, do note that some of the status buildup ones can be quite decent. Bringing along a stack of Kukri or Poisonbone Darts can be useful, especially against bosses that don't really dodge.
How to Get Items in Elden Ring Nightreign
Loot from Chests
It is possible to get consumable items whenever you open chests, so make sure to open every chest you find.
Inside Destructible Objects
Barrels and crates are scattered throughout Limveld, and can be destroyed by attacking, surge sprinting, or rolling into them. Consumable items will usually drop whenever you destroy barrels and crates, so make it a habit to destroy them on sight.
Dropped by Enemies
Enemies can also drop consumables when defeated, so keep an eye out whenever you defeat mobs.
Elden Ring Nightreign Related Guides

Elden Ring Nightreign Walkthrough Wiki
Recommended Guides
Elden Ring Nightreign Wiki
| Elden Ring Nightreign Wiki Contents | |
|---|---|
 Forsaken Hollows DLC Forsaken Hollows DLC |
 Classes Classes |
 Remembrances Remembrances |
 Skins Skins |
 Bosses Bosses |
 Tips and Tricks Tips and Tricks |
 Shifting Earth Shifting Earth |
 Multiplayer Board Multiplayer Board |
 Vessels Vessels |
 Relics Relics |
 Weapons Weapons |
 Weapon Skills Weapon Skills |
 Spells Spells |
 Talismans Talismans |
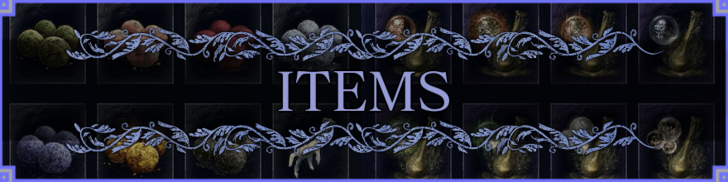 Items Items |
 News News |
 Patch Updates Patch Updates |
 Bugs and Errors Bugs and Errors |
 Map Map |
|
Comment
Author
Please participate in our site
improvement survey
03/2026
improvement survey
03/2026
Would you assist in
improving Game8's site?
improving Game8's site?

×
We are listening to our users' valuable opinions and discussing how to act on them.
The information collected through this survey will be used for the purpose of improving our services. In addition, the information will only be disclosed a part of a statistic in a format that will not allow identification of personal information.
Begin Survey
Not Now
×
Please rate each item regarding Game8.co's Advertisements.
Amount of Ads
Very Dissatisfied
Somewhat Dissatisfied
Fine
Somewhat Satisfied
Highly Satisfied
Placement of Ads
Timing of Ad Display
Ad Loading Speed
Safeness of Ads
Content of Ads
×
Please rate each item regarding Game8.co's Quality of Articles.
Amount of information
Very Dissatisfied
Somewhat Dissatisfied
Fine
Somewhat Satisfied
Highly Satisfied
Frequency of updates
Speed of new information
Accuracy of articles
Understandibility of articles
Readability of sentences
×
Please rate each item regarding Game8.co's Usability of the Site.
Ease of finding information
Very Dissatisfied
Somewhat Dissatisfied
Fine
Somewhat Satisfied
Highly Satisfied
Loading Speed
Use of Color
Font Size
Visibility of Images
Easy to Understand Layout
×
Please rate each item regarding Game8.co's Message Boards, Comments.
Ease of Writing
Very Dissatisfied
Somewhat Dissatisfied
Fine
Somewhat Satisfied
Highly Satisfied
Readability
Ease in Finding Information
Comment Quality
Comment Quantity
Admin Response
×
Please rate each item regarding Game8.co's Site's new design.
Please rate our site's new design
Very Dissatisfied
Somewhat Dissatisfied
Fine
Somewhat Satisfied
Highly Satisfied
Do you think that the website's design change makes the site easier to use?
Has the new design made it easier for you to find information on the site?
Has the new design improved the overall visual appeal of the site?
How would you rate your overall satisfaction with the new design of the site?
×
How likely are you to recommend Game8 to someone you know?
Very Unlikely
0
1
2
3
4
5
6
7
8
9
10
Very Likely
If you have other opinions regarding potential improvement to the website, please share them with us. We would appreciate your honest opinion.
Note: This is a free response section, so you can proceed without entering anything.
Note: Please be sure not to enter any kind of personal information into your response.
Note: Please be sure not to enter any kind of personal information into your response.
×
Thank You
×
Thank you for participating in our survey! Your answers will help us to improve the quality of our website and services.
We hope you continue to make use of Game8.
We hope you continue to make use of Game8.
Close
Rankings
- We could not find the message board you were looking for.
Gaming News


![Monster Hunter Stories 3 Review [First Impressions] | Simply Rejuvenating](https://img.game8.co/4438641/2a31b7702bd70e78ec8efd24661dacda.jpeg/thumb)

Popular Games

Genshin Impact Walkthrough & Guides Wiki
Honkai: Star Rail Walkthrough & Guides Wiki
Umamusume: Pretty Derby Walkthrough & Guides Wiki
Pokemon Pokopia Walkthrough & Guides Wiki
Resident Evil Requiem (RE9) Walkthrough & Guides Wiki
Monster Hunter Wilds Walkthrough & Guides Wiki
Wuthering Waves Walkthrough & Guides Wiki
Arknights: Endfield Walkthrough & Guides Wiki
Pokemon FireRed and LeafGreen (FRLG) Walkthrough & Guides Wiki
Pokemon TCG Pocket (PTCGP) Strategies & Guides Wiki


Recommended Games
Diablo 4: Vessel of Hatred Walkthrough & Guides Wiki
Fire Emblem Heroes (FEH) Walkthrough & Guides Wiki
Yu-Gi-Oh! Master Duel Walkthrough & Guides Wiki
Super Smash Bros. Ultimate Walkthrough & Guides Wiki
Pokemon Brilliant Diamond and Shining Pearl (BDSP) Walkthrough & Guides Wiki
Elden Ring Shadow of the Erdtree Walkthrough & Guides Wiki
Monster Hunter World Walkthrough & Guides Wiki
The Legend of Zelda: Tears of the Kingdom Walkthrough & Guides Wiki
Persona 3 Reload Walkthrough & Guides Wiki
Cyberpunk 2077: Ultimate Edition Walkthrough & Guides Wiki


All rights reserved
© 2010 - 2024 Bandai Namco Entertainment Europe S.A.S
The copyrights of videos of games used in our content and other intellectual property rights belong to the provider of the game.
The contents we provide on this site were created personally by members of the Game8 editorial department.
We refuse the right to reuse or repost content taken without our permission such as data or images to other sites.