How to Beat Dreglord (Traitorous Straghess)
★ Team up using our Multiplayer Board!
☆ The Forsaken Hollows DLC: Scholar | Undertaker
★ The Great Hollow Guide and Rewards
☆ New Bosses: Balancers | Dreglord
★ Best Class Tier List and Best Teams
☆ How to Unlock Forsaken Hollows DLC
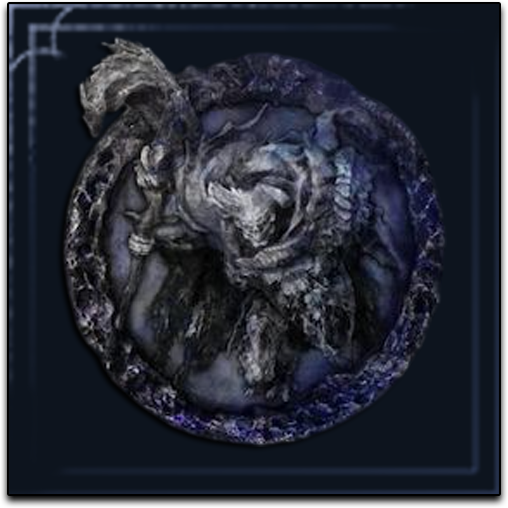
Dreglord, also known as Traitorous Straghess and Pure Impulse Straghess, is a Nightlord boss in Elden Ring Nightreign: The Forsaken Hollows DLC. Learn how to unlock and defeat Dreglord, as well as best combat tips and weaknesses for Dreglord.
List of Contents
How to Unlock Dreglord
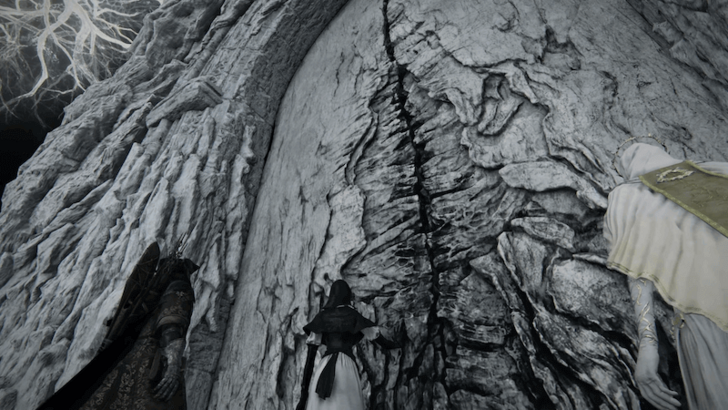
Fought When First Entering the Chapel
Dreglord is fought when you first enter the chapel behind the Small Jar Merchant. You’ll be joined by the two new Nightfarers, the Scholar and the Undertaker. However, you are not expected to win against Dreglord, as losing in this encounter is part of the process for unlocking the new Nightfarers in the DLC.
How to Unlock Forsaken Hollows DLC
Boss Expedition Unlocked After Defeating the Balancers
Dreglord’s expedition is unlocked after defeating the Balancers. As a Nightlord, Dreglord appears on the third day of its expedition.
Dreglord Weaknesses
Boss Has No Weakness
Dreglord is the only Nightlord in the game with no weakness. You will have to bring your strongest weapons, maximize your stats, and follow the tips below to take the boss down!
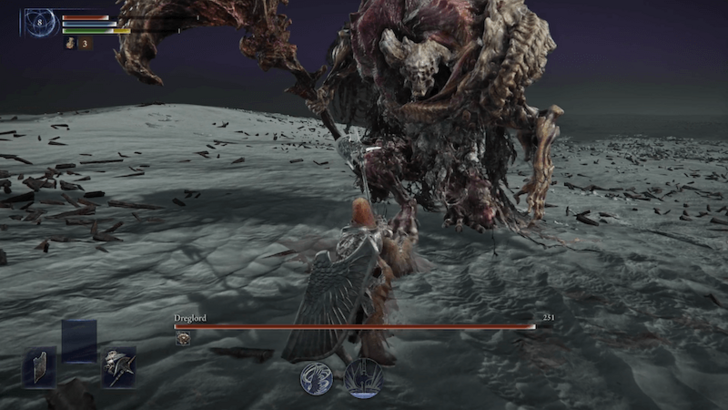
How to Beat Dreglord
Combat Tips for Dreglord
| How to Beat Dreglord |
|---|
|
|
Recommended Level for Dreglord
| Recommended Level | Level 15 |
|---|
We recommend fighting Dreglord at Level 15 for a standard difficulty experience. If you wish for a greater challenge, you may fight this boss at lower levels.
Take on Dreglord in the Limveld Map
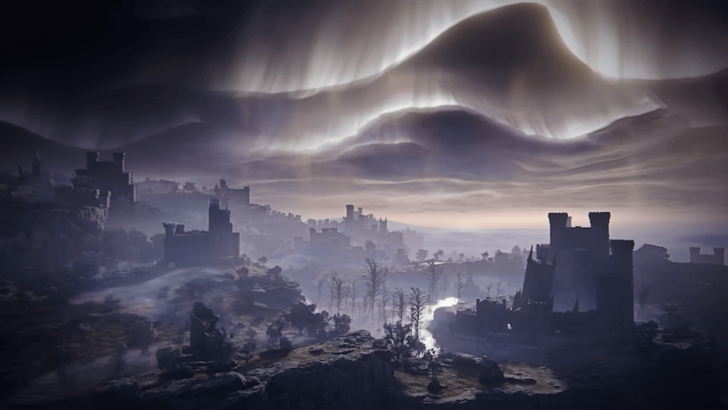
With The Forsaken Hollows DLC, there’s a chance to run The Great Hollows Shifting Earth event, which is basically a new map. If you want an easier path to reaching Day 3, we recommend taking on Dreglord’s expedition in Limveld instead. To skip The Great Hollows or any active Shifting Earth event, use the bed to restore Limveld to its default setting.
It’s easier to farm Runes and grind to Level 15 in Limveld, and you should already be familiar with the original map at this point. While The Great Hollows offers rarer loot, it’s also much more dangerous, making it harder to even reach Dreglord. Only take on the boss there if you know the map’s loop well.
Build Up Scarlet Rot Resistance
Dreglord's attacks inflict Scarlet Rot, a status effect similar to poison but with stronger damage over time. Make sure to build up your Scarlet Rot resistance going into the boss fight. Stock up on Preserving Boluses, which alleviates Scarlet Rot buildup for the rest of the fight, and try to get the All Resistances Up Dormant Power to raise resistance to all ailments, including Scarlet Rot.
Talismans such as the Immunizing Horn Charm and Mottled Necklace can increase your Scarlet Rot and poison resistance, as well.
You can also use Dreglord’s Scarlet Rot to your advantage by equipping the Night of the Wise relic, which improves Attack Power when Scarlet Rot is present. The Kindred of Rot’s Exultation Talisman provides the same effect and can be found as loot.
Stock Up on Glowstones and Use Flasks Conservatively
You’ll fight Dreglord twice, meaning it has two full health bars. Make sure to increase your Flask charges as much as you can by interacting with church altars, and stock up on Glowstones. You can also buy a Small Pouch from a Merchant to increase your consumable capacity.
Use Flasks conservatively during the first part of the boss fight. Try to have at least 3 Flask charges left when you enter the second part.
Deal Bleed Damage
Since Dreglord has no weakness, focus on dealing Bleed damage instead. Bleed takes out massive chunks of its HP every time, which is especially helpful during the second part of the boss fight. Have every melee character be capable of inflicting Bleed as much as possible!
Watch Out for Delayed Slow Attacks
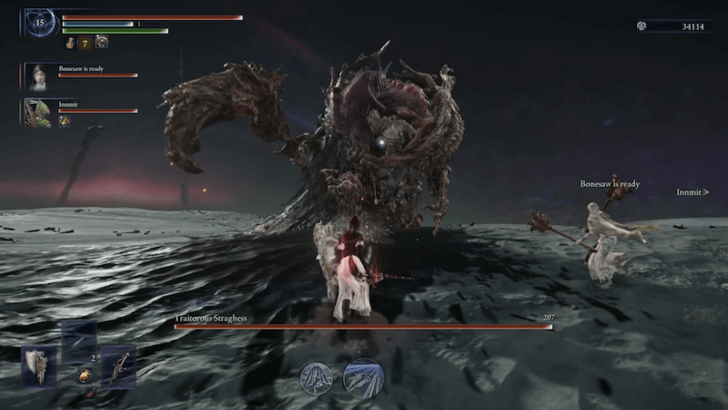
Dreglord mainly attacks with its axe, but its animations can be deceptive. The boss often winds up its axe as if it's about to swing, only to take even longer than expected, then strikes suddenly to catch you off guard.
If you’re a ranged user like Ironeye or Recluse, keep your distance and draw the boss' aggro so melee players can safely attack from behind.
The boss also does a lot of AoE attacks, so you may find yourself dodging a lot. Try to get the Improved Dodging Dormant Power to have longer invincibility windows during evasive maneuvers.
Shoot or Avoid the Blood Bomb
Dreglord can create a blood bomb that deals heavy damage on impact. When you see the boss raise its hand and draw blood from the ground, you can either shoot the forming bomb if you're a ranged user or run away and perform a dodge roll at the last second before it explodes.
Thin Out the Mobs the Boss Spawns
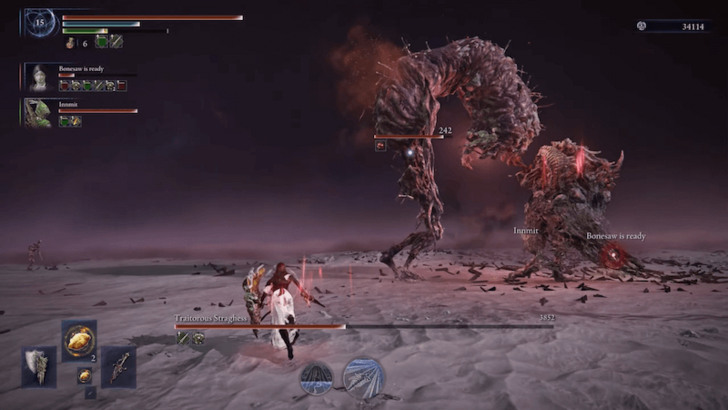
Once you’ve chipped about a third of Dreglord’s HP, it will start spawning mobs of zombies in the arena. These zombies are slow but annoying since they inflict Scarlet Rot and can grab you. Don’t clear them all, but just trim and leave a few so they don’t overwhelm you while you stay focused on the boss.
Later on, Dreglord will summon a larger zombie, which deals greater damage and causes more distractions during the fight. Use your Ultimate skill to kill it quickly so you can return your attention to the boss.
The Boss Has a Second Health Bar After Defeating
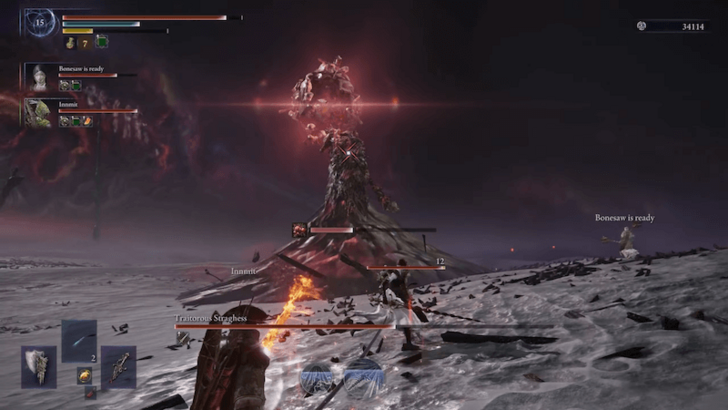
After defeating Dreglord, don’t do your victory emote yet. The screen will fill with black smoke, and Dreglord will resurrect itself as the Pure Impulse Straghess, starting the second part of the boss fight with a full second health bar.
One of its new moves is that the boss will start jumping onto pillars and performing AoE attacks. These can easily be avoided by staying clear of the small mounds that appear on the ground. During this time, you can also start using Glowstones if you're out of Flasks, since you’ll have more breathing room while Dreglord jumps around.
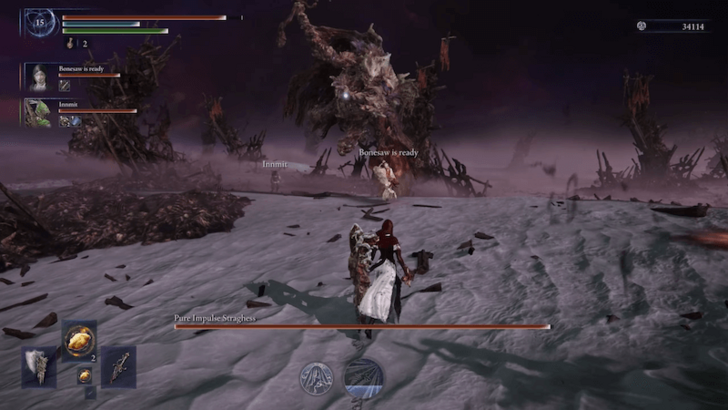
The second part of the boss fight is more manageable since Dreglord now fights solo. Still, take the fight slow and methodically, and stick to the strategy that has brought you this far!
Dreglord Boss Rewards
The Night of Dregs
 The Night of Dregs The Night of Dregs
|
Color | Red |
|---|---|---|
| Size | Large | |
| Effects |
|
|
Defeating Dreglord unlocks The Night of Dregs relic.
Elden Ring Nightreign Related Guides
List of All Forsaken Hollows Bosses
 Balancers
 Dreglord
The Forsaken Hollows DLC Guide
List of All Nightlords
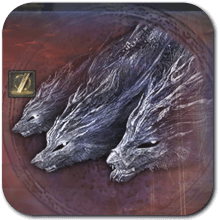 Gladius, Beast of Night
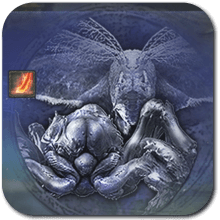 Gnoster, Wisdom of Night
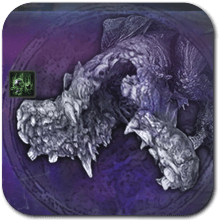 Adel, Baron of Night
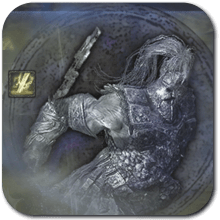 Fulghor, Champion of Nightglow
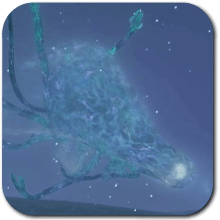 Maris, Fathom of Night
 Libra, Creature of Night
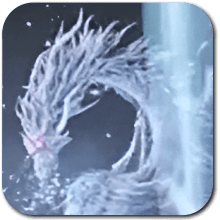 Caligo, Miasma of Night
 Heolstor the Nightlord
List of All Night Bosses
List of All World Bosses
List of Special Bosses
| Special Bosses | ||
|---|---|---|
| Night Idol | Tutorial Boss | Onestrike Gladiator |
| Blinding Elder Lion | White Horn | - |
List of Returning Bosses
| Bosses from Previous Games | |
|---|---|
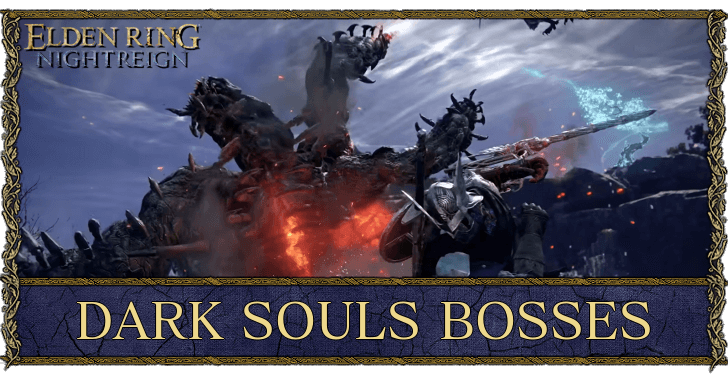 Dark Souls Dark Souls |
 Shadow of the Erdtree Shadow of the Erdtree |
Author
How to Beat Dreglord (Traitorous Straghess)
Rankings
- We could not find the message board you were looking for.
Gaming News


Popular Games

Genshin Impact Walkthrough & Guides Wiki
Umamusume: Pretty Derby Walkthrough & Guides Wiki
Crimson Desert Walkthrough & Guides Wiki
Monster Hunter Stories 3: Twisted Reflection Walkthrough & Guides Wiki
Honkai: Star Rail Walkthrough & Guides Wiki
Pokemon Pokopia Walkthrough & Guides Wiki
The Seven Deadly Sins: Origin Walkthrough & Guides Wiki
Wuthering Waves Walkthrough & Guides Wiki
Zenless Zone Zero Walkthrough & Guides Wiki
Arknights: Endfield Walkthrough & Guides Wiki


Recommended Games
Fire Emblem Heroes (FEH) Walkthrough & Guides Wiki
Diablo 4: Vessel of Hatred Walkthrough & Guides Wiki
Cyberpunk 2077: Ultimate Edition Walkthrough & Guides Wiki
Yu-Gi-Oh! Master Duel Walkthrough & Guides Wiki
Super Smash Bros. Ultimate Walkthrough & Guides Wiki
Pokemon Brilliant Diamond and Shining Pearl (BDSP) Walkthrough & Guides Wiki
Elden Ring Shadow of the Erdtree Walkthrough & Guides Wiki
Monster Hunter World Walkthrough & Guides Wiki
The Legend of Zelda: Tears of the Kingdom Walkthrough & Guides Wiki
Persona 3 Reload Walkthrough & Guides Wiki


All rights reserved
© 2010 - 2024 Bandai Namco Entertainment Europe S.A.S
The copyrights of videos of games used in our content and other intellectual property rights belong to the provider of the game.
The contents we provide on this site were created personally by members of the Game8 editorial department.
We refuse the right to reuse or repost content taken without our permission such as data or images to other sites.
Do you know what happens if you defeat the dreglord during the chapel fight