This survey will take about 1 minute.
Your answers will help us to improve our website.
Elden Ring Nightreign
Collector Signboard Location and Features
★ Team up using our Multiplayer Board!
☆ The Forsaken Hollows DLC: Scholar | Undertaker
★ The Great Hollow Guide and Rewards
☆ New Bosses: Balancers | Dreglord
★ Best Class Tier List and Best Teams
☆ How to Unlock Forsaken Hollows DLC
The Collector Signboard is located in the Roundtable Hold in Elden Ring Nightreign. See the exact location of the Collector Signboard, all its features, how to unlock it, and the contents of the catalog here.
List of Contents
Collector Signboard Location
Near the Shore in Roundtable Hold
| Collector Signboard Location | |
|---|---|
 |
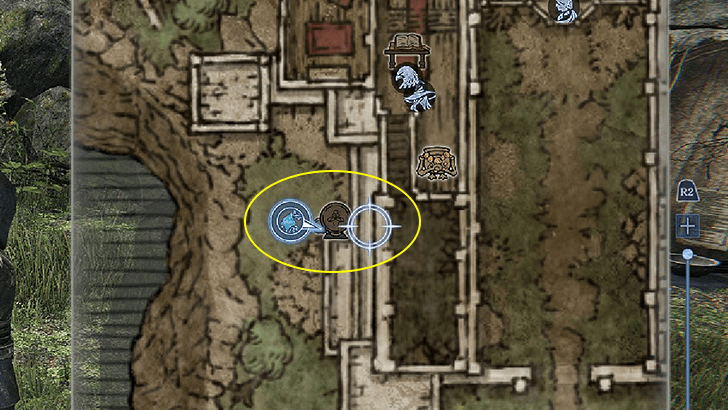 |
The Collector Signboard can be found outside the Roundtable Hold, around the western side of the map. You can get here easily by going to the Shore from the fast travel menu.
Collector Signboard Features
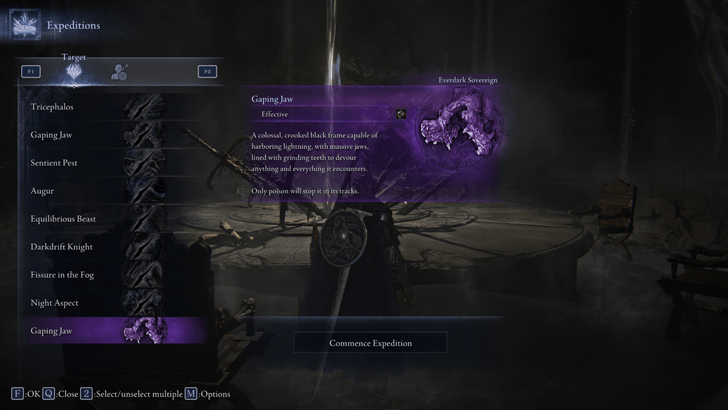
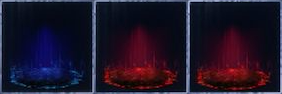
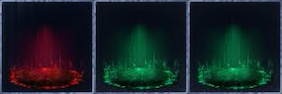
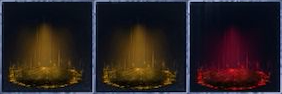
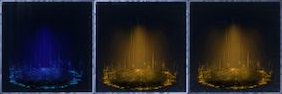
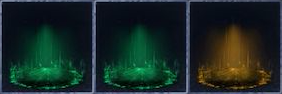
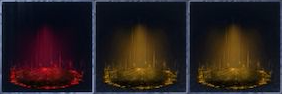
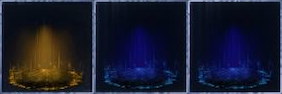
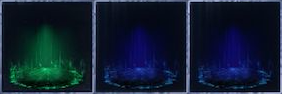
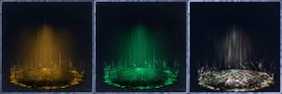
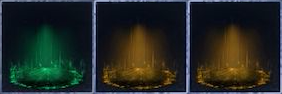
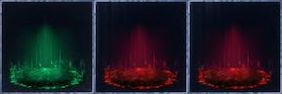
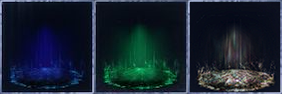
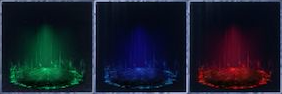
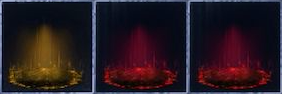
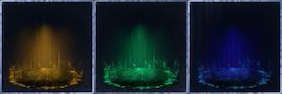
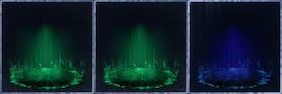
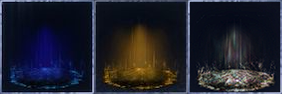
Change Shifting Earth
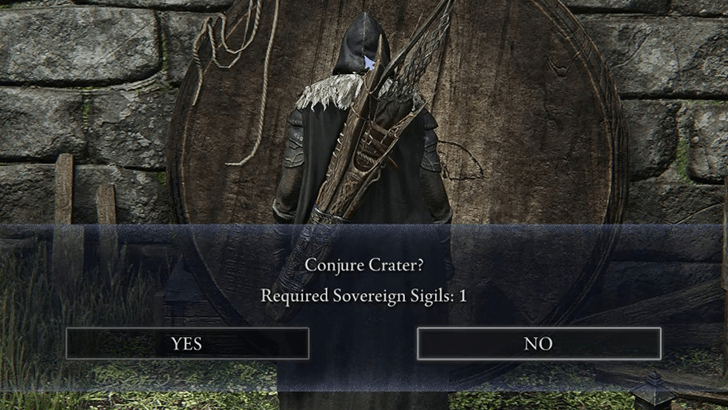
By spending one Sovereign Sigil, you can choose the "Conjure a shift in the earth" option to change the Shifting Earth to one of the four choices.
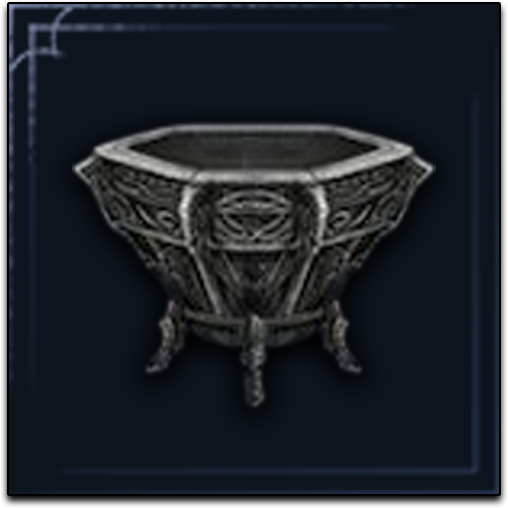
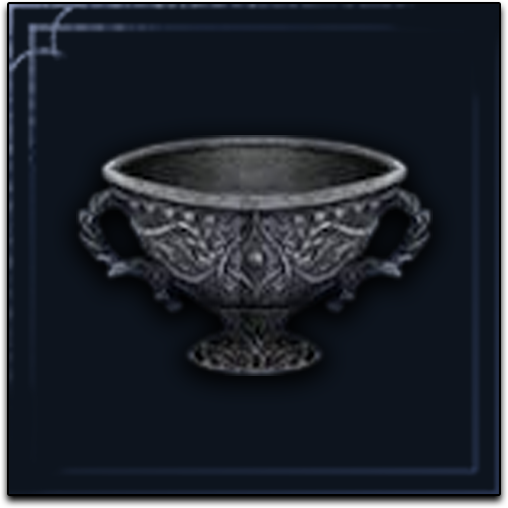
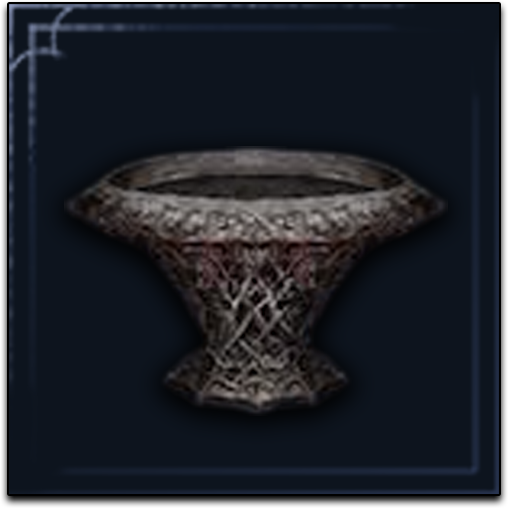
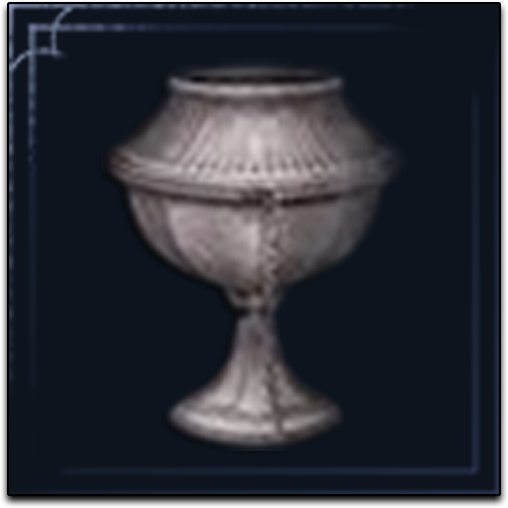
Purchase Relics, Urns, and Skins at the Catalog
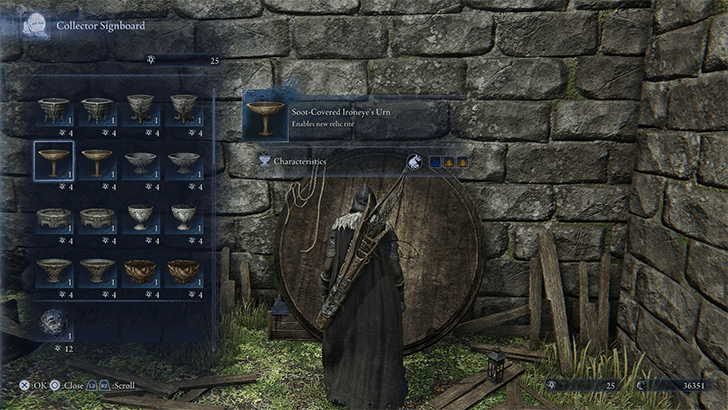
The catalog of the Collector Signboard has several options for purchase. These include two additional urns per character, more powerful Relics, and garbs. All of these require Sovereign Sigils which are only obtained by beating Everdark Sovereign bosses.
None of the skins are new but can be purchased with Sigils instead of Murk. The Catalog also introduces a Large Scenic Flatstone that gives a higher chance of getting relics with multiple passives.
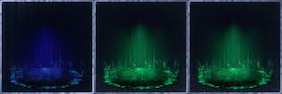
Change Roundtable Hold Appearance
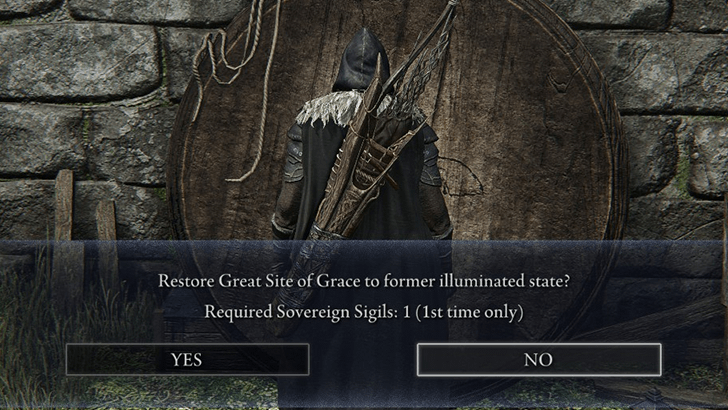
By selecting "Alter Great Site of Grace", you can restore the appearance of the Roundtable Hold to its previous illuminated state. This will cost one Sovereign Sigil for the first time, allowing you to freely swap appearances after.
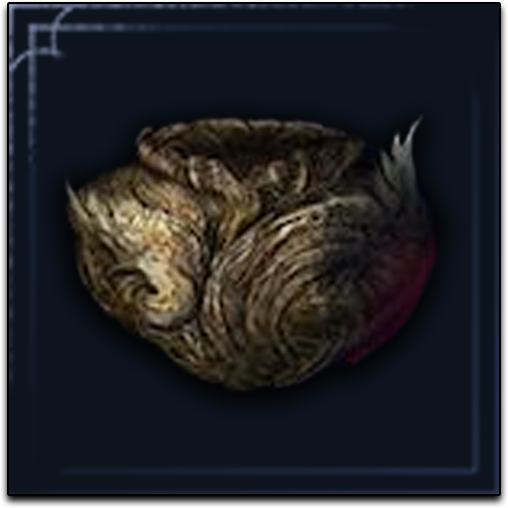
Change Witch's Brooch Appearance
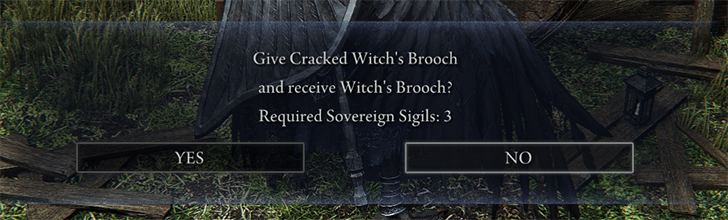
If you have the Witch's Brooch or Cracked Witch's Brooch from Guardian's Remembrance Quest, you can spend 3 Sovereign Sigils to change its apperance to the other version.
How to Unlock Collector Signboard
Defeat an Everdark Sovereign
The Collector Signboard is unlocked after defeating your first Everdark Sovereign and getting Sovereign Sigils as a reward.
Everdark Sovereign Guide and Rewards
Collector Signboard Catalog
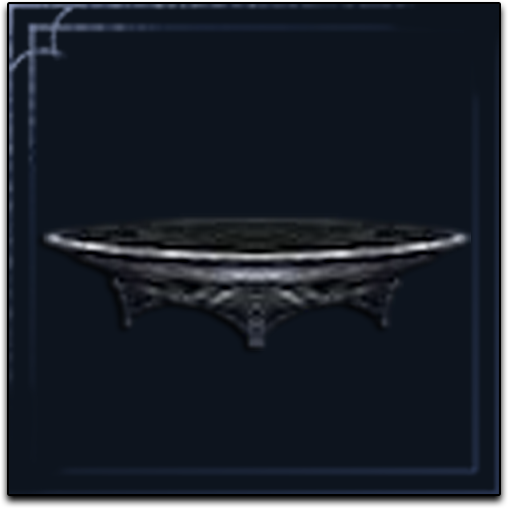
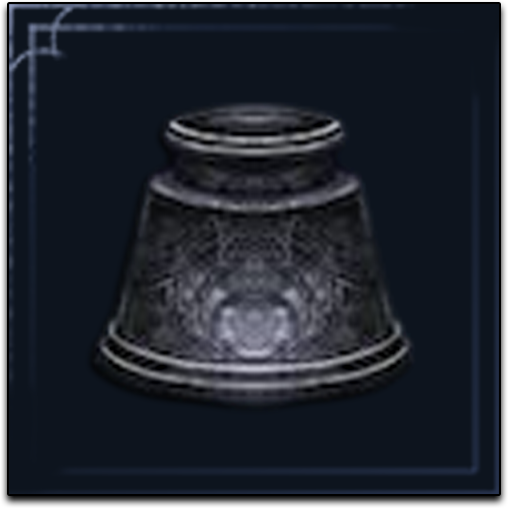
All Urns
| Vessel | Relic Slots |
|---|---|
 Blue, Blue, Yellow Blue, Blue, Yellow |
|
| Vessel | Relic Slots |
 Blue, Red, Red Blue, Red, Red |
|
| Vessel | Relic Slots |
 Red, Green, Green Red, Green, Green |
|
| Vessel | Relic Slots |
 Yellow, Yellow, Red Yellow, Yellow, Red |
|
| Vessel | Relic Slots |
 Blue, Yellow, Yellow Blue, Yellow, Yellow |
|
| Vessel | Relic Slots |
 Green, Green, Yellow Green, Green, Yellow |
|
| Vessel | Relic Slots |
 Red, Red, Green Red, Red, Green |
|
| Vessel | Relic Slots |
 Blue, Blue, Red Blue, Blue, Red |
|
| Vessel | Relic Slots |
 Blue, Blue, Green Blue, Blue, Green |
|
| Vessel | Relic Slots |
 Green, Green, Red Green, Green, Red |
|
| Vessel | Relic Slots |
 Red, Yellow, Yellow Red, Yellow, Yellow |
|
| Vessel | Relic Slots |
 Yellow, Blue, Blue Yellow, Blue, Blue |
|
| Vessel | Relic Slots |
 Red, Red, Yellow Red, Red, Yellow |
|
| Vessel | Relic Slots |
 Green, Blue, Blue Green, Blue, Blue |
|
| Vessel | Relic Slots |
 Red, Red, Blue Red, Red, Blue |
|
| Vessel | Relic Slots |
| Yellow, Yellow, Red |
|
| Vessel | Relic Slots |
 Decrepit Wylder's Goblet Decrepit Wylder's Goblet |
 Blue, Green, Yellow Blue, Green, Yellow |
| Deep of Night Relic Slots | |
 Blue, Green, Yellow Blue, Green, Yellow |
|
| Vessel | Relic Slots |
| Forgotten Wylder's Goblet |
Green, Green, Yellow |
| Deep of Night Relic Slots | |
 Red, Green, White Red, Green, White |
|
| Vessel | Relic Slots |
 Decrepit Guardian's Goblet Decrepit Guardian's Goblet |
 Yellow, Green, Green Yellow, Green, Green |
| Deep of Night Relic Slots | |
| Yellow, Green, Green |
|
| Vessel | Relic Slots |
| Forgotten Guardian's Goblet |
Green, Blue, Blue |
| Deep of Night Relic Slots | |
 Red, Blue, White Red, Blue, White |
|
| Vessel | Relic Slots |
 Decrepit Ironeye's Goblet Decrepit Ironeye's Goblet |
Blue, Blue, Green |
| Deep of Night Relic Slots | |
| Blue, Blue, Green |
|
| Vessel | Relic Slots |
| Forgotten Ironeye's Goblet |
 Yellow, Blue, Red Yellow, Blue, Red |
| Deep of Night Relic Slots | |
 Yellow, Green, White Yellow, Green, White |
|
| Vessel | Relic Slots |
 Decrepit Duchess's Goblet Decrepit Duchess's Goblet |
 Blue, Green, Green Blue, Green, Green |
| Deep of Night Relic Slots | |
 Blue, Green, Green Blue, Green, Green |
|
| Vessel | Relic Slots |
| Forgotten Duchess's Goblet |
 Green, Yellow, Yellow Green, Yellow, Yellow |
| Deep of Night Relic Slots | |
| Red, Green, White |
|
| Vessel | Relic Slots |
 Decrepit Raider's Goblet Decrepit Raider's Goblet |
 Yellow, Yellow, Green Yellow, Yellow, Green |
| Deep of Night Relic Slots | |
| Yellow, Yellow, Green |
|
| Vessel | Relic Slots |
| Forgotten Raider's Goblet |
Yellow, Blue, Red |
| Deep of Night Relic Slots | |
| Red, Green, White |
|
| Vessel | Relic Slots |
 Decrepit Revenant's Goblet Decrepit Revenant's Goblet |
 Red, Red, Yellow Red, Red, Yellow |
| Deep of Night Relic Slots | |
| Red, Red, Yellow |
|
| Vessel | Relic Slots |
| Forgotten Revenant's Goblet |
 Green, Red, Red Green, Red, Red |
| Deep of Night Relic Slots | |
| Yellow, Green, White |
|
| Vessel | Relic Slots |
 Decrepit Recluse's Goblet Decrepit Recluse's Goblet |
Red, Red, Blue |
| Deep of Night Relic Slots | |
| Red, Red, Blue |
|
| Vessel | Relic Slots |
| Forgotten Recluse's Goblet |
Yellow, Blue, Red |
| Deep of Night Relic Slots | |
 Blue, Green, White Blue, Green, White |
|
| Vessel | Relic Slots |
 Decrepit Executor's Goblet Decrepit Executor's Goblet |
Red, Red, Yellow |
| Deep of Night Relic Slots | |
| Red, Red, Yellow |
|
| Vessel | Relic Slots |
| Forgotten Executor's Goblet |
 Green, Blue, Red Green, Blue, Red |
| Deep of Night Relic Slots | |
| Yellow, Green, White |
|
| Vessel | Relic Slots |
 Soot-Covered Scholar's Chalice Soot-Covered Scholar's Chalice |
Blue, Green, Green |
| Deep of Night Relic Slots | |
| Blue, Green, Green |
|
| Vessel | Relic Slots |
| Sealed Scholar's Chalice |
 Yellow, Red, Red Yellow, Red, Red |
| Deep of Night Relic Slots | |
| Green, Blue, Blue |
|
| Vessel | Relic Slots |
 Decrepit Scholar's Goblet Decrepit Scholar's Goblet |
Blue, Blue, Green |
| Deep of Night Relic Slots | |
| Blue, Blue, Green |
|
| Vessel | Relic Slots |
| Forgotten Scholar's Goblet |
 Yellow, Green, Blue Yellow, Green, Blue |
| Deep of Night Relic Slots | |
| Red, Green, White |
|
| Vessel | Relic Slots |
 Soot-Covered Undertaker's Urn Soot-Covered Undertaker's Urn |
Red, Red, Blue |
| Deep of Night Relic Slots | |
| Red, Red, Blue |
|
| Vessel | Relic Slots |
| Sealed Undertaker's Urn |
 Green, Green, Blue Green, Green, Blue |
| Deep of Night Relic Slots | |
| Yellow, Red, Red |
|
| Vessel | Relic Slots |
 Decrepit Undertaker's Goblet Decrepit Undertaker's Goblet |
 Red, Blue, Blue Red, Blue, Blue |
| Deep of Night Relic Slots | |
| Red, Blue, Blue |
|
| Vessel | Relic Slots |
| Forgotten Undertaker's Goblet |
Yellow, Yellow, Red |
| Deep of Night Relic Slots | |
 Blue, Yellow, White Blue, Yellow, White |
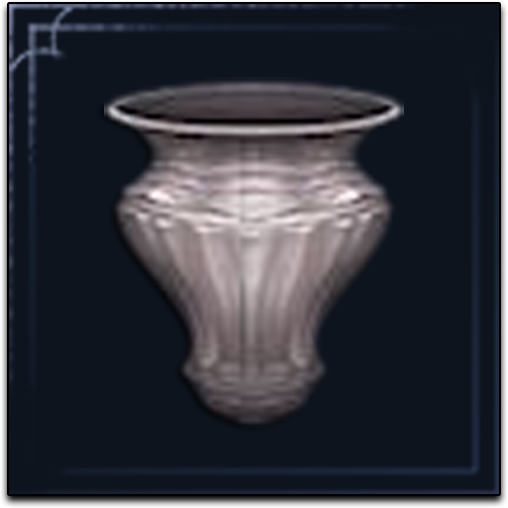
Additional Vessels can be purchased for 4 Sovereign Sigils each. The Sealed Urns appear to be very similar to the default urn, it can affect the priorities of some passives.
How to Use Goblets and Chalices
Relics
| Relics and Effects | |
|---|---|
 Grand Drizzly Scene Grand Drizzly Scene
|
・[Wylder] Art activation spreads fire in area ・Changes compatible armament's skill to Flaming Strike at the start of expedition ・Fire Attack Power Up +2 |
 Grand Burning Scene Grand Burning Scene
|
・[Guardian] Reflect a portion of damage received when ability is activated ・Art gauge charged from successful guarding ・Endurance +3 |
 Grand Tranquil Scene Grand Tranquil Scene
|
・[Duchess] Become difficult to spot and silence footsteps after landing critical from behind ・Improved Critical Hits ・ Character Skill Cooldown Reduction +2 |
|
Grand Tranquil Scene
|
・ Max FP Up with 3+ Staves Equipped ・Max FP permanently increased after releasing Sorcerer's Rise mechanism ・Magic Attack Power Up |
|
Grand Burning Scene
|
・[Ironeye] Art Charge Activation Adds Poison Effect ・Attack power up when facing poison-afflicted enemy ・Ultimate Art Gauge +3 |
 Grand Luminous Scene Grand Luminous Scene
|
・[Raider] Duration of Ultimate Art extended ・Improved Colossal Weapon Attack Power ・Endurance +3 |
|
Grand Drizzly Scene
|
・[Revenant] Strengthens family and allies when Ultimate Art is activated ・Items confer effect to all nearby allies ・Starlight Shards in possession at start of expedition |
|
Grand Luminous Scene
|
・[Executor] Character Skill Boosts Attack but Attacking Drains HP ・HP Recovery From Successful Guarding ・ Art gauge charged from successful guarding |
|
Grand Burning Scene
|
・Slowly restore HP for self and nearby allies when HP is low ・Improved Damage Negation at Low HP ・Vigor +3 |
|
Grand Tranquil Scene
|
・Improved Stance-Breaking when Two-Handing ・Improved Initial Standard Attack ・Poise +3 |
|
Grand Burning Scene
|
・Improved Stance-Breaking when Wielding Two Armaments ・Stamina recovers with each successful attack ・Endurance +3 |
|
Grand Luminous Scene
|
・Attack power permanently increased for each evergaol prisoner defeated ・Treasure marked upon map ・Stonesword Key in possession at start of expedition |
|
Grand Drizzly Scene
|
・Starlight Shards in possession at start of expedition ・Starlight Shards in possession at start of expedition ・Starlight Shards in possession at start of expedition |
 Dark Night of the Baron Dark Night of the Baron
|
・Improved Critical Hits +1 ・Improved Critical Hits ・Critical Hits Earn Runes |
 Dark Night of the Champion Dark Night of the Champion
|
・Increased Maximum Stamina ・Boosts Attack Power of Added Affinity Attacks ・Defeating enemies fills more of the Art gauge |
In addition to more fixed relics for purchase for 3 Sigils each, you can purchase a Dark Night relic, such as the Dark Night of the Baron, for 12 Sovereign Sigils. The Large Scenic Flatstone costs 5 Sigils and gives relics with several passives.
Skins
Garbs can be purchased from the Catalog using Sigils instead of Murk. The only skins not available for purchase are the default and Remembrance skins. The prices vary from 5, 10, and 20 Sigils.
Elden Ring Nightreign Related Guides

All Tips and Tricks Guides
Comment
Author
Collector Signboard Location and Features
Please participate in our site
improvement survey
03/2026
improvement survey
03/2026
Would you assist in
improving Game8's site?
improving Game8's site?

×
We are listening to our users' valuable opinions and discussing how to act on them.
The information collected through this survey will be used for the purpose of improving our services. In addition, the information will only be disclosed a part of a statistic in a format that will not allow identification of personal information.
Begin Survey
Not Now
×
Please rate each item regarding Game8.co's Advertisements.
Amount of Ads
Very Dissatisfied
Somewhat Dissatisfied
Fine
Somewhat Satisfied
Highly Satisfied
Placement of Ads
Timing of Ad Display
Ad Loading Speed
Safeness of Ads
Content of Ads
×
Please rate each item regarding Game8.co's Quality of Articles.
Amount of information
Very Dissatisfied
Somewhat Dissatisfied
Fine
Somewhat Satisfied
Highly Satisfied
Frequency of updates
Speed of new information
Accuracy of articles
Understandibility of articles
Readability of sentences
×
Please rate each item regarding Game8.co's Usability of the Site.
Ease of finding information
Very Dissatisfied
Somewhat Dissatisfied
Fine
Somewhat Satisfied
Highly Satisfied
Loading Speed
Use of Color
Font Size
Visibility of Images
Easy to Understand Layout
×
Please rate each item regarding Game8.co's Message Boards, Comments.
Ease of Writing
Very Dissatisfied
Somewhat Dissatisfied
Fine
Somewhat Satisfied
Highly Satisfied
Readability
Ease in Finding Information
Comment Quality
Comment Quantity
Admin Response
×
Please rate each item regarding Game8.co's Site's new design.
Please rate our site's new design
Very Dissatisfied
Somewhat Dissatisfied
Fine
Somewhat Satisfied
Highly Satisfied
Do you think that the website's design change makes the site easier to use?
Has the new design made it easier for you to find information on the site?
Has the new design improved the overall visual appeal of the site?
How would you rate your overall satisfaction with the new design of the site?
×
How likely are you to recommend Game8 to someone you know?
Very Unlikely
0
1
2
3
4
5
6
7
8
9
10
Very Likely
If you have other opinions regarding potential improvement to the website, please share them with us. We would appreciate your honest opinion.
Note: This is a free response section, so you can proceed without entering anything.
Note: Please be sure not to enter any kind of personal information into your response.
Note: Please be sure not to enter any kind of personal information into your response.
×
Thank You
×
Thank you for participating in our survey! Your answers will help us to improve the quality of our website and services.
We hope you continue to make use of Game8.
We hope you continue to make use of Game8.
Close
Rankings
- We could not find the message board you were looking for.
Gaming News


![Everwind Review [Early Access] | The Shaky First Step to A Very Long Journey](https://img.game8.co/4440226/ab079b1153298a042633dd1ef51e878e.png/thumb)

![Monster Hunter Stories 3 Review [First Impressions] | Simply Rejuvenating](https://img.game8.co/4438641/2a31b7702bd70e78ec8efd24661dacda.jpeg/thumb)
Popular Games

Genshin Impact Walkthrough & Guides Wiki
Honkai: Star Rail Walkthrough & Guides Wiki
Umamusume: Pretty Derby Walkthrough & Guides Wiki
Pokemon Pokopia Walkthrough & Guides Wiki
Resident Evil Requiem (RE9) Walkthrough & Guides Wiki
Monster Hunter Wilds Walkthrough & Guides Wiki
Wuthering Waves Walkthrough & Guides Wiki
Arknights: Endfield Walkthrough & Guides Wiki
Pokemon FireRed and LeafGreen (FRLG) Walkthrough & Guides Wiki
Pokemon TCG Pocket (PTCGP) Strategies & Guides Wiki


Recommended Games
Diablo 4: Vessel of Hatred Walkthrough & Guides Wiki
Fire Emblem Heroes (FEH) Walkthrough & Guides Wiki
Yu-Gi-Oh! Master Duel Walkthrough & Guides Wiki
Super Smash Bros. Ultimate Walkthrough & Guides Wiki
Pokemon Brilliant Diamond and Shining Pearl (BDSP) Walkthrough & Guides Wiki
Elden Ring Shadow of the Erdtree Walkthrough & Guides Wiki
Monster Hunter World Walkthrough & Guides Wiki
The Legend of Zelda: Tears of the Kingdom Walkthrough & Guides Wiki
Persona 3 Reload Walkthrough & Guides Wiki
Cyberpunk 2077: Ultimate Edition Walkthrough & Guides Wiki


All rights reserved
© 2010 - 2024 Bandai Namco Entertainment Europe S.A.S
The copyrights of videos of games used in our content and other intellectual property rights belong to the provider of the game.
The contents we provide on this site were created personally by members of the Game8 editorial department.
We refuse the right to reuse or repost content taken without our permission such as data or images to other sites.