 Balancers
 Dreglord
This survey will take about 1 minute.
Your answers will help us to improve our website.
Elden Ring Nightreign
Sentient Pest (Gnoster, Wisdom of Night) Weakness and How to Beat
★ Team up using our Multiplayer Board!
☆ The Forsaken Hollows DLC: Scholar | Undertaker
★ The Great Hollow Guide and Rewards
☆ New Bosses: Balancers | Dreglord
★ Best Class Tier List and Best Teams
☆ How to Unlock Forsaken Hollows DLC
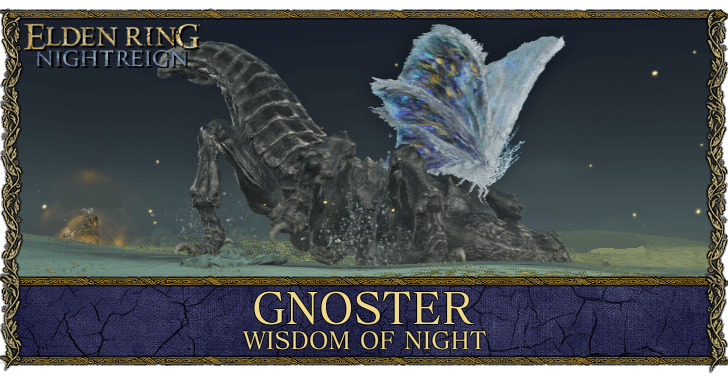
Gnoster, Wisdom of Night, also known as Sentient Pest, is a boss in Elden Ring Nightreign. Learn how to unlock and defeat Sentient Pest and its Everdark Sovereign version, as well as best combat tips and weaknesses for Gnoster, Wisdom of Night and Animus.
Gnoster, Wisdom of Night Weakness
Weak to Fire Damage
Fire damage is effective against Gnoster, look for Fire weapons by clearing Strongholds marked with the fire icon on the days before fighting Gnoster. Fire damage leaves a damage-over-time effect on the Moth.
Still Effective on Everdark Sovereign
Fire damage is still important in this fight as it still applies a damage-over-time effect on the Moth in the new phase. Not only that, but it also deals damage to Animus when it possesses the Moth.
How to Beat Gnoster, Wisdom of Night
| Jump to a Section! | ||
|---|---|---|
| General Tips | Moth Tips | |
| Scorpion Tips | Final Phase | |
| Hard Mode | ||
General Combat Tips for Gnoster, Wisdom of Night
| How to Beat Gnoster, Wisdom of Night |
|---|
|
|
Bring Neutralizing Boluses Against Poison
Gnoster uses attacks that can poison the player, so before you face him on the third day, make sure to stock up on Neutralizing Boluses. These are essential to alleviating poison build up and curing poison during the battle.
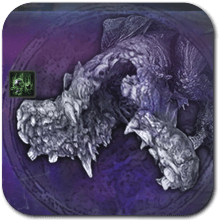
Split Up the Moth and Scorpion
Gnoster starts the fight as two separate beings, a Moth and a Scorpion. Split your team into two to fight them separately away from each other.
If your team composition is two melee and one ranged, the two melee attackers should focus on the scorpion while the lone ranged attacker should distract the moth.
If your team composition instead has two ranged attackers, both should attack the Moth while the remaining melee attacker focuses on distracting the scorpion.
Fights Together at Half HP
When Gnoster is at about 50% HP, the Moth and Scorpion starts fighting together as one. After merging, Gnoster will charge at a targeted player indicated by a red mark on their character.
As soon as you see them start to merge, get as far away as you can from the boss and prepare to dodge sideways if you are targeted by its charge.
Combat Tips for the Moth
| How to Beat Gnoster, Wisdom of Night |
|---|
|
|
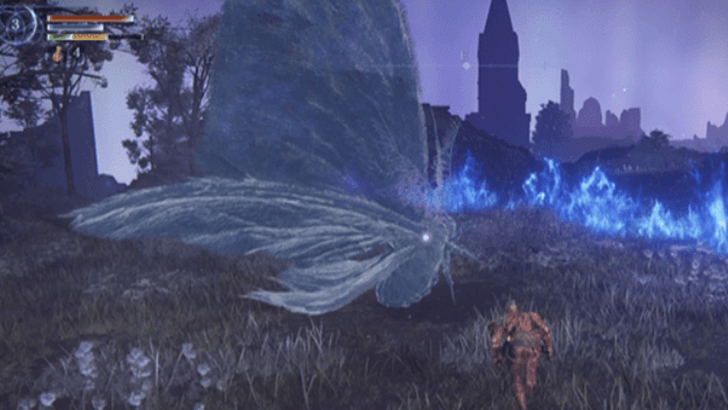
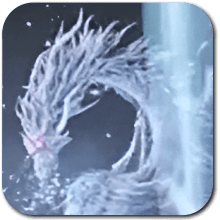
Prepare to Dodge When it Soars Into The Sky
When the Moth starts flying up into the sky and charges up a sorcery barrage, prepare to dodge when it fires to avoid damage.
Get Out of the Poison Mist Immediately
The Moth can spread poisonous mist in an area in front of it by flapping its wings. If you're targeted by this move, dodge roll immediately out of the mist to avoid getting poisoned.
Watch Out for the Grabs
If you see the Moth start fluttering its wings to the left and then to the right, it will lunge towards you and attempt to grab you for an attack.
Be sure to watch out for this move specifically as it can be hard to react to compared to its other attacks.
Combat Tips for the Scorpion
| How to Beat Gnoster, Wisdom of Night |
|---|
|
|
Watch the Sand to Dodge the Burrow Attack
The Scorpion has a move where it dives into the ground before emerging onto a targeted player to hit them. When he does this, spread out away from your team and watch the ground for any movement.
If you're the target, sand will start to roll up from under you. Time your dodge a bit after you see the rolling sand to avoid the burrowing attack from underground.
Use Forward Dodges Into the Scorpion
Most of the Scorpion's slam attacks are aimed directly in front of it. You should be able to dodge roll forward into the Scorpion to get under it and avoid the attack completely if you see it getting ready to slam.
Anticipate the Stomps When Next to the Legs
If you're attacking the Scorpion right next to the legs, it will respond with a stomping attack where it raises its legs to hit the ground. Anticipate this and avoid getting locked into long animations preventing you from dodging.
Combat Tips for Gnoster Final Phase
| How to Beat Gnoster, Wisdom of Night |
|---|
|
|
Run Away from the Pillar of Light
After both the Moth and Scorpion start fighting together, their ranged attacks are indicated by a pillar of light where it shoots a laser from the sky that follows you.
Stay on the move and roll away from the pillar of light if it gets too close.
Dodge Sideways When It Charges At You
Gnoster will charge at a player at regular intervals once they fight together as one. To dodge this, repeatedly roll sideways to get out of its path.
Gnoster will usually do this charge around three times before switching to another attack so be sure to look out for consecutive charges.
Combat Tips for Sentient Pest Hard Mode
| How to Beat Gnoster, Wisdom of Night |
|---|
|
|
Gnoster Splits Into Numerous HP Bars
After initially beating Gnoster, there will be a short animation where a fiery-looking creature will emerge from the moth. This creature, Animus, will then revive the dead bosses. Unlike the initial fight, however, each of the three bosses will have a separate HP bar.
The red creature is Animus, and is the main boss you have to defeat. The moth is Gnoster, while the scorpion is Faurtis. This is an important mechanic, as defeating either Gnoster and Faurtis will make Animus revive them at around 40% HP.
Additionally, whenever Animus revives Gnoster or Faurtis, it will take a huge amount of damage, as if transferring its HP to the defeated boss. This will be the main way of defeating Animus. Killing Animus will immediately kill both Gnoster and Faurtis.
Fire Damage is Still Important
As mentioned above, Fire damage is still important in this fight as it still applies a burn that deals damage over time to Gnoster. This is especially helpful when Animus possesses Gnoster, as the burn deals damage to both of them.
Attack Animus While They Are Reviving
Normally, Animus will be flying around the arena, and will be hard to reach with attacks. This changes, however, when Animus flies down to revive either Gnoster or Faurtis when they are defeated. While reviving, Animus will be stuck in an animation, leaving it vulnerable to attack.
You can take this time to deal damage to Animus until it revives and possesses whoever just died. Once the dead boss has been revived, however, run away immediately.
Focus On Unempowered Enemy
When Animus revives Gnoster or Faurtis, they also get possesed and empowered, making them hit harder, have different attacks, and take less damage. As such, it is ideal to focus on the unempowered enemy as they will be easier to kill.
Ideally, you will have one Nightfarer keeping the empowered boss distracted, while the other two defeat the weaker boss. Once the weaker boss gets defeated, you can start attacking the empowered boss until Animus ends possession.
Watch For Animus Ending Possession
After around a minute and a half, whoever Animus is possessing will perform a powerful attack that can easily knock you down. Gnoster will shoot multiple magical shots from the sky, while Faurtis will perform multiple AoE attacks around it. Once they finish performing said attacks, they will be staggered, and Animus will fly out and end the possession.
Attack the possessed boss after they perform the powerful attack, as they will be left vulnerable for a while. Additionally, if the other boss is already dead, Animus will immediately move to revive them, making it open to more attacks.
Sentient Pest Locust Swarm Raid Guide
Avoid the Locust Swarm
A plague of locusts event will randomly occur in an expedition where a swarm of locusts will follow players. The swarm will periodically explode and absorb a level from players caught in the explosion.
If this event occurs in your run, we recommend you split up and run in different directions from each other to avoid the plague of locust explosions from overlapping.
The Locust Swarm Can Absorb Multiple Levels
The locust swarm can absorb multiple levels if you get caught in an explosion multiple times, so make sure to split up and run away from the swarm once the event begins.
Follow the Locust Swarm to the Sentient Pest
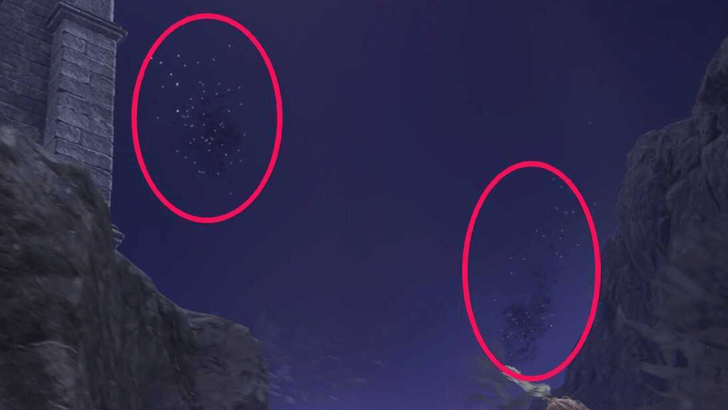
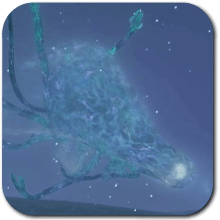
When a locust swarm successfully steals a level from one player, the swarms will start flying away to return to the Sentient Pest. To find the enemy who is stealing runes, you'll need to look at the sky and follow the plague of locusts.
Eventually, the swarm will congregate near a glowing orb which will turn into the Moth part of the Sentient Pest.
Unlike the boss fight, it remains stationary on the ground and is not as durable. The locust swarms surrounding it will still explode and damage players, so keep a healthy distance and quickly defeat the Moth to retrieve your levels.
How to Unlock Gnoster, Wisdom of Night
Unlocked After Beating Gladius
Gnoster, Wisdom of Night is one of the Nightlords you'll be able to face after defeating Gladius in the Tricephalos expedition. As a Nightlord, Gnoster is fought on the third day of the Sentient Pest expedition.
Gladius Weakness and How to Beat
Everdark Sovereign Not Available
The Everdark Sovereign of Sentient Pest is not currently live. It may return in the future, but unlocking it requires defeating the regular version of the boss at least once.
Everdark Sovereign: Hard Mode Rewards
Gnoster, Wisdom of Night Rewards
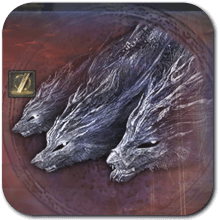
Night of the Wise
 Night of the Wise Night of the Wise
|
Color | Yellow |
|---|---|---|
| Size | Large | |
| Effects |
|
|
Defeating Sentient Pest unlocks the Night of the Wise relic.
How to Get Night of the Wise
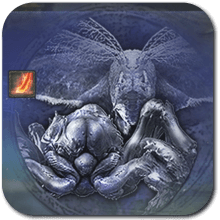
Dark Night of the Wise
|
Dark Night of the Wise
|
Color | Green |
|---|---|---|
| Size | Large | |
| Effects |
|
|
Upon defeating the Everdark Sovereign version of Gnoster, you will unlock the Dark Night of the Wise relic for purchase at the Collector Signboard for 12 Sovereign Sigils.
How to Get Dark Night of the Wise
Elden Ring Nightreign Related Guides

List of All Forsaken Hollows Bosses
The Forsaken Hollows DLC Guide
List of All Nightlords
| Nightlords | ||
|---|---|---|
 Gladius, Beast of Night Gladius, Beast of Night |
 Gnoster, Wisdom of Night Gnoster, Wisdom of Night |
 Adel, Baron of Night Adel, Baron of Night |
 Fulghor, Champion of Nightglow Fulghor, Champion of Nightglow |
 Maris, Fathom of Night Maris, Fathom of Night |
 Libra, Creature of Night Libra, Creature of Night |
 Caligo, Miasma of Night Caligo, Miasma of Night |
 Heolstor the Nightlord Heolstor the Nightlord |
- |
List of All Night Bosses
List of All World Bosses
List of Special Bosses
| Special Bosses | ||
|---|---|---|
| Night Idol | Tutorial Boss | Onestrike Gladiator |
| Blinding Elder Lion | White Horn | - |
List of Returning Bosses
| Bosses from Previous Games | |
|---|---|
 Dark Souls Dark Souls |
 Shadow of the Erdtree Shadow of the Erdtree |
Comment
Author
Sentient Pest (Gnoster, Wisdom of Night) Weakness and How to Beat
Please participate in our site
improvement survey
03/2026
improvement survey
03/2026
Would you assist in
improving Game8's site?
improving Game8's site?

×
We are listening to our users' valuable opinions and discussing how to act on them.
The information collected through this survey will be used for the purpose of improving our services. In addition, the information will only be disclosed a part of a statistic in a format that will not allow identification of personal information.
Begin Survey
Not Now
×
Please rate each item regarding Game8.co's Advertisements.
Amount of Ads
Very Dissatisfied
Somewhat Dissatisfied
Fine
Somewhat Satisfied
Highly Satisfied
Placement of Ads
Timing of Ad Display
Ad Loading Speed
Safeness of Ads
Content of Ads
×
Please rate each item regarding Game8.co's Quality of Articles.
Amount of information
Very Dissatisfied
Somewhat Dissatisfied
Fine
Somewhat Satisfied
Highly Satisfied
Frequency of updates
Speed of new information
Accuracy of articles
Understandibility of articles
Readability of sentences
×
Please rate each item regarding Game8.co's Usability of the Site.
Ease of finding information
Very Dissatisfied
Somewhat Dissatisfied
Fine
Somewhat Satisfied
Highly Satisfied
Loading Speed
Use of Color
Font Size
Visibility of Images
Easy to Understand Layout
×
Please rate each item regarding Game8.co's Message Boards, Comments.
Ease of Writing
Very Dissatisfied
Somewhat Dissatisfied
Fine
Somewhat Satisfied
Highly Satisfied
Readability
Ease in Finding Information
Comment Quality
Comment Quantity
Admin Response
×
Please rate each item regarding Game8.co's Site's new design.
Please rate our site's new design
Very Dissatisfied
Somewhat Dissatisfied
Fine
Somewhat Satisfied
Highly Satisfied
Do you think that the website's design change makes the site easier to use?
Has the new design made it easier for you to find information on the site?
Has the new design improved the overall visual appeal of the site?
How would you rate your overall satisfaction with the new design of the site?
×
How likely are you to recommend Game8 to someone you know?
Very Unlikely
0
1
2
3
4
5
6
7
8
9
10
Very Likely
If you have other opinions regarding potential improvement to the website, please share them with us. We would appreciate your honest opinion.
Note: This is a free response section, so you can proceed without entering anything.
Note: Please be sure not to enter any kind of personal information into your response.
Note: Please be sure not to enter any kind of personal information into your response.
×
Thank You
×
Thank you for participating in our survey! Your answers will help us to improve the quality of our website and services.
We hope you continue to make use of Game8.
We hope you continue to make use of Game8.
Close
Rankings
- We could not find the message board you were looking for.
Gaming News


![Monster Hunter Stories 3 Review [First Impressions] | Simply Rejuvenating](https://img.game8.co/4438641/2a31b7702bd70e78ec8efd24661dacda.jpeg/thumb)

Popular Games

Genshin Impact Walkthrough & Guides Wiki
Honkai: Star Rail Walkthrough & Guides Wiki
Umamusume: Pretty Derby Walkthrough & Guides Wiki
Pokemon Pokopia Walkthrough & Guides Wiki
Resident Evil Requiem (RE9) Walkthrough & Guides Wiki
Monster Hunter Wilds Walkthrough & Guides Wiki
Wuthering Waves Walkthrough & Guides Wiki
Arknights: Endfield Walkthrough & Guides Wiki
Pokemon FireRed and LeafGreen (FRLG) Walkthrough & Guides Wiki
Pokemon TCG Pocket (PTCGP) Strategies & Guides Wiki


Recommended Games
Diablo 4: Vessel of Hatred Walkthrough & Guides Wiki
Fire Emblem Heroes (FEH) Walkthrough & Guides Wiki
Yu-Gi-Oh! Master Duel Walkthrough & Guides Wiki
Super Smash Bros. Ultimate Walkthrough & Guides Wiki
Pokemon Brilliant Diamond and Shining Pearl (BDSP) Walkthrough & Guides Wiki
Elden Ring Shadow of the Erdtree Walkthrough & Guides Wiki
Monster Hunter World Walkthrough & Guides Wiki
The Legend of Zelda: Tears of the Kingdom Walkthrough & Guides Wiki
Persona 3 Reload Walkthrough & Guides Wiki
Cyberpunk 2077: Ultimate Edition Walkthrough & Guides Wiki


All rights reserved
© 2010 - 2024 Bandai Namco Entertainment Europe S.A.S
The copyrights of videos of games used in our content and other intellectual property rights belong to the provider of the game.
The contents we provide on this site were created personally by members of the Game8 editorial department.
We refuse the right to reuse or repost content taken without our permission such as data or images to other sites.