This survey will take about 1 minute.
Your answers will help us to improve our website.
Elden Ring Nightreign
Map Icon Meanings
★ Team up using our Multiplayer Board!
☆ The Forsaken Hollows DLC: Scholar | Undertaker
★ The Great Hollow Guide and Rewards
☆ New Bosses: Balancers | Dreglord
★ Best Class Tier List and Best Teams
☆ How to Unlock Forsaken Hollows DLC
This guide explains the map icons in Elden Ring Nightreign. Read on and learn the meaning of each map icon, as well as how to switch the map to a detailed view in this guide!
List of Contents
Map Icon Meanings
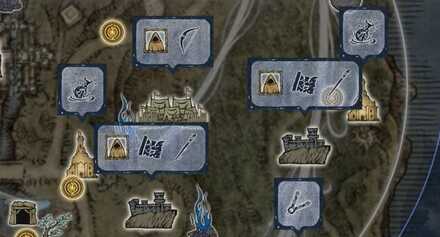
All Map Icons
| Icon | Brief Explanation |
|---|---|
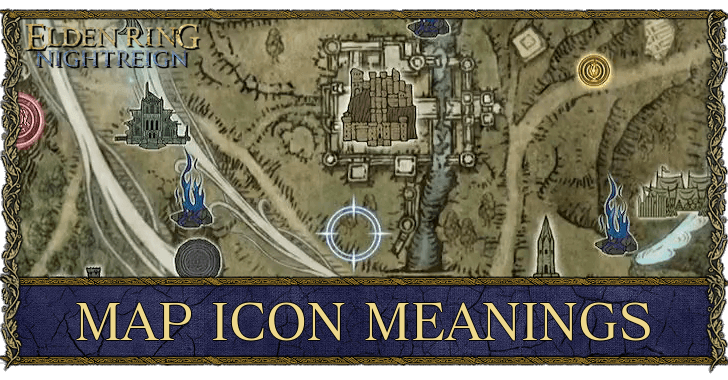
 Resonating Crystal Resonating Crystal(Great Hollow) |
Dark blue crystals scattered around the Great Hollow. Resonate with 4 (if in a party) or 3 (if solo) to shatter the large purple crystal in the middle of the map. The shattered crystal rewards you with the Favor of the Great Hollow Favor of the Great Hollow Breaks crystal curse, and when Sacred Flasks are exhausted, boost art gauge. . |
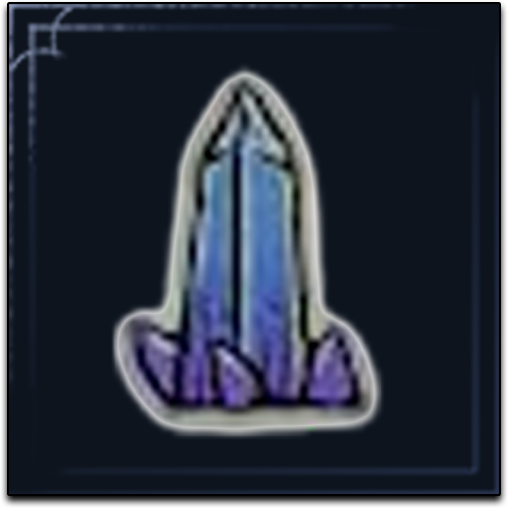
 Eastern Underground Fort Eastern Underground Fort(Great Hollow) |
A large stronghold to the southeast of the map. Get the Favor of the Great Hollow Favor of the Great Hollow Breaks crystal curse, and when Sacred Flasks are exhausted, boost art gauge. to counteract its HP debuff and explore it to find bosses and rare loot. |
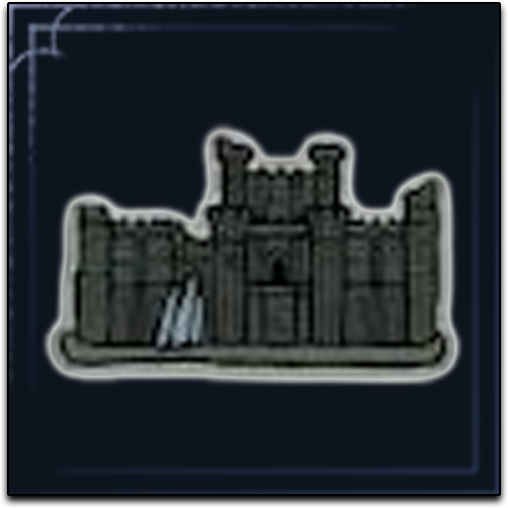
 Western Underground Fort Western Underground Fort(Great Hollow) |
A large stronghold to the northwest of the map. Get the Favor of the Great Hollow Favor of the Great Hollow Breaks crystal curse, and when Sacred Flasks are exhausted, boost art gauge. to counteract its HP debuff and explore it to find bosses and rare loot. |
 Temple Temple(Great Hollow) |
Divine towers found in the northwest and southeast of the Great Hollow. These have 3 different floors with 1 boss per floor. Defeat all 3 to get a False Vision of a Great Rune False Vision of a Great Rune Faster auto charging for Ultimate Art and bonus murk received after session . |
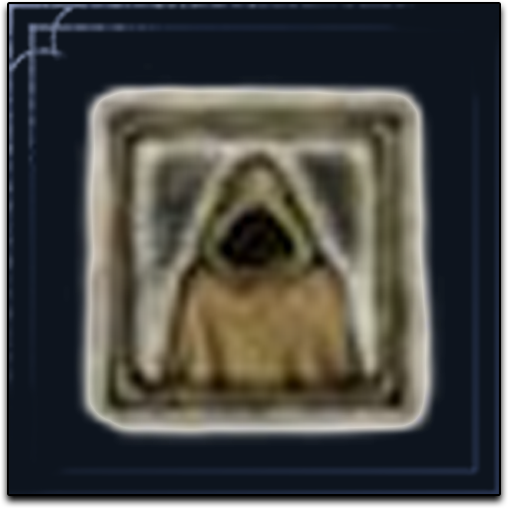 Merchant Merchant |
Spectral apparitions that sell weapons, consumables, and upgrade materials. In solo expeditions, they also sell a Wending Grace. Spawns with a smithing table beside them, allowing you to upgrade your weapons to +1 or +2. |
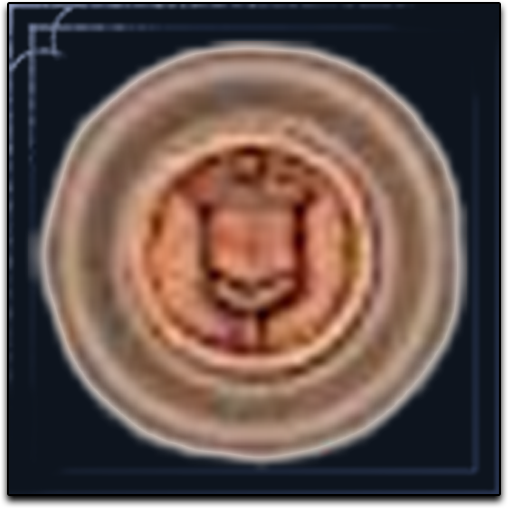
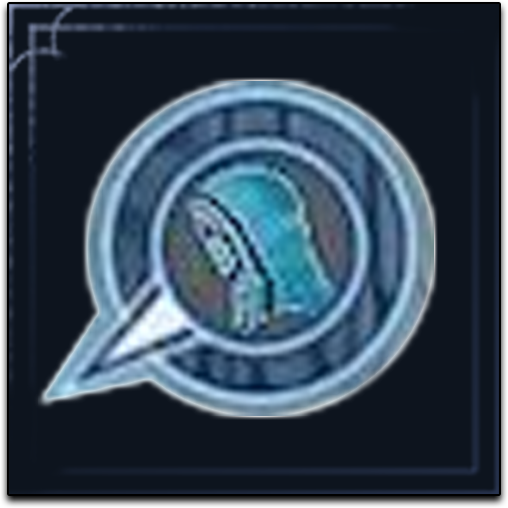 Current Location Current Location |
This is the player indicator. When opening the map, this will show the positions of you and your party members. |
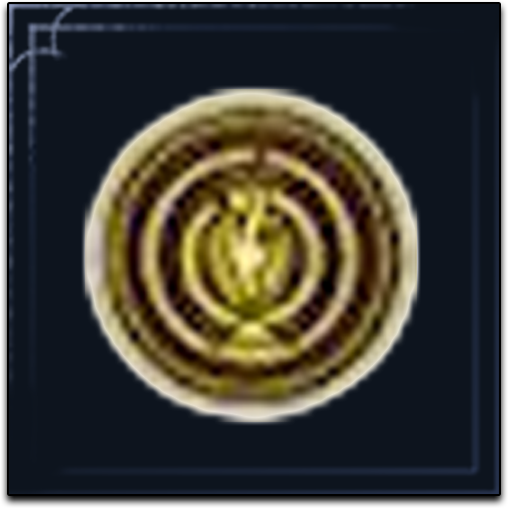 Site of Grace Site of Grace |
A place to spend runes in order to level up. Approach it to replenish your HP, remove ailments, and refill your flasks. If you were downed during a fight, you can approach sites of grace to reset your downed meter back to 1 bar. |
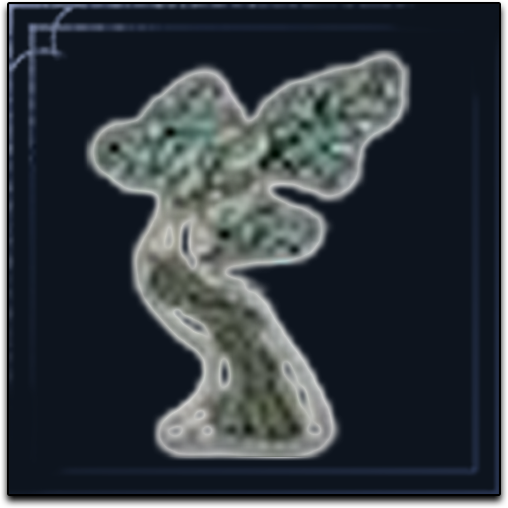 Spectral Hawk Tree Spectral Hawk Tree |
Interact with it to ride a Spectral Hawk. These birds will fly in a pre-determined path (indicated by the white cloud line on the map). Allows you to quickly travel around the map. |
 Spiritstream Spiritstream |
Interact with them to perform a big jump. Allows players to quickly scale large cliffs and bypass tall obstacles. |
 Objective Marker Objective Marker |
Indicates a Remembrance Quest objective or a Shifting Earth objective that allows you to bypass its hazards. |
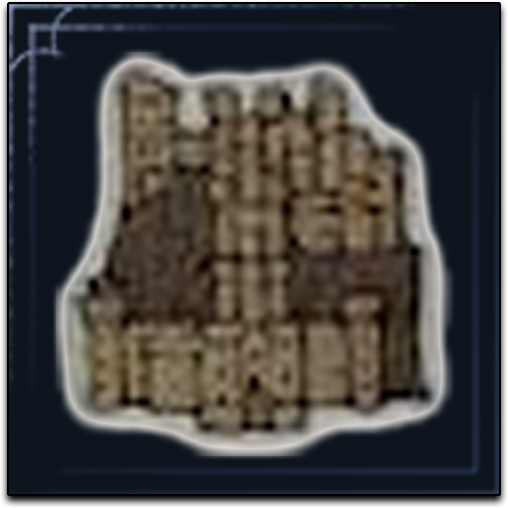
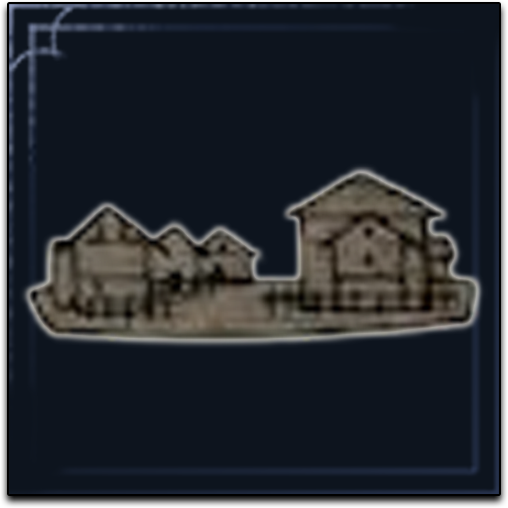
 Blacksmith Village Blacksmith Village |
Special POIs that contain a Forge. Clear it of enemies then use these Forges to change the Weapon Skill of one of your equipped weapons. |
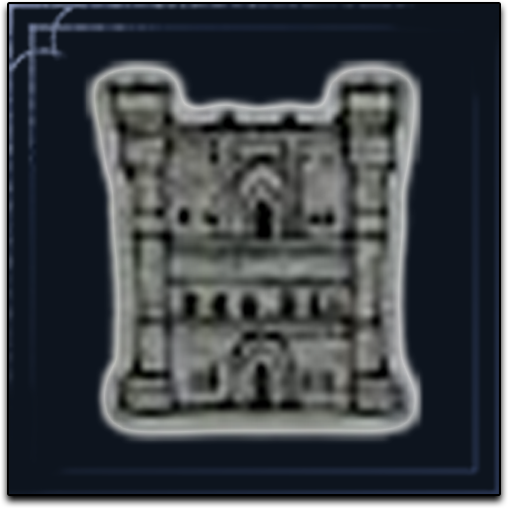
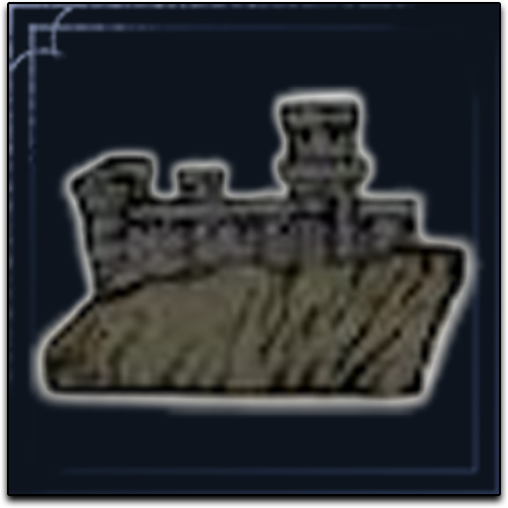
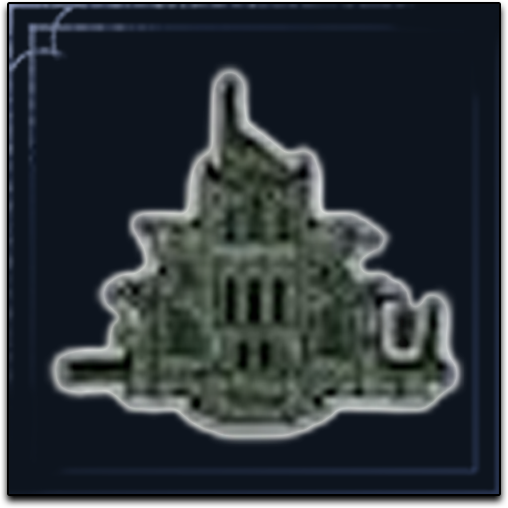
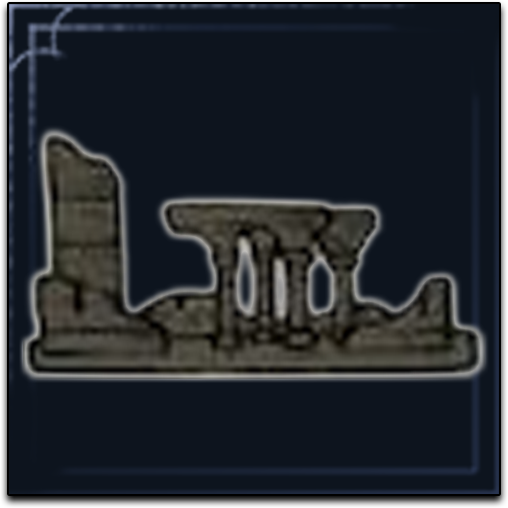
 Castle Castle |
A central POI in Limveld that rewards players with a ton of runes due to the many elite enemies that guard it. Its basement and roof areas will have an elite boss, and its central gatehouse (accessed via the basement) will contain a guaranteed Talisman. |
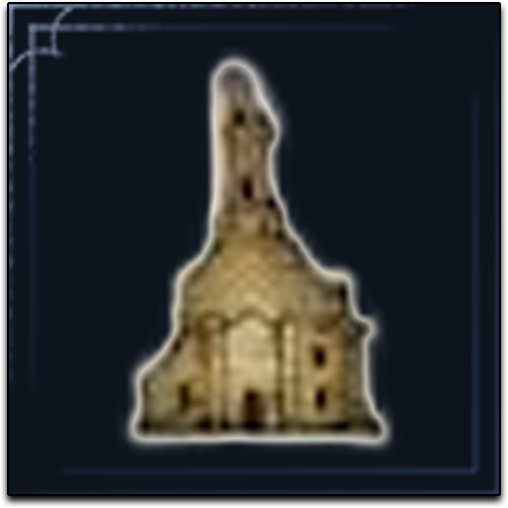 Church Church |
Visit these locations to add a charge to your sacred flask. They also contain breakable boxes that drop consumables. |
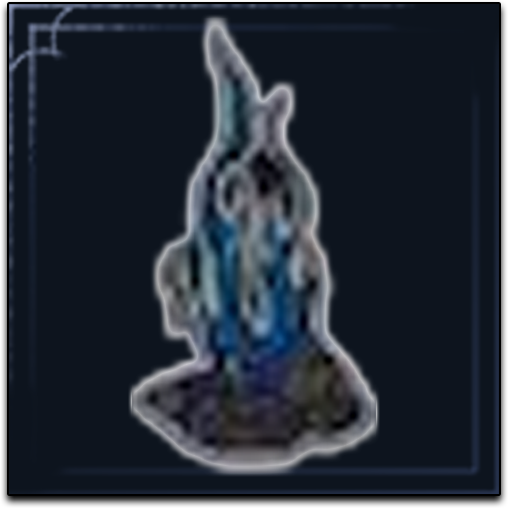
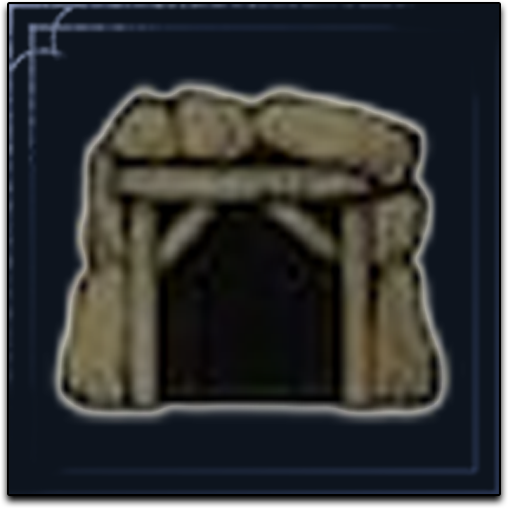
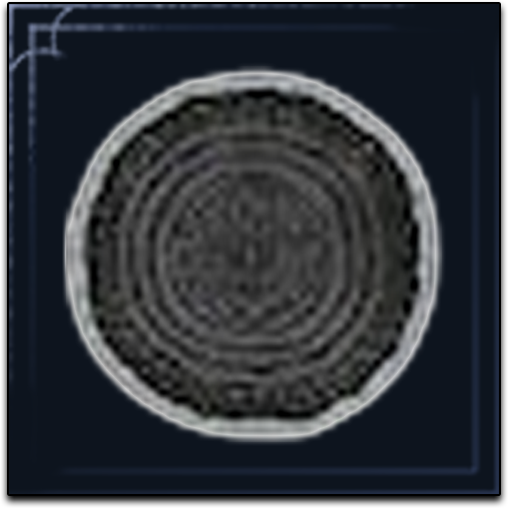 Evergaol Evergaol |
Sealed jails that you can open to with a Stonesword Key. Defeat the boss (who spawns at half HP) to get a large rune drop or power. When opened, these have a chance to be the Oldest Gaol which spawns an Ancient Dragon boss. Defeat it to get a legendary amount of runes. |
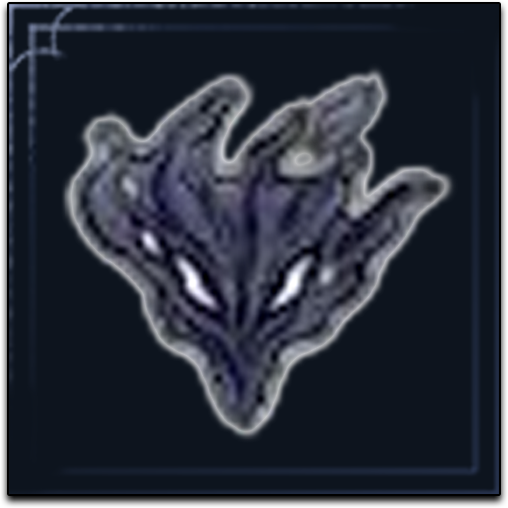 Field Boss Field Boss |
These are powerful bosses found wandering the open areas of Limveld and the Great Hollow. During Day 2, all Field Boss locations are revealed on your map. |
 Fort Fort |
Small POIs that contain a low-level boss (usually blue power drops only). The table at the tower can be interacted with to reveal the locations of Talisman Scarabs and Buried Treasure. |
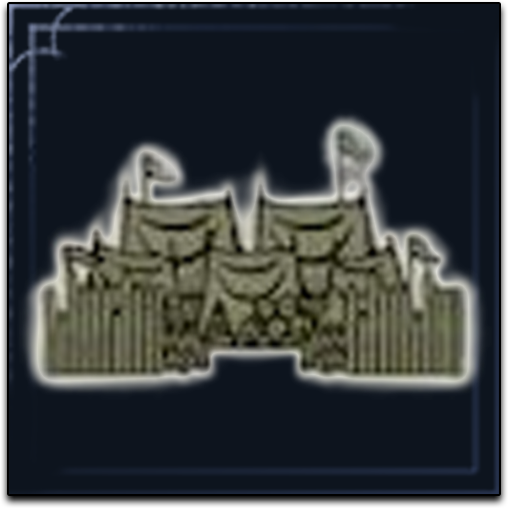
 Great Church Great Church |
Small POIs that contain a low-level boss (usually blue power drops only). These are a great source of Sacred Seals and Stonesword Keys. |
 Main Encampment Main Encampment |
Large POI that contain a low-level boss (usually blue power drops only). Its large layout means it can have 1~3 boss mobs roaming within its vicinity. |
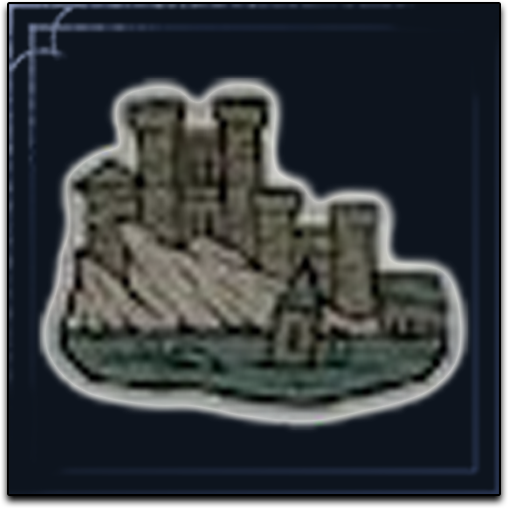 Marsh Marsh |
Sunken castles that have status effect hazards like Poison, Scarlet Rot, and Bleed. Descend into its depths to fight a boss that rewards you with a corresponding status effect weapon or a power drop. |
 Mining Tunnel Mining Tunnel |
A series of tunnels that contain a mini-boss that drops a Smithing Stone 2. These are used to upgrade +1 Weapons (Blue rarity) to +2 Weapons (Purple rarity). |
 Ruin Ruin |
A medium-sized POI that contains a low-level boss (usually blue power drops only). Due to its layout, you will usually have to fight 1~3 bosses depending on the type of Ruin. In the Great Hollow, the Ruin is special in that it can have at least 2 different bosses - one on the surface and another beneath the ruin itself. |
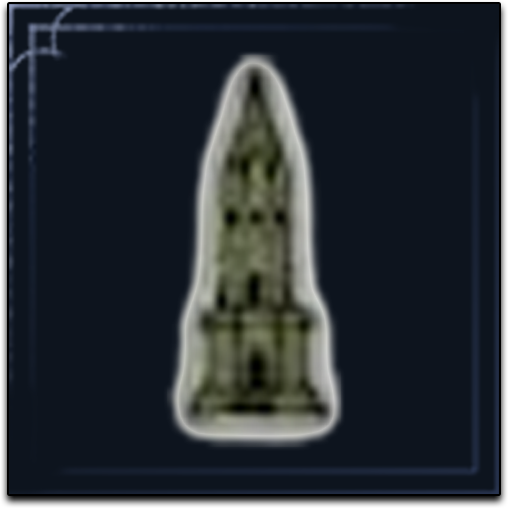 Sorcerer's Rise Sorcerer's Rise |
Magic towers that require you to solve a puzzle in order to enter. Once the seal is broken, ascend to the top to get a power drop related to Magic. This is a good place to get Glintstone Staves for caster characters. |
 Township Township |
Houses a special merchant that sells all the regular items as well as a selection of talismans and a Smithing Stone 2. |
Viewing the Map Found in Forts Reveal Potential Loot
 |
|
|---|---|
| Icon | Brief Explanation |
 Scarabs Scarabs |
Shows a Scarab's location. Defeating it drops Talismans. |
 Buried Treasure Buried Treasure |
Shows hidden treasure locations. Can get various rewards, such as weapons, Smithing Stones, and Stonesword Keys. |
Examining the map inside the forts will reveal information on Scarab and Hidden Treasure locations. Scarabs drop Talismans, and Buried Treasures can reward you with weapons, smithing stones, and Stonesword Keys.
How to Switch to Detailed View
Y Button on Xbox, Triangle Button on Playstation
 |
|
|---|---|
| Detailed View | |
Press the Triangle button if you're on Playstation, or the Y button on Xbox to switch to a detailed view of the map. This shows which items are more likely to drop at specific locations on the map.
Icons in Detailed View
 Increase Sacred Flask Charges Increase Sacred Flask Charges |
 Reveal Potential Loot Reveal Potential Loot |
 Merchants and Forges Merchants and Forges |
 Bows Bows |
 Staffs Staffs |
 Sacred Seals Sacred Seals |
These are the icons and what they represent as shown in the map image above.
Elden Ring Nightreign Related Guides

Elden Ring Nightreign Walkthrough Wiki
Elden Ring Nightreign Wiki
| Elden Ring Nightreign Wiki Contents | |
|---|---|
 Forsaken Hollows DLC Forsaken Hollows DLC |
 Classes Classes |
 Remembrances Remembrances |
 Skins Skins |
 Bosses Bosses |
 Tips and Tricks Tips and Tricks |
 Shifting Earth Shifting Earth |
 Multiplayer Board Multiplayer Board |
 Vessels Vessels |
 Relics Relics |
 Weapons Weapons |
 Weapon Skills Weapon Skills |
 Spells Spells |
 Talismans Talismans |
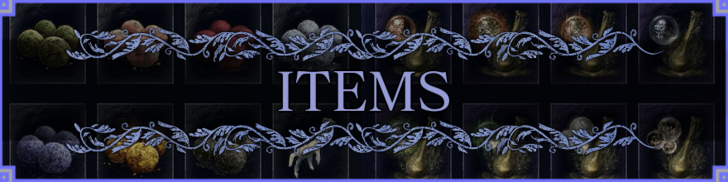 Items Items |
 News News |
 Patch Updates Patch Updates |
 Bugs and Errors Bugs and Errors |
 Map Map |
|
Recommended Guides
Comment
Author
Map Icon Meanings
Please participate in our site
improvement survey
03/2026
improvement survey
03/2026
Would you assist in
improving Game8's site?
improving Game8's site?

×
We are listening to our users' valuable opinions and discussing how to act on them.
The information collected through this survey will be used for the purpose of improving our services. In addition, the information will only be disclosed a part of a statistic in a format that will not allow identification of personal information.
Begin Survey
Not Now
×
Please rate each item regarding Game8.co's Advertisements.
Amount of Ads
Very Dissatisfied
Somewhat Dissatisfied
Fine
Somewhat Satisfied
Highly Satisfied
Placement of Ads
Timing of Ad Display
Ad Loading Speed
Safeness of Ads
Content of Ads
×
Please rate each item regarding Game8.co's Quality of Articles.
Amount of information
Very Dissatisfied
Somewhat Dissatisfied
Fine
Somewhat Satisfied
Highly Satisfied
Frequency of updates
Speed of new information
Accuracy of articles
Understandibility of articles
Readability of sentences
×
Please rate each item regarding Game8.co's Usability of the Site.
Ease of finding information
Very Dissatisfied
Somewhat Dissatisfied
Fine
Somewhat Satisfied
Highly Satisfied
Loading Speed
Use of Color
Font Size
Visibility of Images
Easy to Understand Layout
×
Please rate each item regarding Game8.co's Message Boards, Comments.
Ease of Writing
Very Dissatisfied
Somewhat Dissatisfied
Fine
Somewhat Satisfied
Highly Satisfied
Readability
Ease in Finding Information
Comment Quality
Comment Quantity
Admin Response
×
Please rate each item regarding Game8.co's Site's new design.
Please rate our site's new design
Very Dissatisfied
Somewhat Dissatisfied
Fine
Somewhat Satisfied
Highly Satisfied
Do you think that the website's design change makes the site easier to use?
Has the new design made it easier for you to find information on the site?
Has the new design improved the overall visual appeal of the site?
How would you rate your overall satisfaction with the new design of the site?
×
How likely are you to recommend Game8 to someone you know?
Very Unlikely
0
1
2
3
4
5
6
7
8
9
10
Very Likely
If you have other opinions regarding potential improvement to the website, please share them with us. We would appreciate your honest opinion.
Note: This is a free response section, so you can proceed without entering anything.
Note: Please be sure not to enter any kind of personal information into your response.
Note: Please be sure not to enter any kind of personal information into your response.
×
Thank You
×
Thank you for participating in our survey! Your answers will help us to improve the quality of our website and services.
We hope you continue to make use of Game8.
We hope you continue to make use of Game8.
Close
Rankings
- We could not find the message board you were looking for.
Gaming News


![Everwind Review [Early Access] | The Shaky First Step to A Very Long Journey](https://img.game8.co/4440226/ab079b1153298a042633dd1ef51e878e.png/thumb)

![Monster Hunter Stories 3 Review [First Impressions] | Simply Rejuvenating](https://img.game8.co/4438641/2a31b7702bd70e78ec8efd24661dacda.jpeg/thumb)
Popular Games

Genshin Impact Walkthrough & Guides Wiki
Honkai: Star Rail Walkthrough & Guides Wiki
Umamusume: Pretty Derby Walkthrough & Guides Wiki
Pokemon Pokopia Walkthrough & Guides Wiki
Resident Evil Requiem (RE9) Walkthrough & Guides Wiki
Monster Hunter Wilds Walkthrough & Guides Wiki
Wuthering Waves Walkthrough & Guides Wiki
Arknights: Endfield Walkthrough & Guides Wiki
Pokemon FireRed and LeafGreen (FRLG) Walkthrough & Guides Wiki
Pokemon TCG Pocket (PTCGP) Strategies & Guides Wiki


Recommended Games
Diablo 4: Vessel of Hatred Walkthrough & Guides Wiki
Fire Emblem Heroes (FEH) Walkthrough & Guides Wiki
Yu-Gi-Oh! Master Duel Walkthrough & Guides Wiki
Super Smash Bros. Ultimate Walkthrough & Guides Wiki
Pokemon Brilliant Diamond and Shining Pearl (BDSP) Walkthrough & Guides Wiki
Elden Ring Shadow of the Erdtree Walkthrough & Guides Wiki
Monster Hunter World Walkthrough & Guides Wiki
The Legend of Zelda: Tears of the Kingdom Walkthrough & Guides Wiki
Persona 3 Reload Walkthrough & Guides Wiki
Cyberpunk 2077: Ultimate Edition Walkthrough & Guides Wiki


All rights reserved
© 2010 - 2024 Bandai Namco Entertainment Europe S.A.S
The copyrights of videos of games used in our content and other intellectual property rights belong to the provider of the game.
The contents we provide on this site were created personally by members of the Game8 editorial department.
We refuse the right to reuse or repost content taken without our permission such as data or images to other sites.